
3-Point Home Office Lighting Map (No Hardwiring)
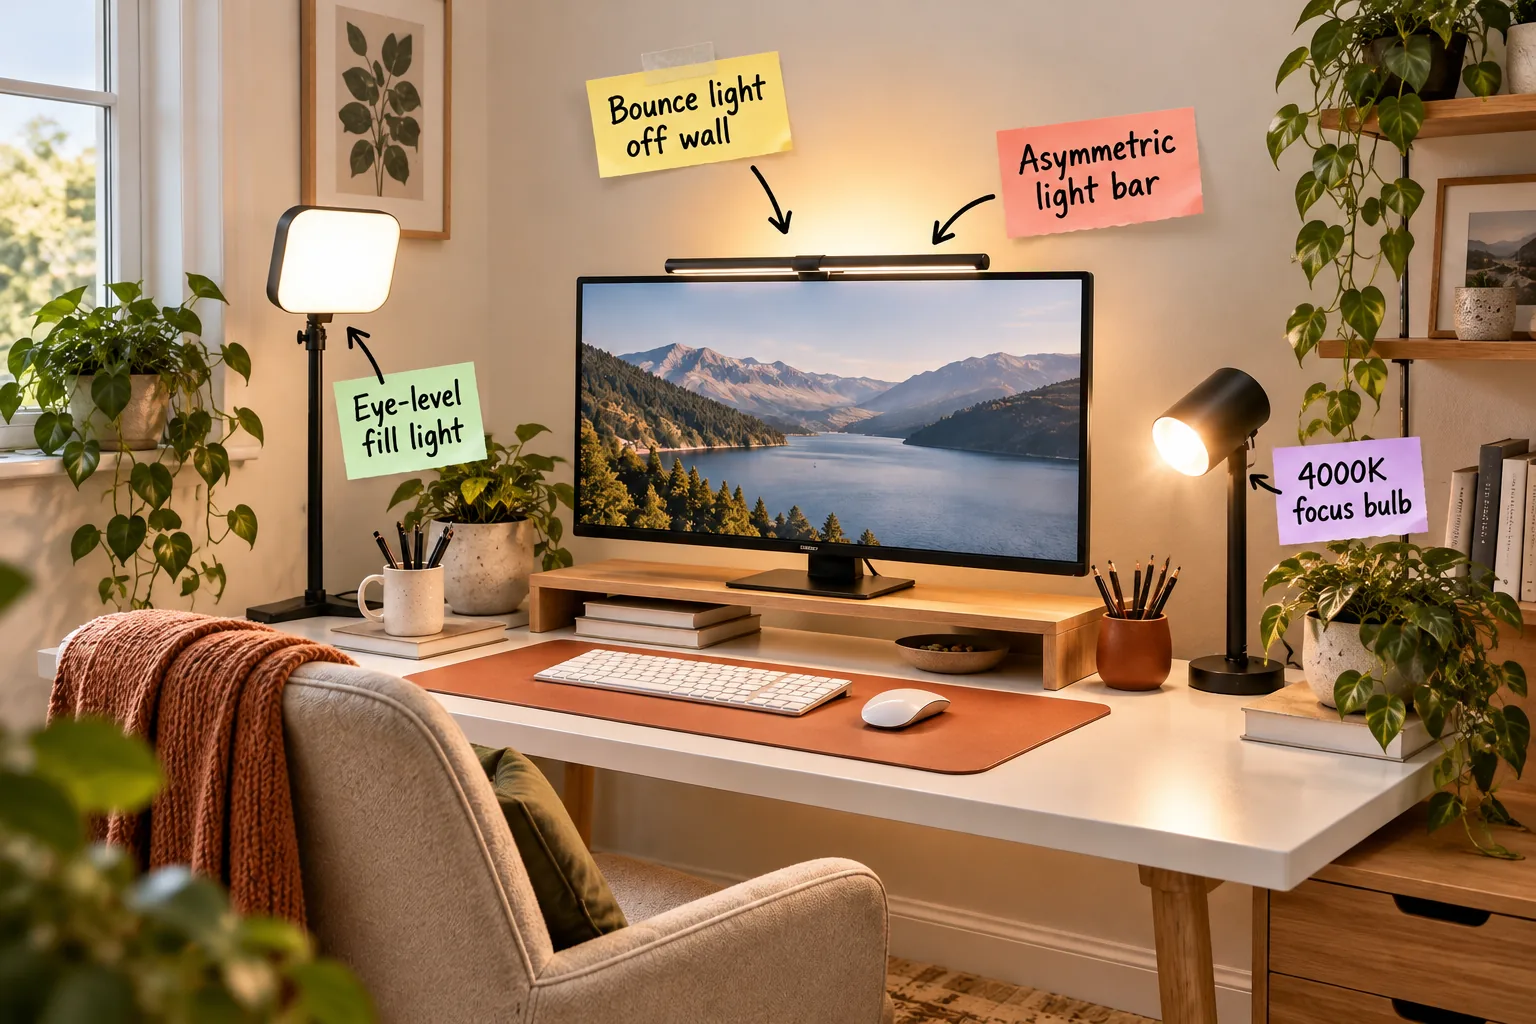
You can build a beautifully layered, glare-free workspace without touching your ceiling fixtures by downloading our 3-point desk lighting map and bulb guide. By arranging three specific plug-in light sources, you will eliminate screen glare and eye strain entirely.
The Asymmetric Light Bar
Start your setup with an asymmetric light bar that rests directly on top of your monitor. Because the lens is angled at exactly 45 degrees, it washes the desk surface with a sharp geometric beam while keeping the vertical display completely in shadow.
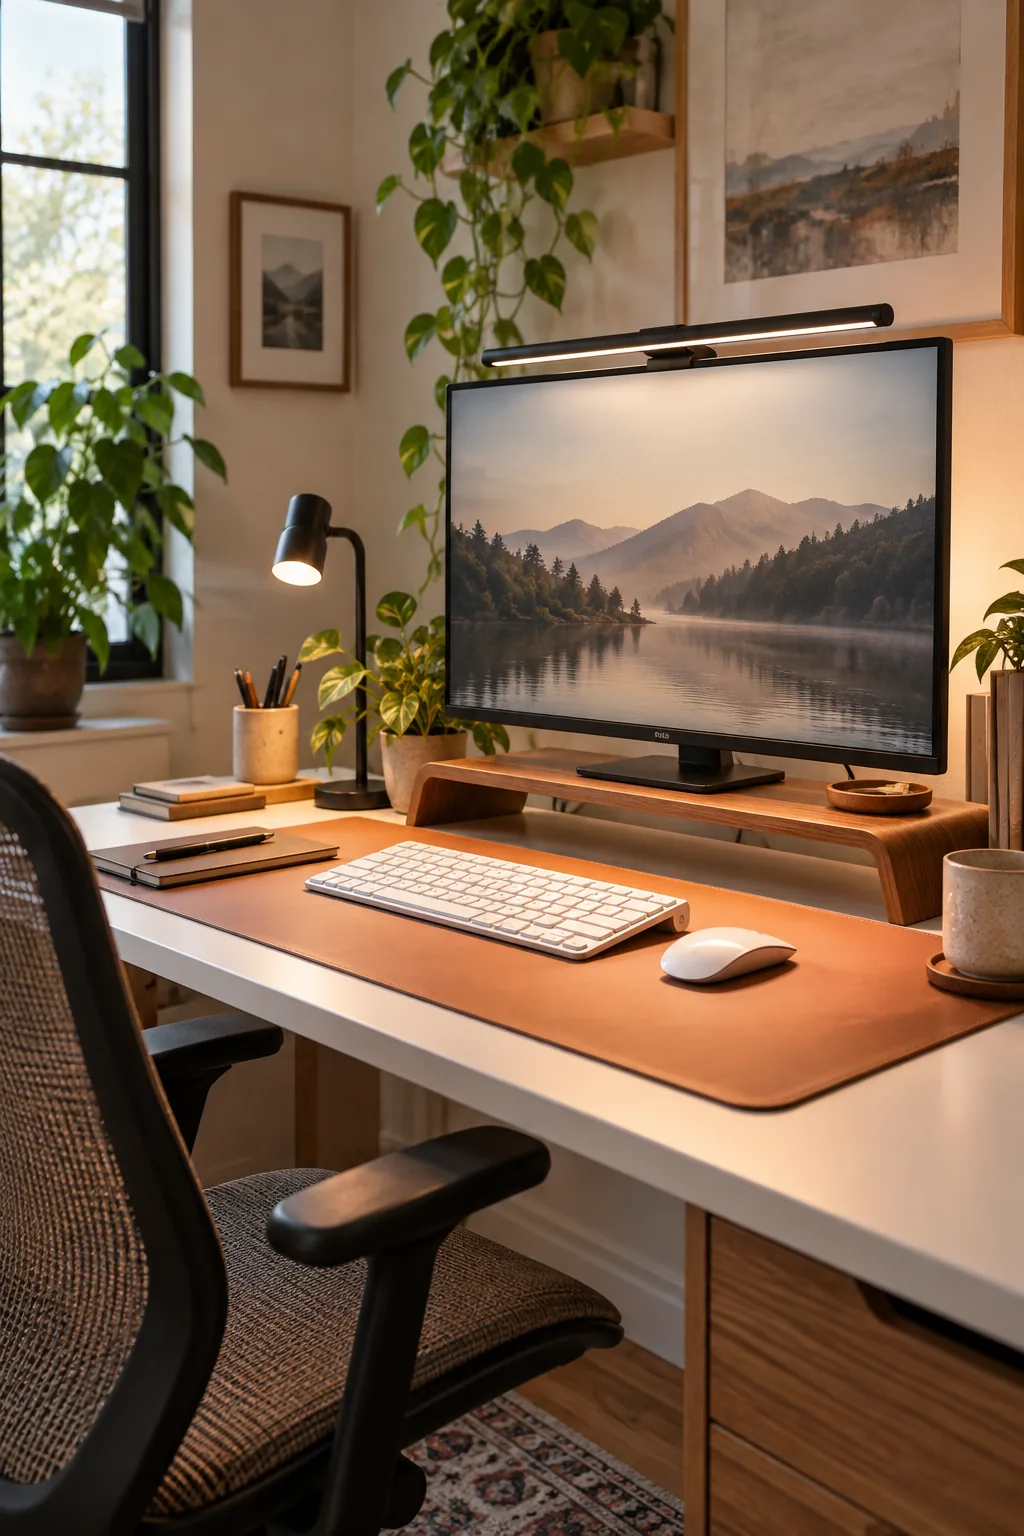
I use one of these sleek fixtures in my own Denver studio, and it instantly stopped my afternoon squinting by keeping the harsh glare entirely off my glossy monitor screen.
Sizing Your Monitor Light
Selecting the correct width ensures your entire keyboard and mouse area receives adequate illumination. Choose a fixture that spans roughly 80 percent of your monitor width, which prevents the edges of the light housing from creeping into your peripheral vision.
Adjusting the Beam Cutoff
Once mounted, rotate the cylindrical housing carefully until the sharp edge of the light beam aligns exactly with the front edge of your desk. This precise geometric cutoff guarantees that no stray light travels upward to hit your face.
Measuring Desk Depth for Light Spread
Your desk dimensions dictate how effectively the monitor bar covers your primary work zone. A standard 24 to 30-inch depth allows the angled beam to illuminate your keyboard perfectly while fading out just before it reaches your lap.
Selecting the Right Desk Mat Material
The surface underneath your lights drastically affects how the illumination feels. Choose a felt or matte leather desk pad to absorb the downward output of your monitor bar, preventing the harsh upward bounce that bare varnished wood often creates.
Avoiding Glass Desktop Glare
If you work on a glass-topped desk, the asymmetric light bar will inevitably reflect off the surface directly into your eyes. You must cover the primary work zone with a completely opaque, non-reflective mat to maintain the glare-free benefits of this setup.
Powering the Monitor Bar
Because we are avoiding hardwired fixtures, utilize the built-in USB ports on the back of your monitor to power the bar. This hidden connection eliminates one cable from your desk surface and automatically turns the light on when your computer wakes up.
Bouncing Light Off the Wall
A bright monitor against a dark room forces your eyes to constantly readjust, causing severe fatigue over time. Placing a hidden LED strip behind the monitor to bounce light off the wall reduces this harsh contrast by creating a smooth transition zone.
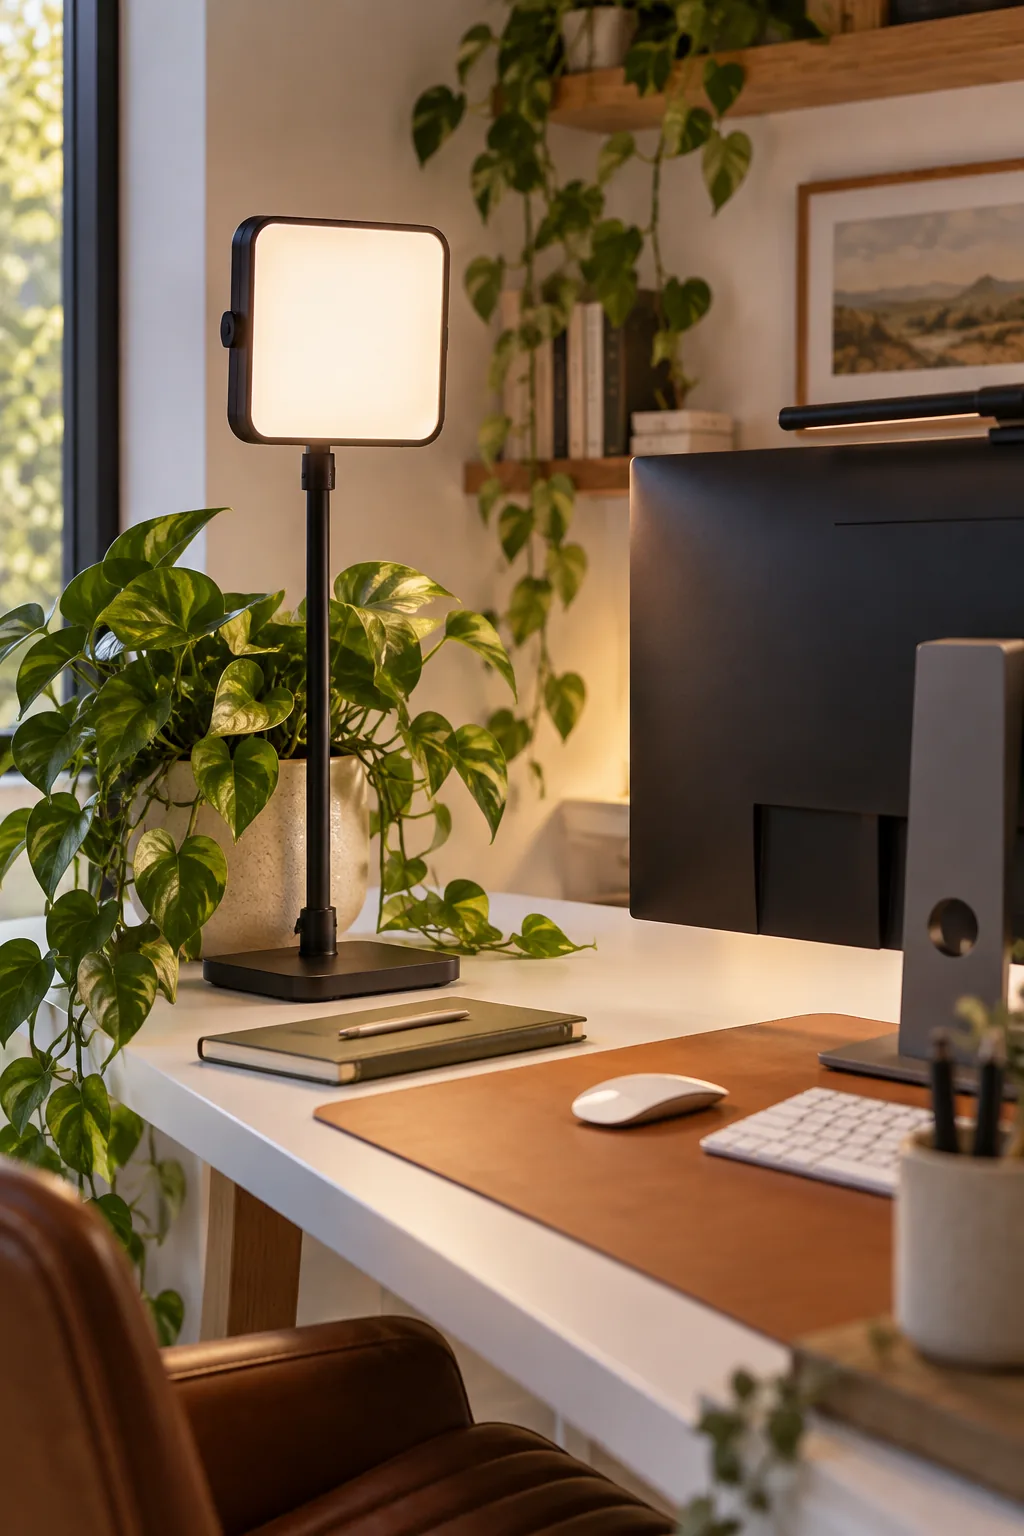
Positioning this fixture correctly is critical to get that soft, even glow without creating harsh, distracting hot spots directly behind the screen.
Controlling Ambient Brightness
Your wall bounce should never compete with the monitor for your attention. Keep this background layer dialed down to roughly 20 to 30 percent brightness, which provides just enough ambient glow to ease eye strain without washing out your screen colors.
Selecting the Bias Light Fixture
While dedicated bias lighting kits exist, a simple plug-in LED light strip or a compact puck light works perfectly. Opt for fixtures with built-in dimmers so you can fine-tune the output based on the time of day and your room colors.
Mounting the LED Strip Safely
If you choose an adhesive strip, attach it to the back of the monitor roughly two inches in from the outer bezel. This recessed placement hides the individual diodes from view while maximizing the surface area of the illuminated wall behind it.
The Eye-Level Fill Light
Overhead ceiling lights cast harsh downward shadows on your face during video calls, making you look tired. A soft-diffused eye-level fill light gently erases those shadows and creates a much more professional appearance for your virtual meetings.
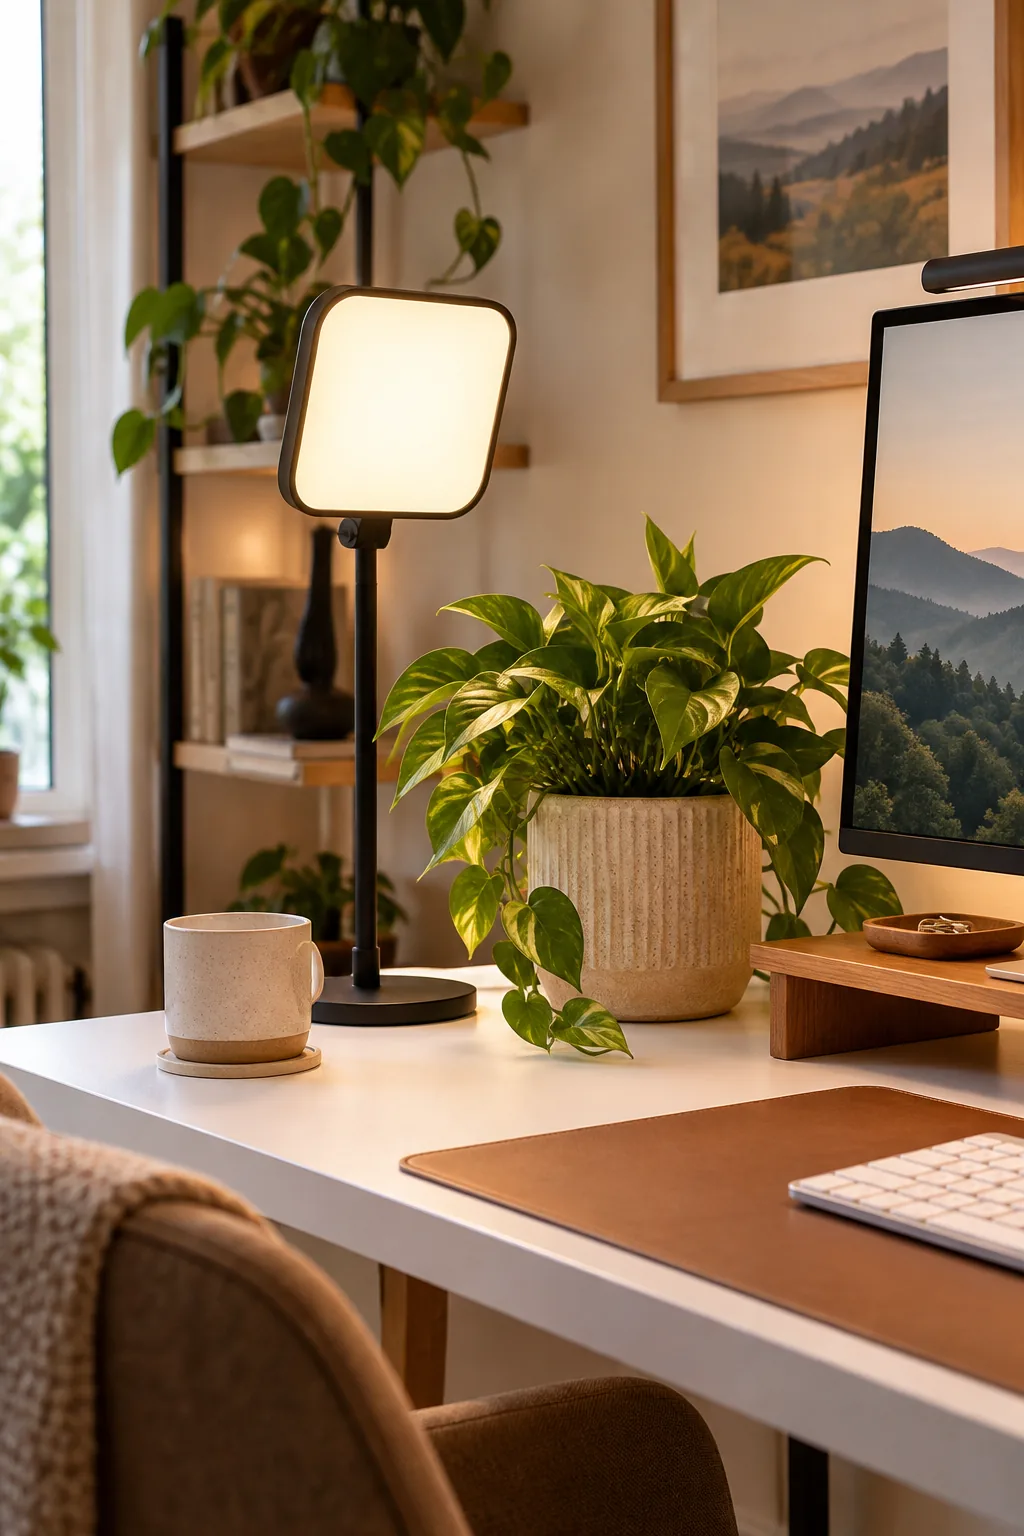
I position mine on a small stand roughly 30 degrees off-center to the left of my monitor, which flatters facial features without blinding me during long client presentations.
Diffusing Your Fill Source
Never point a bare LED panel directly at your face. Ensure your fill light features a thick frosted acrylic panel or a fabric softbox to scatter the beam, transforming a harsh spotlight into a gentle, wrapping glow that is comfortable to view.
Adjusting the Fill Light Height
Set the center of your fill light exactly horizontally level with your webcam lens. This specific elevation mimics natural window light, filling in under-eye shadows perfectly while maintaining a realistic, three-dimensional look on camera.
Balancing Left and Right Shadows
If your room has a bright window on the right side, place your fill light on the left side of your desk. This strategic placement balances the natural daylight, ensuring both sides of your face are evenly illuminated during morning meetings.
The 4000K Focus Bulb
When you need to review physical documents or take handwritten notes, ambient light is simply not enough. I always tell my clients that task lighting only works if it enhances your focus rather than distracting you with glare or visual clutter.
Selecting the Right Task Lamp Shape
Look for a compact task lamp featuring an opaque cylindrical or cone-shaped metal hood. This solid housing prevents light from spilling out horizontally into your eyes, directing the entire output strictly downward onto your notebooks and reference materials.
Setting the Task Lamp Height
Position the bulb between 15 and 20 inches above your desk surface. This specific elevation creates a concentrated pool of light large enough for an open binder, yet low enough to keep the bulb completely hidden from your direct line of sight.
Positioning for Your Dominant Hand
Always place your task lamp on the side opposite your writing hand. If you are right-handed, setting the lamp on the left side of your desk ensures your hand will never cast a frustrating shadow across the very sentence you are writing.
Matching Your Bulb Temperatures
Coordinating color temperatures prevents your desk from looking like a chaotic electronics store. I strictly reserve cooler 4000K tones for focused task lighting when reviewing physical papers, which boosts my alertness without making the whole room feel sterile.
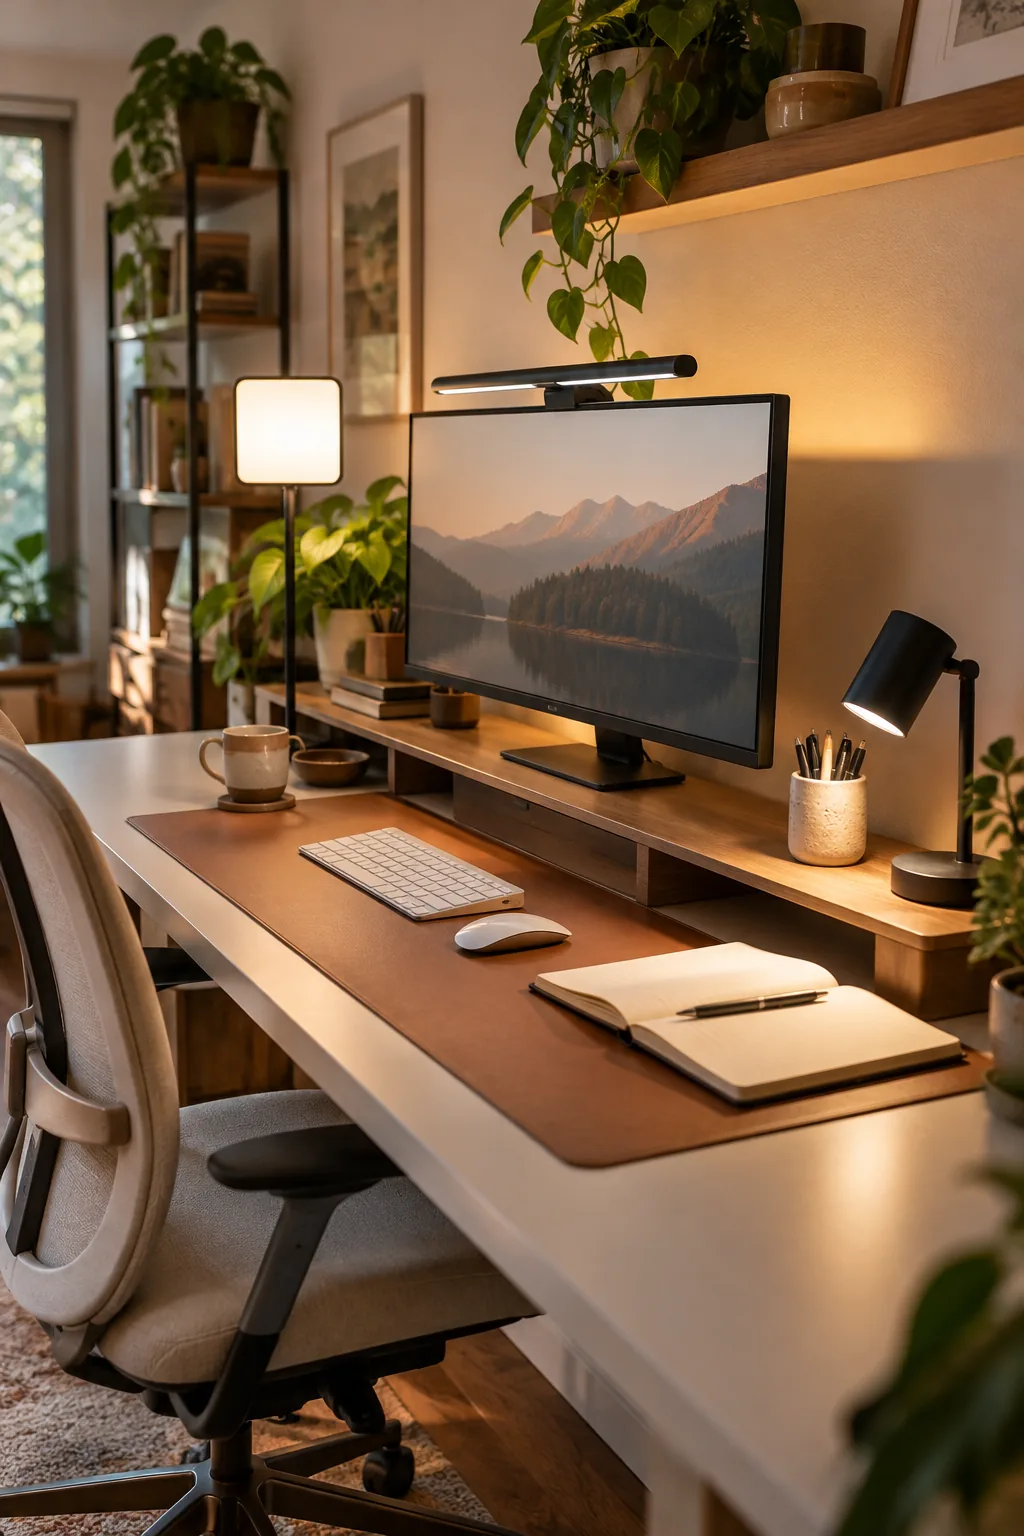
Use a simple matching strategy to layer your light sources harmoniously across the workspace, creating a logical progression from warm backgrounds to cool task zones.
| Layer | Light Source | Temperature |
| Ambient | Wall bounce | 2700K–3000K |
| Fill | Eye-level panel | 3500K |
| Task | Focus bulb | 4000K |
Creating a Temperature Hierarchy
This temperature hierarchy signals your brain exactly how to interpret each zone. The warm ambient background feels relaxing, the neutral fill light looks natural on camera, and the cool task light triggers deep concentration for detail-oriented analog work.
Choosing High CRI Bulbs
Whenever you purchase your focus bulbs and LED strips, check the packaging for the Color Rendering Index. Select fixtures with a CRI of 90 or higher to ensure your skin tones look natural on camera and physical documents appear crisp and accurate.
Transitioning Between Tasks
Because these are independent plug-in fixtures, you should only turn on the layers you actively need. Switch off the cool task lamp when joining a video call to avoid mixing conflicting color temperatures on your face and confusing your webcam sensors.
Automating Your Lighting Setup
Since this entire layout avoids hardwiring, you can plug all three fixtures into smart plugs for seamless control. Grouping them in a smart home app allows you to activate the entire balanced lighting map with a single voice command every morning.
The 3-Point Desk Lighting Map
Download the complete 3-point desk lighting map and bulb guide to visualize your final setup. By arranging the three distinct fixtures into a balanced spatial layout that surrounds the workspace, you create an overlapping wash of illumination.
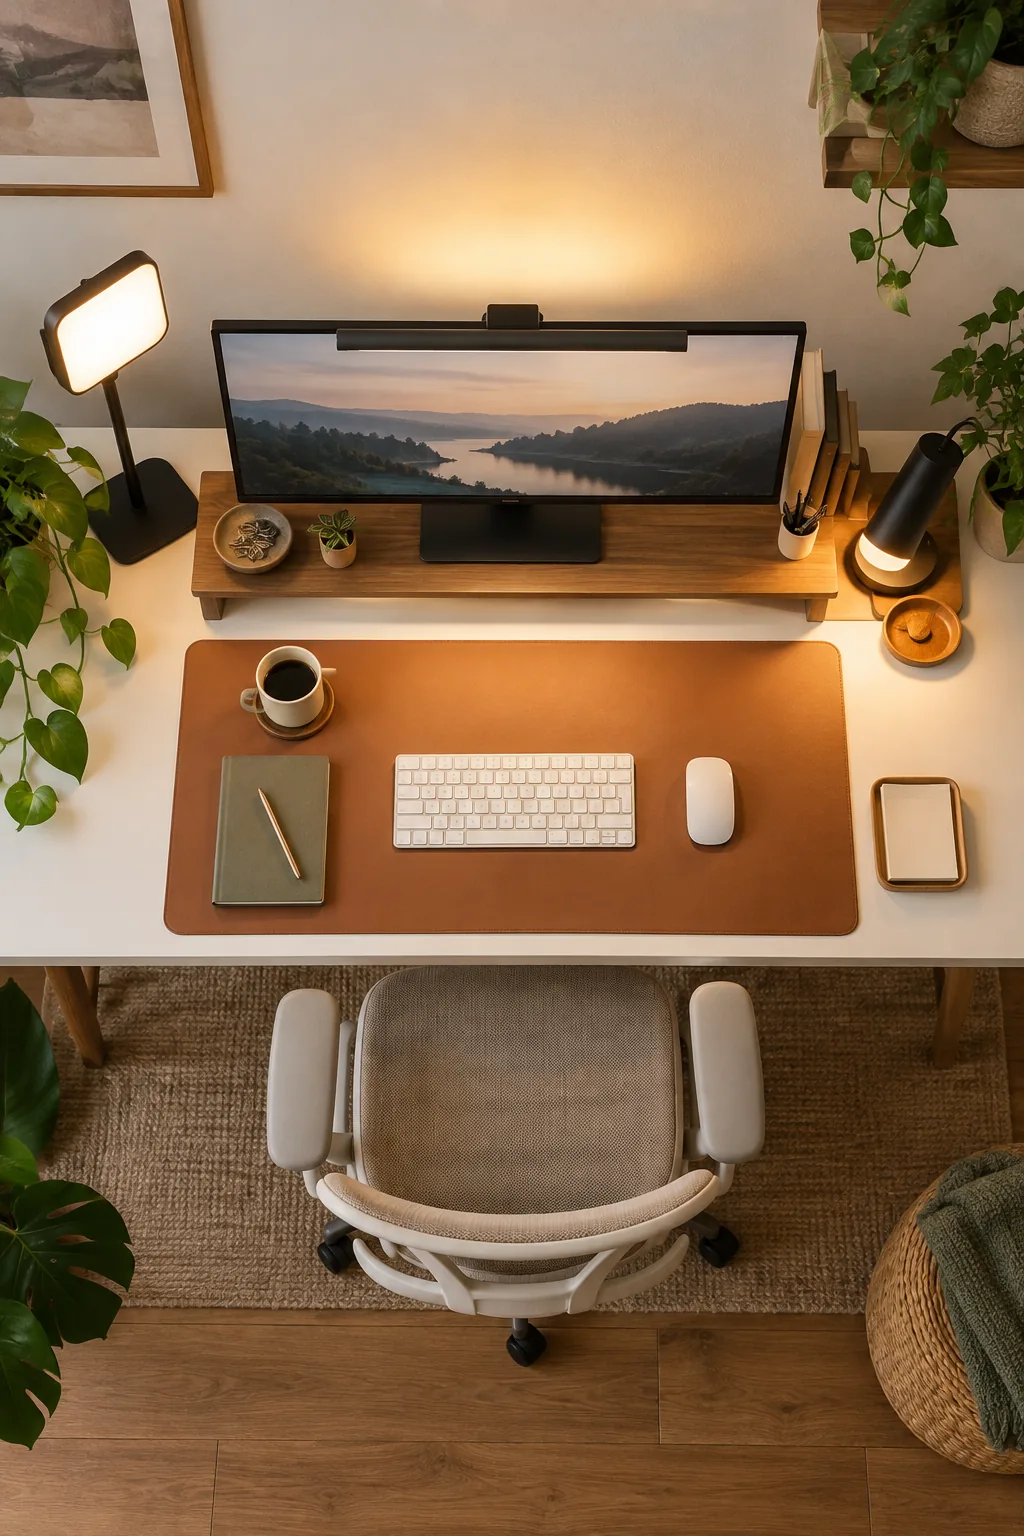
Follow a strict order of operations when setting up your triangular layout to ensure each layer complements the others without creating overlapping hot spots.
- Anchor the center: Install the monitor bar first to establish your primary downward work zone.
- Wash the background: Add the wall bounce behind the screen to set your ambient baseline.
- Flank the sides: Position the fill and task lights on opposite sides to balance the visual weight.
Testing for Screen Glare
Before finalizing your layout, turn off your monitor while leaving all three desk lights illuminated. Sit in your normal working posture and look at the black screen; if you see any bright bulb reflections, adjust the lamp angles immediately.
Elimating Keyboard Reflections
If your monitor bar creates distracting highlights on your keyboard, you may be using glossy keycaps. Switching to a matte-finished keyboard diffuses the downward light, maintaining the glare-free environment and keeping your eyes relaxed during long typing sessions.
Balancing Natural Window Light
If your desk sits perpendicular to a window, treat the sun as a fourth, highly variable light source. Rely primarily on your monitor bar during the day, and only activate the wall bounce and fill lights as the afternoon sun begins to fade.
Securing Cables to Desk Legs
When routing cords down to the wall outlet, run them down the back inside corner of the rear desk leg. Using black adhesive zip-tie mounts keeps the wires completely invisible from the doorway, maintaining the polished aesthetic of a professional studio.
4 Ways to Style Plug-In Desk Lighting
Find the perfect aesthetic for your workspace without sacrificing ergonomic illumination.
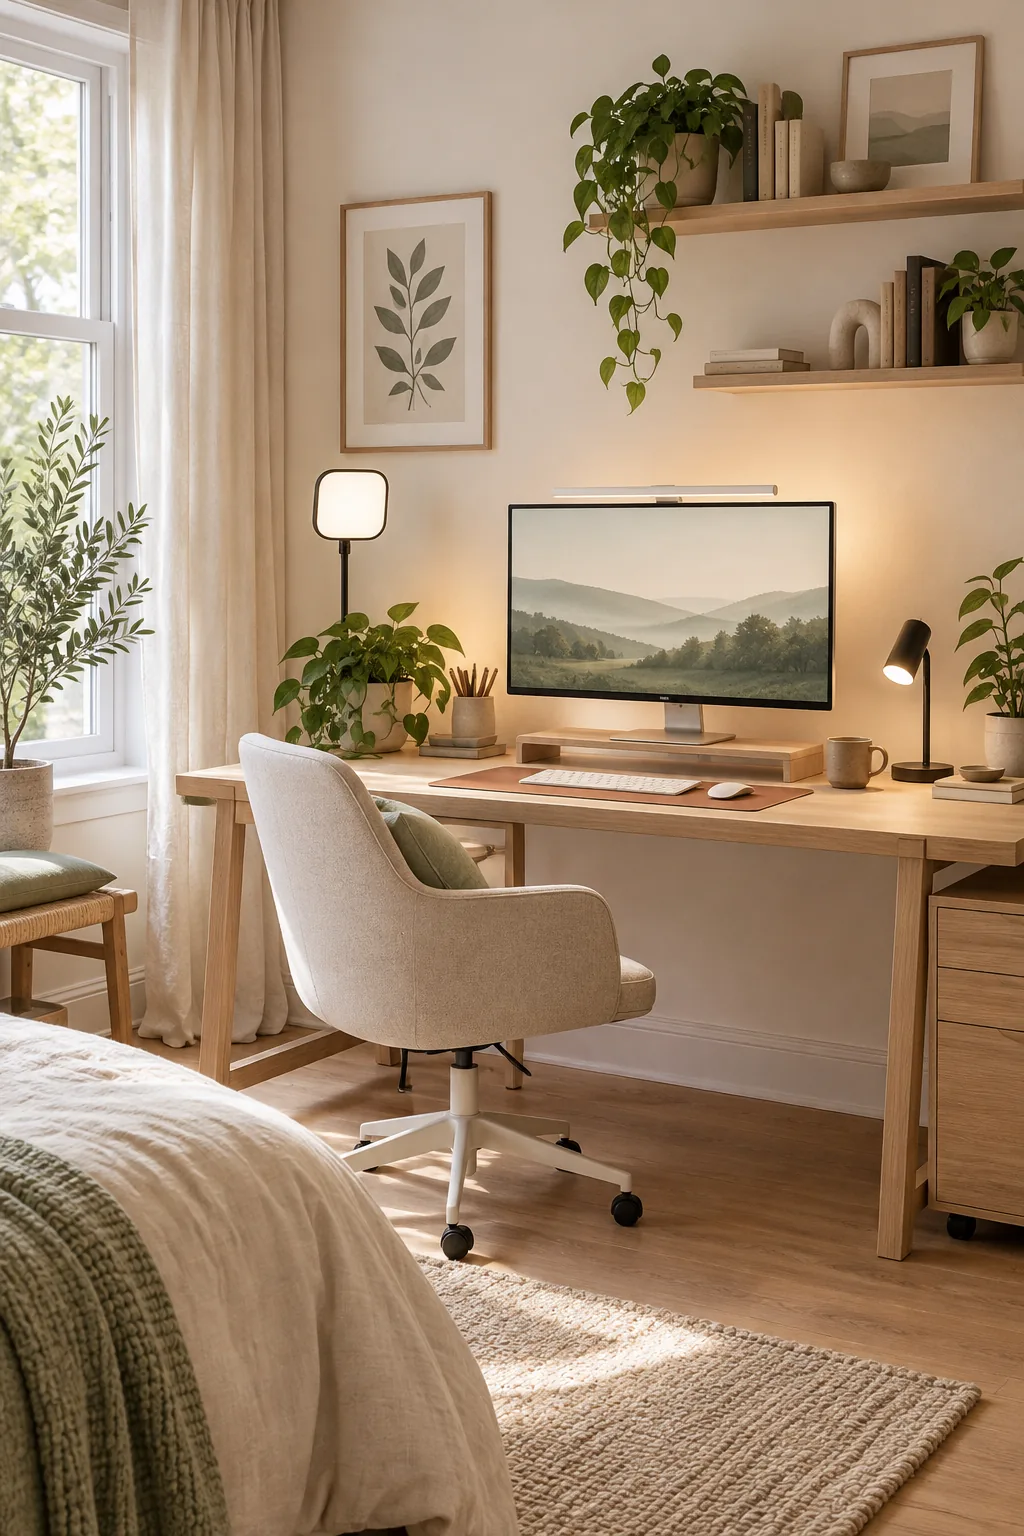
Minimalist Japandi Corner: Embrace organic calm with ash wood finishes and cream-toned light fixtures that blend seamlessly into the wall.
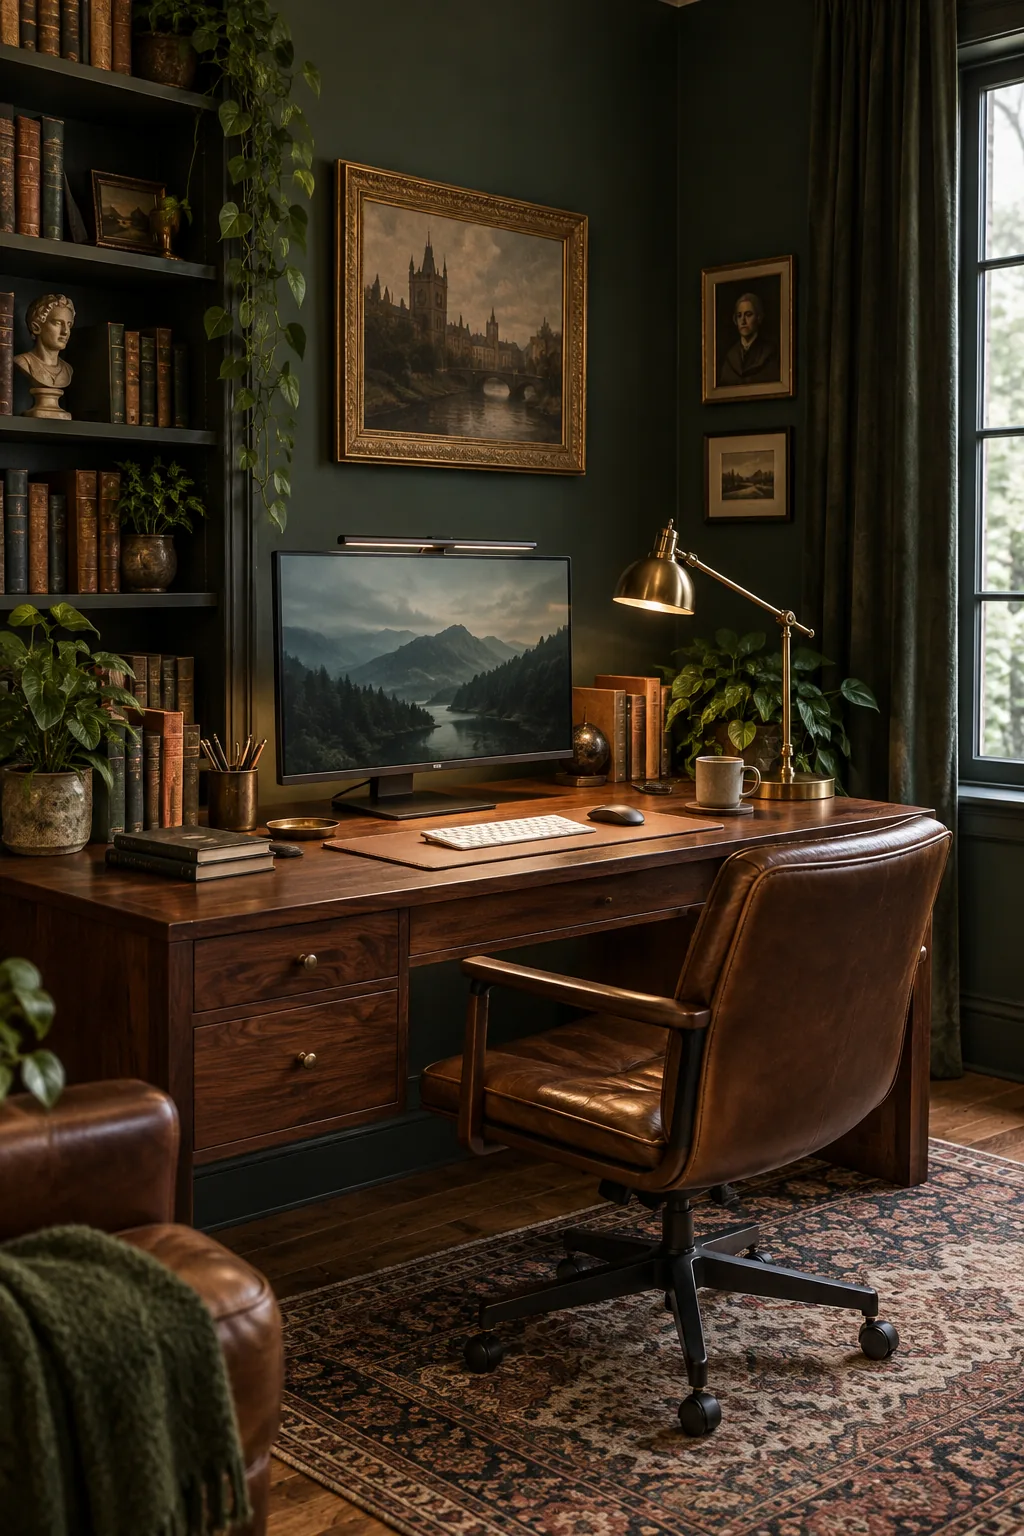
Dark Academia Study: Use brass-finished task lamps against dark green walls to create a moody, highly focused study environment.
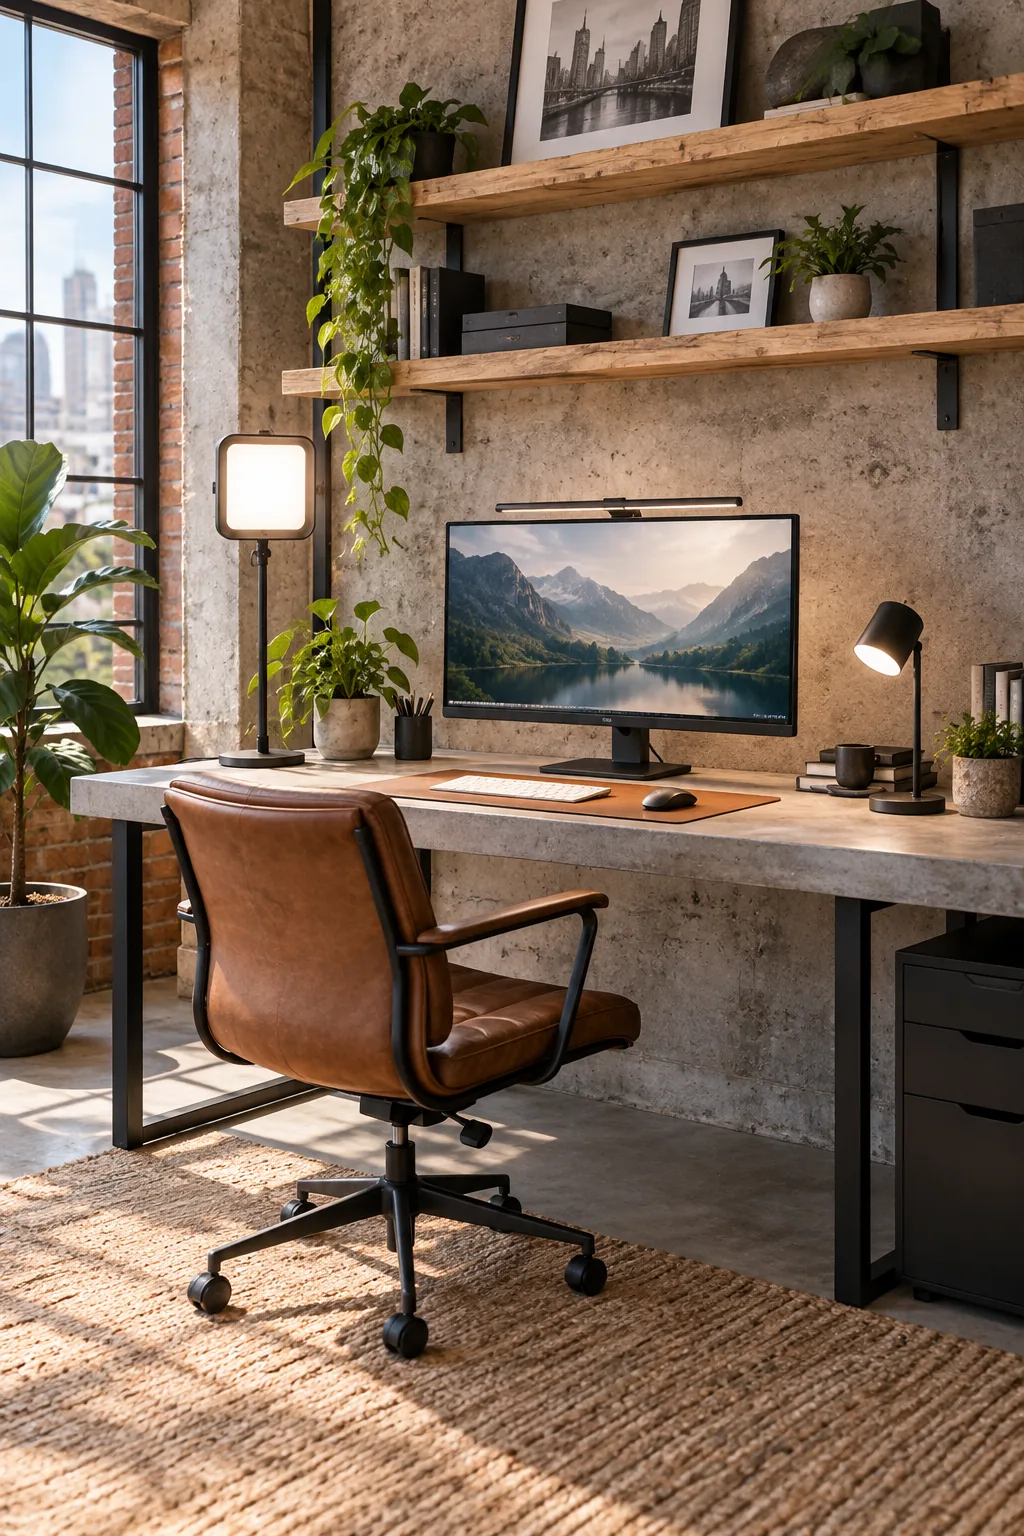
Modern Industrial Loft: Expose structural elements by pairing matte black light stands with raw oak and cool concrete textures.
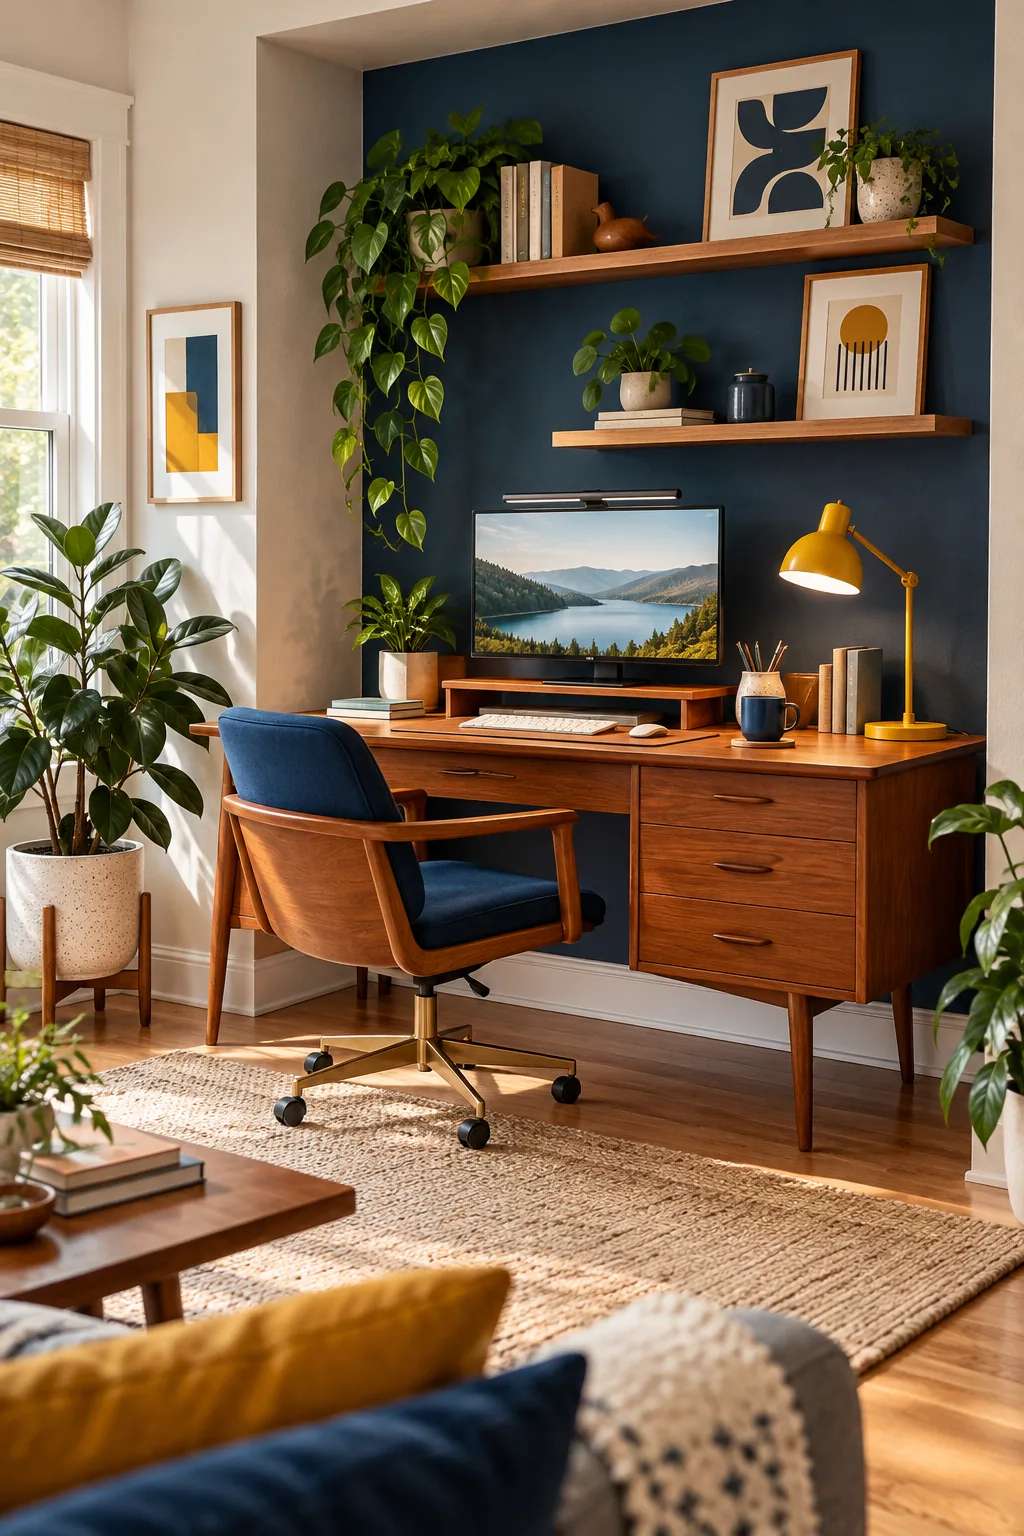
Colorful Mid-Century Alcove: Add a playful pop of color with a mustard yellow task lamp on a classic mid-century teak desk.
Managing the Cords for a Clean Finish
Because this system relies entirely on plug-in fixtures, routing cables along the desk edge with adhesive clips is the final step to maintain a clean look without hardwiring.
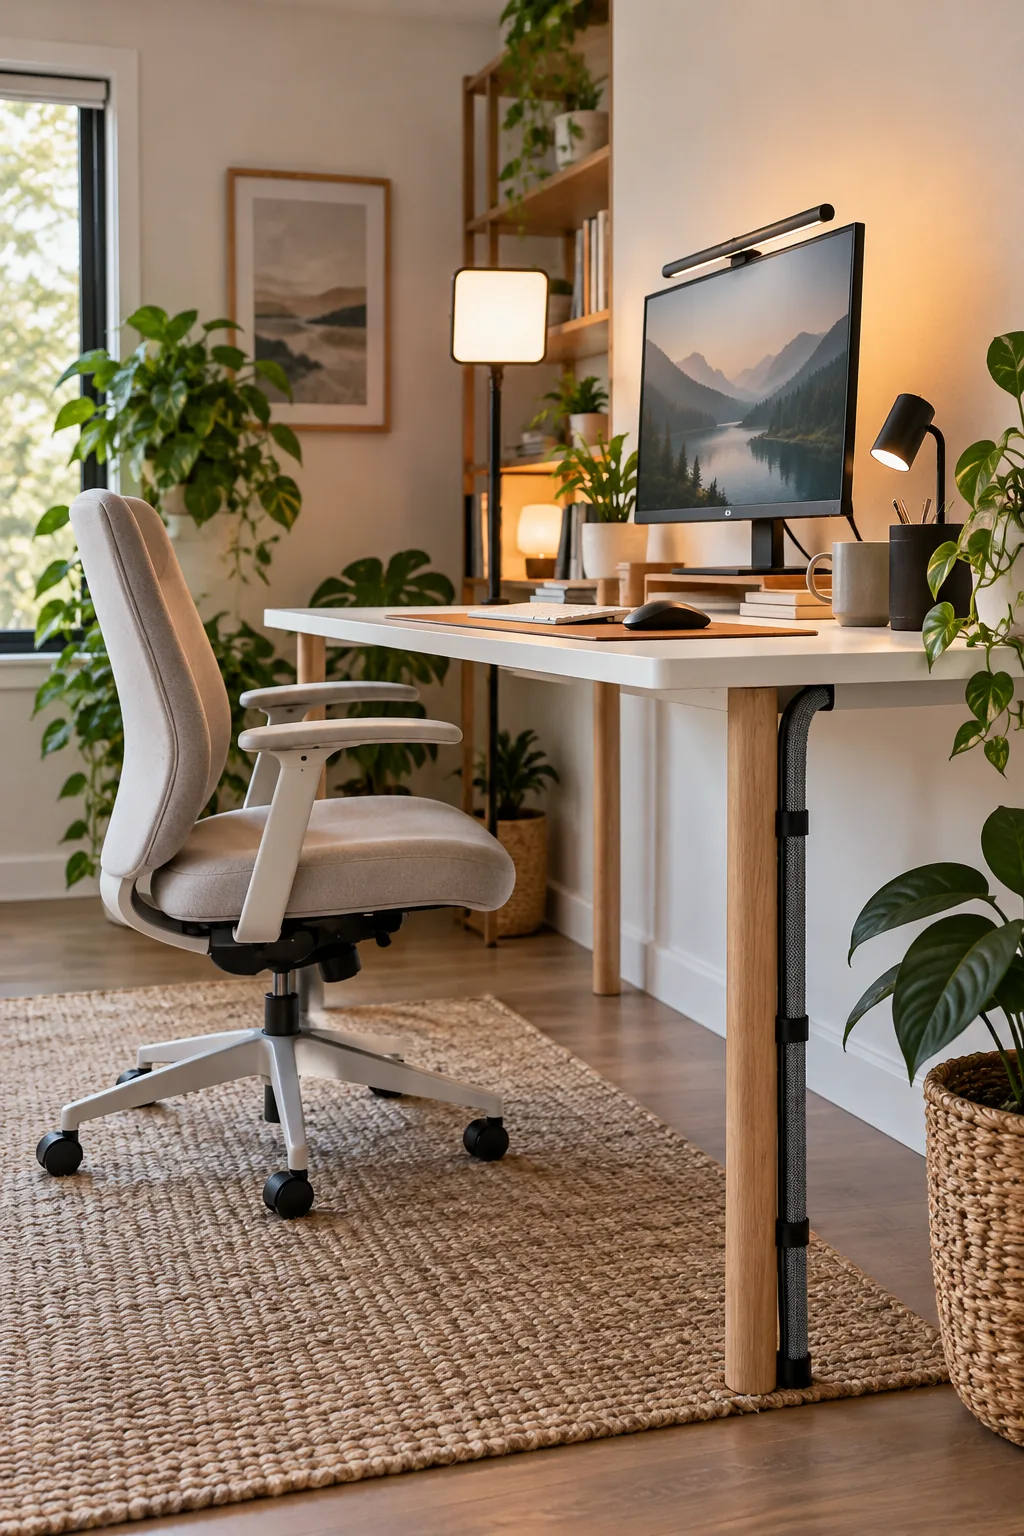
Mount a heavy-duty surge protector directly under the desktop to plug everything in, keeping the floor completely clear and preserving the beautiful illusion of custom built-in lighting.