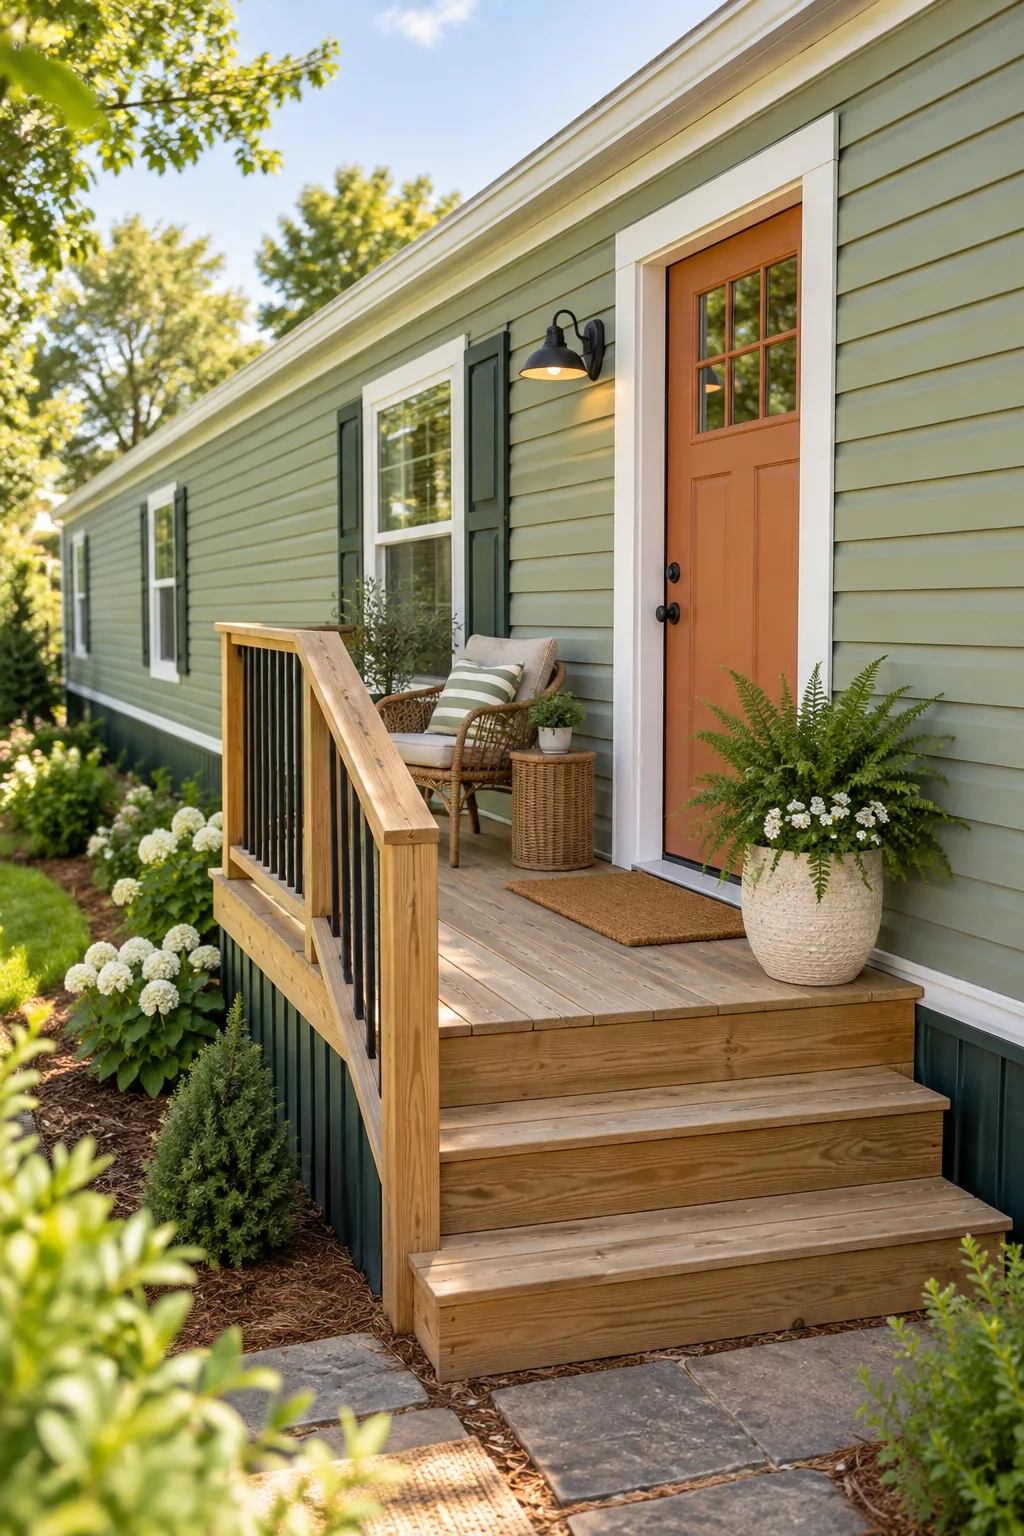
Single Wide Mobile Home Paint Colors & Gallon Chart
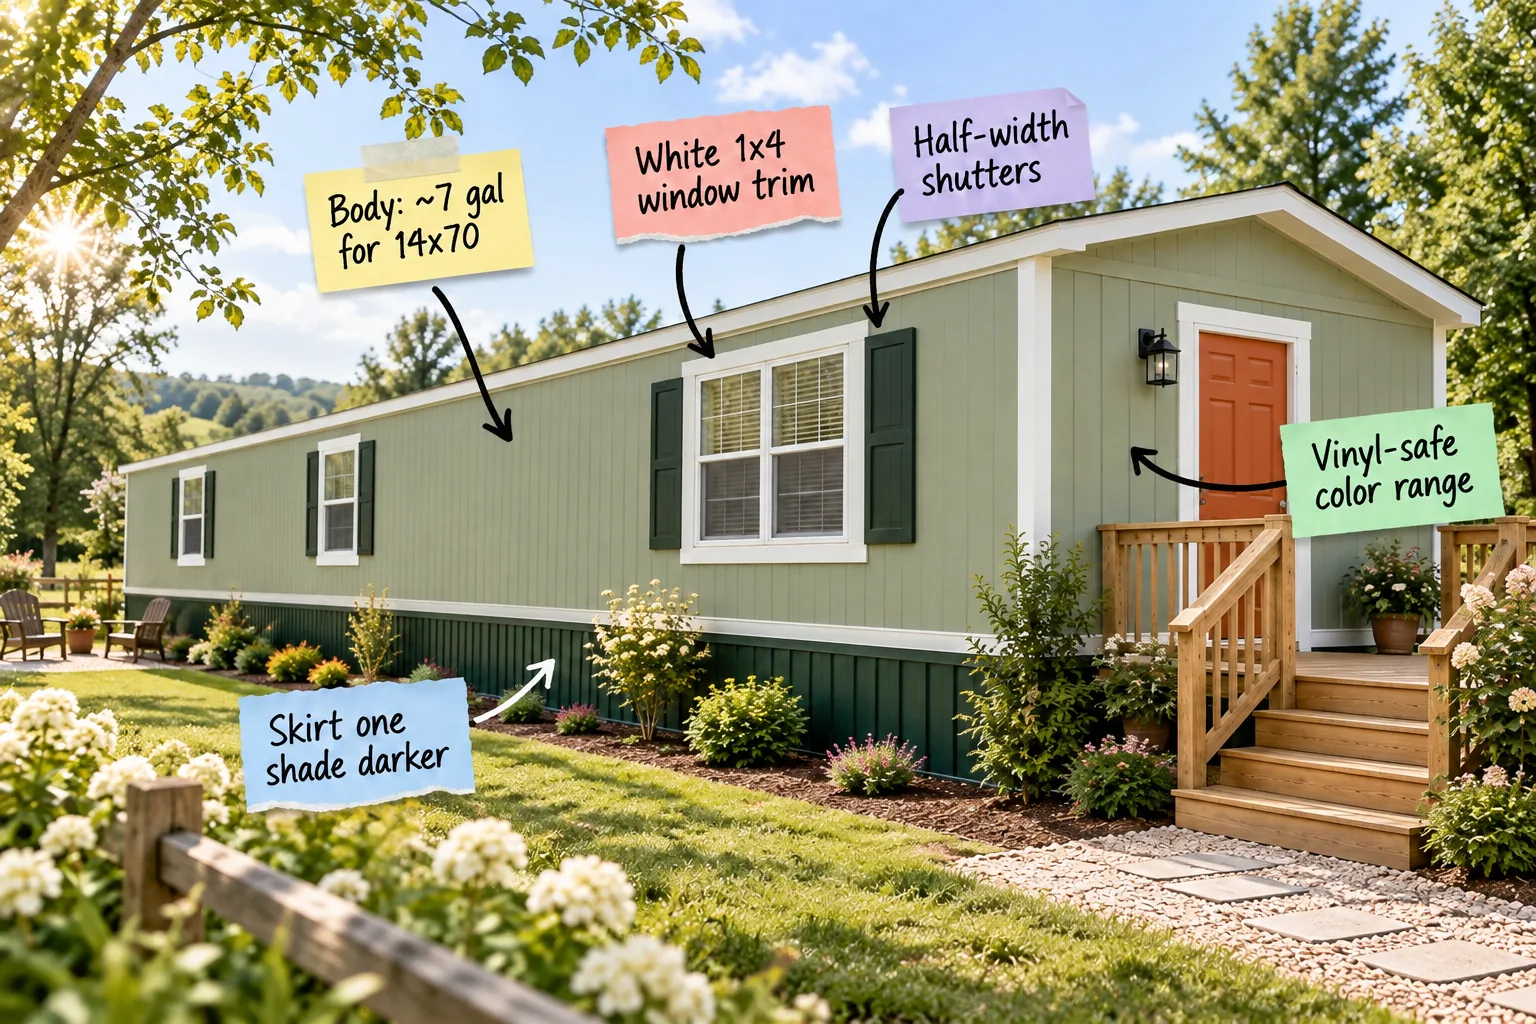
Planning to paint your mobile home but unsure how much product you actually need to buy? You can finally print your exact paint quantities and confidently select a vinyl-safe color palette for your exterior using our complete single-wide color and gallon chart.
Print Your Single-Wide Gallon Chart
Use our printable one-page sheet to plan your exact paint purchase without the guesswork, as our 3-color placement key beautifully balances the exterior by mapping exactly where the body, trim, and skirting shades belong to avoid a patchy, disjointed appearance.
Gathering Your Painting Supplies
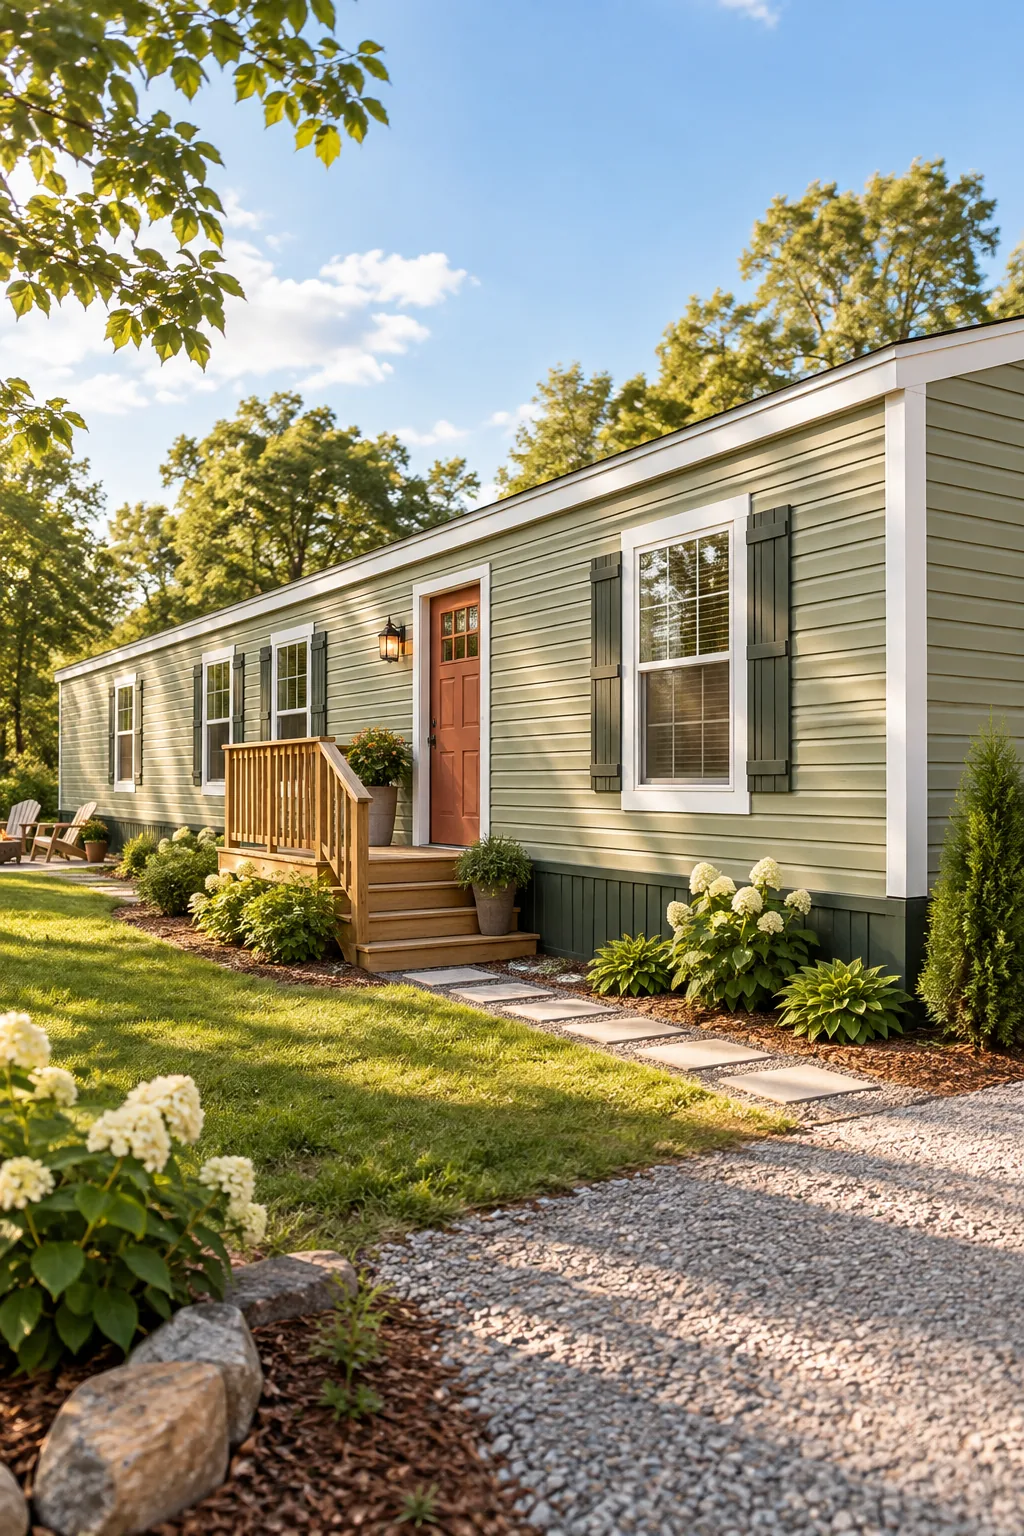
Before starting this massive exterior transformation, ensure you have multiple heavy-duty canvas drop cloths, a high-capacity airless paint sprayer for the broad siding panels, and angled synthetic brushes specifically designed to cut in sharply around your newly upgraded trim boards.
Protecting the Roofline and Gutters
Taping off the aluminum drip edge and gutter system with high-tack exterior painter’s tape prevents accidental overspray from your mechanical sprayer, ensuring the crisp horizontal lines of your roof remain perfectly clean against the freshly applied sage green siding.
Calculating Body Paint for a 14×70
A standard 14×70 single wide requires approximately 7 gallons of high-quality exterior paint to achieve solid two-coat coverage on the main siding, a crucial measurement I learned the hard way when I ran frustratingly short mid-project on my own home!
| Home Size | Body Gallons | Trim Gallons | Skirting Gallons |
|---|---|---|---|
| 14×56 | 5.5 to 6 | 1.5 | 2 |
| 14×70 | 7 | 2 | 2.5 |
| 16×76 | 8.5 | 2.5 | 3 |
| 16×80 | 9 | 2.5 | 3.5 |
When purchasing your primary body color, buying in bulk ensures absolute color consistency across the long siding panels, preventing the subtle, unwanted shade variations that frequently occur when mixing multiple individual quart cans from different hardware store batches.
Accounting for Deep Siding Textures
If your manufactured home features faux-wood grain or heavily grooved aluminum panels, the textured surface area dramatically increases paint absorption, meaning you should always purchase an extra gallon to guarantee complete, opaque coverage without stretching the product.
Choosing Vinyl-Safe Siding Colors
Always select colors strictly within the manufacturer’s vinyl-safe color range to prevent your siding from irreversibly warping, buckling, or melting due to intense heat absorption during the peak summer months when direct sunlight hits the panels.
- Check the Light Reflectance Value (LRV) printed clearly on the back of the physical paint swatch before mixing.
- Ensure the LRV number is strictly 55 or higher when painting standard vinyl siding panels to prevent warping.
- Verify the specific exterior formulation is explicitly labeled as vinyl-safe by the manufacturer to maintain your warranty.
Choosing a mid-tone sage green offers a beautiful natural look while maintaining a safe LRV, protecting your vinyl siding from the severe heat damage I narrowly avoided on my own sunny south-facing exterior walls.
Understanding Light Reflectance Value
The Light Reflectance Value measures exactly how much heat a painted surface absorbs, which is why selecting a shade with an LRV above 55 remains absolutely critical for preserving older mobile home siding and preventing costly panel replacements down the line.
Selecting the Right Exterior Sheen
While flat finishes hide minor dents in aluminum panels, applying a satin sheen across your main body color provides a highly washable, moisture-resistant barrier that easily repels dust from dirt roads and keeps the exterior looking freshly painted for years.
Testing Swatches in Direct Sunlight
Exterior paint colors wash out significantly under bright natural light, so you must paint large test patches of your chosen sage green on both the sunny and shaded sides of your home to verify the undertones remain perfectly balanced.
Upgrading to 1×4 Window Trim
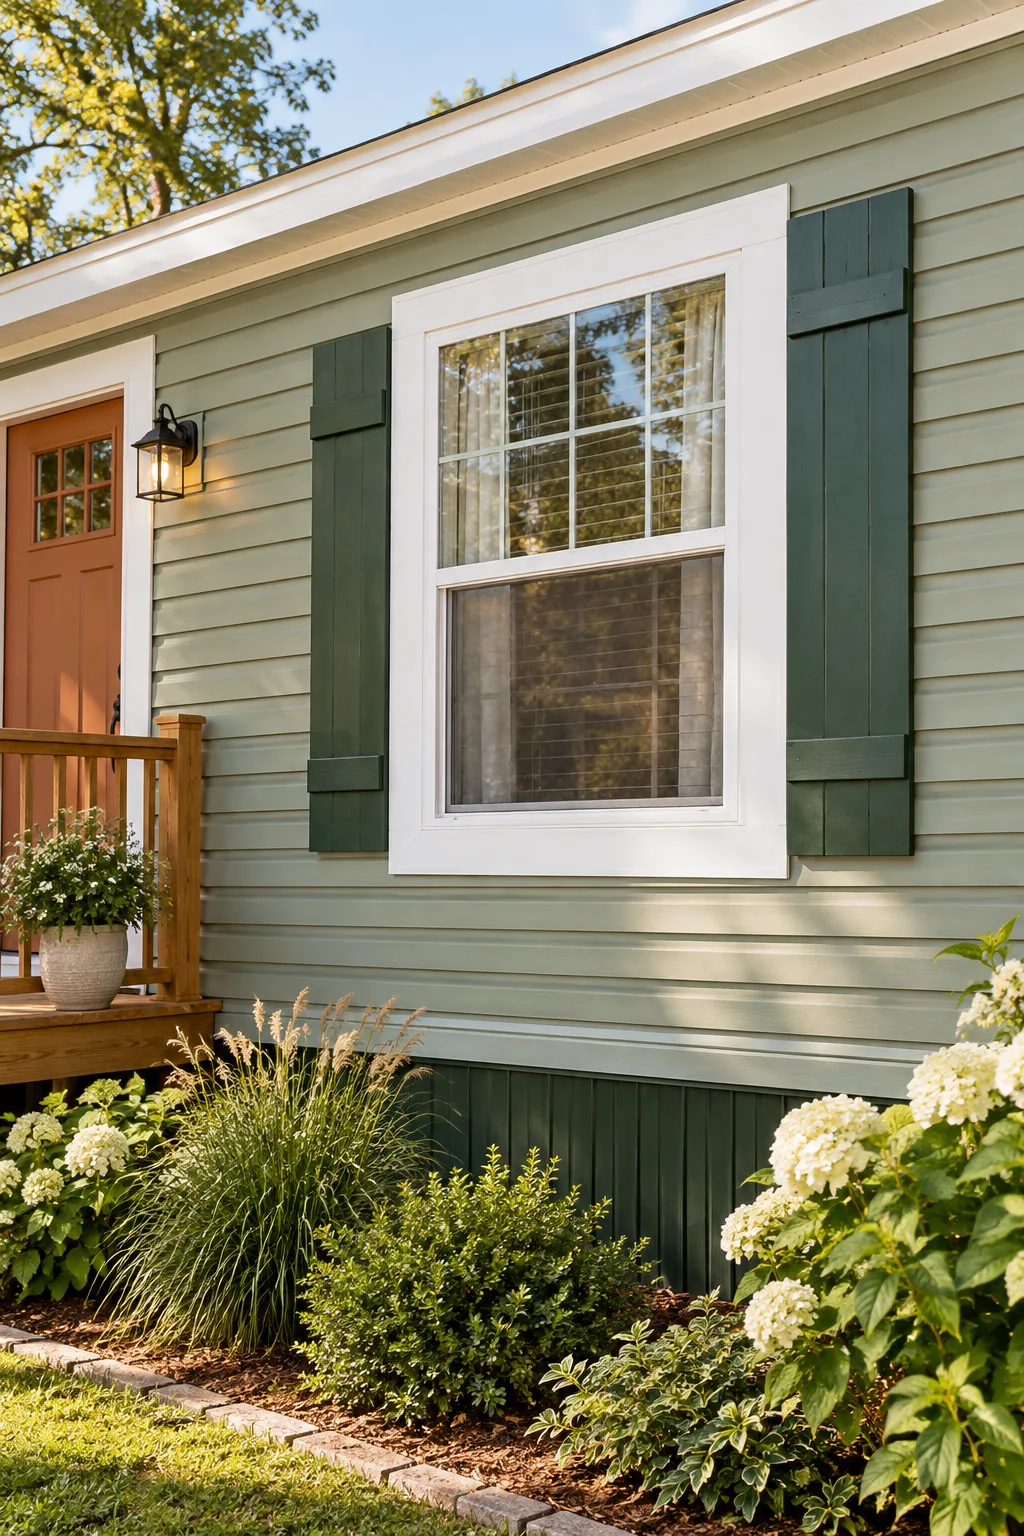
Replacing thin factory trim with substantial white 1×4 window trim completely transforms the exterior architecture of your mobile home, adding much-needed depth and classic character to otherwise flat, uninteresting siding profiles.
I made this exact material swap on my very first renovation project, and the wider framing instantly made the standard factory windows look twice as expensive while creating a beautiful architectural focal point.
Priming the Raw Wood Casings
Raw wood absorbs topcoats unevenly, so brushing a thick layer of exterior-grade stain-blocking primer over your new window casings guarantees your crisp white finish will look perfectly smooth and resist peeling during heavy spring rainstorms.
Sealing Trim Joints Against Moisture
Before applying your crisp white topcoat, you must carefully fill every single seam around your new window casings with a high-quality, paintable exterior silicone caulk to prevent wind-driven rainwater from rotting the underlying structural framing over time.
Sizing Half-Width Shutters
For an authentic cottage feel, exterior shutters must appear functional, meaning each shutter should measure exactly half the window’s width while the upgraded 1×4 trim creates the classic cottage framing needed to properly support them.
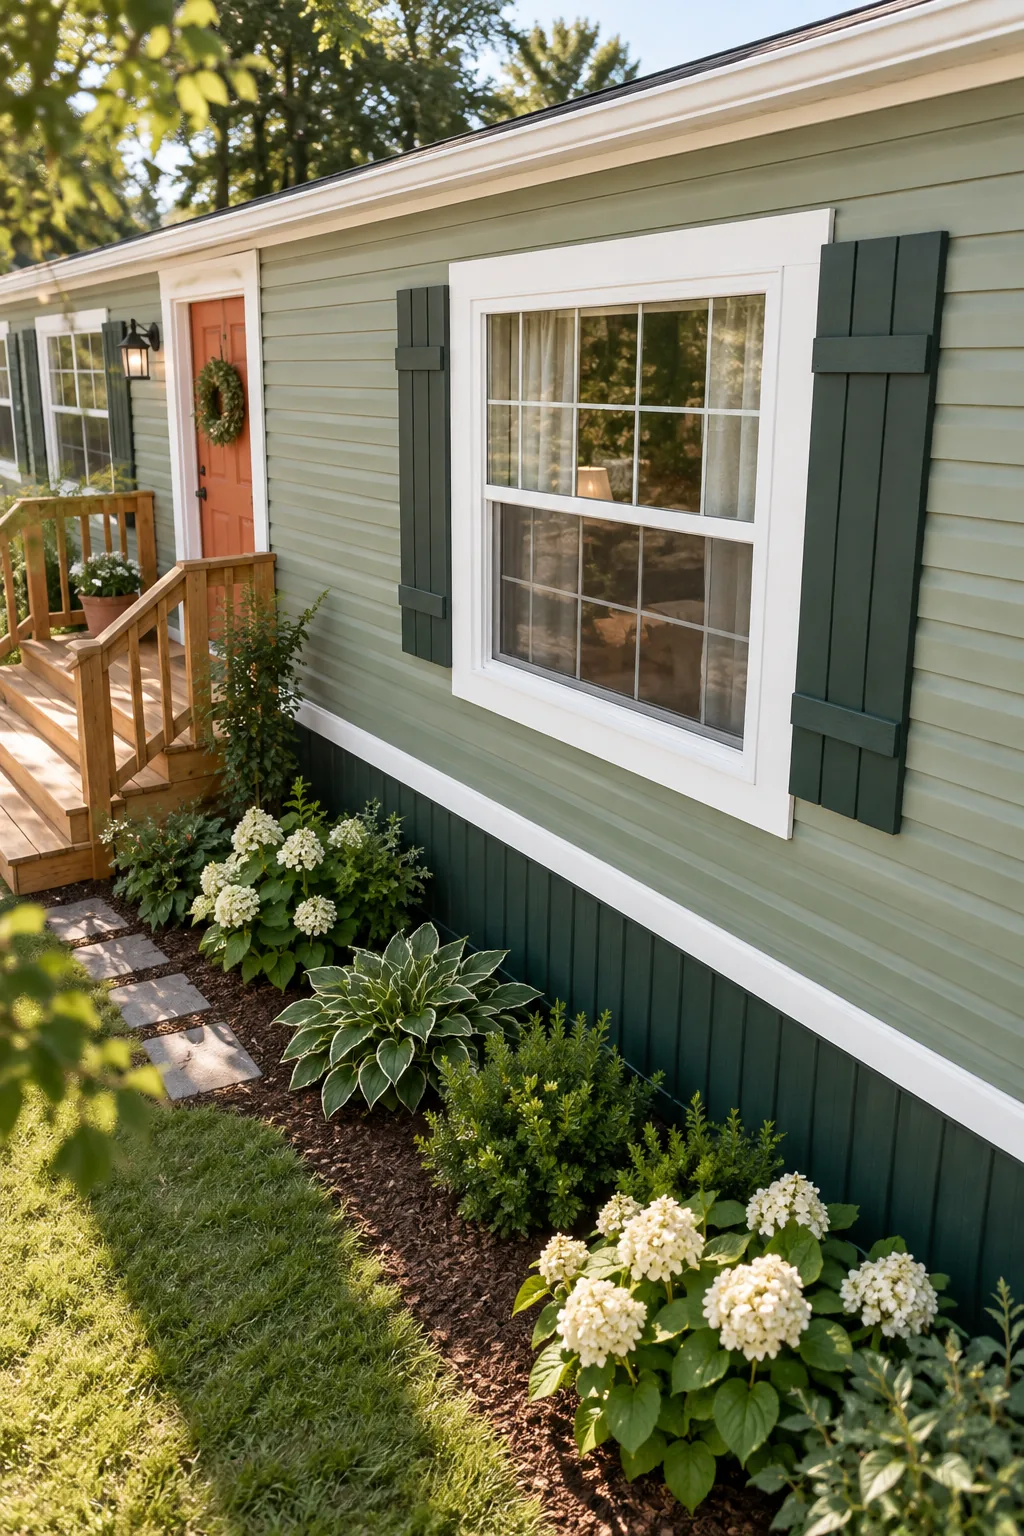
Getting the proportions right is crucial, as incorrectly sized window treatments can instantly cheapen the exterior and ruin the tailored, custom look you worked so hard to build across the front elevation.
Choosing Durable Shutter Materials
Solid composite or heavy-duty vinyl shutters resist fading under harsh sunlight much longer than standard wood, ensuring your carefully measured half-width panels maintain their structural integrity and vibrant color year after year without demanding constant repainting.
Installing Authentic Shutter Hardware
Adding decorative iron hinges and metal tiebacks to your fixed exterior panels creates a convincing illusion of functionality, instantly boosting the historic cottage charm and making the manufactured home look genuinely custom-built from the ground up.
Grounding the Home with Darker Skirting
Painting the base skirt one shade darker than the body visually anchors the mobile home to the property, creating a solid, heavy foundation that connects the structure seamlessly to the surrounding landscape instead of looking like it is floating.
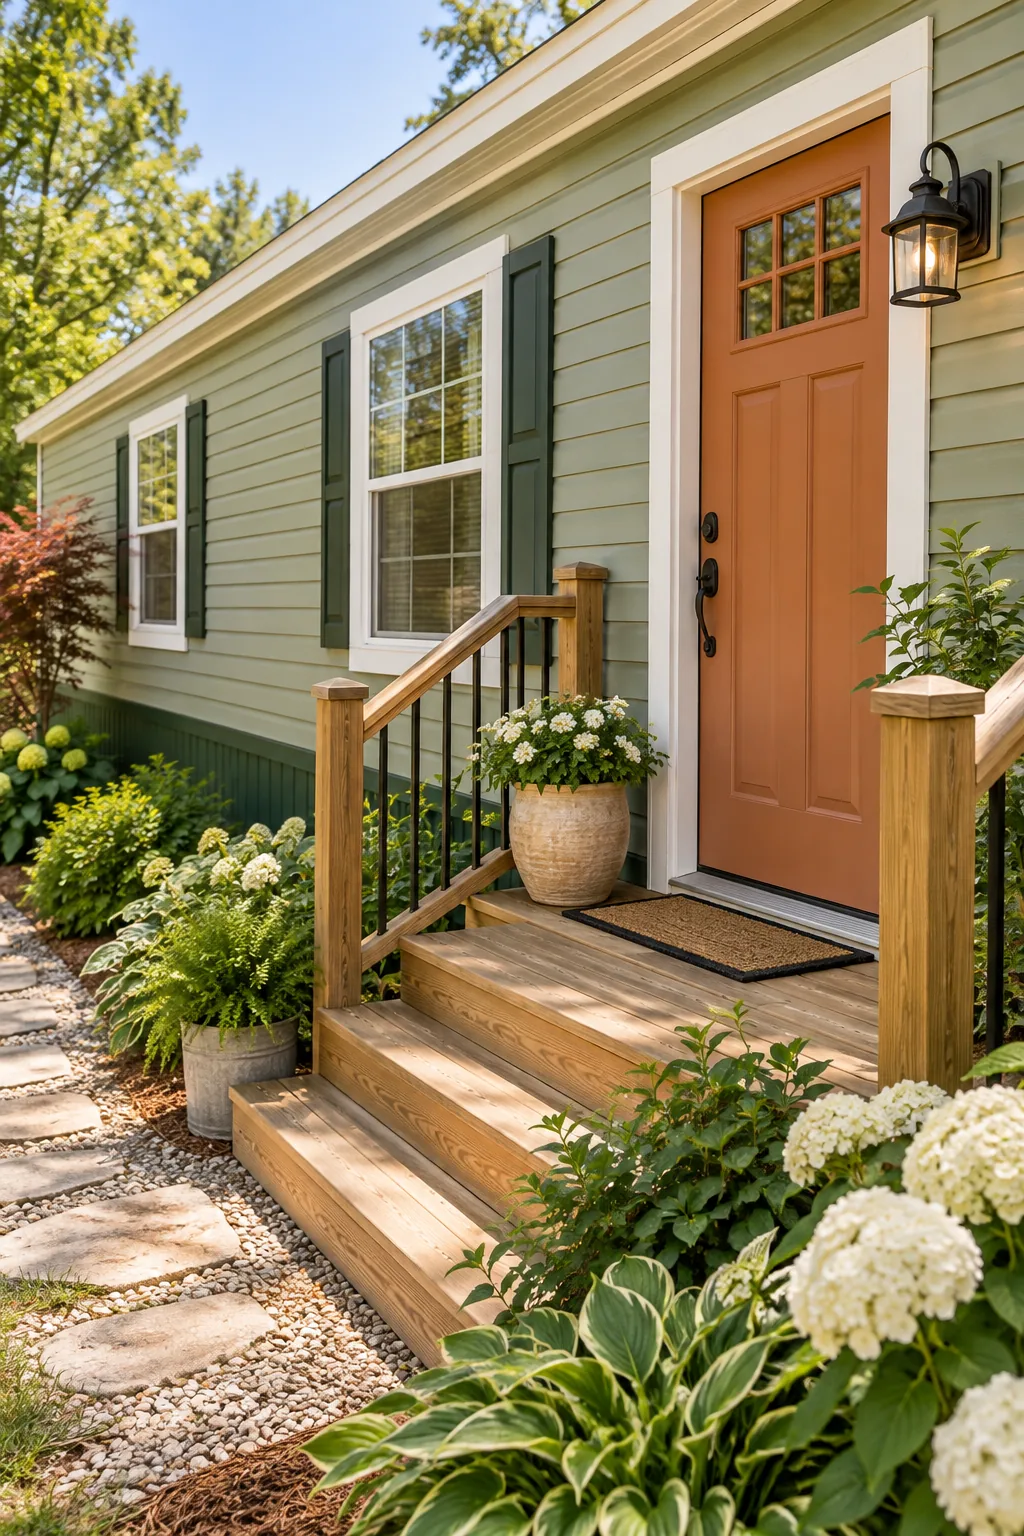
Ventilating the Painted Skirting
When updating your foundational base panels with a darker forest green, verify that the built-in ventilation slats remain completely free of dried paint drips to ensure proper airflow and prevent dangerous moisture buildup underneath the chassis.
Landscaping Around the New Skirting
Once your dark forest green base panels completely dry, planting low-maintenance evergreen shrubs along the foundation line softens the visual transition between the home and the yard, further grounding the structure into its natural environment.
Adding Cottage Charm with a Terracotta Door
A terracotta front door serves as a warm, welcoming focal point that beautifully breaks up the green exterior palette, and one quart of exterior semi-gloss paint is typically enough to give a standard mobile home door two highly durable, vibrant coats.
Updating the Front Porch Hardware
Pairing your freshly painted terracotta door with matte black hinges, a modern handle set, and clearly visible heavy-metal house numbers instantly elevates the entryway and completes the cohesive, custom cottage aesthetic you originally envisioned.
Enhancing Porch Lighting
Swapping out the standard builder-grade plastic sconce for a classic black barn light fixture illuminates your newly painted terracotta door beautifully at night, drawing the eye directly to the welcoming entryway and highlighting your hard work.
Scheduling Around the Weather Forecast
Exterior paint requires moderate temperatures and low humidity to cure properly, so always plan your painting weekend when the forecast guarantees clear skies and temperatures consistently between fifty and eighty degrees for at least forty-eight hours.
5 Single Wide Exterior Color Palettes
Find the perfect color combination to match your home's unique setting.
Bright Coastal Breeze: Pale blue siding paired with a sandy beige skirt creates a relaxed beachside atmosphere.
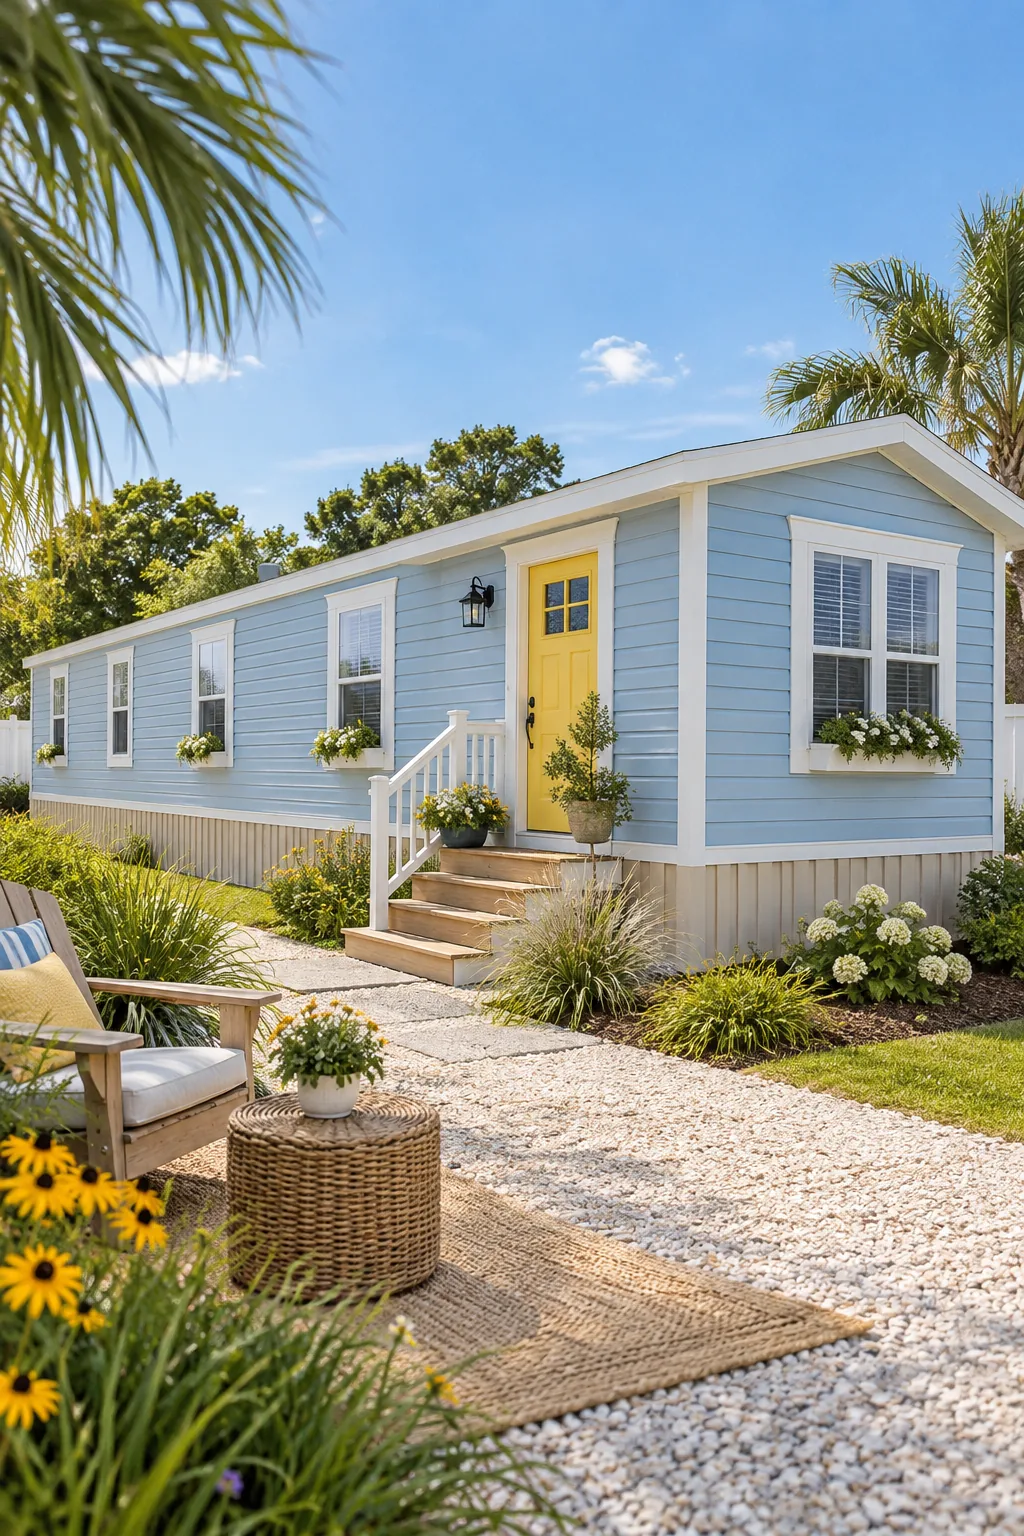
Crisp Modern Farmhouse: High-contrast black trim against bright white siding instantly modernizes the traditional single wide shape.
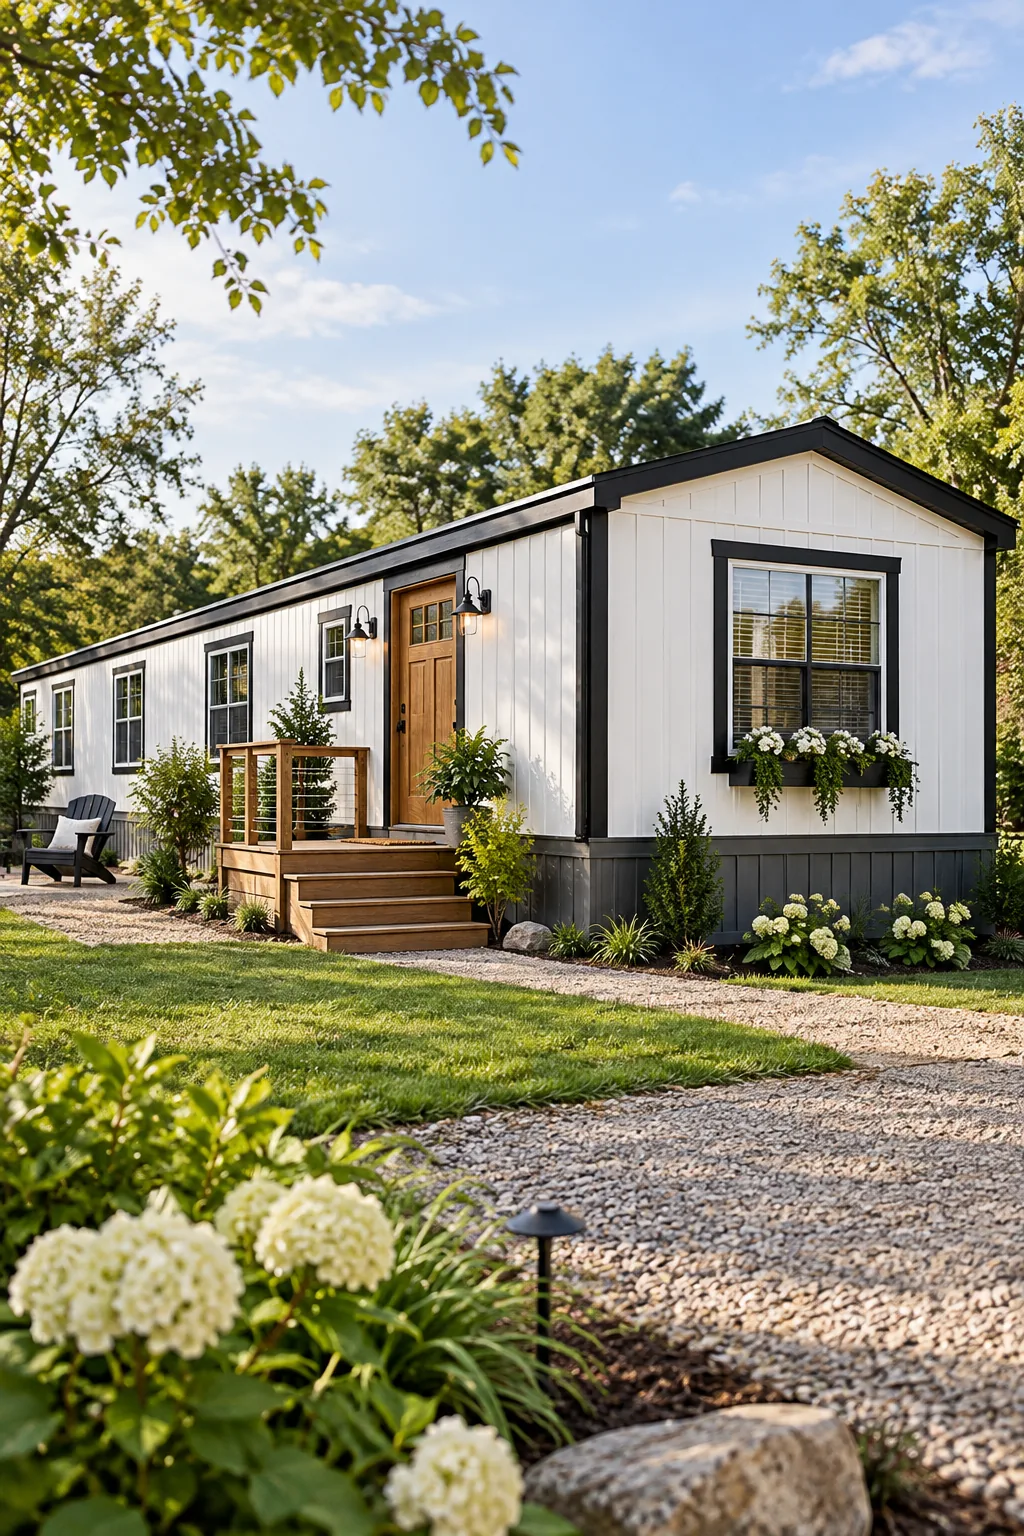
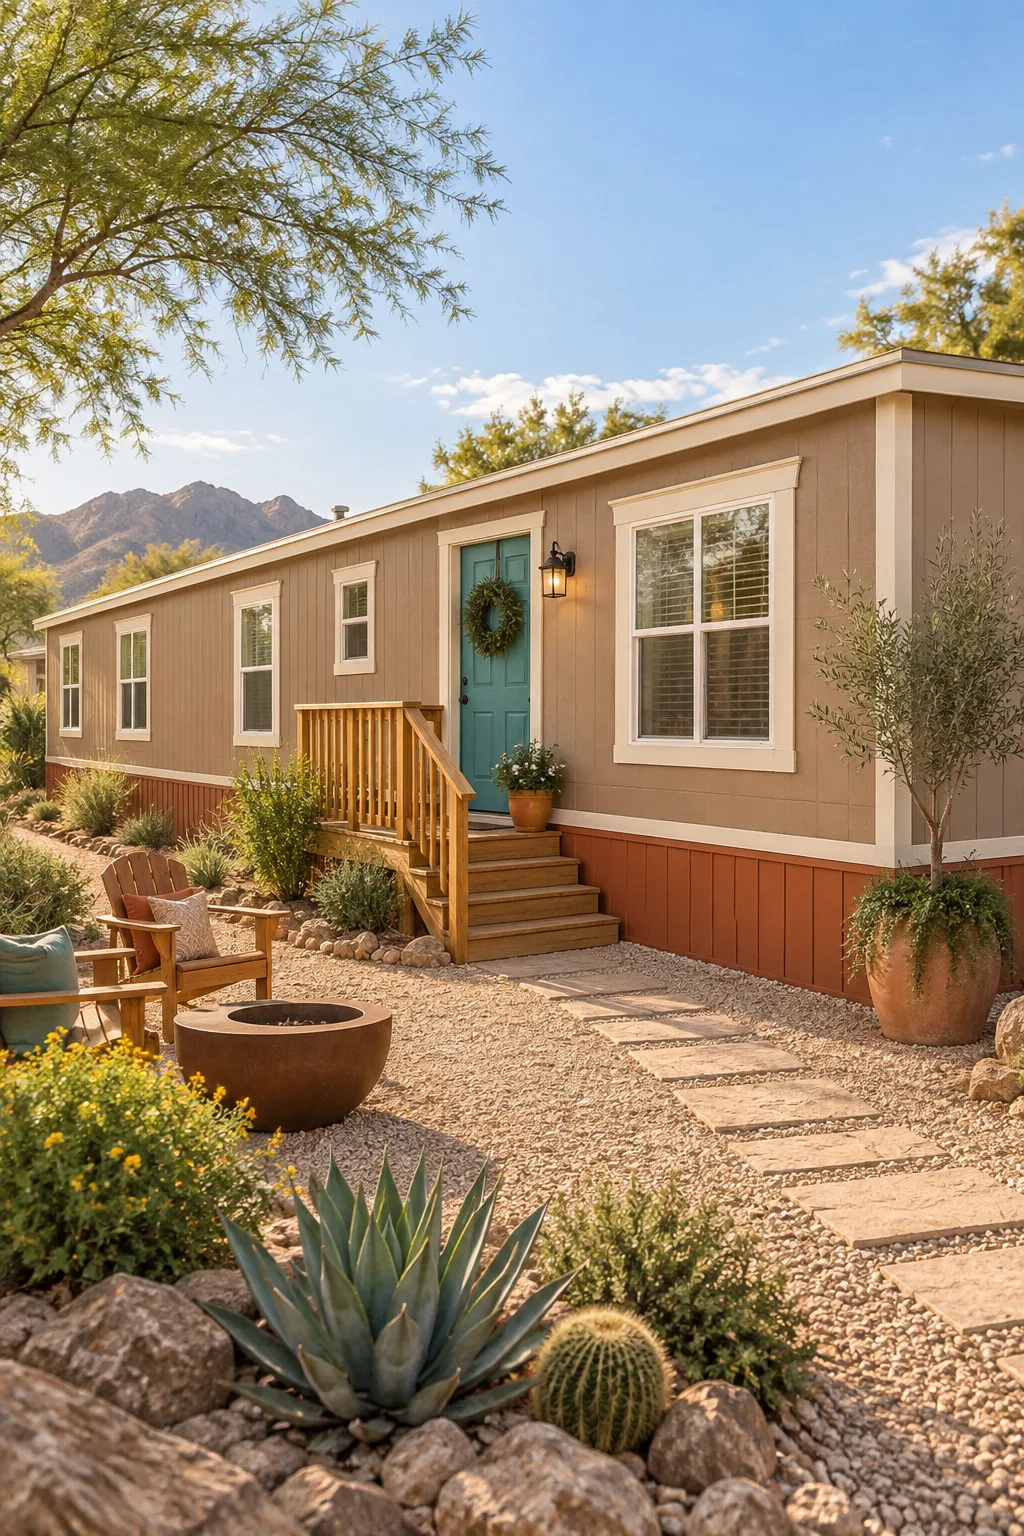
Warm Desert Clay: Earthy taupe and terracotta tones blend beautifully with arid landscapes while the turquoise door pops.
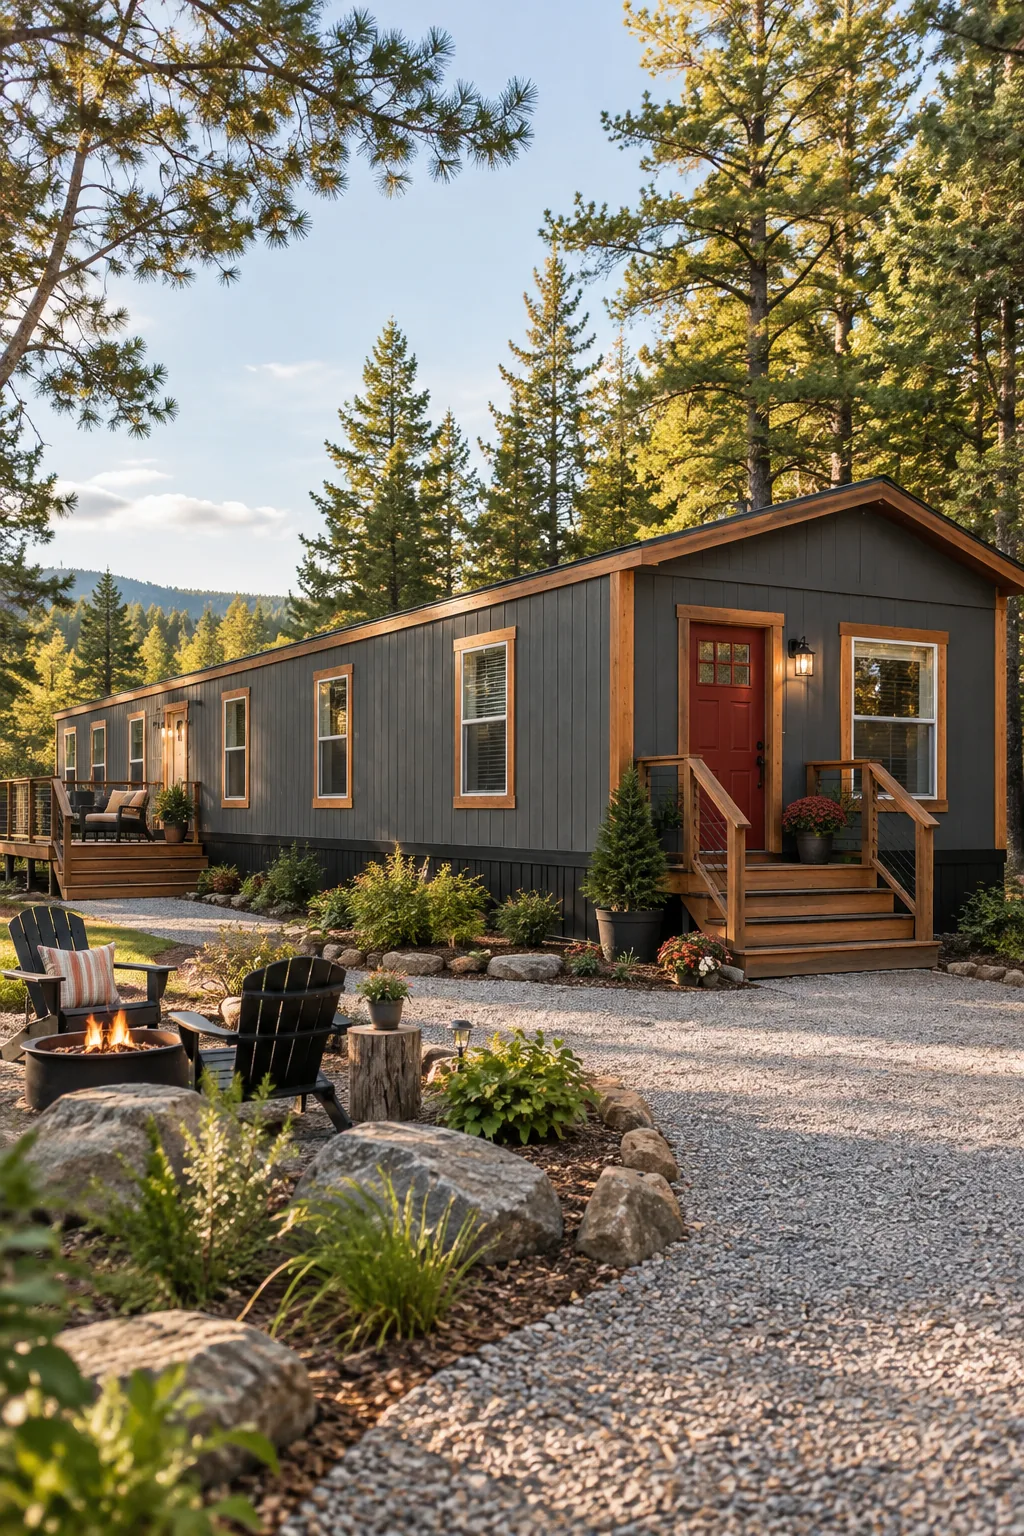
Rustic Moody Cabin: Deep charcoal siding accented with natural cedar trim gives the home a cozy, woodland feel.
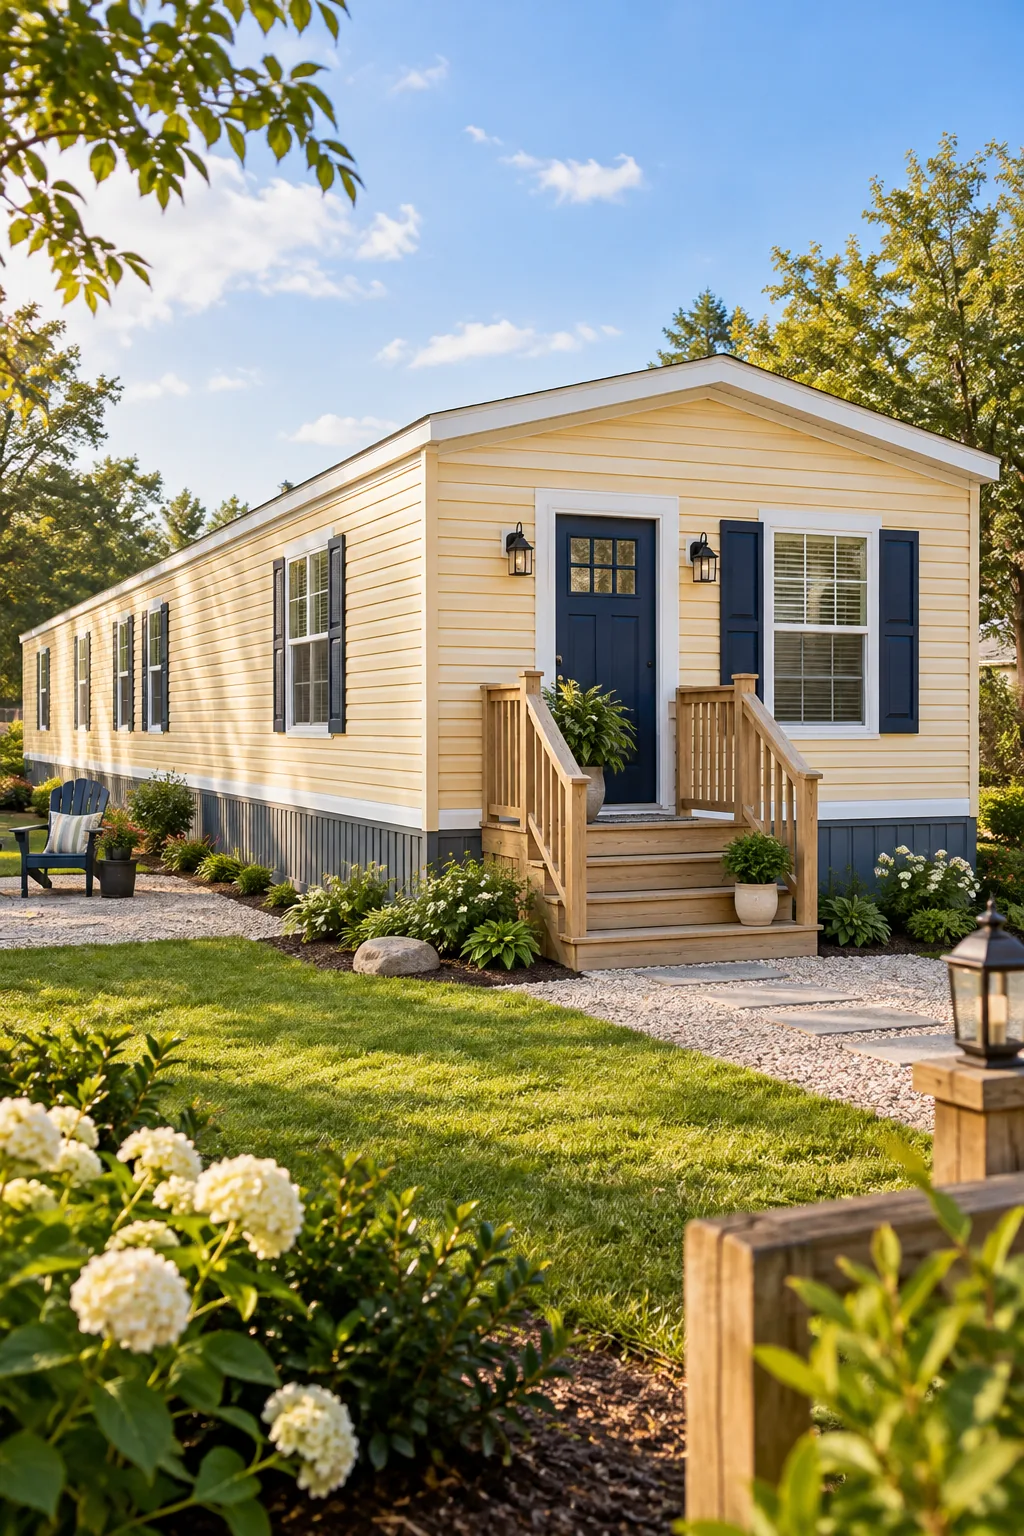
Timeless Classic Colonial: Soft yellow siding and a stately navy blue door provide an elegant, traditional neighborhood aesthetic.
Prepping the Metal and Vinyl Surfaces
A beautiful exterior finish relies entirely on thorough preparation before any cans are opened, meaning you must power wash away chalky oxidation and apply a high-quality bonding primer to achieve a flawless, weather-resistant final result.