
Decorating a Pumpkin? Get the Alcohol-to-Gold-Leaf Step Card
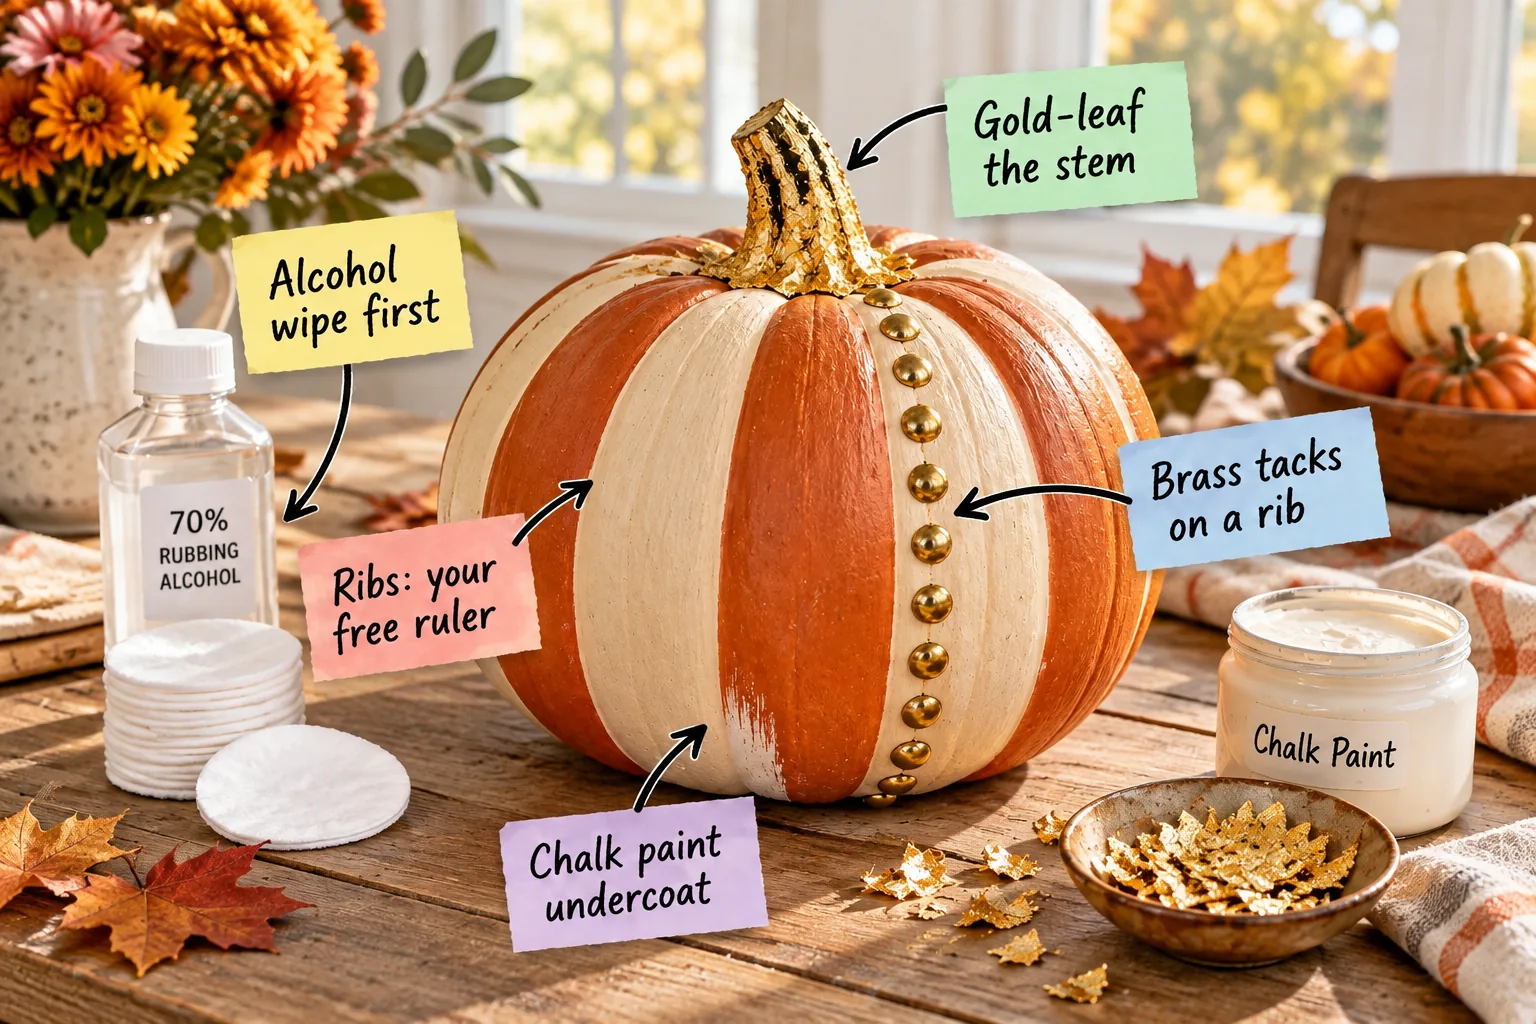
You will be able to properly prep, paint, and embellish a stunning striped centerpiece using our complete printable alcohol-to-gold-leaf step card. Grab this free one-page guide below to ensure your fall decor looks absolutely flawless from the very first brushstroke.
Selecting the Perfect Canvas
Finding a gourd with deep, defined vertical grooves makes the entire striping process incredibly simple. Look for heirloom varieties that sit perfectly flat on your dining table, ensuring your metallic hardware and painted lines remain upright, balanced, and beautifully symmetrical all season long.
Washing Away the Field Dirt
Before applying any chemicals, thoroughly rinse away the loose agricultural dust and dried mud using a damp microfiber cloth. Starting with a physically clean rind prevents gritty soil particles from permanently mixing into your pristine white base coat and ruining the smooth finish.
The Essential Alcohol Wipe Prep
Starting with 70% rubbing alcohol is the absolute secret to a lasting, professional finish on any gourd. A quick wipe thoroughly removes the natural waxy buildup on the rind that causes standard craft acrylics to fail and flake off unexpectedly.
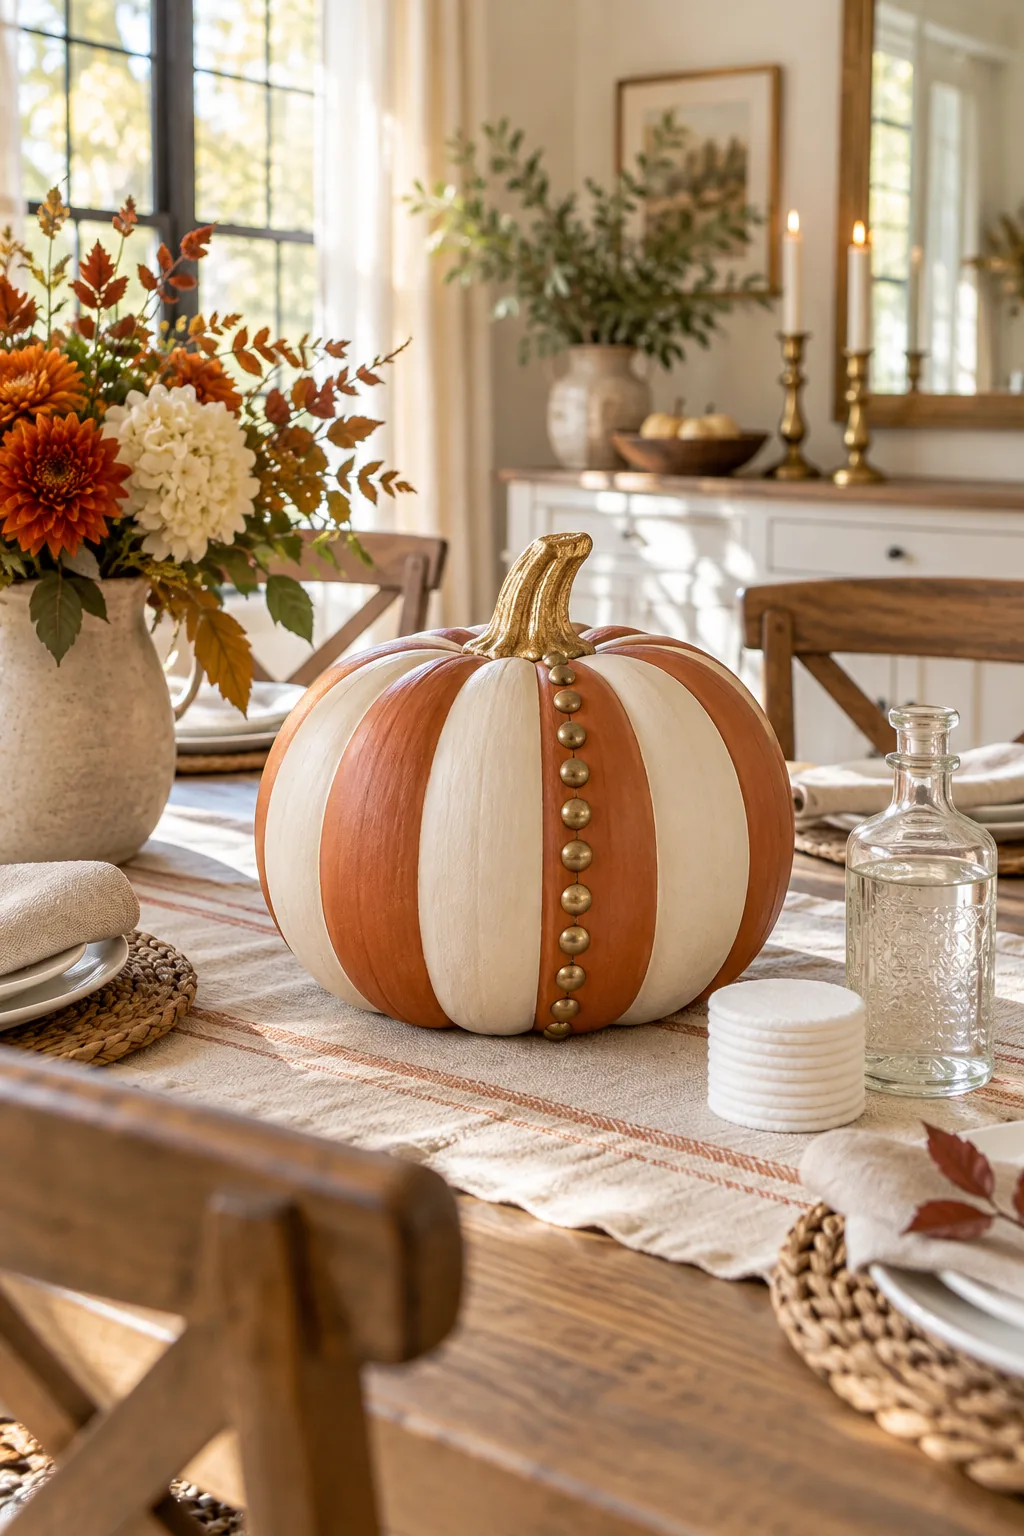
Using exactly one saturated cotton pad per medium pumpkin ensures the paint actually grips the surface instead of peeling off. You want to see a slightly matte, dull finish across the entire exterior before moving forward with any of your pigmented base coats.
Why Waxy Rinds Reject Paint
Skipping the prep stage is the most common reason beautiful seasonal projects fail prematurely. Natural agricultural waxes create a slick, invisible barrier that repels water-based craft pigments almost immediately upon application, wasting all your hard work and expensive decorative supplies.
| Prep Method | Surface Result | Paint Adhesion |
|---|---|---|
| Dry Paper Towel | Shiny and slick | Very Poor |
| Mild Dish Soap | Slightly clean | Moderate |
| 70% Alcohol | Matte and stripped | Excellent |
By choosing the right chemical solvent, you guarantee that your intricate layers of color remain perfectly intact. This small effort upfront saves you from frustrating, messy touch-ups later in the busy holiday month when you should be enjoying your beautiful home.
Understanding Chalk Paint Benefits
Standard craft acrylics tend to slide right off slick organic materials, leaving frustrating brush strokes behind. A specialized chalk formula offers superior gripping power and dries quickly to a beautiful, velvety finish that holds contrasting colors beautifully without any unwanted bleeding.
Applying the Chalk Paint Undercoat
A solid matte white base coat provides the crucial foundation for your colorful, structured design. Chalk paint adheres to the stripped rind significantly better than standard glossy acrylics, preventing the delicate top layers from peeling off when guests inevitably touch them.
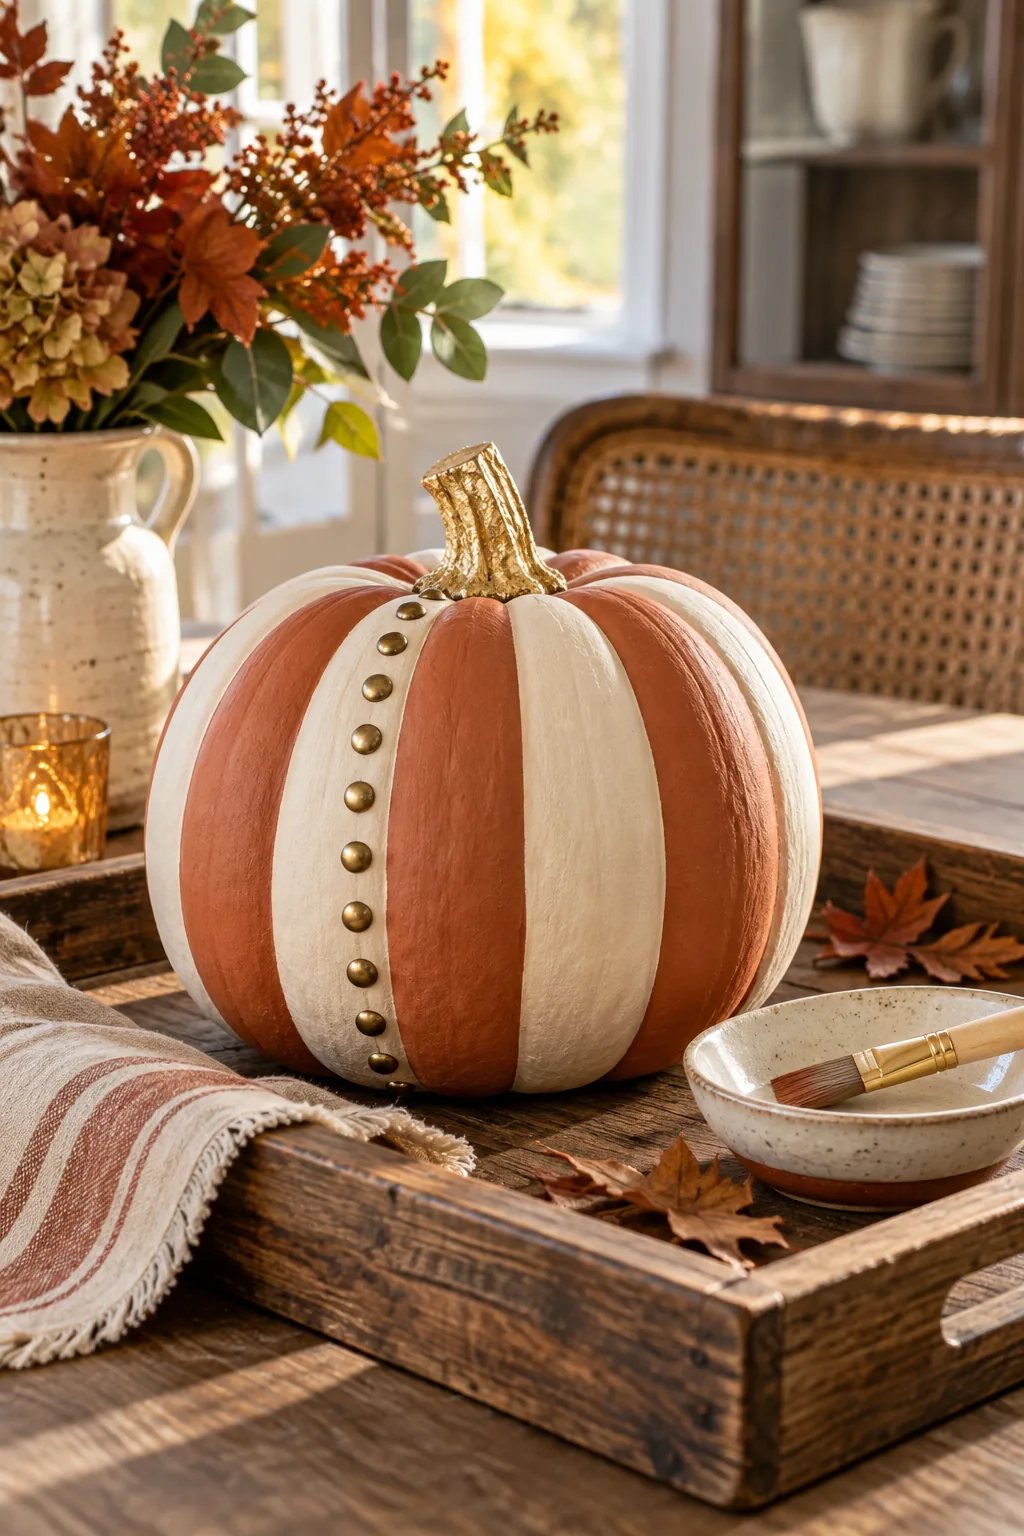
This specialized formula creates a slightly textured, porous surface for your contrasting cream and terracotta stripes to grab onto securely. The chalky finish prevents the top layers from sliding around during your intricate brushwork, allowing for much sharper, cleaner lines.
Curing Your Base Coat Properly
Patience during the drying phase is just as important as your initial brush technique. Rushing the next step will simply reactivate the wet base and muddy your crisp, vibrant lines, forcing you to completely restart the entire painting process from scratch.
- Place the painted gourd in a dry, draft-free zone away from direct sunlight.
- Wait exactly one full hour for the chalk formula to set completely.
- Perform a gentle touch test near the bottom edge before adding colors.
Once the surface feels entirely room temperature and dry to the touch, you are ready to map out your vibrant vertical stripes without fear of smudging. Taking this extra time guarantees a flawless, professional result that looks incredibly high-end.
Using Ribs as Your Free Ruler
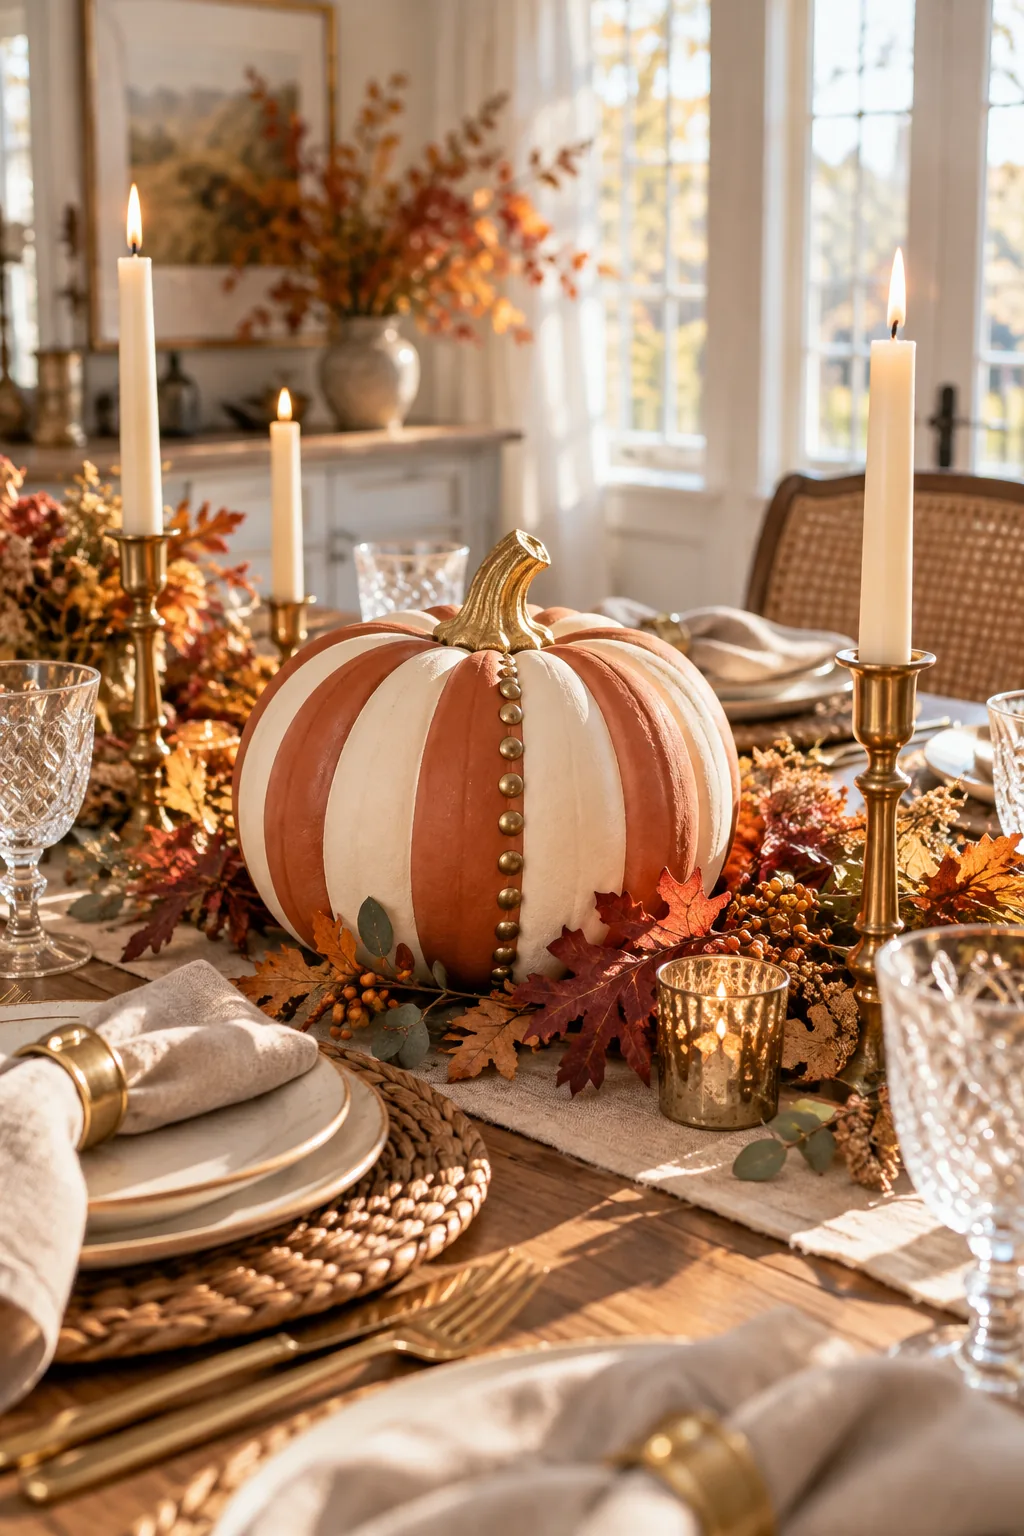
The pumpkin’s natural anatomy makes striping completely foolproof if you follow its deep, structural grooves. By ending the cream paint exactly in a prominent crease, you create a crisp, physical barrier for the terracotta paint without needing to measure anything.
Painting Along the Vertical Axis
Always drag your brush along the vertical axis from the stem down to the base. This technique highlights the organic shape and ensures you never need a measuring tape to achieve perfectly straight, visually pleasing lines across the entire surface.
Selecting the Best Angled Brush
A standard flat brush struggles to navigate the bumpy, uneven terrain of heirloom gourds. Investing in a high-quality angled brush allows you to push the bristles deeply into every hidden crevice for full, opaque coverage that looks completely seamless.
Perfecting the Paint Edges
I once tried forcing stiff painter’s tape around a bumpy heirloom pumpkin, and the paint bled everywhere underneath the gaps. A 1/2-inch angled brush provides infinitely better control on these curved, organic shapes, allowing you to paint with confidence.
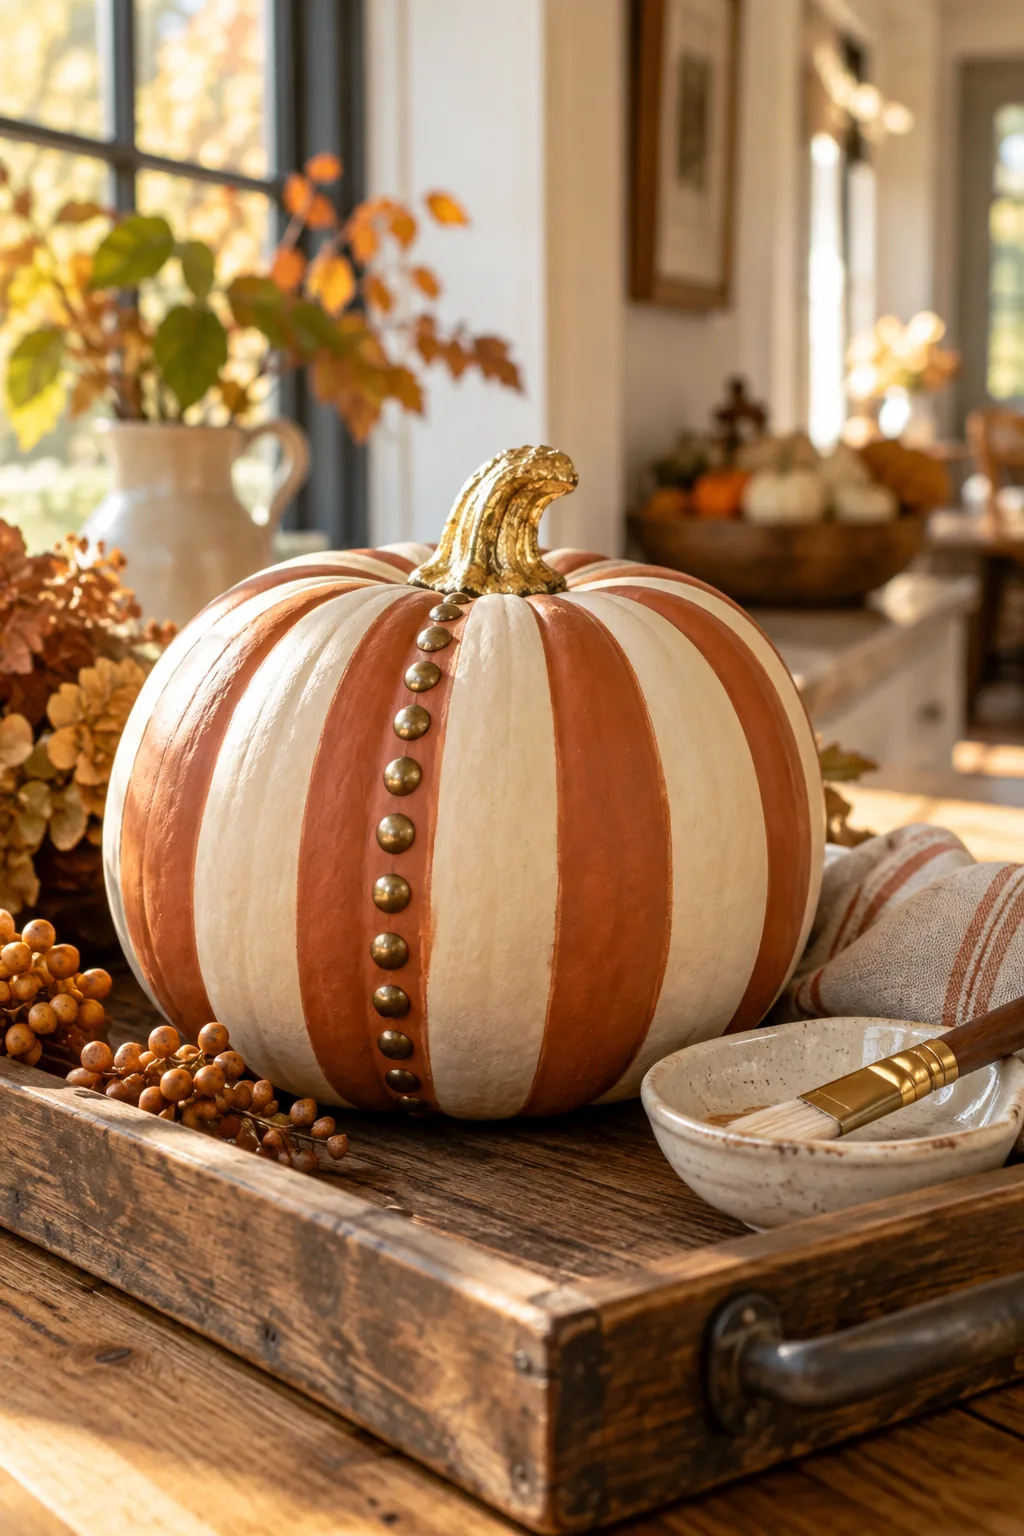
Tape seems like the obvious choice for stripes, but curved organic surfaces require a different approach to avoid frustrating touch-ups. Freehanding with the right bristles is surprisingly easy once you practice on a small section near the back.
Mastering this relaxed, freehand brush method allows you to glide right over shallow bumps without losing that sharp, professional edge between your contrasting colors. It transforms a tedious chore into a genuinely enjoyable, creative afternoon craft session at home.
Fixing Minor Paint Mistakes
If your hand slips and the terracotta bleeds into the cream stripe, do not panic. Simply wait for the error to dry completely, then gently dab a tiny amount of your white undercoat over the mistake to erase it instantly.
Why Brass Tacks Work Best
Standard push pins lack the visual weight necessary to stand out against bold painted stripes. Authentic brass upholstery tacks feature large, domed heads that reflect ambient room lighting beautifully, adding a luxurious metallic texture that elevates the entire design.
Pressing the Brass Tack Line
Adding metallic hardware completely transformed my dining table last fall, bringing an unexpected modern edge to a rustic craft. Standard brass upholstery tacks can be pressed directly into the softened rind along a single rib for a stunning visual impact.
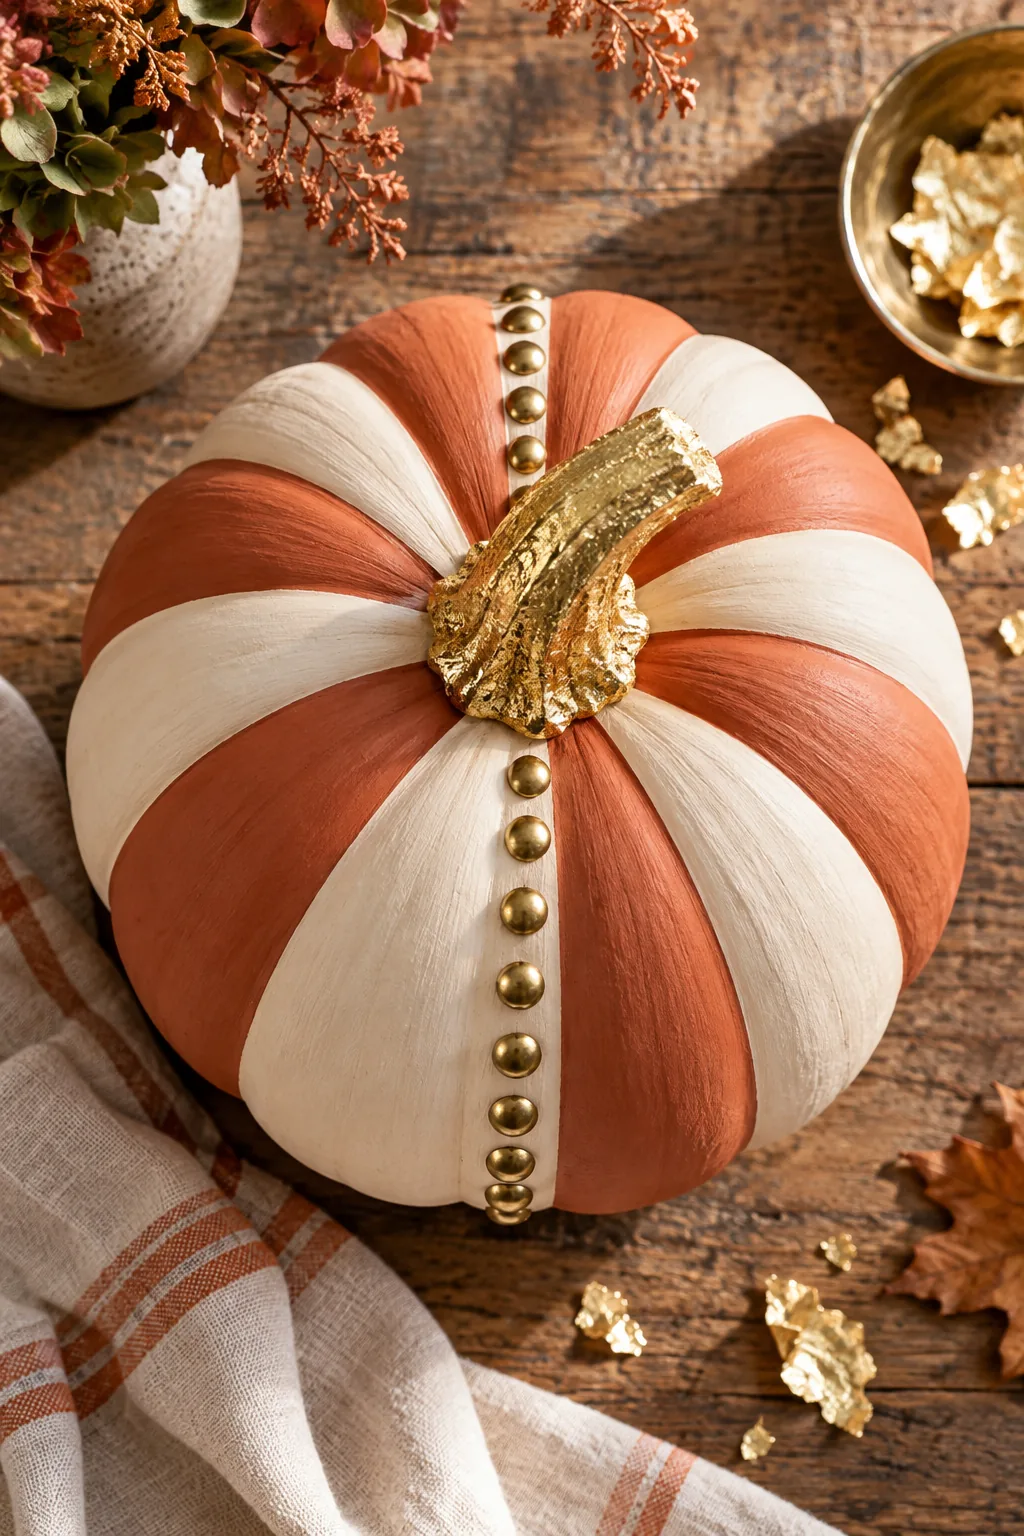
Focus your hardware along a single prominent rib to create a deliberate, tailored focal point. The metal catches the candlelight beautifully during evening gatherings, providing stunning visual contrast against the soft, matte paint of your carefully crafted seasonal centerpiece.
Spacing Hardware for a Tailored Look
Spacing the tacks roughly 1/4 inch apart keeps the design looking intentional rather than clustered and messy. A consistent gap allows the creamy undercoat to peek through and beautifully frame each individual brass head, creating a highly tailored appearance.
Pre-drilling for Hard Rinds
If you encounter a particularly stubborn, thick-skinned gourd, never force the tack with a heavy hammer. Instead, use a tiny sewing needle to poke a shallow pilot hole first, allowing the brass pin to slide in effortlessly without bending.
Gilding the Pumpkin Stem
Applying delicate gold leaf to the woody top elevates an ordinary gourd into an elegant seasonal centerpiece. The stark contrast between the rustic, highly textured stem and the shimmering metal is absolutely stunning when displayed on a formal dining table.
Applying Sizing and Leaf
Brush on the liquid sizing and wait exactly 15 minutes until the adhesive feels tacky to the touch. Gently press the fragile gold sheets into the deep crevices using a dry, soft bristle brush to ensure full, brilliant coverage.
Handling Delicate Gold Sheets
Real gold leaf is incredibly sensitive to static electricity and natural oils on your bare fingers. Always use a pair of bamboo tweezers to transfer the sheets from the booklet to the tacky stem to prevent accidental tearing or wrinkling.
Sealing for Longevity
I learned the hard way that unsealed chalk paint chips easily when guests handle the centerpiece. A quick coat of clear matte acrylic sealer protects your hard work from moisture, unexpected bumps, and curious hands throughout the busy holiday season.
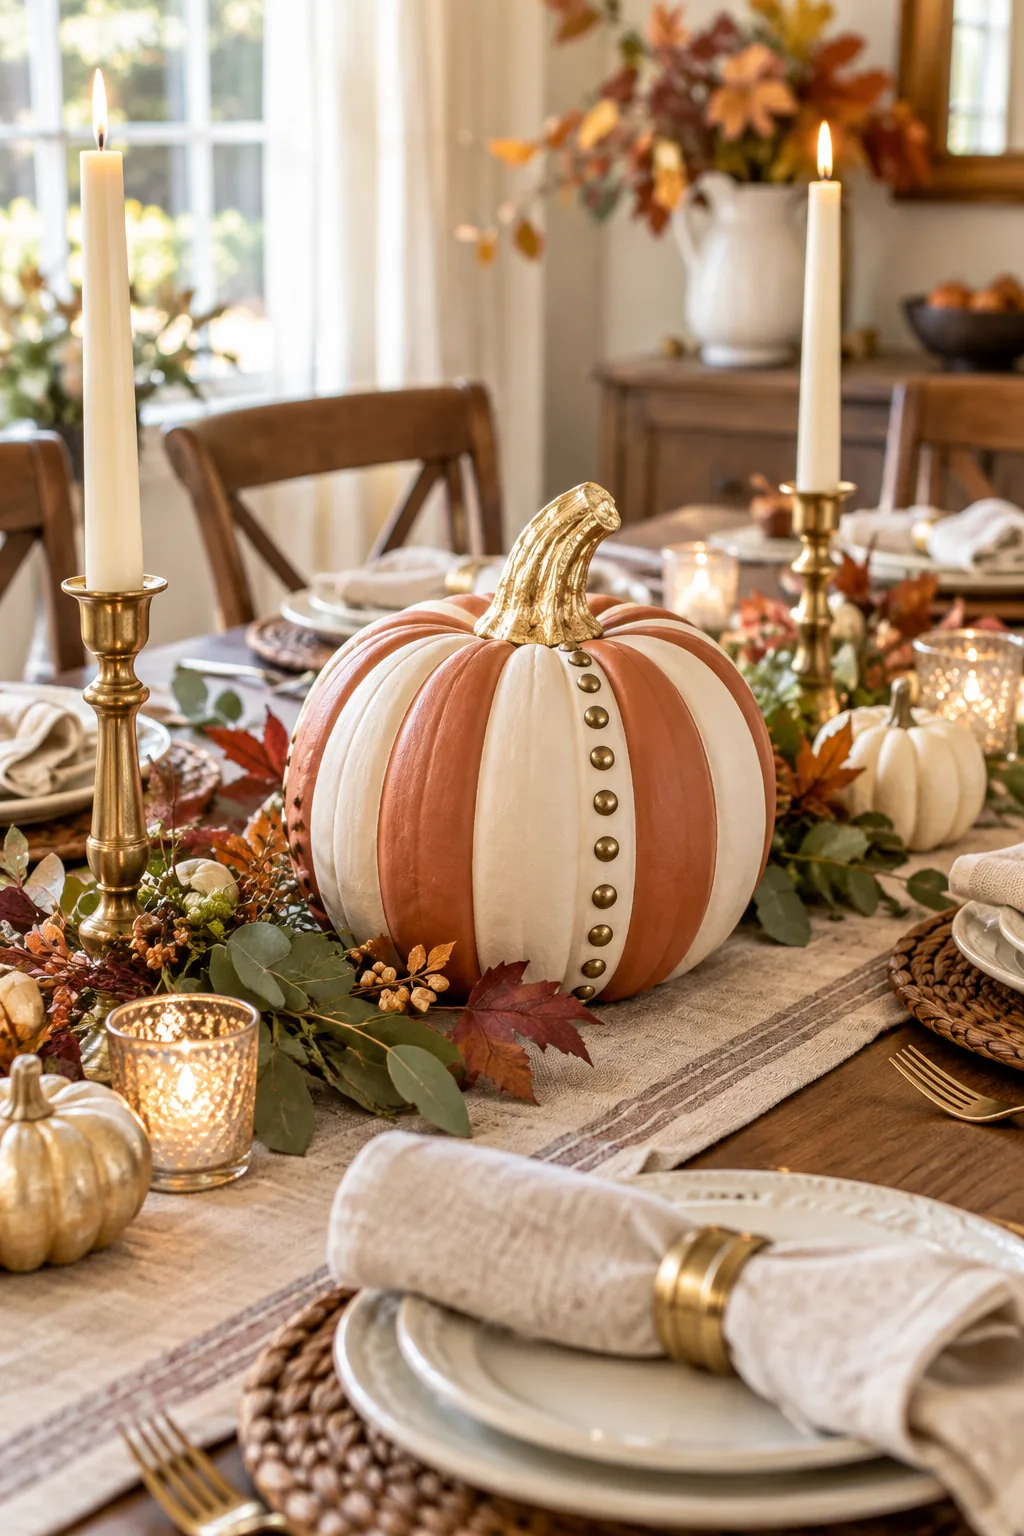
Before you place your masterpiece on the dining table, take three quick steps to ensure the finish survives until Thanksgiving. This final protective barrier keeps the gold leaf from tarnishing over the season and locks your painted stripes in place.
Your beautifully embellished creation is now fully armored against the humid autumn air. It is completely ready for weeks of stunning display in your home, bringing a touch of handmade elegance to your everyday meals and special holiday gatherings.
Choosing the Right Matte Sealer
Always opt for a specialized matte finish spray rather than a high-gloss polyurethane. A glossy topcoat creates an artificial, plastic-like sheen that ruins the sophisticated, velvety texture of your carefully applied chalk paint and clashes with the metallic accents.
3 More Ways to Style a Painted Pumpkin
If terracotta stripes aren't your vibe, try one of these distinct palettes to match your home's aesthetic.
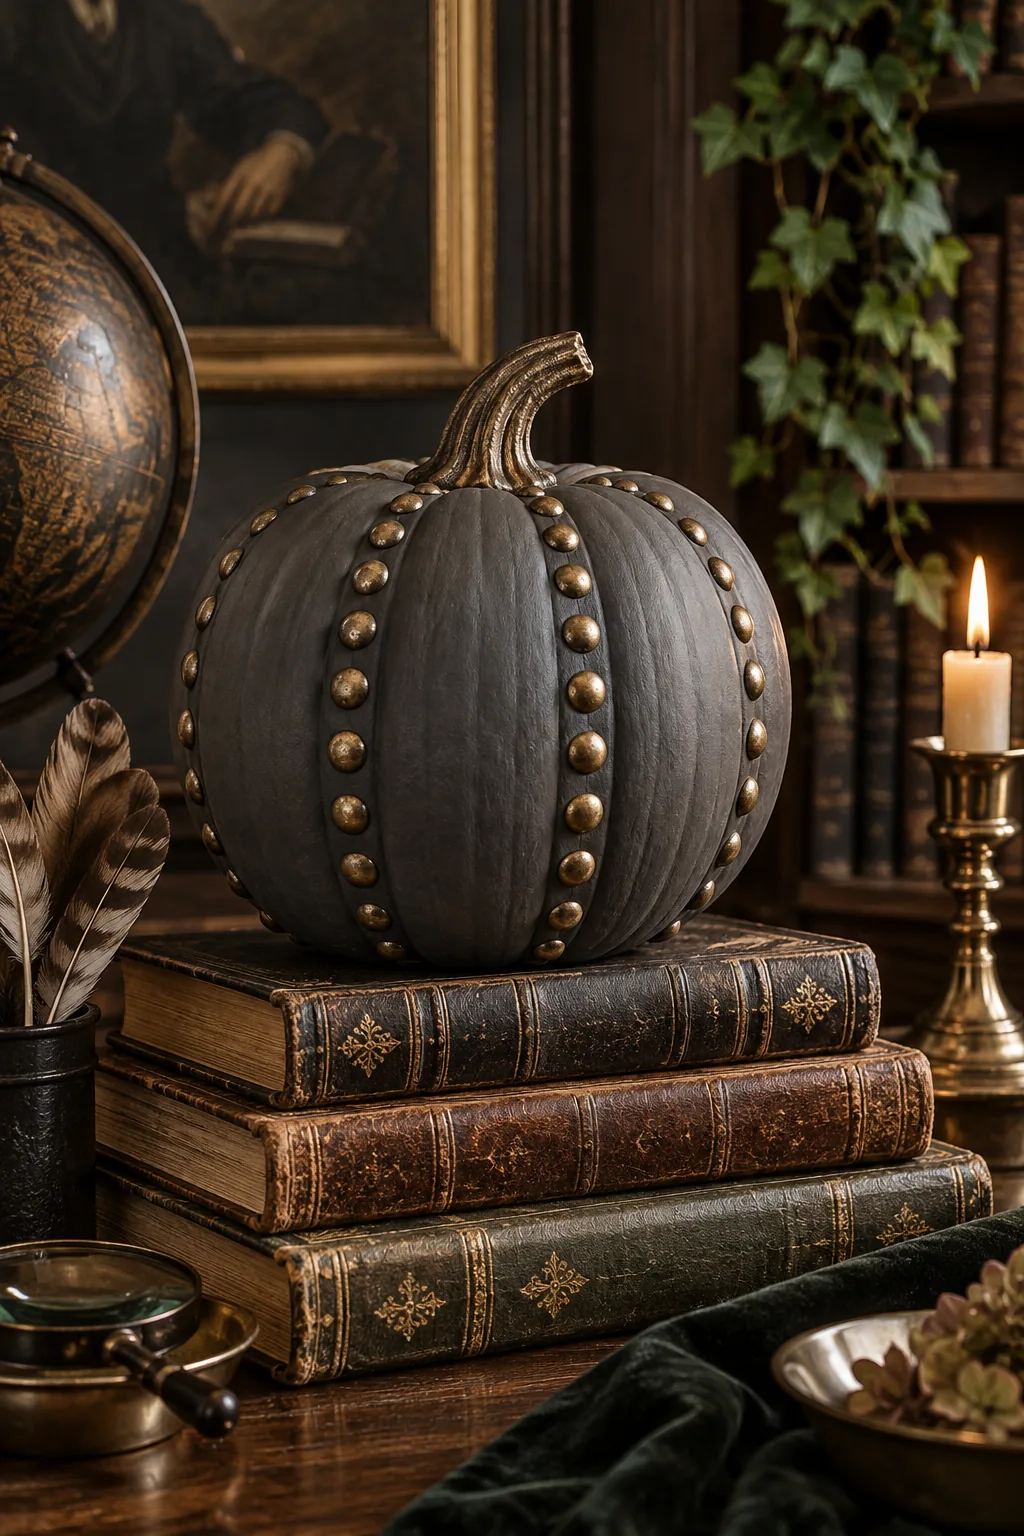
Moody charcoal and aged brass: Swap the bright terracotta for a deep, matte charcoal gray to create a sophisticated, moody accent perfect for a library or study.
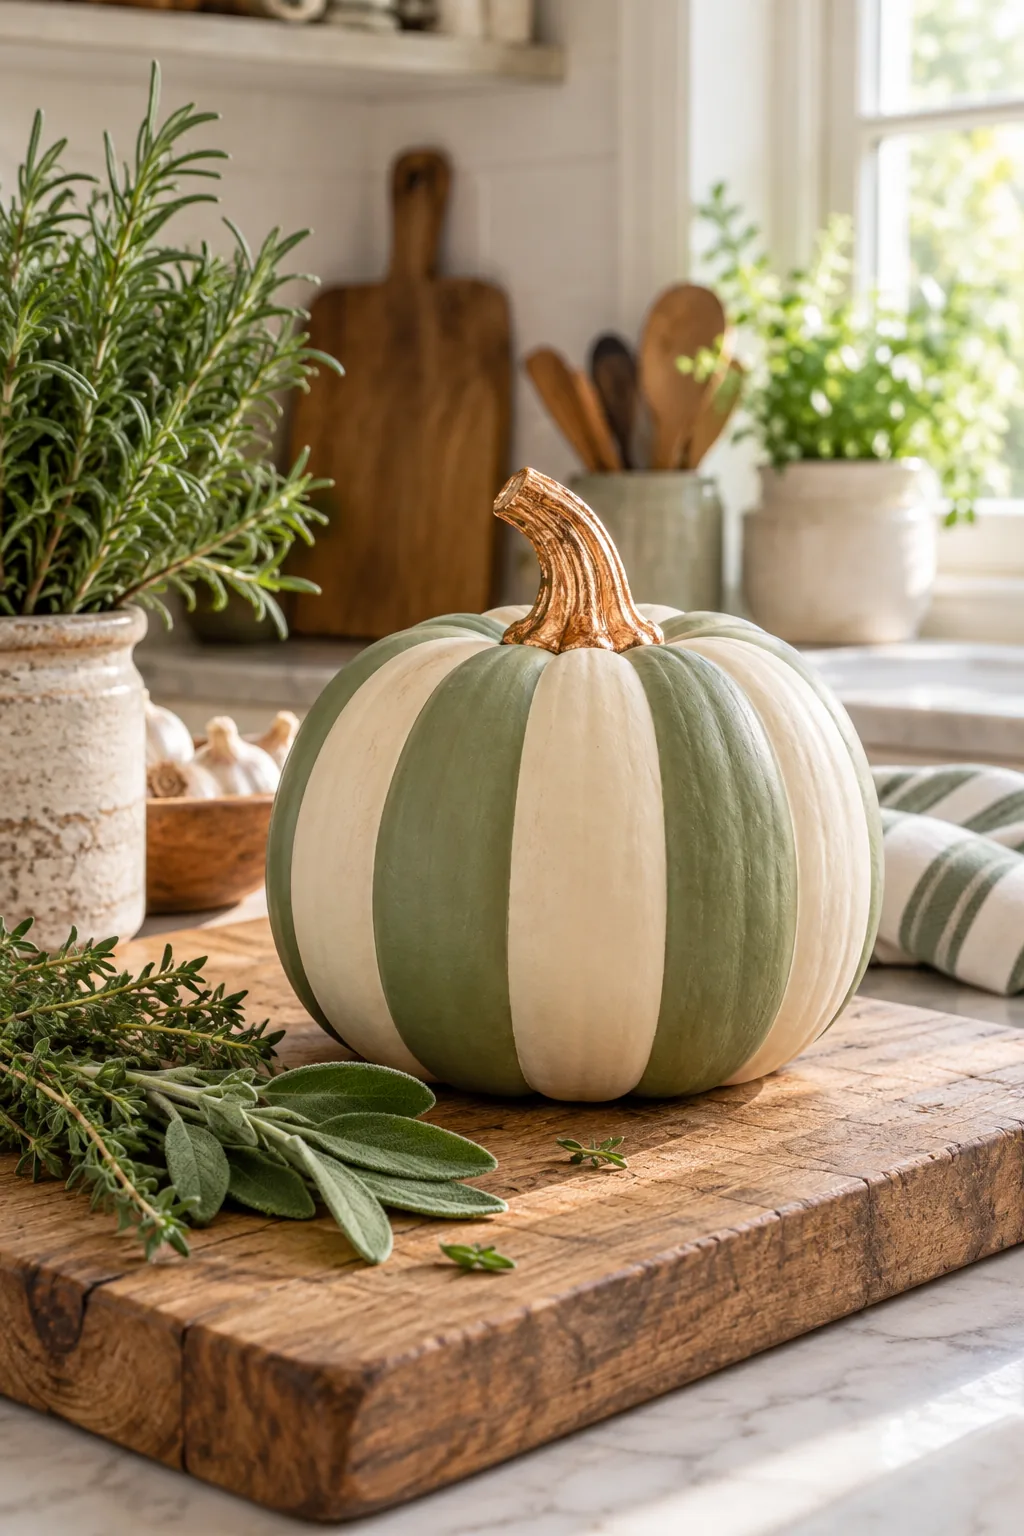
Soft sage and glowing copper: Muted sage green stripes paired with a copper-leafed stem bring a fresh, organic feel that blends seamlessly into farmhouse kitchens.
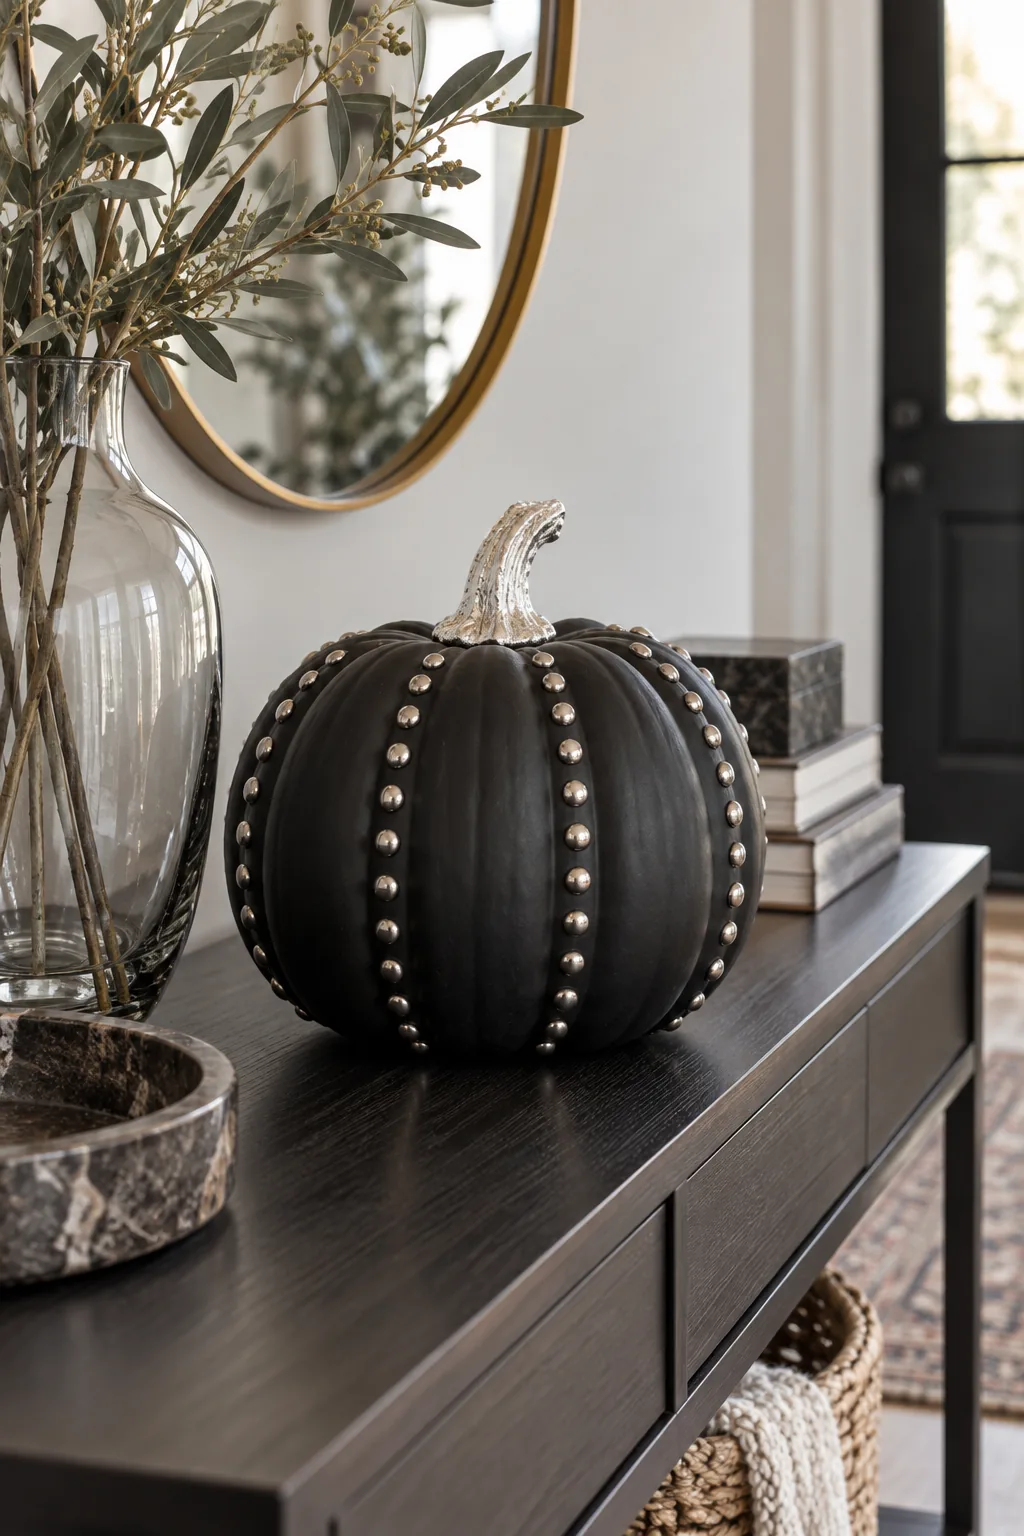
Matte black and bright silver: Embrace high contrast with a solid matte black base and a brilliant silver-leafed stem for a striking, modern entryway statement.
Your Printable Decorating Step Card
This comprehensive one-page guide walks you through every single phase, from the initial alcohol wipe down to the final brass tacks. Print it out and keep it right on your craft table for incredibly easy reference during your project.
Gather all your supplies beforehand so you can flow seamlessly from prep to painting to gilding. Check off these essential materials before you begin your project to ensure uninterrupted creative time and a perfectly smooth, stress-free crafting experience at home.
- 70% rubbing alcohol and cotton pads
- Matte white chalk paint and 1/2-inch angled brush
- Terracotta and cream acrylic paints
- Brass upholstery tacks
- Liquid sizing, gold leaf sheets, and clear matte sealer
Now that you have your supplies gathered and your printable step-by-step card in hand, you are completely ready to create a flawless, designer-quality pumpkin. Enjoy the relaxing process of transforming a simple gourd into a breathtaking seasonal work of art.