Christmas Door Decorating Contest: The 36×80 Gingerbread Build Sheet
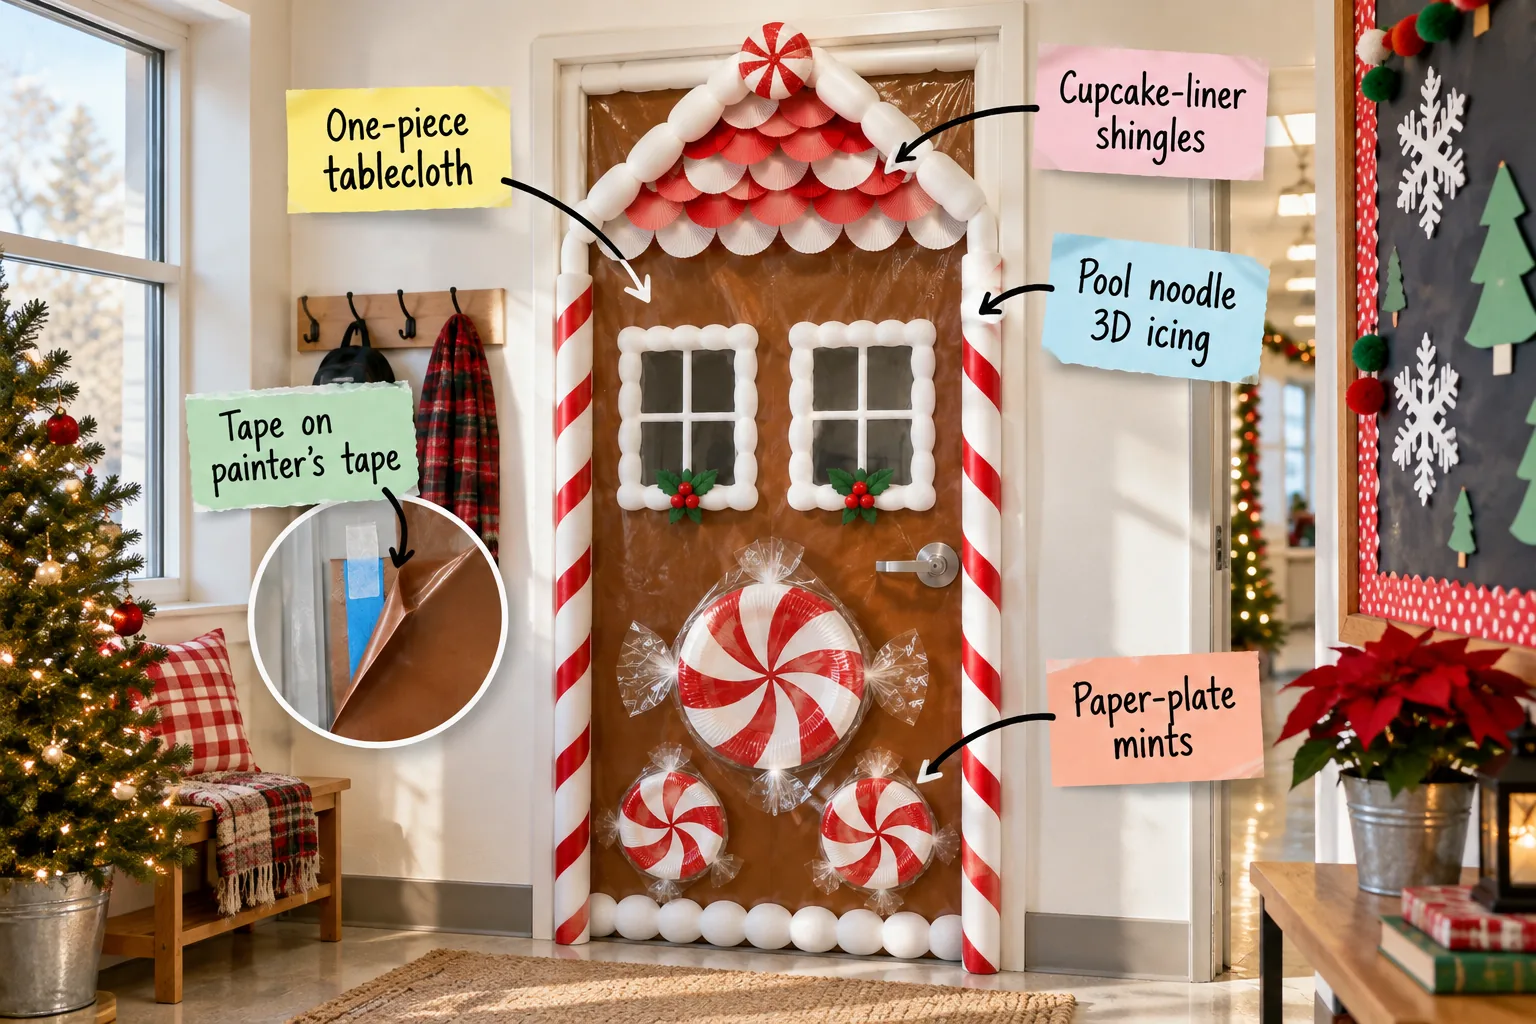
Grab our printable supply list and one-evening build order to transform a standard office door into a blue-ribbon gingerbread house. You will be able to shop for exact material quantities and assemble a damage-free, life-size gingerbread door in a single evening.
Protecting the Door with a Tape Barrier
Apply strips of standard 2-inch blue painter’s tape directly to the door, then layer heavy-duty double-sided tape directly on top of it. This double-tape method securely holds heavy decor without risking the facility’s paint finish when January arrives.
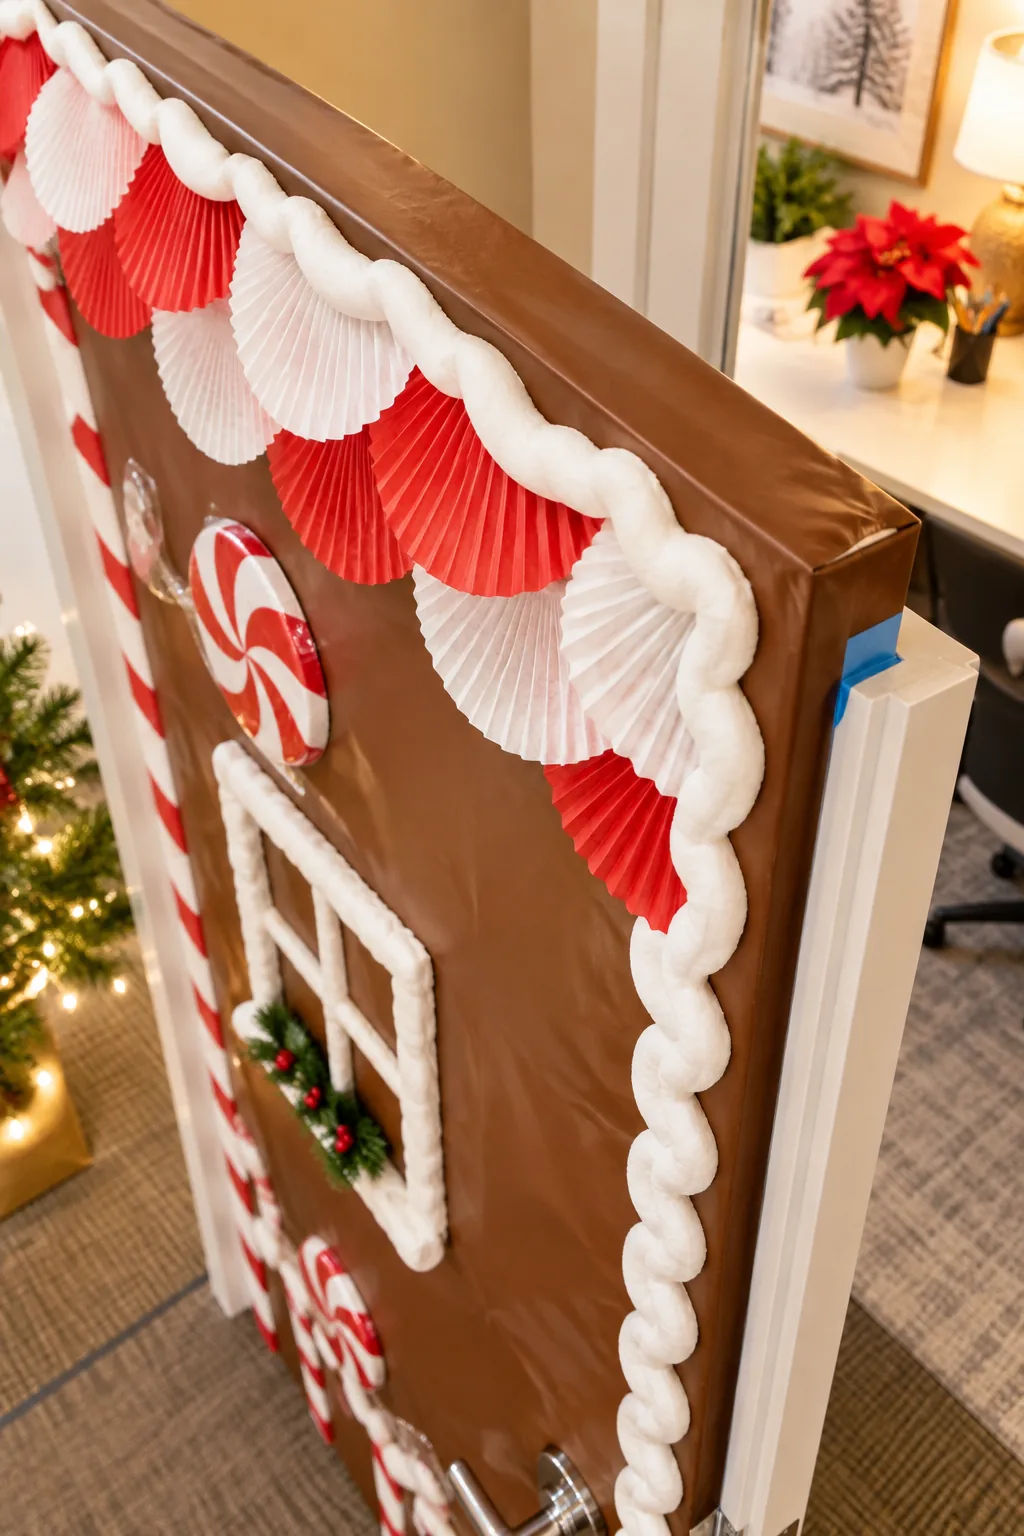
Pressing the double-sided adhesive firmly onto the blue painter’s tape creates a strong temporary bond that peels away cleanly later. We will assemble this design from this safe foundation outward to the final oversized candy details.
Selecting the Right Adhesives
Choosing the correct tape widths ensures your heavier foam and paper elements remain securely anchored to the vertical plane. Standard masking tape lacks the necessary grip, so always verify your adhesive specifications before beginning the installation process.
| Application Zone | Tape Type | Required Width | Hold Duration |
|---|---|---|---|
| Base Protection | Blue Painter’s Tape | 2 inches | Up to 30 days |
| Structural Mounting | Double-Sided Heavy Duty | 1.5 inches | Permanent (on blue tape) |
| Detail Anchoring | Clear Cellophane Tape | 0.75 inches | Lightweight only |
| Hardware Slit | Heavy Packing Tape | 2 inches | Structural reinforcement |
Matching the 1.5-inch double-sided tape to the wider 2-inch painter’s tape guarantees the aggressive adhesive never accidentally touches the actual door surface. This simple sizing rule prevents costly damage to commercial interiors.
Preparing the Door Surface
Wipe the entire flat face of the door with a damp microfiber cloth to remove residual dust and hand oils before applying any tape. Allowing the surface to dry completely ensures the blue painter’s tape achieves maximum adhesion along the edges.
Wrapping the Seamless Gingerbread Base
Cover the entire 36×80 inch door slab using a standard 54×108 inch heavy-duty brown plastic tablecloth. Pull the material taut edge-to-edge for a glossy, wipeable cookie finish, carefully cutting a small slit to leave the everyday lever handle fully exposed.
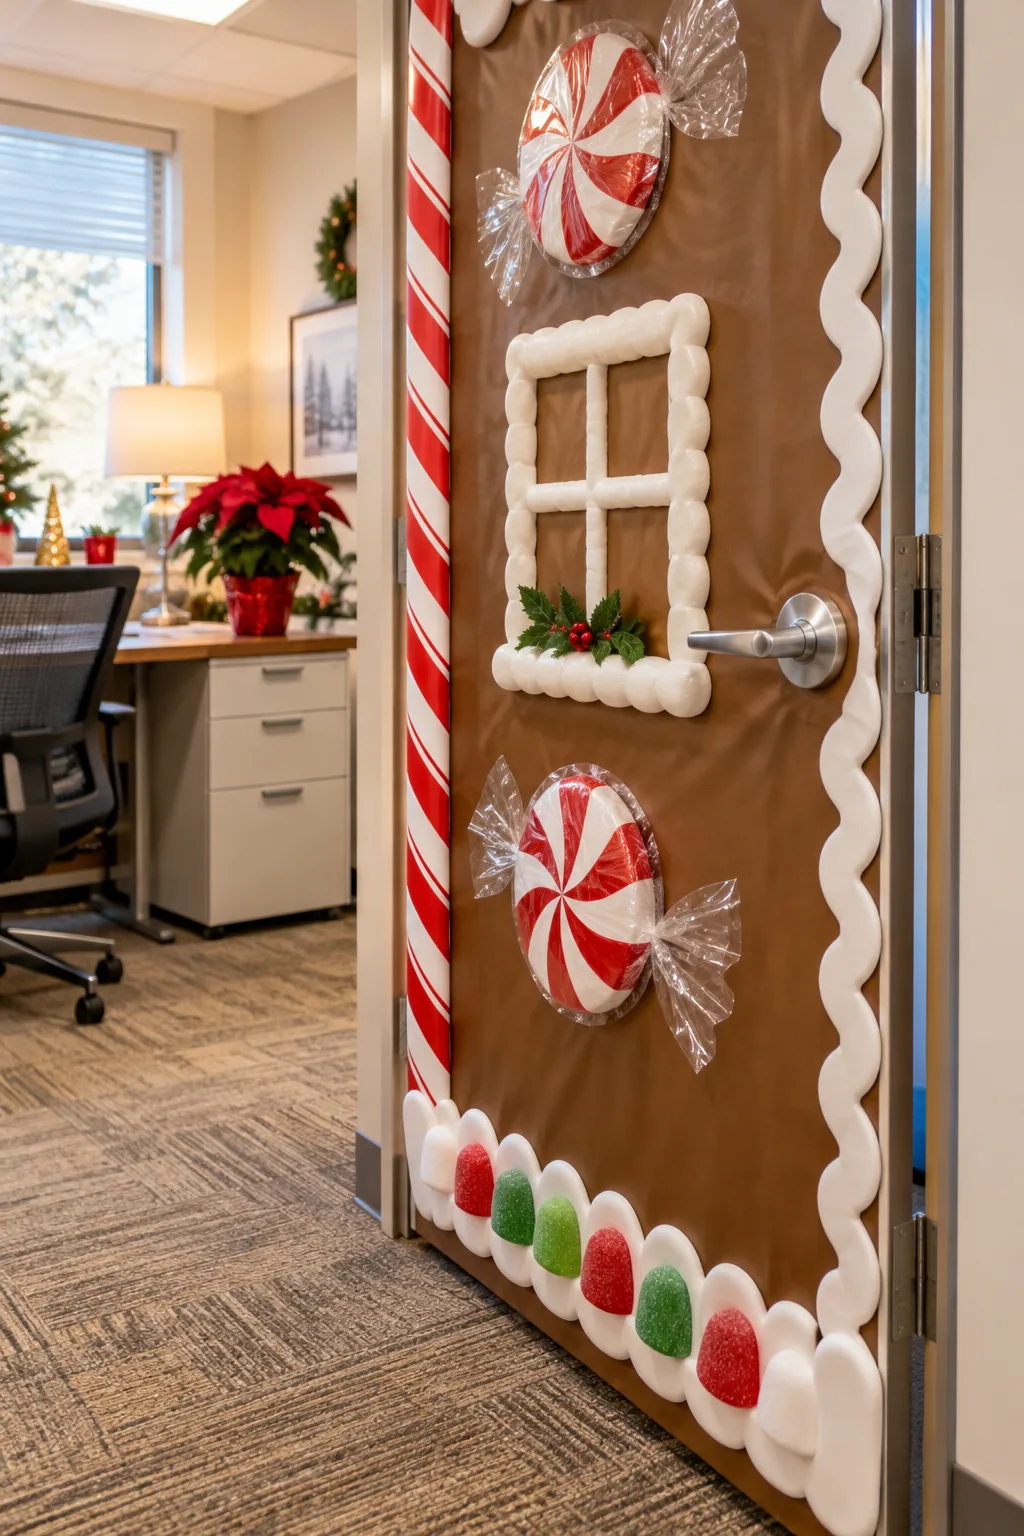
In my own Boston apartment building, I always tape the top edge first and pull downward to eliminate wrinkles before securing the bottom. Trimming the excess plastic with a sharp utility knife ensures the door swings freely without catching.
Managing the Everyday Door Hardware
Creating a clean cutout around the latch mechanism prevents the stretched plastic from tearing during daily office use. Measure the exact diameter of the handle base plate and cut a precise X-shaped slit rather than a large, messy hole.
Tucking the small triangular flaps of the X-slit behind the metal base plate yields a seamless, professional edge. This tailored approach maintains the illusion of a solid gingerbread wall while keeping the entryway fully accessible.
Securing the Plastic Edges
Fold the remaining side margins of the brown tablecloth sharply over the vertical edges of the door slab. Pressing these folded margins directly into a continuous strip of double-sided tape locks the entire background tension securely in place.
Layering the Cupcake-Liner Roof
Create the textured roof peak using alternating rows of standard white and red pleated cupcake liners. Flatten the paper liners slightly and overlap them by half an inch, starting from the bottom horizontal line and working upward to the roof peak.
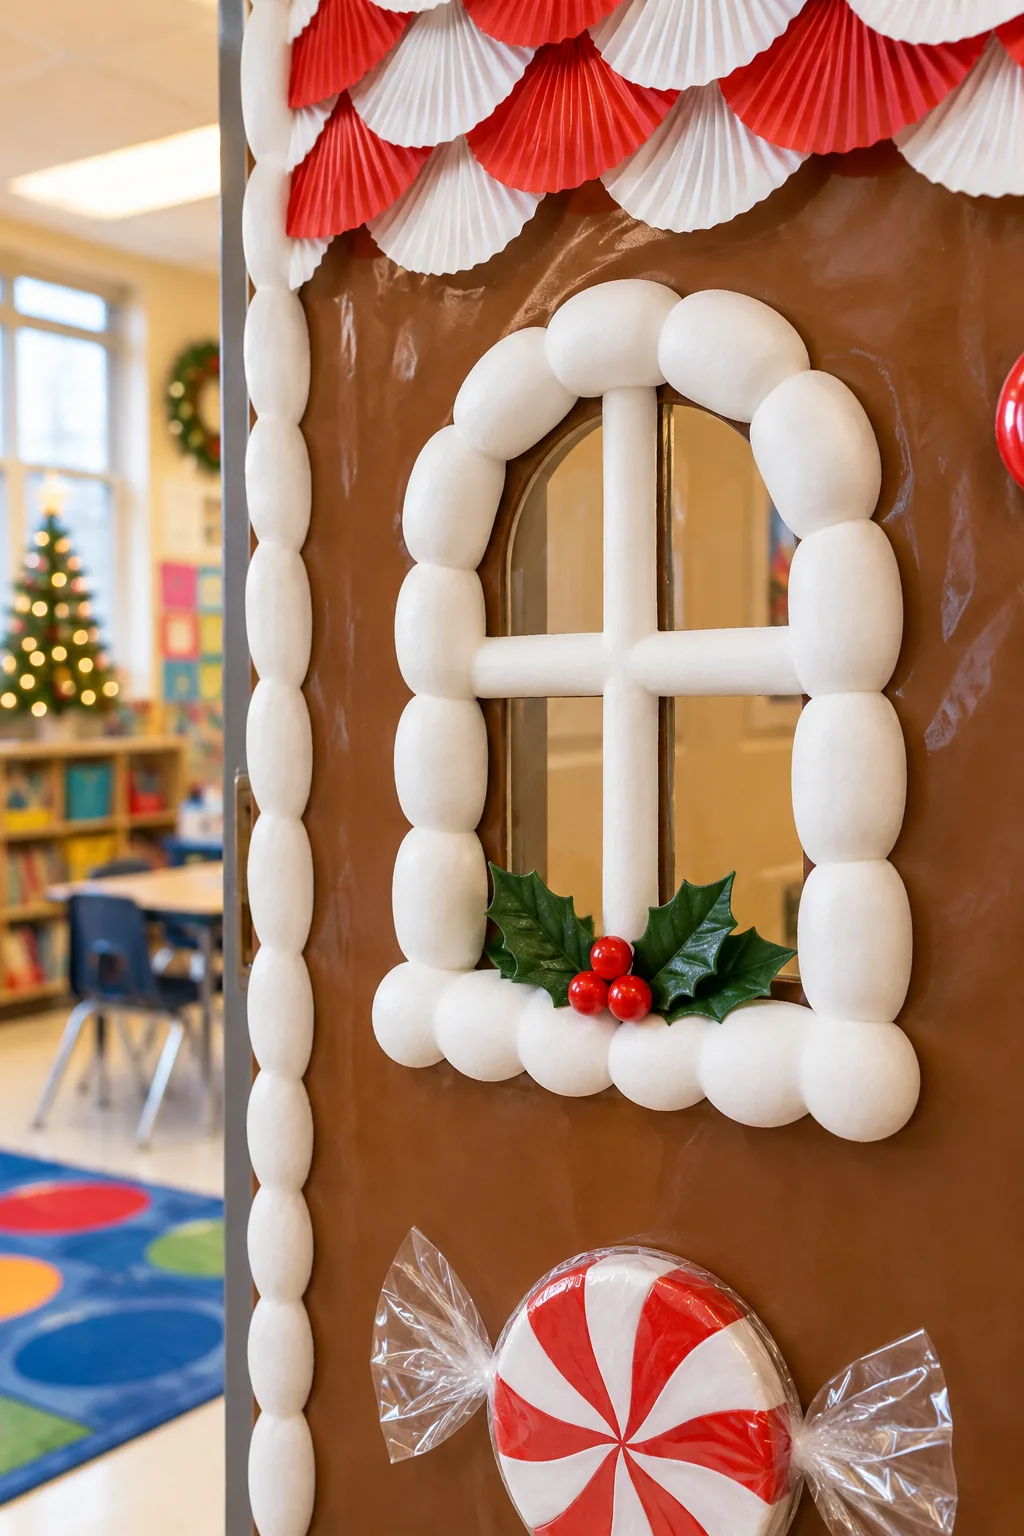
Staggering the red and white liners like traditional roofing shingles completely hides the brown plastic base underneath. Using standard baking cups keeps the materials incredibly lightweight so they stay anchored to the vertical surface effortlessly.
Calculating the Roof Pitch Angle
Establishing a perfectly symmetrical roofline requires marking a faint physical guideline directly onto the brown plastic base. Finding the exact top center point guarantees your overlapping paper shingles will meet in a crisp, convincing peak.
- Measure 18 inches inward from the side edge to find the exact center of the 36-inch door.
- Place a small pencil mark at this center point, roughly 12 inches down from the top frame.
- Stretch a piece of string from the left edge up to the center mark to trace the left slope.
Following this precise triangular boundary keeps the alternating rows of cupcake liners sharply defined. A clear geometric roofline instantly elevates the design from a messy craft project to a structured, blue-ribbon architectural display.
Creating the Shingle Overlap
Pressing the top half of each flattened liner into the adhesive track leaves the ruffled bottom half free to cast a realistic shadow. This simple overlapping technique generates convincing three-dimensional volume across the entire faux roof.
Framing with 3D Pool Noodle Icing
Slice standard white foam pool noodles in half lengthwise to create thick, puffy icing trim. Run these half-rounds along the roofline and window frames, pressing them firmly onto the double-sided tape tracks.
Slicing the foam cylinders evenly is crucial for a flush, professional fit against the flat door surface. I learned this the hard way during a holiday window install when unevenly cut foam completely refused to stick to the glass.
Avoiding Common Foam Cutting Errors
Working with cylindrical foam requires careful handling to maintain that perfect piped-icing illusion. Rushing the preparation phase often leads to jagged borders that ruin the clean, graphic impact of your gingerbread house.
Taking the time to measure and slice the noodles against a rigid straightedge guarantees the flat back will mate perfectly with the door. This flush contact area is absolutely essential for the adhesive to hold the heavy foam indefinitely.
Anchoring the Heavy Trim
Apply two parallel strips of double-sided tape to the flat back of each halved noodle rather than a single center strip. Distributing the adhesive contact across the wider footprint prevents the foam from curling away from the door overnight.
Mounting the Oversized Paper-Plate Mints
Transform standard 9-inch and 6-inch paper plates into giant candies using red acrylic paint and clear cellophane wrap. Pinch the cellophane at the sides with clear wire to create tight wrapper tails before mounting them flat below the faux windows.
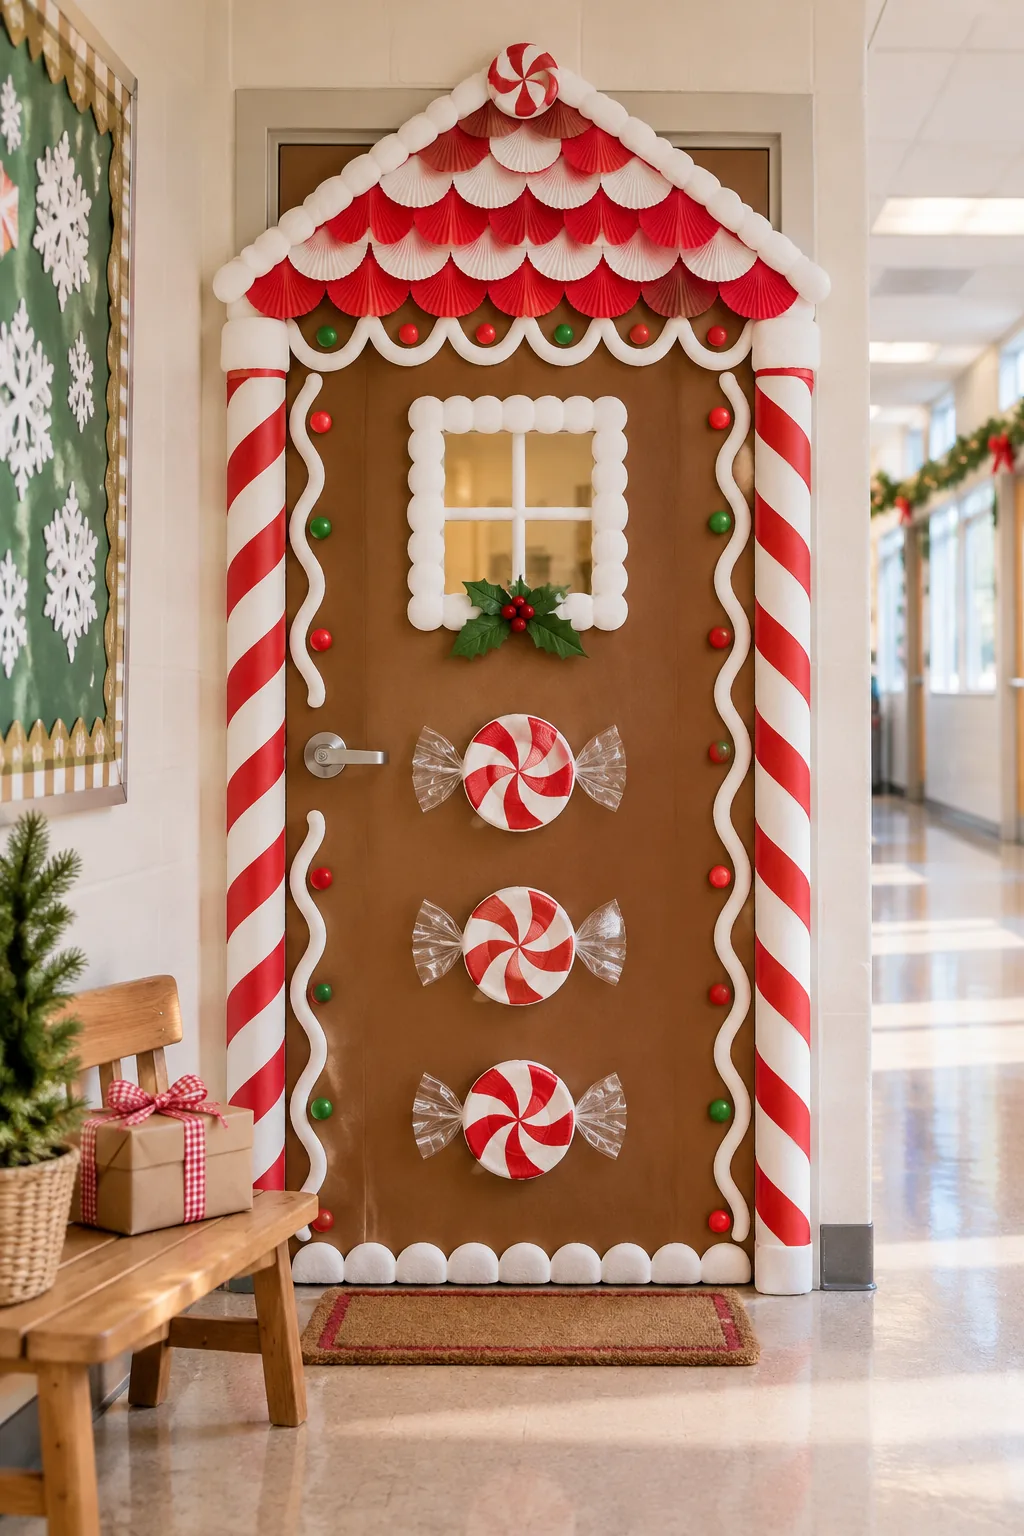
I love making these oversized mints for my own holiday parties because they instantly add massive visual scale for just pennies. Grouping the 9-inch and 6-inch sizes together creates a playful, dimensional cluster that anchors the lower zone.
Painting the Peppermint Swirls
Sketching the curved peppermint spokes lightly with a pencil before applying the red acrylic paint ensures a balanced, symmetrical swirl. Using a flat bristle brush allows you to push the thick paint cleanly right up to the pencil guidelines.
Wrapping the Candies in Cellophane
Cutting the clear cellophane sheet at least eight inches wider than the painted plate provides enough excess material to form dramatic, crinkled wrapper tails. Pulling the plastic tightly across the front of the plate creates a realistic, glossy candy sheen.
Preparing Your Assembly Workspace
Organizing your pre-cut materials by installation zone ensures the actual hallway assembly moves swiftly and logically. Before starting your one-evening assembly, verify your workspace and materials are prepped and ready to go.
Sorting the double-sided tape, scissors, and pre-wrapped candies into a single utility bin prevents frantic hallway searches mid-installation. This systematic staging is the secret to completing the entire massive transformation in just a few hours.
Download the 36×80 Door Build Sheet
Access the complete two-page printable contest guide below. It includes the exact shopping list for a standard 36×80 inch door—detailing quantities for tablecloths, pool noodles, and plates—plus the numbered, one-evening assembly order.
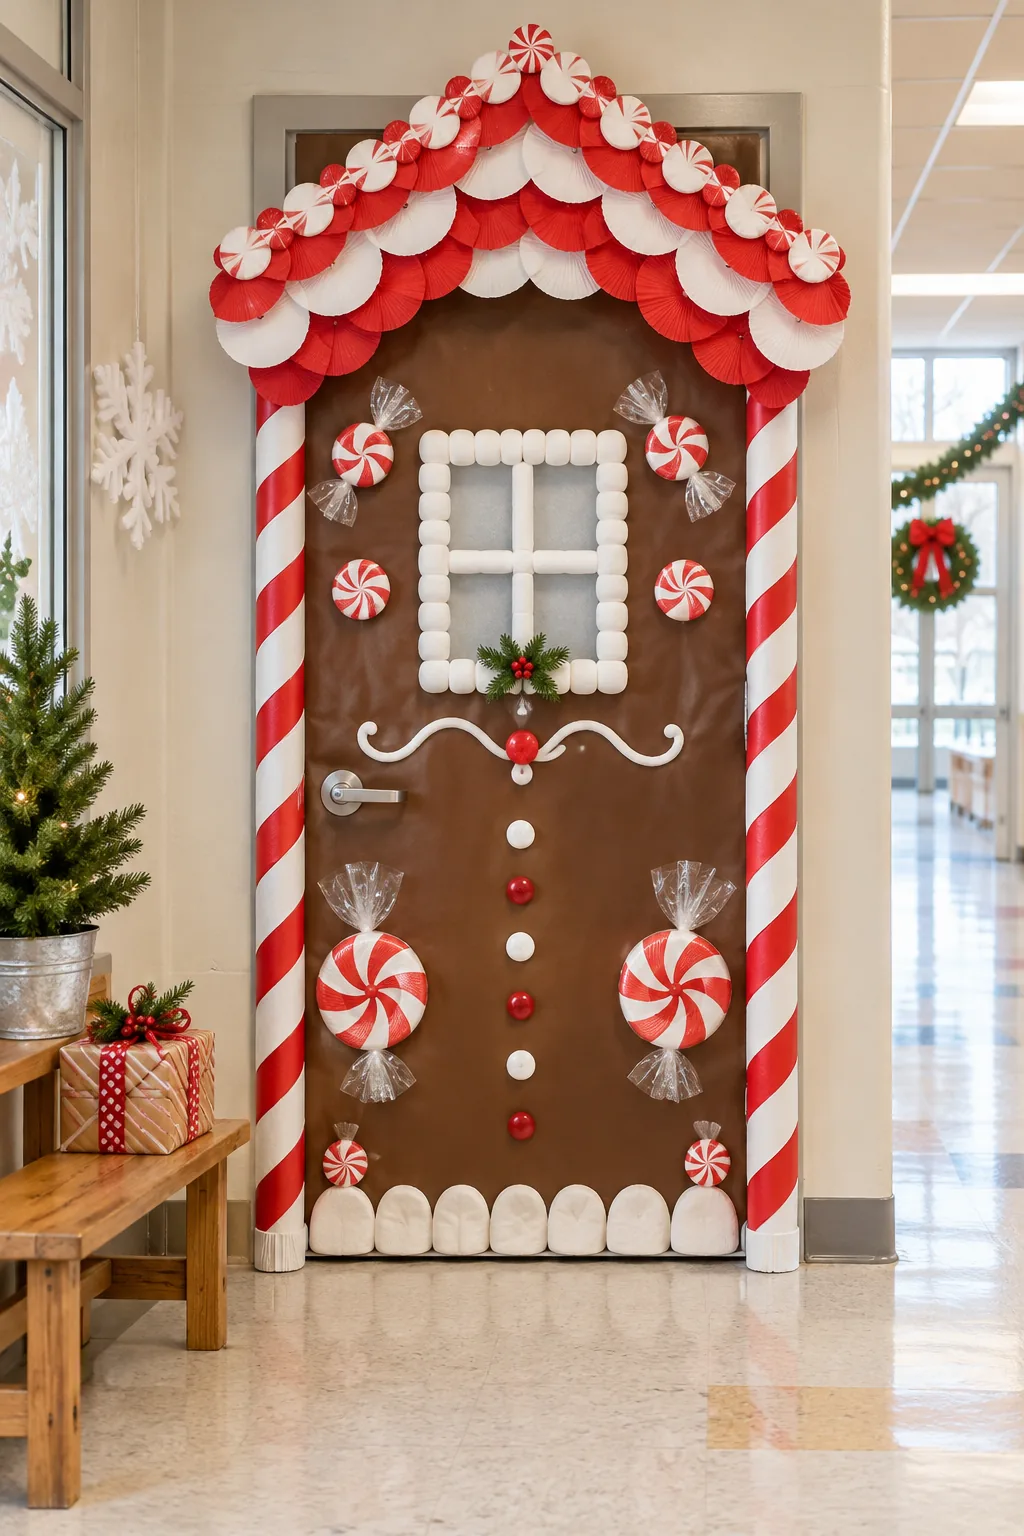
Checking off the exact material quantities from the supply list prevents multiple frustrating trips to the craft store. Having this structured blueprint in hand guarantees your office door will capture that coveted blue ribbon.
More Gingerbread Door Themes to Try
Swap the classic red and white for one of these distinct color palettes to make the gingerbread concept your own.
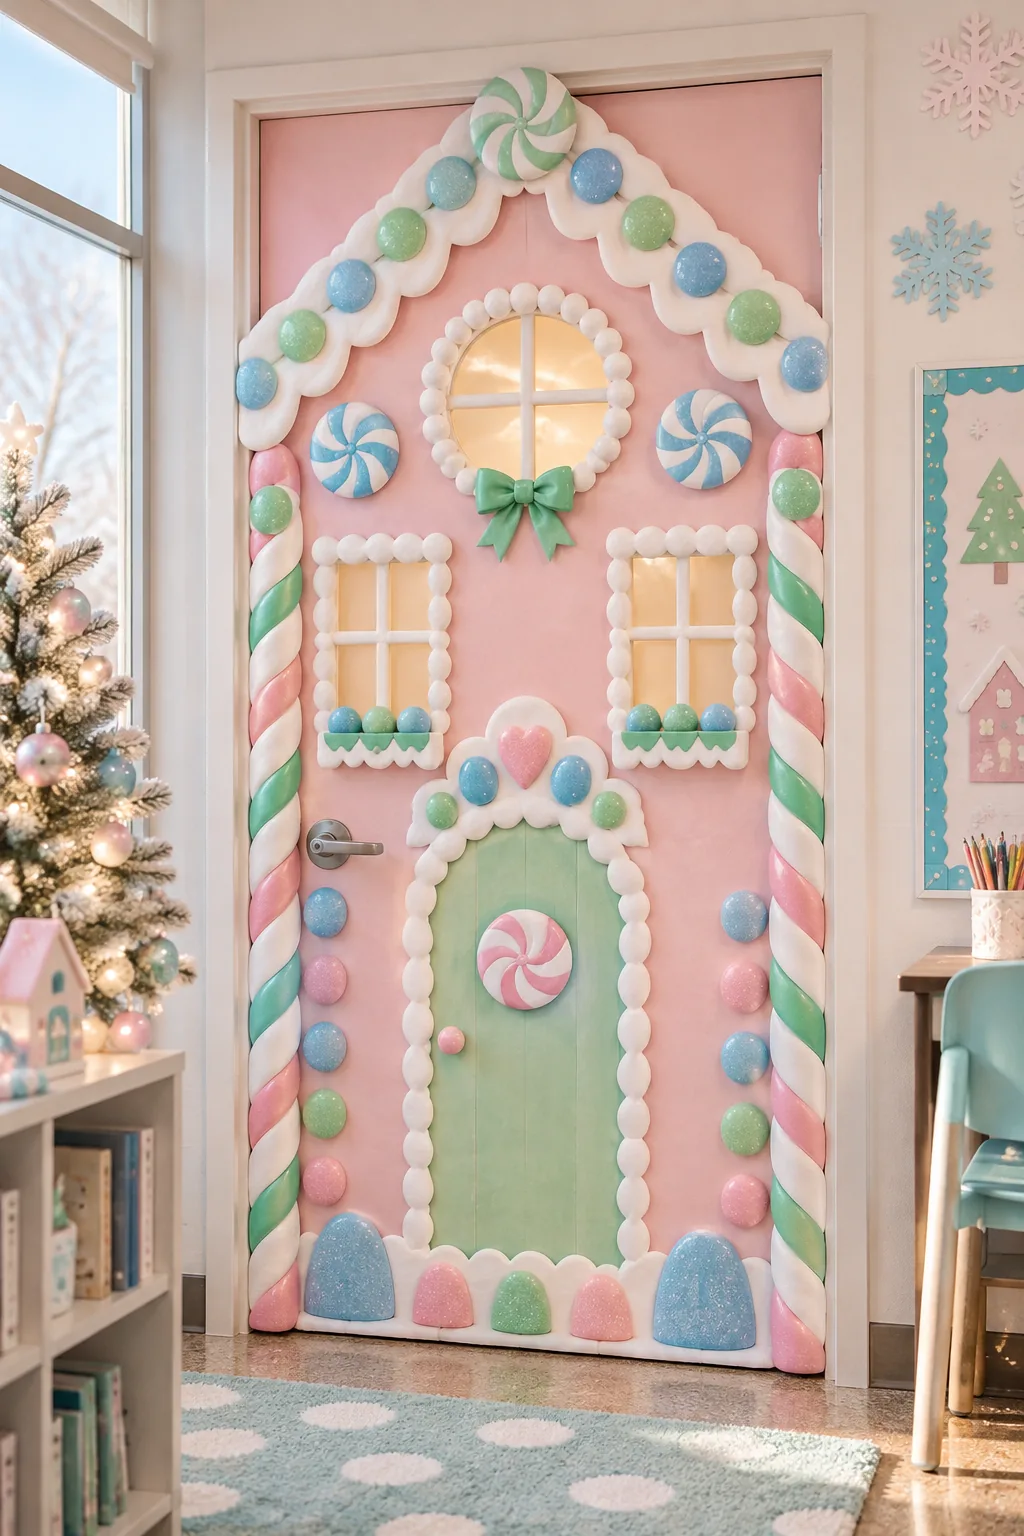
Pastel Candy Shoppe: Swap traditional brown for a pale pink tablecloth base to create a whimsical, candy-colored aesthetic.
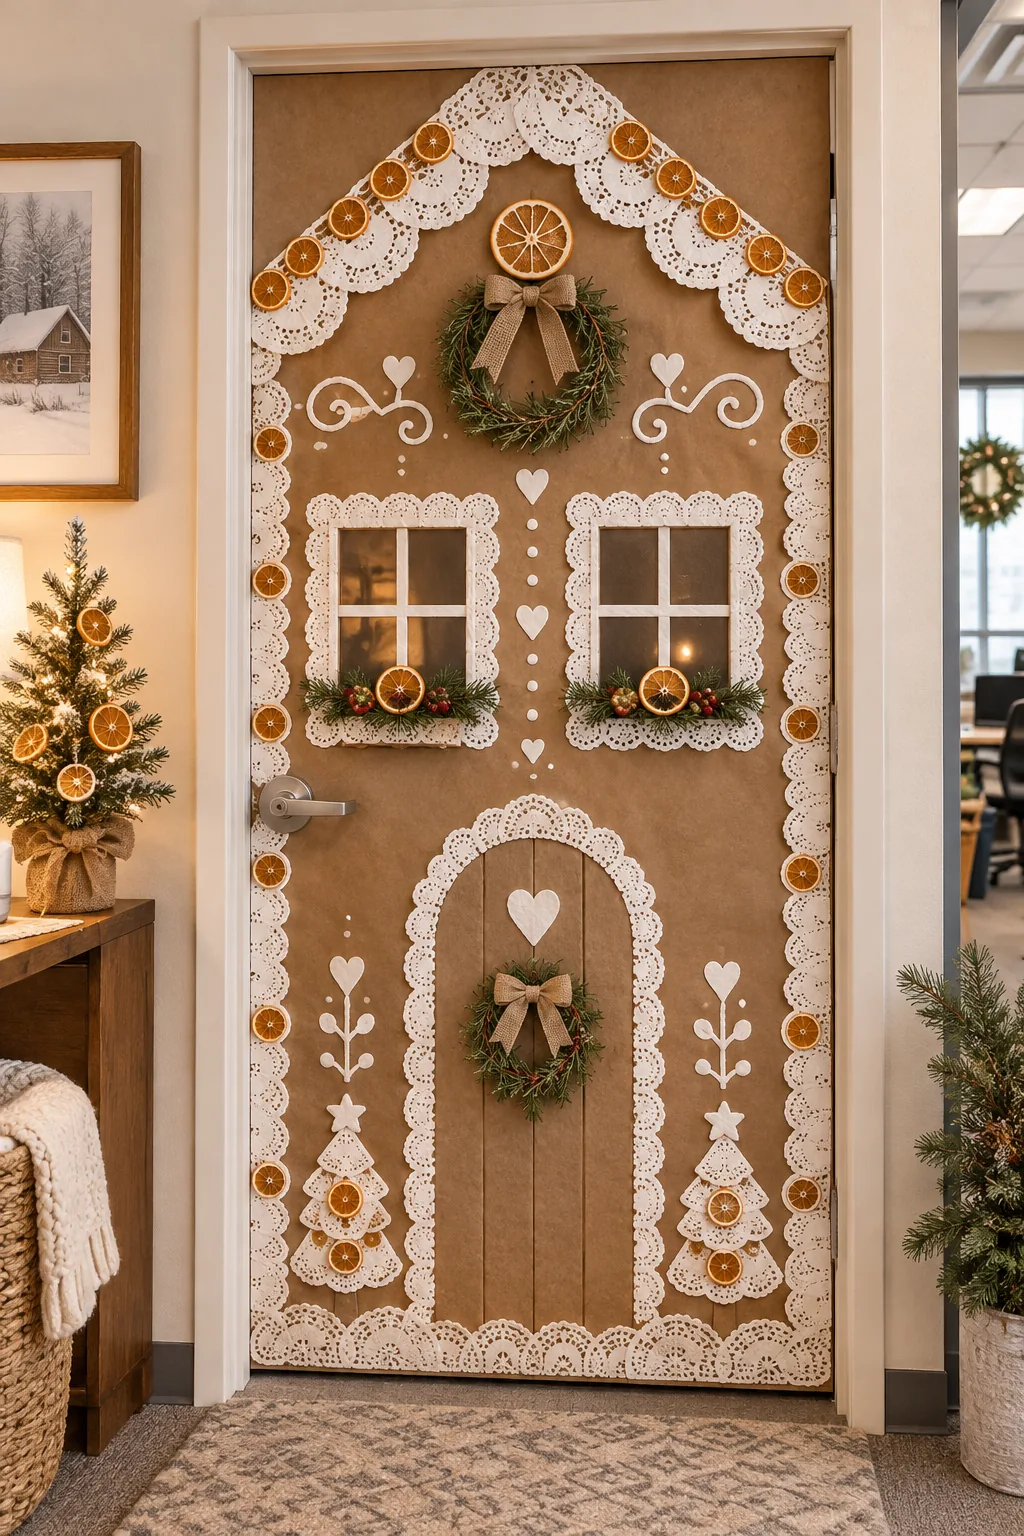
Rustic Kraft Paper Cabin: Use matte kraft wrapping paper and delicate white paper doilies for a charming, understated Scandinavian look.
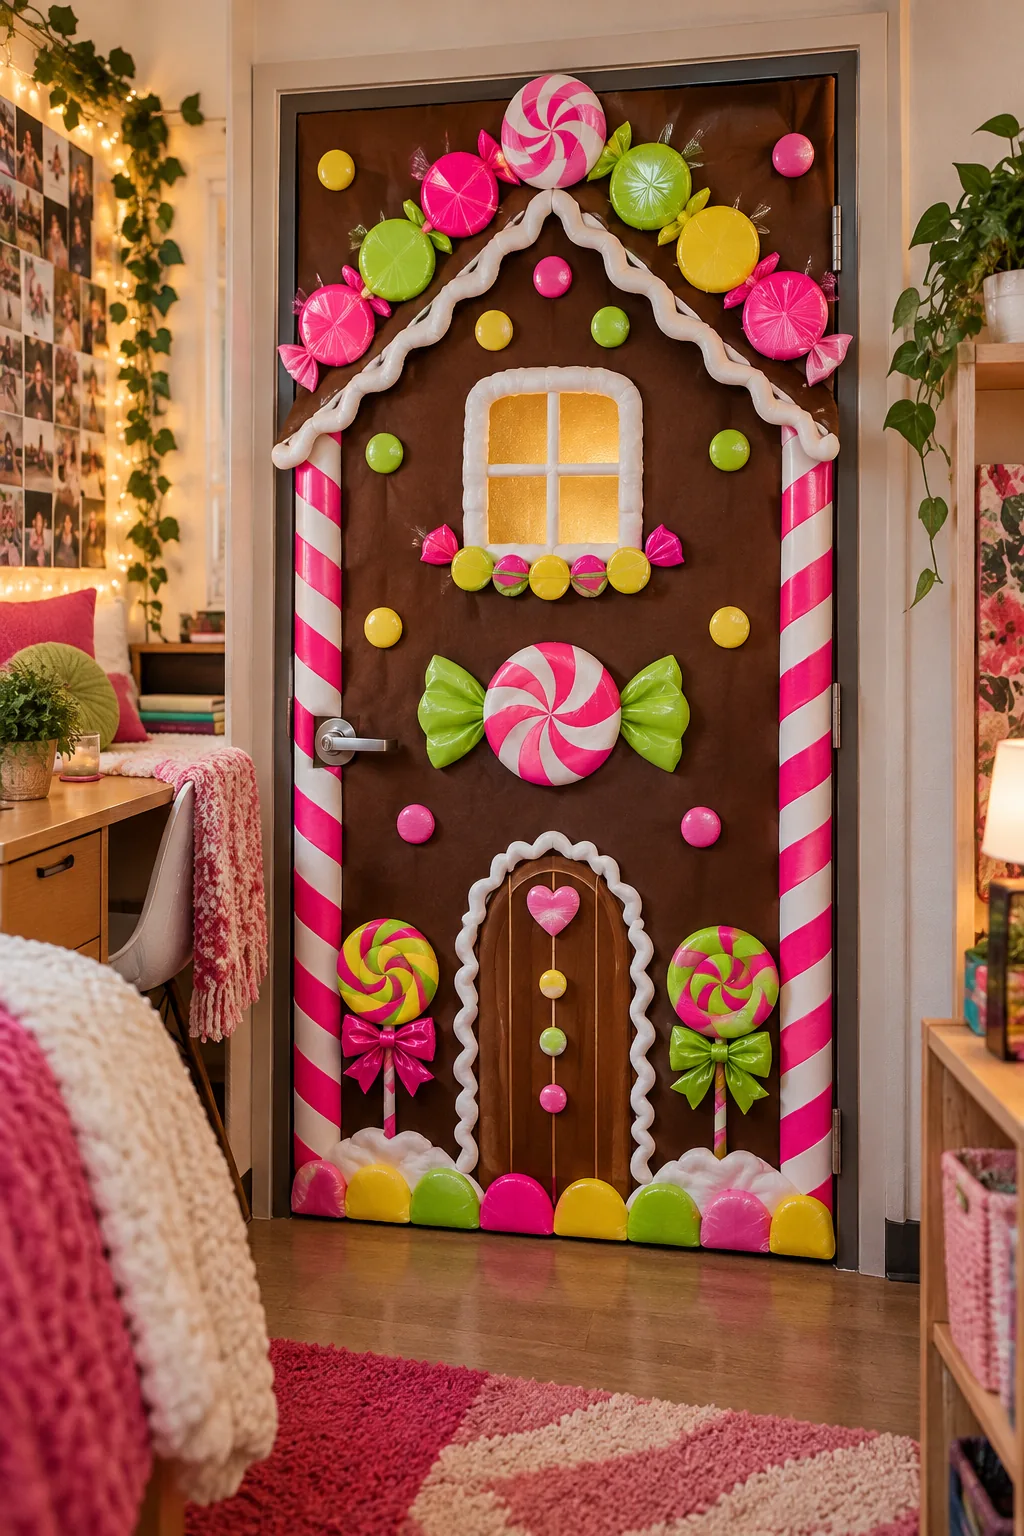
Electric Neon Brights: Pair a dark cocoa background with fluorescent painted paper plates for a high-contrast, modern dorm display.
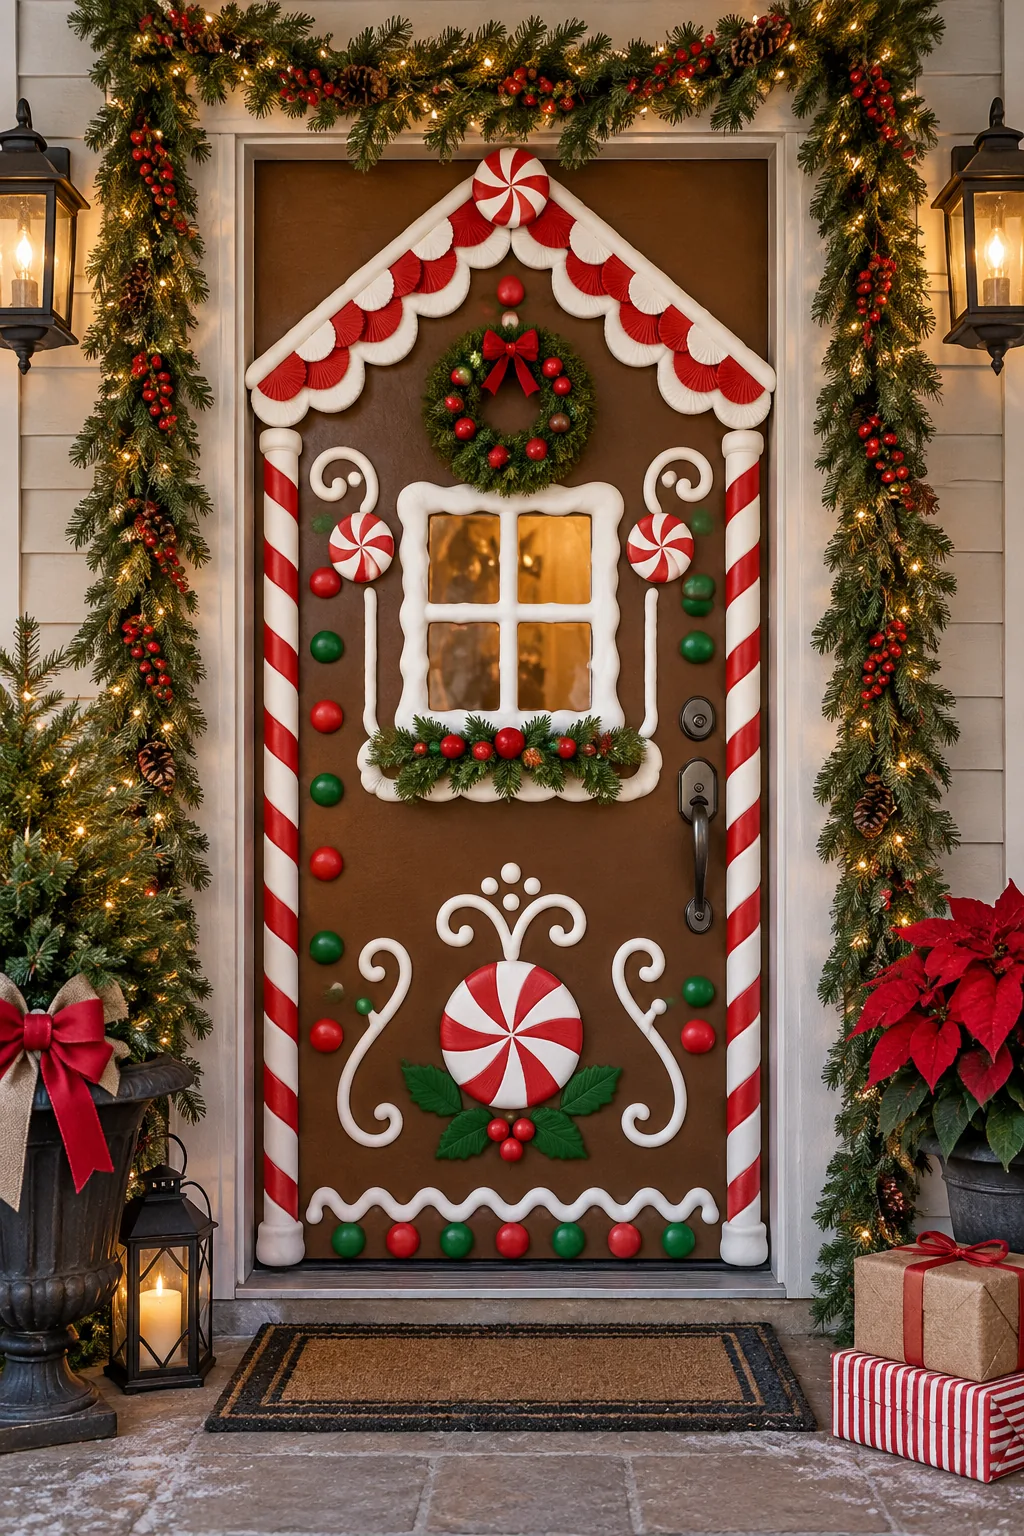
Classic Traditional Colors: Stick to deep forest greens and cherry reds framed by real pine garlands for timeless curb appeal.
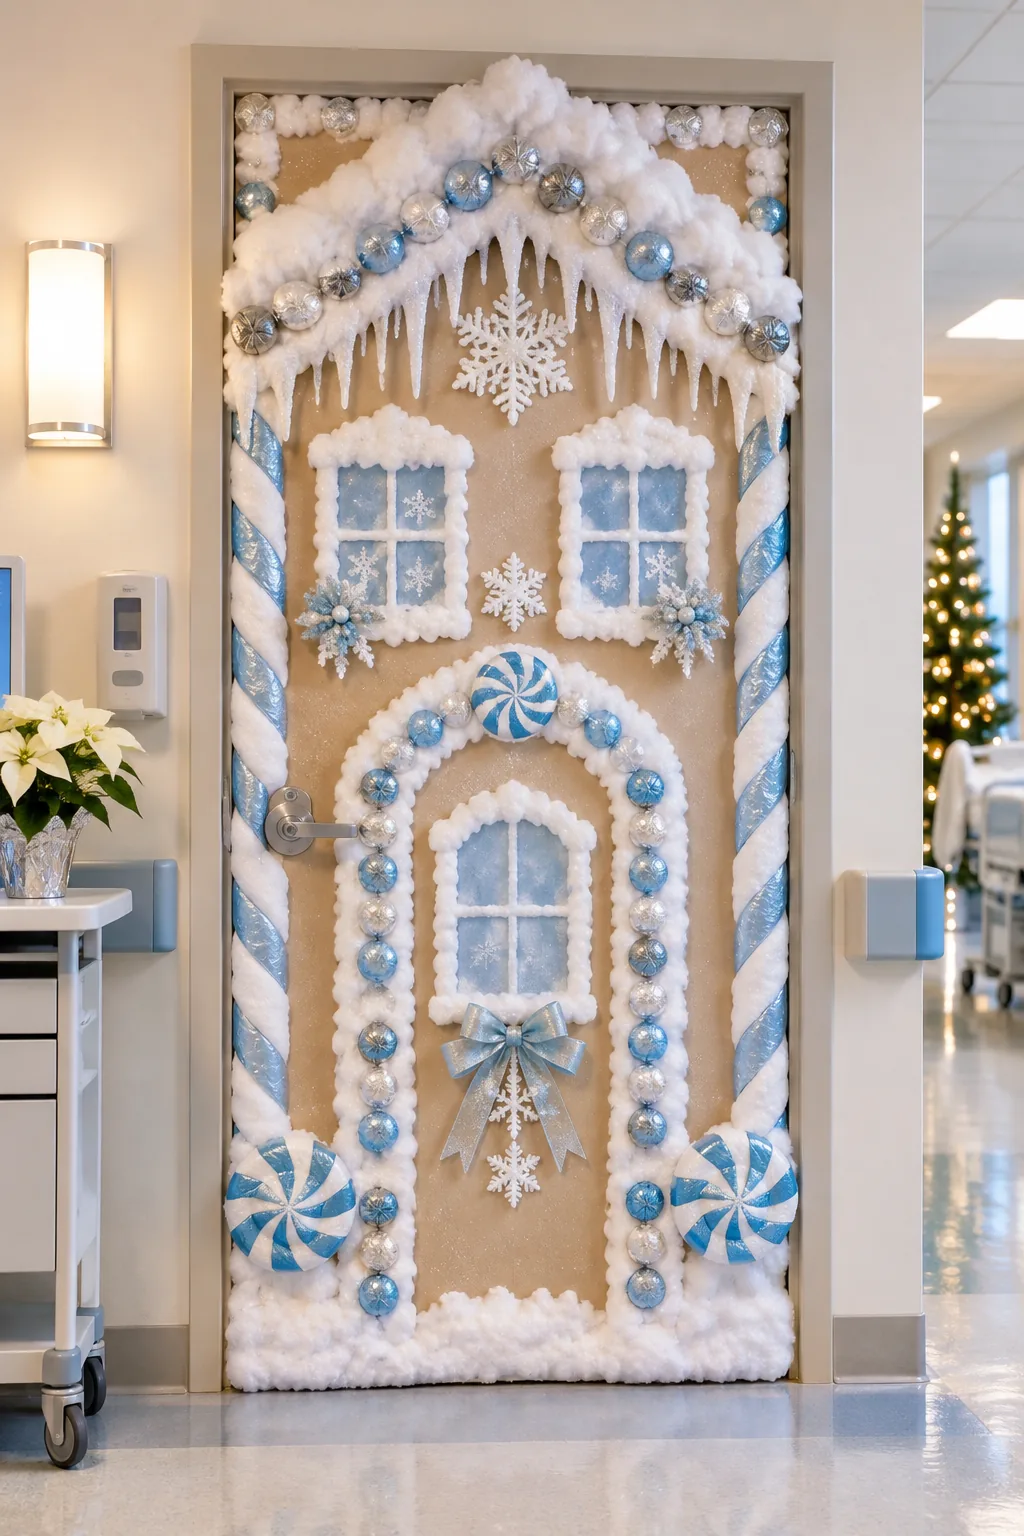
Frosted Winter Wonderland: Layer sparkling faux snow and metallic silver candy wrappers over a pale tan base for an icy, elegant finish.