1-Day Patio Flooring Upgrade: Tile Calculator & Layout Guide
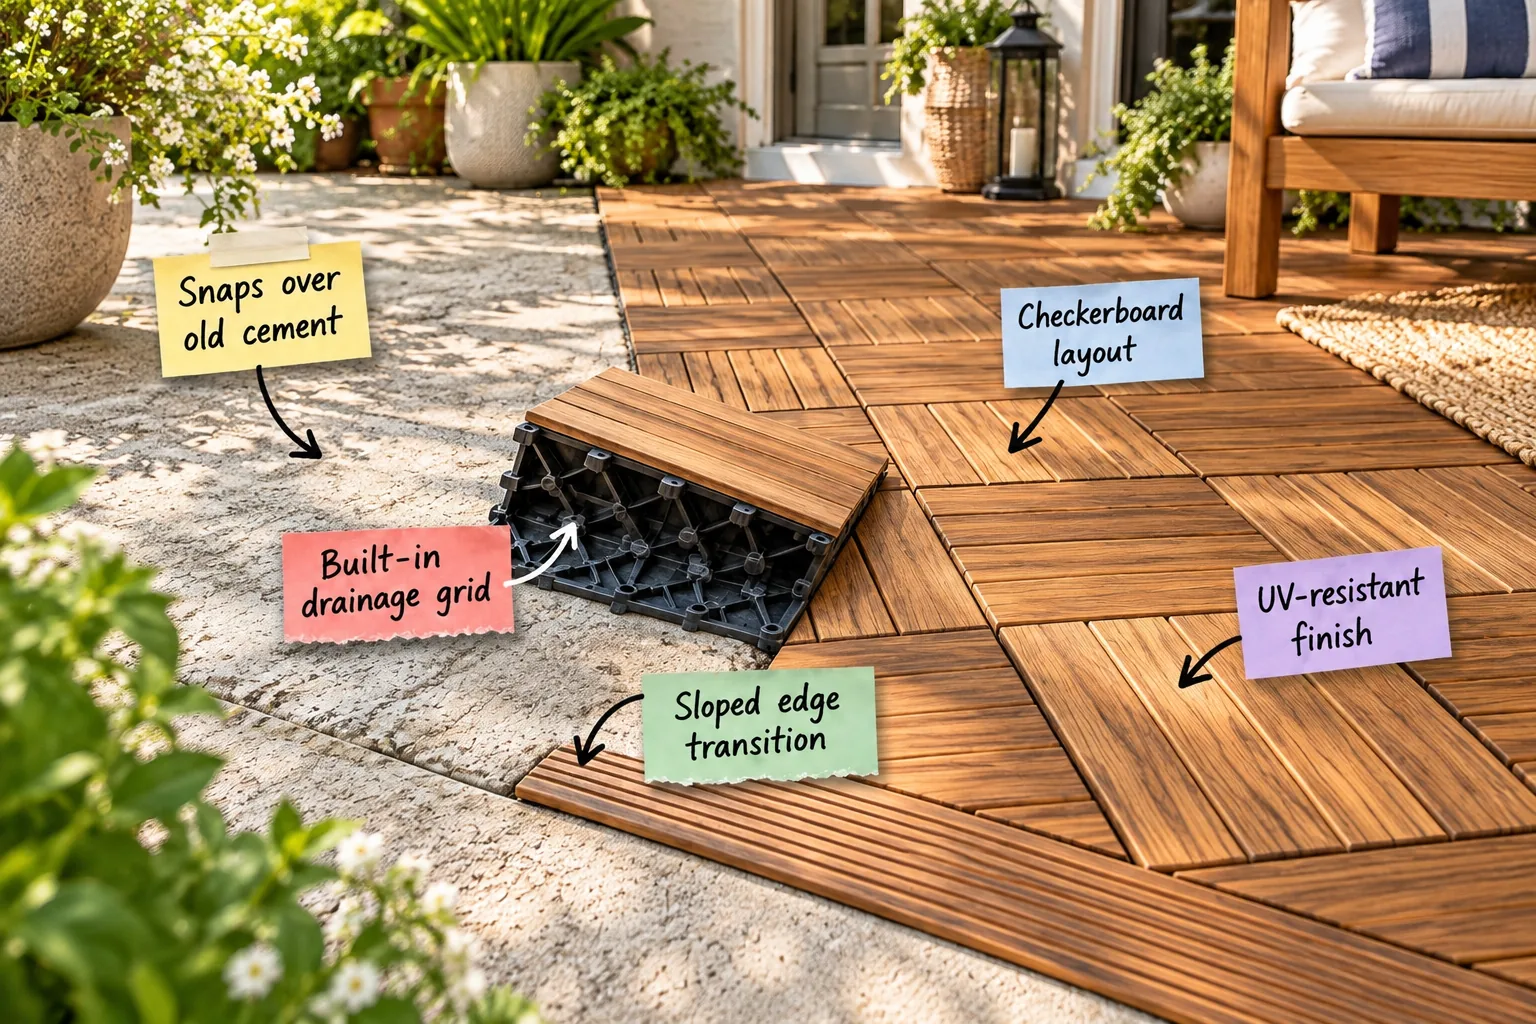
You can completely transform your existing concrete slab in a single afternoon using our free tile calculator and pattern layout guide. We will walk through this one-day upgrade from assessing the bare foundation up to the final edge transitions and protective finish.
Assessing Your Outdoor Space
Before ordering materials, take a close look at your backyard footprint to confirm the ground is solid enough for a floating floor. Interlocking deck systems require a hard, rigid baseline, making your existing poured patio the absolute perfect candidate for a rapid cosmetic upgrade.
Prepping the Old Cement Slab
Interlocking deck tiles are designed to snap directly over old cement without any messy adhesives or mortar. For a stable floor that does not bounce, verify that your concrete foundation has a surface variance of no more than 1/4 inch over a 10-foot span.
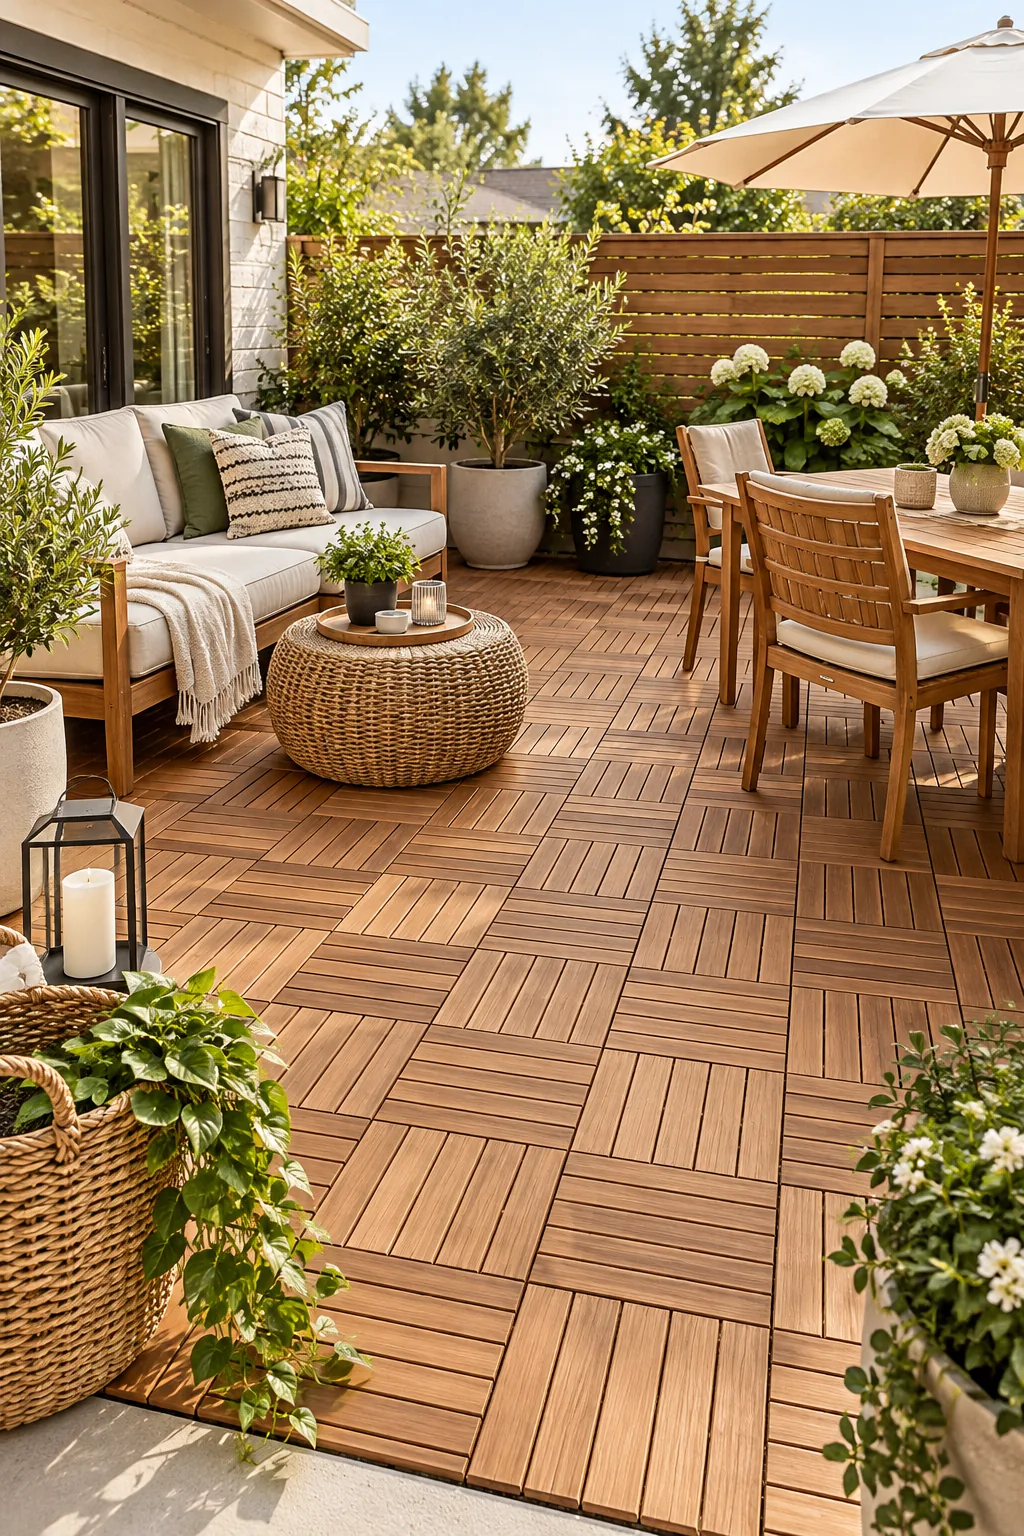
Before snapping your first tile into place, take ten minutes to ensure your concrete canvas is fully prepared for a flawless installation.
Measuring the Surface Variance
If you suspect a dip in the foundation, lay a completely straight two-by-four across the suspected area and slide a tape measure underneath. Any gap larger than a quarter-inch requires a quick application of self-leveling compound so the new floor will not flex underfoot.
How the Drainage Grid Works
Moisture management is handled entirely by the built-in drainage grid located on the underside of each individual piece. This 1/2-inch plastic base elevates the wood slats above the concrete, preventing the organic material from sitting in standing water after a heavy thunderstorm.
Understanding Water Flow Dynamics
Because the channels remain completely open, rainwater simply passes through the gaps and follows the natural grade of your yard. You never have to worry about trapped moisture causing premature rot, provided the original slab was poured with standard exterior drainage angles.
Your Tile Calculator and Layout Guide
To determine exactly how many boxes you need, measure your patio’s total square footage and always add a 10 percent overage to account for the inevitable custom cuts around posts or irregular exterior walls.
When I tackled my own backyard makeover last spring, I almost ran short on materials, so I created this printable tile calculator and pattern layout guide to help you order the exact right amount.
Accounting for Irregular Patio Shapes
If your outdoor living area features curves or angled steps, break the total footprint into smaller rectangular zones before multiplying the length by the width. Tally up the square footage of these smaller blocks to find your absolute baseline before adding that crucial safety buffer.
Selecting the Best Starting Corner
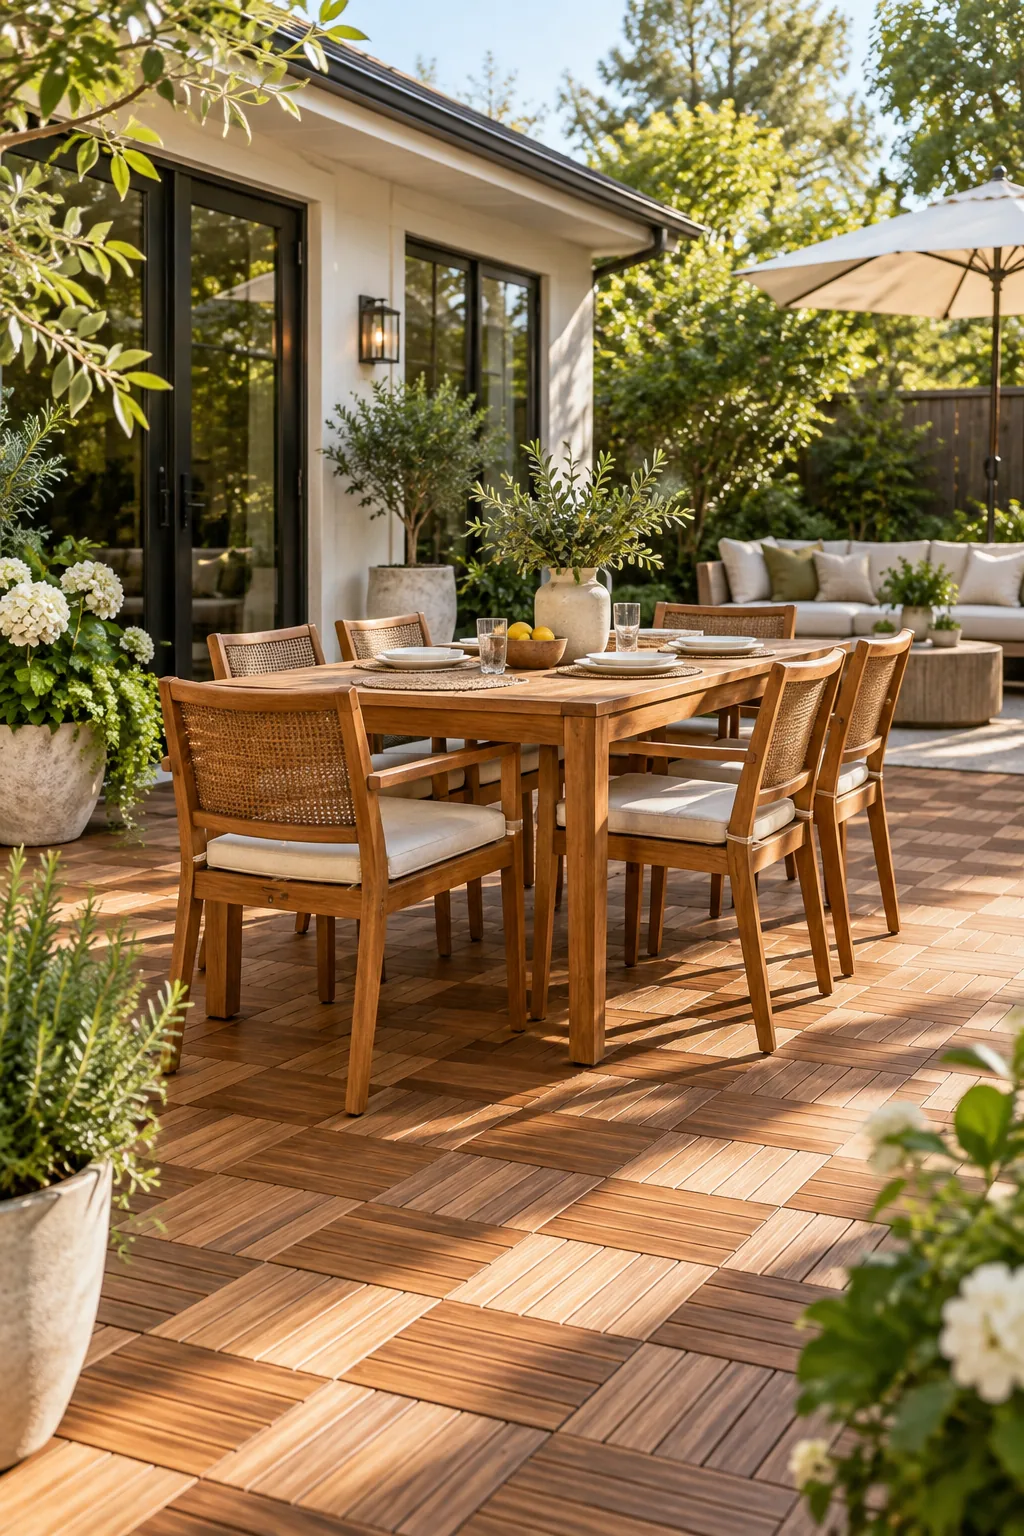
Always begin your installation at the most visible 90-degree corner, usually right against the main sliding glass door. Working outward from this primary focal point ensures that any trimmed pieces end up hidden along the outer grass line rather than sitting front and center.
Creating the Checkerboard Layout
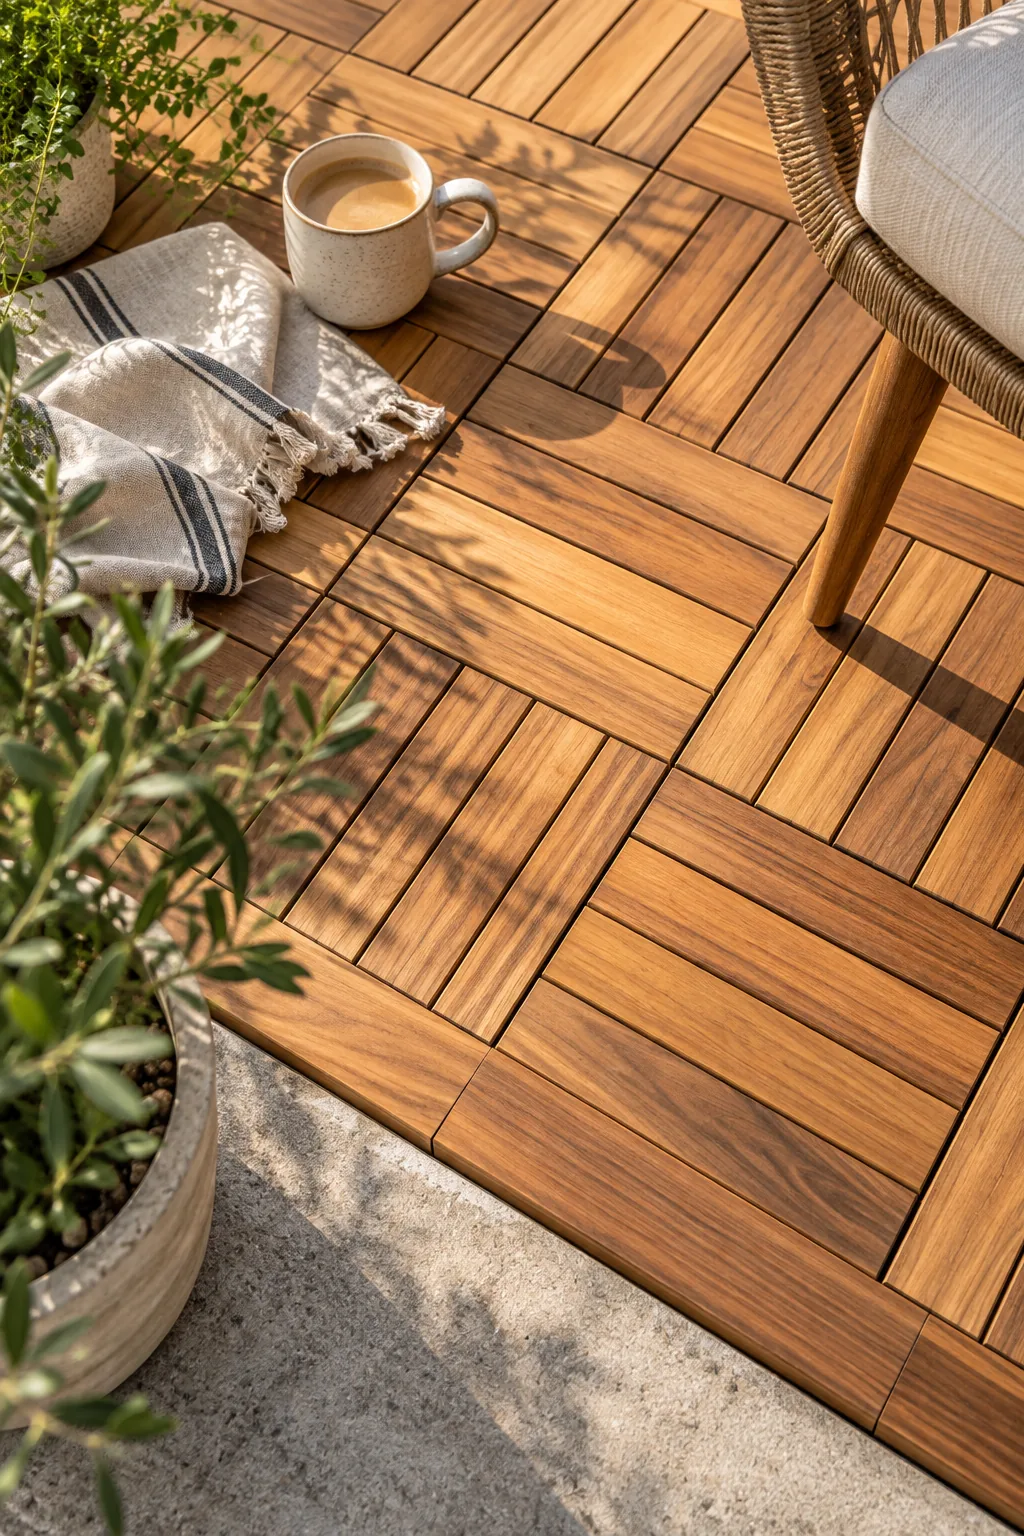
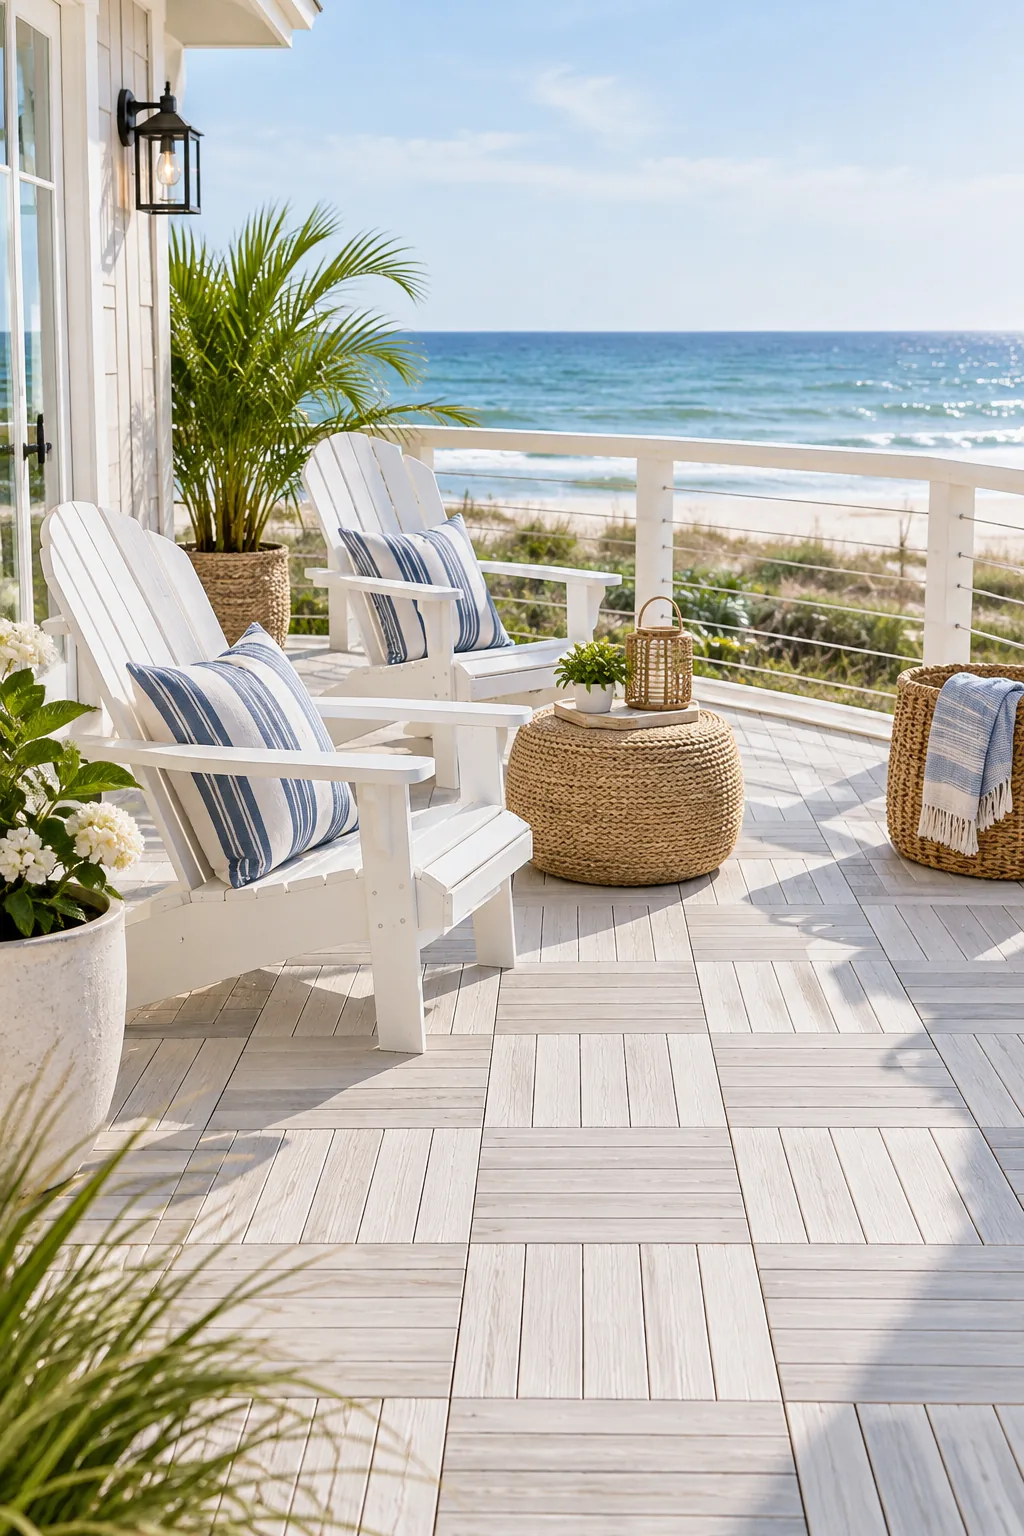
Alternating the wood grain direction of each adjacent square creates a classic checkerboard layout that naturally disguises slight misalignments. I actually prefer this specific pattern for all my weekend workshops because the perpendicular lines hide tiny DIY layout imperfections absolutely flawlessly.
- Orient the first square so the wooden slats run parallel to your exterior house wall.
- Place the second square directly next to it with the slats running perpendicular to the wall.
- Continue this alternating rotation across the entire row to establish the visual grid.
- Start the second row with a perpendicular square to offset the pattern from the first row.
Aligning the Wood Grain
Maintaining a strict alternating rotation keeps the final aesthetic looking intentional and professionally designed. If you accidentally place two identical grains side by side, simply lift the outer edge of the mistaken piece and pop it free to correct the orientation instantly.
Snapping the First Row Together
The plastic loops on the edge of each base slide securely over the corresponding pins of the neighboring piece with a firm downward press. You should hear a distinct click, confirming the internal grid is locked and ready to handle foot traffic.
Managing Thermal Expansion Gaps
Natural materials expand and contract as humidity levels fluctuate throughout the changing seasons. The interlocking grid automatically spaces the wooden slats correctly, but you still need to leave a small perimeter gap where the flooring meets your home’s exterior siding.
| Material Interface | Minimum Gap Size | Reason for Clearance |
|---|---|---|
| Wood Siding | 1/2 inch | Prevents moisture transfer |
| Brick or Stucco | 3/8 inch | Allows thermal expansion |
| Heavy Railing Posts | 1/4 inch | Stops buckling in summer |
| Concrete Steps | 1/4 inch | Accommodates natural shifting |
Working Across the Concrete Canvas
Once the initial border is perfectly straight, the rest of the installation moves incredibly fast as you work diagonally across the space. Keep your body weight resting on the newly installed sections to help press the subsequent rows firmly down into the interlocking clips.
Finishing with Sloped Edge Transitions
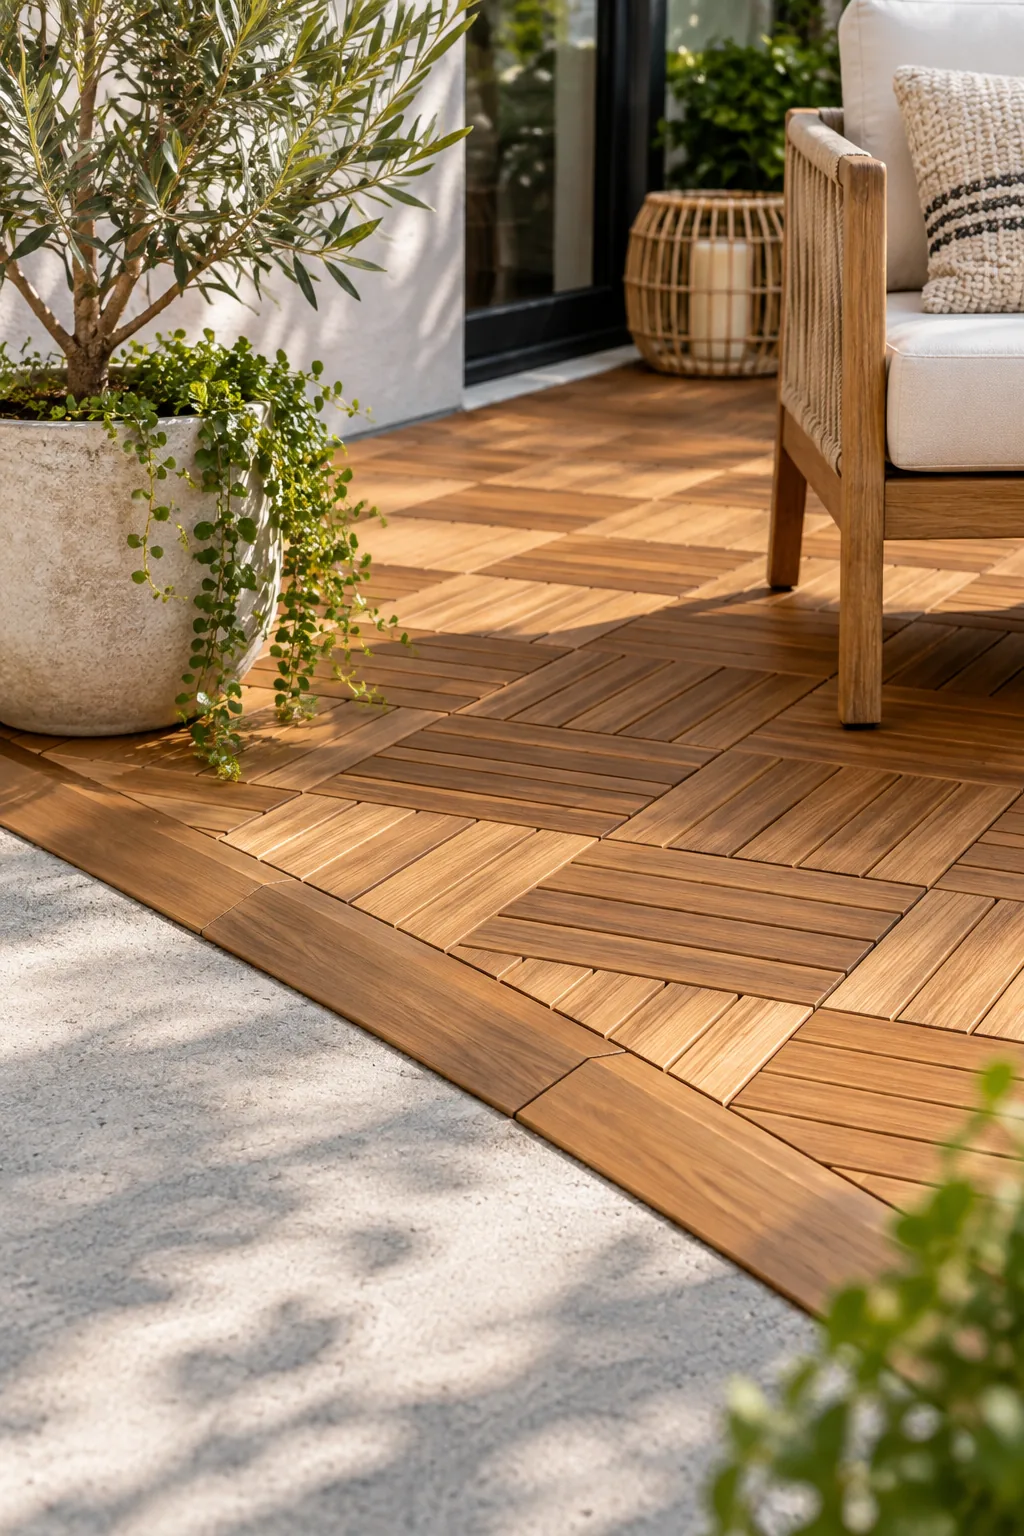
Exposed perimeters require a sloped edge transition piece to safely complete the floating floor without leaving blunt vertical drop-offs. These tapered borders snap directly into the outer tile loops, giving the temporary flooring a permanent, built-in aesthetic.
Eliminating Perimeter Tripping Hazards
By smoothing the transition from the elevated wood down to the bare concrete, you protect bare toes and make the patio fully accessible. Always purchase the matching edge pieces from the same manufacturer to ensure the locking mechanisms align perfectly with your main floor.
Securing the Outer Corners
The edge transition system includes specialized corner pieces that cap the exposed 90-degree angles where two sloped borders meet. Snapping these final caps into place visually frames the entire project, tying the checkerboard pattern together with a clean, continuous wooden ribbon.
The UV-Resistant Wood Finish
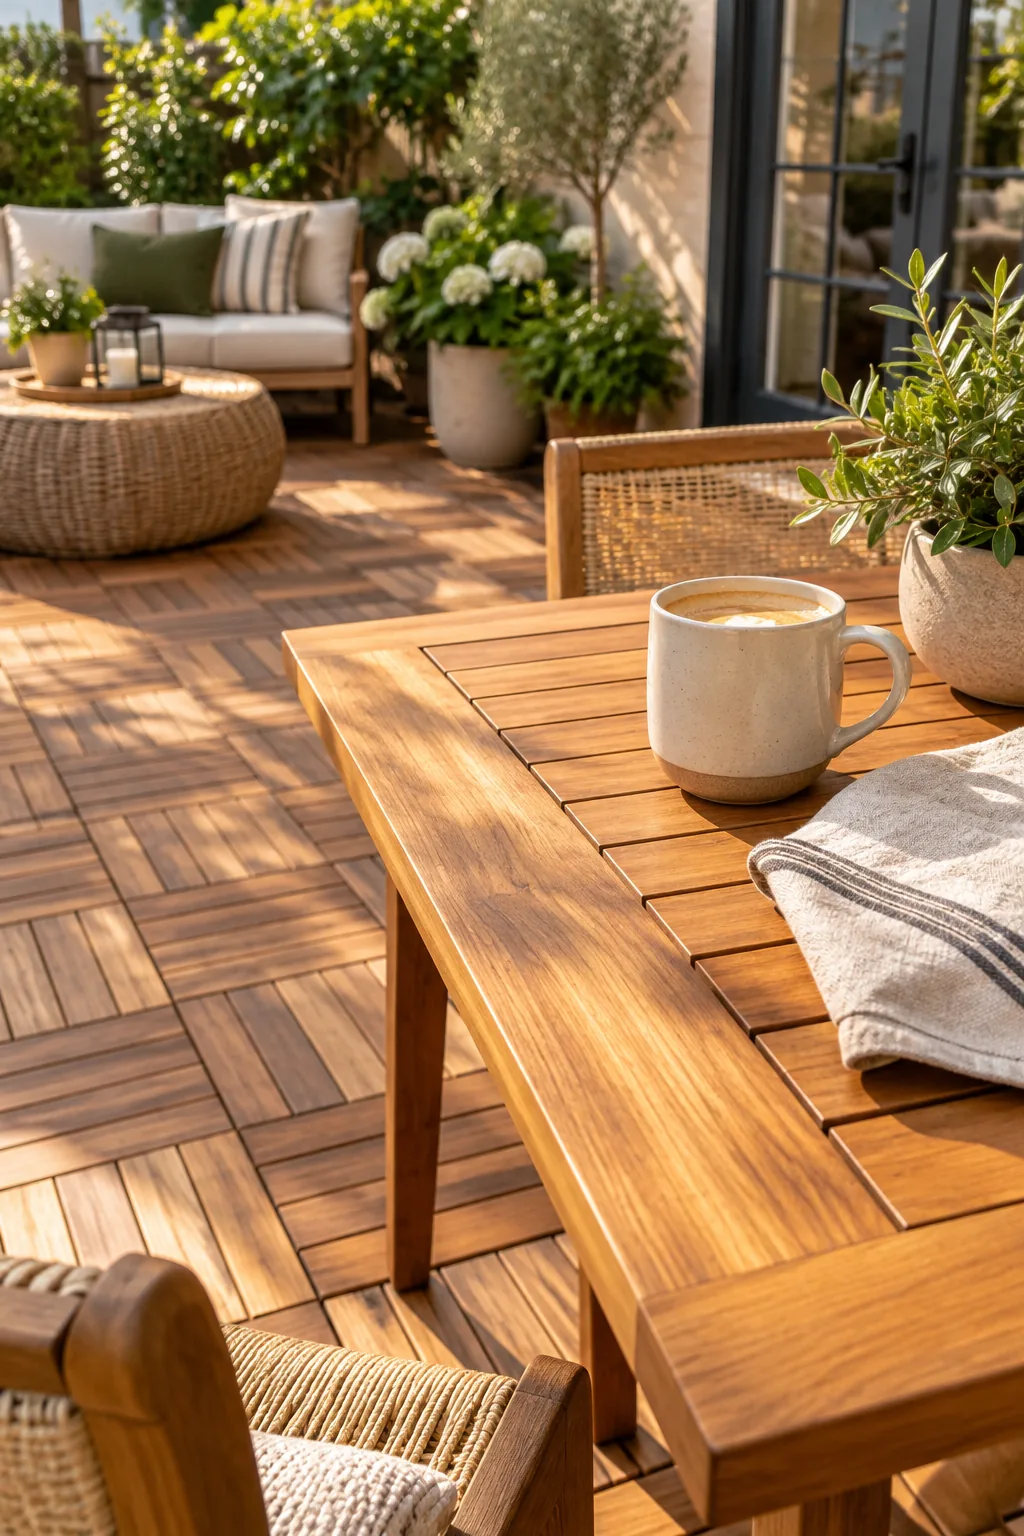
Premium deck tiles feature a factory-applied UV-resistant finish that protects the rich wood tones from rapid sun bleaching. To maintain this warm color in fully exposed outdoor spaces, plan to apply a clear protective penetrating oil every 12 to 18 months.
Applying Penetrating Protective Oil
When the original factory seal begins to look slightly dull or water stops beading on the surface, it is time for a quick maintenance coat. Sweep the area completely clean, apply the clear protective penetrating oil with a wide foam brush, and let it cure overnight.
Custom Cuts Around Obstacles
Trimming tiles to fit your unique patio shape is straightforward, provided you use the right approach to keep the wood completely intact during the cutting process.
Navigating Heavy Railing Posts
If a metal support post falls directly in the center of a square, you can carefully notch out a U-shape to slide the flooring right around it. Always measure twice and mark your cut lines with a pencil on the underside of the plastic grid for the cleanest results.
Sealing the Freshly Cut Wood
Whenever you slice through the factory-finished slats, you expose raw, unprotected wood to the outdoor elements. Grab a small brush and dab a layer of exterior wood sealer onto those freshly exposed edges to prevent moisture from wicking into the end grain over time.
Adding Outdoor Area Rugs
While the rich wood tones are beautiful on their own, layering a breathable outdoor rug over the checkerboard pattern helps define separate dining and lounging zones. Just ensure the rug pad is rated for exterior use so it will not trap rainwater against the wooden slats.
Incorporating Potted Greenery
Because the plastic base distributes weight so evenly across the concrete, you can safely arrange massive terracotta planters right on top of the tiles. Grouping varying heights of greenery around the perimeter softens the sloped edges and blends the new floor naturally into your garden landscape.
Styling Your One-Day Transformation
Once the final edge is snapped into place, your new patio is immediately ready for heavy use without any required waiting period. The dense interlocking grid easily supports standard heavy furniture, large ceramic planters, and metal fire pits without denting or shifting.
5 Deck Tile Looks for Any Outdoor Space
Find the perfect material and color palette to match your home's exterior style.
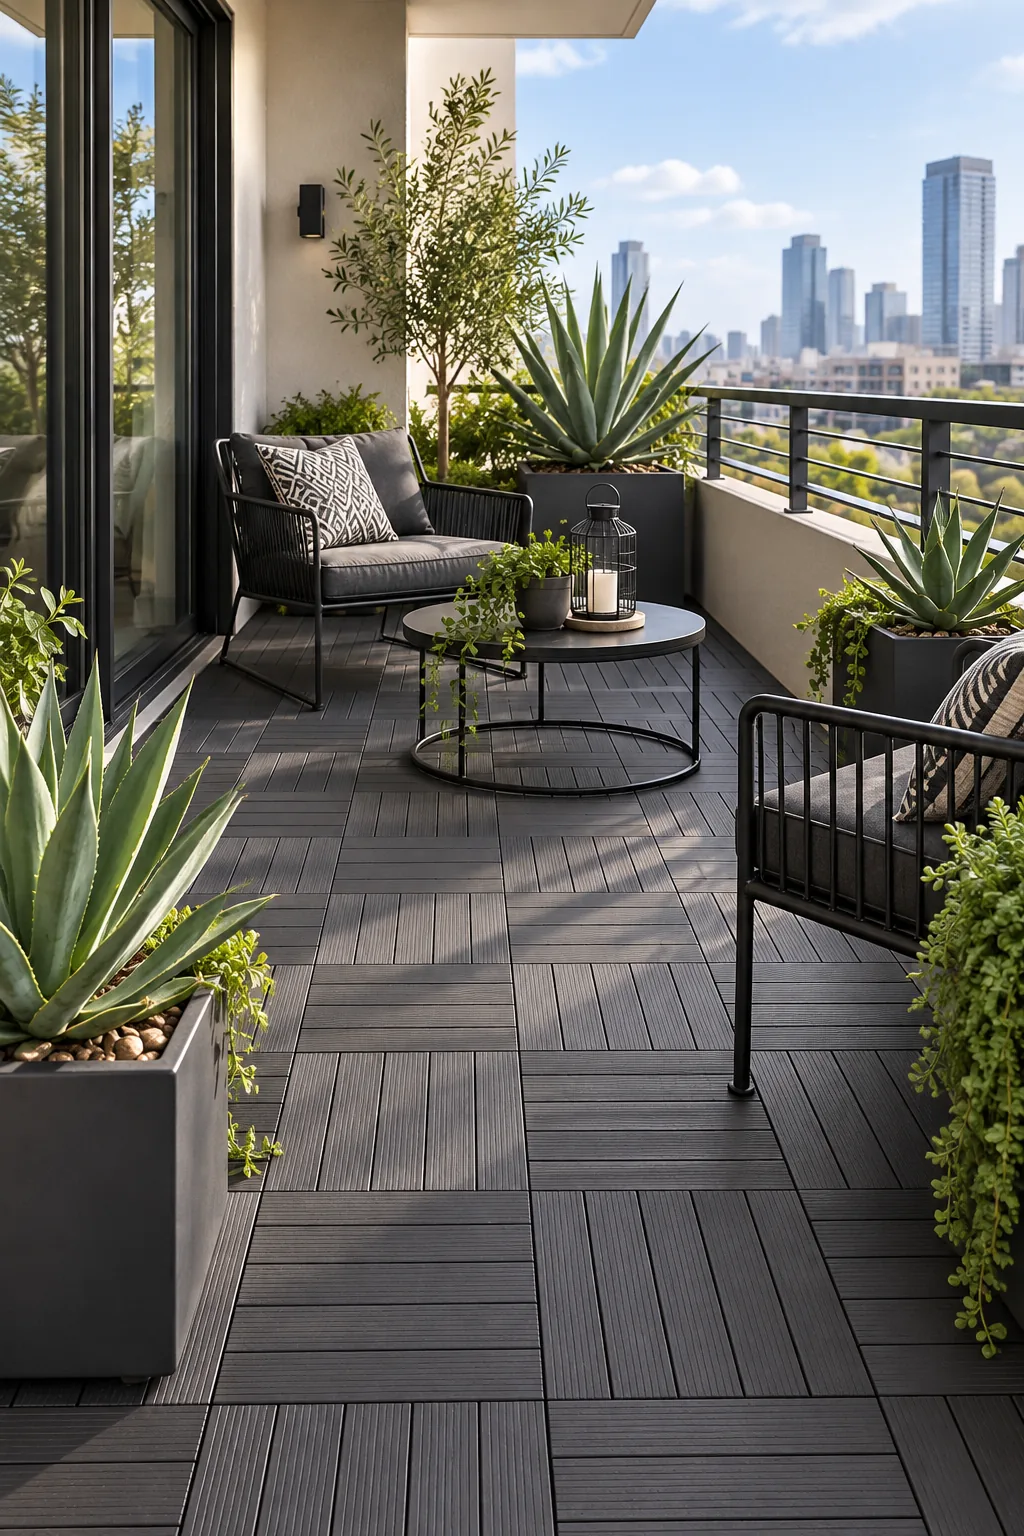
Modern Charcoal Composite: Dark grey composite tiles offer a sleek, modern aesthetic that pairs perfectly with minimalist metal furniture.
Warm Acacia Wood: Rich reddish-brown acacia wood brings immediate warmth and natural texture to a relaxed bohemian outdoor space.

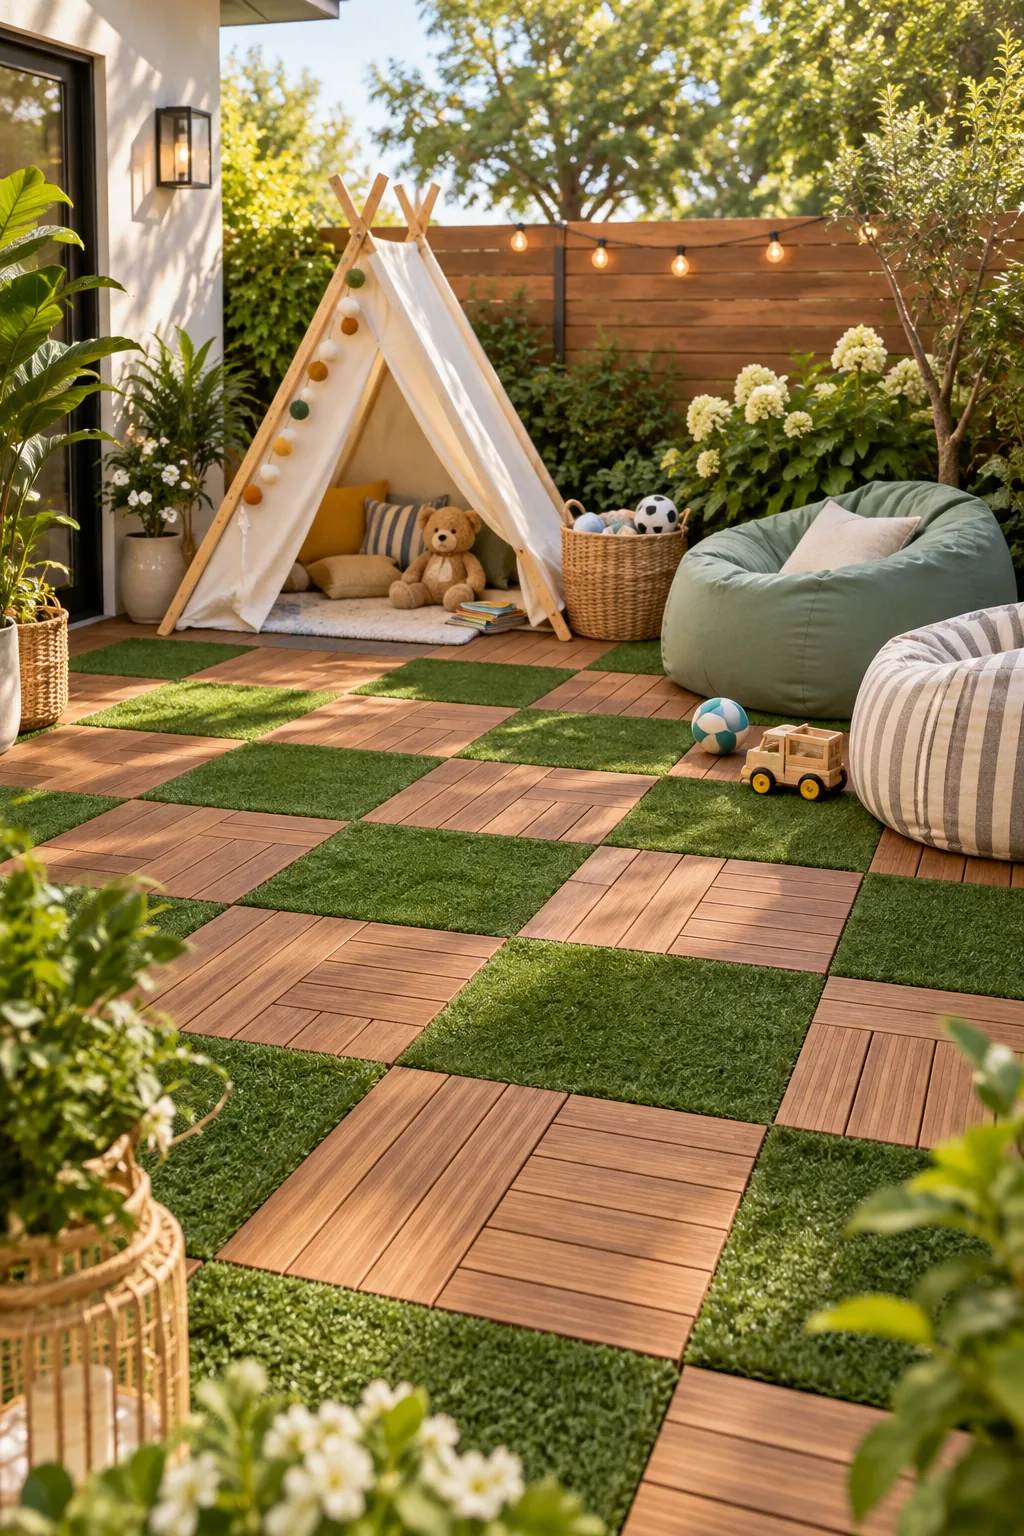
Mixed Turf and Wood: Combine artificial grass squares with wooden tiles to create a playful, soft-touch zone for family courtyards.
Whitewashed Coastal: Light grey whitewashed tiles reflect the sun and create an airy, beach-inspired foundation for coastal homes.
Classic Stone Texture: Snap-together stone composite tiles deliver the elegant look of a traditional masonry patio without the heavy labor.