Cheap DIY Patio Layout: The $5/Sq Ft Paver & Gravel Calculator
Grab our printable material calculator and spacing guide to build a gorgeous, budget-friendly paver patio without cutting a single stone. You will be able to calculate exact material quantities and space your pavers perfectly for a flawless zero-cut layout today.
Marking the Initial String Lines
Before moving any dirt, outline your exact patio dimensions using wooden stakes and high-visibility mason line. Pulling these string lines tight ensures your outer boundaries remain perfectly square, which is absolutely critical when you are planning a geometric grid surface.
Excavating the Patio Footprint
Grab a flat-transfer shovel and remove the topsoil to create a recessed bed for your foundation layers. You want to dig down deep enough to accommodate your compacted base, leveling sand, and the full thickness of the concrete pavers.
- Mark your boundary with landscaping paint directly under the string line.
- Dig out exactly 4 inches of soil across the entire footprint.
- Use a scrap piece of lumber to scrape the bottom relatively flat.
Creating a Sloped Drainage Base
Water management is the secret to a patio that lasts decades without sinking. Grade the exposed dirt so it drops roughly one inch for every ten feet of distance away from your home’s foundation, forcing rainwater to drain safely into the yard.
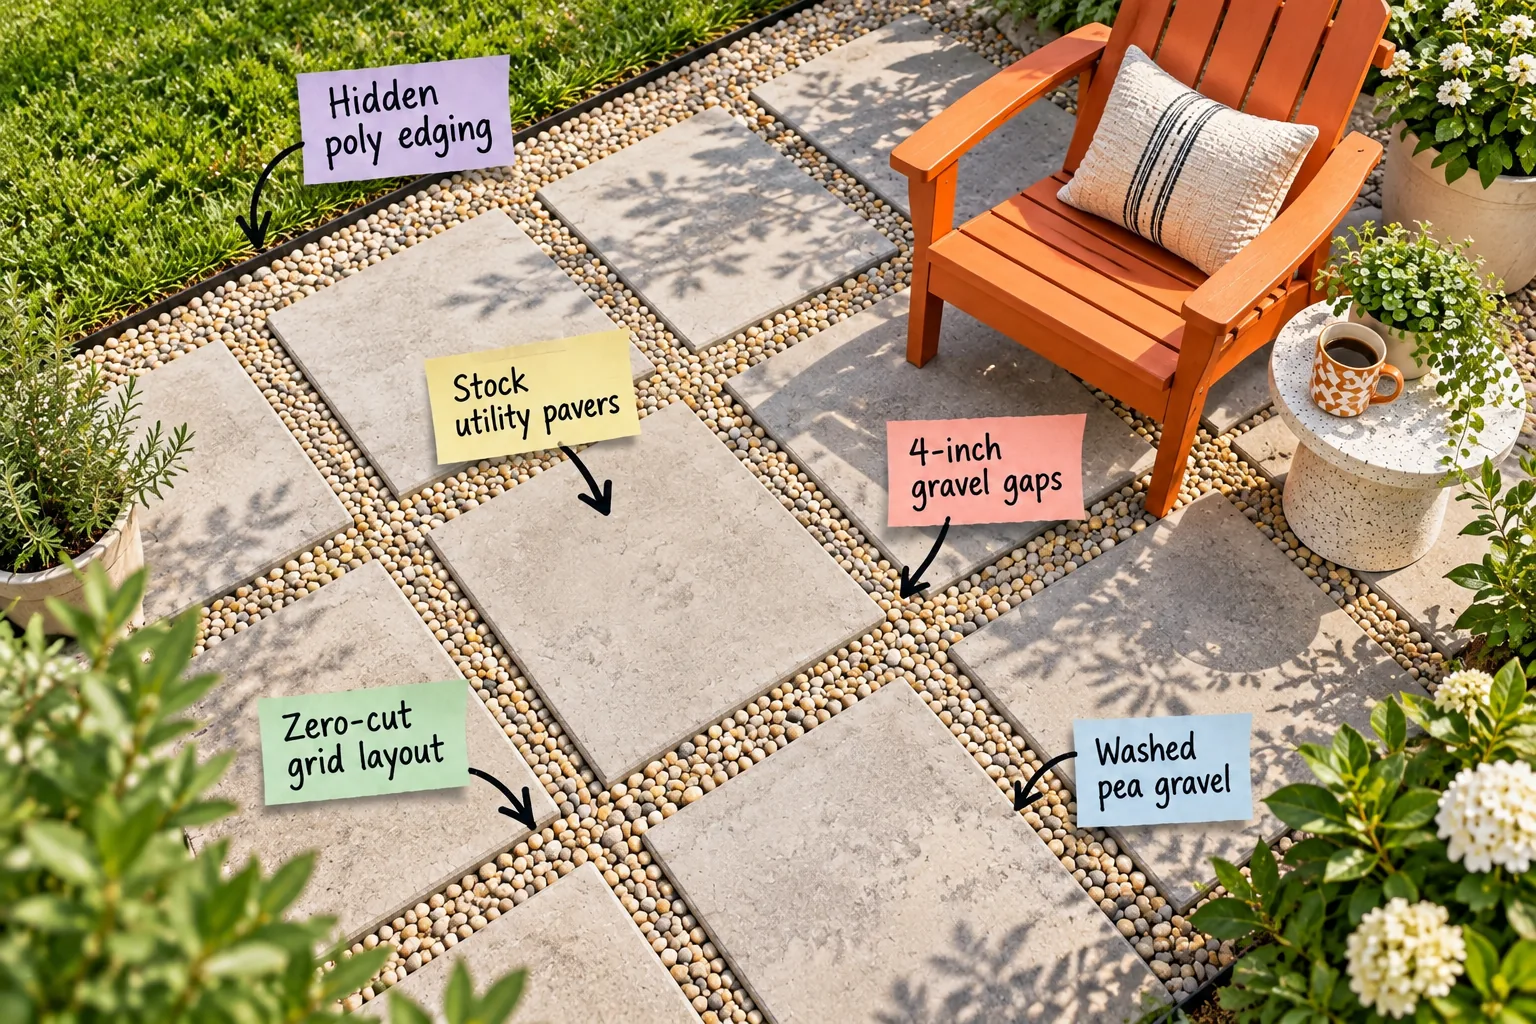
Securing the Perimeter with Hidden Poly Edging
Start by defining the exact footprint of your new patio using heavy-duty landscape edging to lock the entire system together. This invisible barrier is crucial for keeping the loose stone contained and preventing your lawn from creeping into the outdoor living space.
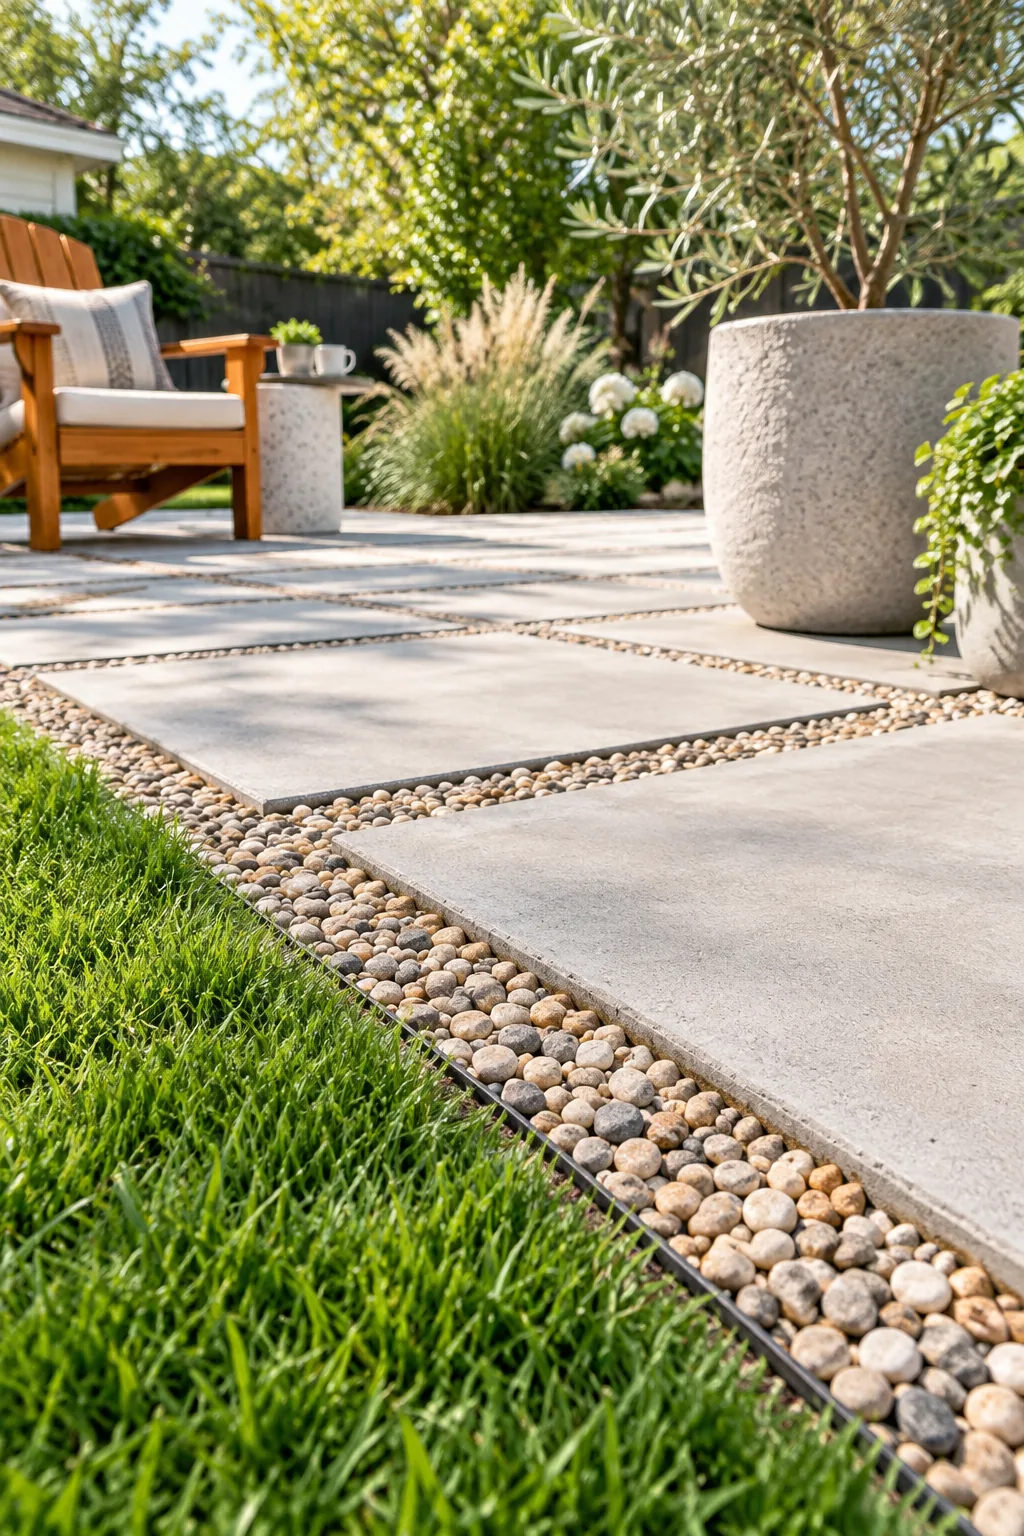
The hidden poly edging creates a crisp, rigid boundary where the gravel meets the lawn, ensuring your decorative stones never spill into the grass during heavy rain.
Compacting the Subsoil Foundation
Run a rented steel tamper over the excavated dirt until the surface feels as hard as a paved road. Skipping this physical compaction step allows the ground to settle unevenly later, which will eventually cause your beautiful grid to warp and sink.
Adding the Leveling Sand Layer
Pour roughly one inch of coarse concrete sand over the compacted dirt to create a pliable setting bed. This specific type of jagged sand locks together under pressure, providing a much more stable foundation than smooth play sand.
Screeding the Base Perfectly Flat
Lay two parallel steel pipes into the sand and pull a straight wooden board across them to shave off the high spots. This screeding technique guarantees your pavers will sit completely flush with one another, eliminating dangerous tripping hazards across the grid.
Choosing Stock Utility Pavers for the Base
Keep costs exceptionally low by purchasing basic 16-inch or 24-inch square concrete utility pavers from a local hardware store. Because these are mass-produced and untextured, they provide a modern, minimalist look for a fraction of the cost of stamped flagstone.
| Paver Size | Coverage Area | Estimated Cost |
|---|---|---|
| 16×16 inches | 1.77 sq ft | $4 to $6 |
| 20×20 inches | 2.77 sq ft | $7 to $9 |
| 24×24 inches | 4.00 sq ft | $10 to $13 |
Even a budget-friendly surface requires a stable foundation to prevent shifting over time. When I built my first Austin backyard patio, I rushed the prep work, and my favorite corner stones sank deeply into the mud after one heavy thunderstorm.
Staggering the Heavy Paver Delivery
Concrete utility stones are incredibly heavy, so have the supply yard drop the pallets as close to your build site as possible. Moving hundreds of pounds of concrete by hand is exhausting, so keeping the stack nearby saves your back during installation.
Planning a Zero-Cut Grid Layout
Design the patio dimensions around the size of your chosen pavers plus the gaps between them. By adjusting your overall footprint by just a few inches, you can use exclusively whole stones, completely eliminating the need to rent a wet saw.
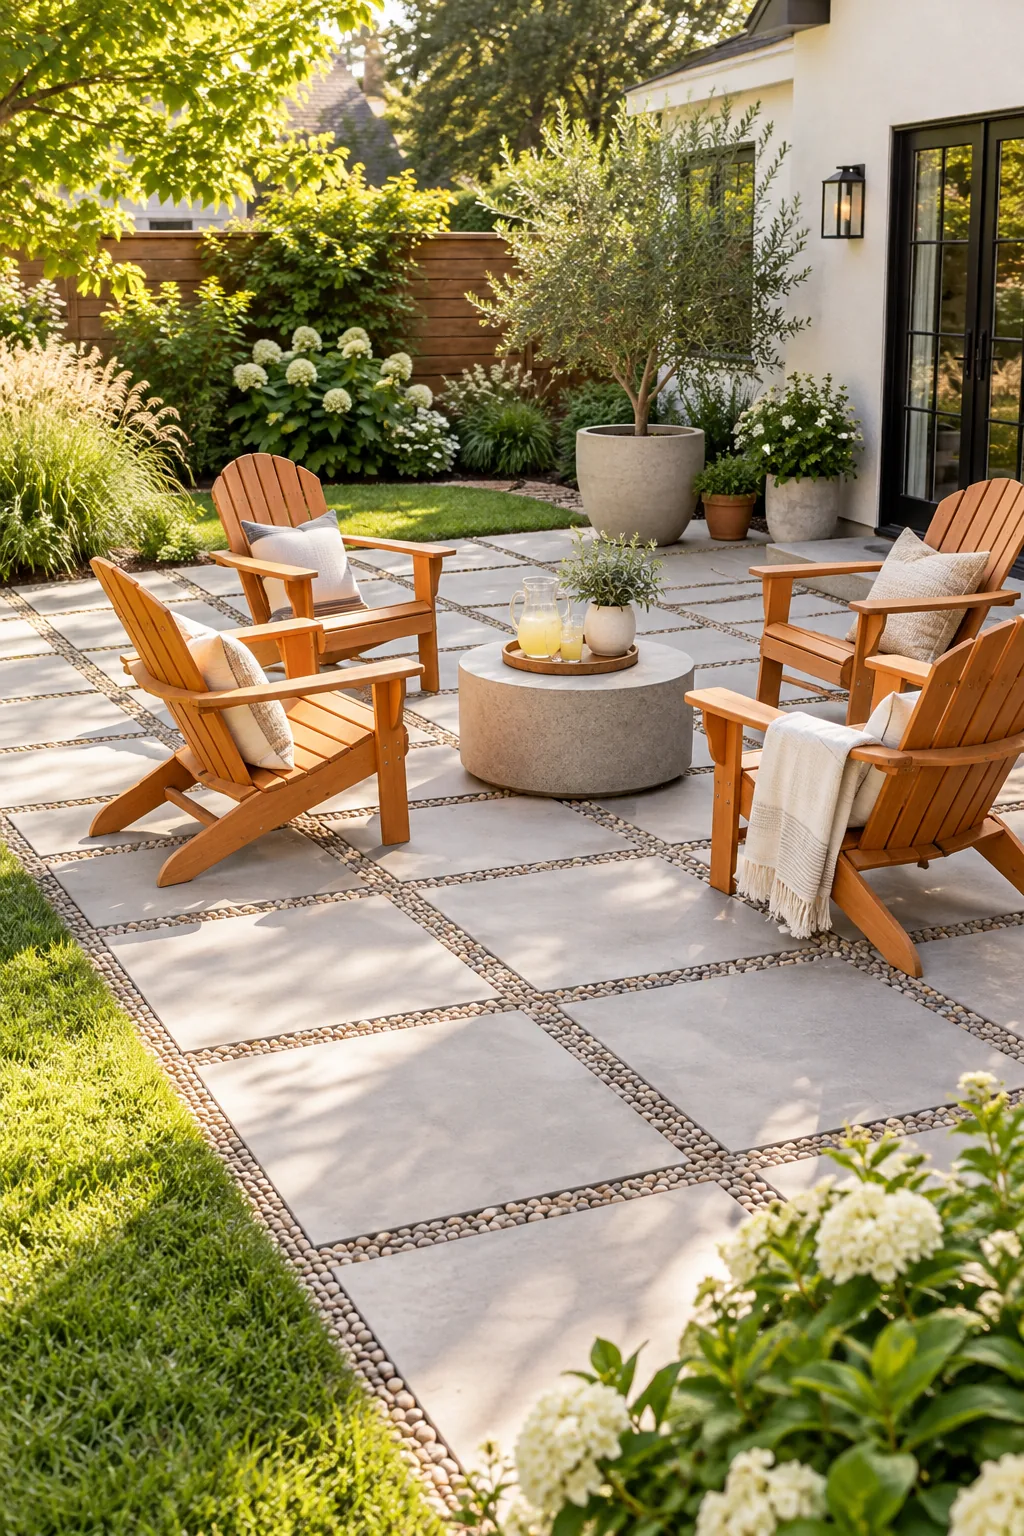
A zero-cut grid layout means the perfect, unbroken corner of an outer paver naturally forms your patio edge, saving you hours of frustrating masonry work and messy concrete dust.
Setting the 4-Inch Gravel Gaps
Space every paver exactly 4 inches apart in all directions using a scrap block of wood as a spacer. This specific measurement is wide enough to showcase the decorative stone but narrow enough to maintain a natural, comfortable walking stride.
Checking for Level Across the Grid
Rest a long aluminum carpenter’s level across multiple stones to verify they are sitting on the exact same plane. Tap any high corners down gently with a heavy rubber mallet until the bubble sits perfectly between the indicator lines.
Testing the Natural Walking Stride
Before adding any filler material, walk back and forth across the dry-laid concrete squares at your normal pace. The 4-inch gravel gaps should feel completely effortless to step over without forcing you to look down or awkwardly stretch your legs.
Preventing Weeds Beneath the Open Joints
Before placing any gravel, lay a high-quality, permeable weed barrier cloth directly over the dirt channels between your stones. This hidden layer ensures your crisp geometric grid does not become a maintenance nightmare after the first spring rain.
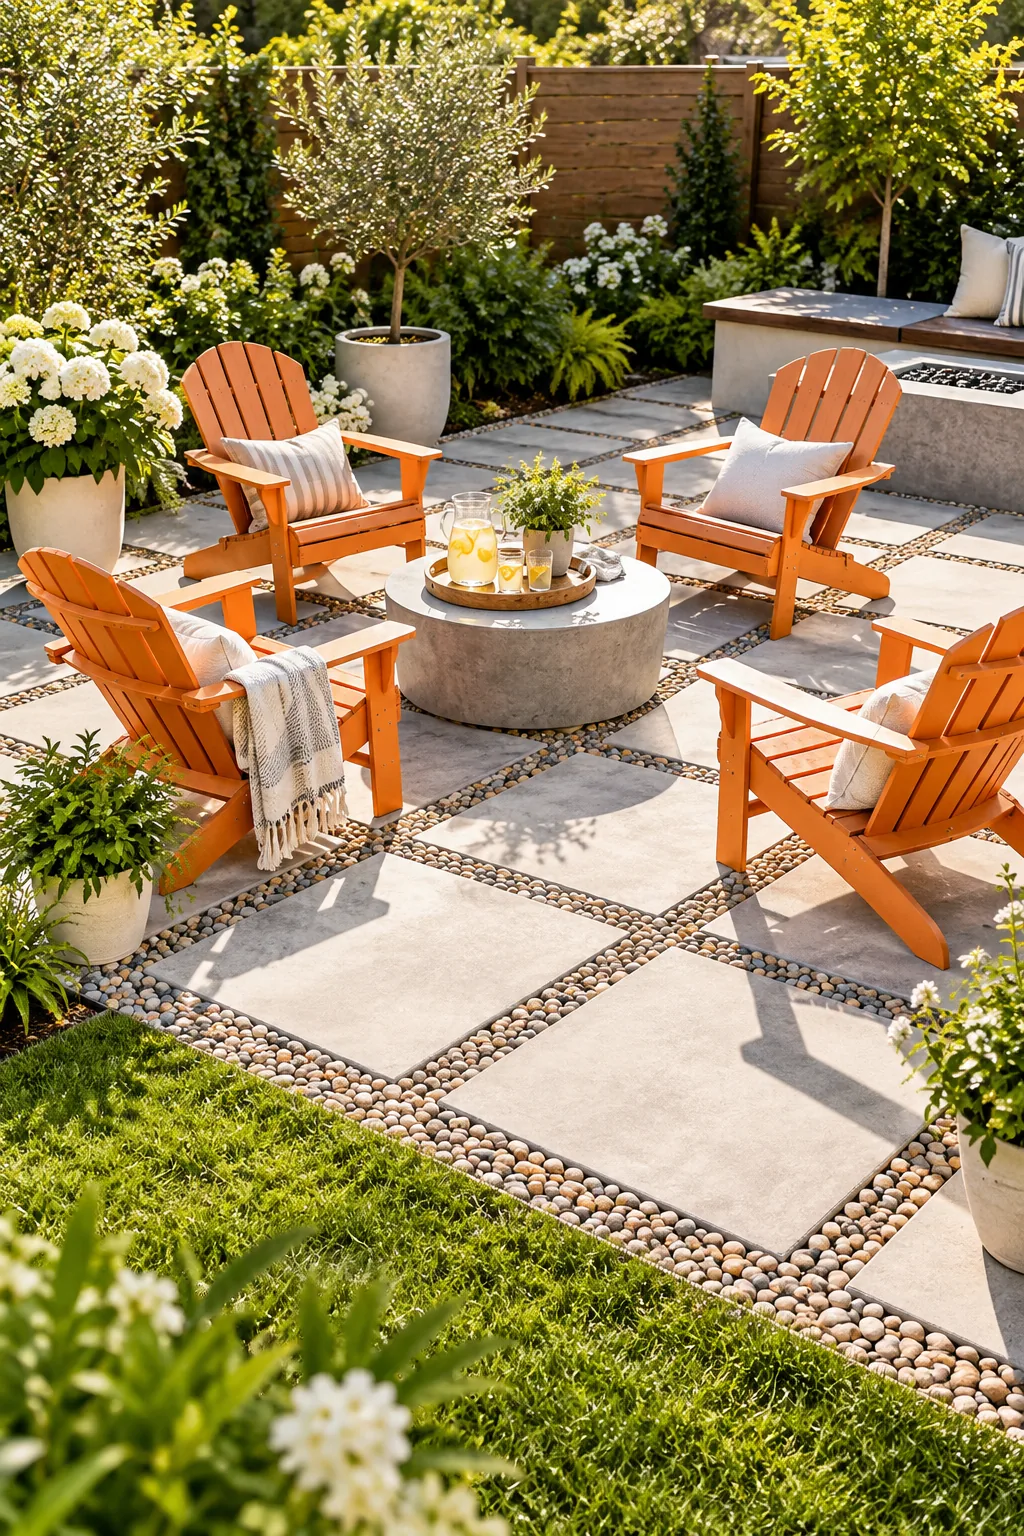
Filling the Voids with Washed Pea Gravel
Pour bags of washed pea gravel into the open channels and sweep them flush with a push broom. Always specify ‘washed’ gravel at the store to avoid the dusty, chalky residue that comes with standard crushed construction stone.
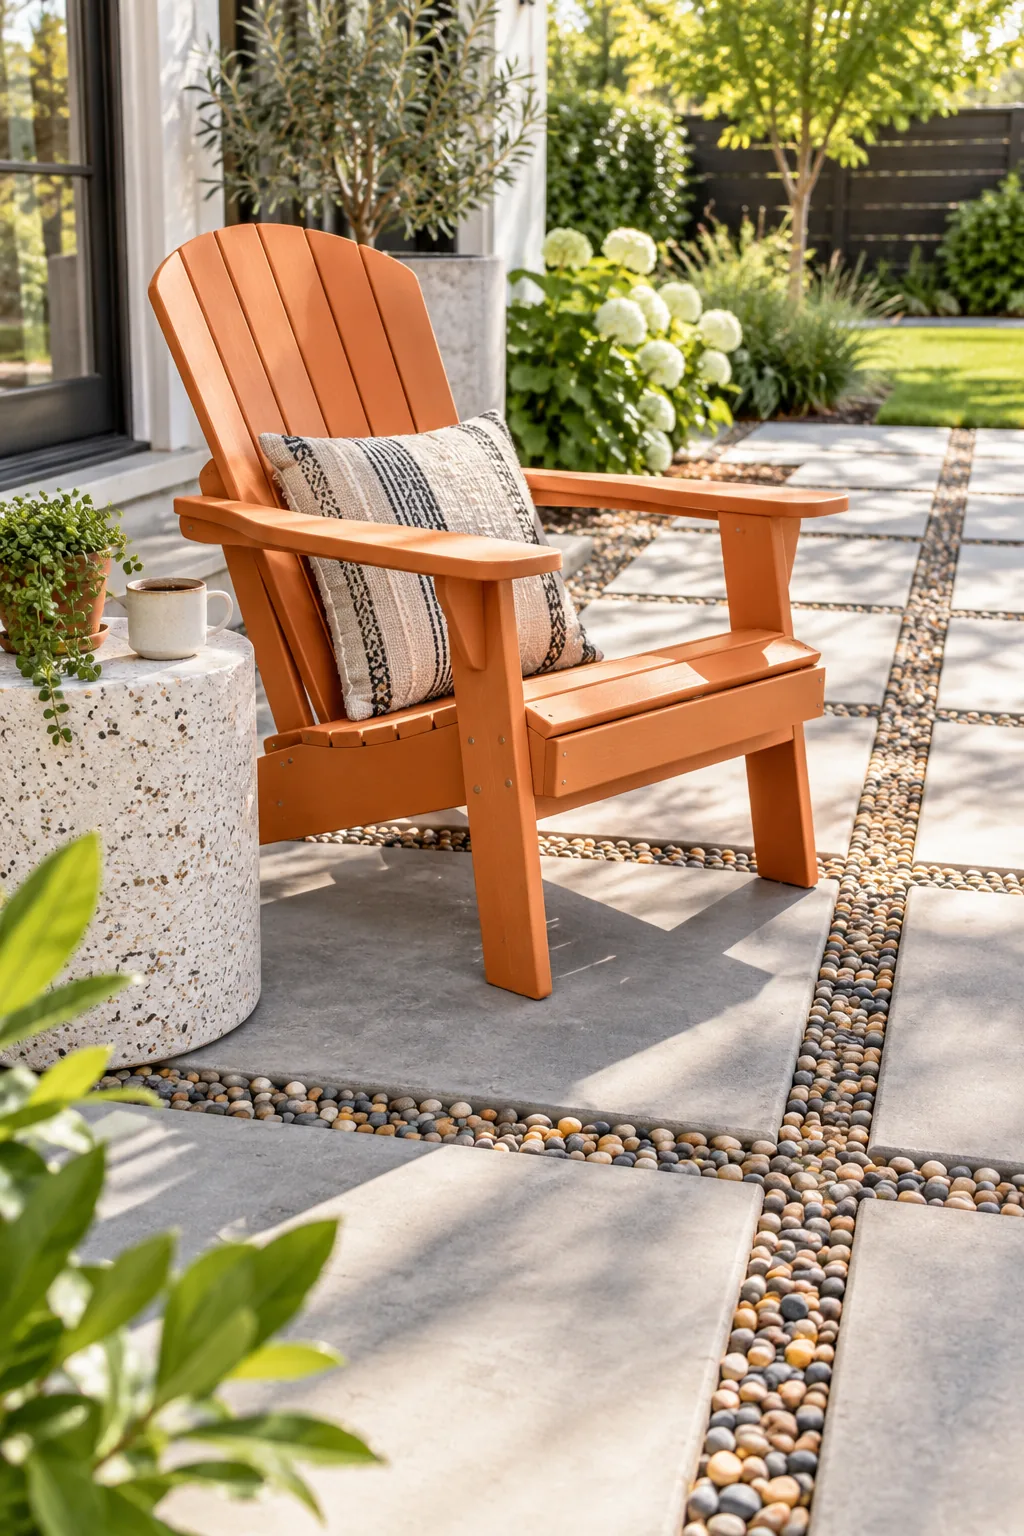
Using washed pea gravel creates a cluster of small, smooth stones between the pavers that feels comfortable under bare feet and drains rainwater instantly.
Sweeping the Stones Flush
Use a wide push broom to distribute the loose pebbles evenly until they sit just slightly below the top edge of the concrete. This slight recess prevents the round stones from migrating up onto the walking surface where they become annoying tripping hazards.
Styling Furniture on a Grid Patio
Arrange your outdoor seating so that the primary legs rest entirely on the solid concrete squares rather than floating over the gaps. This prevents wobbly chairs and keeps thin metal furniture legs from sinking into the loose stone.
The wide gravel joints dictate what kind of outdoor furniture will actually be comfortable to use. I once bought spindly wire bistro chairs for my grid patio, and they constantly sank sideways into the loose pebbles whenever a guest sat down.
Softening the Edges with Container Gardens
Break up the rigid geometry of the square pavers by placing large, round terracotta planters at the outer corners of your patio. Filling these pots with trailing vines and tall ornamental grasses instantly makes the modern grid feel lush and welcoming.
Applying a Protective Concrete Sealer
Roll a clear, penetrating masonry sealer over the porous utility pavers to protect them from messy barbecue grease and muddy paw prints. A matte finish preserves the natural industrial look of the concrete while making seasonal cleaning as simple as hosing it off.
Maintaining the Pea Gravel Joints
Keep a metal leaf rake handy to quickly smooth out the stone channels after heavy foot traffic or intense rainstorms. A quick five-minute raking session once a month keeps the geometric lines looking incredibly crisp and professionally installed all year long.
Your $5/Sq Ft Material Calculator
Use our printable material calculator and spacing guide to determine exactly how many standard pavers and bags of gravel you need for your specific yard dimensions. Simply input your desired length and width to generate a complete, budget-capped shopping list.
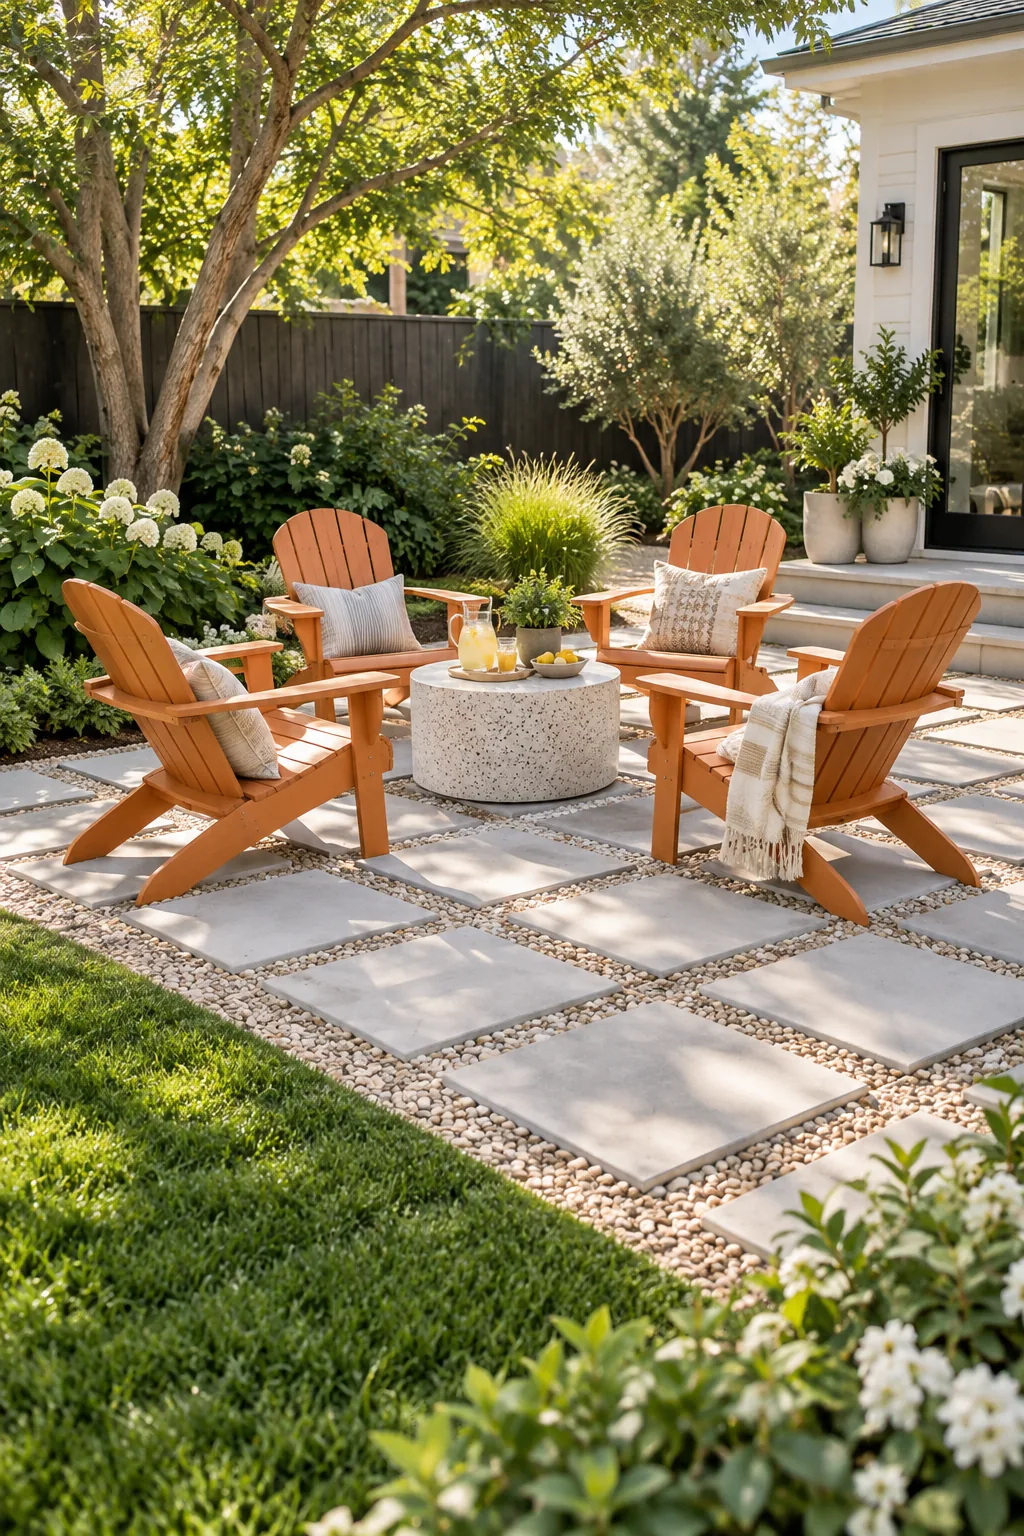
Generating this exact shopping list is how you keep your total costs under $5 per sq ft. Using this exact math saved me three extra trips to the hardware store last summer, letting me finish the entire build in one weekend.
4 Ways to Style a Grid Paver Patio
Swap out the gravel color and surrounding decor to completely change the mood of your budget-friendly build.
Desert Modern Oasis: Swap gray stones for warm tan gravel and style with oversized terracotta planters to create a drought-tolerant desert escape.
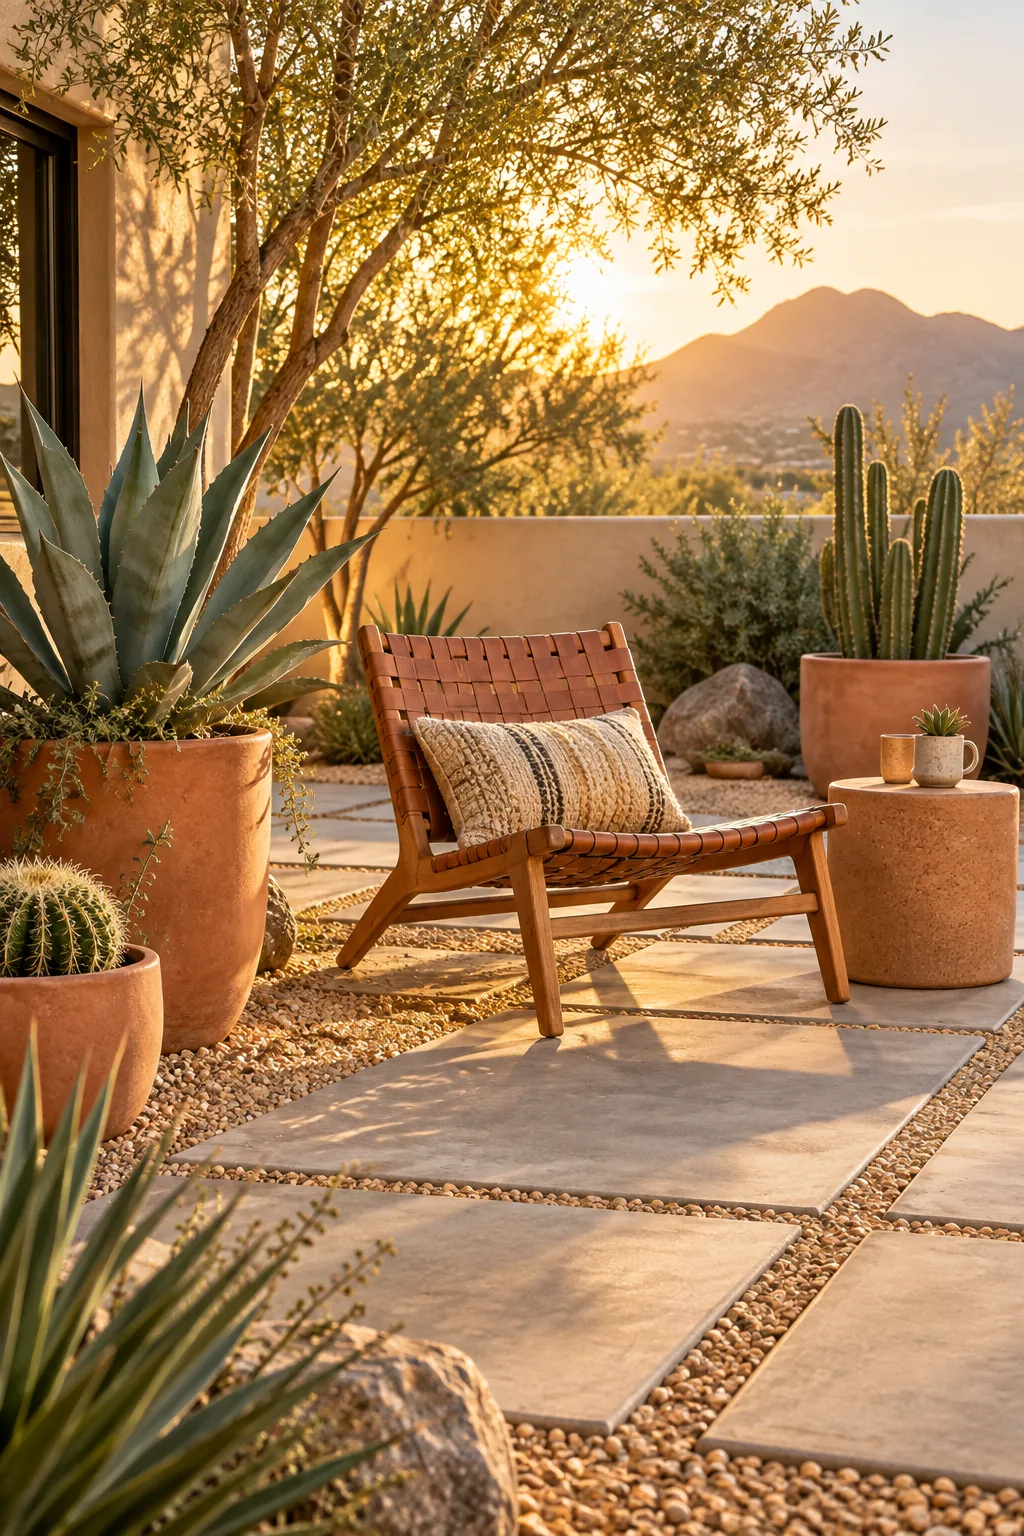
Coastal Cottage Retreat: Fill the gaps with crushed oyster shells instead of standard gravel to bring a breezy, beachside texture to your backyard.
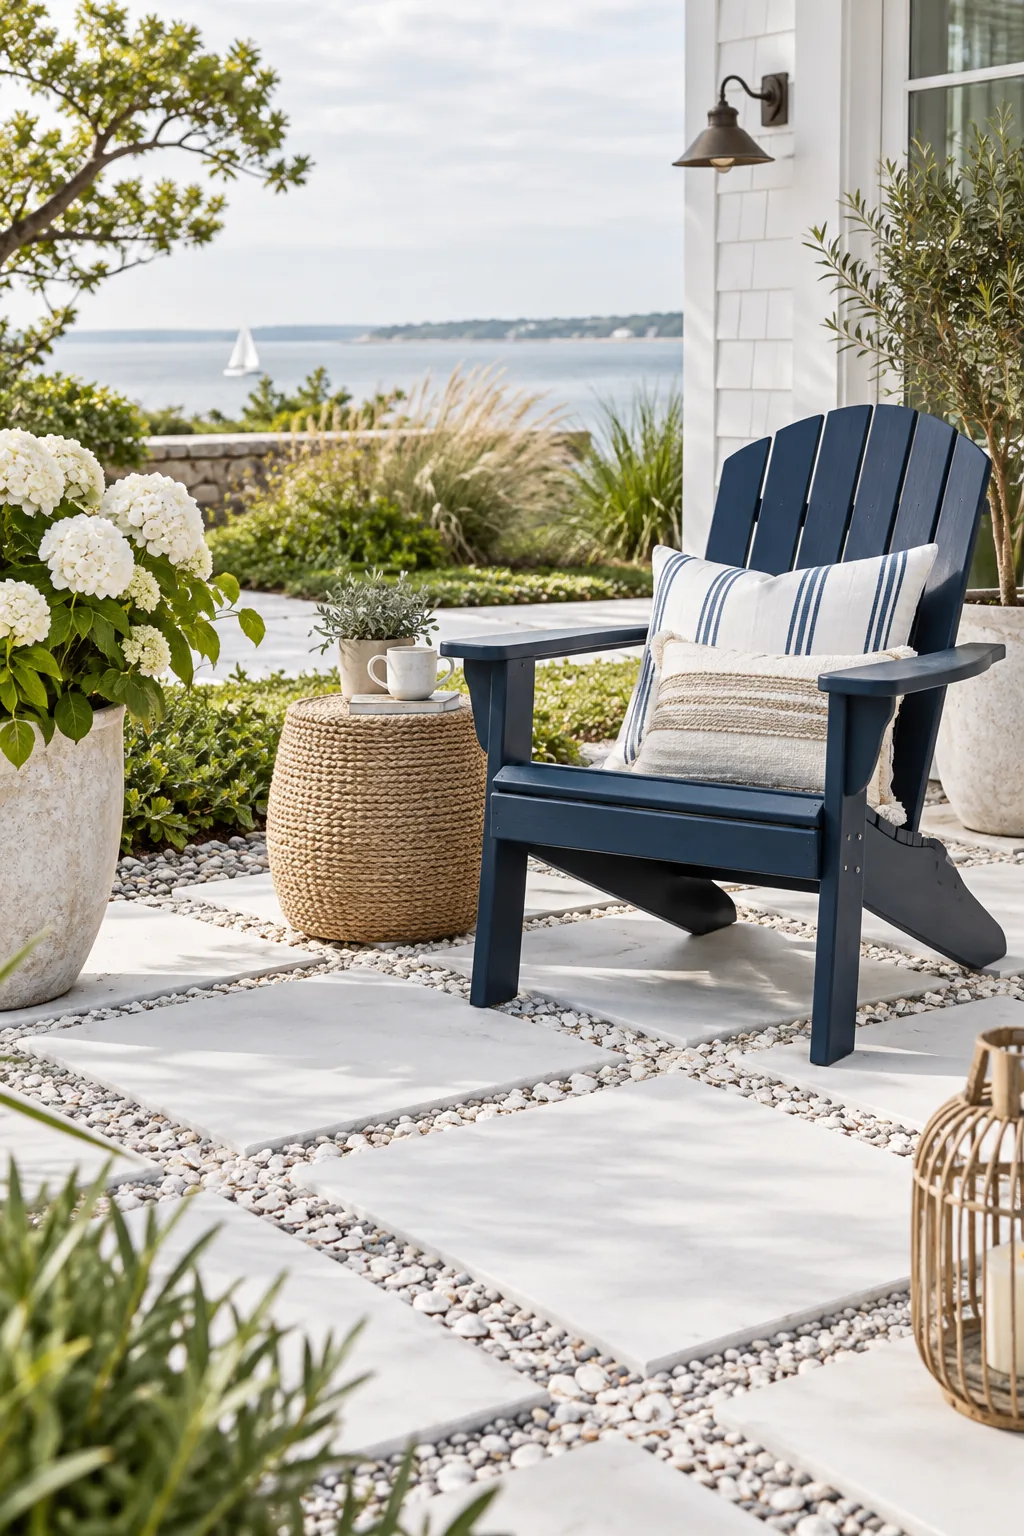
Moody Industrial Lounge: Choose charcoal-tinted utility pavers and black basalt gravel for a sleek, high-contrast entertaining space that hides dirt beautifully.
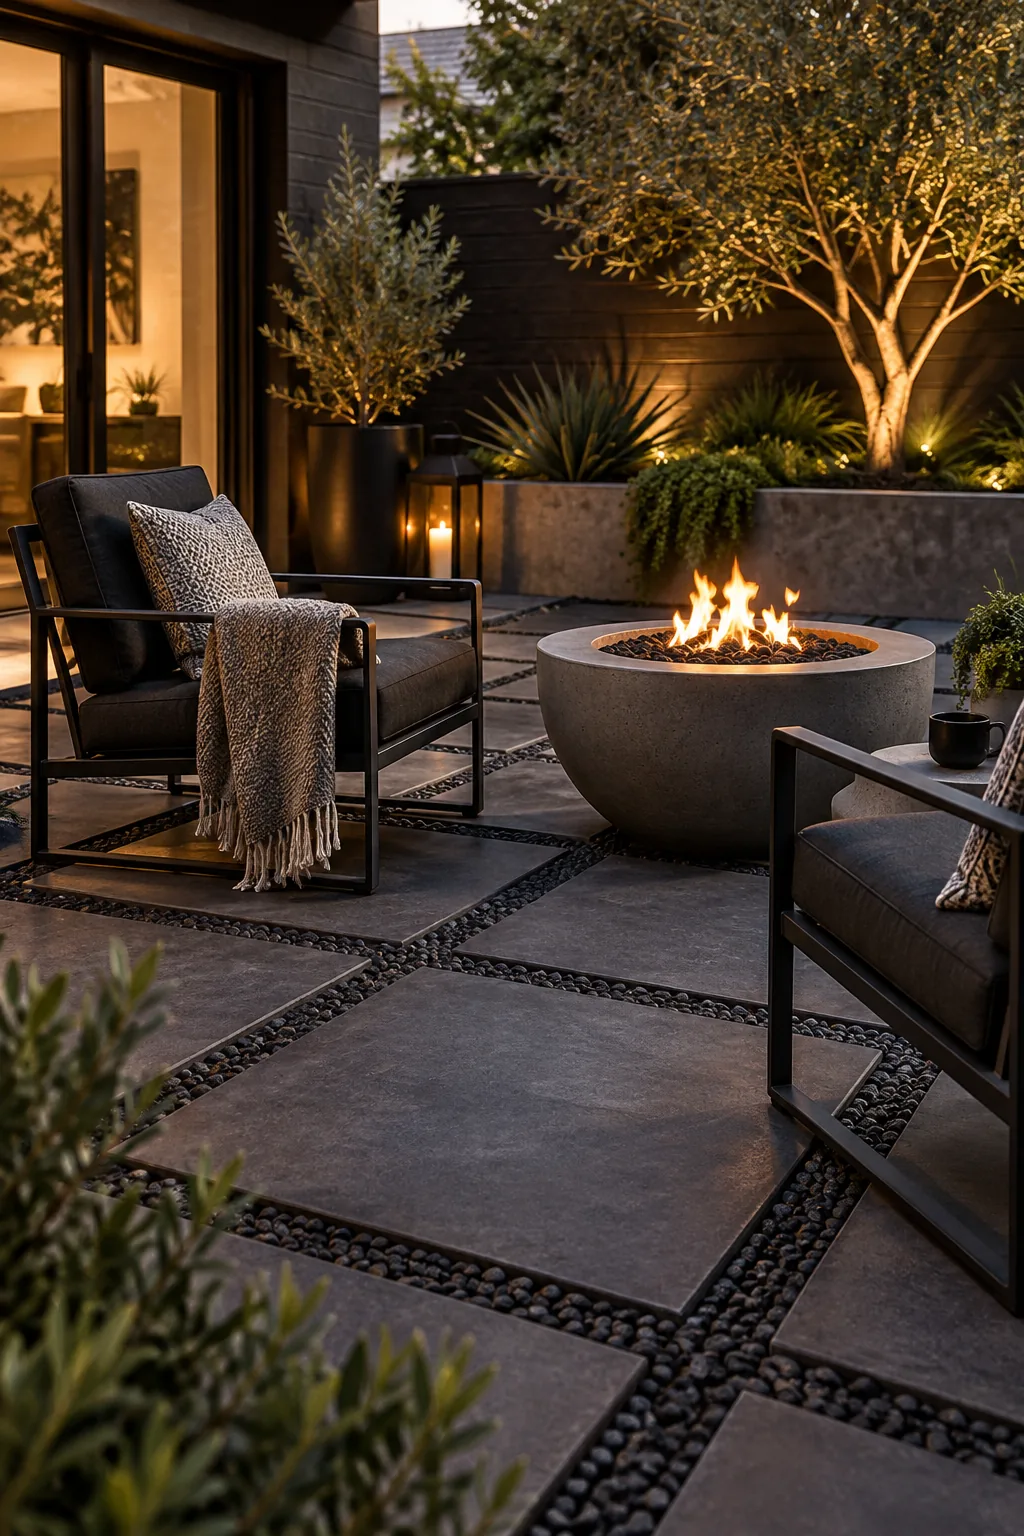
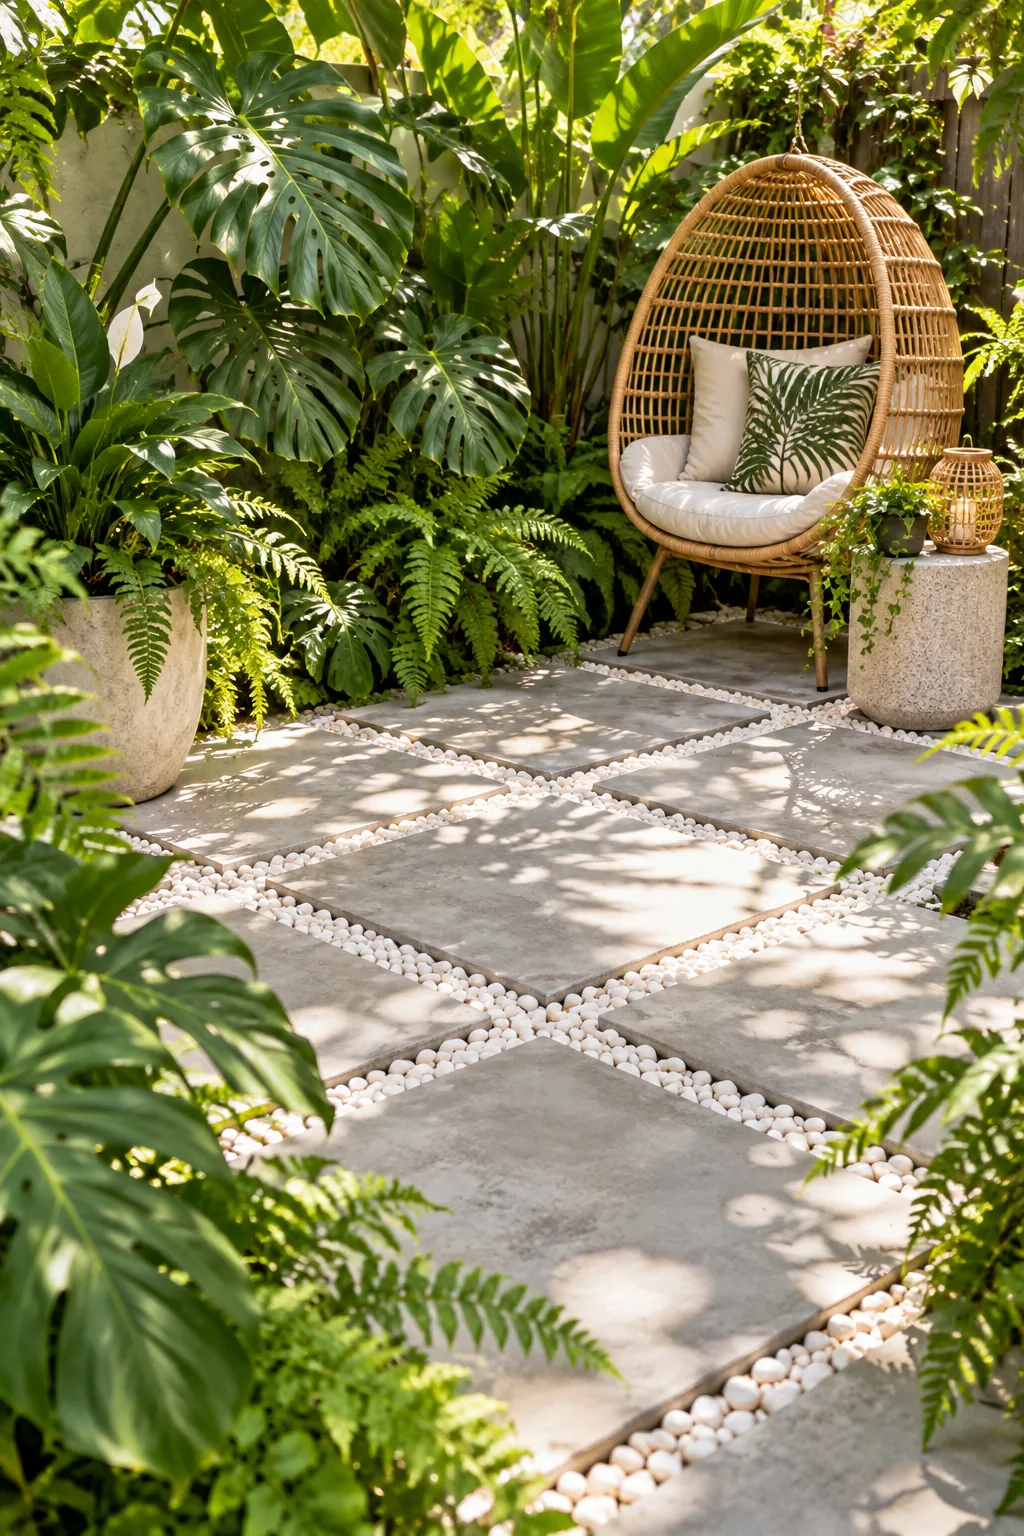
Lush Tropical Escape: Contrast bright white marble chips against oversized gray pavers, and let lush tropical foliage spill naturally over the crisp edges.