
The One-Weekend Bedroom Makeover Schedule & Checklist
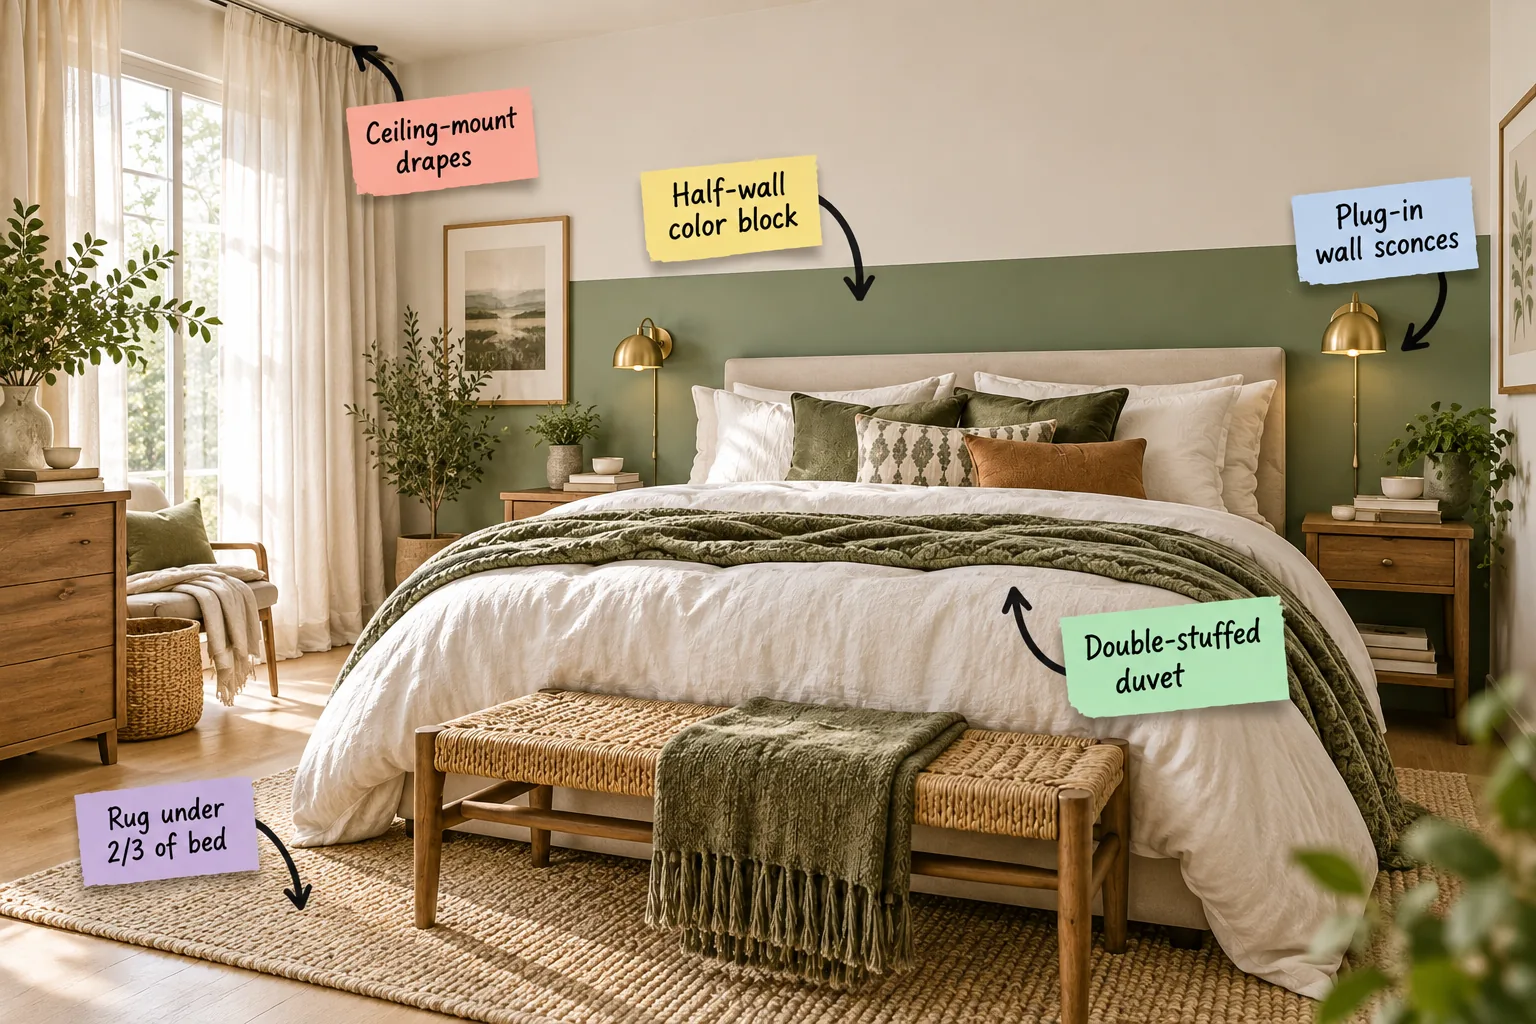
Grab the exact printable weekend schedule and shopping checklist to transform your space in 48 hours, building the room strategically from the walls inward. You will be able to follow this step-by-step timeline to completely overhaul your bedroom without the usual renovation stress or decision fatigue.
Painting the Half-Wall Color Block
Measure exactly 48 inches up from the floor to establish your horizontal tape line, using a high-quality laser level to ensure a perfectly straight edge across the entire room. Taking the time to measure multiple points guarantees your color block will look professionally executed.
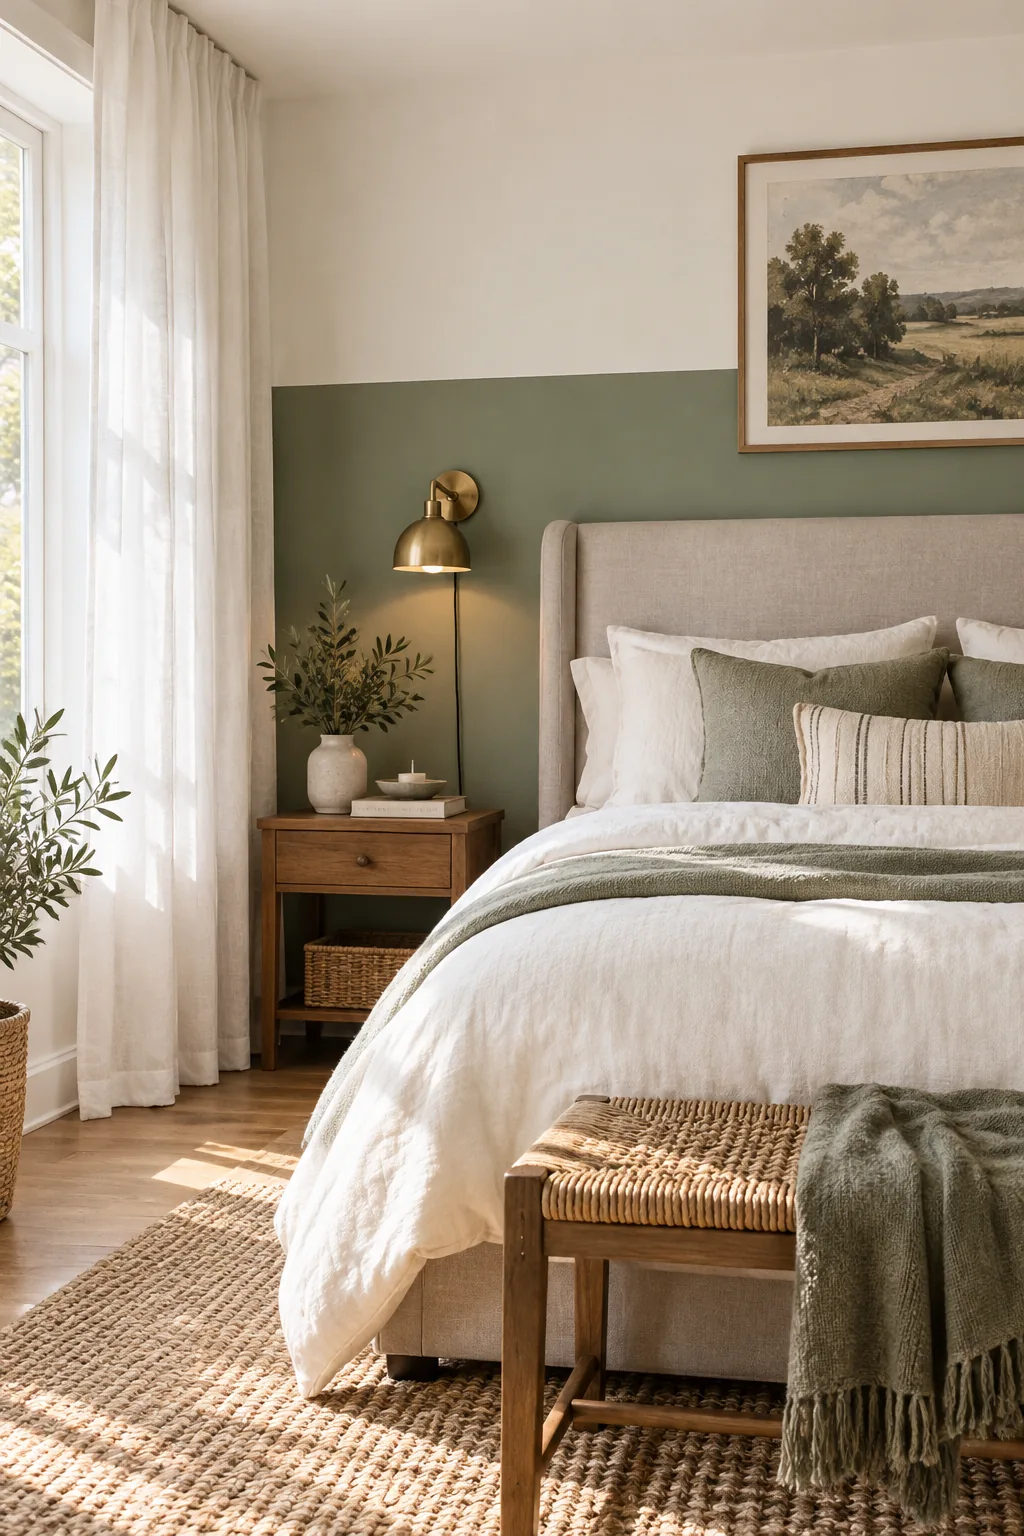
Applying a rich sage green to just the lower section grounds the furniture aesthetically without darkening the entire room, requiring less than one gallon of paint. This technique creates a visual headboard effect that wraps around the space and dries in just a few hours.
Selecting the Right Paint Finish
Choose a flat or matte finish for the lower wall block to absorb natural light and hide minor drywall imperfections seamlessly, giving the color a soft, velvety appearance. Glossier finishes will reflect light unevenly and highlight any underlying bumps in your bedroom walls.
Removing the Painter’s Tape Cleanly
Score the edge of your painter’s tape lightly with a sharp utility knife before pulling it away at a 45-degree angle to reveal a flawless, razor-sharp paint line. This crucial step severs any dried paint bridging the tape and the wall, preventing accidental peeling.
Hanging Ceiling-Mount Drapes
Mount a low-profile curtain track flush against the ceiling rather than just above the window frame to maximize the room’s vertical lines and create a custom, built-in look. This simple hardware swap is the most effective way to elevate basic bedroom architecture instantly.
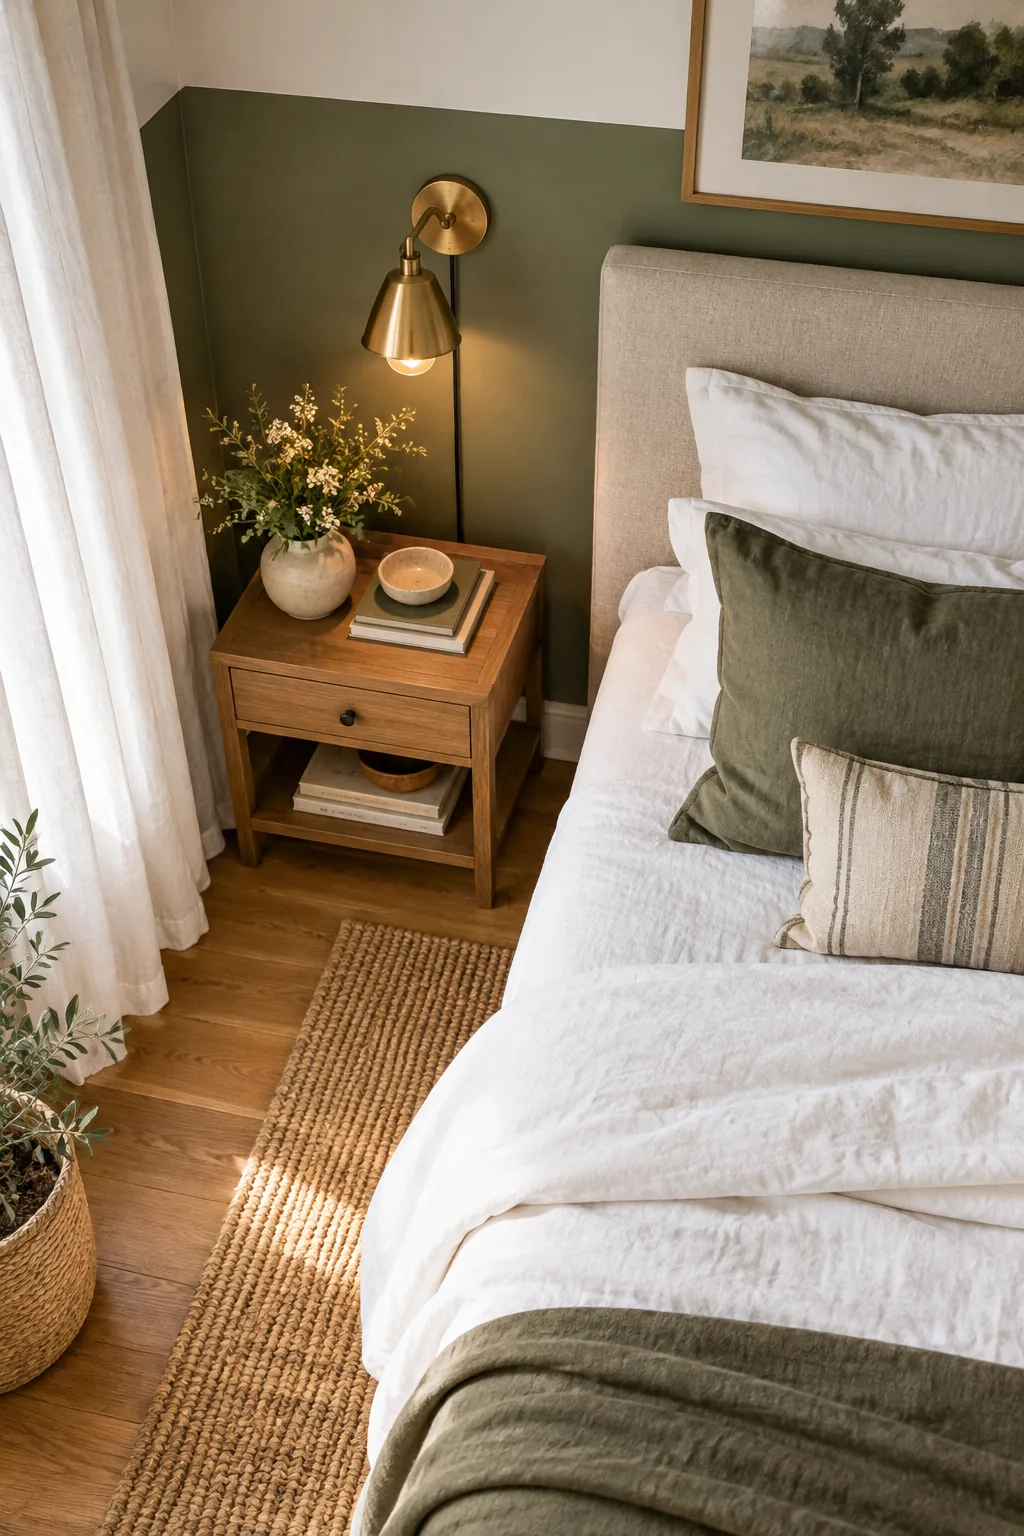
In my own Denver home, installing these ceiling tracks instantly made our standard eight-foot ceilings feel significantly taller and much more expansive without any structural changes. The continuous vertical line draws the eye upward, faking the grand proportions of a much older, historic property.
Selecting the Proper Drapery Length
Use 96-inch or 108-inch linen panels, depending on your exact room height, so the heavy fabric barely kisses the floor to maintain a tailored, high-end aesthetic. Curtains that pool excessively on the ground collect dust quickly and can look messy in a structured modern bedroom.
Training the Curtain Pleats
Gently fold your new linen panels into uniform pleats and tie them loosely with soft ribbon for 48 hours to set the fabric memory and ensure they drape perfectly. Training your drapes is a designer secret that transforms inexpensive retail curtains into custom-looking window treatments.
Installing Plug-In Wall Sconces
Skip the expensive electrician and mount brass plug-in sconces directly to the wall for a high-impact, immediate lighting upgrade that frames the bed beautifully. This approach saves hundreds of dollars while delivering the exact same functional reading light as a hardwired fixture.
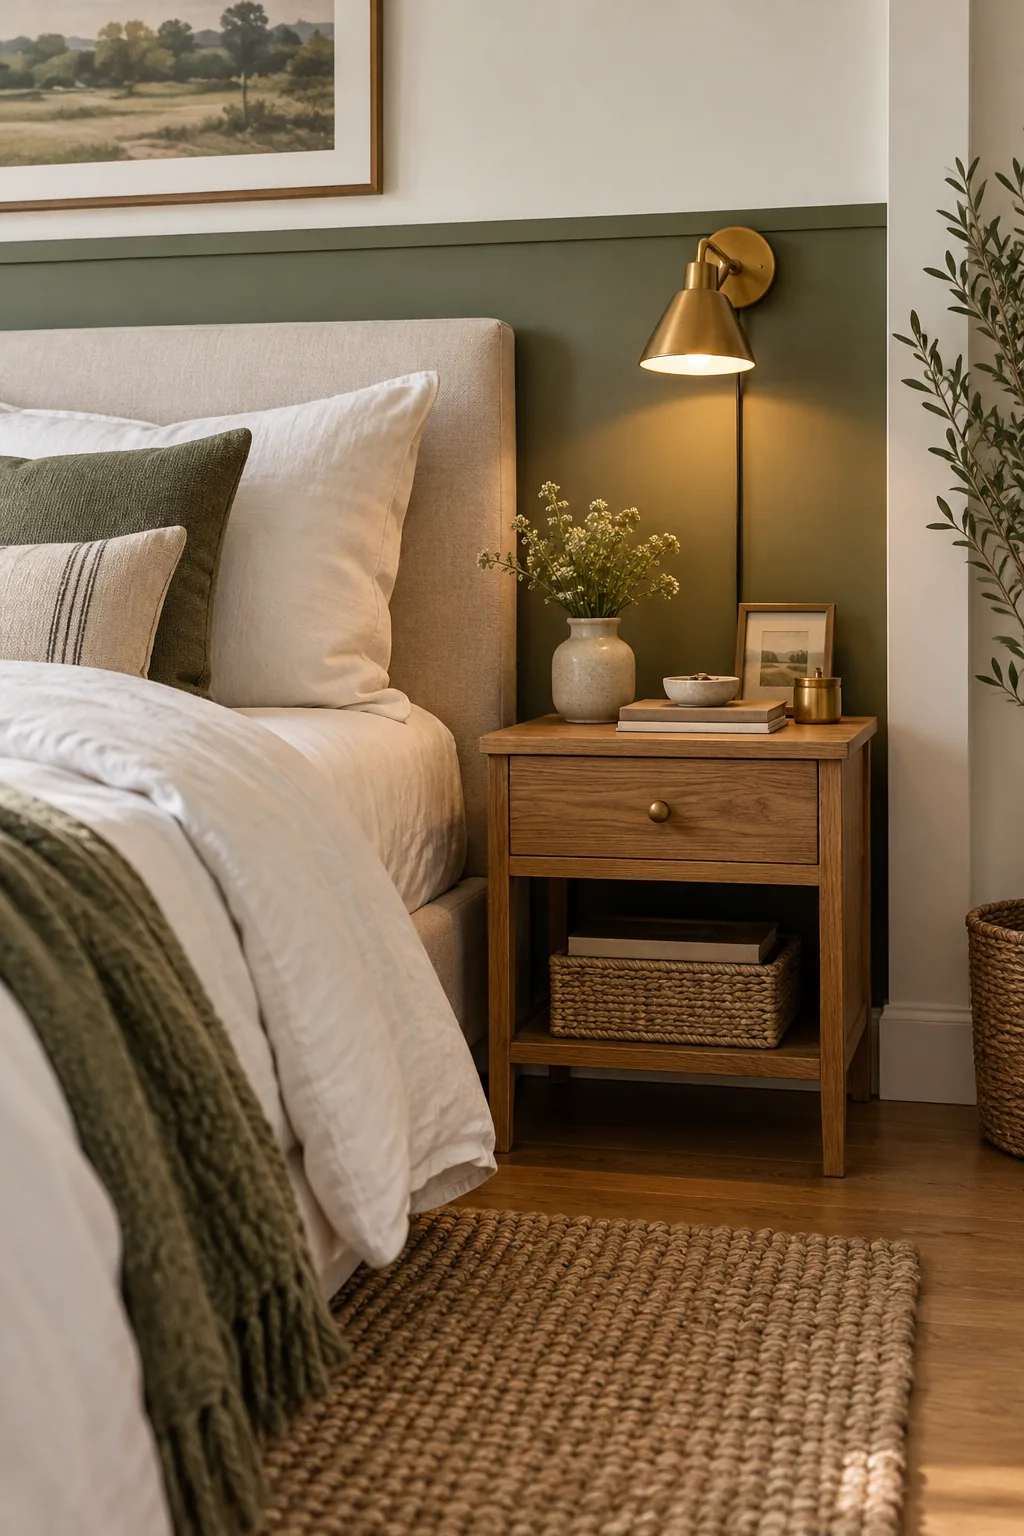
While the exposed black cord adds a relaxed industrial touch, you can easily hide it if you prefer a cleaner, more traditional aesthetic in your sleeping space. The flexibility of plug-in fixtures means you can always update the look later without patching drywall.
Measuring Sconce Height for Reading
Position the mounting plate exactly 55 to 60 inches from the floor to provide ideal reading light while sitting up in bed, keeping the glare out of your eyes. Test this height by sitting against your headboard before drilling to ensure the light falls perfectly.
Choosing the Right Bulbs for the Bedroom
Install warm 2700K LED bulbs in your new sconces to create a cozy, relaxing atmosphere that naturally promotes better sleep patterns and softens the room’s overall mood. Cool, bluish light signals the brain to wake up, making it the enemy of a restful bedroom environment.
| Bulb Temperature | Light Quality | Best Bedroom Use |
|---|---|---|
| 2700K | Warm and cozy | Bedside reading lamps |
| 3000K | Soft white | General overhead fixtures |
| 4000K+ | Cool and harsh | Avoid in sleeping spaces |
The Two-Thirds Rug Placement Rule
Place an 8×10 area rug perpendicular to a standard queen bed to firmly anchor the sleeping zone within the room and provide a soft landing for your feet. This substantial size prevents the rug from looking like a tiny island floating awkwardly in the center.
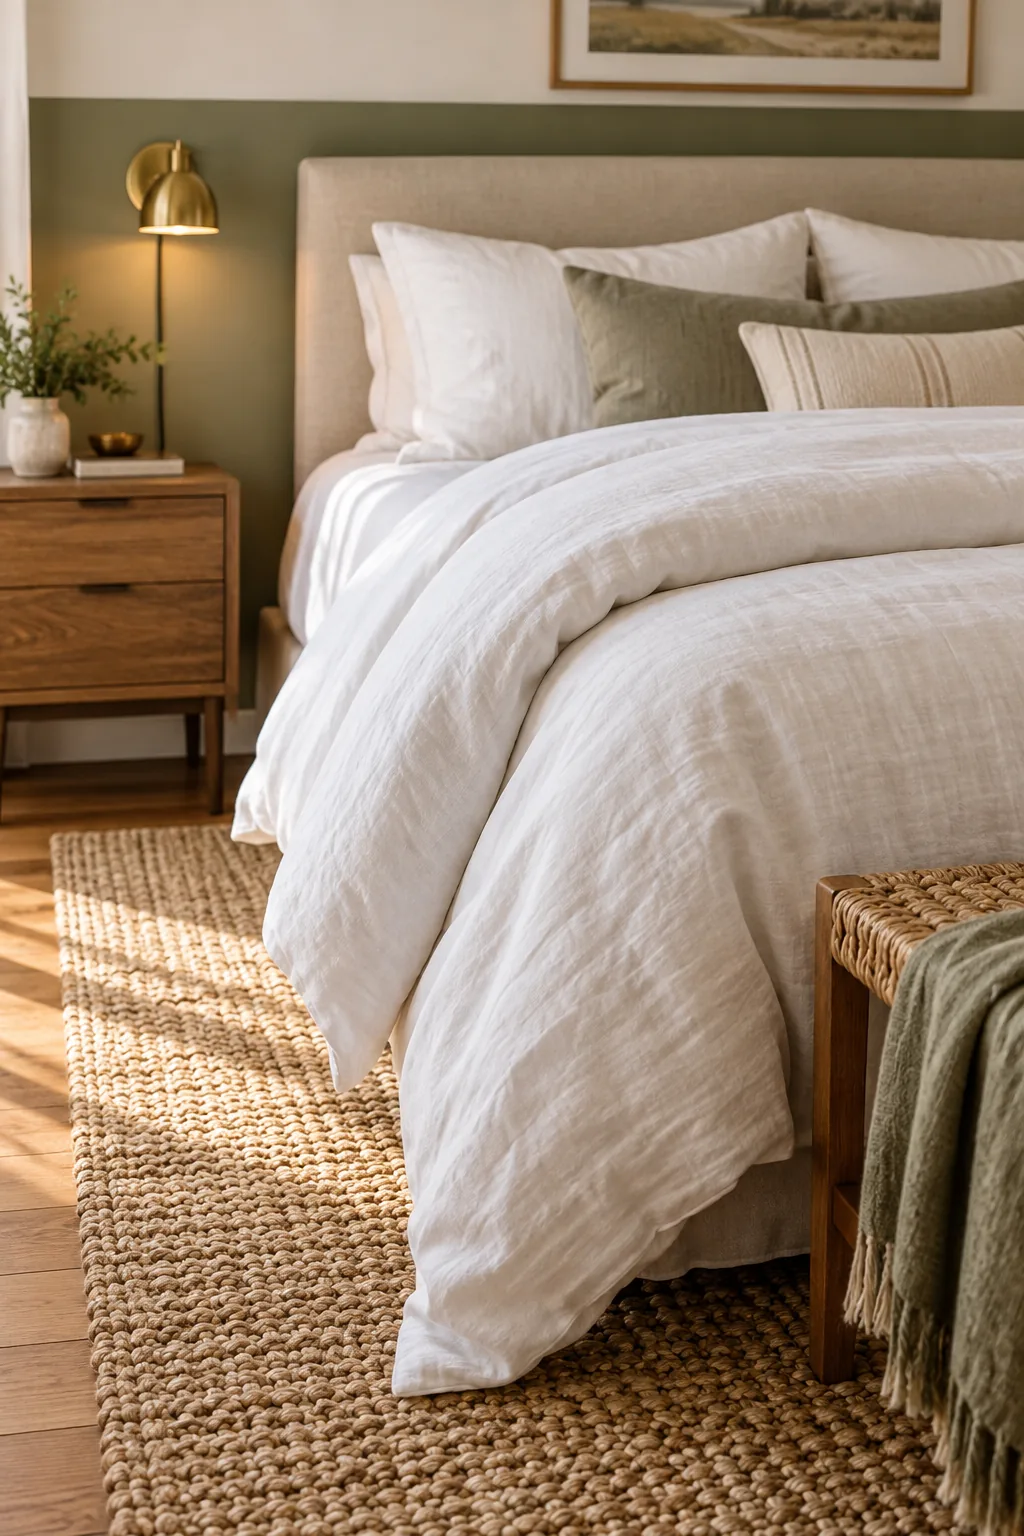
I always use this proportion in my client projects because leaving the upper third of the bed on bare flooring visually extends the room and balances the heavy furniture. It creates a defined perimeter that makes even the smallest bedrooms feel intentionally designed and spacious.
Aligning the Rug with the Nightstands
Ensure the top edge of the rug intersects the bed just below the nightstands, keeping the front legs of the stands entirely off the pile to maintain level surfaces. This placement prevents your bedside water glass from wobbling and keeps the visual weight properly distributed.
Securing the Rug to the Floor
Apply a heavy-duty, dual-sided rug pad underneath the entire 8×10 footprint to protect your hardwood floors, add plushness, and prevent dangerous slipping when you step out of bed. A high-quality pad also extends the life of your rug by absorbing the daily friction of foot traffic.
Creating the Double-Stuffed Duvet
Insert two lightweight down-alternative inserts into a single linen duvet cover for immediate, cloud-like volume that dramatically transforms the bed into a luxurious focal point. The combined loft creates a deeply inviting texture that simply cannot be achieved with a single heavy winter insert.
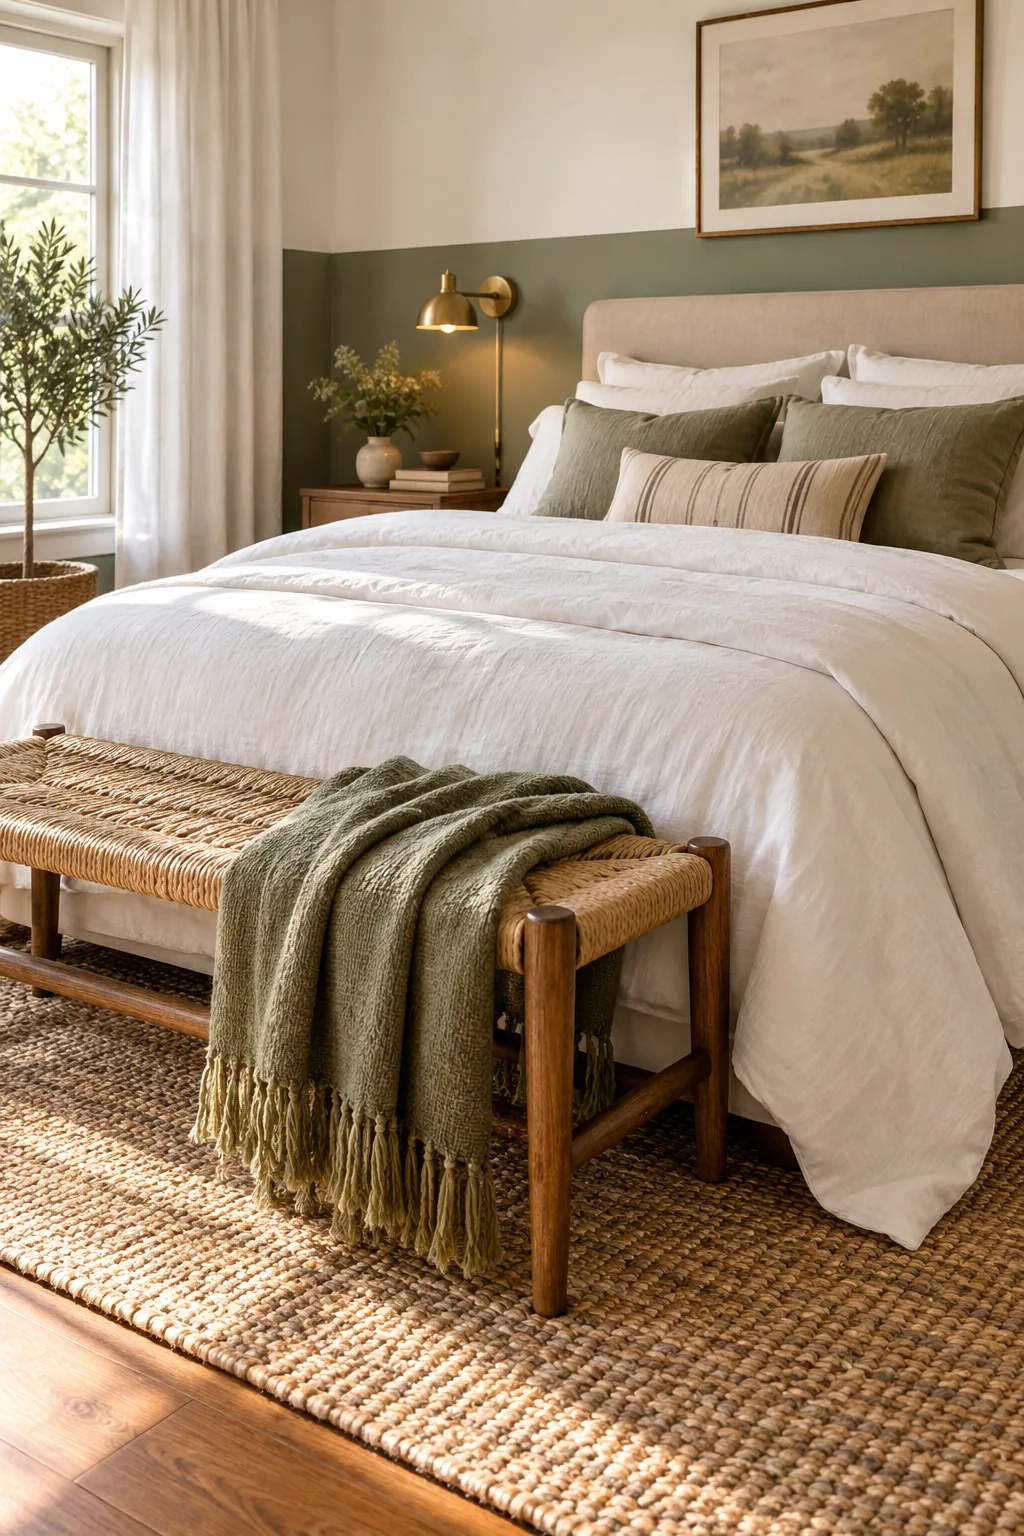
This extra thickness mimics luxury boutique hotels and gives the bed a highly structured, inviting presence that anchors the entire room with incredible softness. It is the fastest way to upgrade your sleeping experience without purchasing an entirely new mattress or expensive bed frame.
Folding the Duvet for Maximum Impact
Fold the entire duvet back halfway down the bed to intentionally expose your crisp sleeping pillows, smooth cotton sheets, and add a welcoming layer of depth to the styling. This folding technique breaks up the massive block of fabric, revealing the contrasting textures underneath.
Layering Textures at the Foot
Anchor the end of the bed with a woven seagrass or solid wood bench to catch extra pillows, heavy blankets, and provide a convenient spot to put on shoes. A footboard bench acts as a visual punctuation mark, neatly finishing the long footprint of the bed.
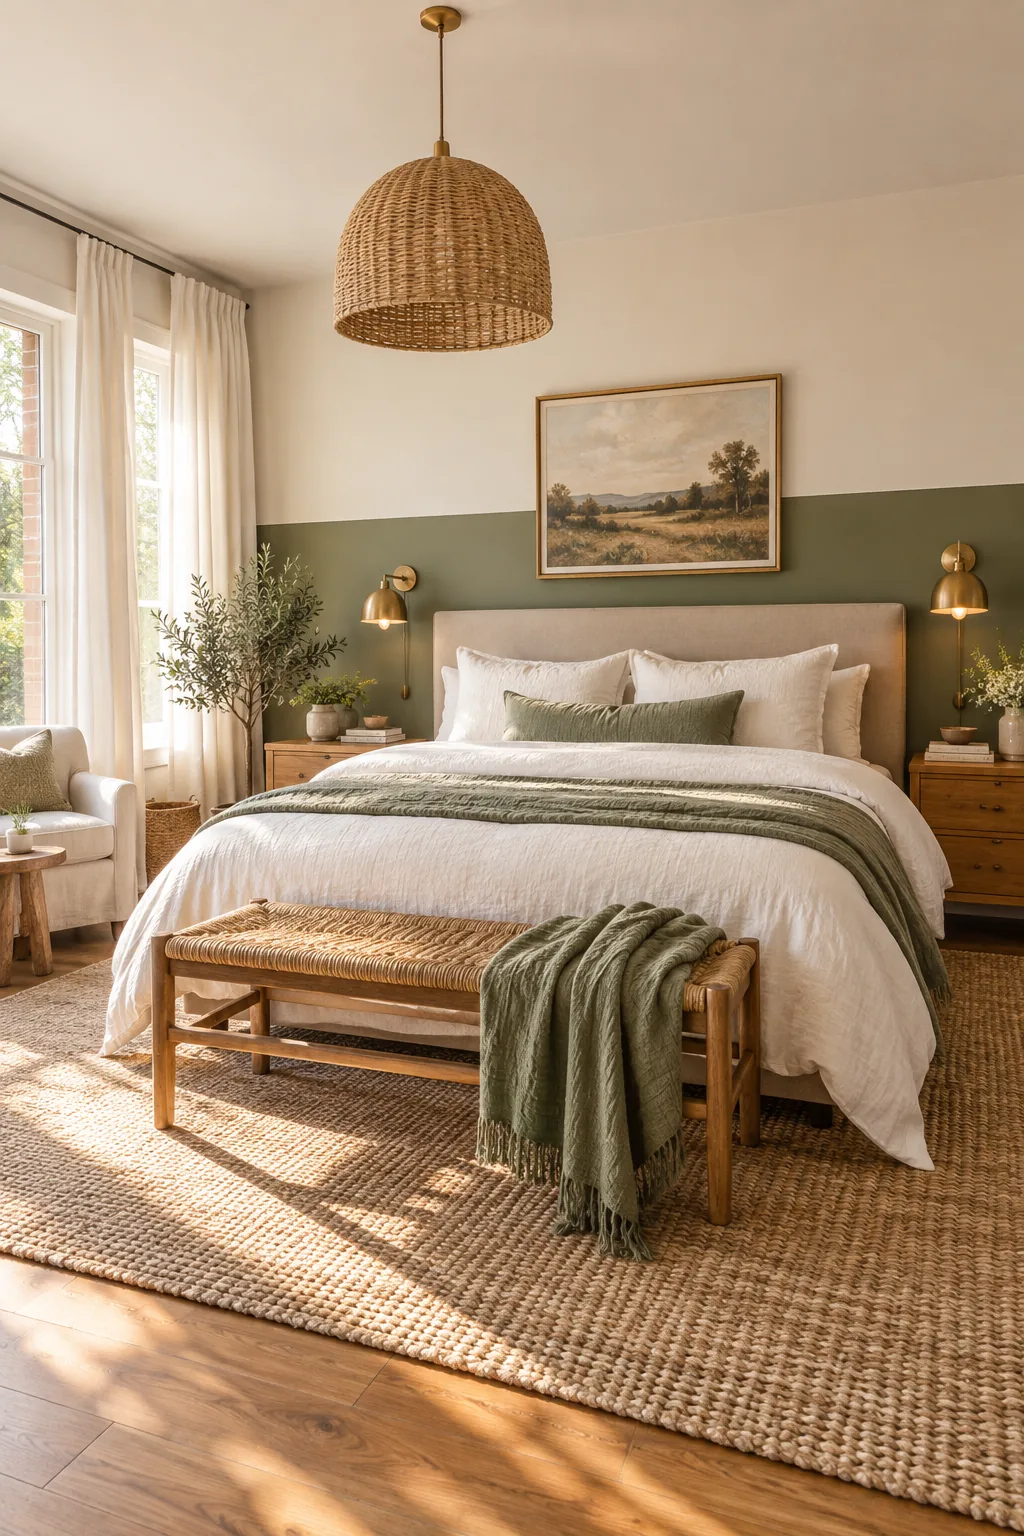
In my own bedroom, mixing smooth linen bedding with a warm wood bench and chunky knits created a deeply layered, comforting atmosphere that feels incredibly personal. Balancing these different tactile elements prevents a newly decorated room from feeling flat, sterile, or overly matched.
Draping the Throw Blanket
Drape a textured, fringed throw blanket casually over one side of the bench to gracefully break up the rigid lines of the furniture and introduce a new tactile element. The soft drape contrasts beautifully with the structured corners of the bed and the woven seagrass.
Gathering Your Essential Makeover Supplies
Grab the exact printable weekend project schedule and shopping checklist by gathering these specific materials before Friday evening to ensure a smooth, uninterrupted workflow. Having everything on hand means you can focus entirely on the creative process once the weekend makeover clock begins ticking.
- One gallon of flat sage green paint
- Ceiling-mount curtain track and linen panels
- Two plug-in brass wall sconces
- 8×10 area rug and non-slip pad
- Two lightweight down-alternative duvet inserts
5 Weekend Makeover Looks to Steal
Choose your favorite style combination before printing out your weekend shopping list.
Industrial Charcoal & Rust: Dark charcoal paint grounds the space while rust linen sheets add incredible warmth and texture.
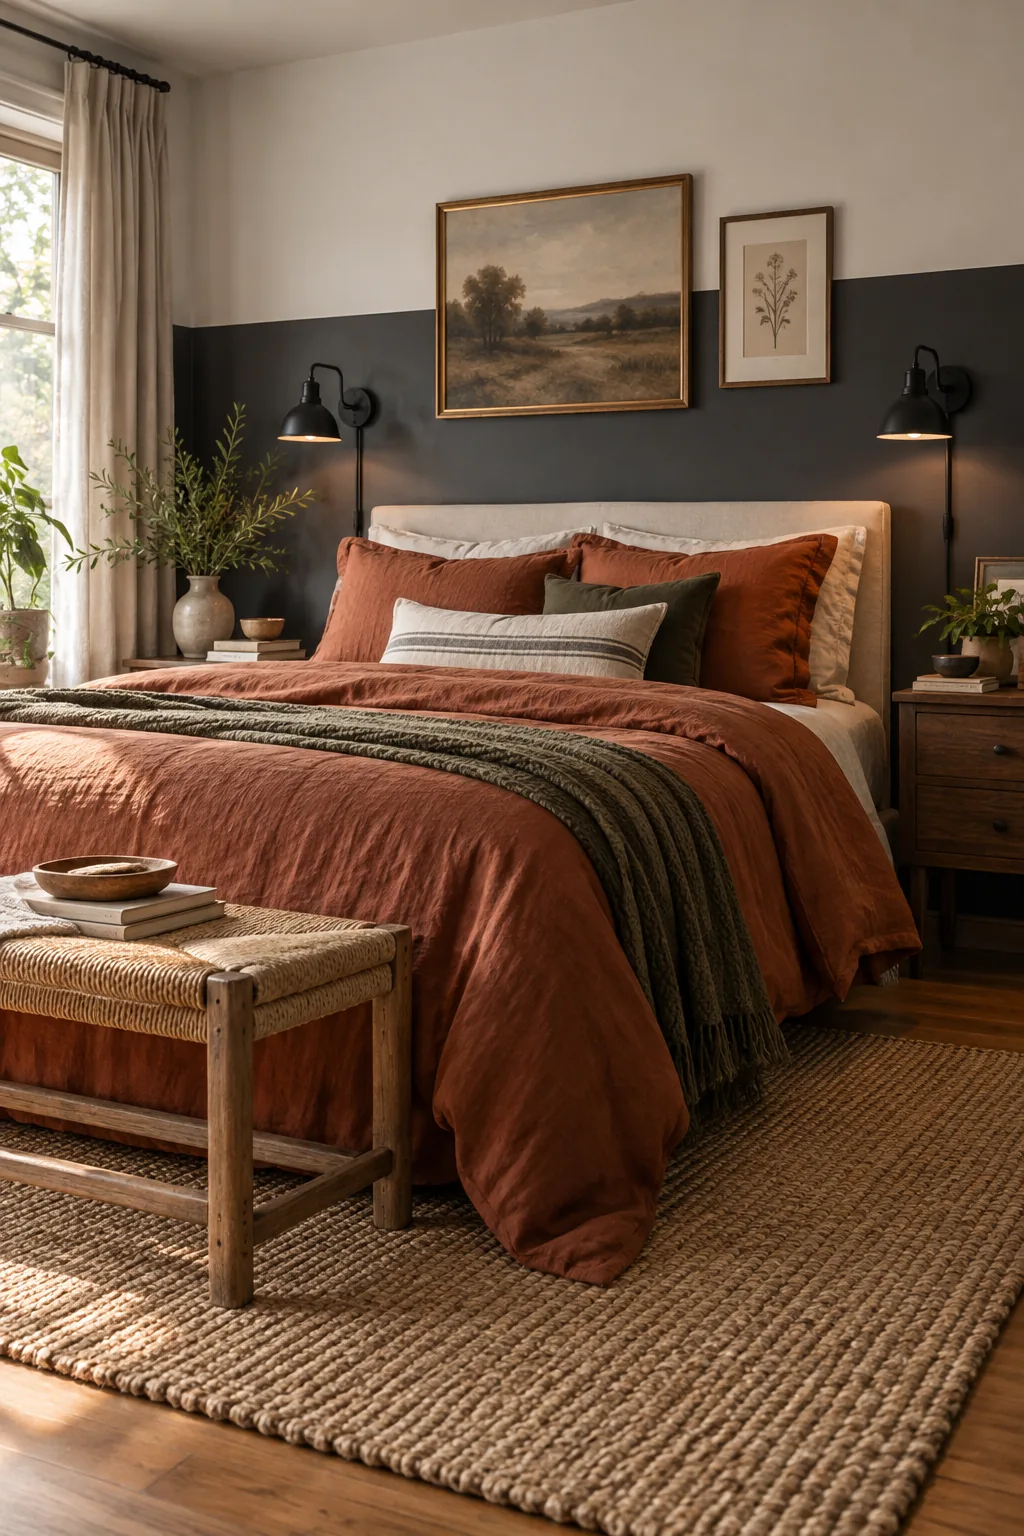
Warm Terracotta Boho: Earthy terracotta tones pair perfectly with natural rattan lighting for a relaxed, sun-drenched atmosphere.
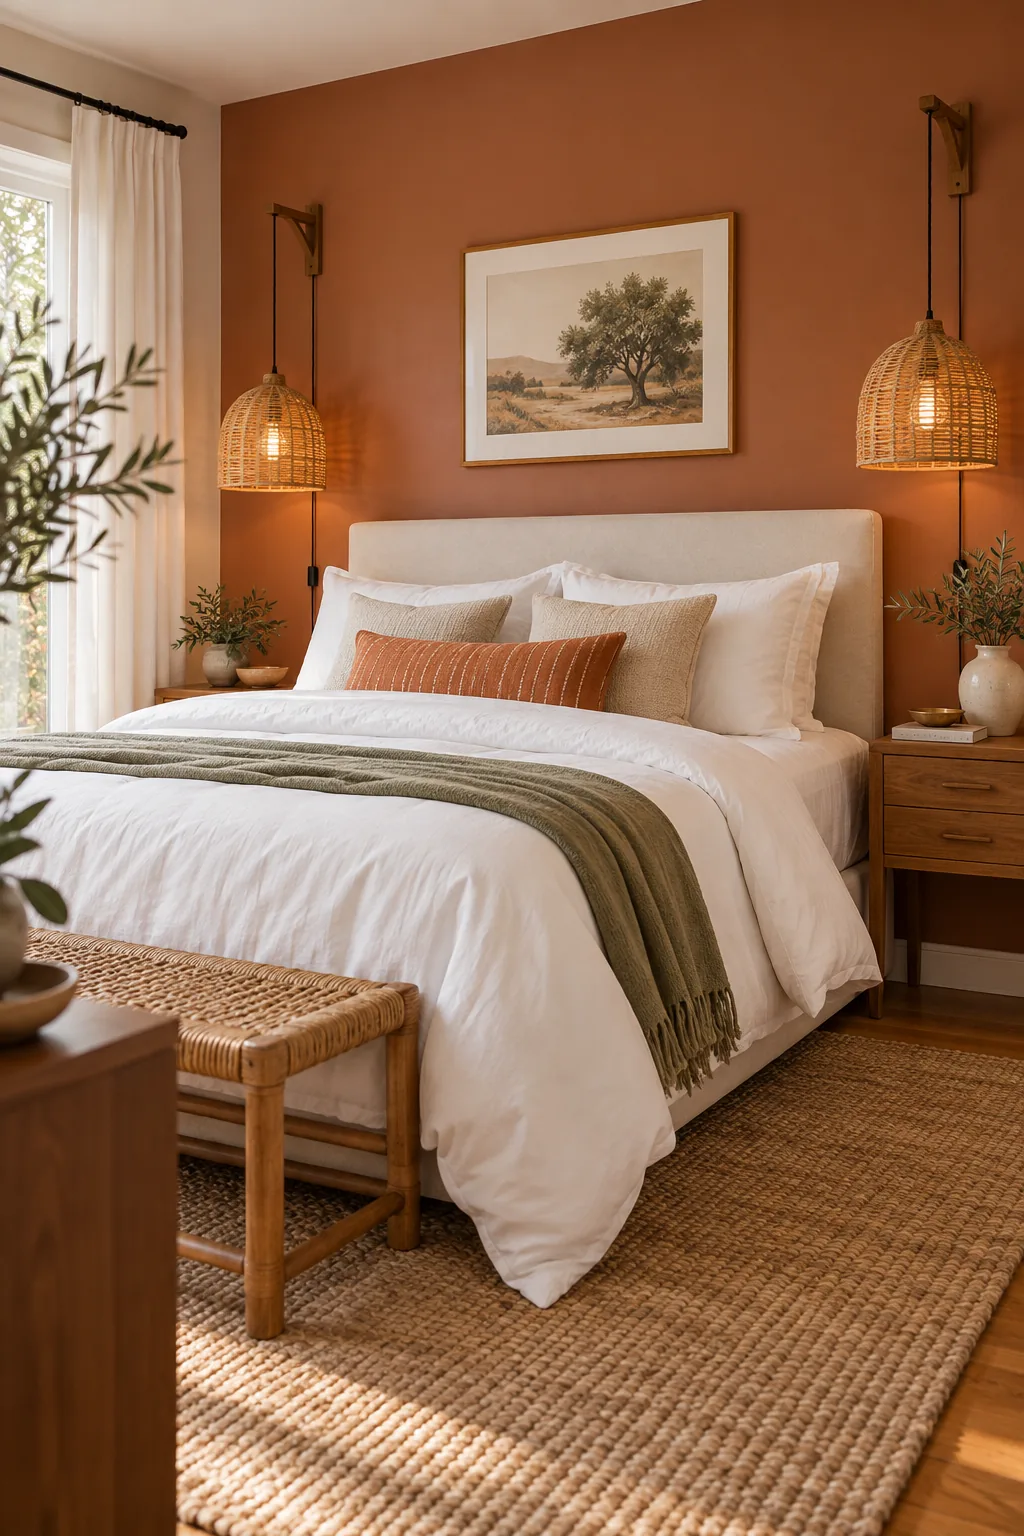
Classic Navy Traditional: Deep navy paneling and polished nickel hardware create a timeless, structured look that never dates.

Soft Blush & Black: A painted arch replaces the traditional half-wall, contrasting beautifully against sharp matte black accents.
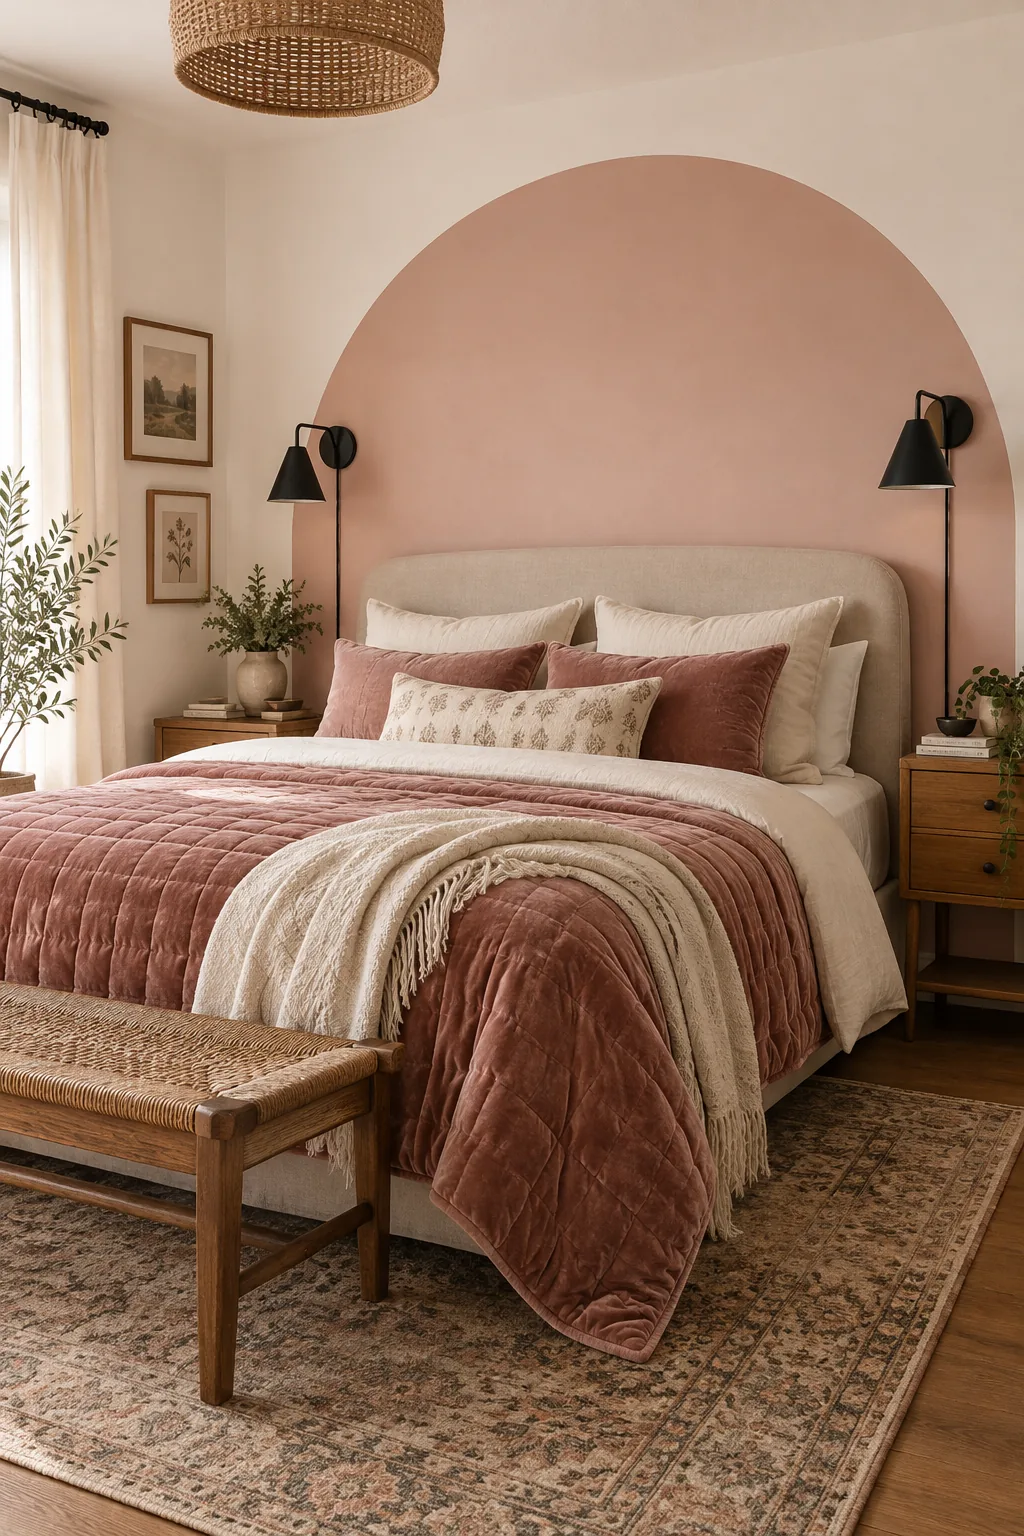
Botanical Forest Green: Taking the green paint all the way to the ceiling creates an immersive, jewel-box effect.
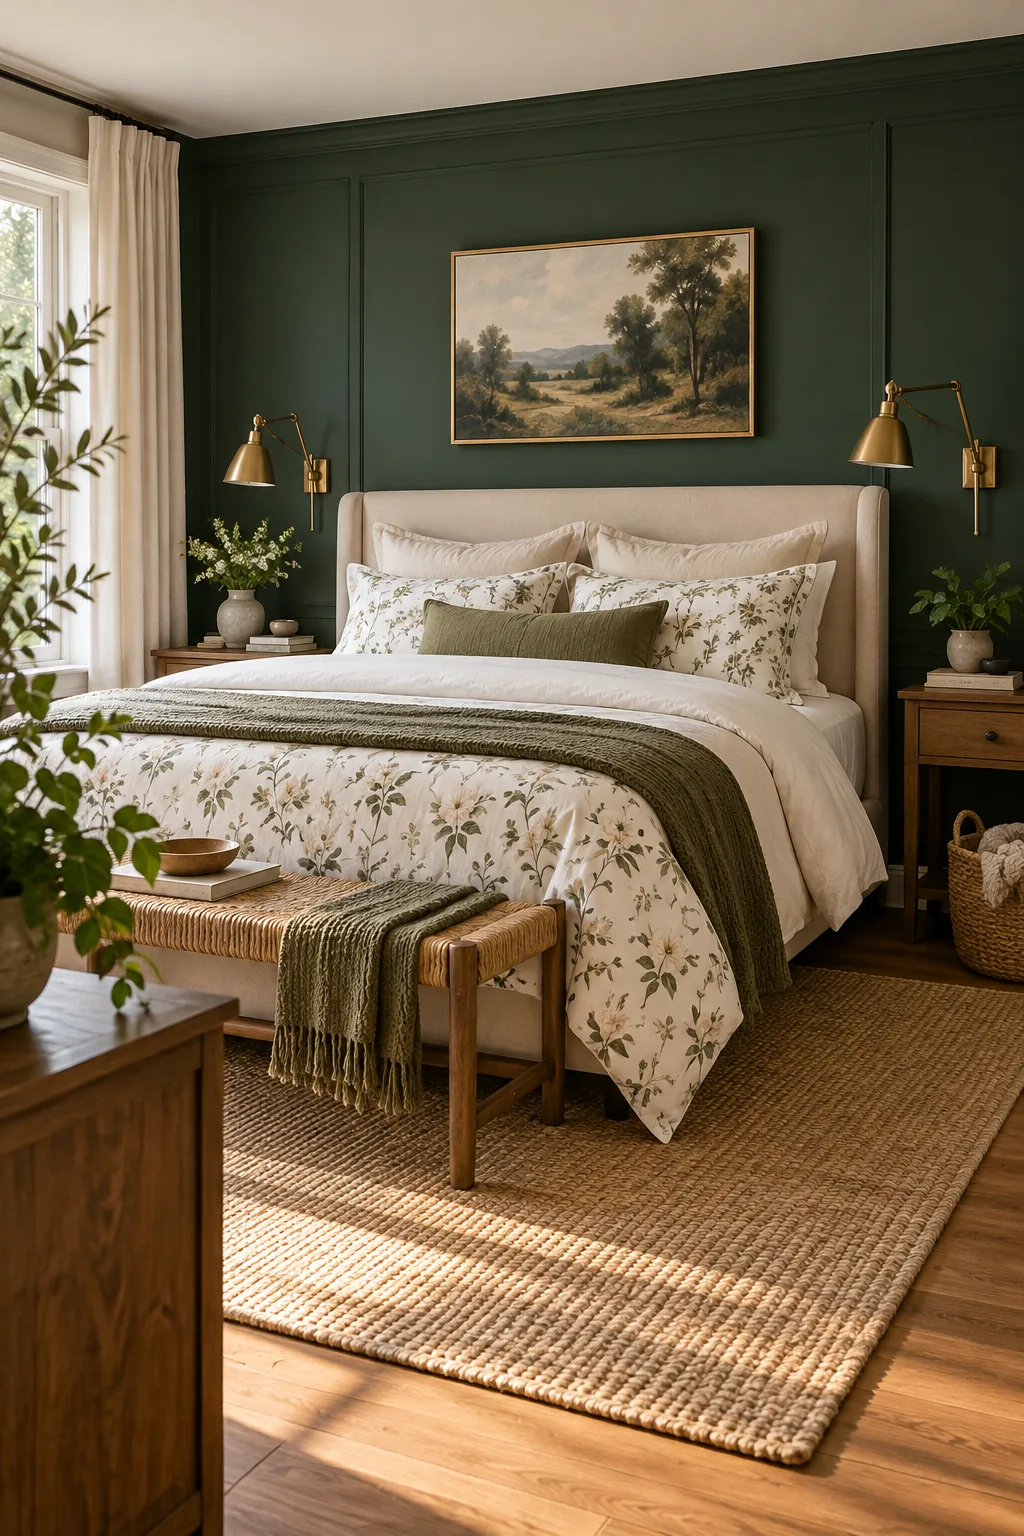
Your Weekend Makeover Schedule & Checklist
Download the printable 48-hour timeline and complete shopping list to keep your project on track from Friday evening to Sunday night, ensuring every step happens in the correct order. Saturday is dedicated entirely to taping, painting, and mounting hardware, leaving Sunday open for styling.
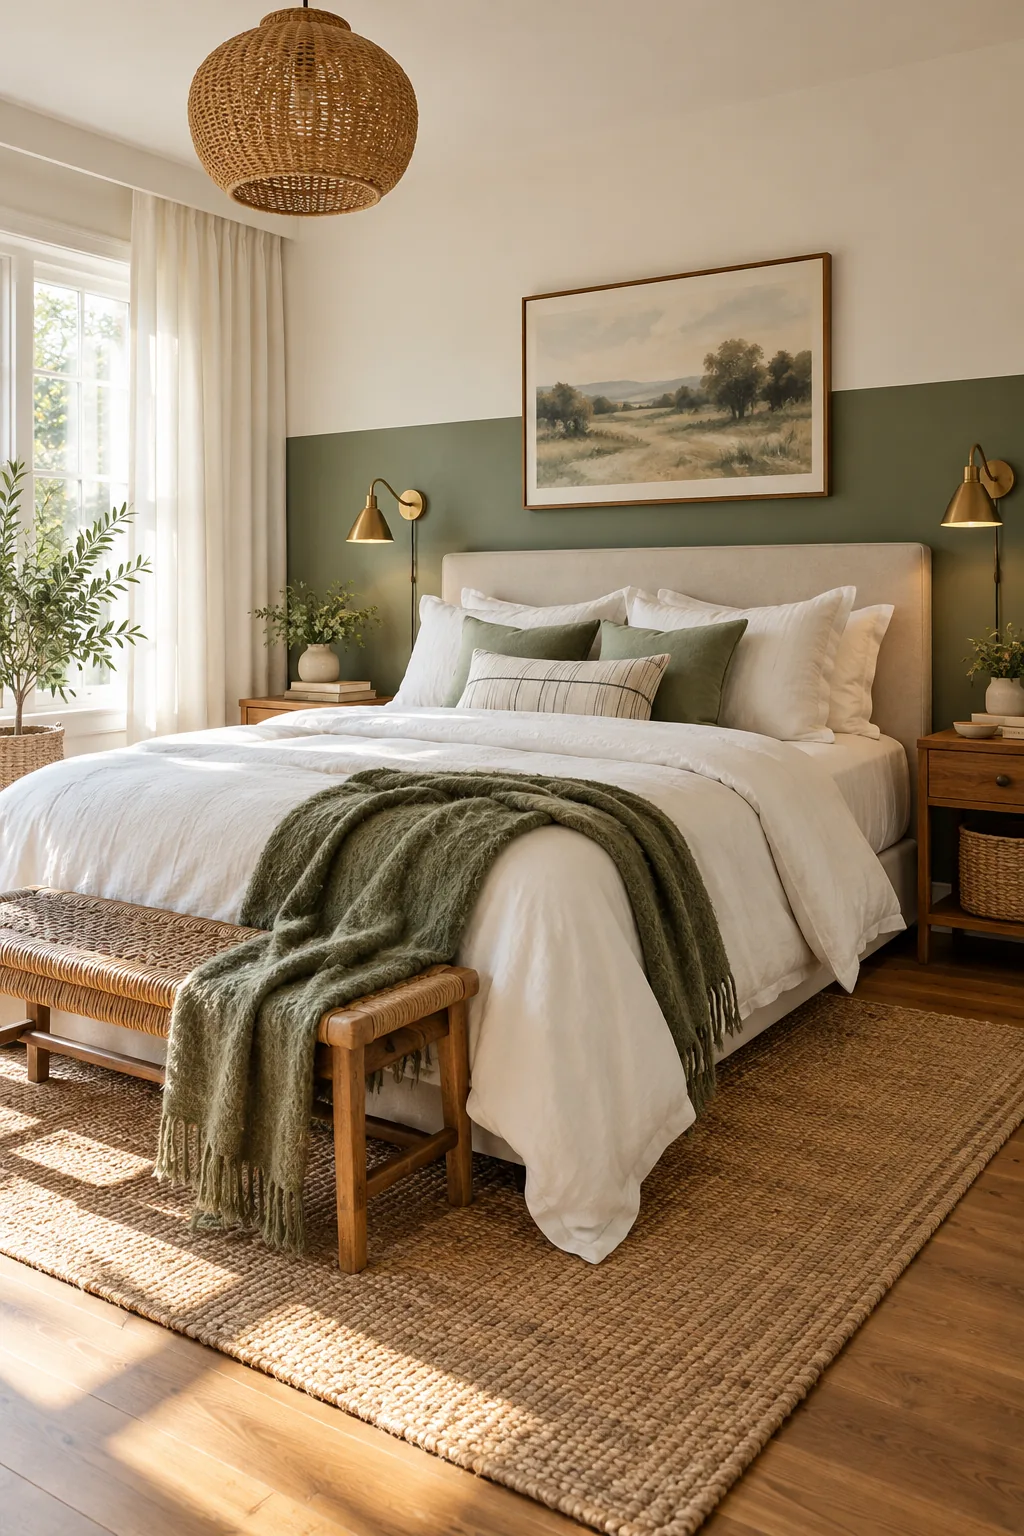
- Saturday Morning: Tape the 48-inch line and paint the lower wall block.
- Saturday Afternoon: Mount the ceiling curtain track and plug-in sconces.
- Sunday Morning: Place the rug and assemble the double-stuffed duvet.
- Sunday Afternoon: Steam the drapes and style the footboard bench.
Following this exact sequence prevents wet paint accidents, allows ample drying time, and keeps the entire transformation process completely stress-free from start to finish. You can confidently execute this design plan knowing the hardest structural work is finished before you unwrap the new bedding.
Before starting your 48-hour clock on Saturday morning, ensure you have these foundational supplies ready to go so you never have to leave the house mid-project. A successful weekend makeover relies entirely on thorough preparation and having the right tools staged in the room.