
DIY Wire-Hung Deck Cover: Hardware & Spacing Cheat Sheet
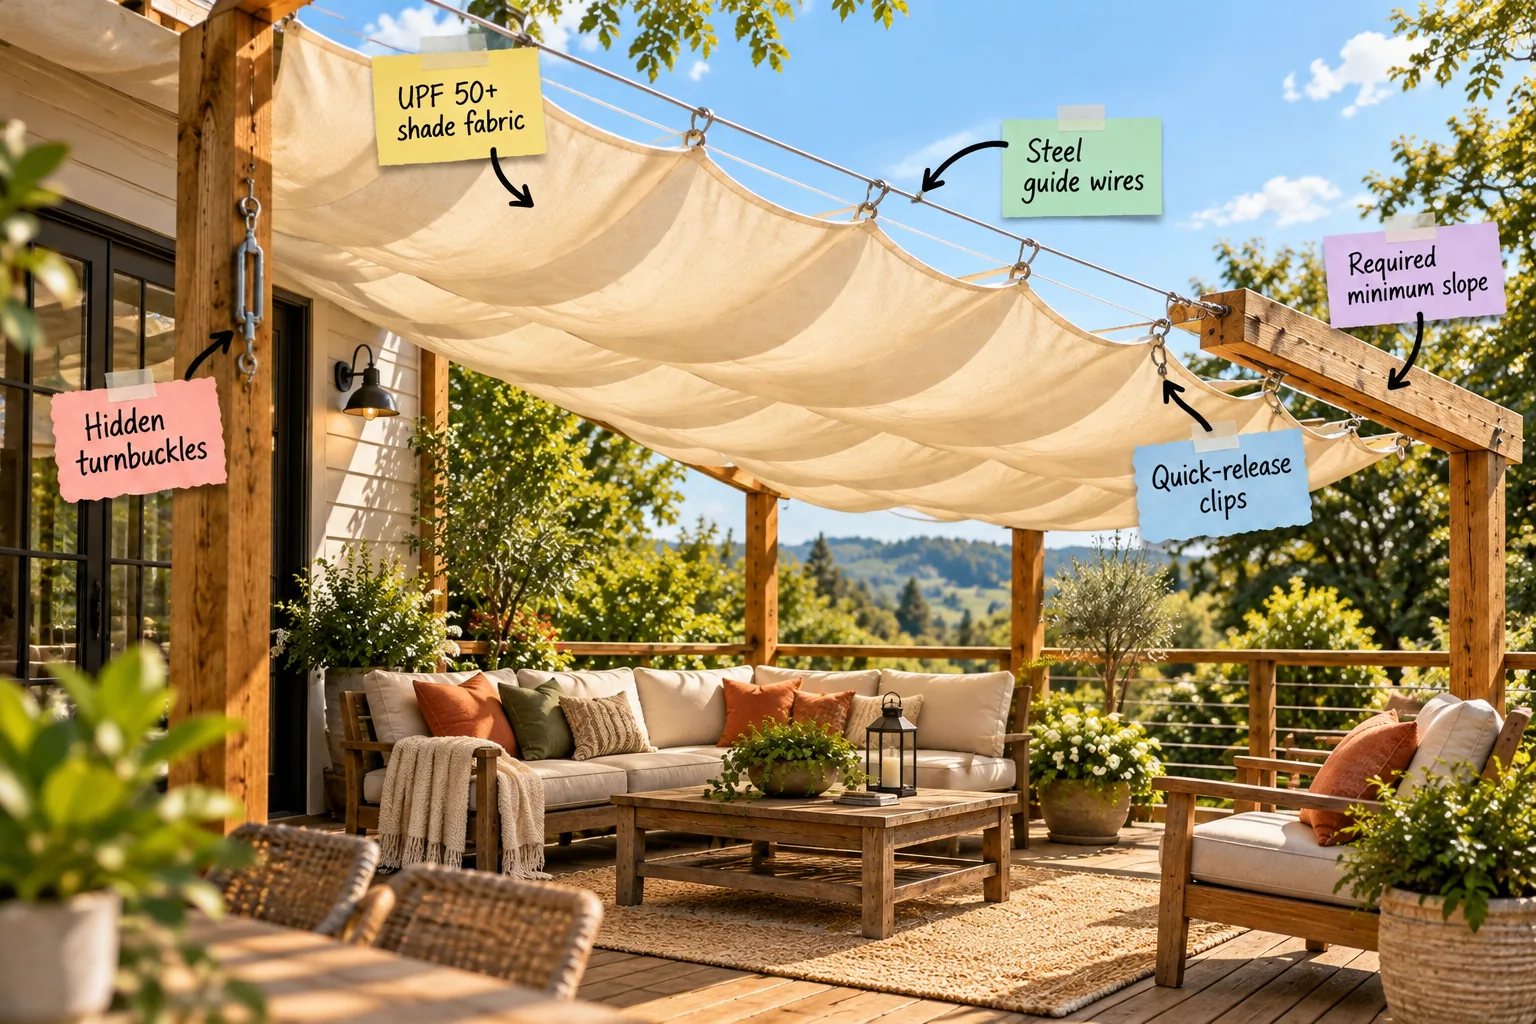
Building a custom retractable canvas canopy requires the right materials, so I have put together the complete hardware shopping list and wire spacing measurements you need. You will be able to purchase the exact components required and space your guide wires perfectly to block that harsh afternoon sun.
Planning the Required Minimum Slope
Even retractable fabric needs a slight pitch to prevent rainwater from pooling heavily during unexpected summer showers. You must plan your pergola frame with a standard drop of 1 inch per foot of run moving away from the house structure.
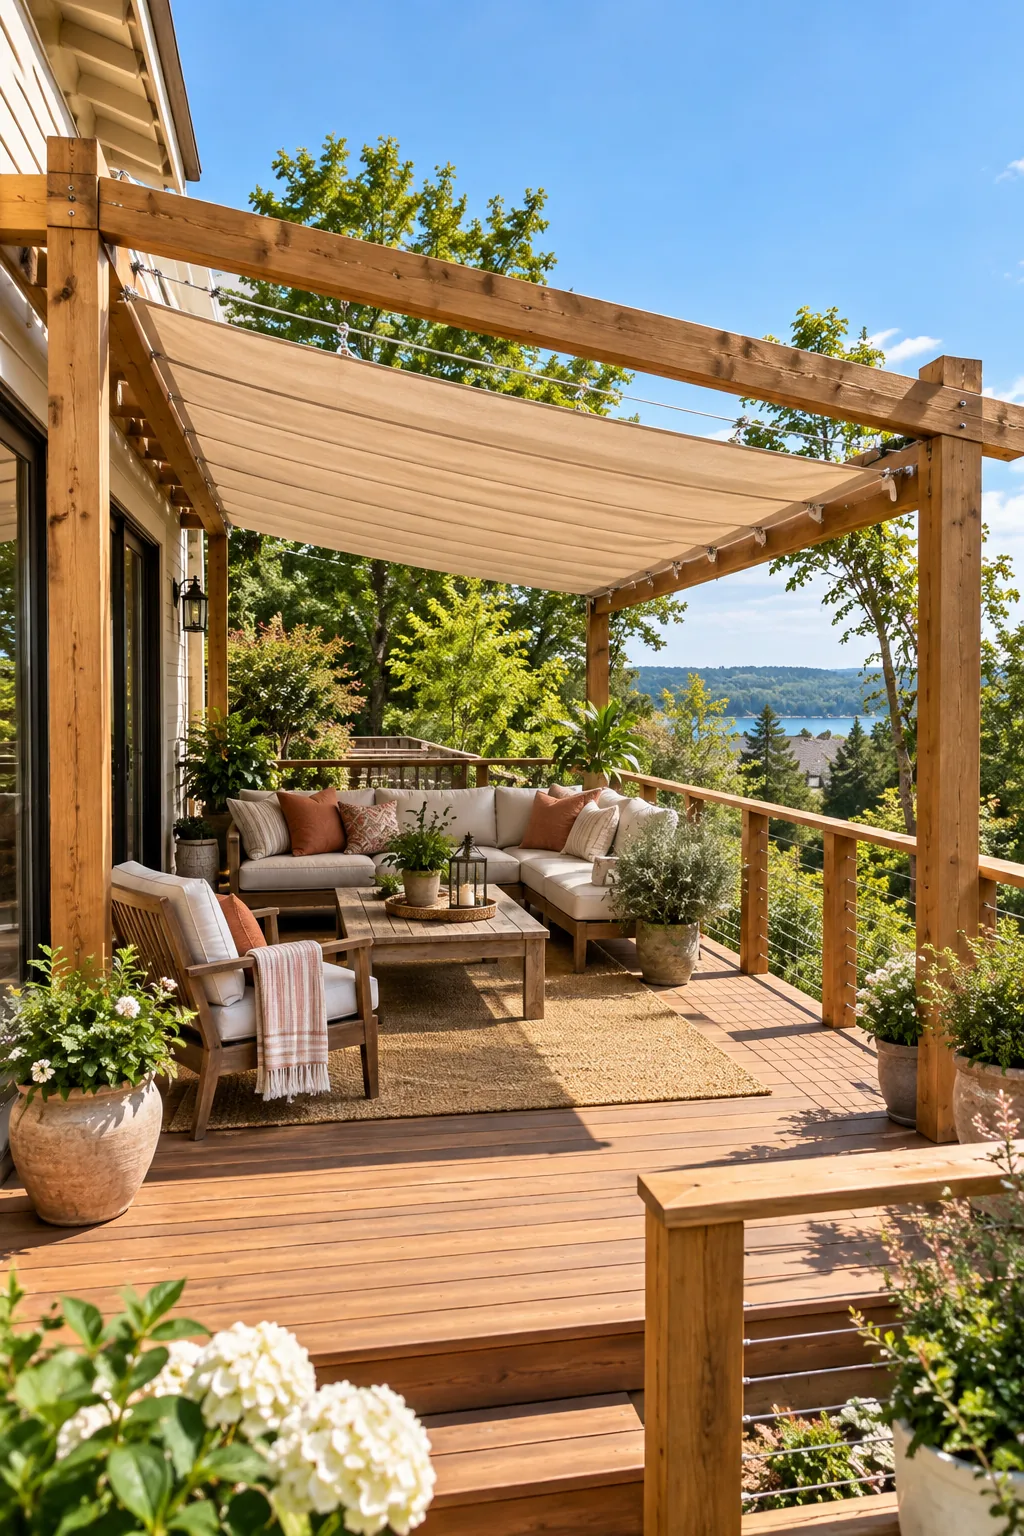
This subtle downward angle ensures water sheds easily over the edges without compromising the cozy headroom of your seating area. I always recommend measuring from your highest ledger board attachment down to the outer posts to confirm the required minimum slope.
Calculating the Perfect Roof Drop
Figuring out exactly how much your roof needs to angle downward depends entirely on the total outward distance of your deck. Use this simple measurement guide to determine the correct post height differences before you cut any structural timber.
| Outward Deck Run | House Ledger Height | Outer Post Height | Total Roof Drop |
|---|---|---|---|
| 8 feet | 108 inches | 100 inches | 8 inches |
| 10 feet | 108 inches | 98 inches | 10 inches |
| 12 feet | 108 inches | 96 inches | 12 inches |
| 14 feet | 108 inches | 94 inches | 14 inches |
| 16 feet | 108 inches | 92 inches | 16 inches |
Maintaining these exact proportions guarantees that your canopy will drain efficiently rather than forming massive puddles that stretch the canvas. Always double-check your local building codes regarding minimum overhead clearance before finalizing your outer post heights.
Running the Steel Guide Wires
The foundation of a smooth-sliding canopy relies on taut, perfectly parallel lines stretching across your overhead frame. I learned the hard way on my first Austin patio that cheap rope eventually sags, so now I exclusively install 1/8-inch stainless steel aircraft cable.
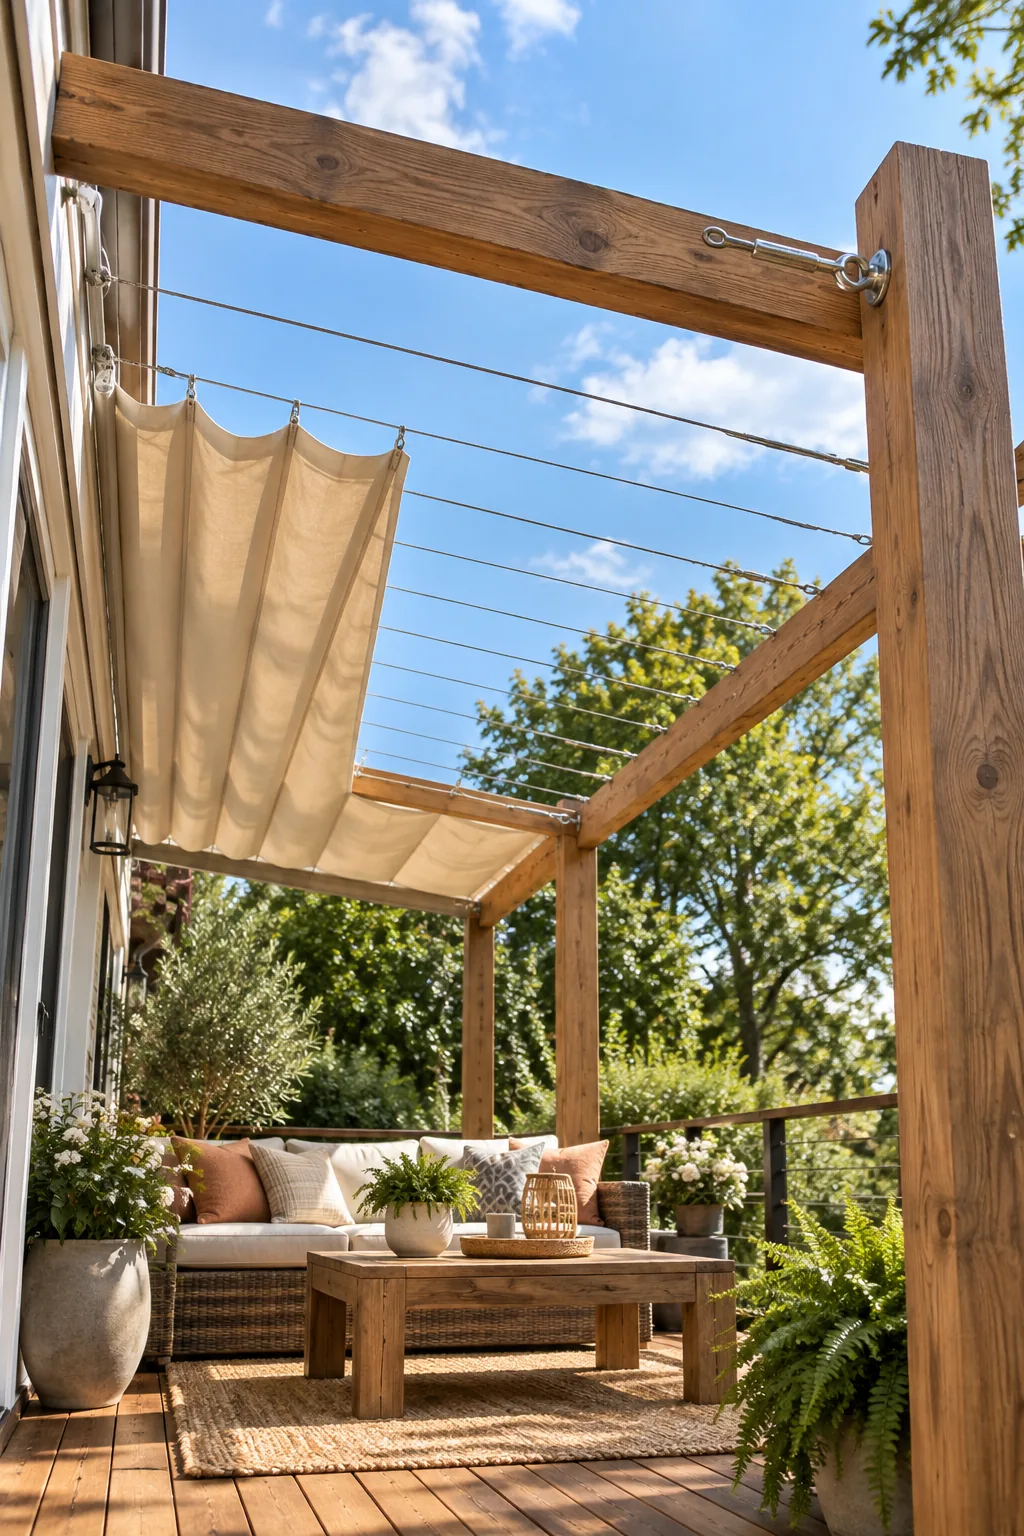
These heavy-duty steel guide wires provide immense tensile strength without visually overwhelming the outdoor space. Stainless steel is absolutely crucial for this specific outdoor application to prevent ugly rust stains from dripping onto your beautiful beige fabric over time.
Anchoring the Cable Foundation
Securing that immense tension requires heavy-duty anchor points driven deeply into your solid wood pergola beams. Follow this strict installation sequence for each parallel run to ensure your cable support system remains completely rigid during heavy afternoon breezes.
- Mark your spacing intervals across both the house ledger and the outer support beam.
- Pre-drill pilot holes slightly smaller than the threads of your heavy-duty eye screws.
- Drive the stainless steel eye screws fully into the wood until the loops sit flush.
- Loop the bare cable through the outer eye screw and secure it tightly.
- Clamp the looped wire end securely using two stainless steel wire rope clips.
Spacing your hardware precisely keeps the entire canopy system pulling evenly across the wooden framework. Taking the extra time to pre-drill prevents your expensive wooden posts from splitting under the extreme pressure of the tensioned steel lines.
Concealing the Turnbuckles
Steel cables naturally stretch and sag with seasonal temperature changes, making heavy-duty tensioning hardware absolutely essential. I always mount these bulky pieces closest to my house fascia, which keeps the hidden turnbuckles completely out of sight from my main seating area.
Install one stainless steel turnbuckle at the starting end of every single wire run to easily twist the line back to a rigid state. Opening the turnbuckle fully before attaching your cable gives you the maximum tensioning distance once everything is connected.
Wire Spacing Measurement Guide
Determining the exact distance between your parallel cables is the most critical measurement of this entire backyard project. You must space your steel guide wires exactly 24 to 36 inches apart, depending entirely on the standard width of your chosen fabric panels.
Hardware & Spacing Cheat Sheet
Success comes down to precise wire placement and taking the right shopping list to the store the very first time. Take this exact shopping list to the hardware store to ensure you have every piece required for a rust-proof, high-tension canopy system.
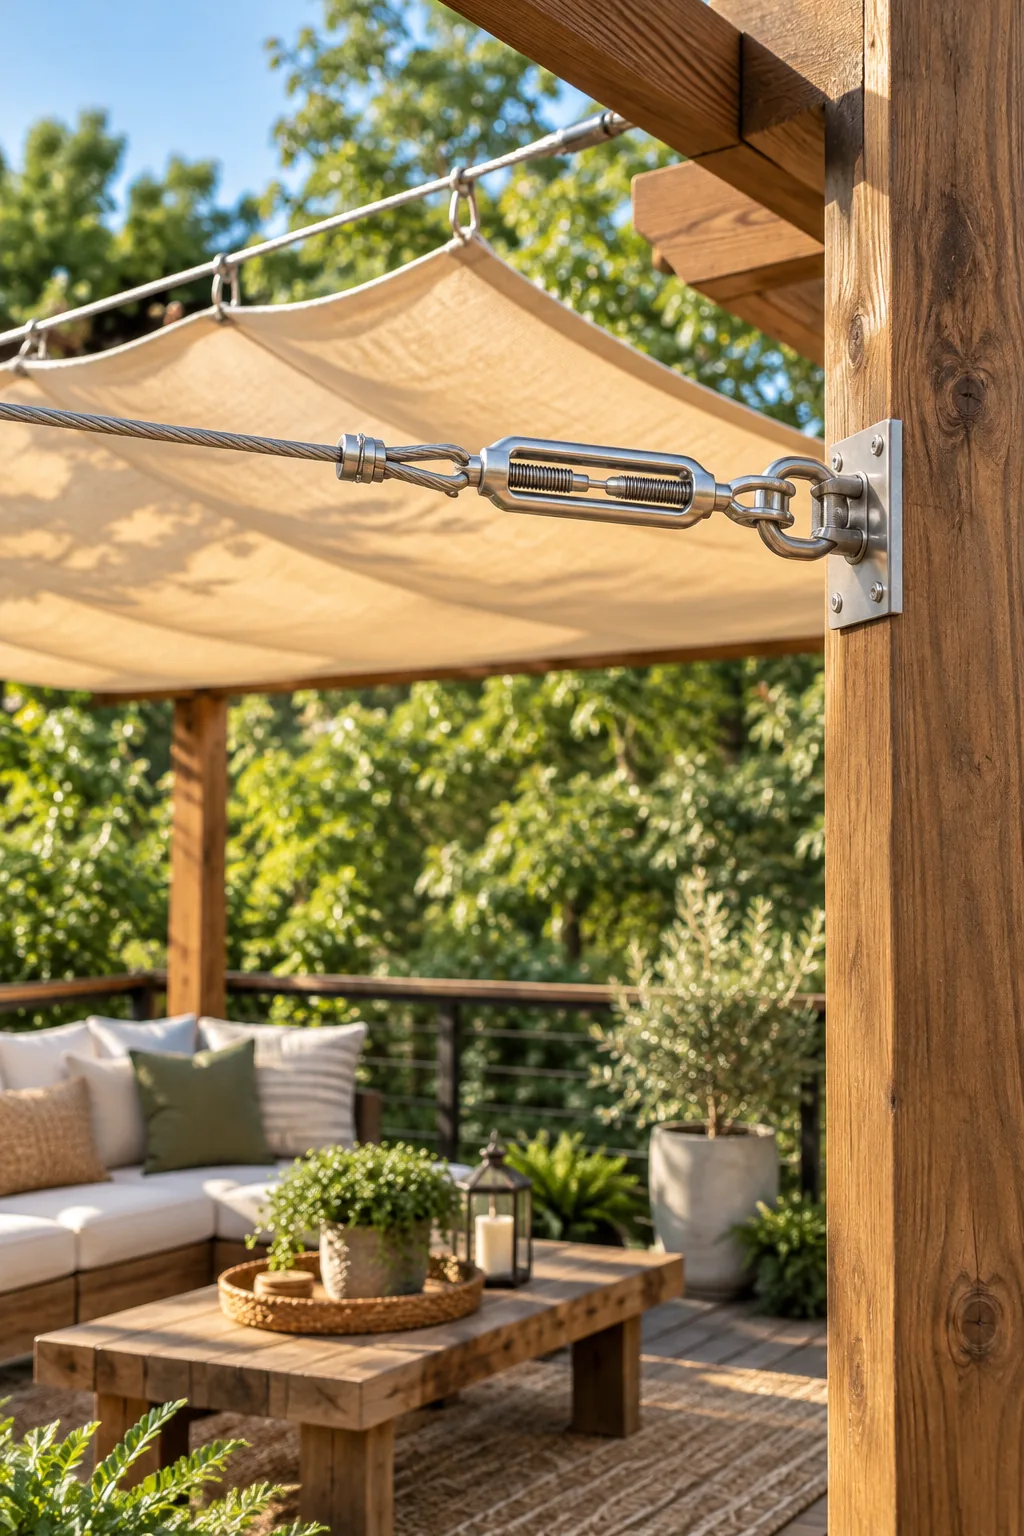
Gathering all these rust-proof components before you begin cutting ensures your installation flows smoothly without frustrating delays. Buying matching components with verified working load limits guarantees your entire overhead structure can safely handle sudden wind gusts.
Selecting UPF 50+ Shade Fabric
The primary goal of building this beautiful cover is blocking that intense, sweltering afternoon heat from baking your patio. You should choose a solution-dyed acrylic canvas or high-density polyethylene textile specifically rated as UPF 50+ shade fabric.
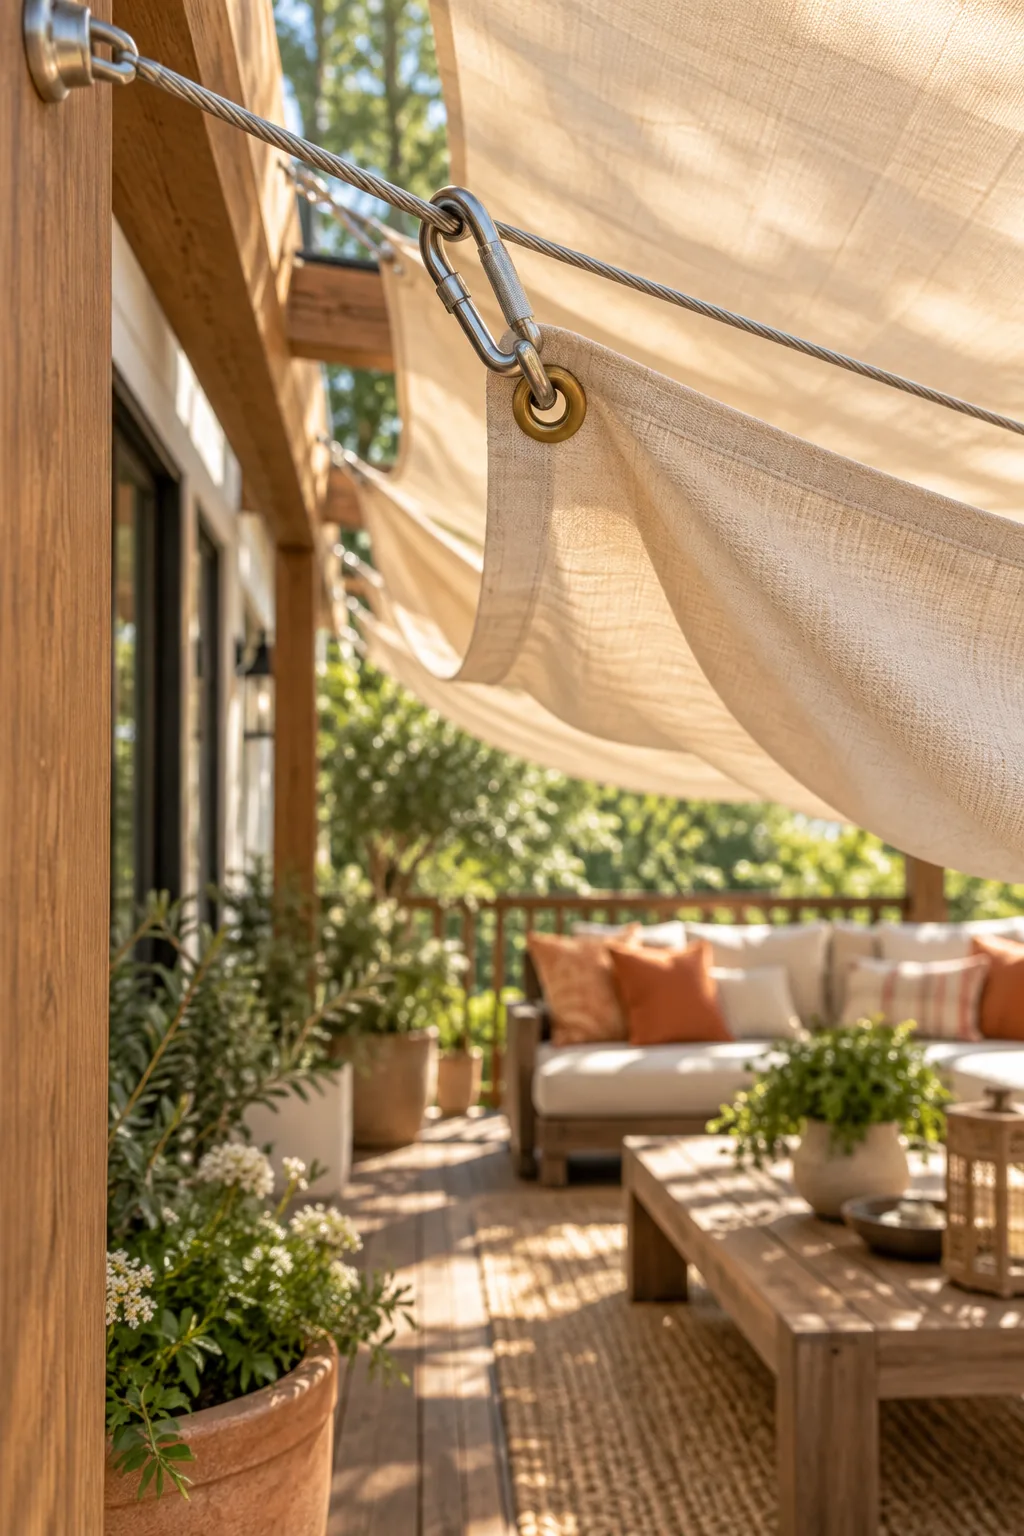
These premium outdoor textiles block 98 percent of harmful UV rays while remaining breathable enough to let hot air escape upward. Investing in solution-dyed acrylic ensures the rich beige color permeates the entire thread, preventing rapid fading under direct sunlight.
Measuring for Custom Canopy Panels
Buying fabric off the bolt means you will likely need to sew custom panels to fit your specific wire spacing. Adding a generous two-inch folded hem around the entire perimeter provides the necessary thickness to securely hold your brass attachment grommets.
Taking the time to measure and hem your canvas accurately transforms a basic DIY project into a professional-looking architectural feature. I highly recommend using UV-resistant polyester thread for all your seams so they survive years of intense sun exposure.
Using Quick-Release Clips
Sewing permanent sleeves for the cables makes the canopy practically impossible to remove quickly when severe weather approaches. Instead, you should punch brass grommets along the reinforced edges of your fabric and attach them using quick-release clips.
These small stainless steel carabiners let the heavy fabric slide effortlessly open and closed along the wire just like a shower curtain. Spacing your brass grommets every 12 to 18 inches along the edge creates beautiful, even folds when the canopy is retracted.
Choosing the Right Carabiner Size
Selecting the correct hardware size ensures your canopy slides smoothly without binding up on the tensioned cables. You should purchase marine-grade carabiners that are at least twice the diameter of your 1/8-inch steel wire for the best possible sliding clearance.
Managing Wind and Weather
A wire-hung canopy acts exactly like a giant ship sail during high winds, putting massive, dangerous strain on your wooden pergola posts. During a sudden Texas thunderstorm last spring, I had to sprint outside to bundle my canopy before the gale-force winds hit.
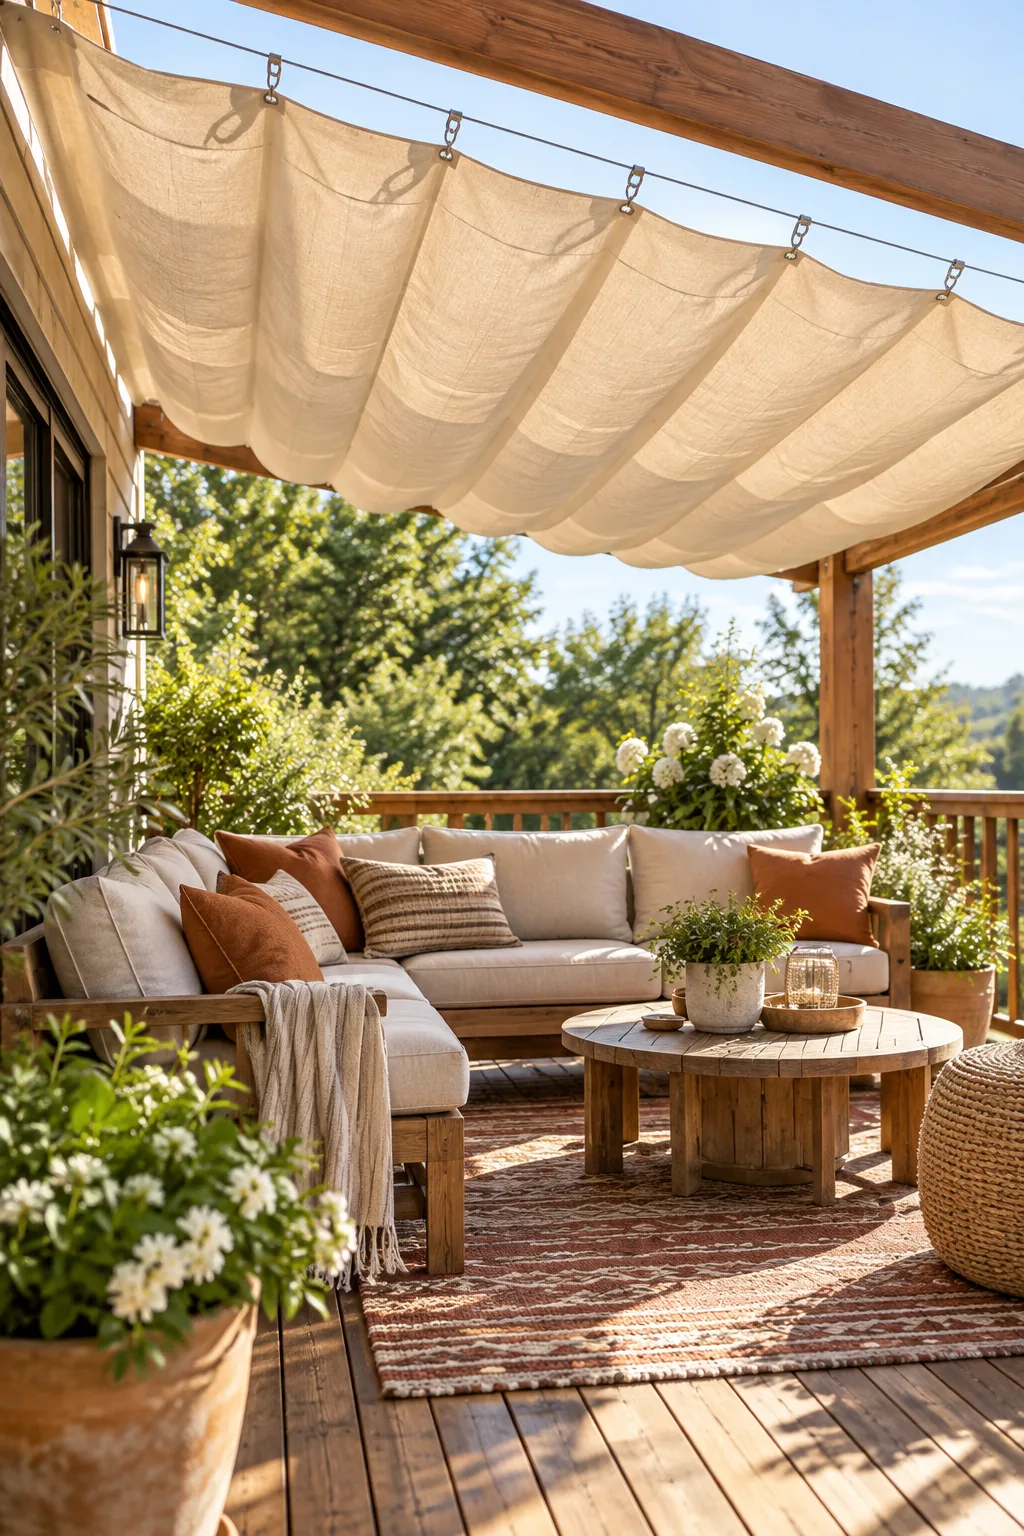
Even the best-built deck covers can fail catastrophically if left fully exposed to extreme, unpredictable weather patterns. Establishing a quick routine to retract and tie off the panels will easily double the lifespan of your expensive shade fabric.
Protecting Your Investment in Winter
When the temperatures finally drop and you want to let the warming winter sun hit your deck, leaving the fabric up is a mistake. Unclipping the carabiners allows you to take the canvas down entirely in ten minutes, protecting the acrylic fibers from freezing rain.
3 Ways to Style a Wire-Hung Canopy
Discover how changing the fabric color and wood stain completely transforms the mood of your shaded deck.
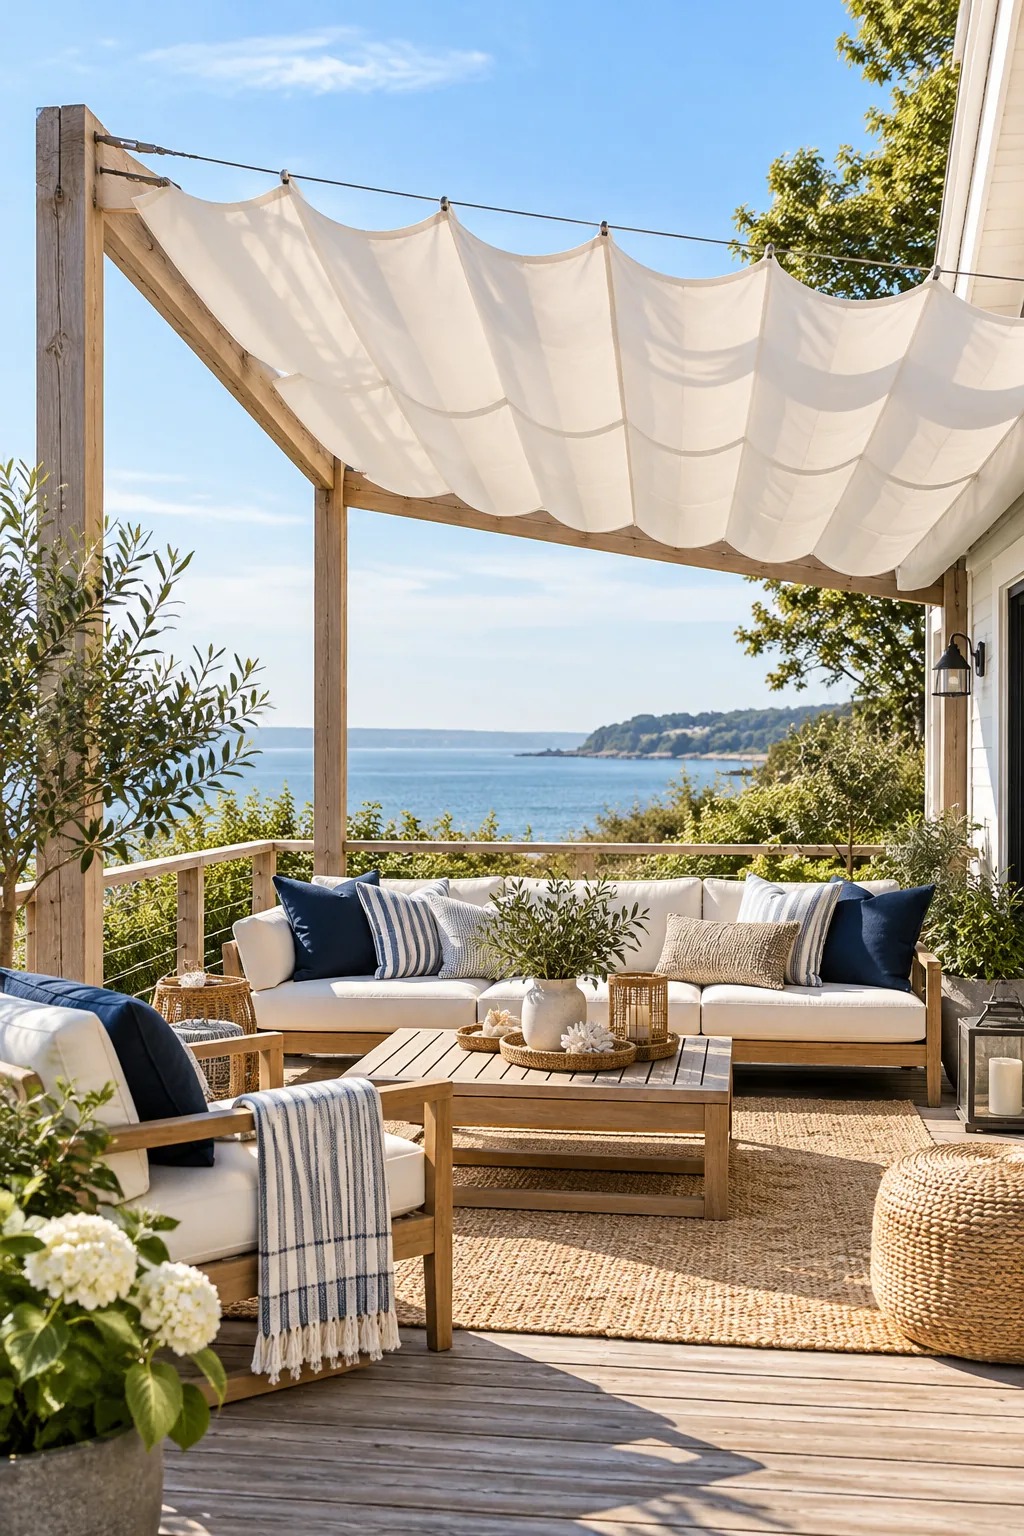
Crisp Coastal White: Bright white canvas paired with weathered teak creates a breezy, effortless coastal feel.
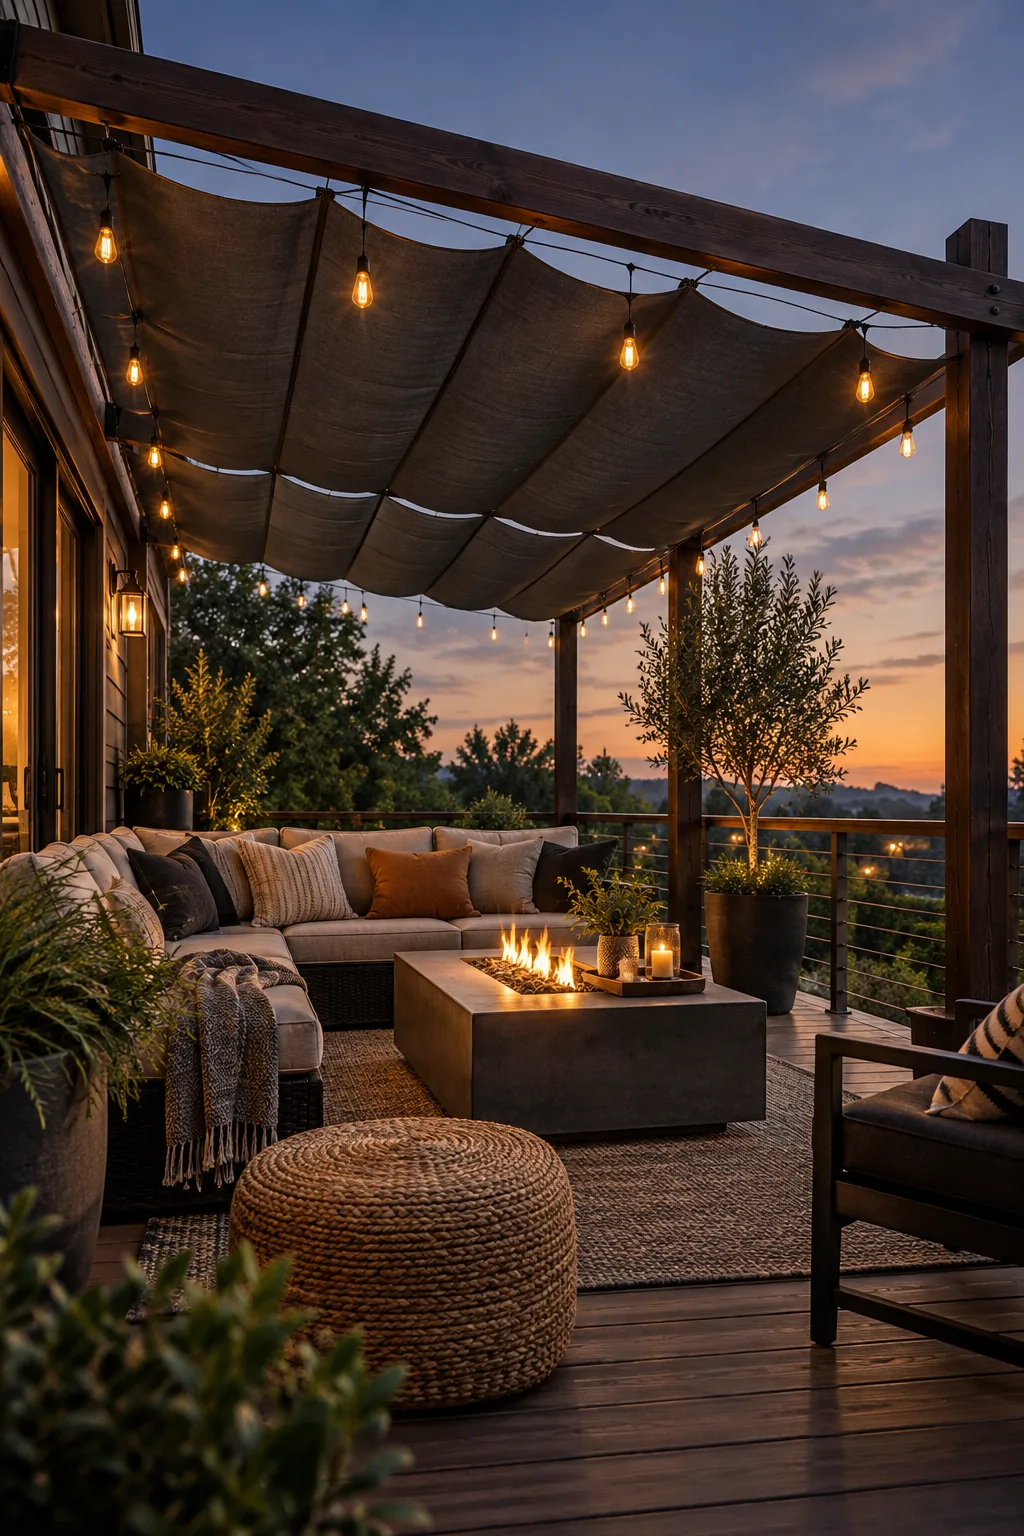
Moody Industrial Charcoal: Dark grey shade fabric hides dirt and adds dramatic contrast to dark stained beams.
Bohemian Striped Oasis: Bold cabana stripes bring a playful resort atmosphere to a lush, plant-filled patio.
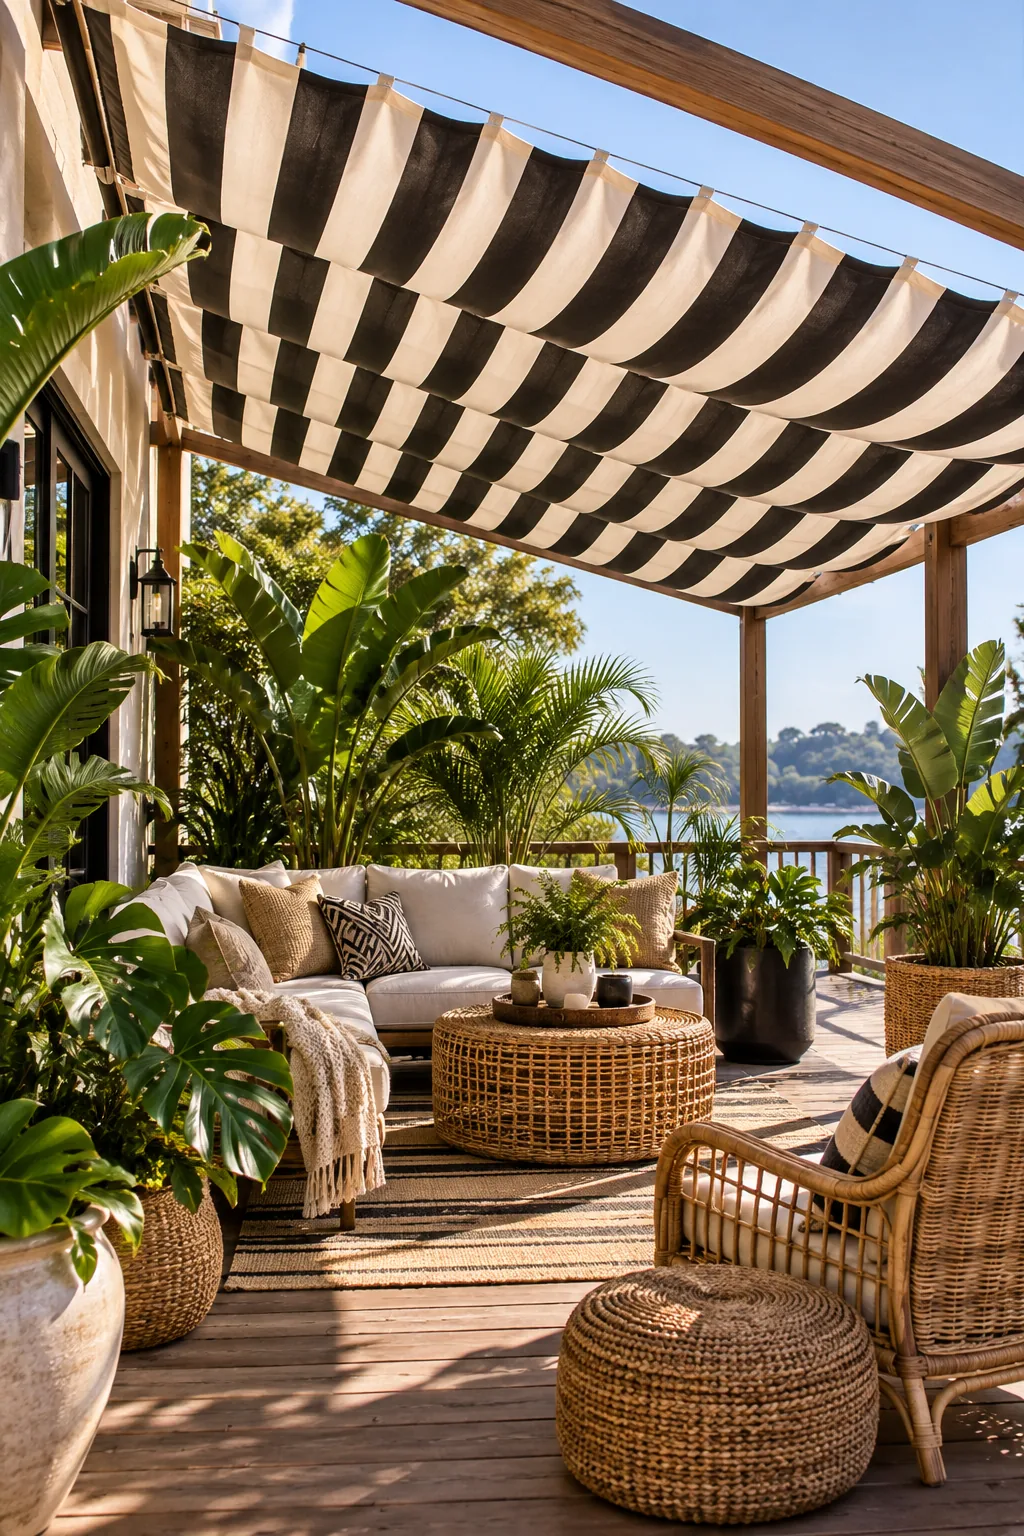
Styling Your Shaded Deck
With the harsh afternoon sun finally tamed, your previously unusable deck instantly becomes an incredibly comfortable, all-day outdoor living room. I love anchoring the updated space with a textured outdoor rug and arranging deep, low-profile seating beneath the canvas.
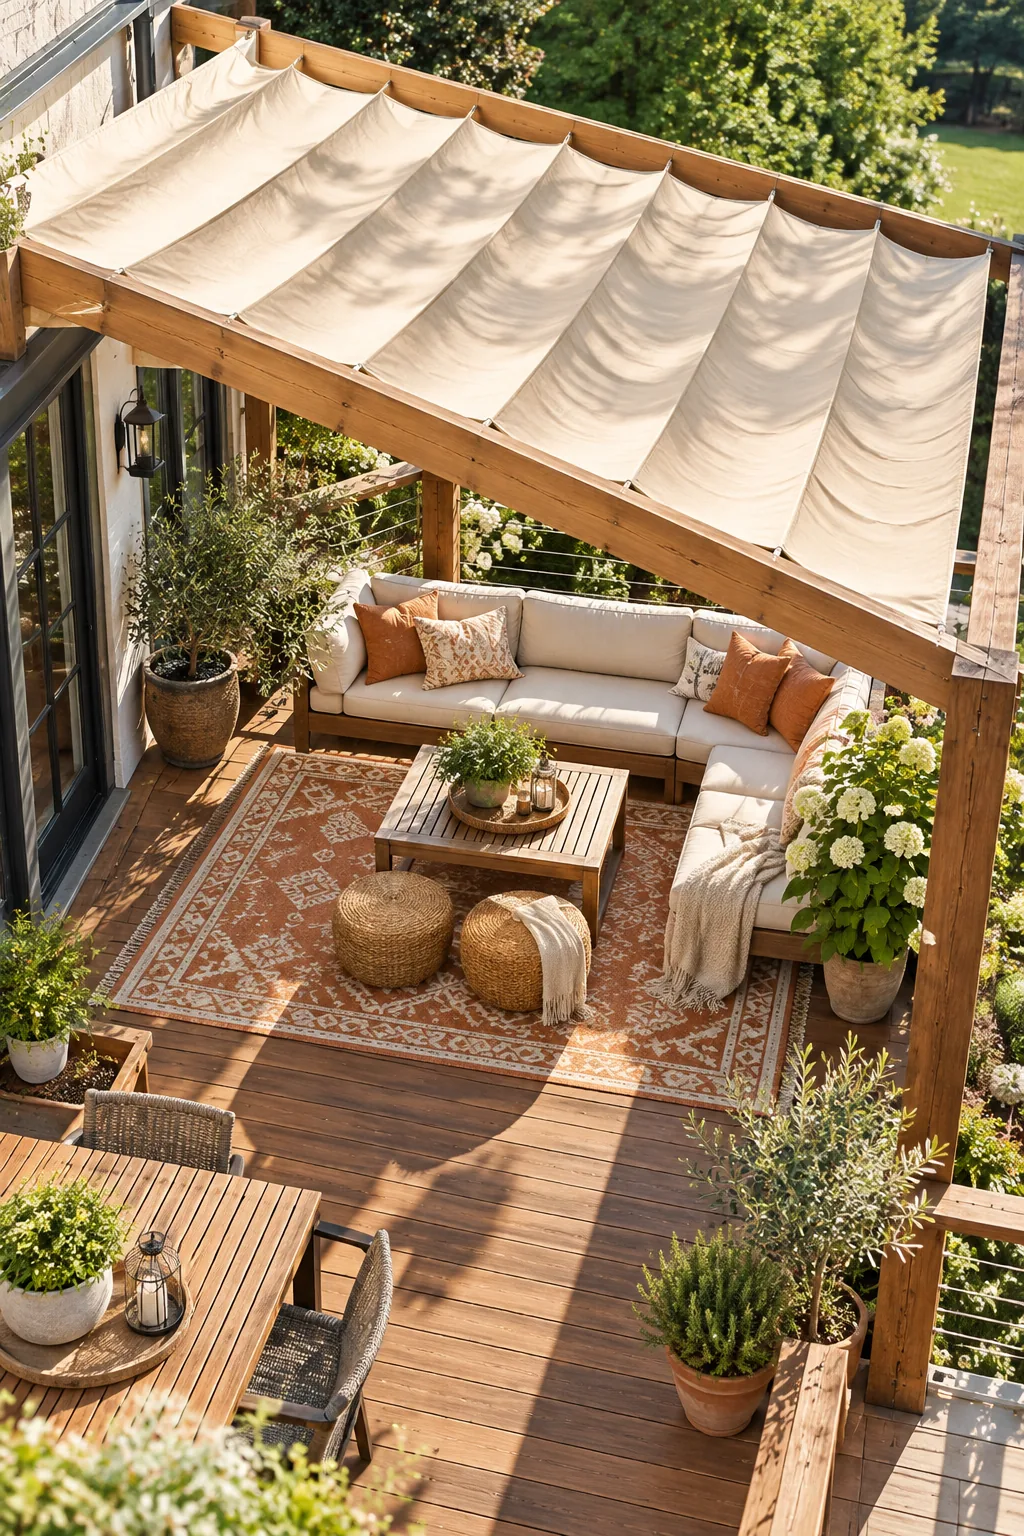
This low-slung furniture takes full advantage of the newly shaded footprint while maximizing the perceived headroom underneath the tensioned cables. Adding UV-resistant pillows in warm terracotta tones perfectly complements the natural wood beams and the soft beige canopy above.