DIY Budget Kitchen Backsplash: Tile over Tile & Shopping List
Skip the messy demolition and print this page to use our two-part budget backsplash checklist, featuring a per-square-foot shopping list and the complete step-by-step installation order. You will be able to calculate exact material quantities and confidently install a gorgeous new tile layer directly over your existing backsplash.
The Budget Backsplash Shopping List
Calculating exact material quantities is the easiest way to keep this project completely under budget. Shopping for your specific square footage ensures you have enough tile, modified bonding thinset, unsanded grout, outlet box extenders, color-matched caulk, and metal edge trim.
Before taking this printable list to the hardware store, grab your tape measure and take these three quick measurements to ensure you buy exactly what you need.
Tiling Directly Over the Old Backsplash
Leaving the old 4×4 ceramic tile in place saves days of dusty demolition and completely eliminates heavy disposal costs. The secret to a secure, permanent bond is using the right materials designed specifically for layered tile-over-tile applications.
| Layer | Material Specification | Coverage Rule | Curing Time |
|---|---|---|---|
| Bonding Base | Modified polymer thinset | 50 sq ft per 50lb bag | 24 hours |
| Tile Layer | Glazed ceramic subway tile | Actual sq ft + 10% overage | N/A |
| Joint Filler | Unsanded grout | 100 sq ft per 10lb box | 72 hours |
| Edge Trim | Brass transition strip | Total exposed linear inches | N/A |
| Bottom Seal | 100% silicone white caulk | 25 linear feet per tube | 24 hours |
| Safety Spacer | Plastic outlet box extenders | One per electrical box | Instant |
Because the old tile stays beneath the new emerald layer, you must ensure every existing square is firmly attached to the drywall. Tap each original tile with the handle of your trowel, listening for a hollow sound that indicates loose adhesive.
Degreasing the Existing Ceramic Surface
Even a microscopic layer of airborne cooking oil will prevent your new modified thinset from adhering properly to the old backsplash. Thoroughly degreasing the entire work zone with a heavy-duty cleaner is the most critical preparation step.
- Spray a heavy-duty citrus degreaser directly onto the old ceramic surface.
- Let the solution sit for exactly five minutes to break down stubborn cooking oils.
- Scrub the heavy grease spots aggressively using a stiff nylon bristle brush.
- Wipe the entire wall completely clean using damp microfiber cloths.
- Rinse the surface with plain warm water to remove any lingering chemical residue.
- Allow the wall to air dry for two hours before applying any thinset.
Pay special attention to the tiles directly behind the stove and above the sink, as these high-traffic cooking zones accumulate the thickest invisible grease layers over time.
Sanding for Maximum Thinset Adhesion
Scuffing the old glossy glaze with 80-grit sandpaper gives the new modified thinset a textured, porous surface to grab onto. You only need to remove the surface shine, which takes about ten minutes with a standard random orbital sander.
Centering the Layout on the Sink
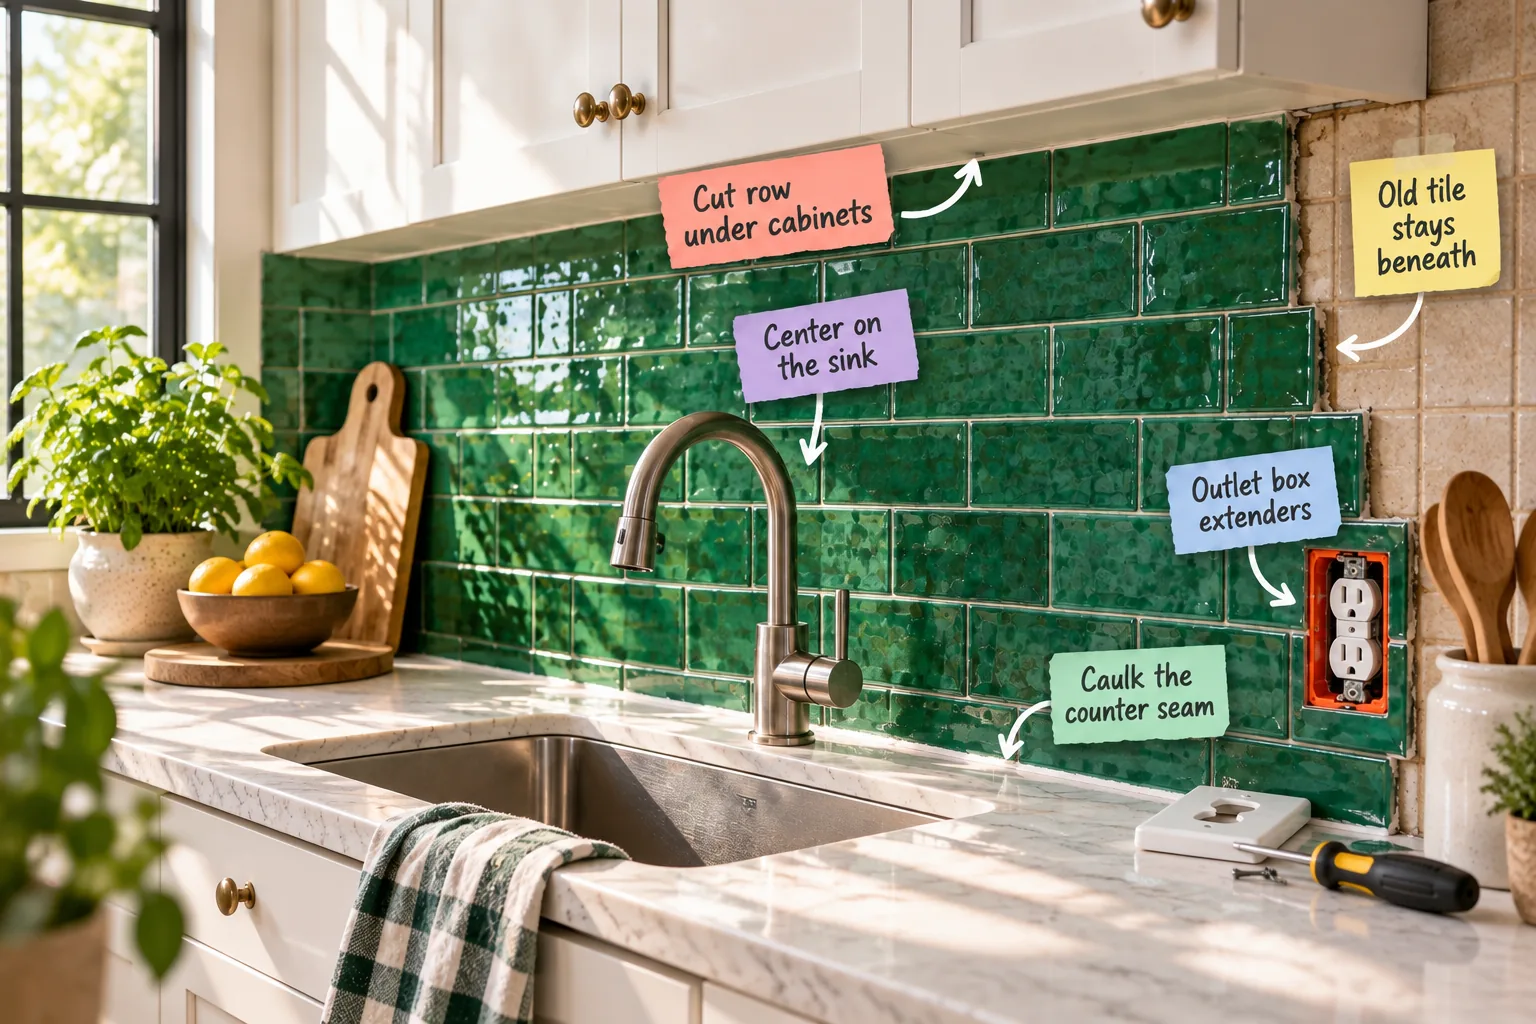
Start your installation layout by drawing a perfectly plumb vertical pencil line directly behind the center of the sink faucet. Working outward from this center mark ensures that any cut tiles at the far left and right ends of the kitchen wall are symmetrical.
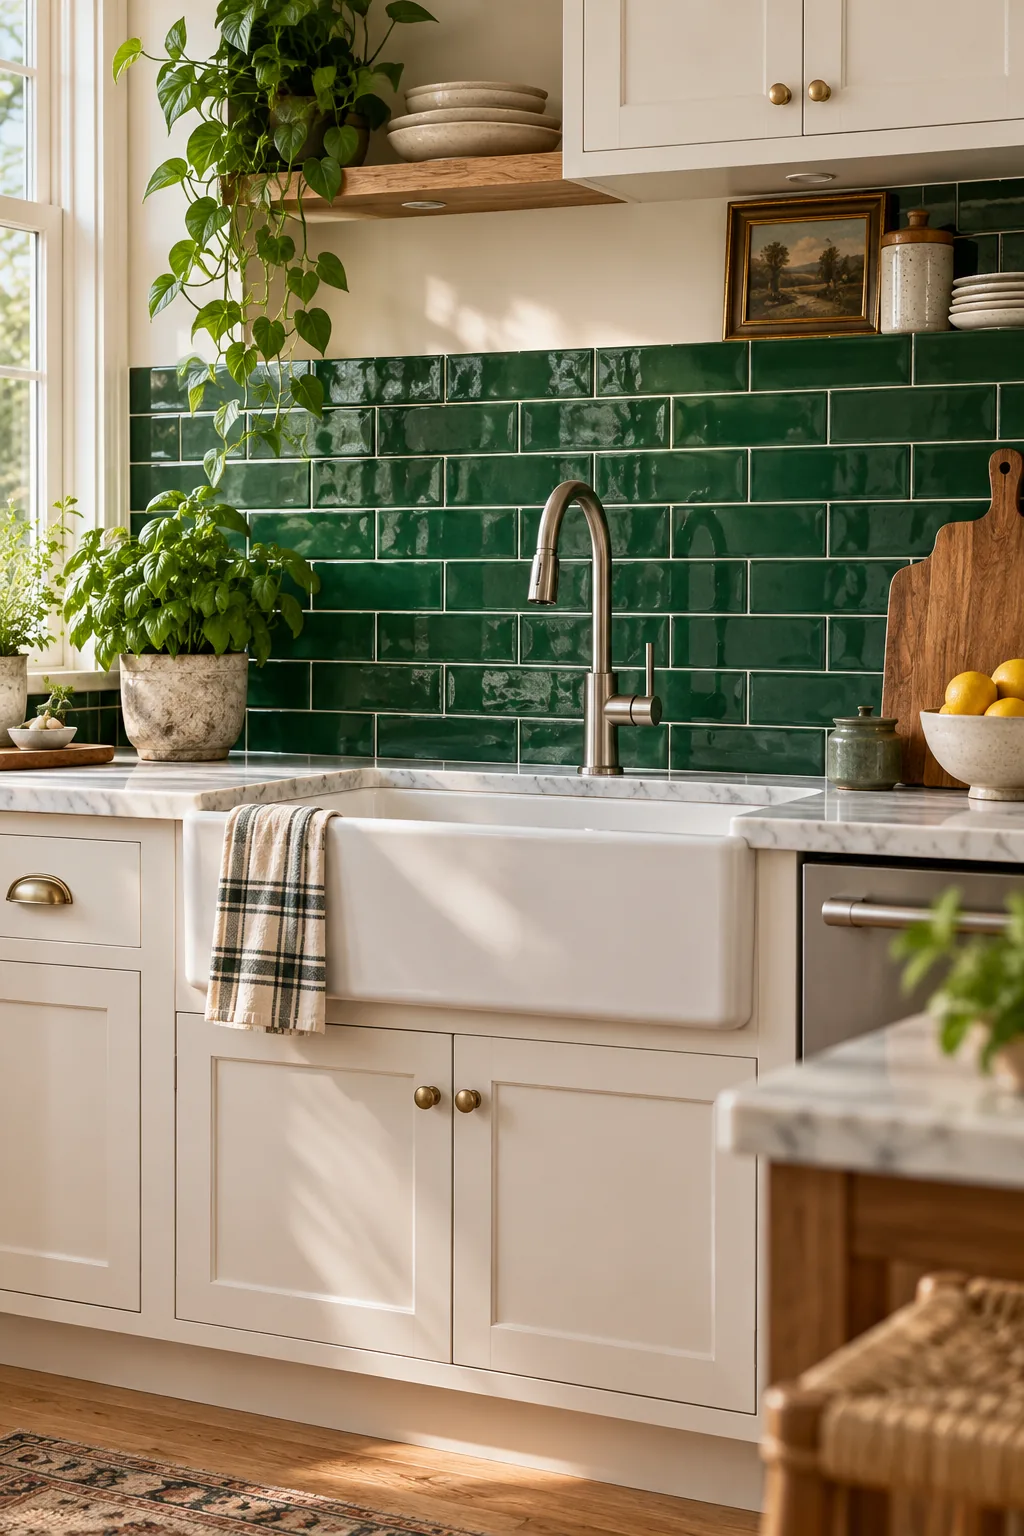
If you start with a full tile at one end of the room, you often end up with a tiny, awkward sliver at the opposite wall. Centering on the sink guarantees equal-sized border pieces, creating a highly balanced, professional aesthetic.
Planning the Vertical Tile Spacing
Always dry-fit a column of tiles with 1/16-inch spacers before mixing your adhesive to see where the top row will land. If the top row leaves a gap smaller than an inch, shift your starting bottom row up slightly to allow for a wider, easier cut.
Hiding the Cut Row Under Cabinets
Because kitchen walls and upper cabinets are rarely perfectly level, the top row of your new backsplash almost always requires custom horizontal cuts. Pushing these narrow cut strips directly against the underside of the upper cabinets is the smartest layout trick.
The natural shadow line cast by the upper cabinets instantly hides any slightly uneven edges on that cut row. Nobody looks directly up under the cabinet boxes, making it the ideal place to absorb structural variations.
Mixing the Modified Thinset Correctly
Always use a high-adhesion modified thinset specifically designed to grip non-porous surfaces when tiling over tile. Mix the powder and water with a drill attachment on low speed until it reaches a thick peanut butter consistency.
Applying Thinset to the Wall
Spread the modified thinset onto the old tile using the flat side of your trowel, then comb it out with the 1/4-inch notched edge held at a 45-degree angle. Only apply enough adhesive to cover what you can tile in twenty minutes.
Back-Buttering the New Tiles
To guarantee a completely secure bond against the existing backsplash, spread a paper-thin layer of thinset onto the back of every new ceramic tile. This back-buttering technique prevents hollow spots and ensures the heavy pieces will not slide down the wall.
Cutting Tiles Around Receptacles
When you reach an electrical outlet, measure the exact cutout and use a wet saw or angle grinder to notch the tile. The cuts do not have to be flawless, as the plastic outlet cover plate will overlap the edges by at least a quarter inch.
Installing Outlet Box Extenders for Safety
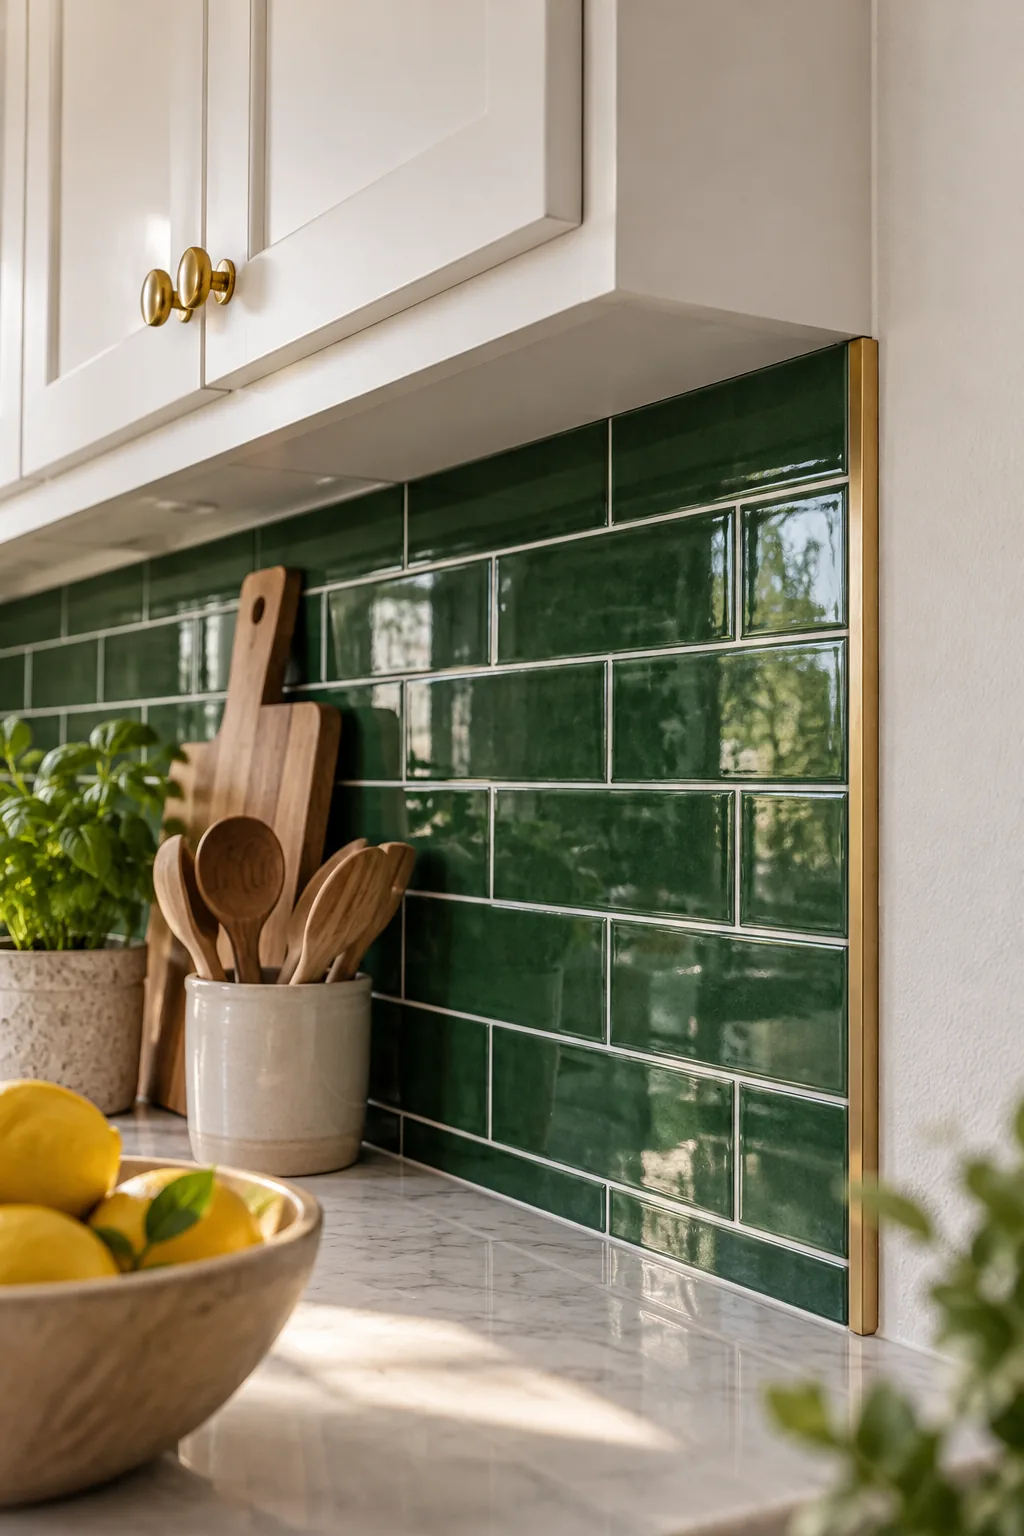
Adding a new layer of tile makes the wall significantly thicker, leaving your electrical outlets recessed too deeply inside the wall. Bright orange plastic outlet box extenders bridge this gap, bringing the receptacles flush with the new emerald tile to meet electrical code.
Finishing the Exposed Tile Edges
Where the backsplash ends on an open wall, the layered old and new tiles will be distinctly visible from the side. Capping these raw edges with a crisp metal transition strip or a matching ceramic bullnose piece creates a polished, professional border.
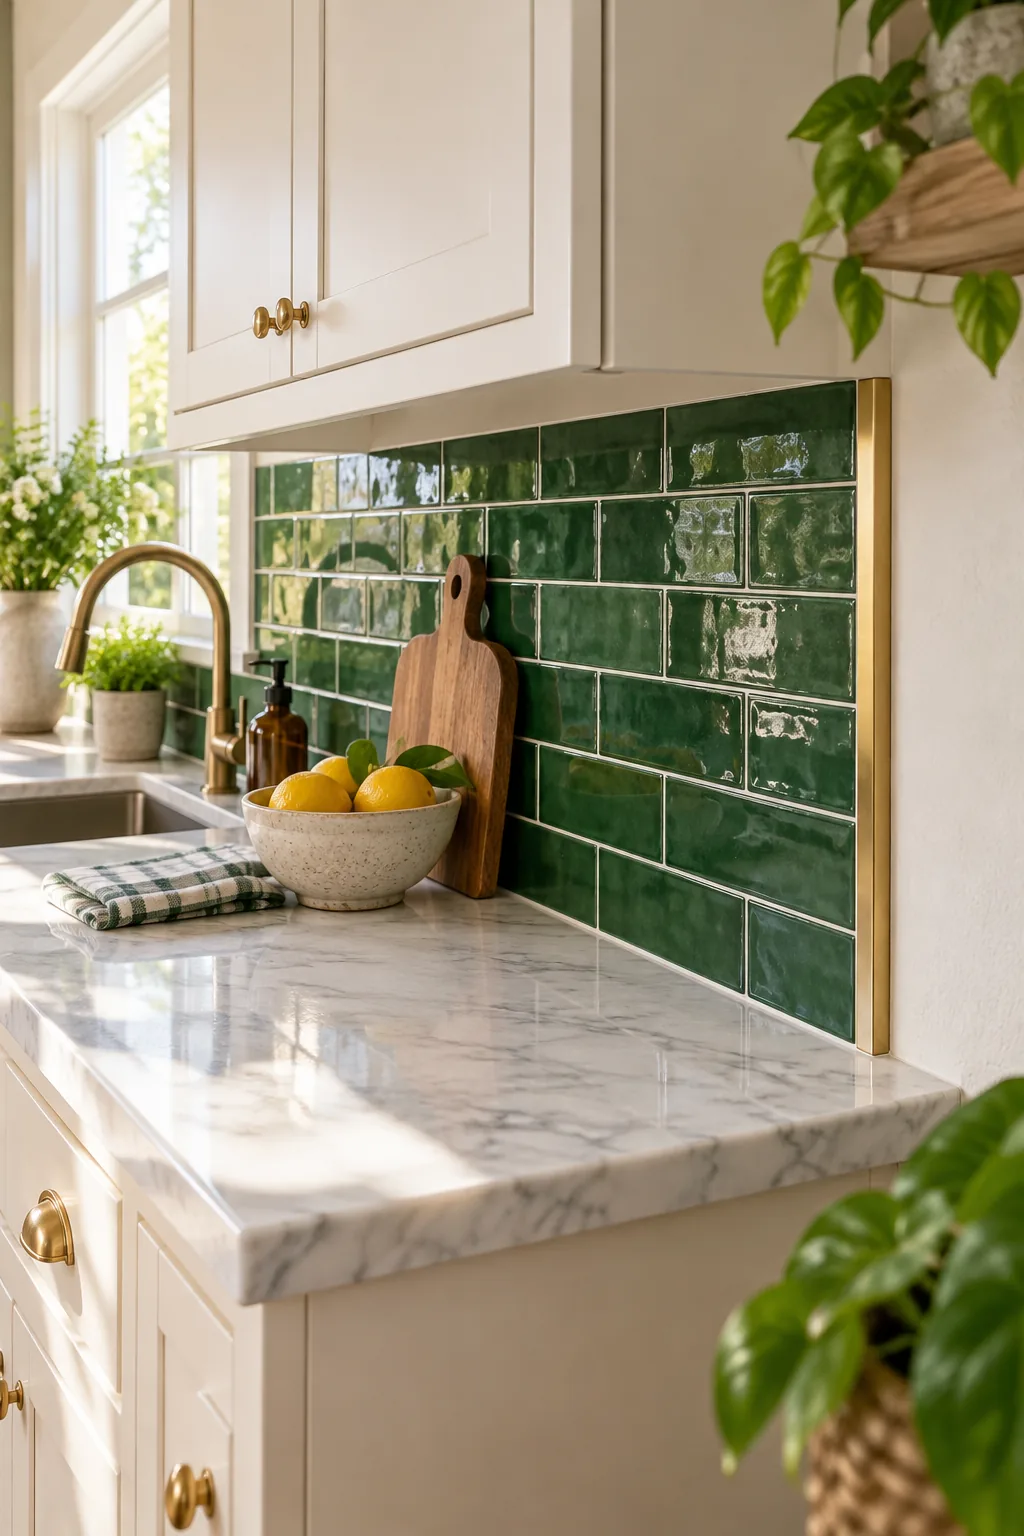
I used a simple brass transition strip in my own kitchen, and it completely masked the old beige tile peeking out at the end of the counter. It instantly makes the double-layer construction look like an expensive, intentional design choice.
Cleaning Thinset from the Grout Lines
Before the modified adhesive cures overnight, use a damp sponge or a wooden toothpick to scrape any excess thinset out of the narrow 1/16-inch joints. Dried thinset poking through the gaps will ruin the uniform color of your future grout lines.
Applying Unsanded Grout Safely
Once the tiles have cured for 24 hours, press unsanded grout diagonally into the joints using a rubber float. I learned the hard way that standard sanded grout will permanently scratch the delicate glossy glaze on these beautiful handmade-look ceramic tiles.
Wiping the Grout Haze
Wait exactly fifteen minutes for the grout to firm up in the joints before gently wiping the surface with a barely damp sponge. Rinsing your sponge frequently in a bucket of clean water is the secret to removing the cloudy haze without washing out the lines.
Caulking the Counter Seam
Never use rigid grout where the bottom tile row meets the countertop, as normal house shifting will inevitably crack it. Instead, run a smooth bead of color-matched white silicone caulk along this 90-degree joint to create a durable seal.
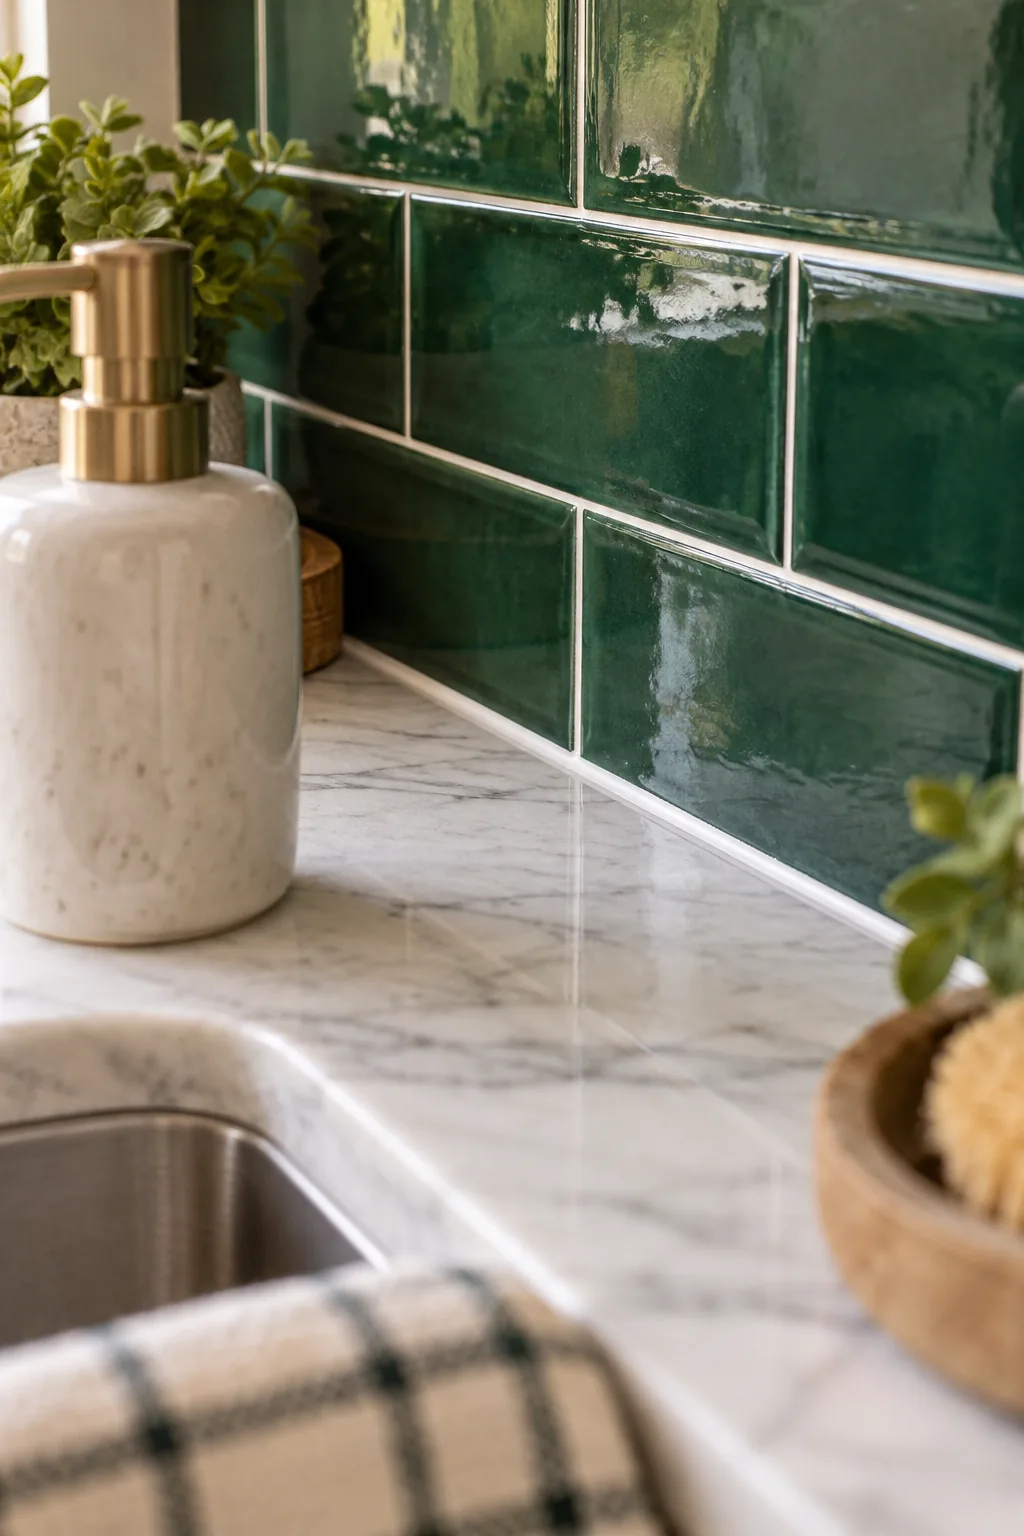
Even experienced DIYers often ruin a perfect tile job by mishandling this final critical seam. Avoid these common mistakes to ensure your flexible silicone joint remains waterproof and pristine for years.
4 More Budget Backsplash Transformations
Discover how different tile choices and layouts can completely change your kitchen's mood without breaking the bank.
Warm Terracotta Straight Stack: Earthy terracotta squares bring instant warmth to a bohemian space. Stacking them in straight columns creates a surprisingly modern grid that feels intentional and fresh.
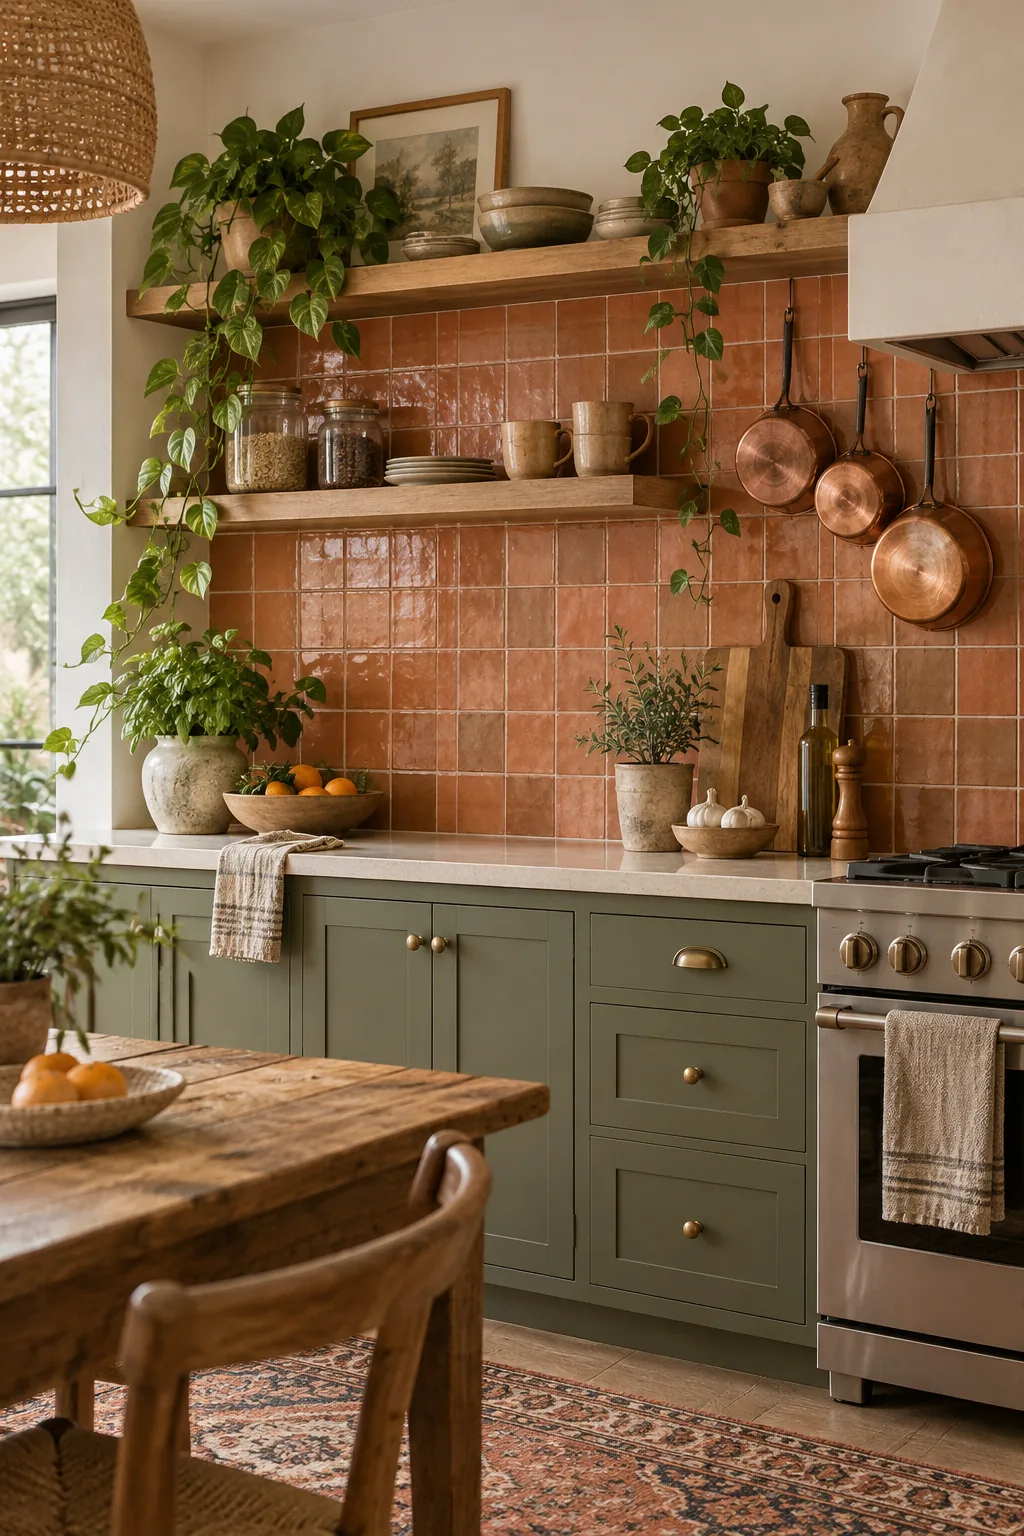
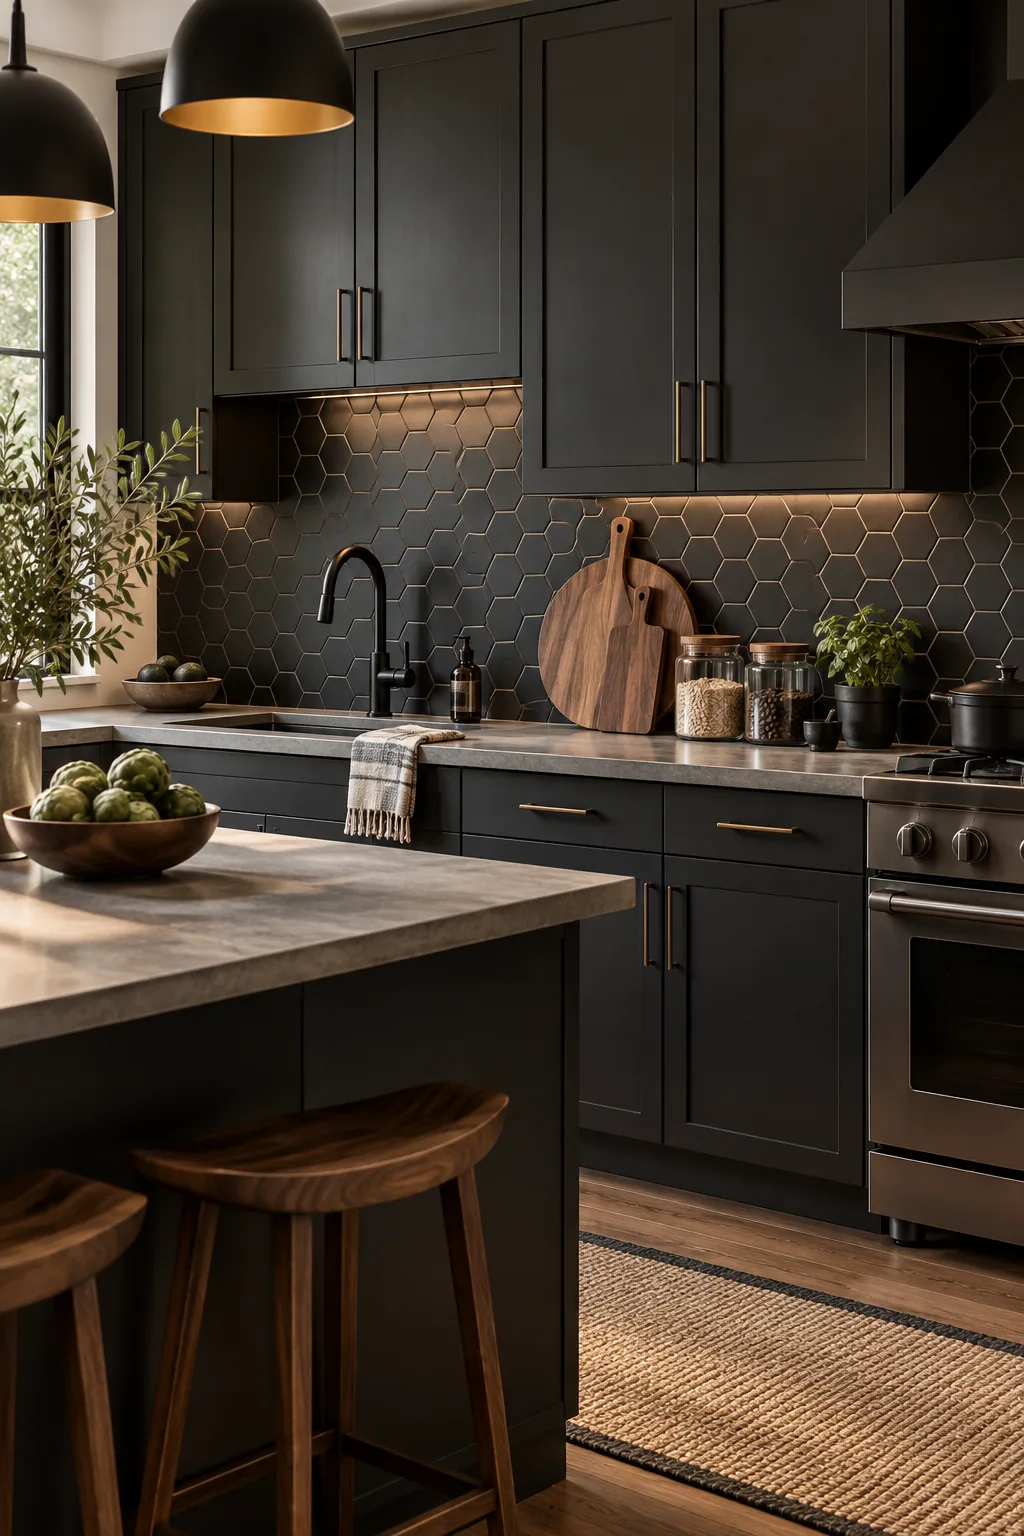
Moody Matte Black Hexagon: Dark geometric shapes add striking contrast to minimalist kitchens. The matte finish hides water spots while giving the wall a sophisticated, architectural texture.
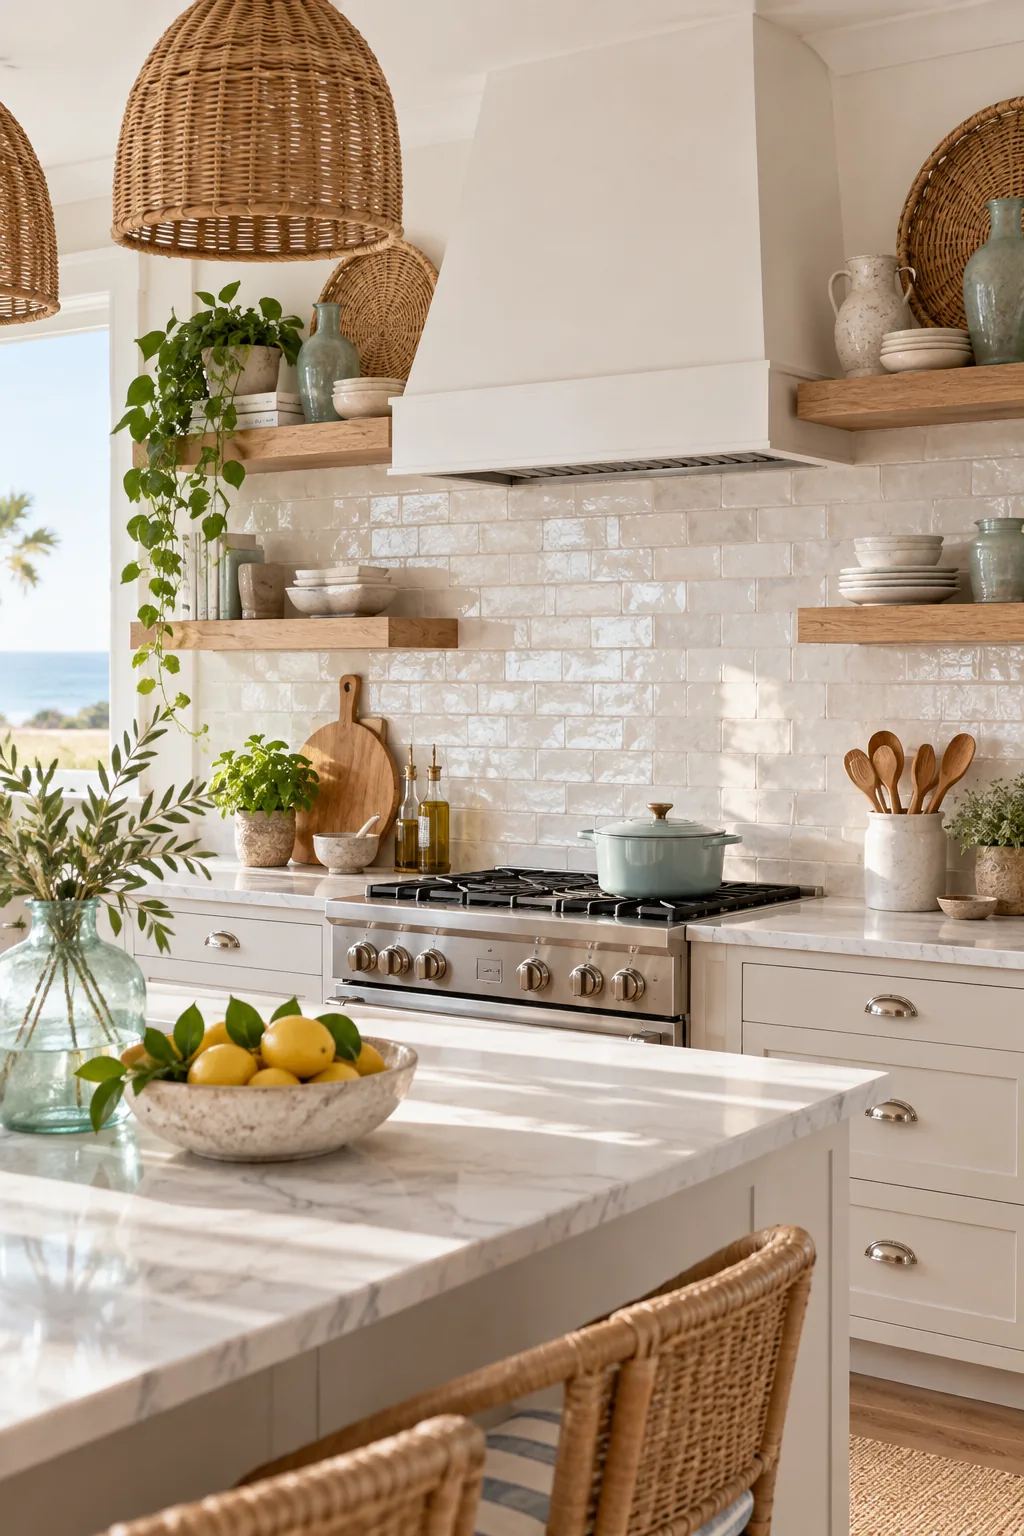
Coastal Pearl Zellige Brick: Highly textured white tiles reflect natural light beautifully across the room. The subtle color variations in each piece give the wall an organic, handmade charm.
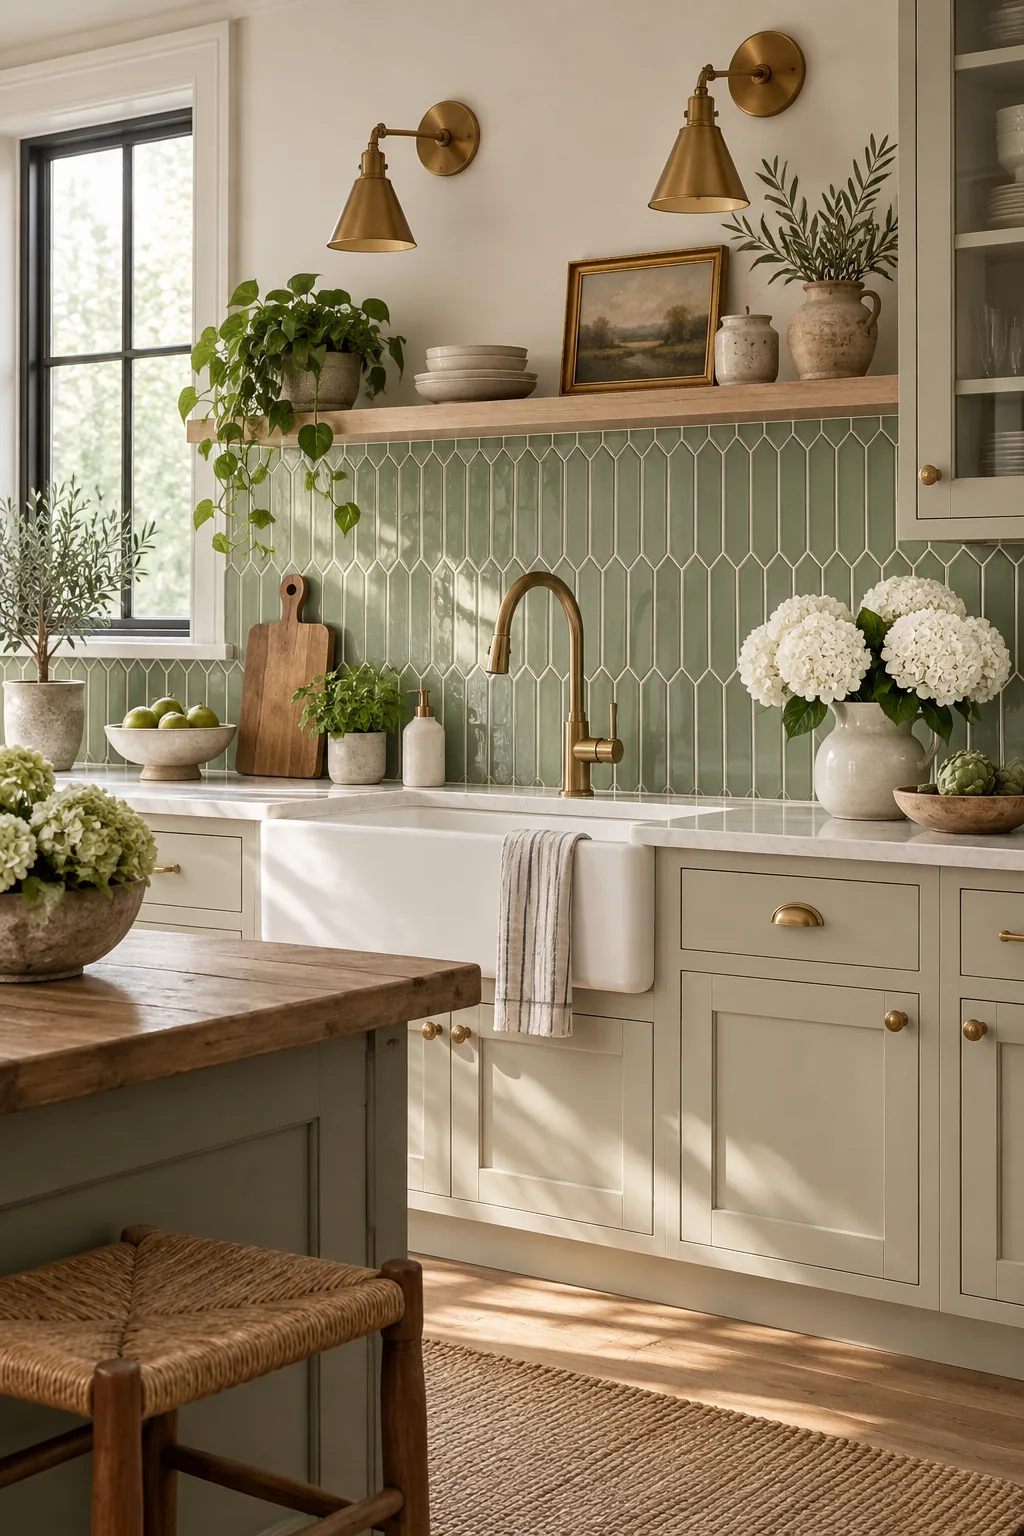
Vertical Sage Green Picket: Turning elongated tiles vertically draws the eye upward, making the ceiling feel higher. The soft green tone pairs perfectly with classic brass hardware.