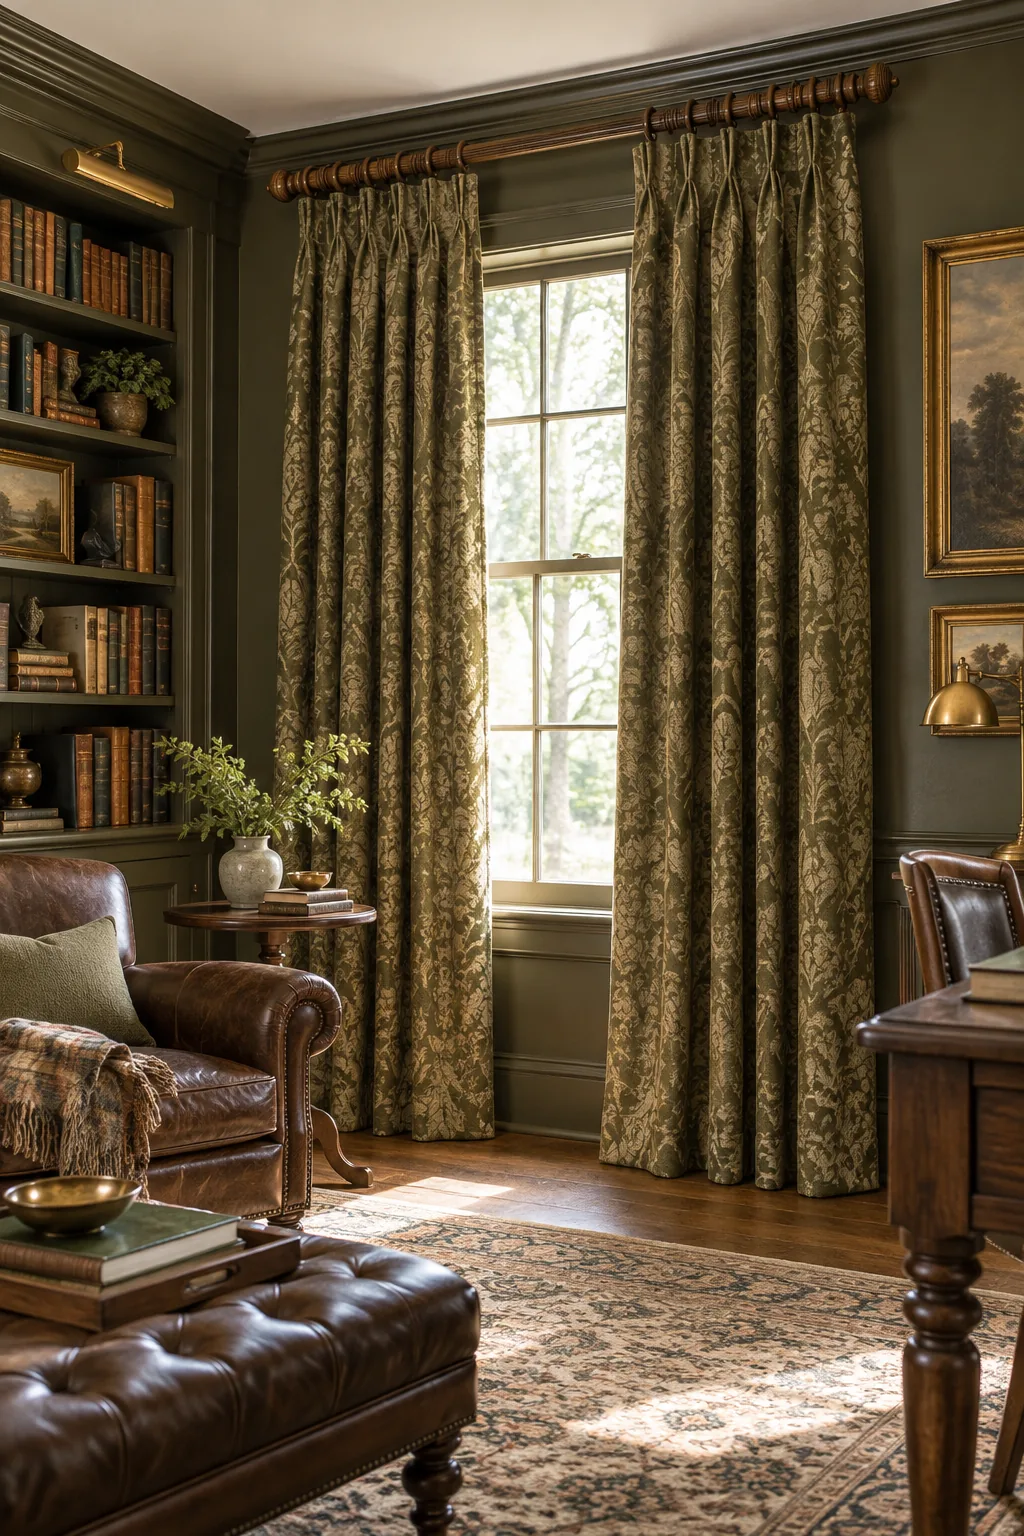
Living Room Curtain Math for 8-Foot Ceilings
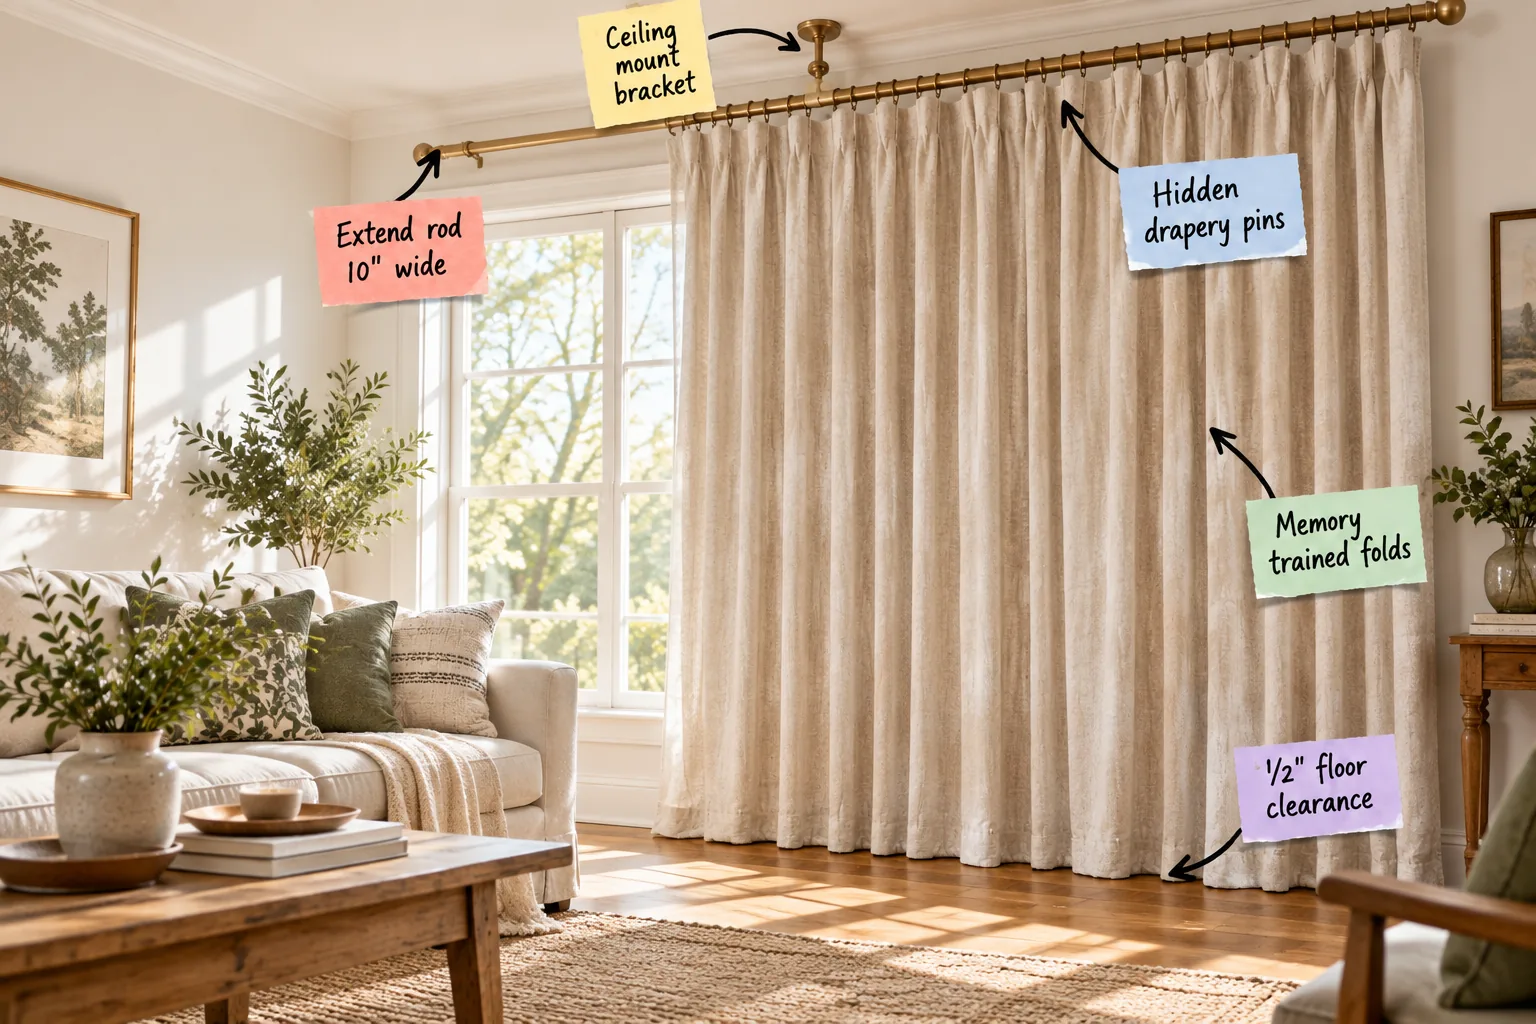
If you want to make an 8-foot room feel instantly taller, grab my exact rod placement and panel length cheat sheet to master your living room curtain math. You will be able to measure, mount, and hang your panels with perfect custom proportions that elevate the entire space.
The Case for Ceiling Mounts
In my own 1920s Denver bungalow, swapping traditional wall hardware for ceiling-mounted brackets immediately made my standard 8-foot walls look a foot taller by eliminating the visual break above the casing.
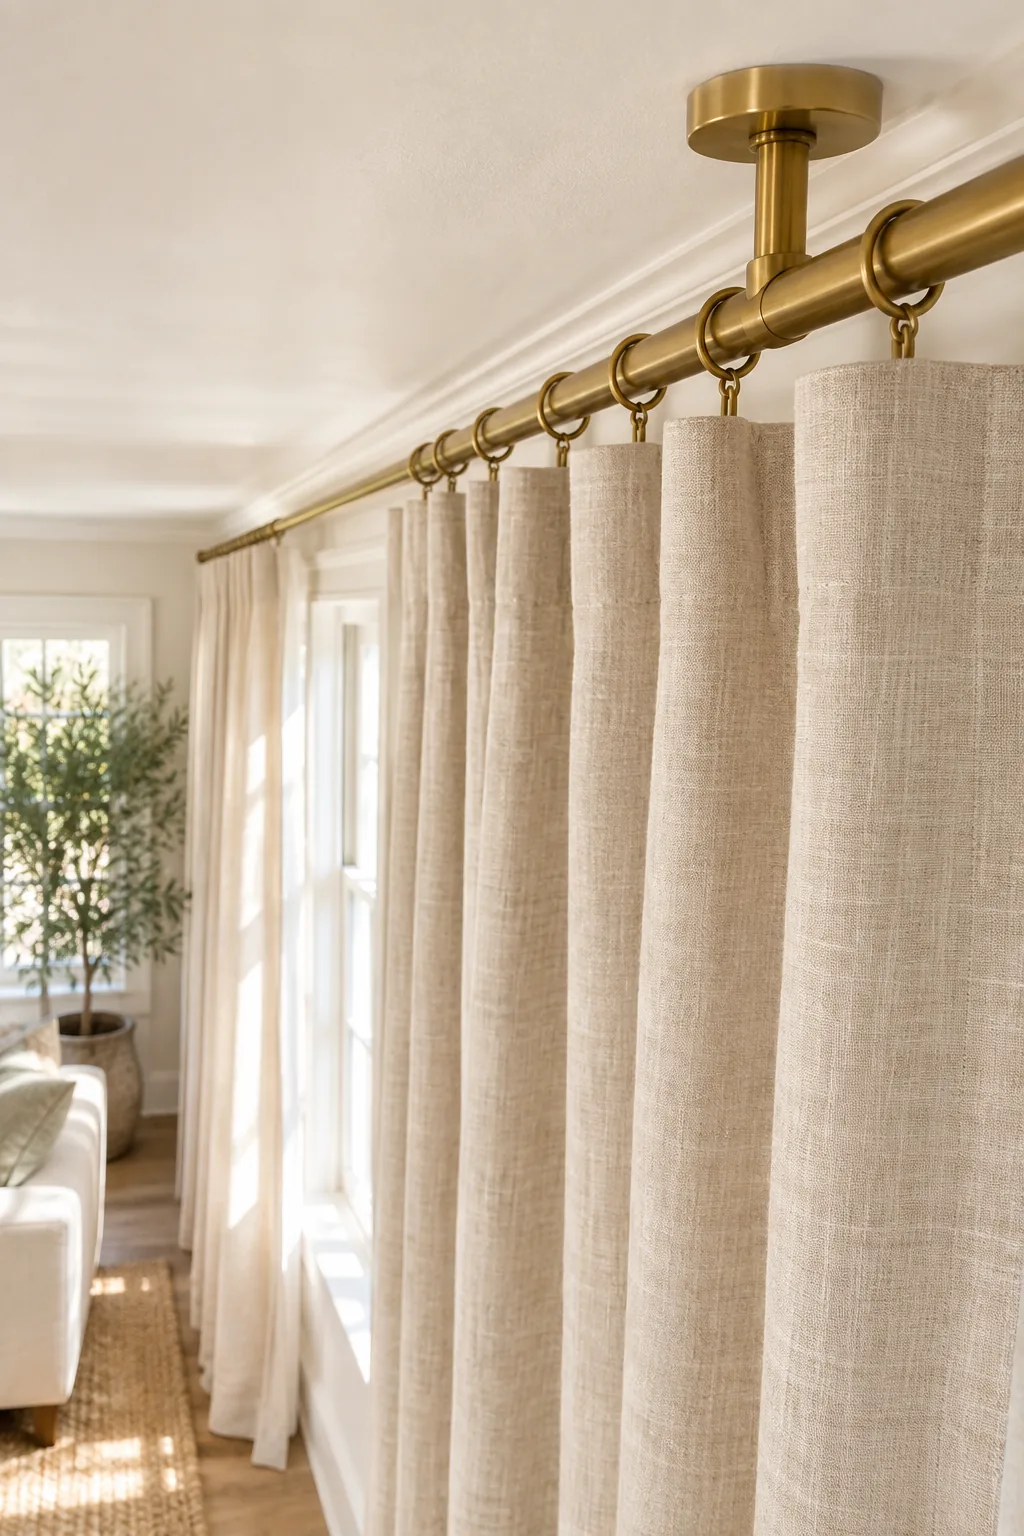
This technique draws the eye completely to the top of the room, though using standard 96-inch panels requires precise hardware placement to avoid a high-water hem that ruins the tailored effect.
Finding Your Ceiling Joists
Securing heavy drapery requires more than standard drywall anchors, so you must locate the structural ceiling joists to support the combined weight of the brass rod and the thick linen panels.
Pushing the Rod Wider
Getting the width right is just as crucial as the height, so avoid these common placement errors that can make your windows look cramped and small when extending the rod 10 inches past the casing.
Balancing Asymmetrical Windows
When dealing with off-center windows, extend the rod further on the wider wall side to create the illusion of perfect architectural symmetry once the panels are fully closed for the evening.
Selecting the Proper Rod Diameter
A ceiling-mounted system requires a substantial visual anchor, making a 1.5-inch diameter brass pole the ideal choice to support the scale of floor-to-ceiling drapery in an 8-foot room.
Hanging with Hidden Pins
To achieve a tailored look without the high expense of custom pinch-pleats, hook hidden drapery pins directly into the reinforced back tab of your curtain header.
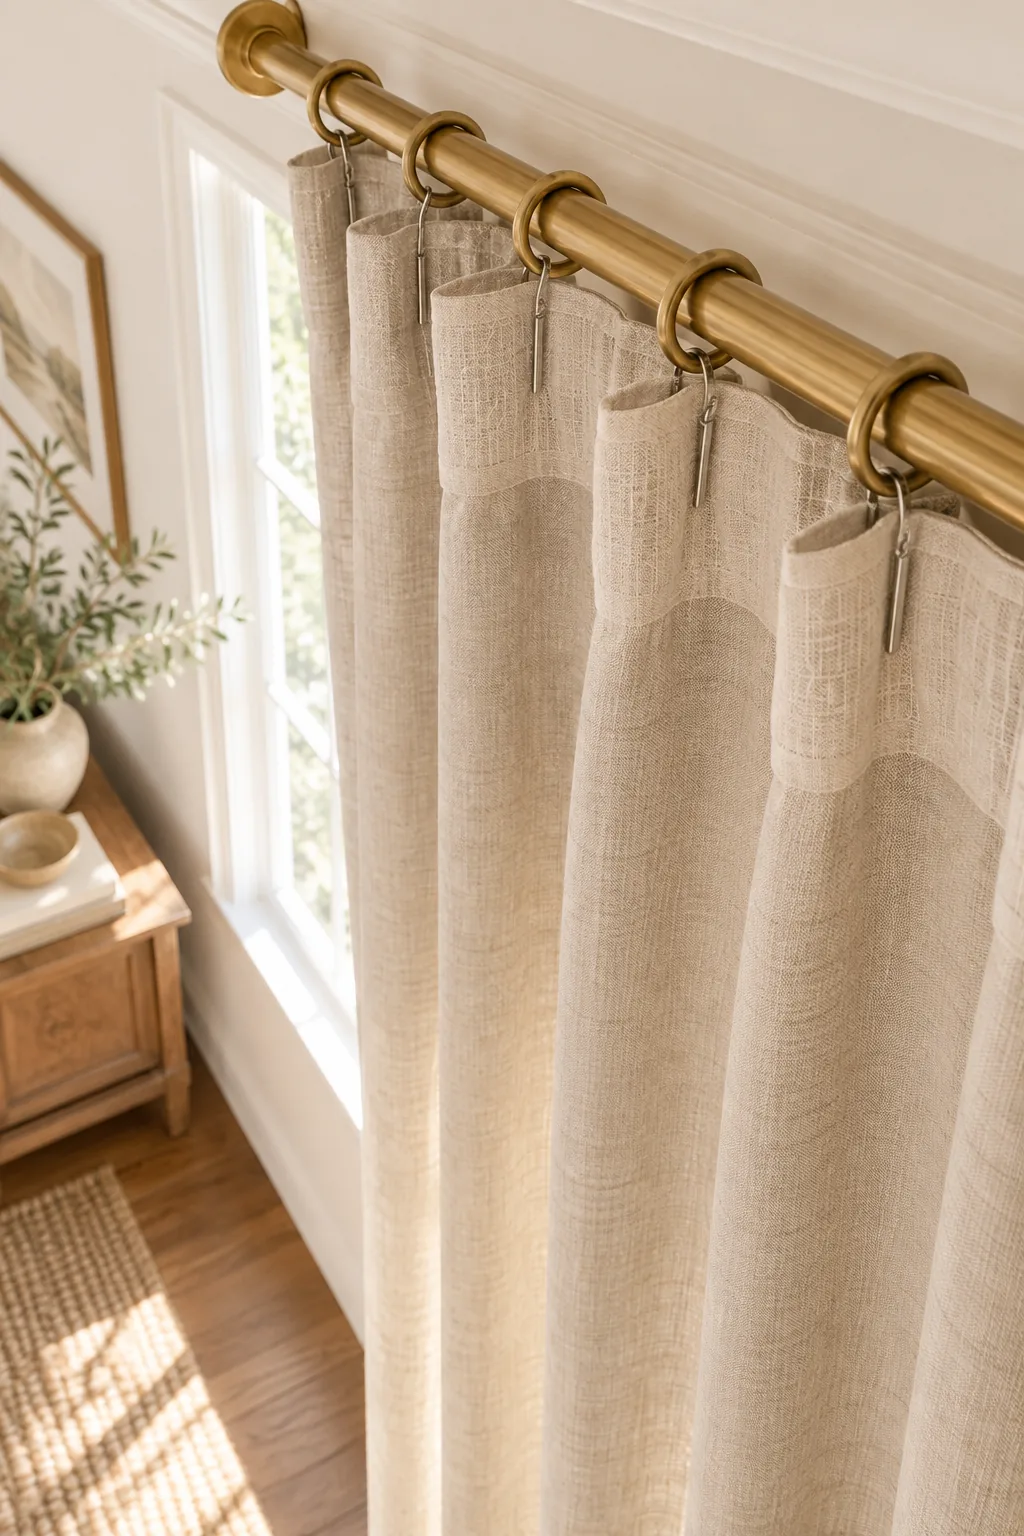
Sliding these sharp metal pins into standard panels and attaching them to brass rings creates a beautifully structured, custom-pleated drape on a strict decorating budget.
Selecting the Proper Drapery Rings
Solid brass rings with a 2-inch inner diameter slide effortlessly over a standard rod, preventing the frustrating catching and squeaking that plagues cheap plastic alternatives.
Why Back-Tab Panels Work Best
Standard rod-pocket curtains bunch awkwardly when sliding, but panels constructed with sturdy back tabs provide the perfect rigid foundation for inserting sharp drapery hooks at precise, even intervals.
Placing the Rings Correctly
Attaching a brass ring exactly every 4 to 5 inches along the header ensures the fabric folds forward uniformly without sagging heavily between the mounting points.
Training the Folds
Freshly hung linen will flare out at the bottom unless you take the time to build memory trained folds into the fabric immediately after installation.
- Fold the vertical pleats by hand from the top rings down to the hem.
- Tie the gathered panels loosely with a wide fabric ribbon.
- Leave them tied for three to five days to set the crisp lines permanently.
Steaming for a Flawless Finish
Before you tie off the panels for memory training, run a high-powered handheld steamer vertically down each newly formed pleat to relax the stubborn packaging wrinkles.
Nailing the Floor Clearance
A strict 1/2-inch floor clearance keeps the hem clean and allows for smooth opening and closing across the room without snagging on thick area rugs.
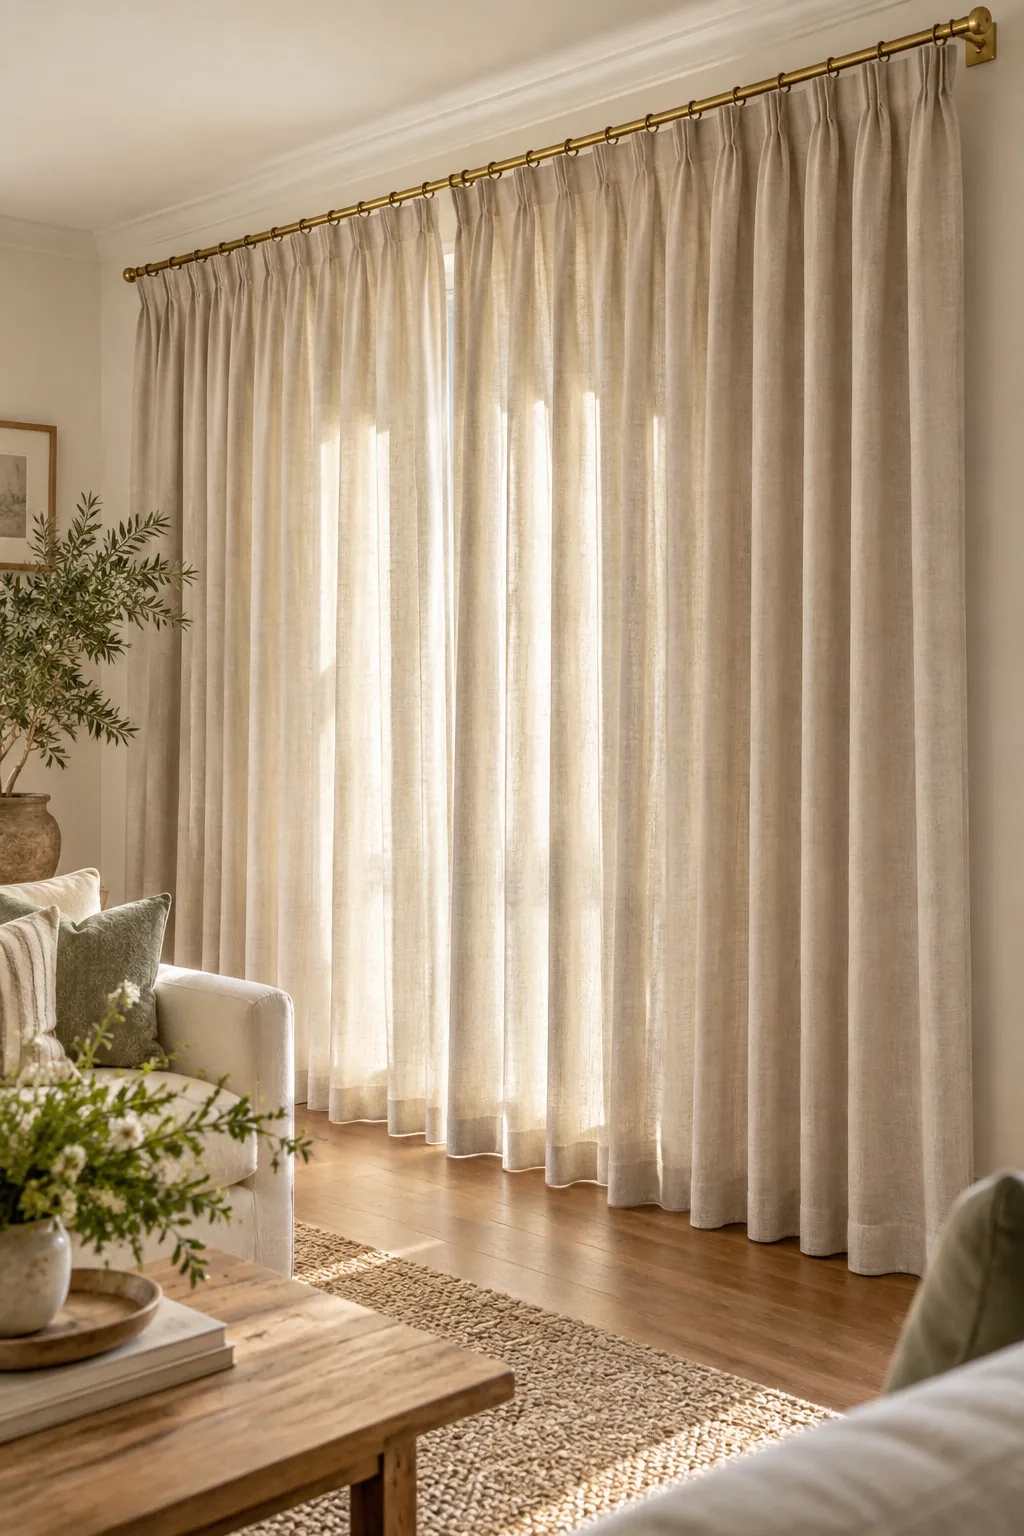
Unlike heavily puddled curtains that gather dust and pet hair constantly, this precise hover maintains a professionally tailored aesthetic that feels highly intentional and architectural.
Measuring the Hem Drop
To achieve that perfect hover, measure from the bottom of the installed brass ring down to the floor, then subtract exactly half an inch for your final panel length.
Accounting for Fabric Shrinkage
Natural fibers react dramatically to ambient moisture, so you should always hang your panels for a full week before making any permanent hem alterations to allow for natural vertical stretching.
Choosing the Right Fabric Weight
For an 8-foot room, I always recommend medium-weight linen or linen-blends because they drape beautifully and hold memory folds well without suffocating a standard-height living space.
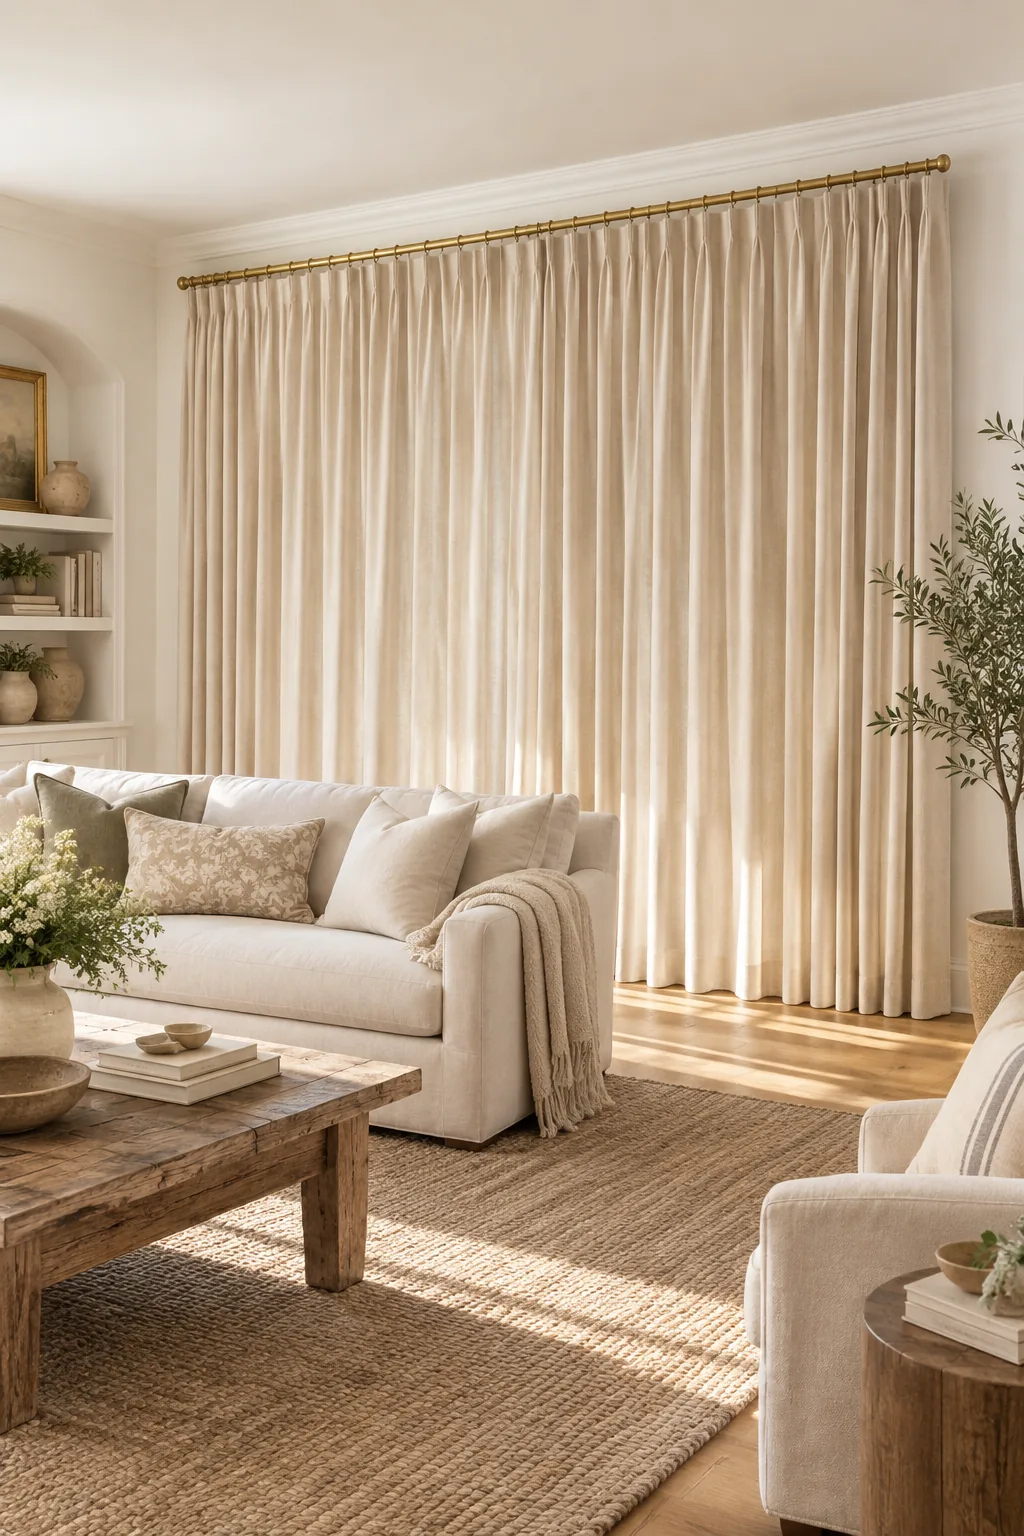
A lighter fabric requires generous gathering to look substantial and block light effectively, which leads directly into calculating the proper fullness for your specific window dimensions.
The Impact of Linen Blends
Pure linen wrinkles aggressively with seasonal humidity changes, so selecting a blend woven with a small percentage of polyester ensures your memory-trained pleats stay crisp year-round.
Layering with Woven Shades
Installing a natural woven wood shade snugly inside the window casing adds essential organic texture and privacy without interfering with the smooth operation of your ceiling-mounted drapery.
Calculating Your Panel Width
When I design window treatments for clients, I always specify purchasing panels that total 2 to 2.5 times the window width to ensure a lush, expensive appearance.
| Window Width | Minimum Panel Total | Recommended Fullness |
|---|---|---|
| 40 inches | 80 inches | 100 inches |
| 60 inches | 120 inches | 150 inches |
| 80 inches | 160 inches | 200 inches |
This simple math guarantees your curtains will look rich and full when closed at night, rather than stretched flat like a taut bedsheet across the glass.
Managing Wall Obstructions
If an adjacent wall or a bulky radiator prevents the full 10-inch rod extension on one side, install an asymmetrical rod and train the panels to stack entirely on the unobstructed side.
Upgrading to Blackout Lining
If your living room doubles as a media space or guest room, selecting panels with a sewn-in blackout lining adds necessary weight and completely stops harsh streetlights from filtering through the weave.
Maintaining Your Custom Drapery
To keep your memory-trained folds looking sharp year after year, avoid machine washing the linen and instead gently vacuum the panels with an upholstery attachment during your regular seasonal deep clean.
The Rod Placement Cheat Sheet
In my own living room, combining the ceiling mount, the 10-inch extension, and the strict 1/2-inch floor hover completely transformed the cramped space into an elegant retreat.

Before you pick up the drill, run through this final pre-installation checklist to ensure your measurements translate perfectly to the wall and deliver that custom look.
More Ways to Style High Curtains
Explore how perfect curtain math elevates entirely different room styles.
French Country Bedroom Elegance: A softly puddled hem adds romantic, relaxed texture to washed white linen panels.

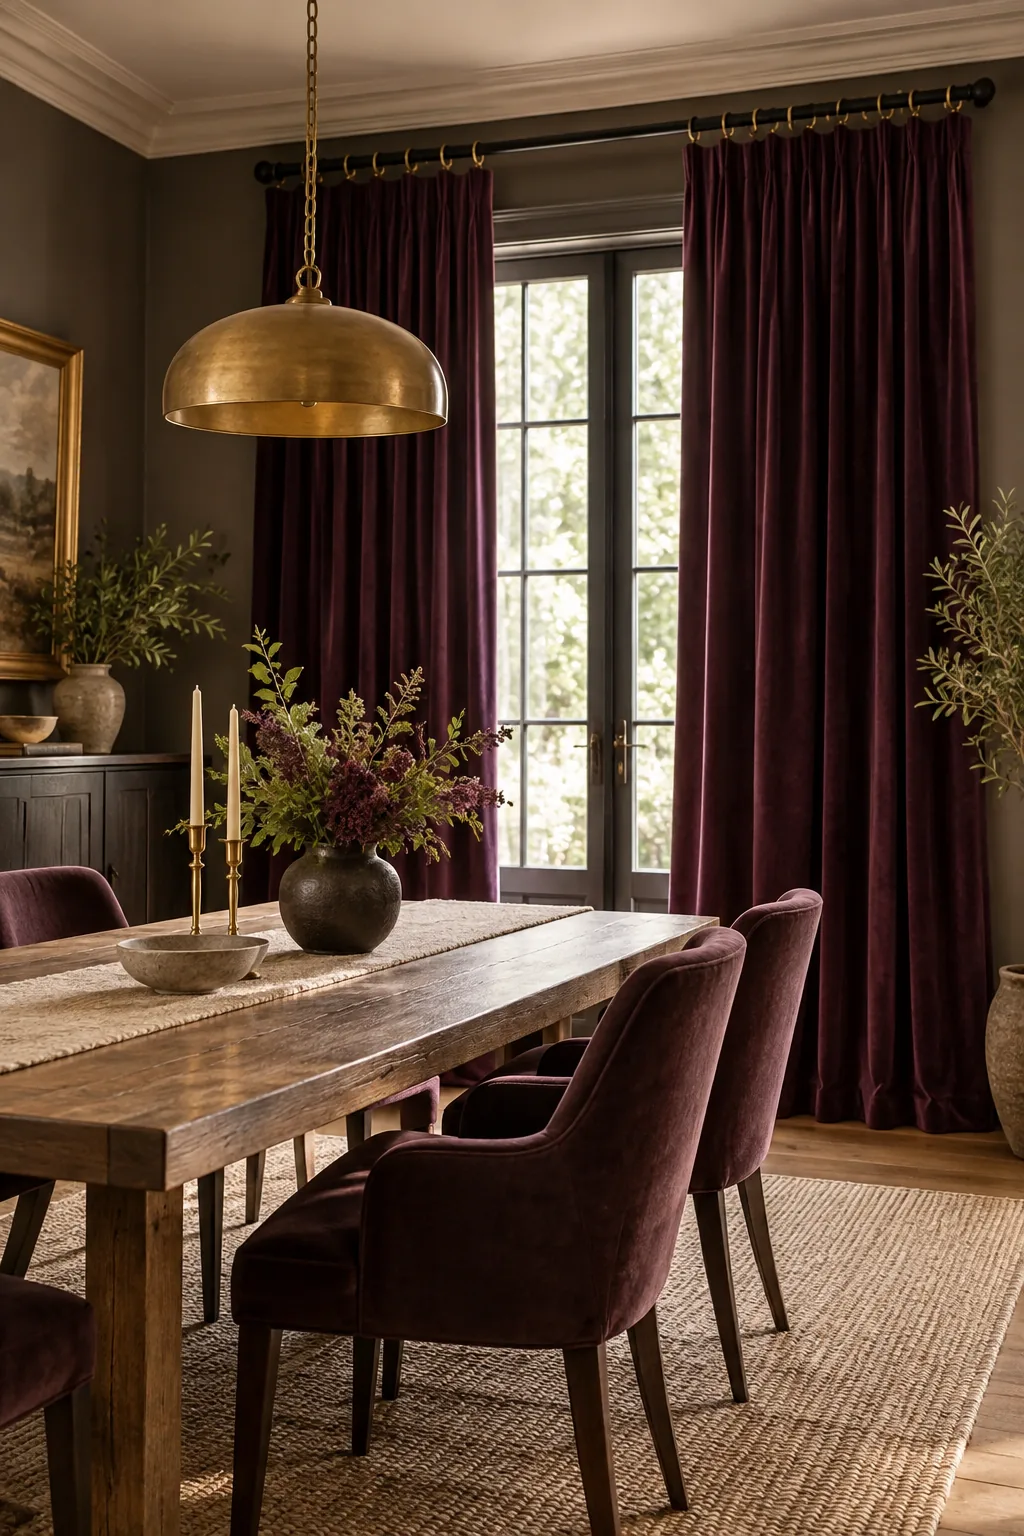
Moody Dining Room Drama: Rich plum velvet adds incredible weight and drama, contrasting beautifully with matte black hardware.
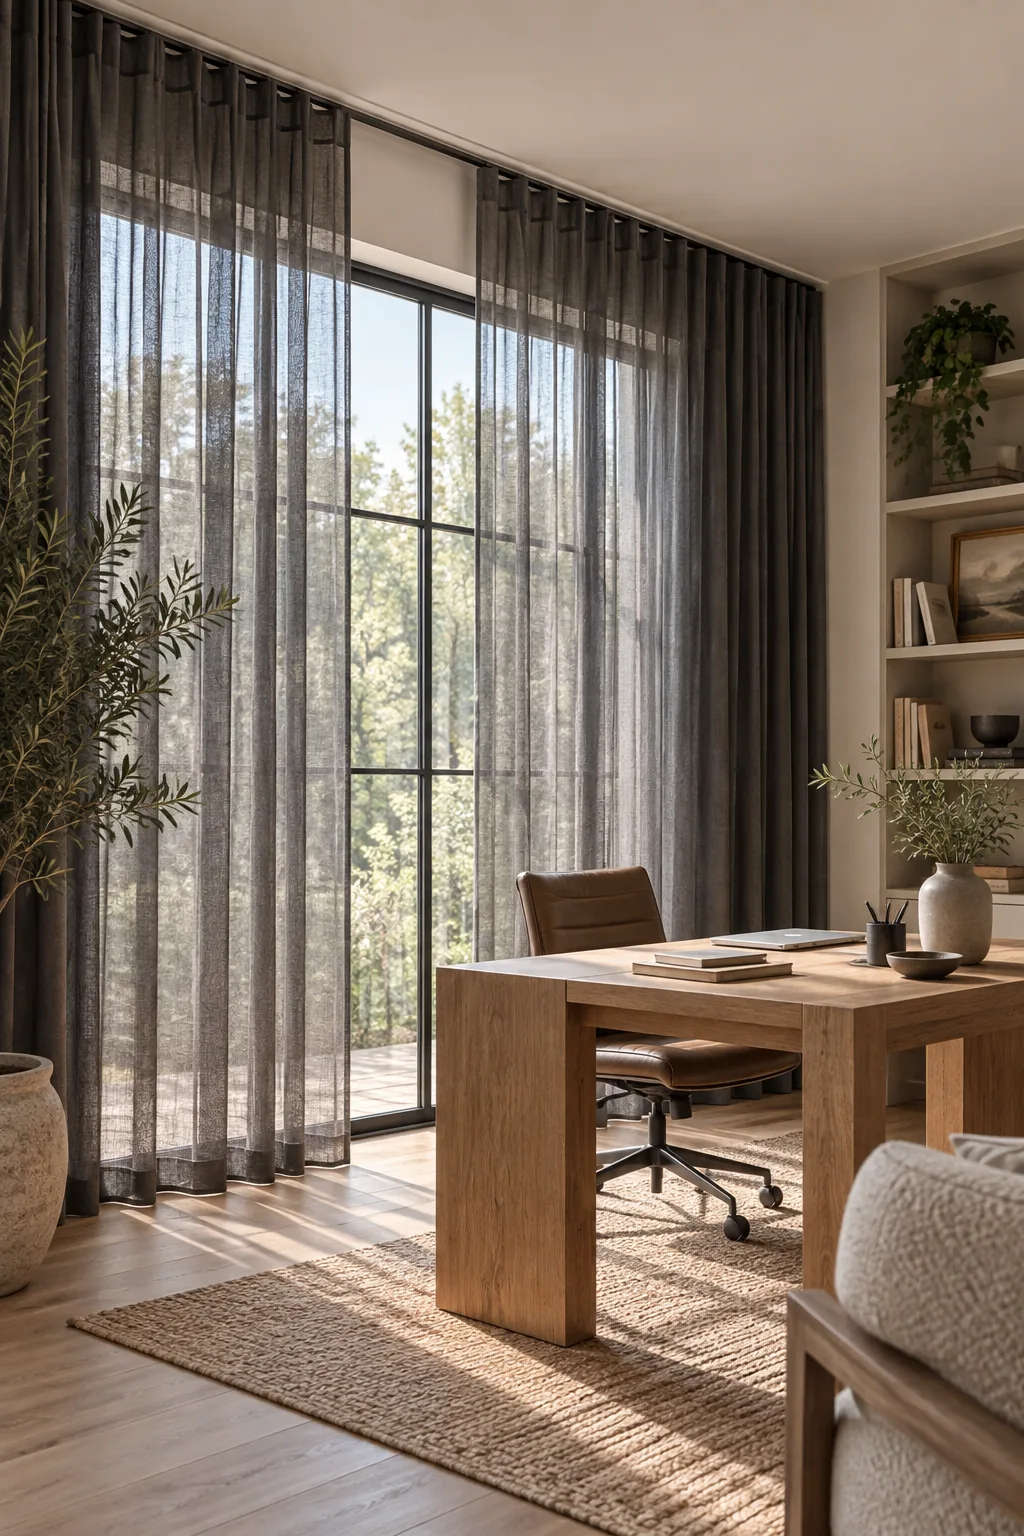
Minimalist Home Office Simplicity: A recessed ceiling track completely hides the hardware for an ultra-clean, modern architectural finish.
Coastal Sunroom Breeziness: Striped cotton and a natural wood rod bring an effortless, breezy energy to sunlit spaces.

Traditional Library Richness: Classic pinch pleats and a fluted wood pole anchor the formal, historic feel of heavy damask.