DIY Stock Tank Pool Guide: Setup, Care & Printable Checklist
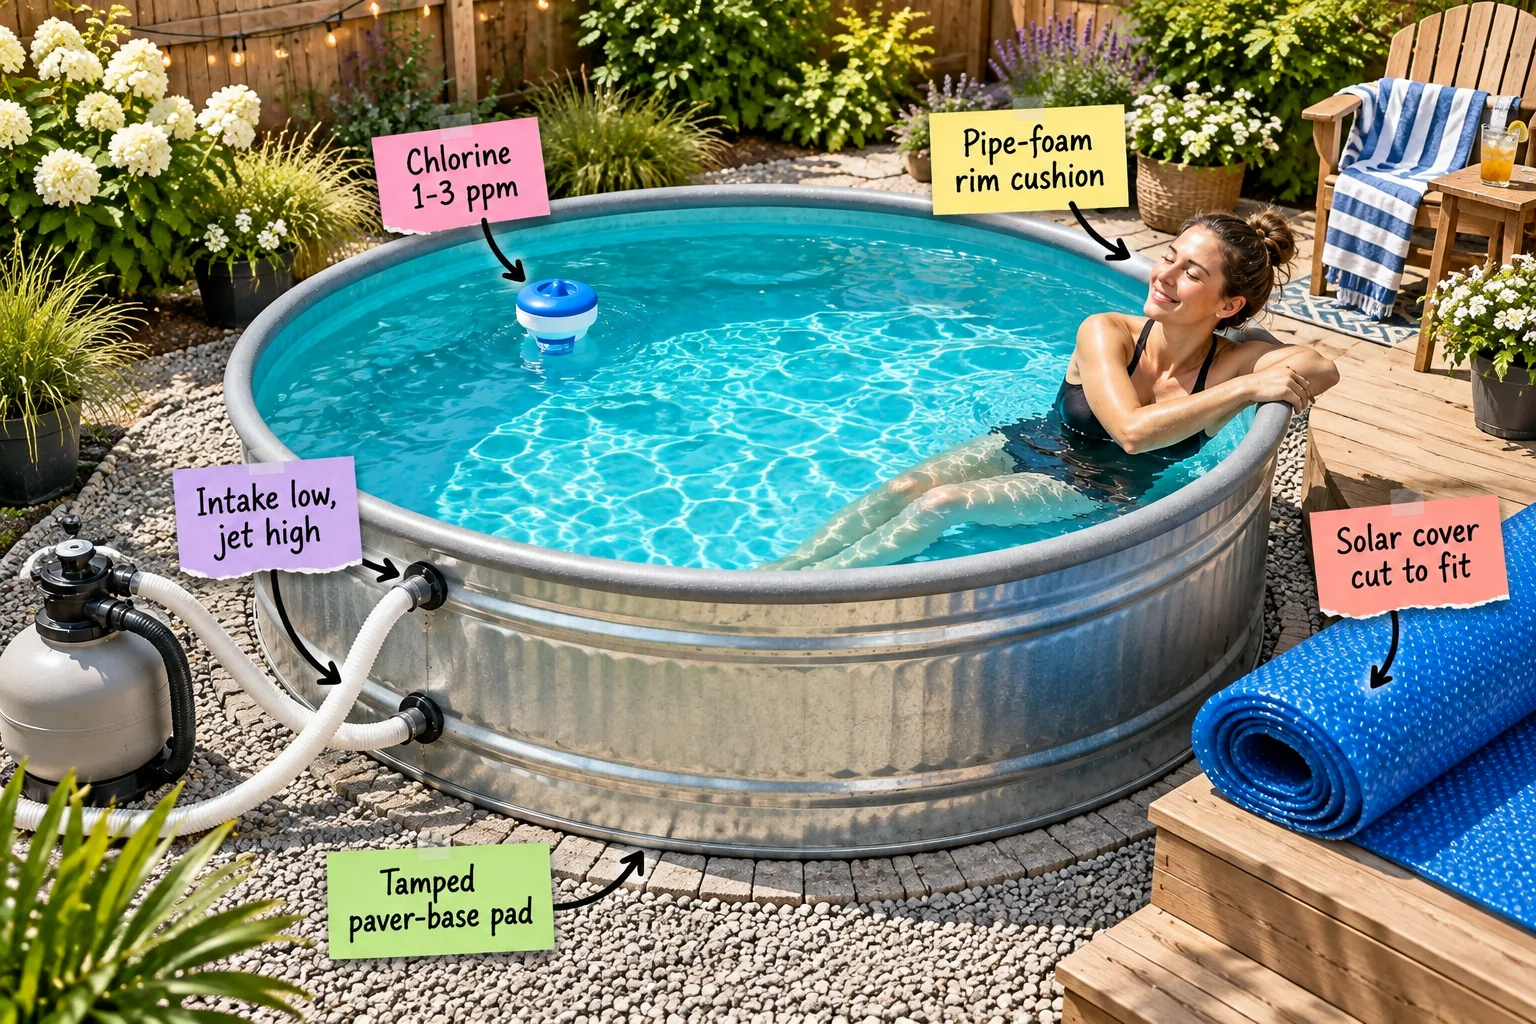
You can easily turn your backyard into a dip-ready oasis by downloading our free Printable 2-page Stock Tank Pool Build & Care Checklist. We will walk through the entire installation from the ground up, ensuring your water stays crystal clear all summer.
Preparing the Paver-Base Pad
An 8-foot tank holds roughly 700 gallons of water, weighing nearly 6,000 pounds, so a tamped paver-base pad is absolutely non-negotiable. When I set up my first Austin backyard pool, skipping the leveling step almost warped the entire galvanized bottom.
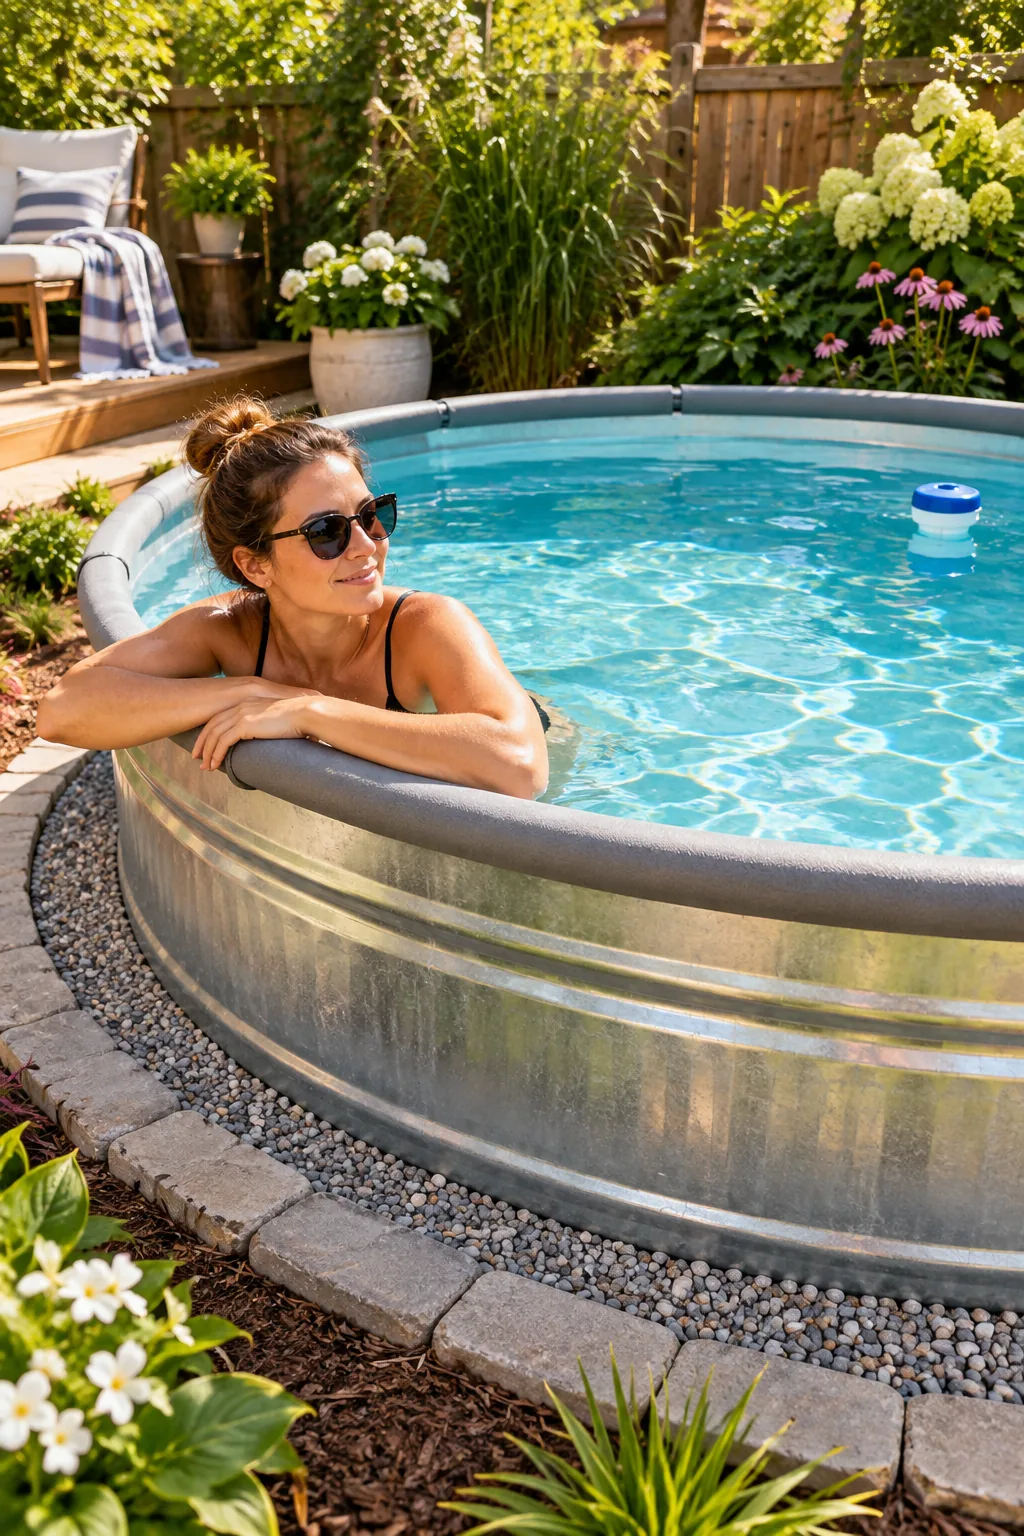
Skipping the ground preparation is the fastest way to ruin your setup and risk permanently damaging the metal.
Creating Proper Ground Drainage
A stable foundation requires digging down about two inches to remove soft topsoil before adding your crushed gravel. Compacting this first layer with a heavy hand tamper ensures your heavy tank will not settle unevenly after the first heavy rain.
| Material Layer | Minimum Depth | Primary Purpose |
|---|---|---|
| Crushed Gravel | 2 inches | Base drainage and stability |
| Leveling Sand | 1 inch | Smooth surface adjustment |
| Rigid Foam Board | 1 inch | Bottom insulation and protection |
Cushioning the Metal Rim
Once the tank sits perfectly level, press split foam pipe insulation firmly over the rolled galvanized lip. This simple pipe-foam rim cushion protects your arms from hot metal in the afternoon sun and provides a comfortable headrest for lounging.
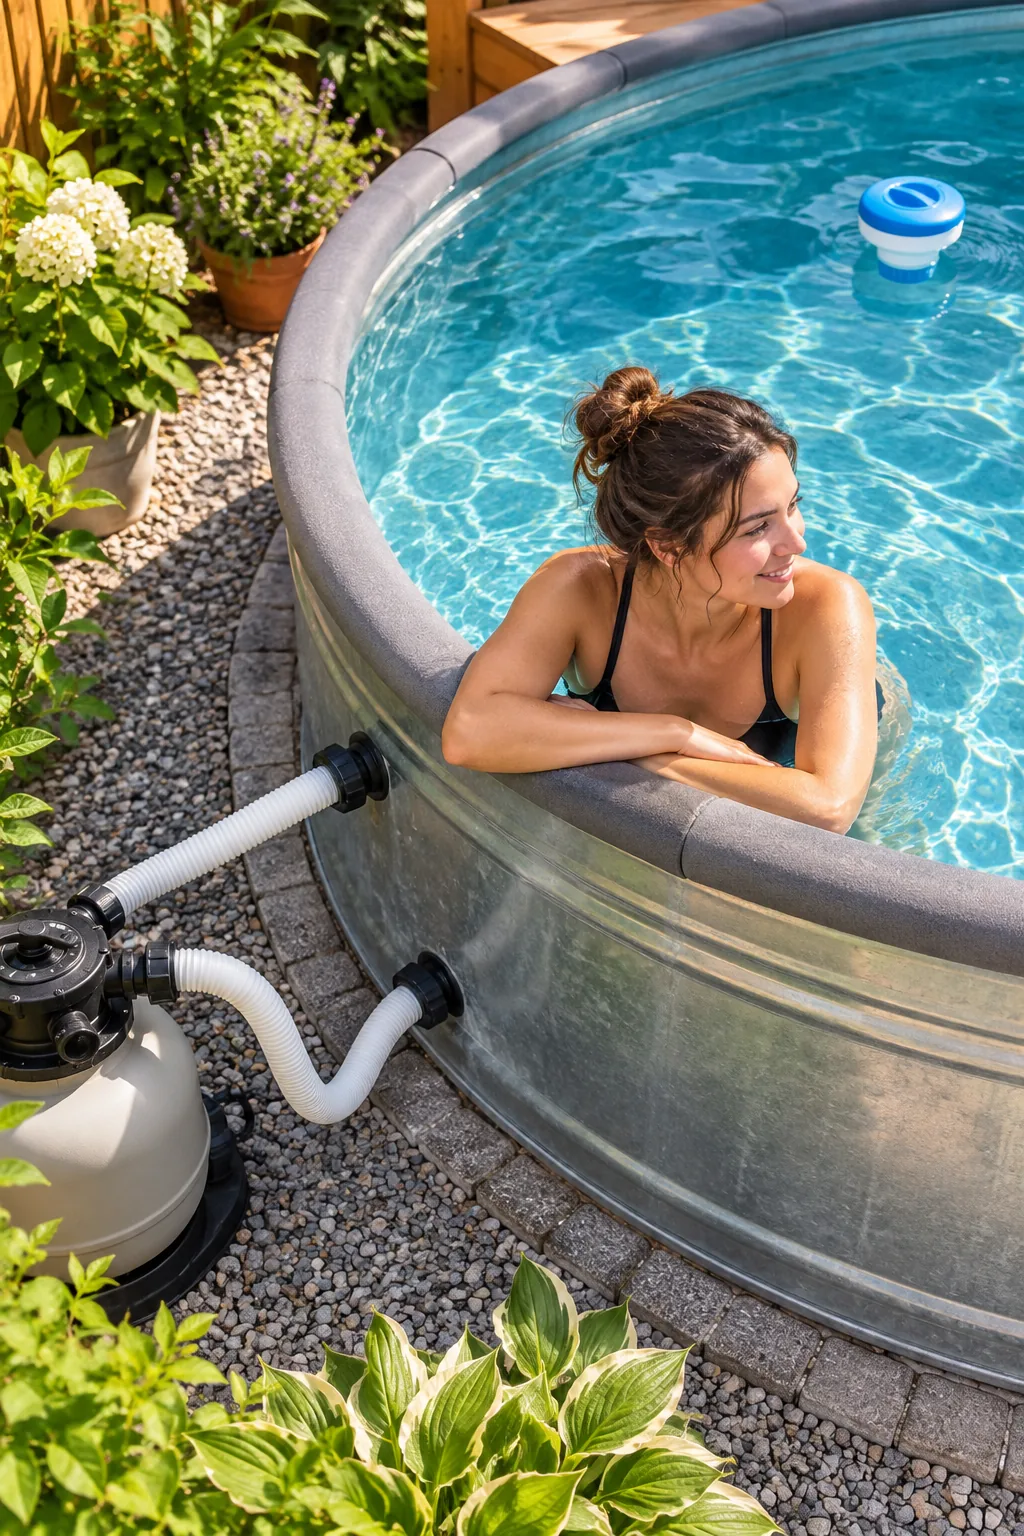
Standard hollow pool noodles degrade quickly in direct UV light, so always choose durable plumbing insulation designed for exterior weather exposure.
Securing the Foam Insulation
To keep the foam securely attached during active splash fights, apply a thick bead of waterproof silicone adhesive deeply inside the slit before pressing it down. Securing the foam tightly ensures it survives the entire summer swimming season intact.
- Measure the entire tank circumference to purchase enough foam.
- Apply waterproof marine silicone directly inside the foam channel.
- Press the foam tightly over the rim and secure with zip ties.
- Allow the silicone to cure for 24 hours before removing the ties.
Placing the Pump Fittings
Proper filtration requires drilling two distinct holes for through-wall fittings, keeping the intake low, jet high to maximize water circulation. The lower intake pulls cold, dirty water into the filter, while the upper jet pushes clean water across the surface.
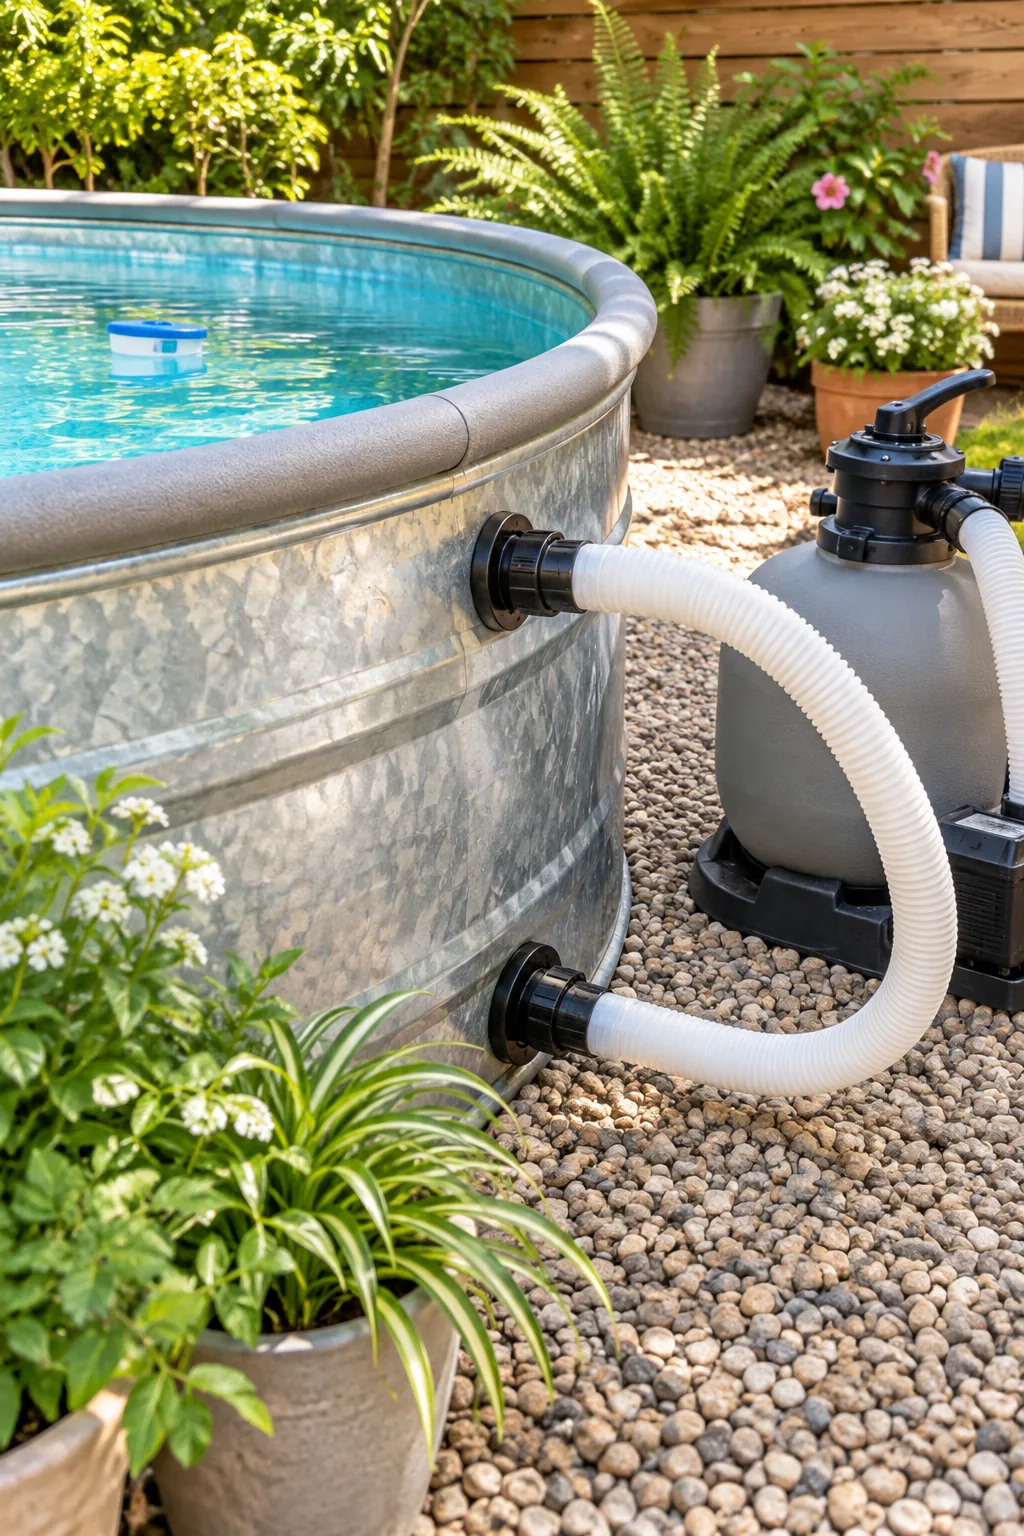
Using a 2 ¾-inch bi-metal hole saw ensures a perfectly snug, professional fit for standard threaded pool pump connectors.
Sealing the Through-Wall Connections
Installing thick rubber gaskets on both the inside and outside of the metal wall prevents slow, frustrating leaks around your new plumbing. Always apply a generous continuous ring of marine-grade sealant around the threads before tightening the plastic nut completely.
Balancing the Chlorine Levels
Stock tank water chemistry relies on a small floating dispenser filled with 1-inch tablets to maintain a safe, sanitary chlorine 1–3 ppm level. Granules dissolve too quickly in a small 700-gallon volume, causing harsh chemical spikes that can irritate skin.
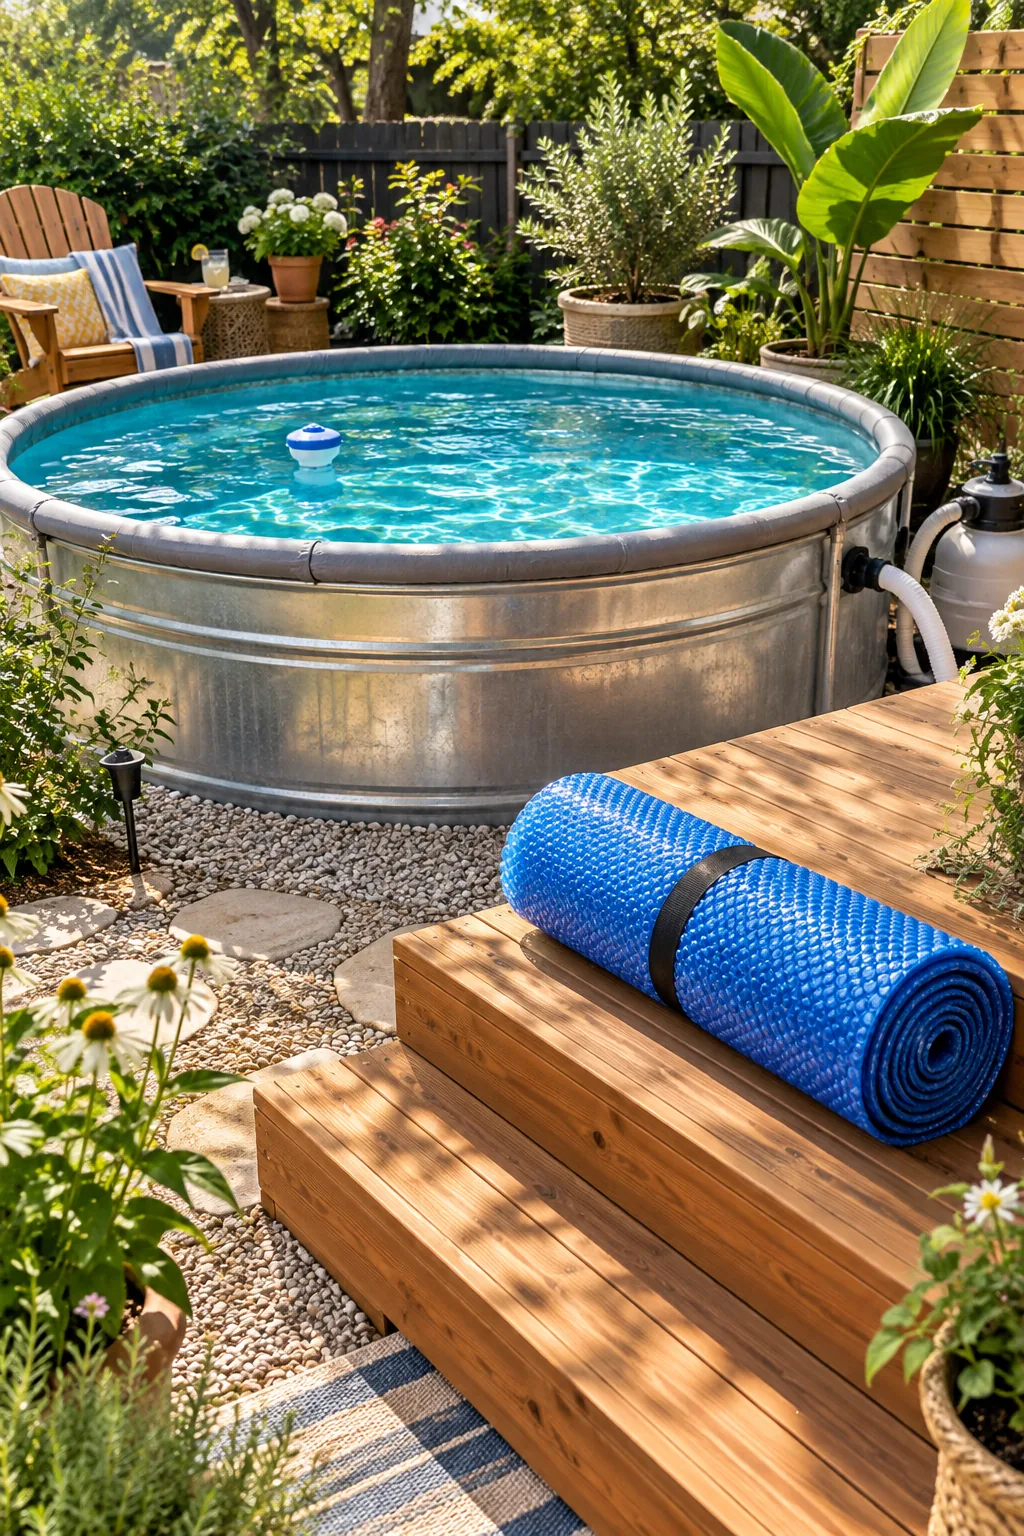
Keeping the water crystal clear requires a simple but incredibly consistent weekly maintenance routine.
Maintaining Ideal Water Chemistry
Testing your water twice a week with standard pool strips takes barely thirty seconds and prevents stubborn algae blooms before they start. If your pH climbs too high after heavy use, a small measured dose of dry acid brings it back down.
Sizing the Solar Cover
A standard rectangular bubble solar cover must be trimmed into an exact 8-foot circle to float perfectly inside the tank walls. I laid my cover flat over the filled pool and used heavy-duty scissors against the inner rim for a flawless cut.
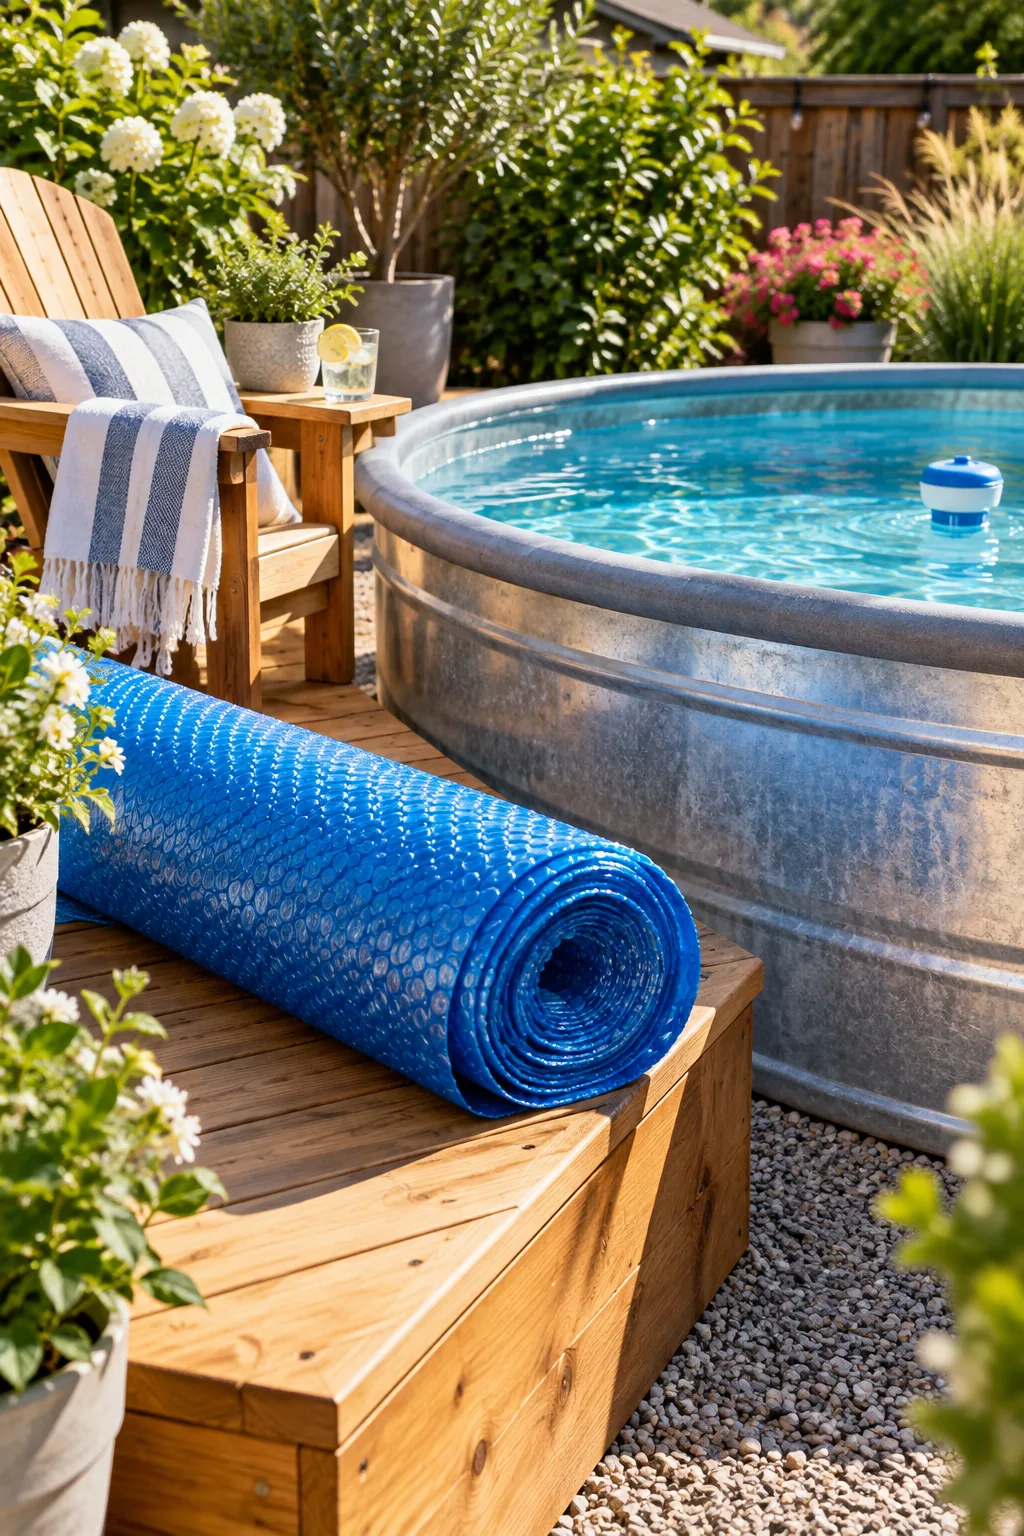
This custom-fit floating barrier retains daytime heat, blocks windblown yard debris, and drastically limits water evaporation when the pool sits empty.
Maximizing Heat Retention
Leaving your solar cover cut to fit on the water overnight traps the valuable warmth generated during peak afternoon sun. The tiny air bubbles act as an insulating blanket, keeping your morning dip surprisingly comfortable even after a chilly Texas night.
The Complete Build & Care Checklist
Having all your measurements and weekly maintenance tasks in one place makes running a backyard oasis completely stress-free. I keep my own printed logs on a clipboard in the garden shed so I never have to guess when I last added chemicals.
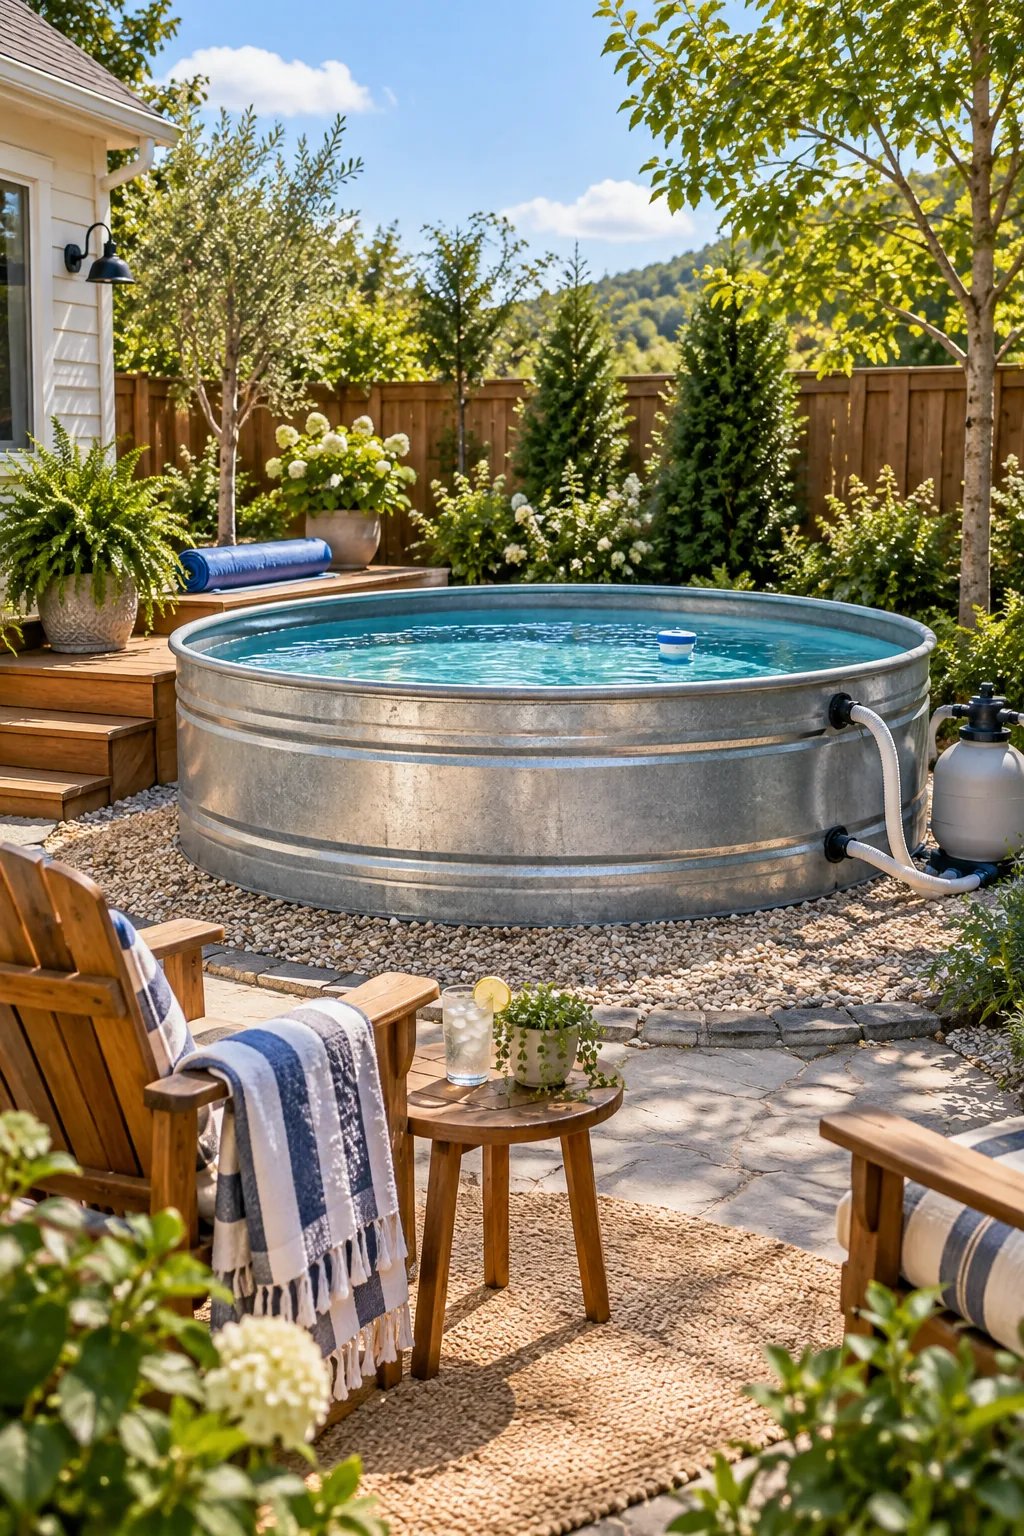
You can confidently install, plumb, and maintain your setup using our free Printable 2-page Stock Tank Pool Build & Care Checklist. It includes the exact base-pad steps, filter-pump hookup parts list, first-fill steps, and a weekly chlorine/pH log.
5 Ways to Style Your Stock Tank Oasis
Get inspired to blend your new pool seamlessly into your backyard's unique aesthetic.
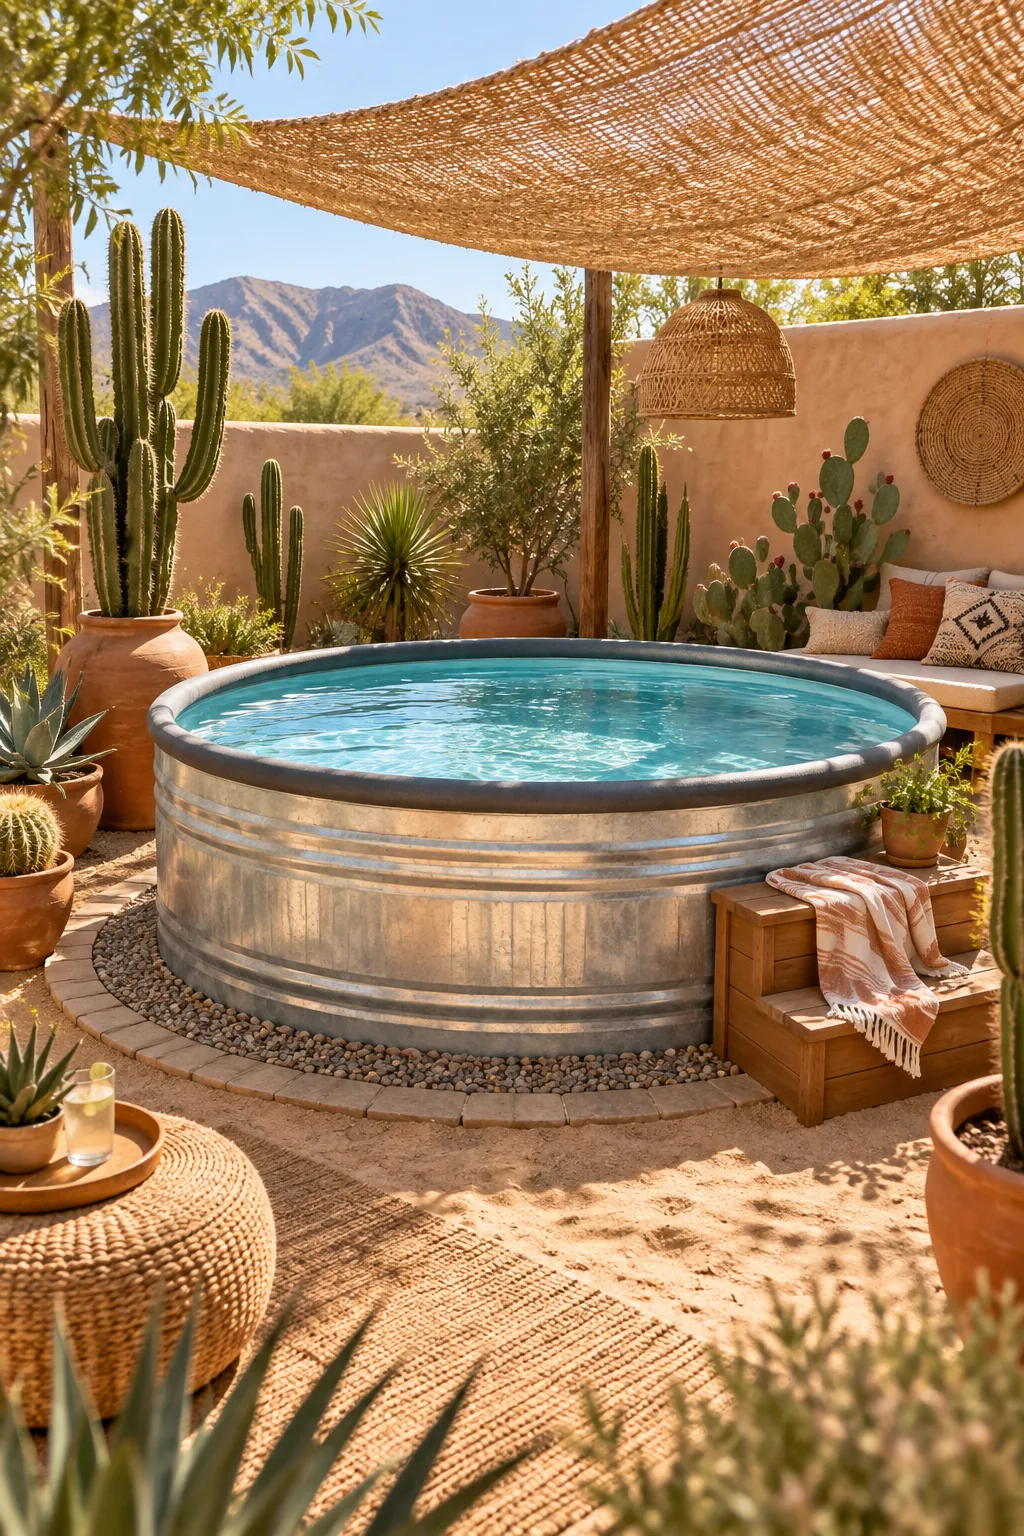
Warm Desert Boho: Embrace a dry climate by surrounding the tank with warm sand, potted cacti, and a woven canopy.
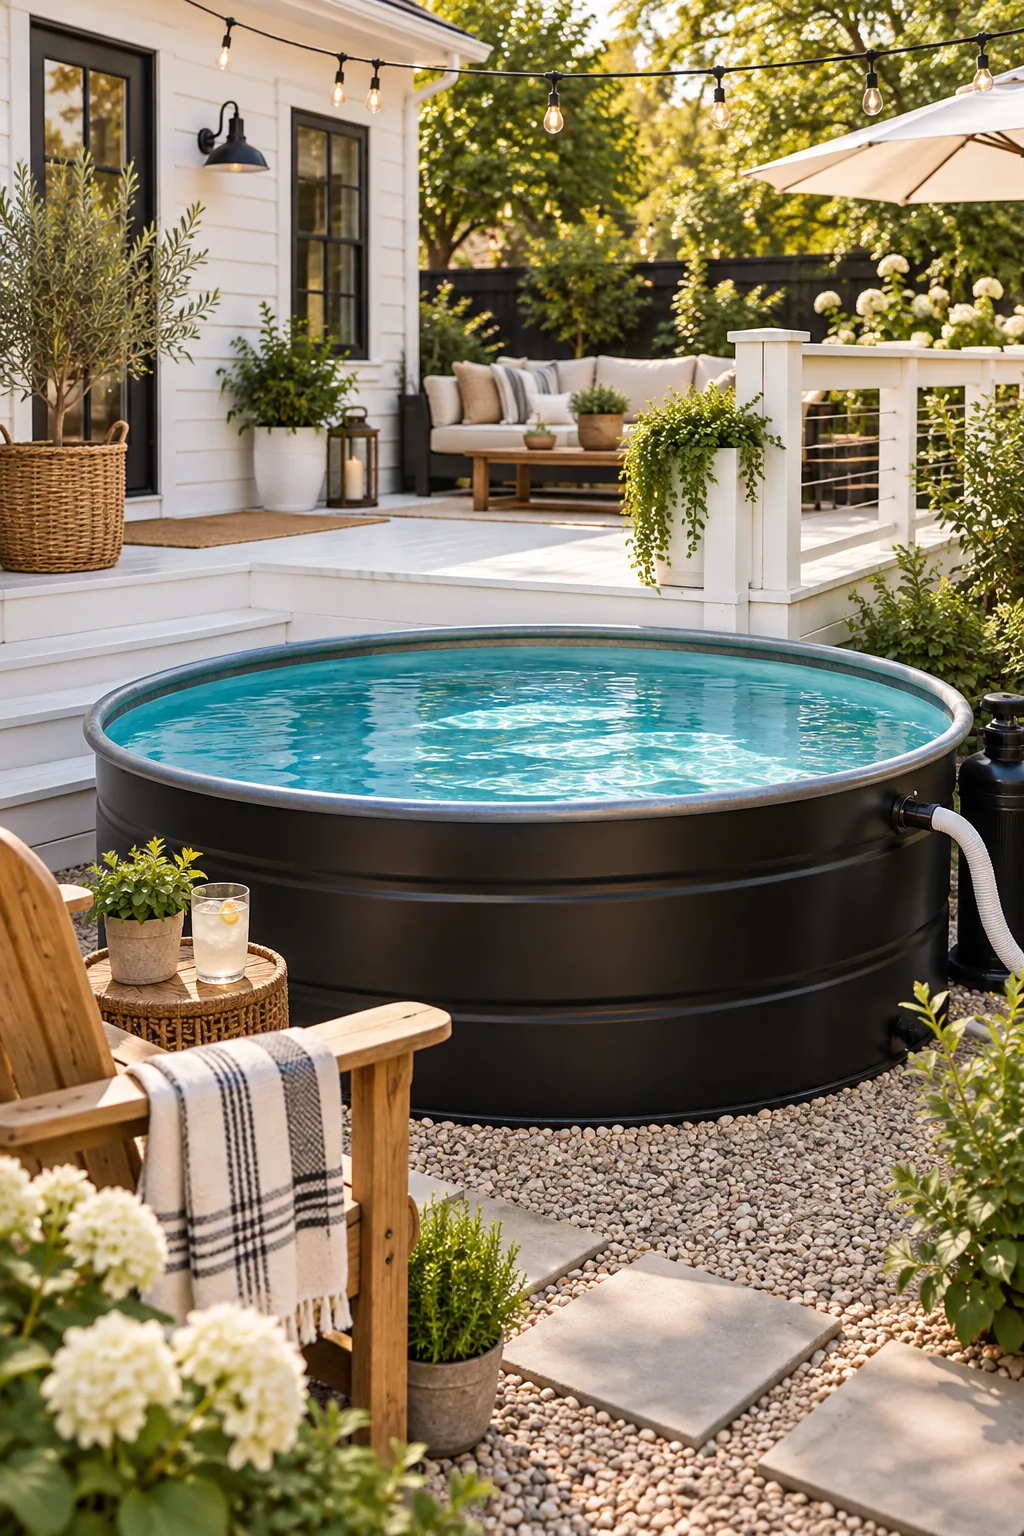
Sleek Modern Farmhouse: Paint the galvanized exterior matte black for a striking contrast against crisp white decking.
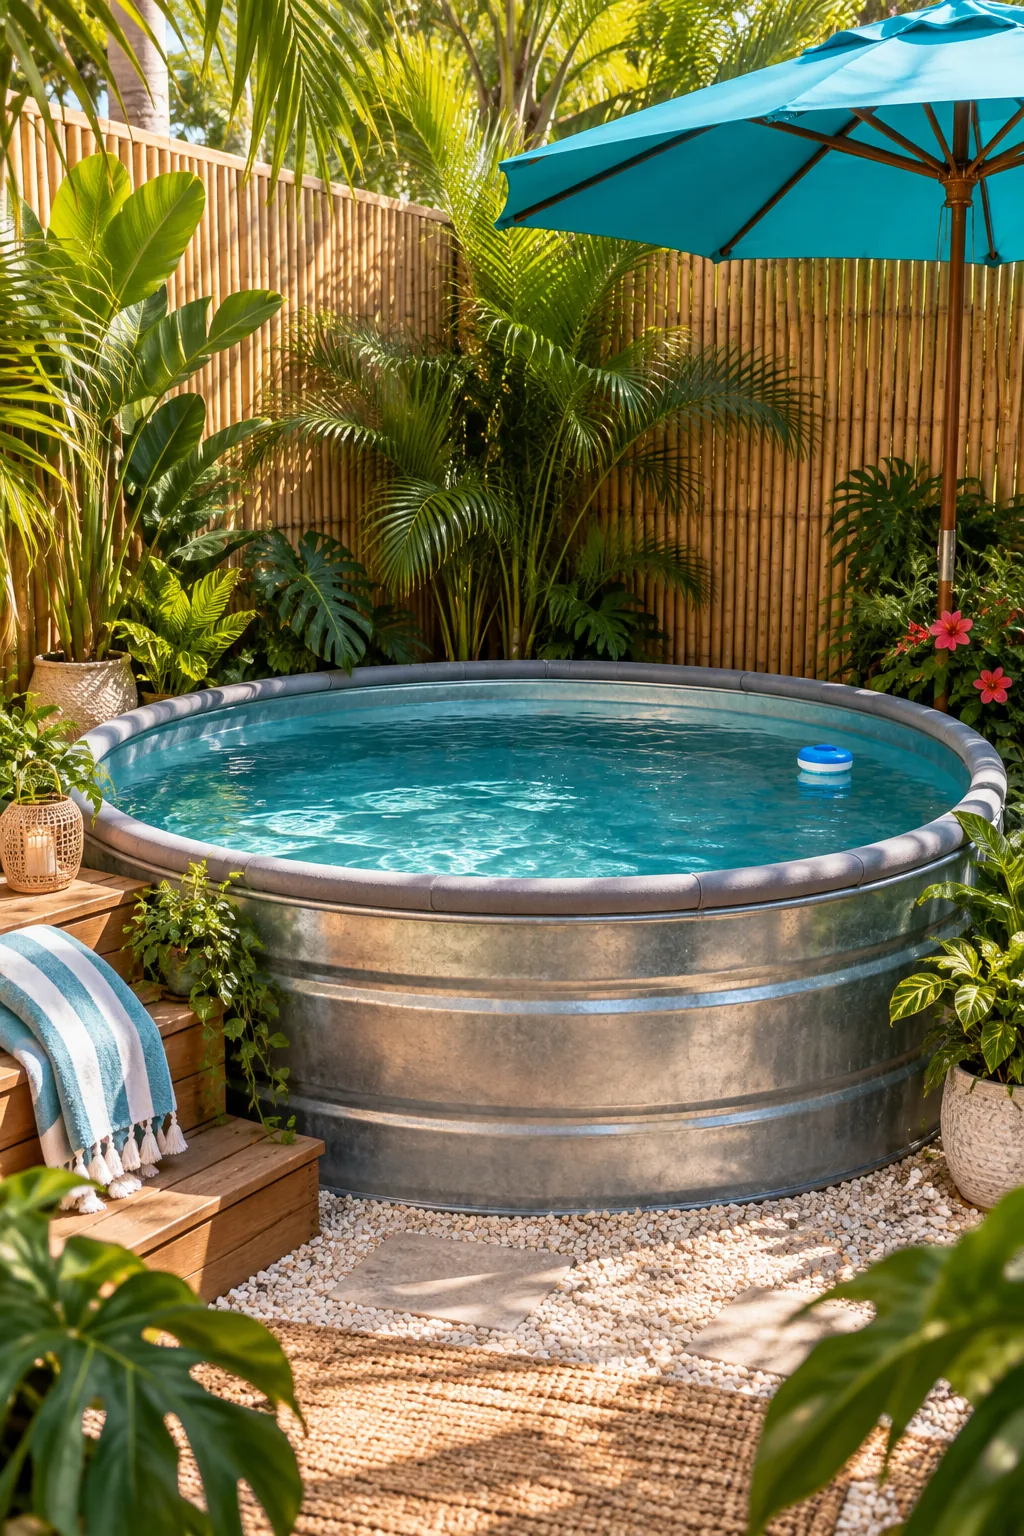
Lush Tropical Oasis: Create a private jungle feel by layering tall bamboo screens and oversized potted palms around the base.
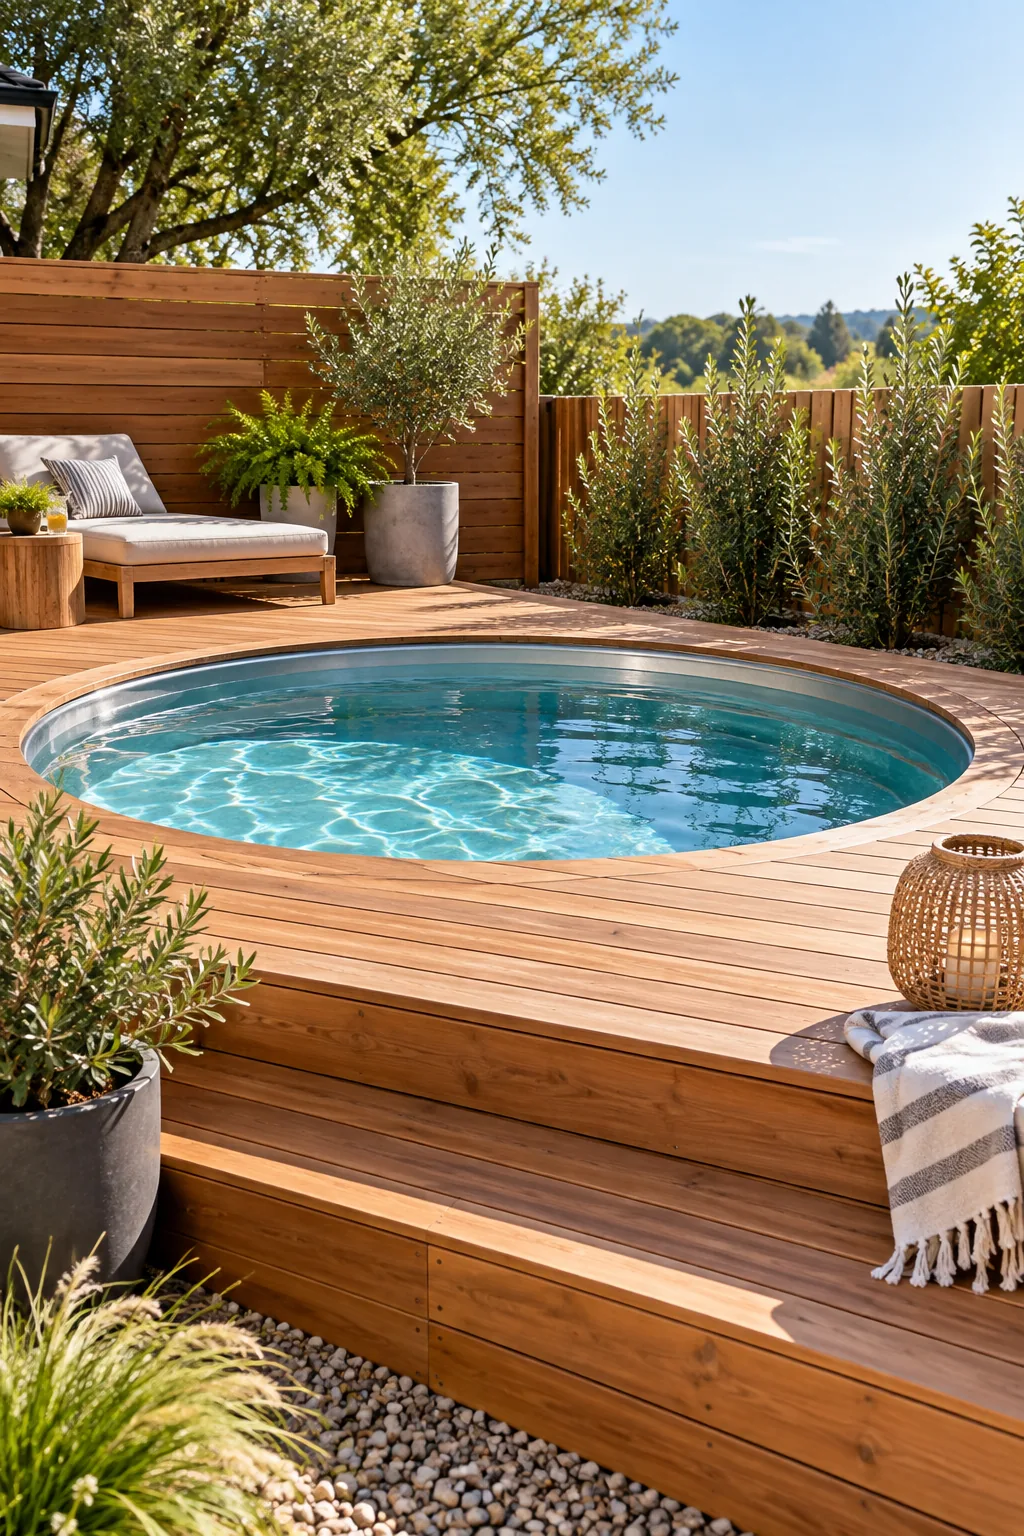
Integrated Minimalist Deck: Sink the tank partially into the ground and build a custom cedar deck flush with the rim.
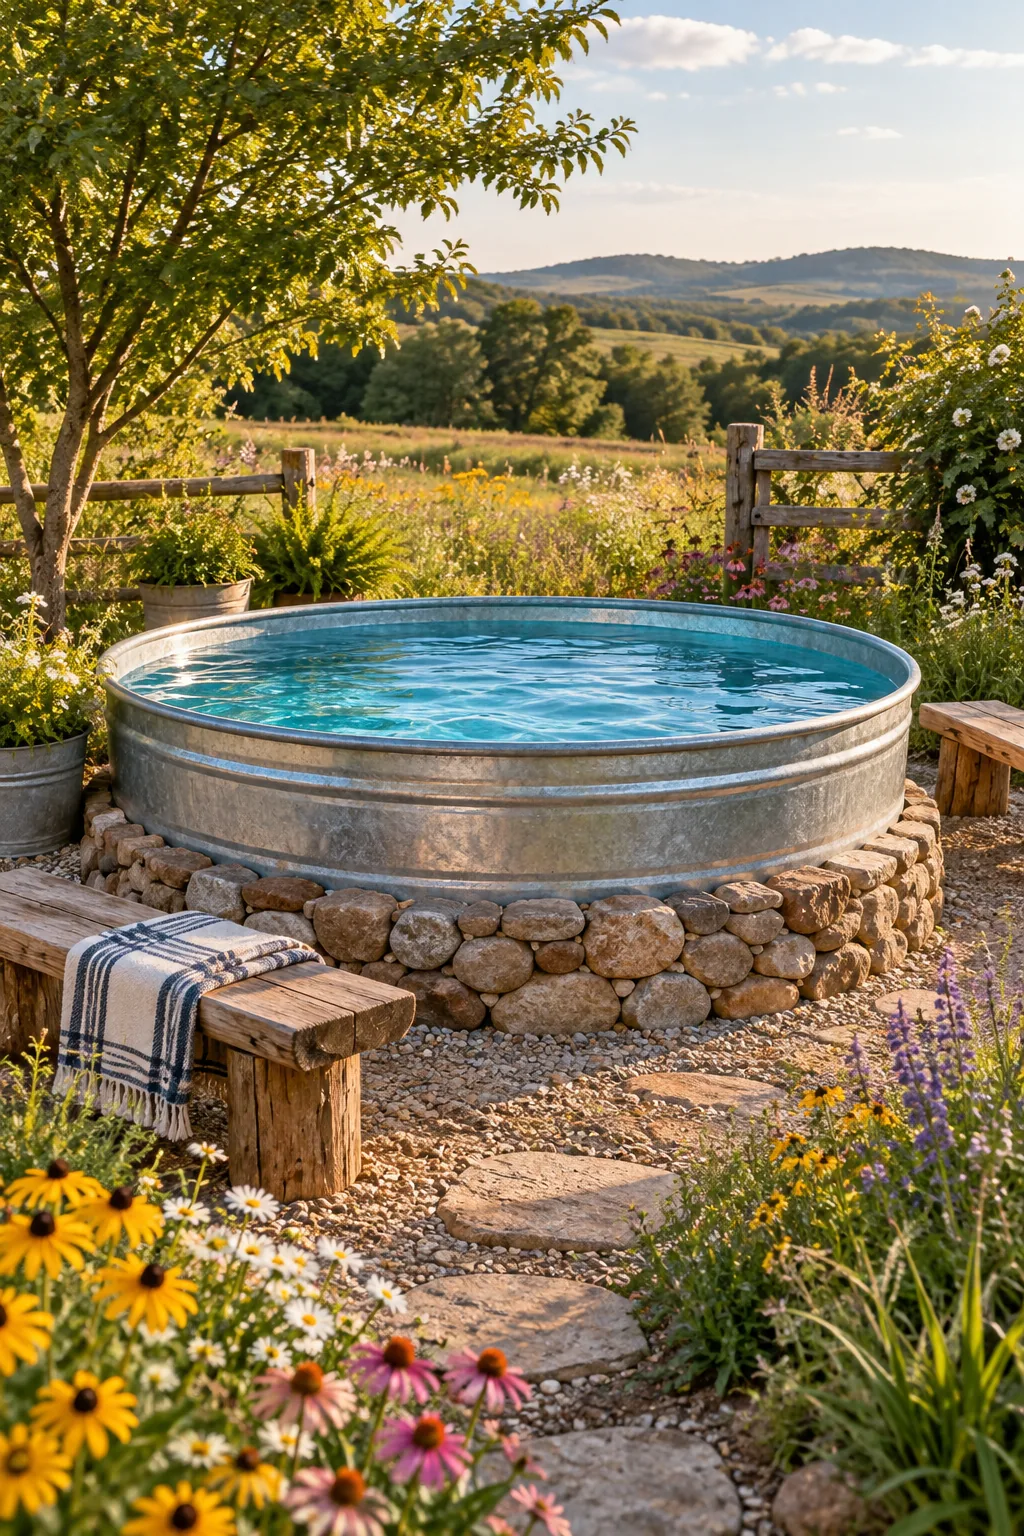
Natural Rustic Country: Let the galvanized metal shine naturally by bordering the pool with rough fieldstone and loose wildflowers.