
Modern Horizontal Deck Skirting: Board-Count & Gap Chart
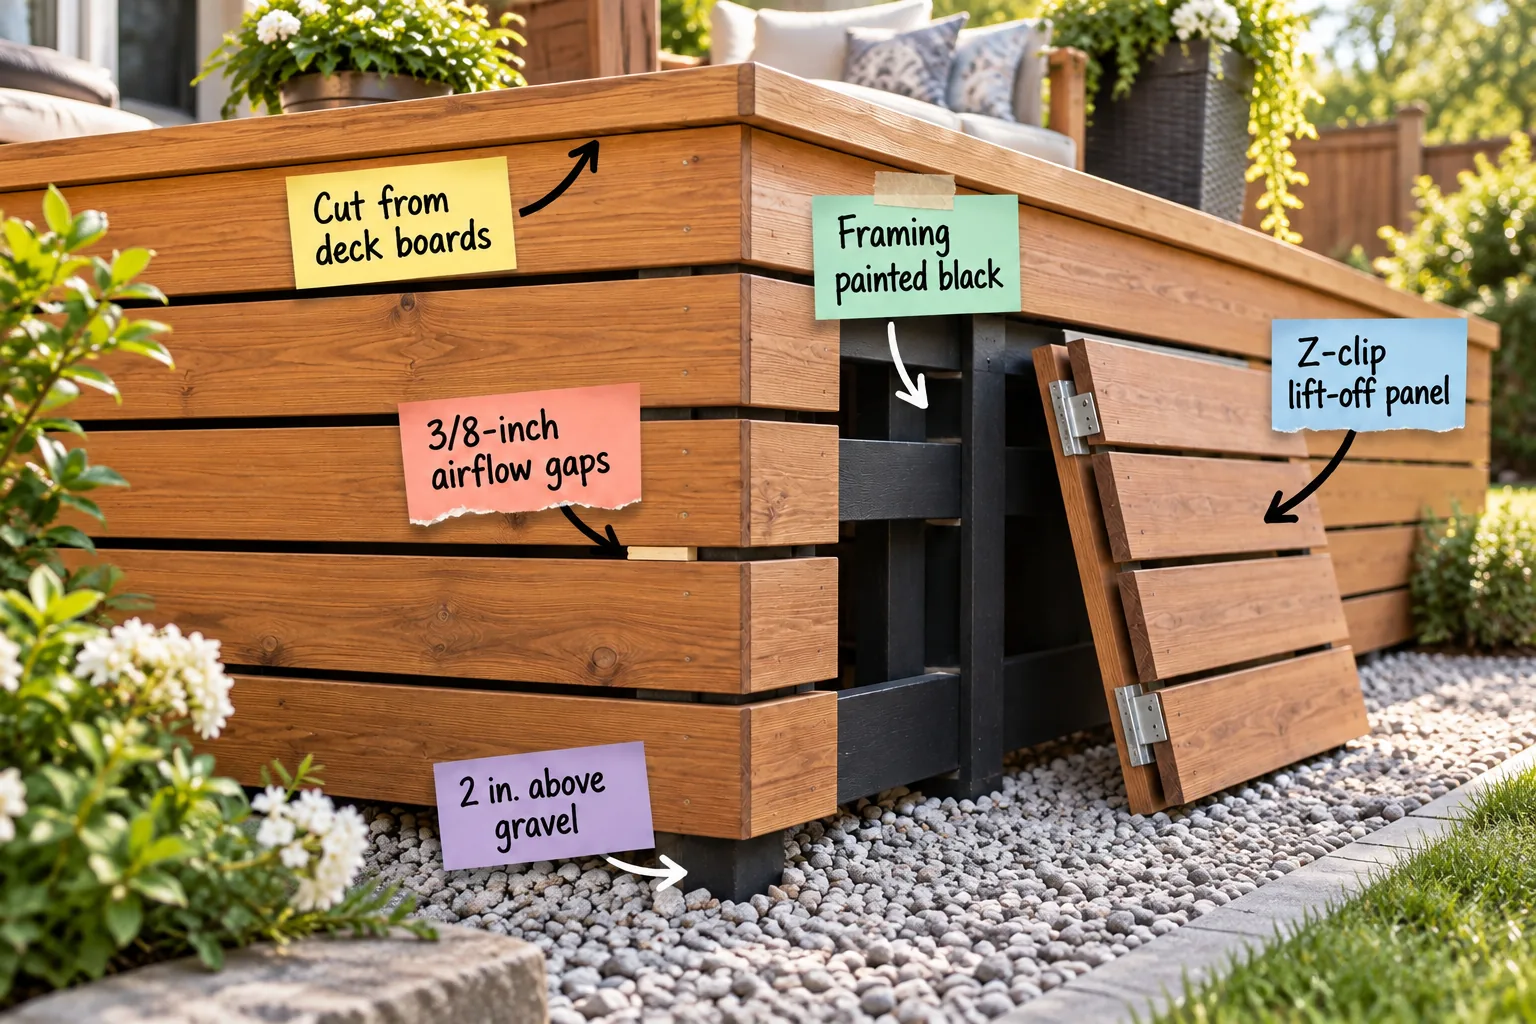
Upgrading your backyard with modern horizontal deck skirting is easier than it looks, especially when you have the right measurements. Grab my printable board-count and gap chart below to calculate exactly how many boards you need and plan your hidden access panels.
Setting the Two-Inch Ground Clearance
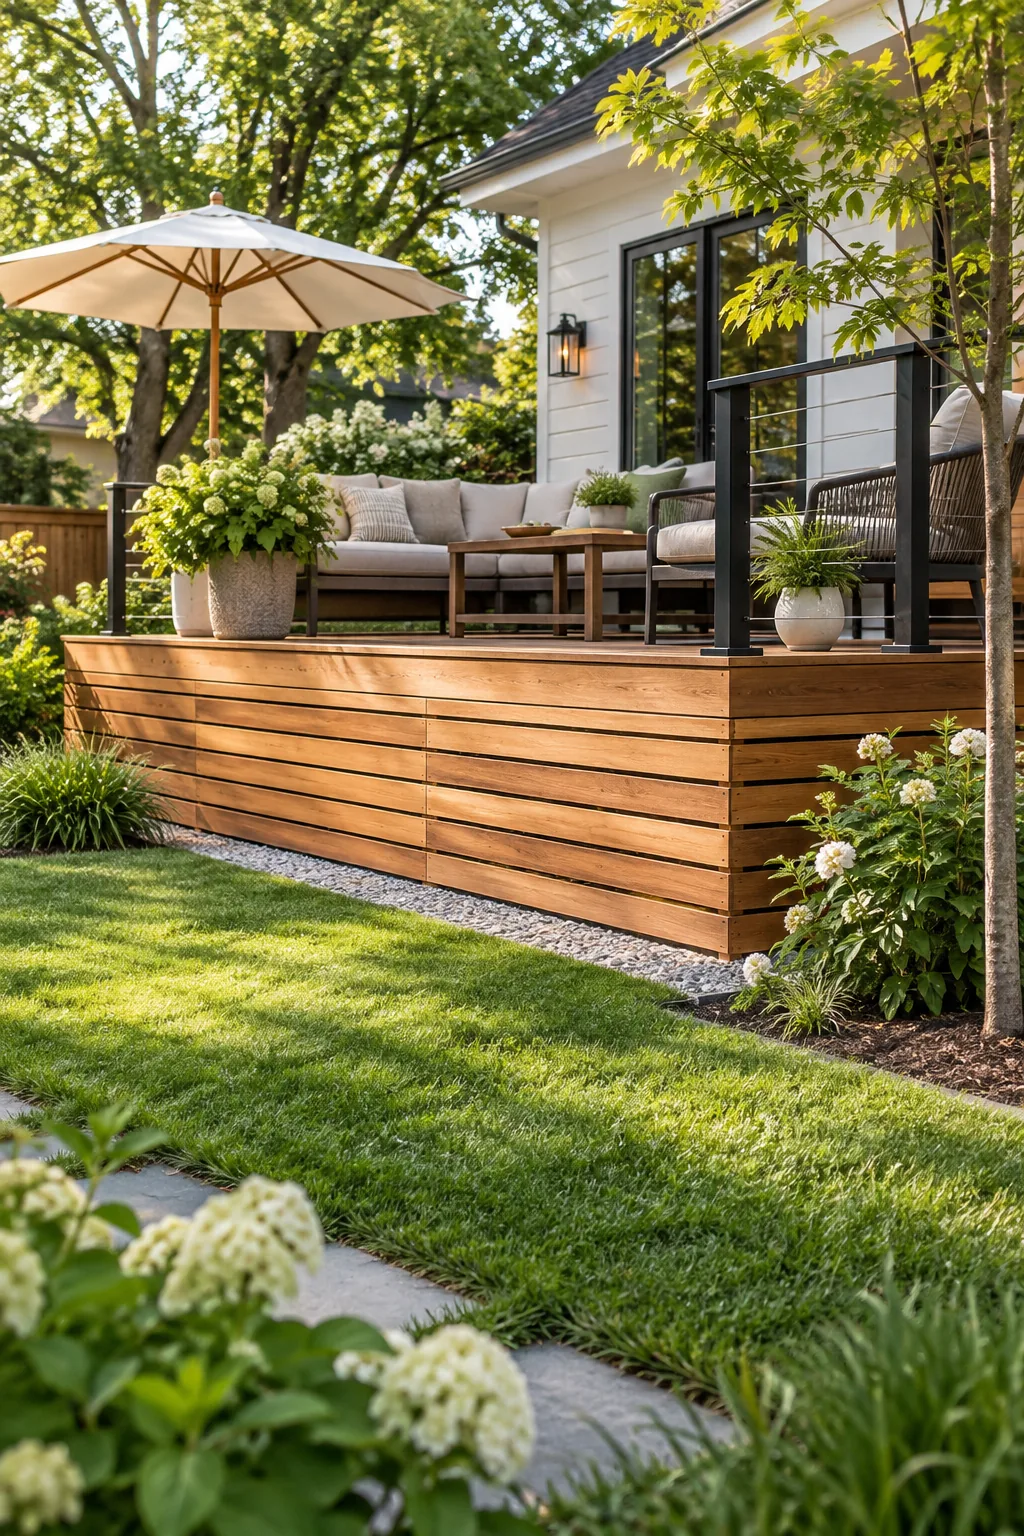
Start by establishing a strict 2-inch ground clearance between the bottom skirting board and the earth to protect your lumber. This essential gap prevents your beautiful cedar from wicking up moisture from the pale gravel trench below, saving the wood from premature rot.
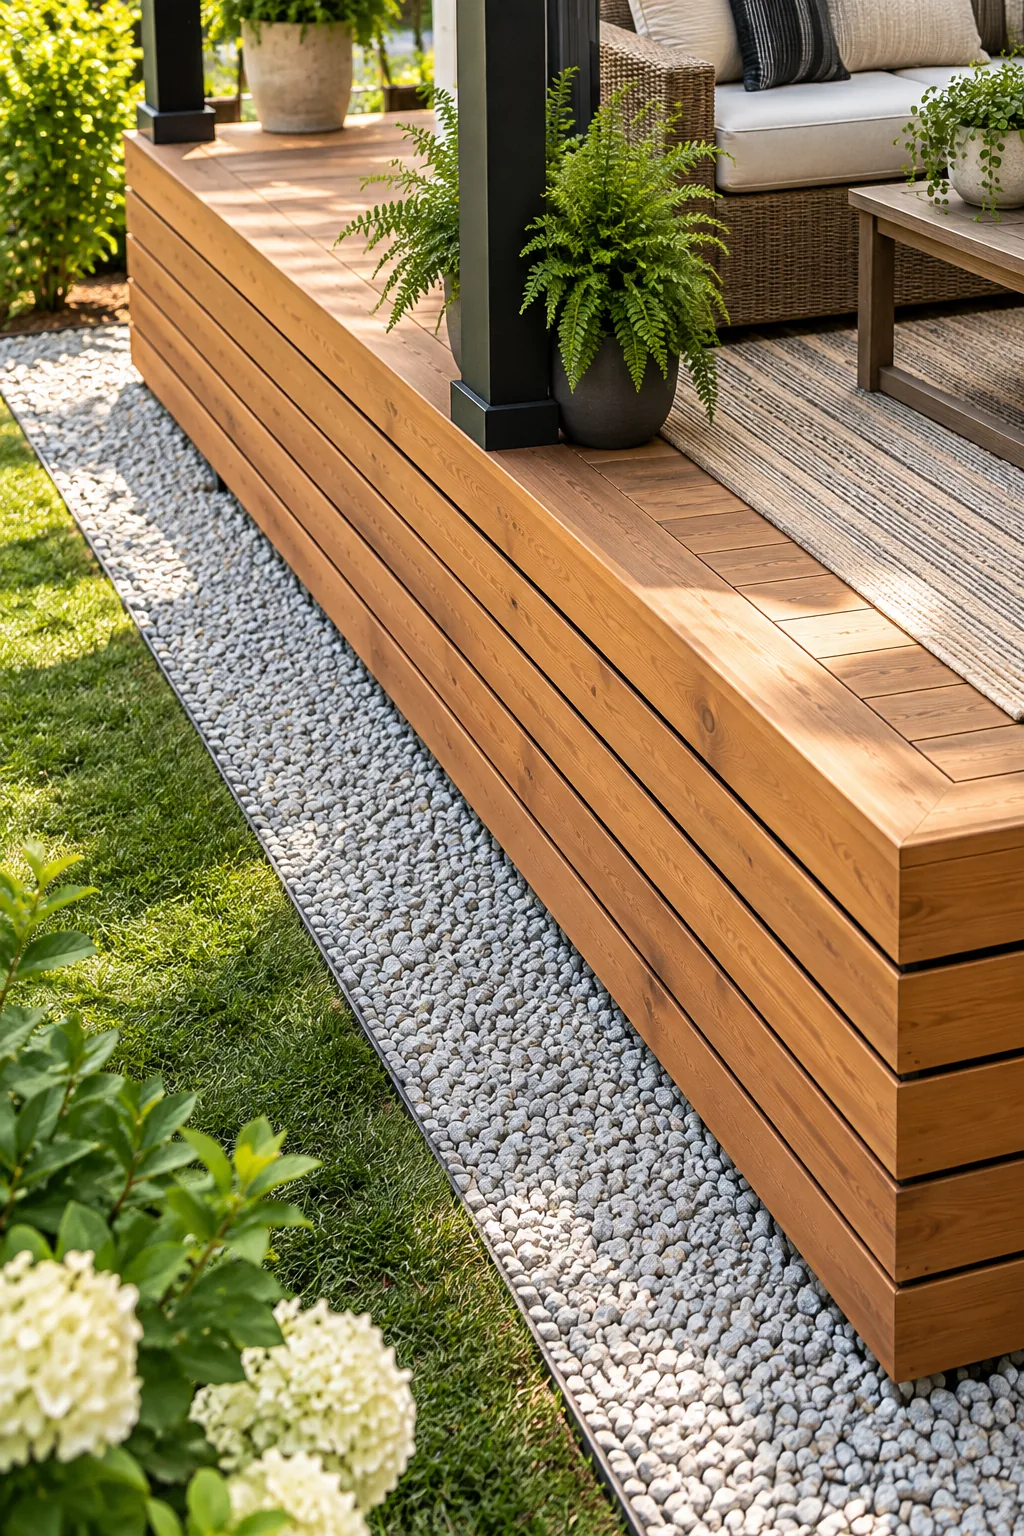
Digging a shallow trench directly beneath the skirt line gives you a dedicated space to manage runoff before it reaches the wood. Filling this perimeter zone with washed stone ensures heavy rain drains away instantly rather than splashing mud onto your fresh boards.
Leveling the Perimeter Drainage Trench
Always grade the soil inside your drainage trench so it slopes gently away from the structural deck posts. Guiding standing water away from the foundation is the cheapest insurance policy you can buy to extend the overall lifespan of your outdoor living space.
Laying the Moisture-Barrier Gravel
Pour a thick layer of pale, angular gravel into the leveled trench to create a permanent capillary break. Smooth, round river rock tends to shift underfoot, but crushed stone locks together tightly to form a stable, weed-free border that perfectly frames your modern skirting.
Tamping the Gravel Base
Compact the crushed stone firmly using a heavy steel hand tamper until the surface feels completely solid underfoot. A rigidly compacted trench prevents the gravel from migrating over time, ensuring your carefully measured ground clearance remains perfectly consistent year after year.
Painting the Backer Frame Black
You must paint your 2×4 backer frame a flat matte black before installing a single horizontal board. When I skipped this step on my first Austin patio project, the bright pine studs glared right through the gaps and completely ruined the modern illusion.
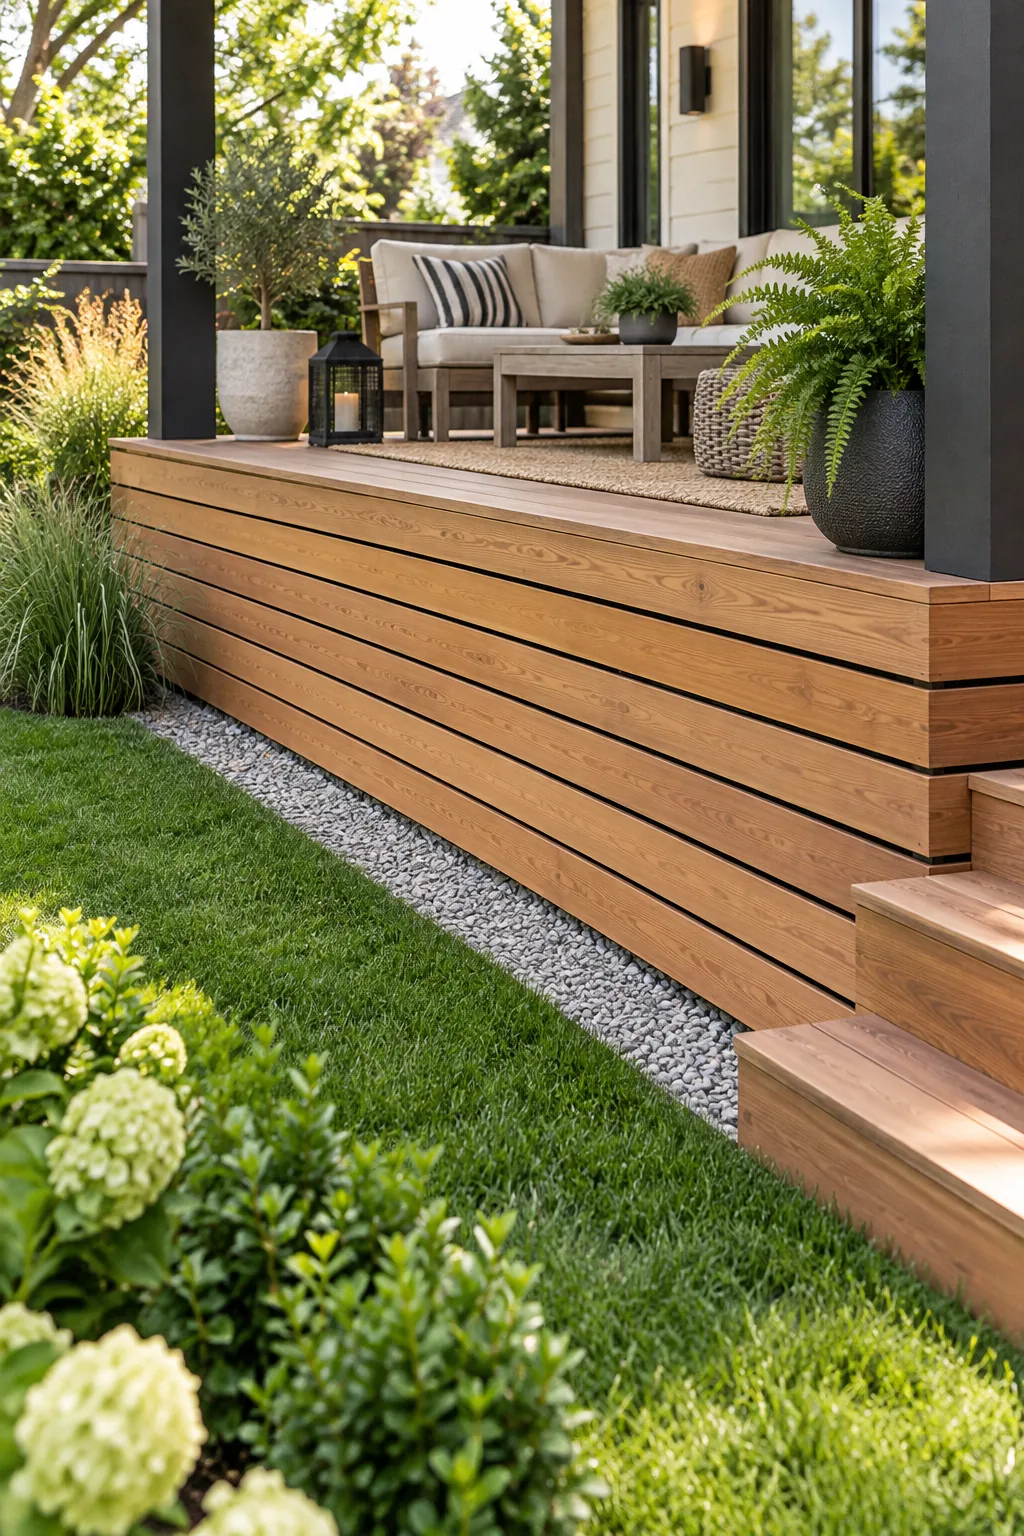
Before attaching any expensive cedar, you need to treat the structural framing so it completely disappears into the deep shadows.
Spacing the Vertical Support Studs
Install your vertical backing studs exactly sixteen inches on center to provide rigid support for the horizontal cladding. Placing the framing any wider allows the cedar boards to warp over time, creating a wavy, amateur appearance that ruins the crisp architectural lines.
Sealing the Cut Lumber Ends
Brush a heavy coat of wood preservative onto the raw ends of every framing stud before you assemble the backer frame. Raw end-grain acts like a cluster of tiny drinking straws, pulling ambient humidity deep into the lumber if left completely exposed to the elements.
Using Matching Deck Boards for the Skirt
Cut your skirting from the exact same 5.5-inch or 3.5-inch decking material you used for the main walkable surface. Matching the boards creates a seamless, high-end waterfall effect that flows directly from the deck fascia down toward the gravel border.
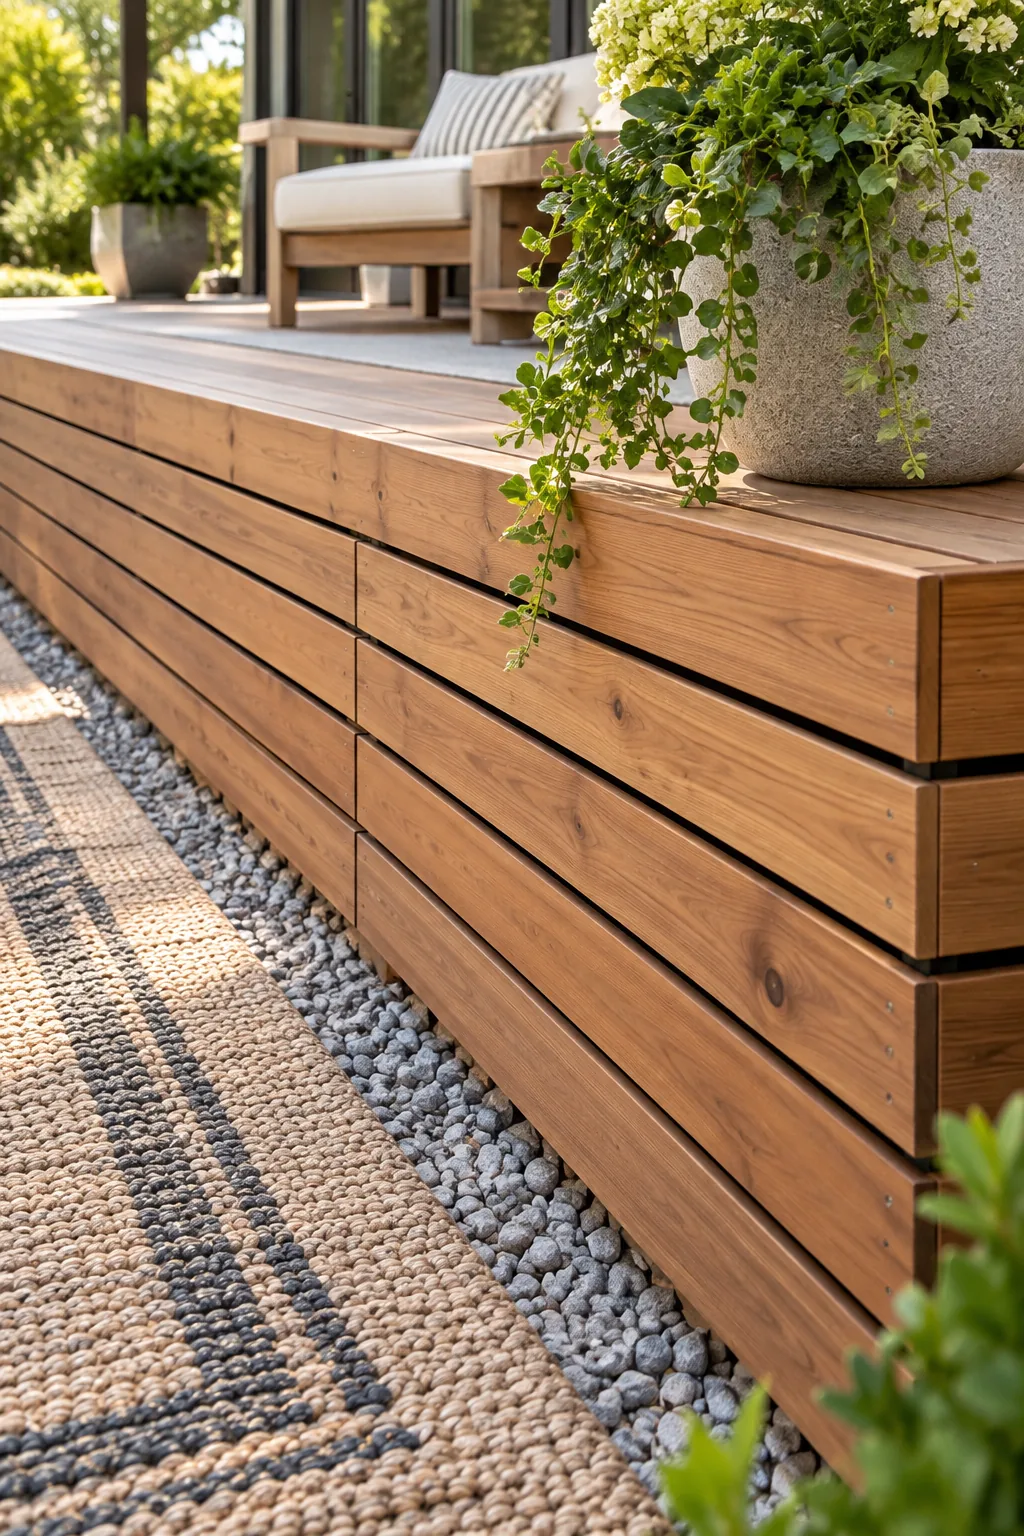
Selecting premium, kiln-dried cedar minimizes the unpredictable shrinking and swelling that often plagues cheaper green lumber. Starting with dimensionally stable boards guarantees your carefully measured horizontal lines will stay perfectly parallel through years of harsh summer sun and freezing winter nights.
Pre-Drilling the Skirting Boards
Pre-drill every single screw hole near the ends of your cedar boards using a countersink bit. Forcing thick fasteners directly into the brittle end-grain without a pilot hole will inevitably split the expensive lumber, ruining the sleek aesthetic of your modern skirt.
Measuring the Total Skirt Height
Measure the total vertical drop from the bottom edge of your deck fascia down to the established gravel grade. Finding the lowest point in your yard allows you to calculate the maximum number of rows needed before you make a single expensive cut.
Ripping the Bottom Board
Use a table saw to rip the bottom skirting board lengthwise if your deck sits on an uneven slope. Tapering the lowest piece allows you to maintain a perfectly level visual line across the top while still following the natural contours of your yard.
Spacing Boards for Essential Airflow
Insert a 3/8-inch wooden spacer block between every single row as you build upward to ensure perfect consistency. I learned the hard way that eyeballing these gaps leads to wavy lines, but this exact measurement provides enough ventilation to prevent under-deck moisture buildup.
- Place the wooden spacer blocks flat on the top edge of the installed board.
- Rest the next horizontal board firmly against the blocks to set the gap.
- Fasten the board securely and pull the blocks out for the next row.
Maintaining this uniform ventilation slot allows prevailing breezes to sweep through the under-deck cavity, drying out damp soil rapidly. A healthy cross-breeze prevents mold growth while keeping the gaps tight enough to completely obscure the black-painted structural framing behind the wall.
Fastening with Stainless Steel Screws
Drive two stainless steel trim screws through the face of the skirting board at every single stud location. Standard coated deck screws will eventually bleed dark rust stains down the face of your pristine cedar when exposed to heavy seasonal rain.
Staggering the Board Seams
Plan your horizontal layout so that consecutive butt joints never land on the same vertical stud. Staggering the seams creates a significantly stronger wall and draws the eye smoothly along the length of the deck rather than highlighting a single distracting vertical line.
Applying a UV-Protective Oil
Coat all sides of the cedar boards with a penetrating UV-protective oil before you permanently attach them to the framing. Sealing the back and edges prevents uneven moisture absorption, which keeps the wood from cupping violently as the seasons change.
Installing a Z-Clip Lift-Off Panel
Build a removable skirting section using metal Z-clips attached directly to the backer frame. Adding this hidden door to my own deck was a game-changer, letting me stash away bulky garden hoses without ruining the sleek exterior look with ugly surface hinges.
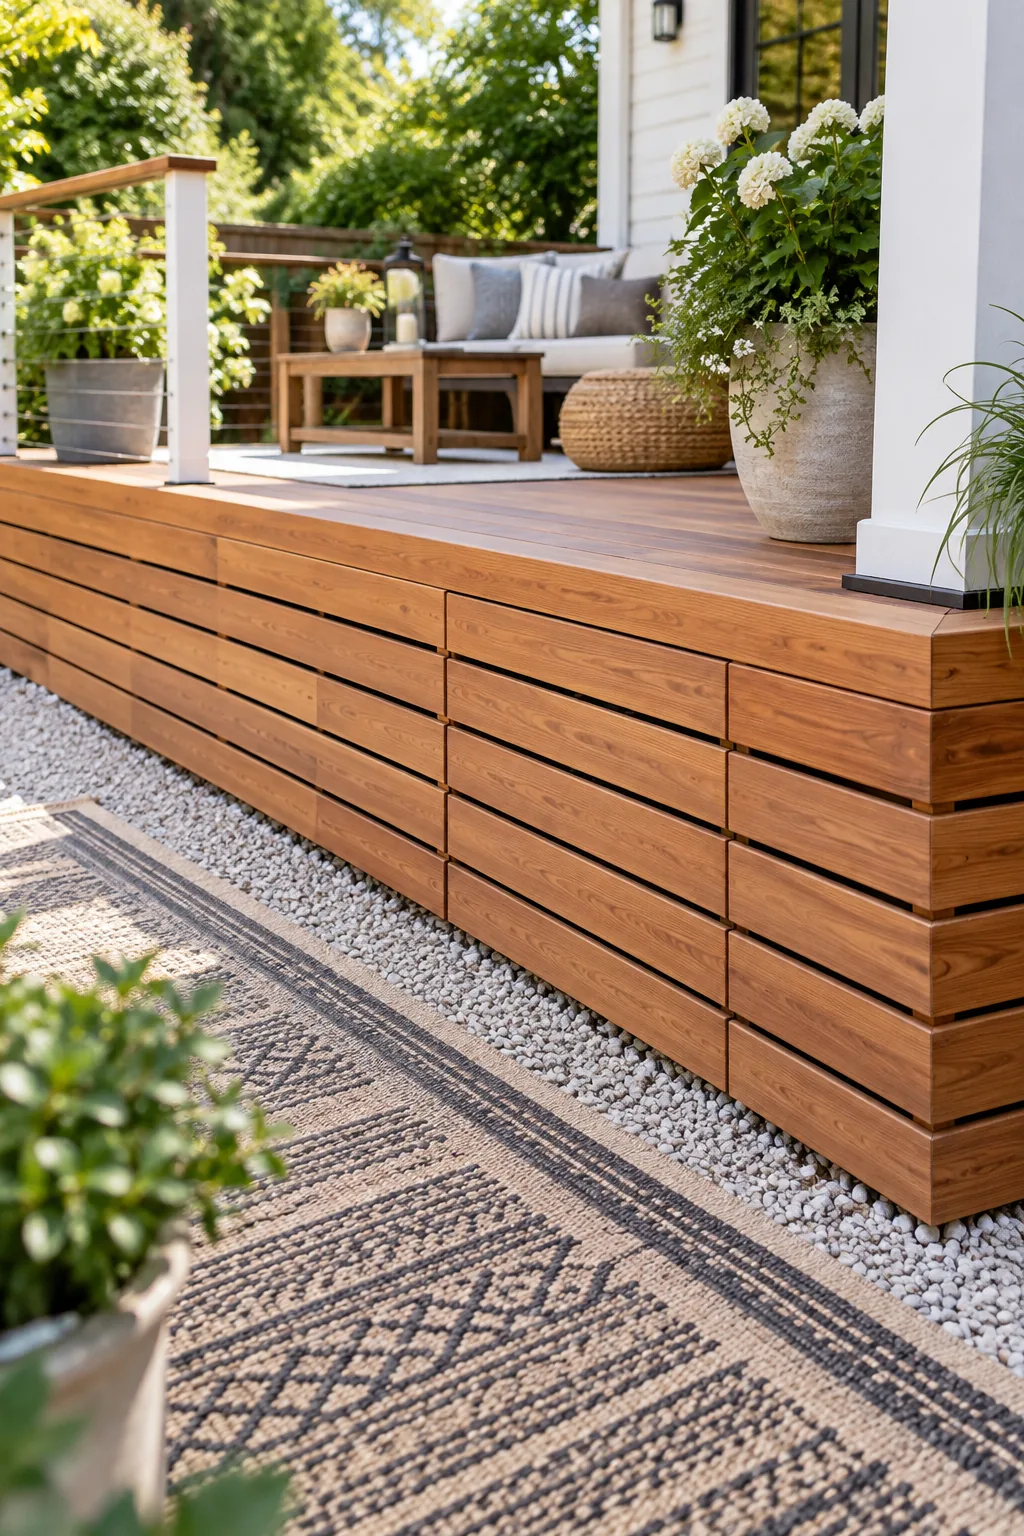
To ensure the removable access section sits perfectly flush with the permanent boards, verify these hidden hardware details before mounting.
Aligning the Hidden Hardware
Always measure the exact placement of your Z-clips twice before driving the mounting screws into the back of the access panel. Misaligned hardware will force the removable section to sit slightly proud of the surrounding skirt, instantly giving away the location of your secret door.
Securing the Panel Base
Install a simple wooden cleat along the bottom edge of the framing to catch the lower lip of the removable panel. This hidden resting ledge carries the heavy physical weight of the cedar boards, allowing the delicate metal Z-clips to simply hold the section flush.
Adding a Finger Pull Notch
Cut a tiny, discreet finger notch into the bottom edge of your removable access panel using a sharp router bit. This invisible detail gives you a secure place to grip the heavy wooden section when you need to lift it free from the hidden hardware.
More Horizontal Skirting Styles to Consider
Find the perfect material and color combination to match your home's exterior architecture.
Crisp white painted skirting: Bright white paint transforms basic lumber into a polished architectural feature that perfectly suits a modern farmhouse exterior.
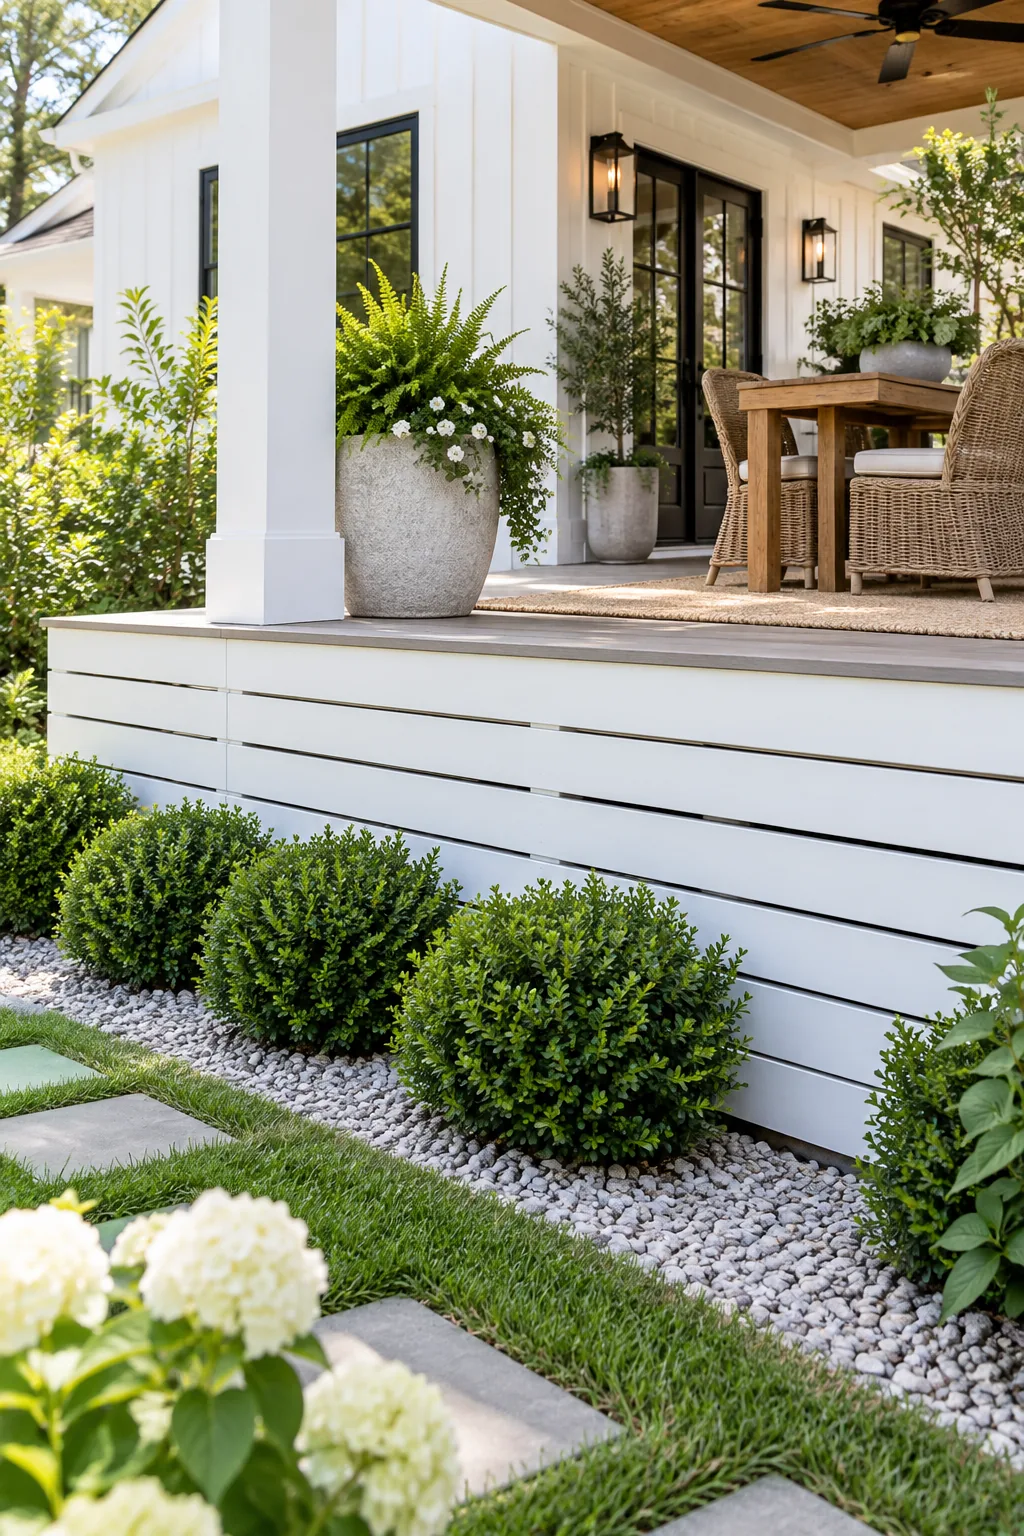
Mixed metal and dark wood: Combining corrugated metal sections with dark stained wood creates an edgy, industrial aesthetic ideal for urban outdoor spaces.

Weathered gray composite boards: Composite decking in a soft weathered gray offers a maintenance-free coastal vibe that stands up beautifully to poolside splashing.
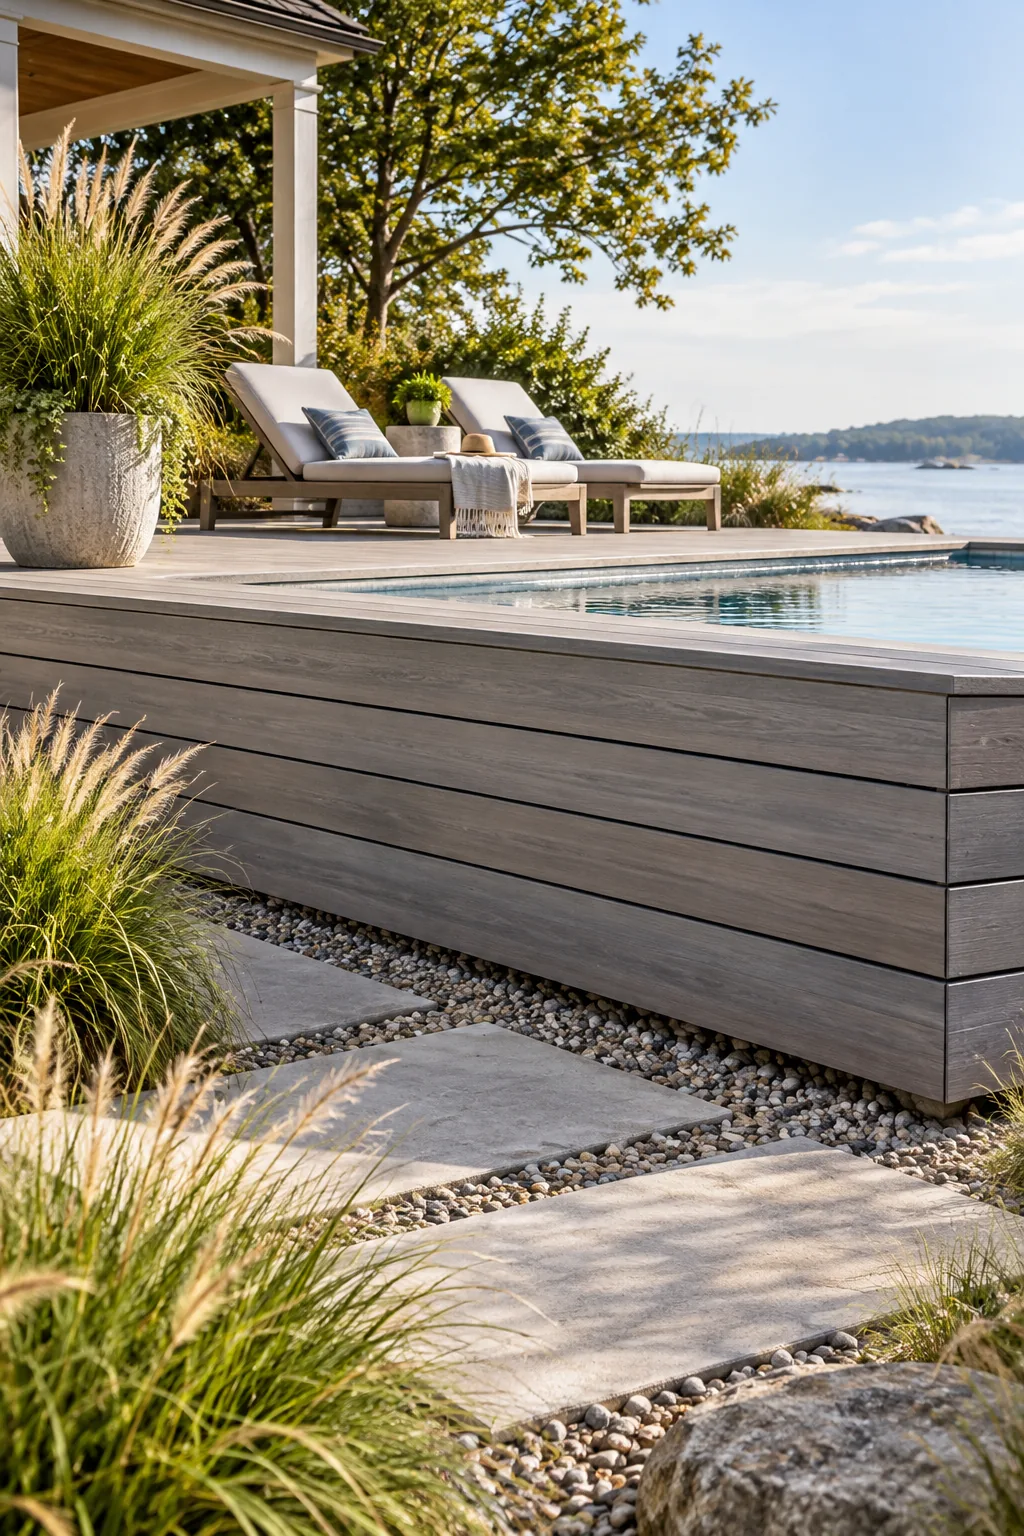
Thin Ipe wood slatting: Using narrow strips of premium hardwood creates a highly textured, contemporary screen that mimics high-end interior paneling.

Reclaimed rustic barn wood: Salvaged barn wood brings instant history and rugged texture to a cabin porch, blending seamlessly into a wooded landscape.
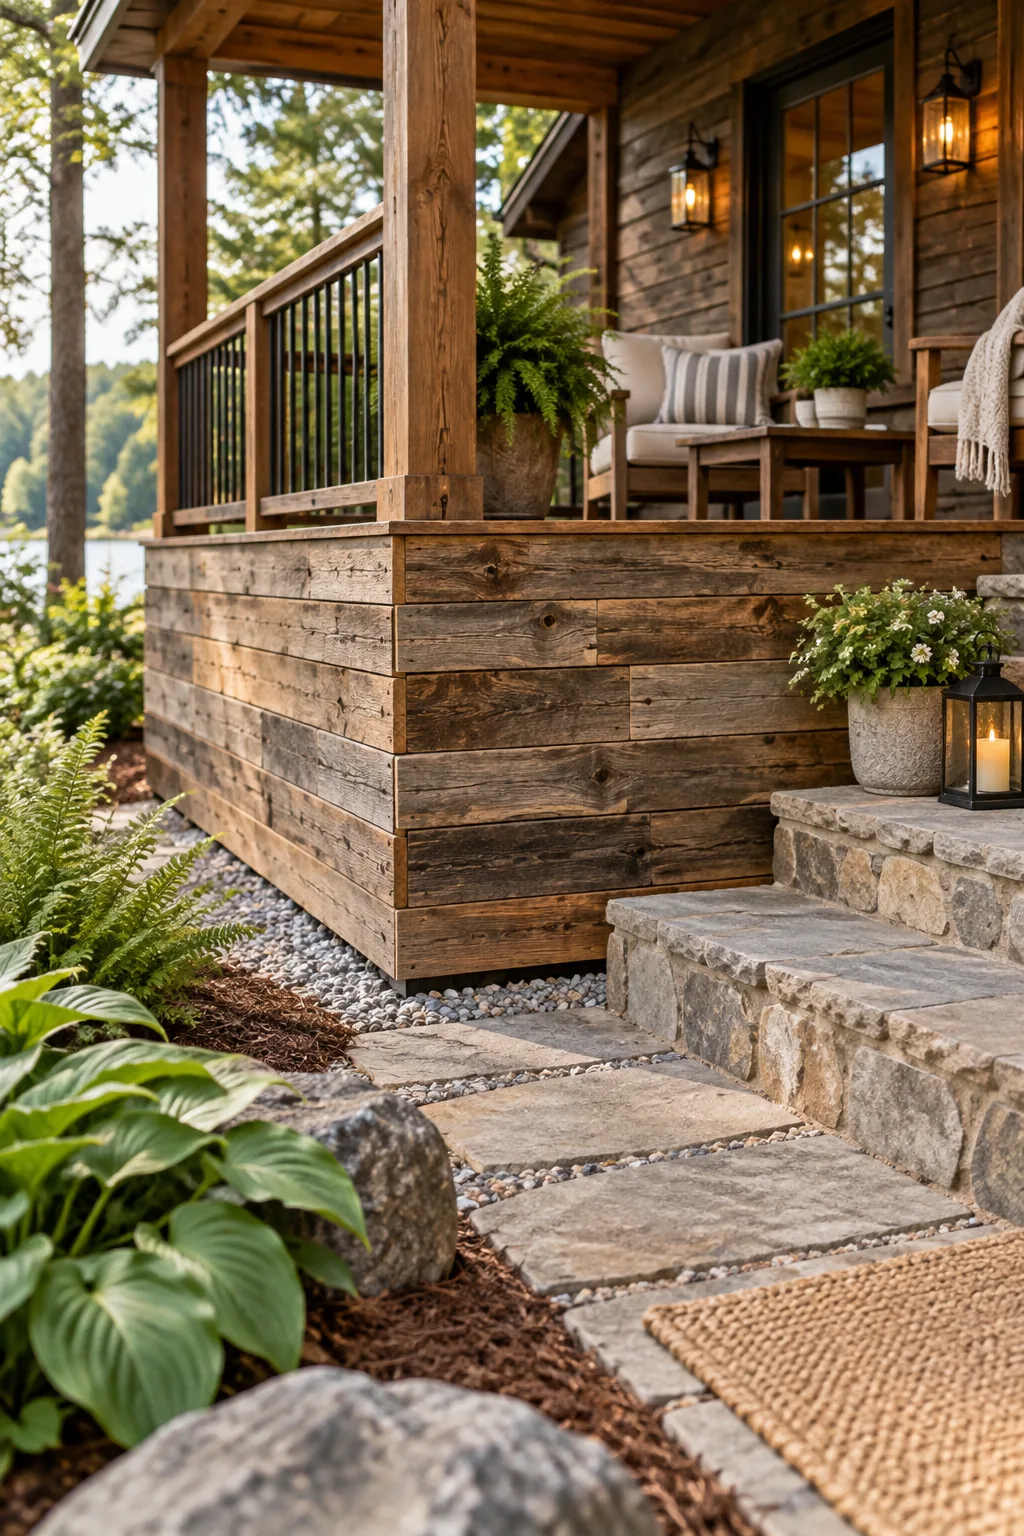
The Skirt Board-Count and Gap Chart
Use our printable chart to plan your exact material order based on your total deck height. Measuring from the lowest grade point allows you to calculate the maximum number of rows and 3/8-inch gaps required for a flawless, professional finish.
Match your specific deck clearance to this quick reference table to find exactly how many standard boards and mounting clips you need to buy.
| Deck Height | 5.5-inch Boards | 3.5-inch Boards | Z-Clips Needed |
|---|---|---|---|
| 12 inches | 2 rows | 3 rows | 4 clips |
| 24 inches | 4 rows | 6 rows | 4 clips |
| 36 inches | 6 rows | 9 rows | 6 clips |