August Acrylic Calendar Decoration: Back-Painted Sunflowers
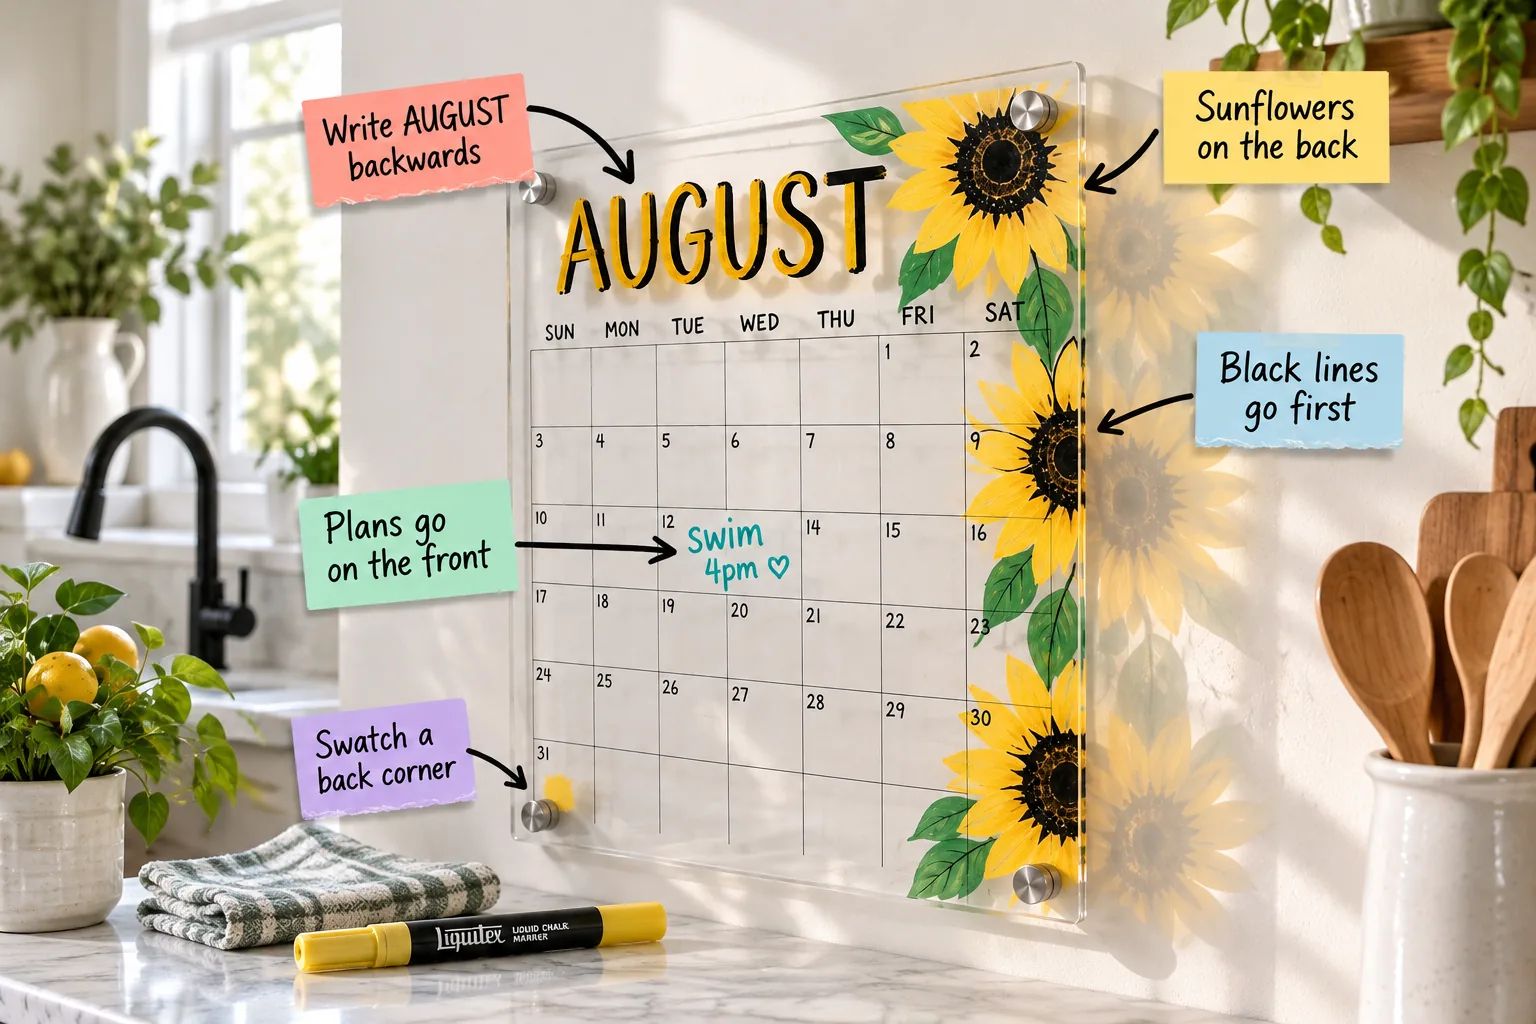
You will be able to reverse-paint a durable, smudge-proof August calendar design and safely wipe it clean on September 1 using our printable 1-page August Acrylic Calendar Back-Painting Steps. This comprehensive guide includes the exact marker order, mirroring instructions, and essential drying times required.
Why Back-Painting Works for Calendars
Painting directly on the rear face of the clear acrylic creates a permanent-looking seasonal border that remains completely physically isolated from your daily schedule updates. This clever separation means your beautiful artwork never interferes with erasing your busy weekly appointments.
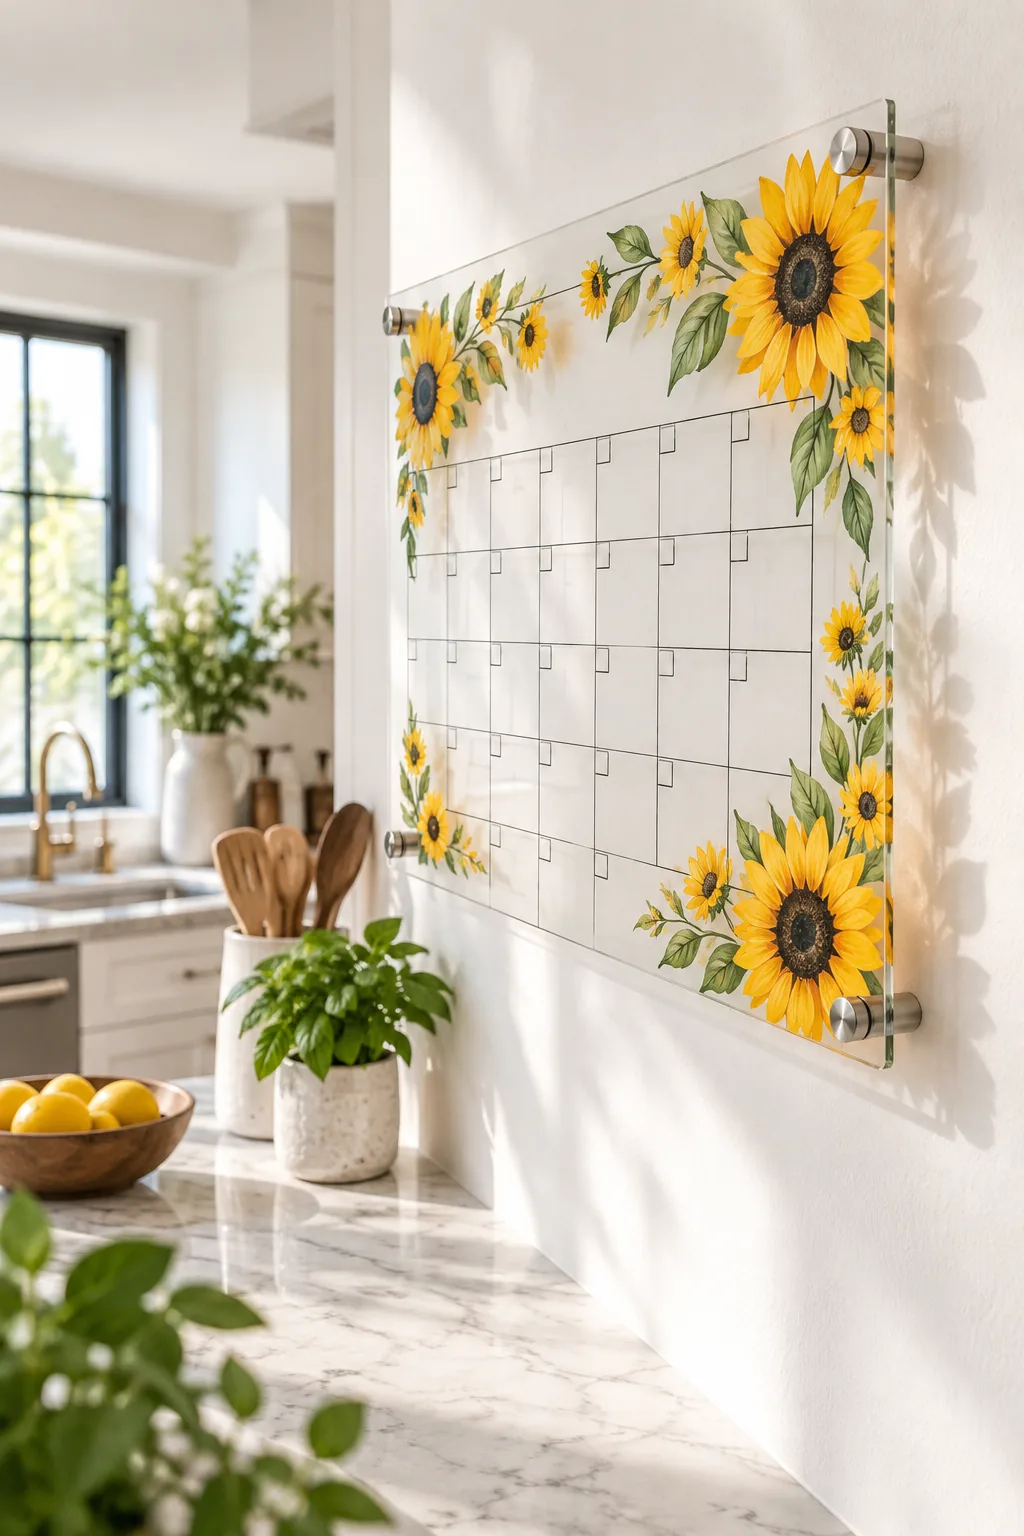
I always appreciate how the 1/4-inch standoff gap creates a beautiful drop shadow on my kitchen wall, giving the artwork a professional floating effect. The physical distance between the wall and the board adds incredible depth to the flat design.
Selecting the Best Liquid Chalk
You need high-quality liquid chalk markers that dispense thick, opaque pigment without running down the smooth plastic surface. Water-based formulas ensure the vibrant colors bond temporarily to the non-porous acrylic while remaining completely water-soluble for the eventual end-of-month cleanup process.
Swatch a Hidden Back Corner First
Even if a marker claims to be completely dry-erase, different acrylic finishes react unpredictably to heavy pigments, so I always test a tiny yellow dot on the lower-left back corner. Waiting exactly 5 minutes before wiping ensures the plastic will not permanently stain.
Cleaning the Board Before Painting
Any lingering fingerprint oils or household dust on the rear surface will prevent the liquid chalk from adhering smoothly. Wiping the entire back face with a simple solution of isopropyl alcohol and a lint-free cloth guarantees a pristine canvas for your seasonal sunflowers.
Printing Your Reverse Template
Creating perfect typography by hand in reverse is incredibly frustrating, which is why a digital printout is your absolute best tool. Simply format your month header in a bold font on your computer, flip the text horizontally before printing, and trim the paper.
How to Write AUGUST Backwards
Taping your printed, mirrored AUGUST template directly to the front of the calendar and tracing it on the back ensures the thick yellow-and-black lettering reads correctly from the room. This technique guarantees perfectly legible text without requiring any advanced hand-lettering skills.
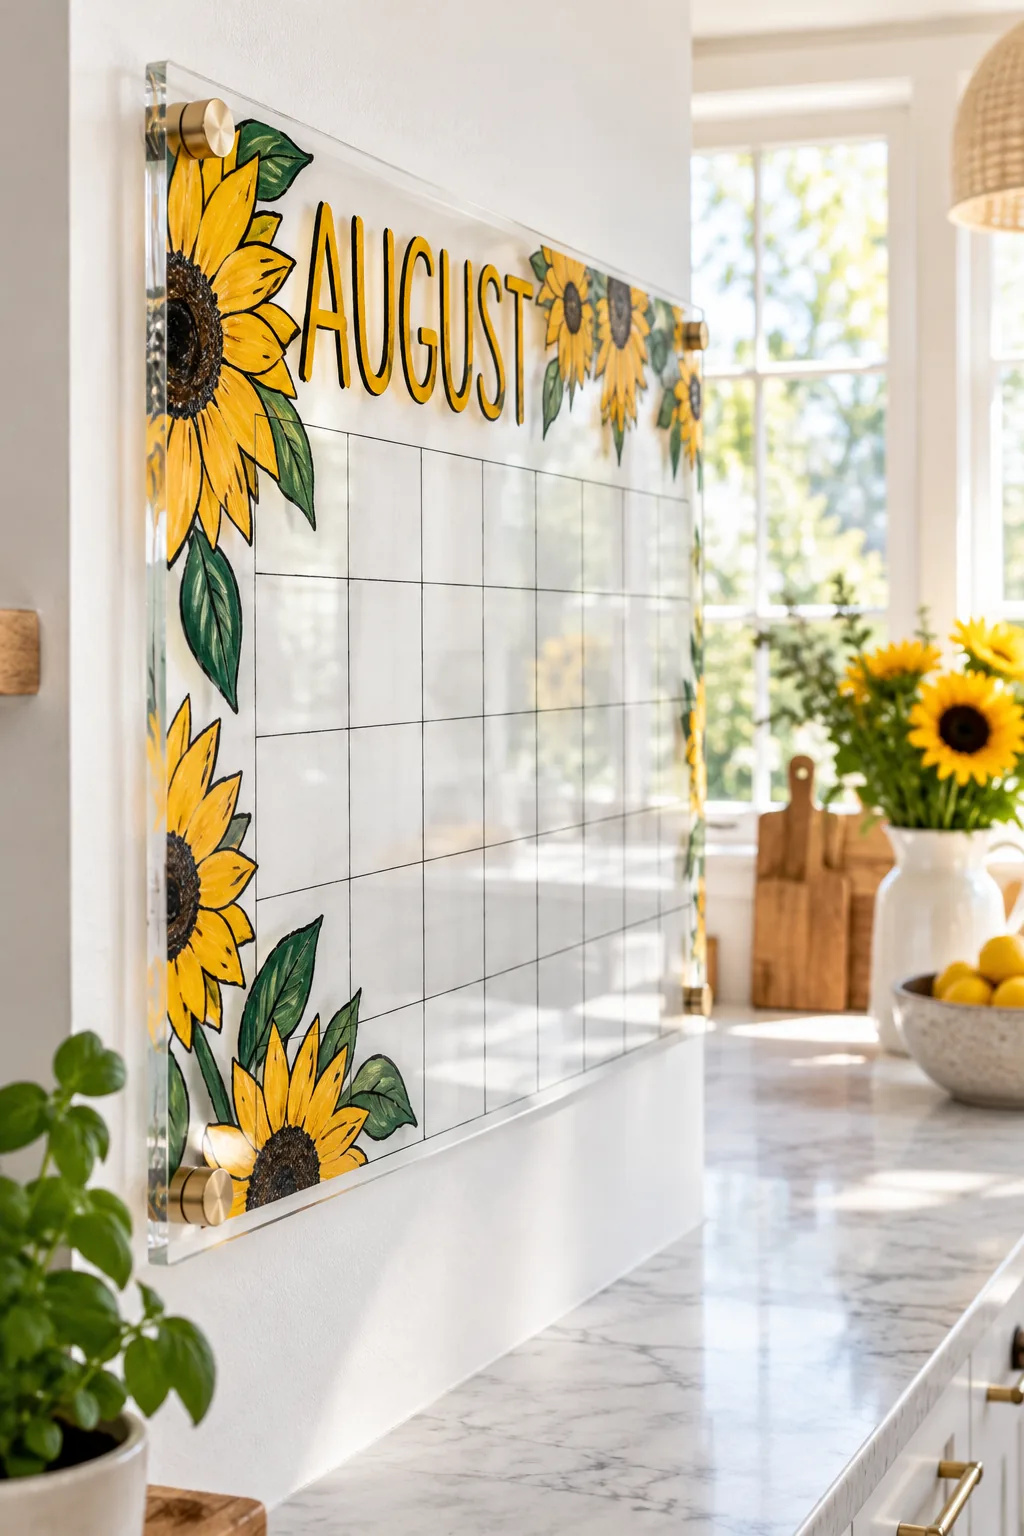
This simple tracing trick removes all the spatial guesswork from reverse lettering and keeps your spacing perfectly aligned across the top edge of the board. You can easily adjust the paper placement until the balance feels exactly right before uncapping your markers.
Positioning the Text Perfectly
Use a small piece of low-tack painter’s tape to secure the paper template exactly one inch above the top row of date squares. This specific placement guarantees the bold header will not visually crowd your first week of scheduled events, maintaining a clean layout.
Drawing the Sunflower Outlines First
Because you are working in reverse, the crisp black petal outlines and center seed details must be drawn directly onto the acrylic first to form the top layer. The dark ink acts as the foreground, sitting closest to the viewer looking through the glass.
- Draw the black petal outlines directly onto the rear acrylic surface.
- Add the tiny black seed dots tightly clustered in the center.
- Trace the thick black drop shadow along the left side of the lettering.
Establishing these dark boundaries first gives you a clear physical barrier that helps contain the bright yellow fill color during the next painting stage. This sequence is the fundamental secret to achieving crisp, professional-looking reverse glass painting at home.
Letting the Black Ink Cure
You must wait a minimum of ten minutes for the black outlines to cure completely before introducing any lighter colors. If the black liquid chalk remains even slightly damp, the yellow marker tip will pull the dark pigment, creating muddy streaks across your petals.
Filling the Sunflowers on the Back
Coloring aggressively over the dried black outlines with the yellow liquid chalk marker creates the solid, vibrant petals that block light from passing through. You do not need to stay inside the lines perfectly, as the front view hides any overlapping strokes.
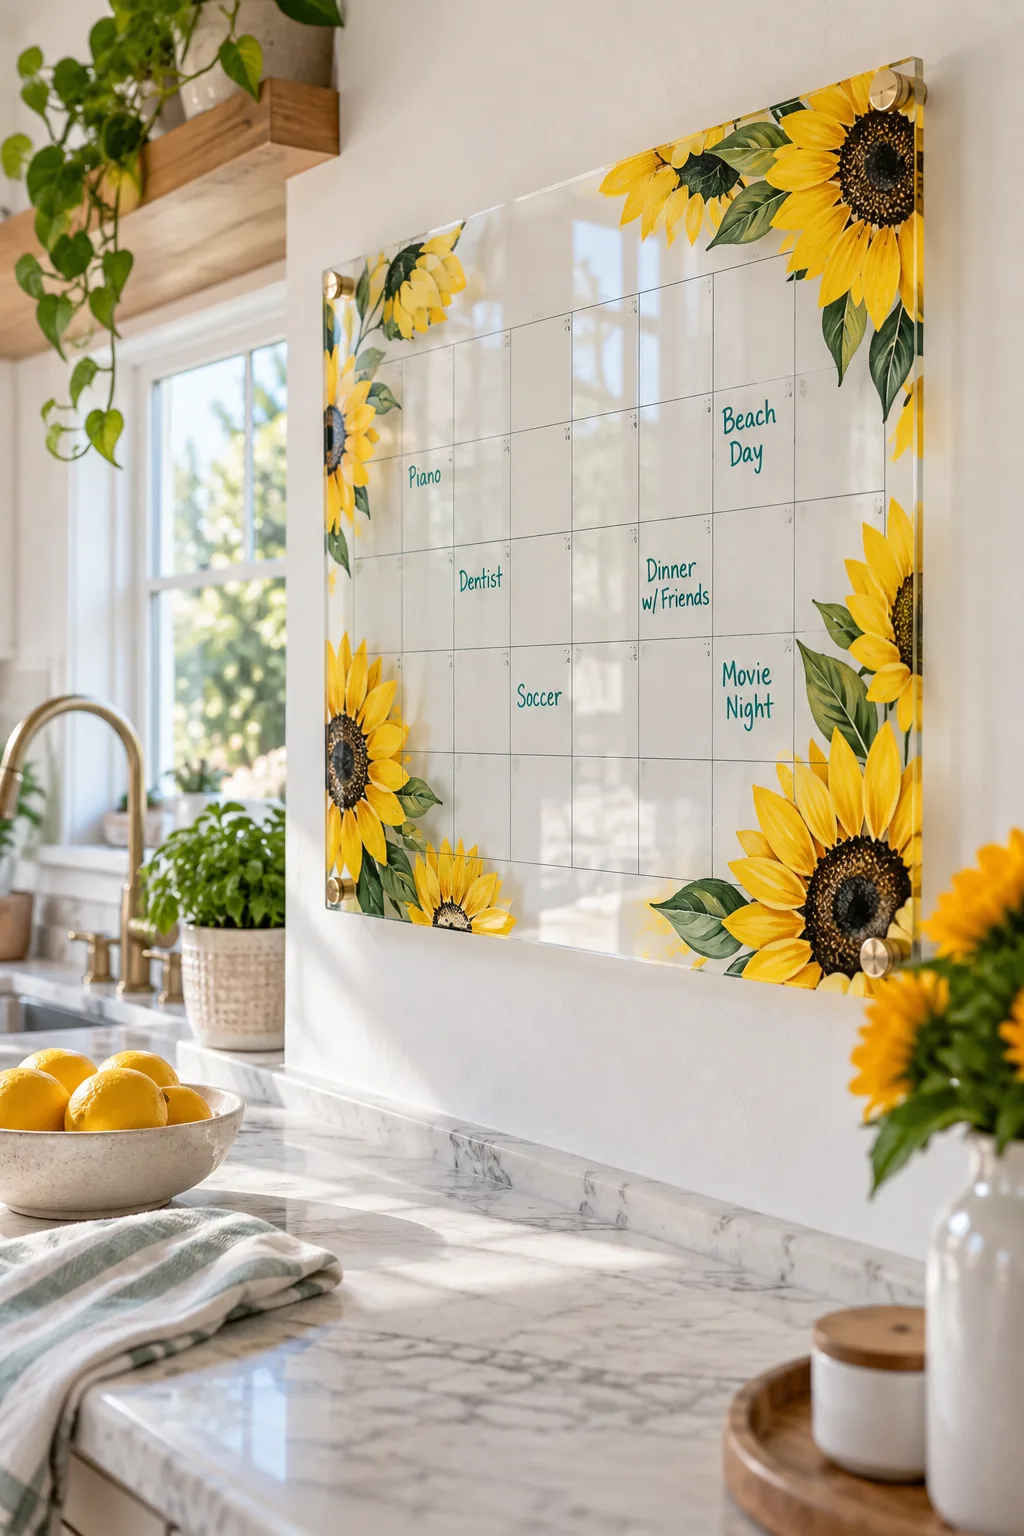
From the back of my own calendar, this always looks like a messy yellow blob, but flipping the board around reveals perfectly contained, professional-looking color. The crisp black lines drawn earlier completely mask the chaotic yellow scribbles behind them.
Checking for Opaque Coverage
Hold a bright flashlight behind the painted acrylic to easily spot any thin patches or transparent streaks in your yellow fill. Adding a second coat of liquid chalk over those weak areas ensures your sunflowers look brilliantly opaque against the wall.
Drying Time Before Rehanging
You must enforce a strict 20-minute minimum drying time before attempting to remount the calendar to your wall. Heavy layers of wet chalk paint will smear instantly if they accidentally brush against the metal mounting hardware or your painted drywall during installation.
Remounting the Standoff Hardware
Carefully lifting the heavy acrylic requires proper alignment to avoid scratching your fresh artwork against the metal wall anchors. Having a second person hold the board steady while you thread the standoff caps prevents catastrophic slips that could ruin your painted border.
| Hardware Part | Placement | Function |
|---|---|---|
| Wall anchor | Drywall | Supports the weight |
| Threaded barrel | Over anchor | Creates standoff gap |
| Silicone washer | Behind acrylic | Protects the paint |
| Screw cap | Front face | Secures the board |
Hand-tighten the front caps just enough to hold the board firmly in place, as over-tightening can crack the acrylic around the drilled mounting holes. The soft silicone washers will gently grip the plastic without applying dangerous pressure to the delicate corners.
Keeping Daily Plans on the Front
Standard dry-erase markers can be used on the front face for your daily schedule and wiped away endlessly without ever touching the seasonal art behind the glass. This physical barrier completely eliminates the frustration of redrawing your decorations every time plans change.
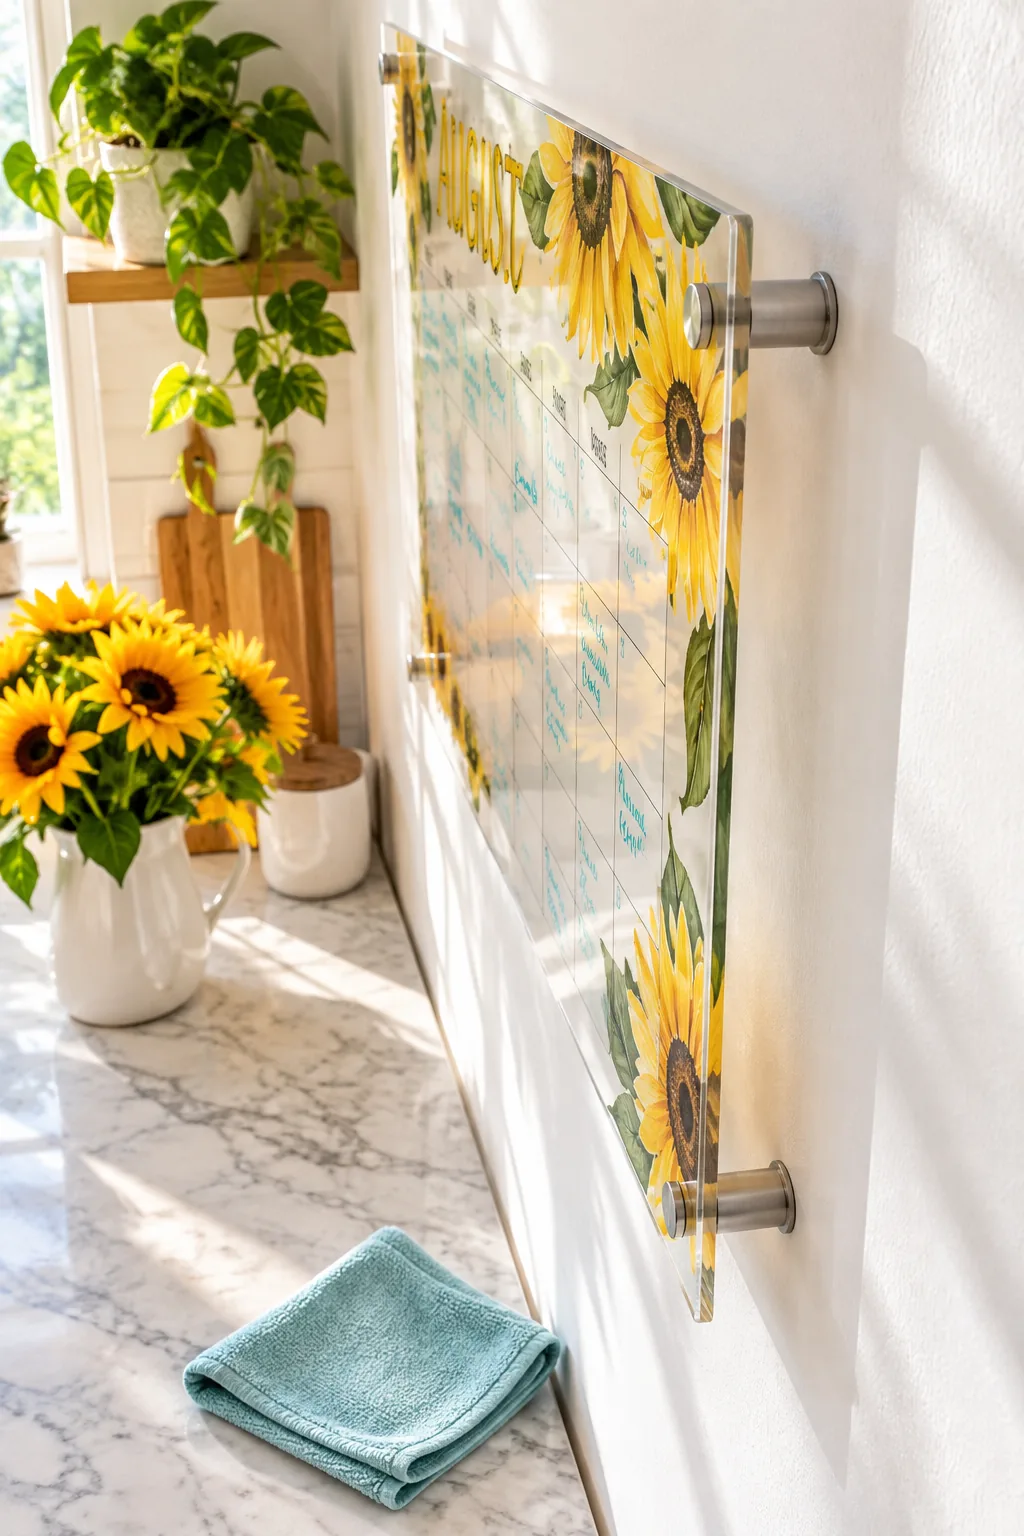
This practical two-sided setup means you can update your busy afternoon meetings and weekend trips without worrying about accidentally erasing your beautiful floral border. The fresh teal ink pops brilliantly against the bright yellow sunflowers while remaining incredibly easy to modify.
Choosing Dry-Erase Colors for August
Selecting a fresh teal or soft green dry-erase marker for your daily entries beautifully complements the warm yellow and black sunflower tones. Sticking to one consistent scheduling color keeps the busy calendar looking cohesive rather than visually overwhelming your carefully painted seasonal header.
Print the August Back-Painting Steps
Grab our printable 1-page August Acrylic Calendar Back-Painting Steps containing the essential marker order, mirroring instructions, accurate drying times, and the safe damp-cloth reset method. I keep this exact reference sheet taped inside my craft cabinet so I never forget the proper reverse-painting sequence.
Preparing for the End of the Month
When August draws to a close, you will need to clear your schedule and take the entire board down from the wall. Laying the acrylic flat on a soft towel across your dining table provides the safest surface for dissolving the thick layers of hardened chalk paint.
The September 1 Damp-Cloth Reset
Wiping the back face gently with a damp cloth removes the August decoration effortlessly, dissolving the water-based pigment in seconds. The thick layers of yellow and black ink will lift away completely, leaving the clear plastic perfectly pristine for your upcoming fall designs.
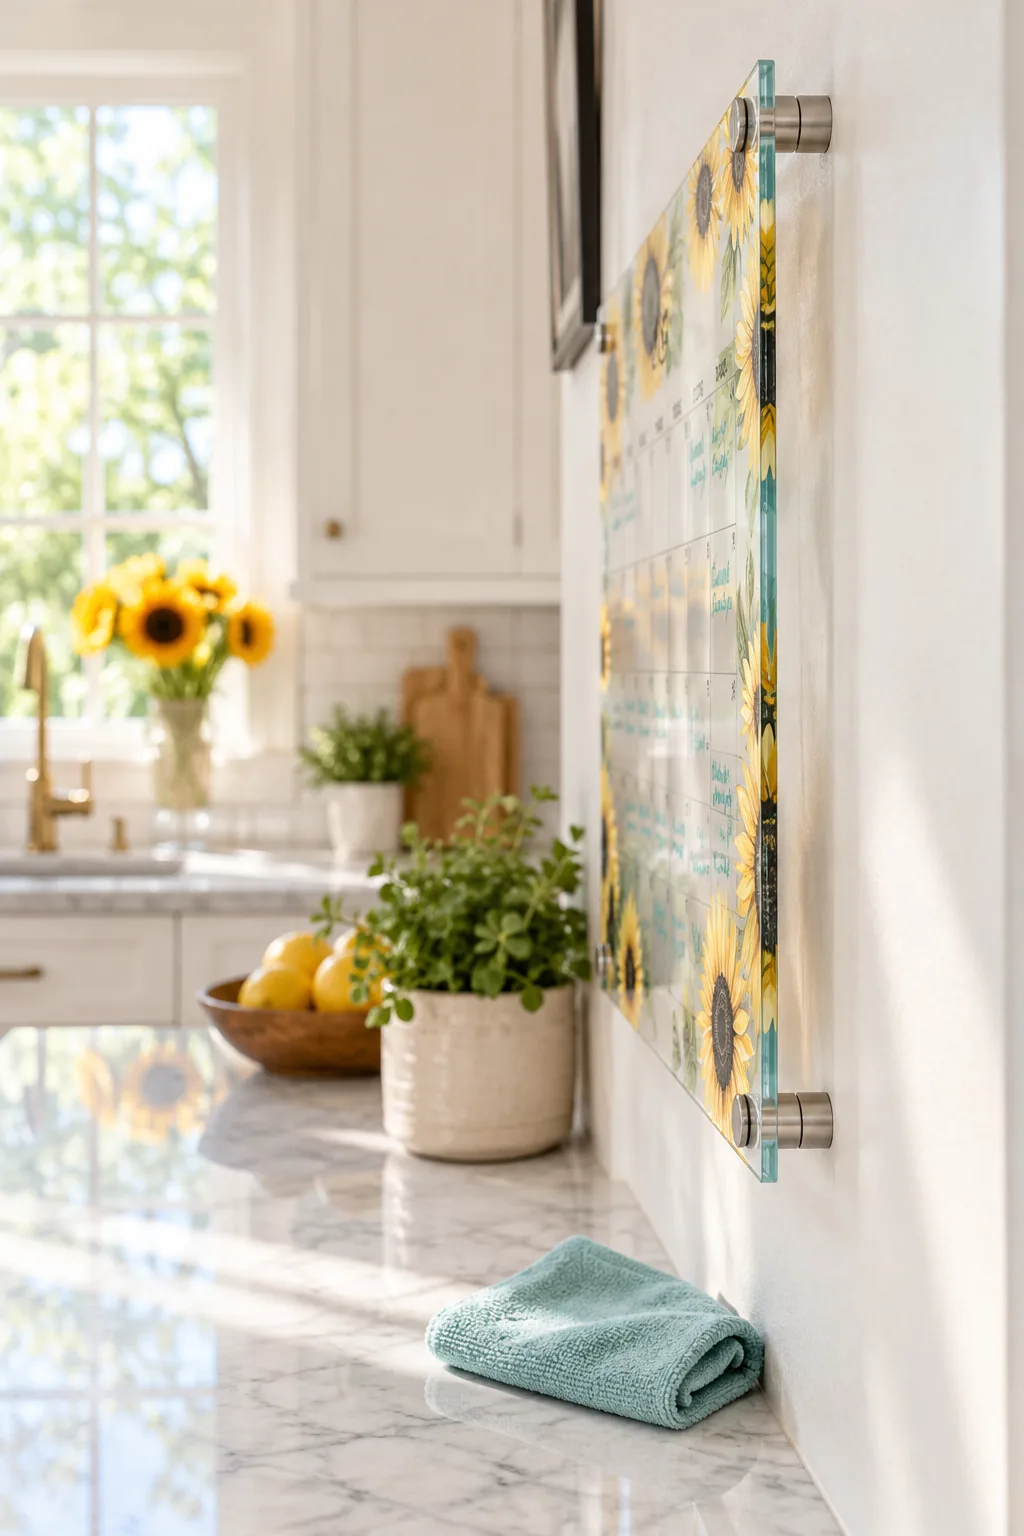
Because liquid chalk requires only pure water for complete removal, you can skip harsh chemical solvents entirely, provided you use the right materials. A gentle approach ensures your expensive acrylic board remains crystal clear and ready for September’s fresh new artwork.
More Seasonal Back-Painting Ideas
Swap the bright summer sunflowers for one of these distinct seasonal looks using the exact same reverse-painting technique.
Minimalist White Botanicals: Swap bright yellows for crisp white line art to create a subtle, elegant look that suits modern kitchens.
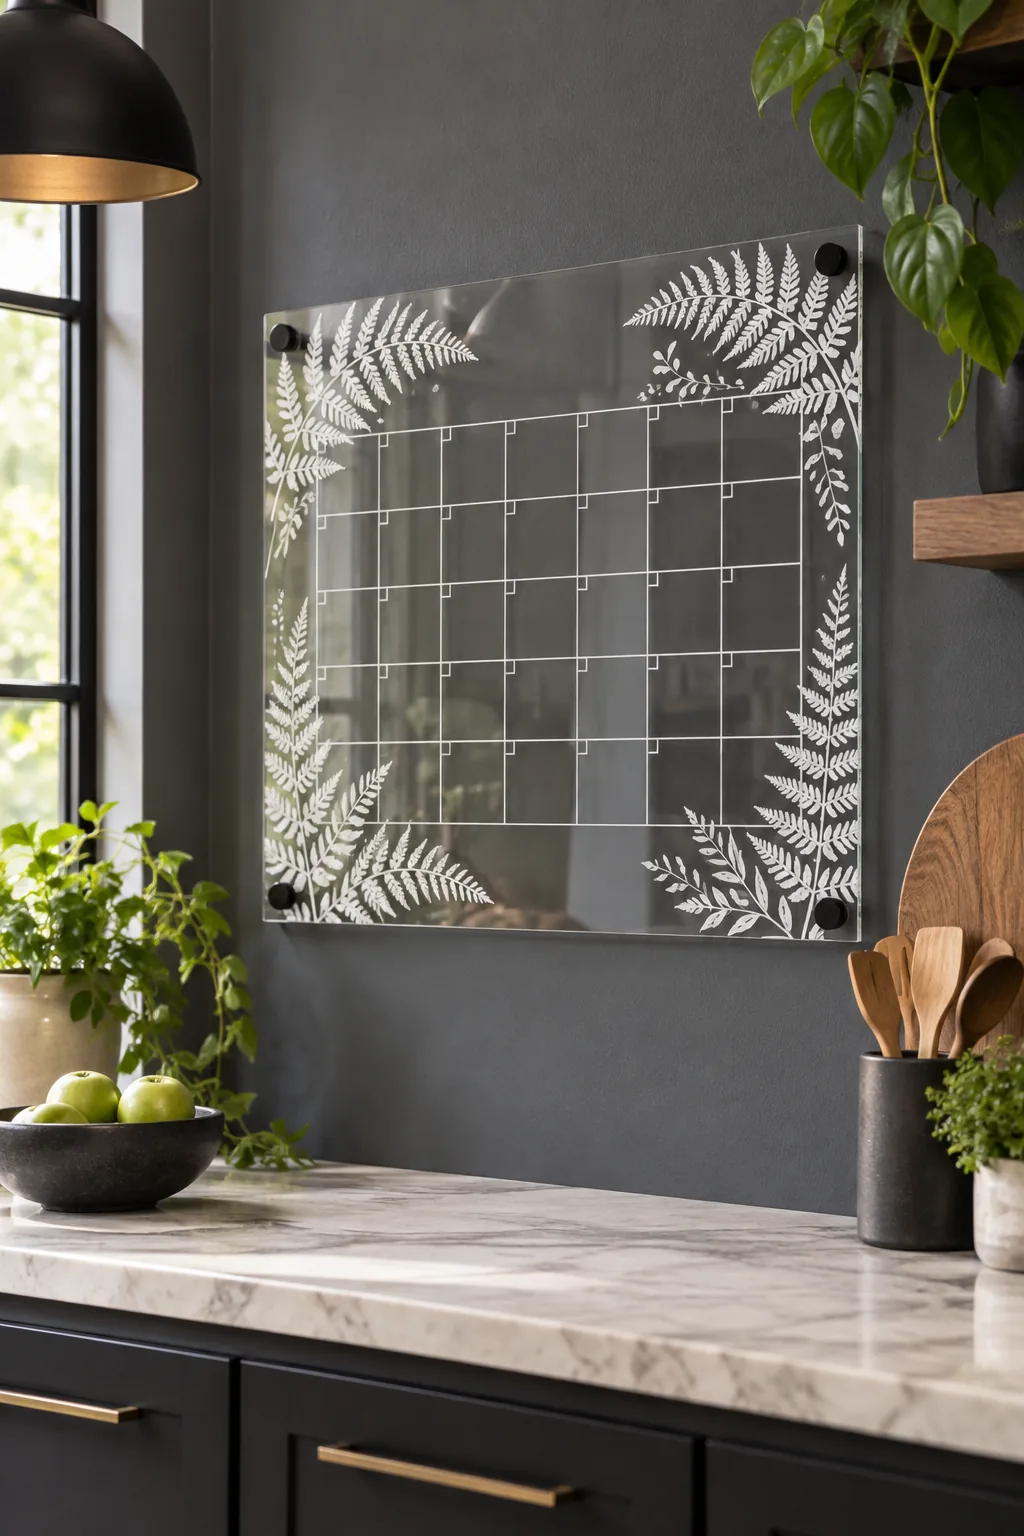
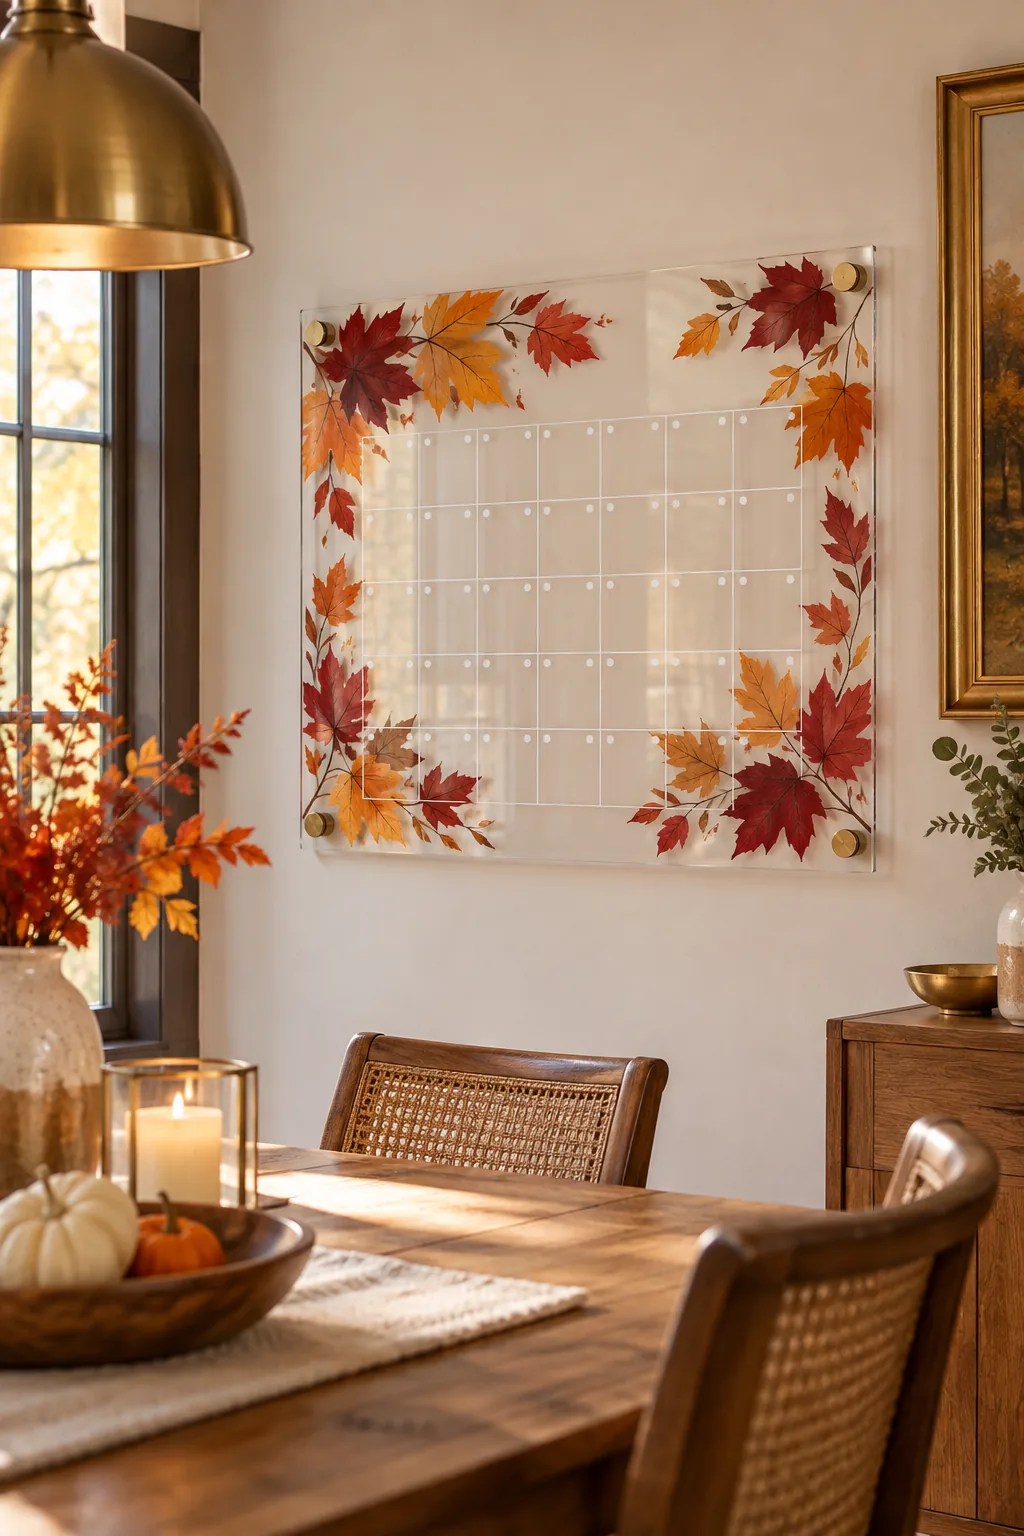
Autumn Leaves and Berries: Transition into the later months using rich reds and oranges to bring warmth to a neutral dining space.
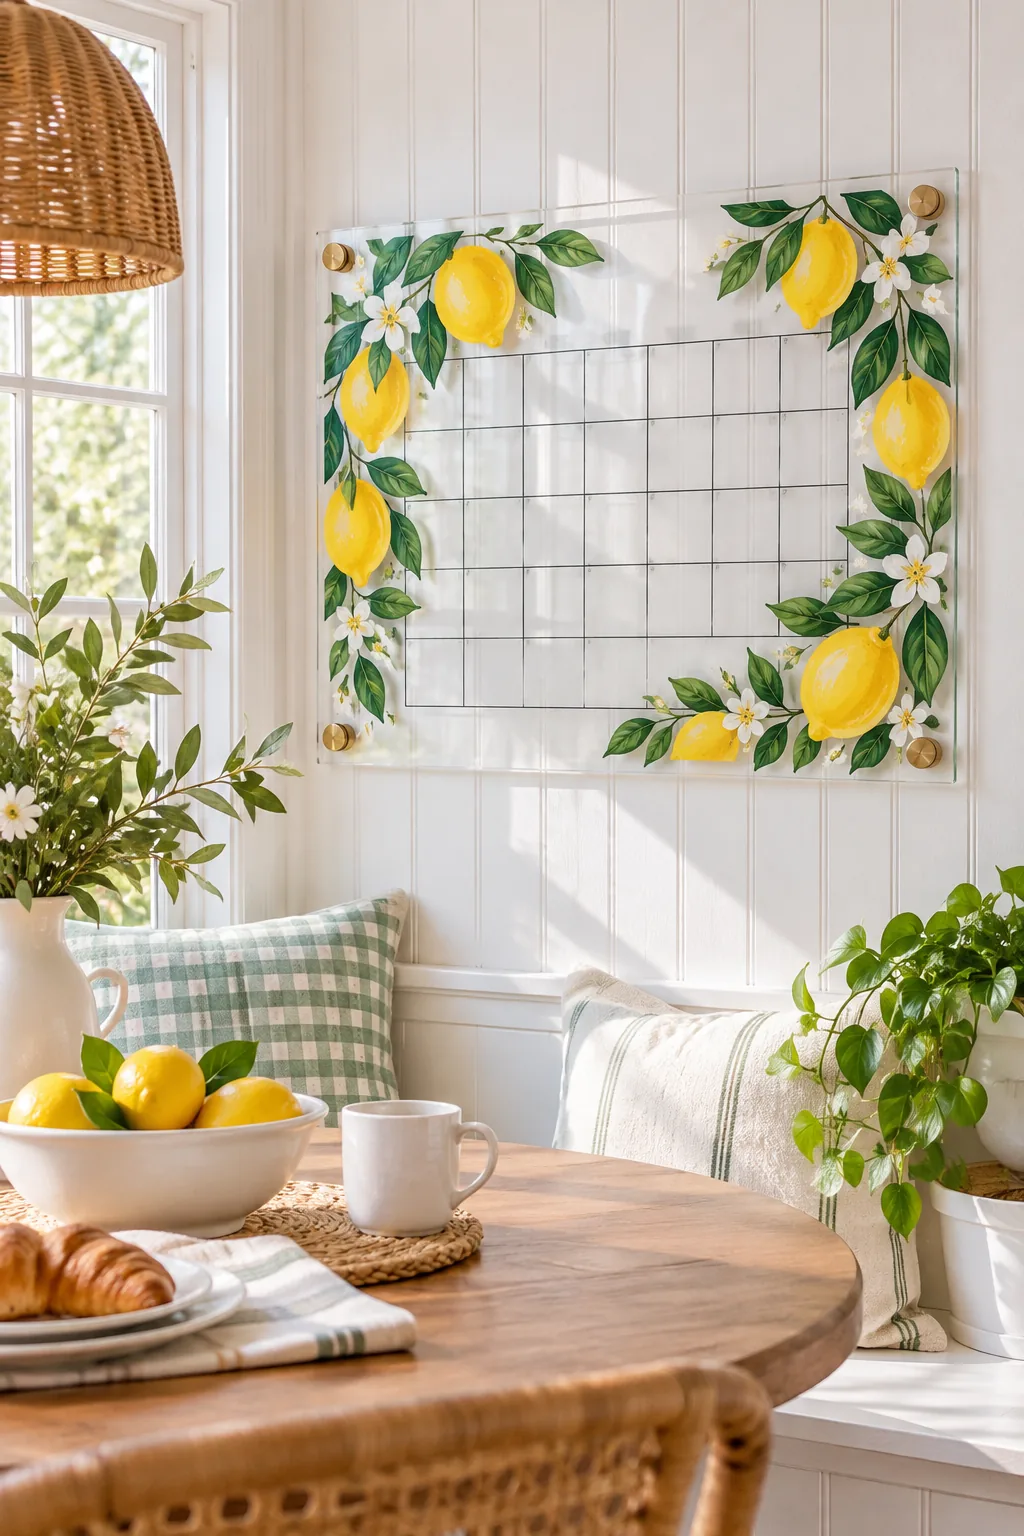
Bright Citrus Border: Frame the grid with vibrant lemon halves and green foliage for a fresh, energetic start to the day.