Mandala Art Designs: Printable Radial Grid & Shape Guide
You will be able to construct perfectly symmetrical, intricately detailed mandalas using our downloadable printable radial grid and shape guide. Grab your favorite pens and download the free templates to focus entirely on the relaxing rhythm of drawing.
Download the printable radial grid
Using a pre-measured template allows you to bypass the technical drafting phase entirely and guarantees perfect symmetry from your very first stroke.
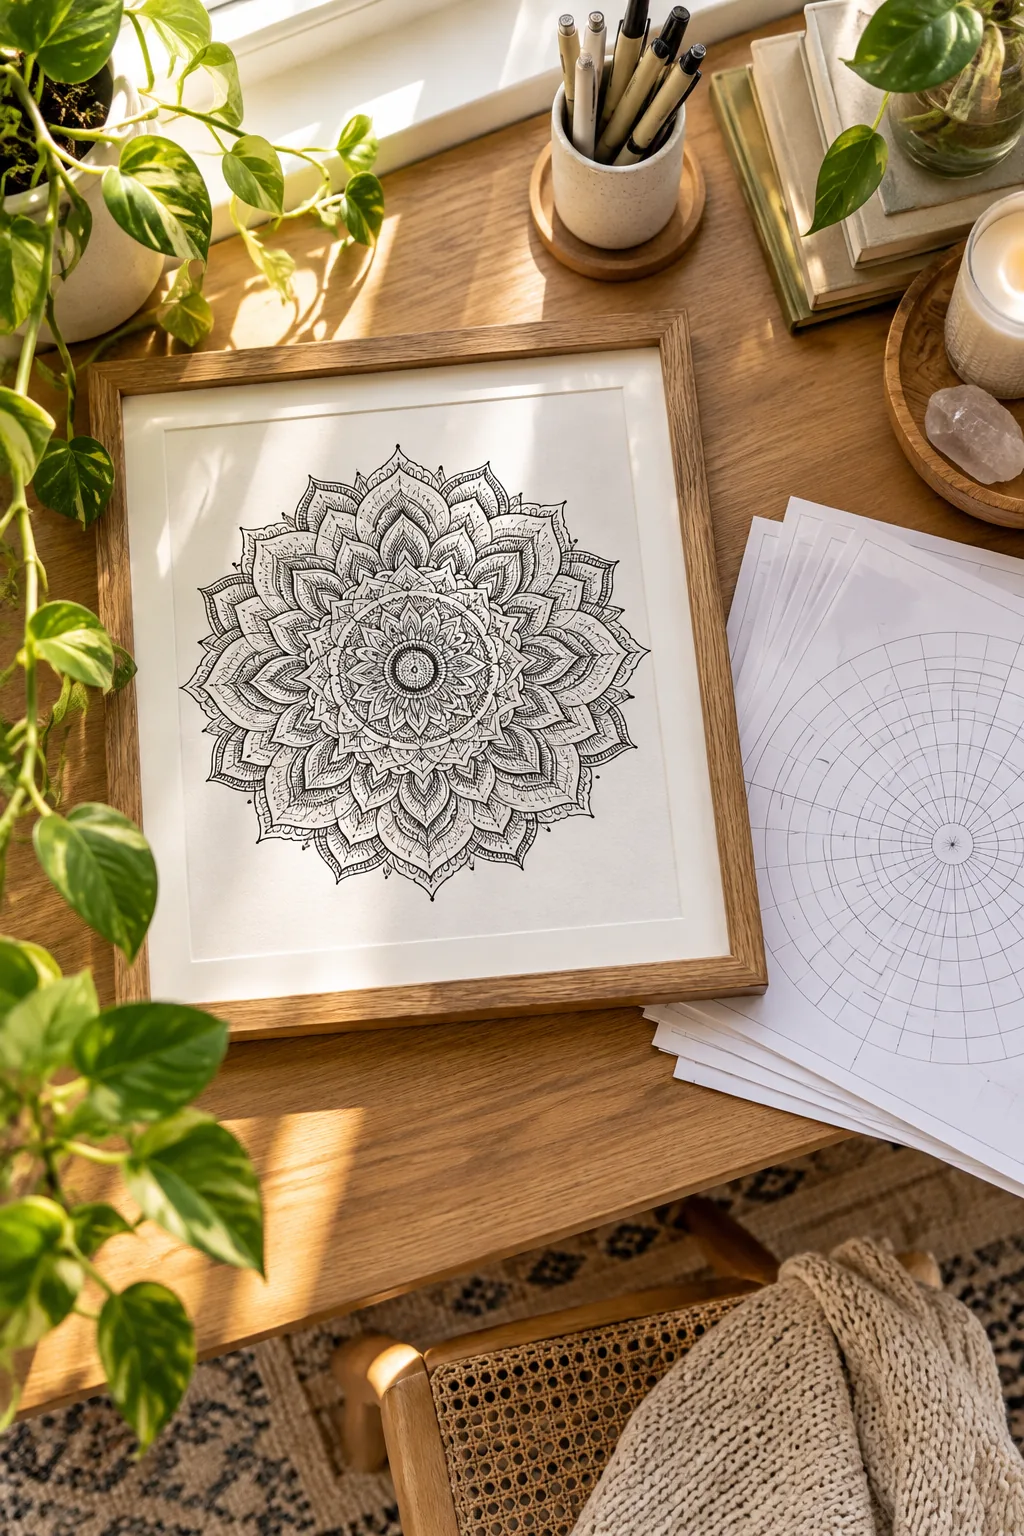
Skip the tedious compass math by starting with a pre-measured foundation. The downloadable PDF provides a perfectly centered radial grid with concentric circles spaced 10mm apart, allowing you to jump straight into the creative flow.
- Maintains strict 10mm radial spacing
- Eliminates the need for a sharp compass point
- Prints flawlessly on standard US Letter paper
Understanding radial symmetry principles
Drawing a balanced mandala relies entirely on maintaining equal distance and proportion from a single central point. When you establish a reliable mathematical foundation before inking, you completely eliminate the stress of drawing lopsided petals and asymmetrical expanding rings.
Choosing the right archival paper
Your foundation material matters just as much as your grid spacing. Heavy ink application requires a surface that prevents feathering while keeping your fine nibs gliding smoothly without catching on rough paper fibers.
| Paper Type | Ink Bleed Risk | Nib Wear |
|---|---|---|
| Bristol Smooth | Very Low | Minimal |
| Cold Press Watercolor | High | Severe |
| Standard Sketchbook | Moderate | Moderate |
Always opt for a smooth bristol board when printing your templates. The slick surface preserves the delicate tips of your expensive fineliners and ensures your solid black fills remain crisp and beautifully opaque.
Selecting your drawing tools
Your tools dictate the sharpness of your final artwork. Gather a reliable 0.5mm fineliner for bold structural outlines, a kneaded eraser that will not damage the paper surface, and a smooth graphite pencil for drafting any custom guidelines.
Setting up a distraction-free space
Quiet time is essential for this meditative practice. Clear your desk, brew a warm cup of tea, and put on a low-fi playlist to help you settle into the repetitive, relaxing rhythm of drawing symmetrical patterns.
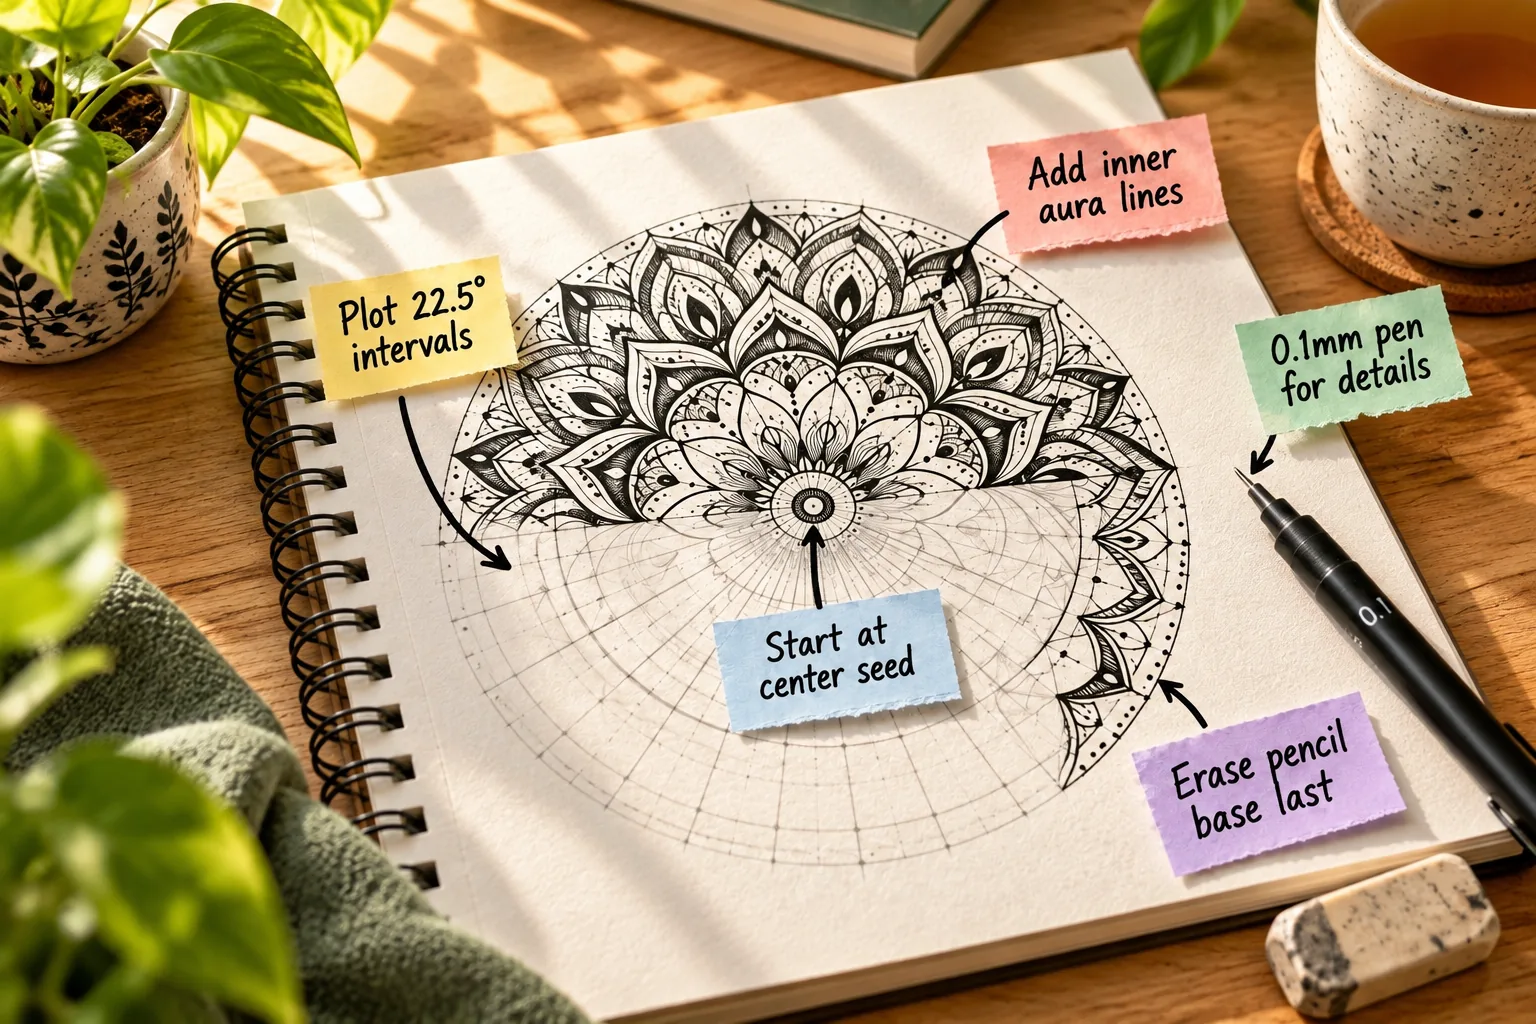
Plotting 22.5-degree intervals
Complex mandalas rely on a specific mathematical rhythm to look balanced. Dividing the circle into 16 slices using 22.5-degree intervals provides exactly enough guidelines to alternate between 8 primary foreground petals and 8 tucked background petals.
- Mark the primary vertical and horizontal axes
- Bisect the 90-degree angles to create 45-degree slices
- Bisect the 45-degree angles to reach 22.5 degrees
If you decide to scale up your artwork beyond a standard sketchbook page, you will need to draft these guidelines manually. I once tried freehanding a large piece in my Austin living room, and it skewed so badly I scrapped the canvas.
Start at the center seed
Anchoring the design with a small, precise central focal point is crucial to control the scale of your expanding artwork.
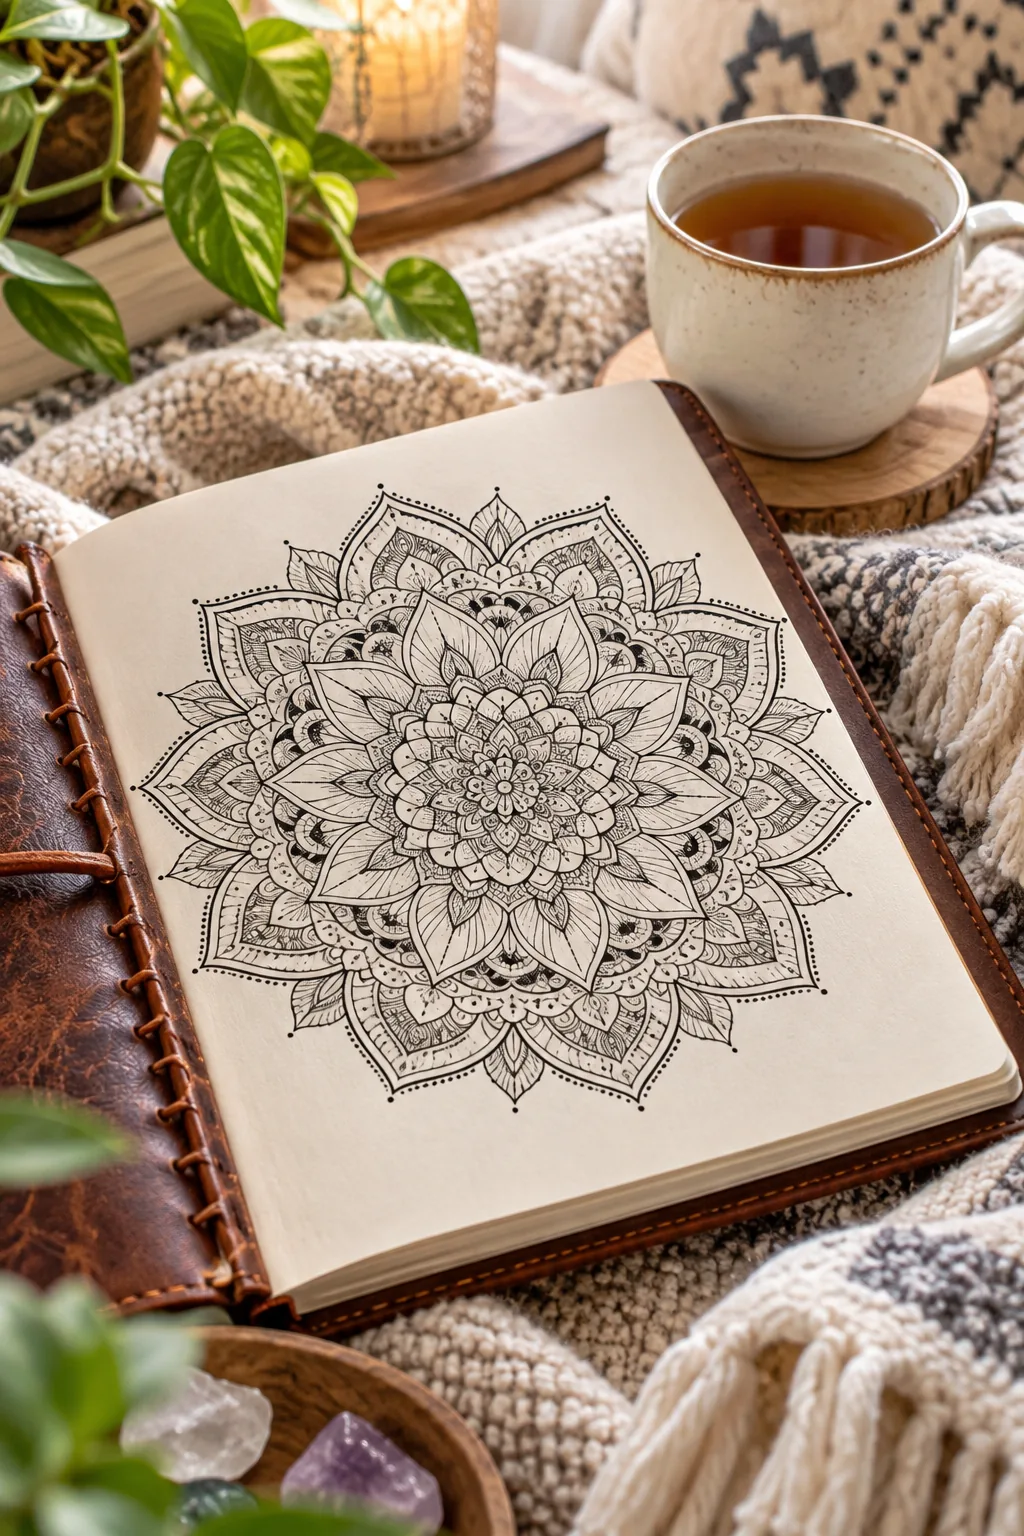
The entire design radiates from one tiny focal point in the middle of the page. Keep this initial center seed under 5mm in diameter so the subsequent expanding rings do not scale up too rapidly and overwhelm the paper.
Mapping the primary foreground petals
With the seed established, your first major ring defines the structural rhythm for the entire piece. Draw eight primary petals anchored exactly on every alternating 22.5-degree pencil line, ensuring their peaks touch the very first 10mm concentric circle boundary.
Selecting core petal shapes
Build visual interest by alternating the silhouette of your major rings. Pair sharp, pointed lotus petals in one layer with smooth, rounded domes in the next, keeping the height of each petal strictly bound by the concentric pencil circles.
Layering tucked background petals
To create a three-dimensional overlapping effect, add secondary petals that peek out from behind your primary shapes. Anchor these background petals on the remaining empty 22.5-degree guidelines, dropping their height slightly below the main foreground layer to force perspective.
Maintaining consistent petal heights
As your rings expand outward, the petals naturally need to become wider and taller. Use your pencil grid to strictly cap the height of each new layer, ensuring the overall circular silhouette remains perfectly round rather than warped.
Inking the primary outlines
Commit to your structural shapes using a standard 0.5mm fineliner. Pull the pen toward your body in smooth, confident strokes, rotating the paper rather than twisting your wrist to maintain a consistent curve across every single petal.
Add inner aura lines for depth
Using double lines is a simple trick to separate your structural petal shapes from the internal decorative fills you will add later.
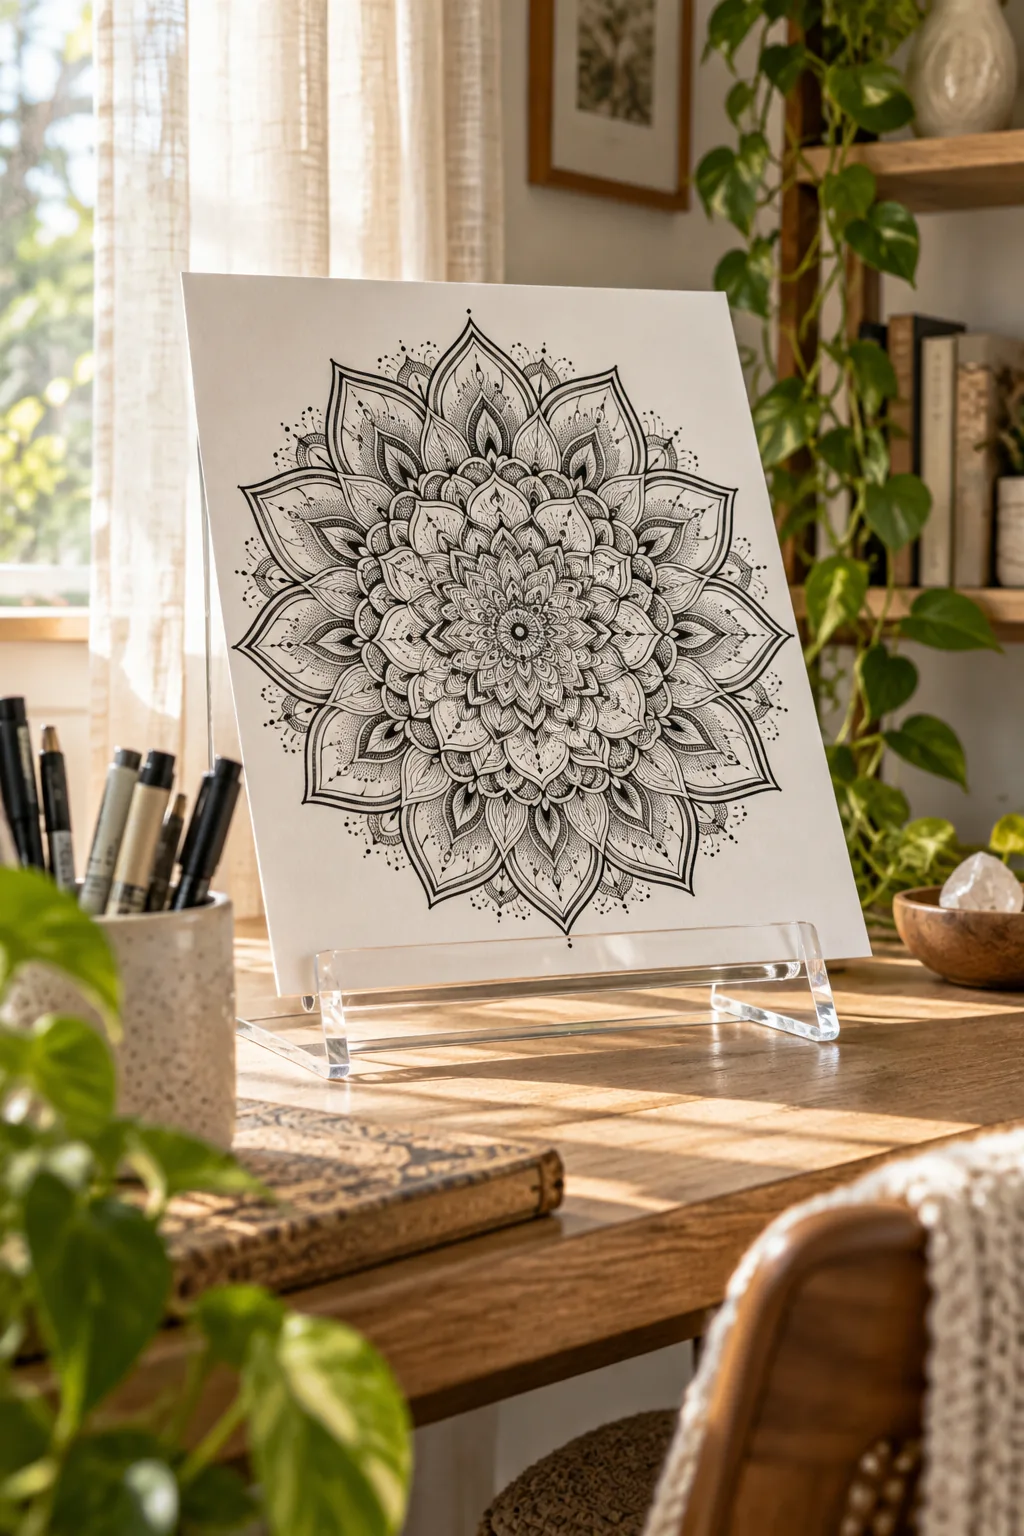
Once the main petal outline is drawn, add a parallel line 1 to 2mm inside the shape. This inner aura creates a stained-glass effect, separating the structural border of the petal from the delicate micro-patterns you will draw inside.
Filling the negative space
Before adding tiny details, step back and evaluate the overall weight of your rings. Identify the small diamond and triangle gaps created where the curved bases of your new petals meet the peaks of the previous layer.
Balancing heavy black ink
Reserving ultra-fine fineliners strictly for internal shading means you must first establish strong structural contrast using heavier blocks of solid color.
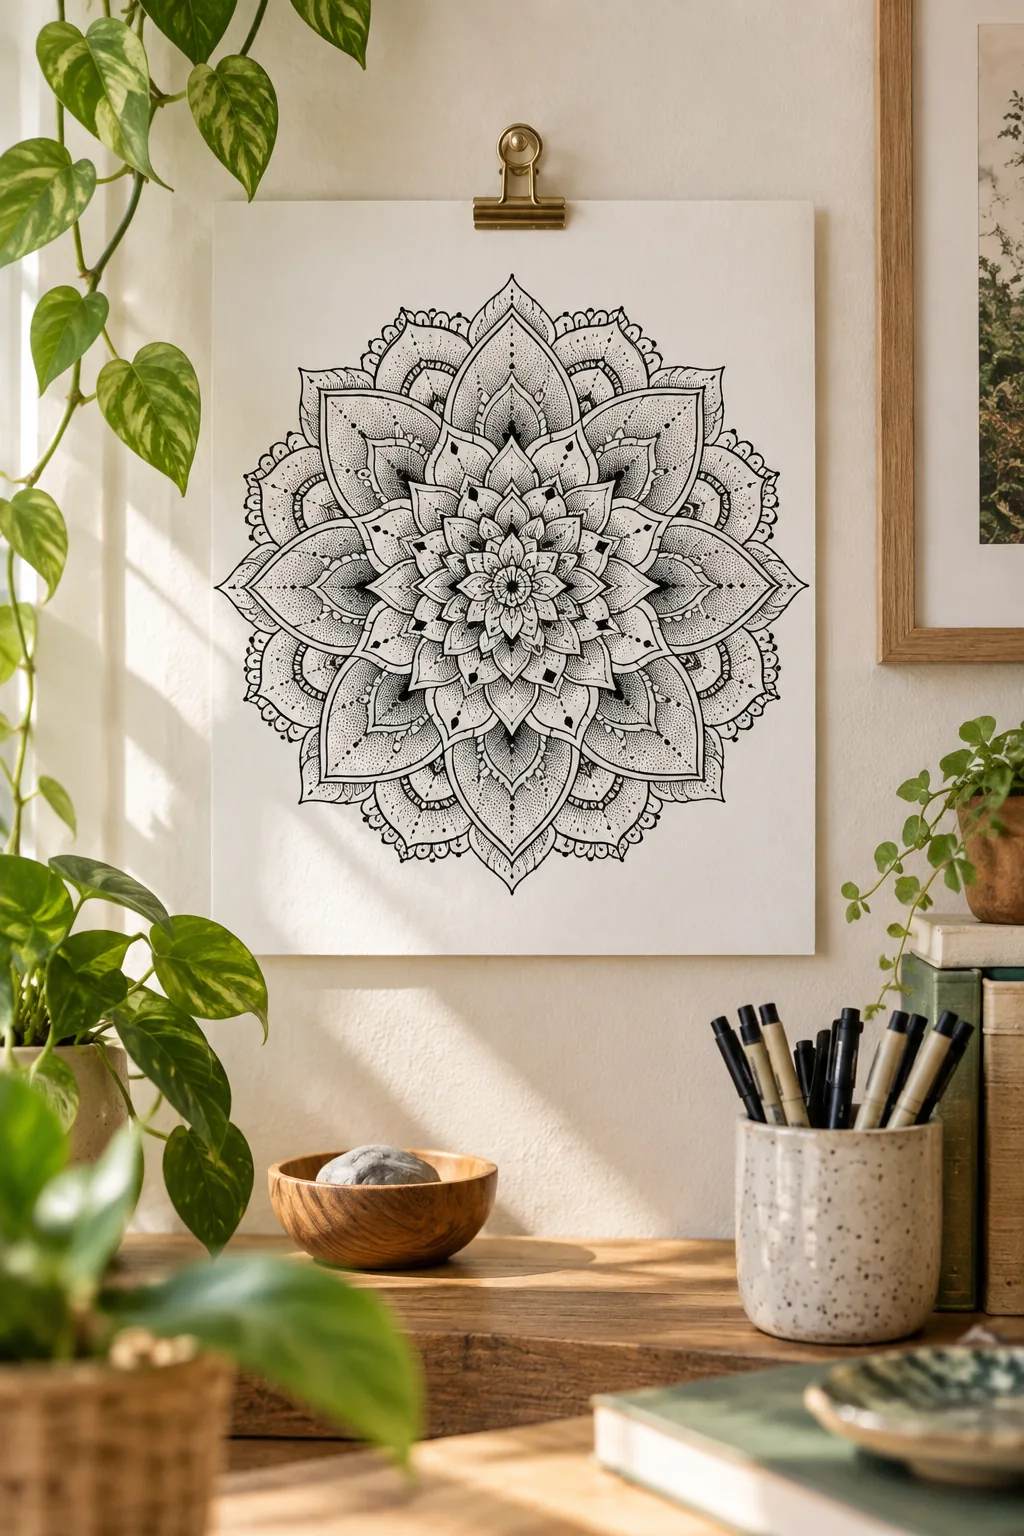
A successful mandala requires high contrast to prevent the intricate lines from blurring together visually. Fill the negative diamond shapes between your major petals with solid black ink. I used to leave these blank, but committing to that heavy contrast completely transformed my pieces.
Switch to a 0.1mm pen for details
Heavy structural outlines require a 0.5mm nib, but internal shading demands precision. Switch to an ultra-fine 0.1mm fineliner for stippling, tiny scallops, and inner veins so the ink does not bleed into a solid, illegible blob.
Adding delicate micro-patterns
Fill the empty space inside your aura lines with repetitive micro-patterns to build texture. Alternate between tiny stacked scallops, straight radiating veins, and floating geometric diamonds to give each distinct ring of petals its own unique character.
Creating gradient stippling effects
To give those flat petals volume, cluster your 0.1mm stippling dots tightly at the base of each shape. Gradually space the dots further apart as you move toward the tip, creating a smooth, shaded gradient that mimics natural light.
Incorporating geometric diamond accents
Break up the organic curves of your floral petals by introducing sharp geometric elements. Drawing tiny floating diamonds or stacked triangles inside the wider outer petals adds a striking modern contrast to the traditional botanical shapes.
Erase the pencil base last
Waiting for the ink to cure and using a gentle eraser is the only way to reveal the crisp final contrast without ruining your work.
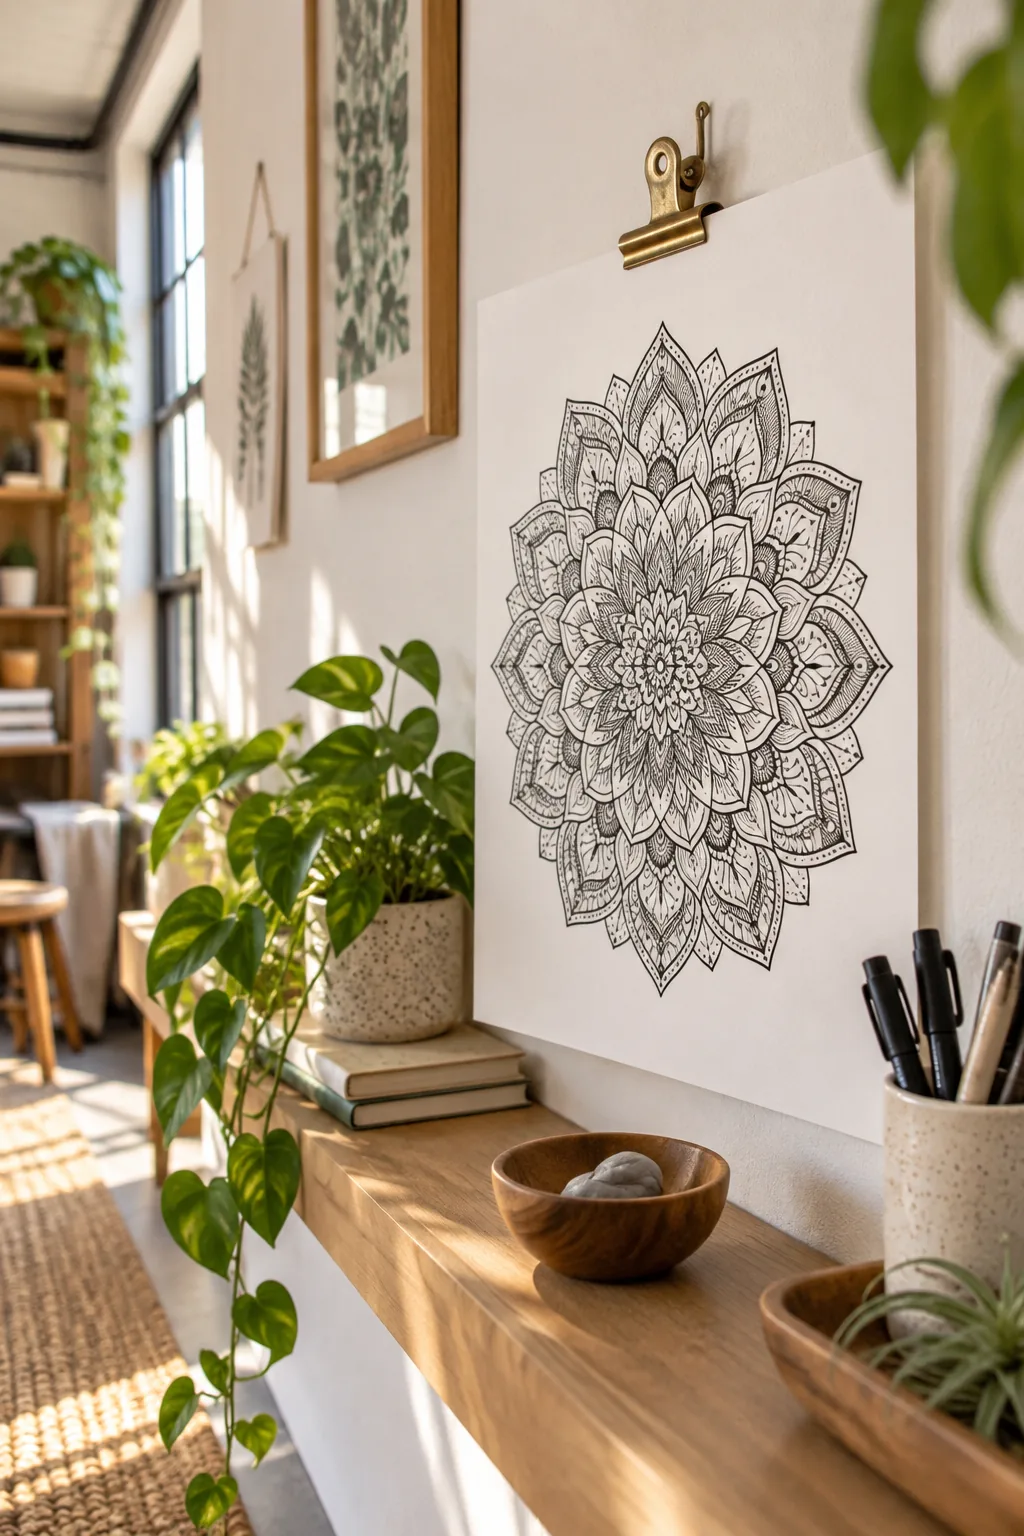
Patience is critical when finishing the piece. Wait at least 15 minutes for the archival ink to fully cure before using a kneaded eraser to gently lift the underlying grid lines. Before taking an eraser to your hard work, run through a quick safety check.
Mandala style inspiration
Explore different palettes and techniques to make the radial grid your own.
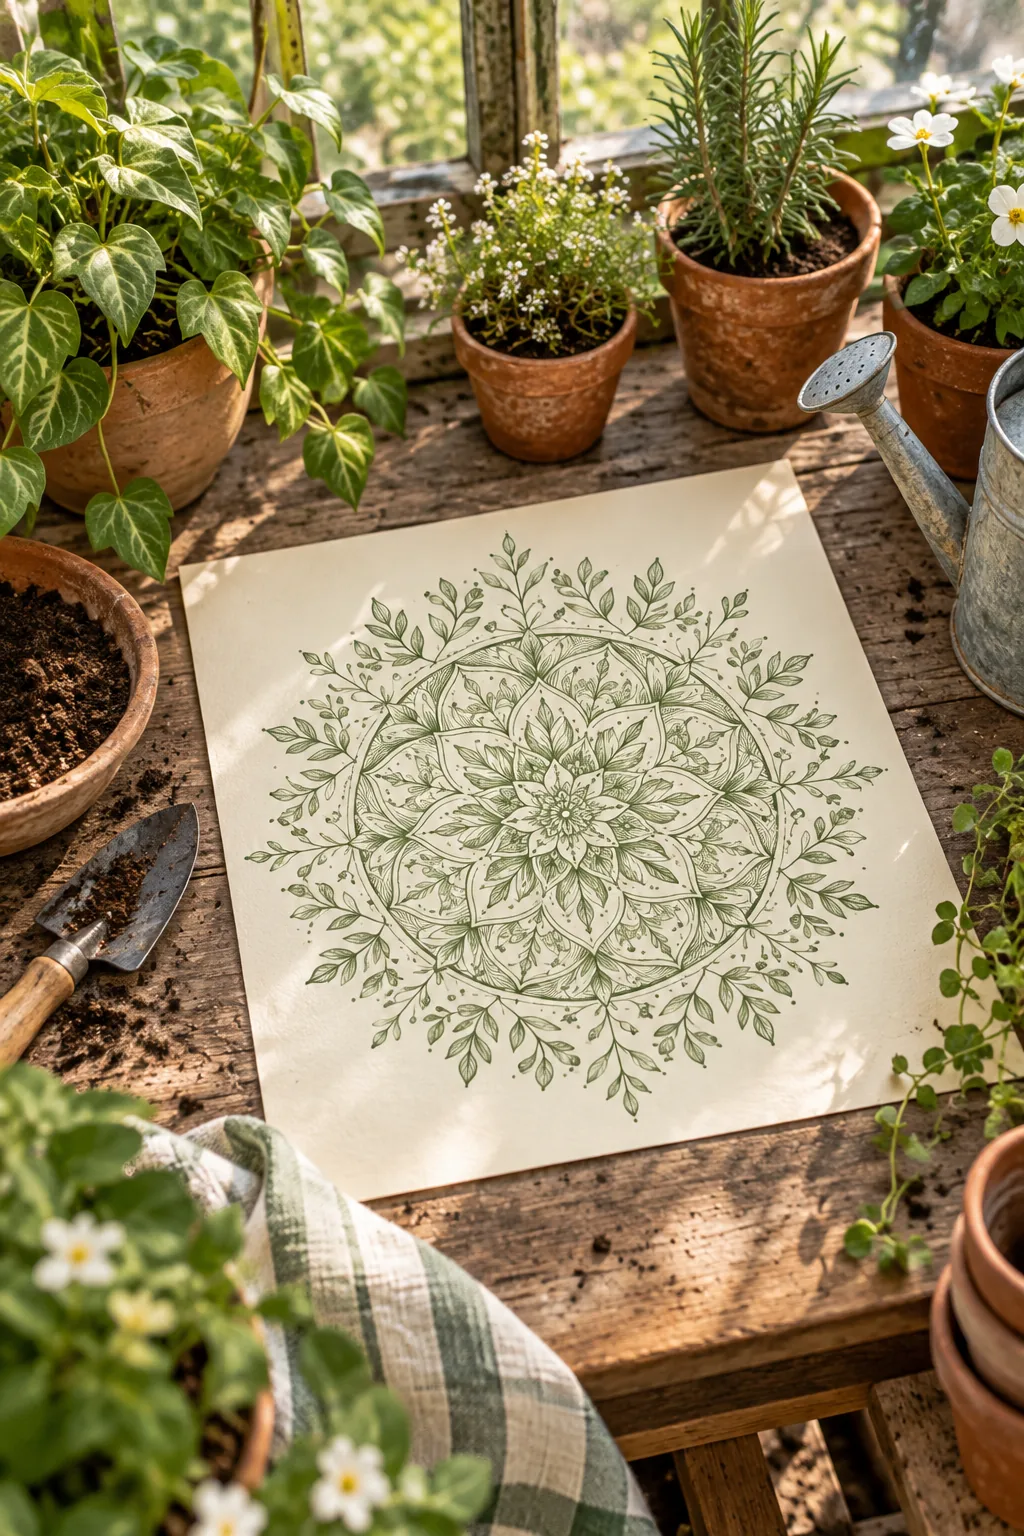
Botanical green mandala: Swap traditional black ink for a calming sage green and incorporate sweeping vine motifs for an organic, nature-inspired piece.
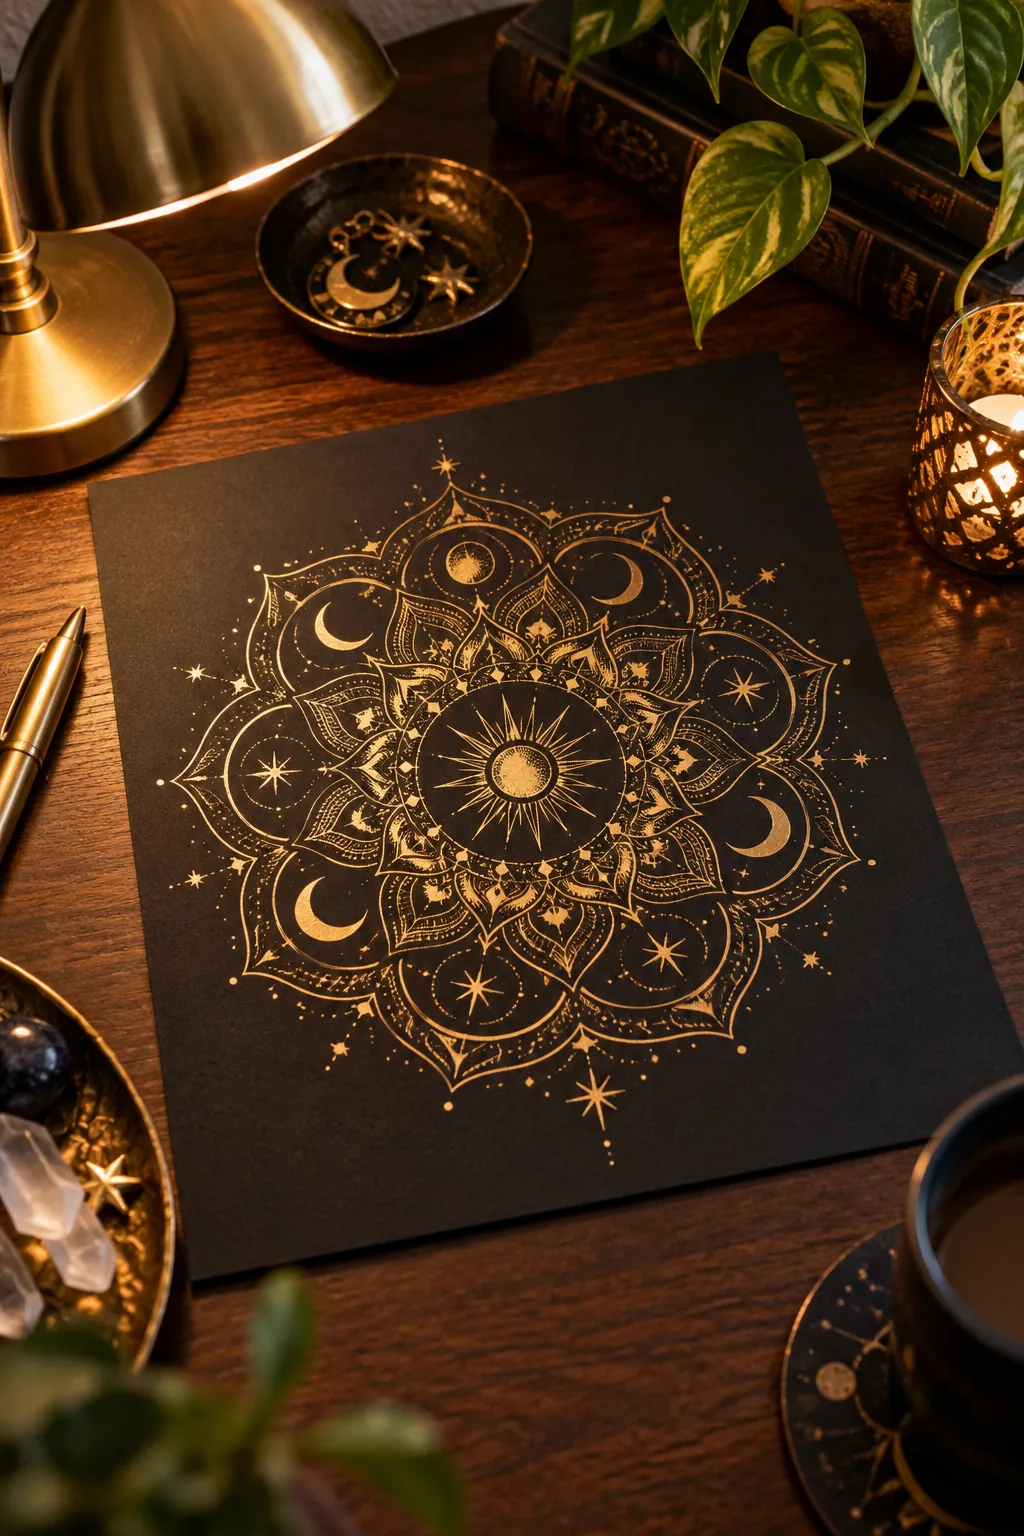
Gold on black paper: Using an opaque metallic gold gel pen on heavyweight black cardstock creates a striking, high-contrast celestial aesthetic.
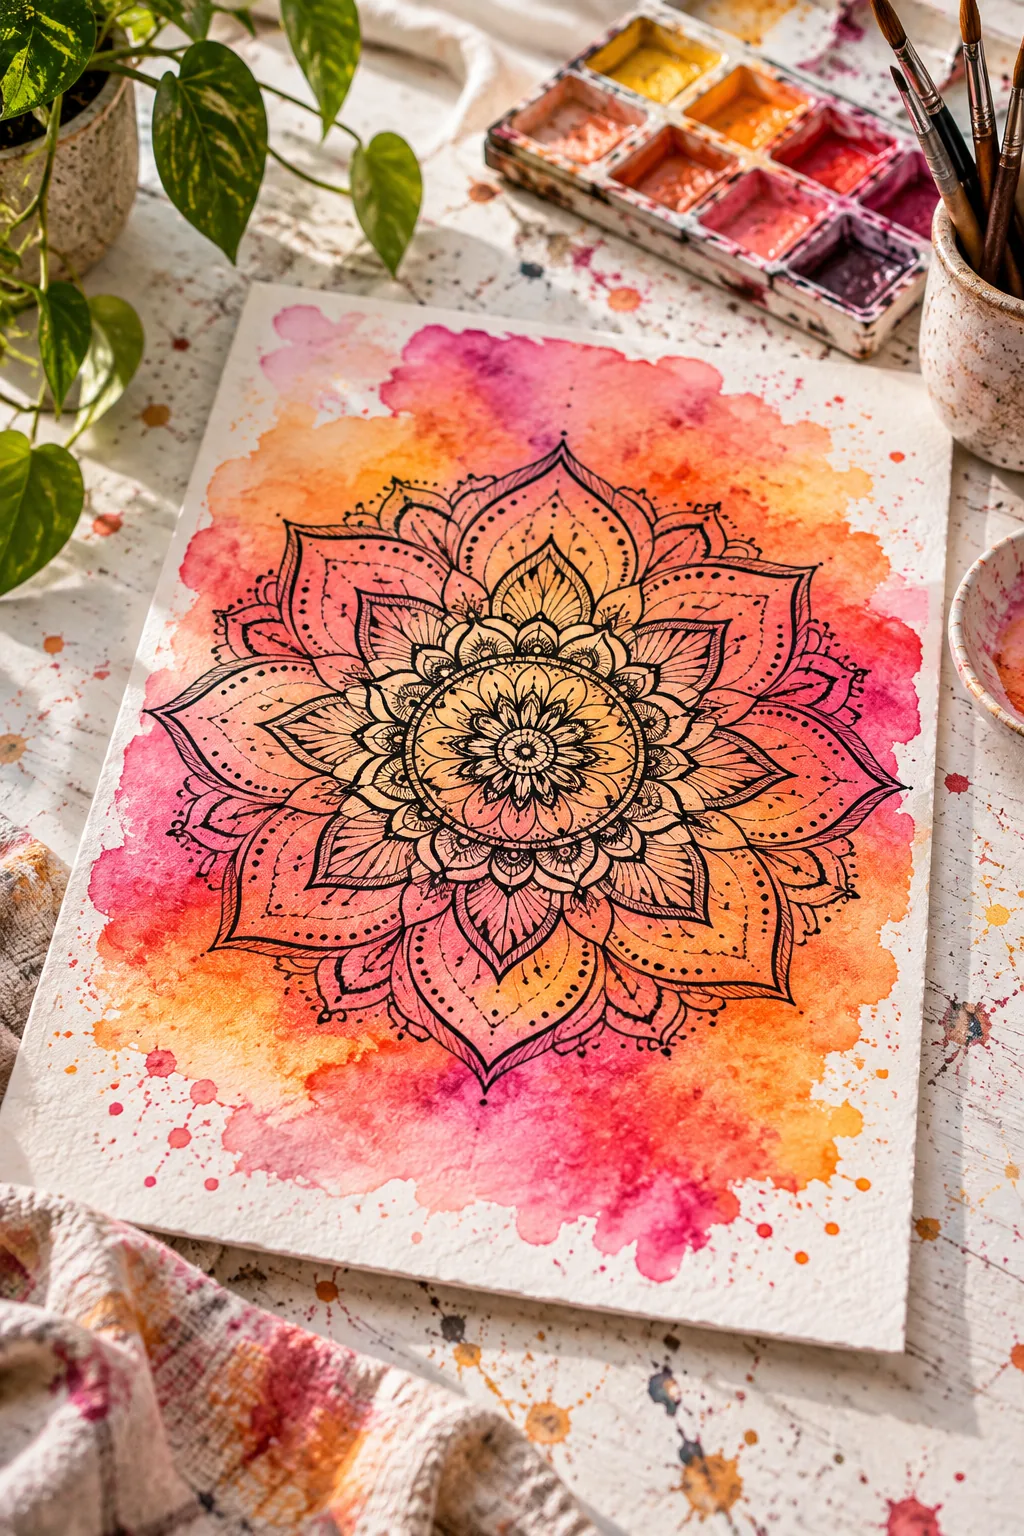
Watercolor wash background: Lay down a loose, vibrant watercolor sunset wash and let it dry completely before plotting your crisp black geometric lines.
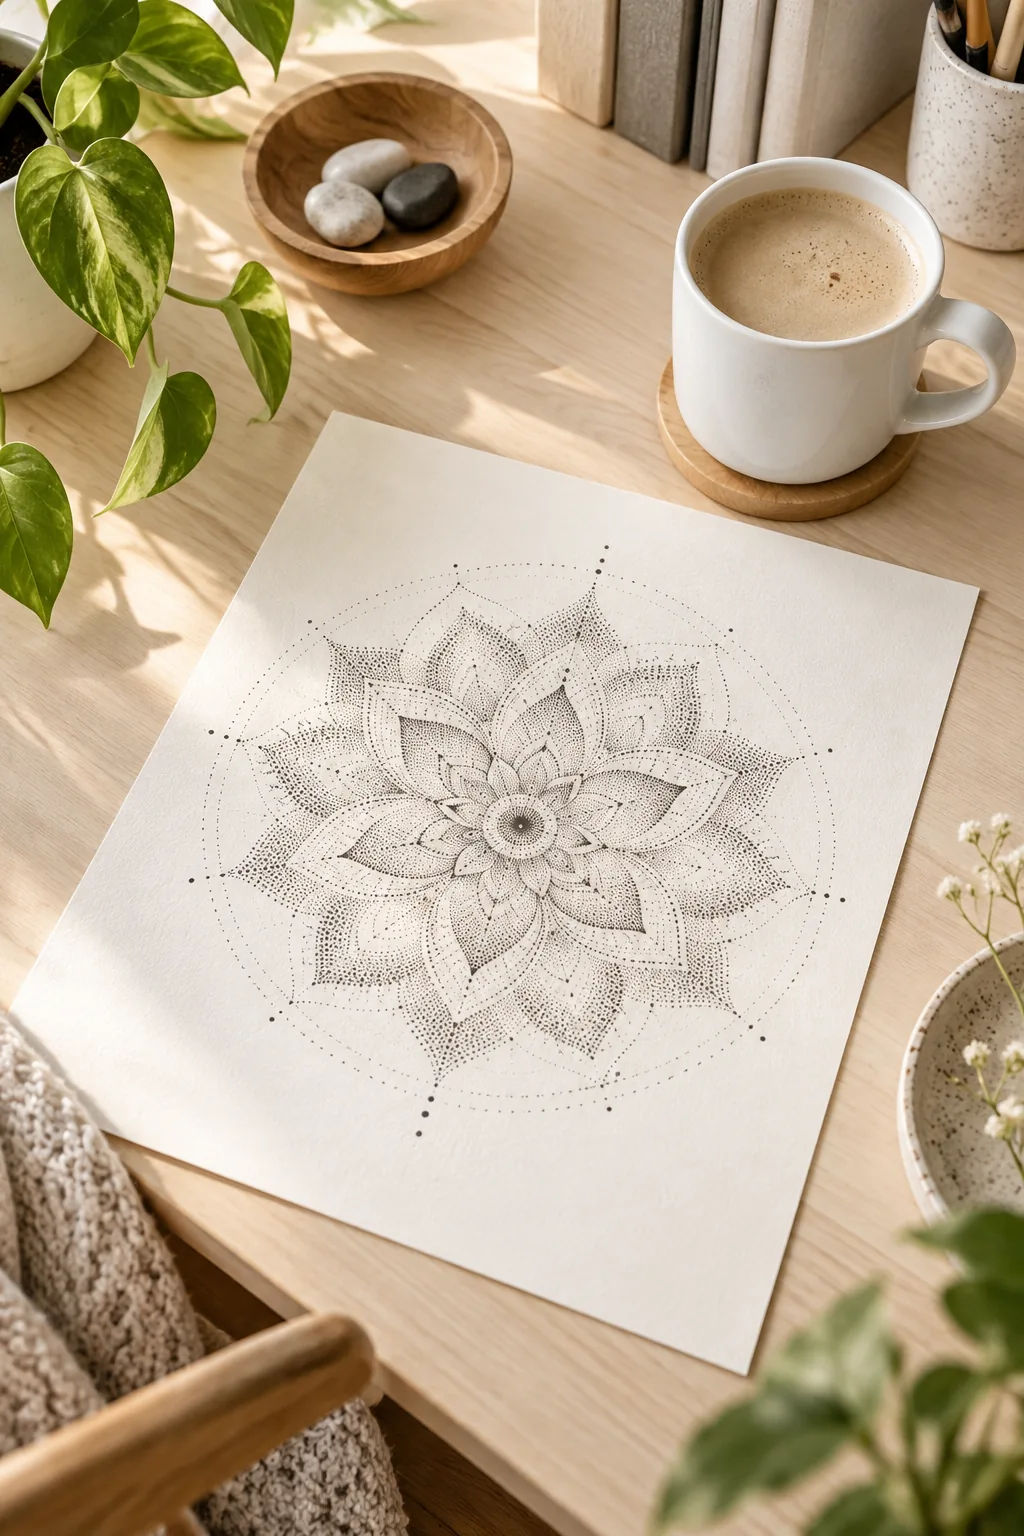
Minimalist dot-work: Ditch the heavy structural outlines entirely and build your shapes using only varying densities of tiny stippled dots.
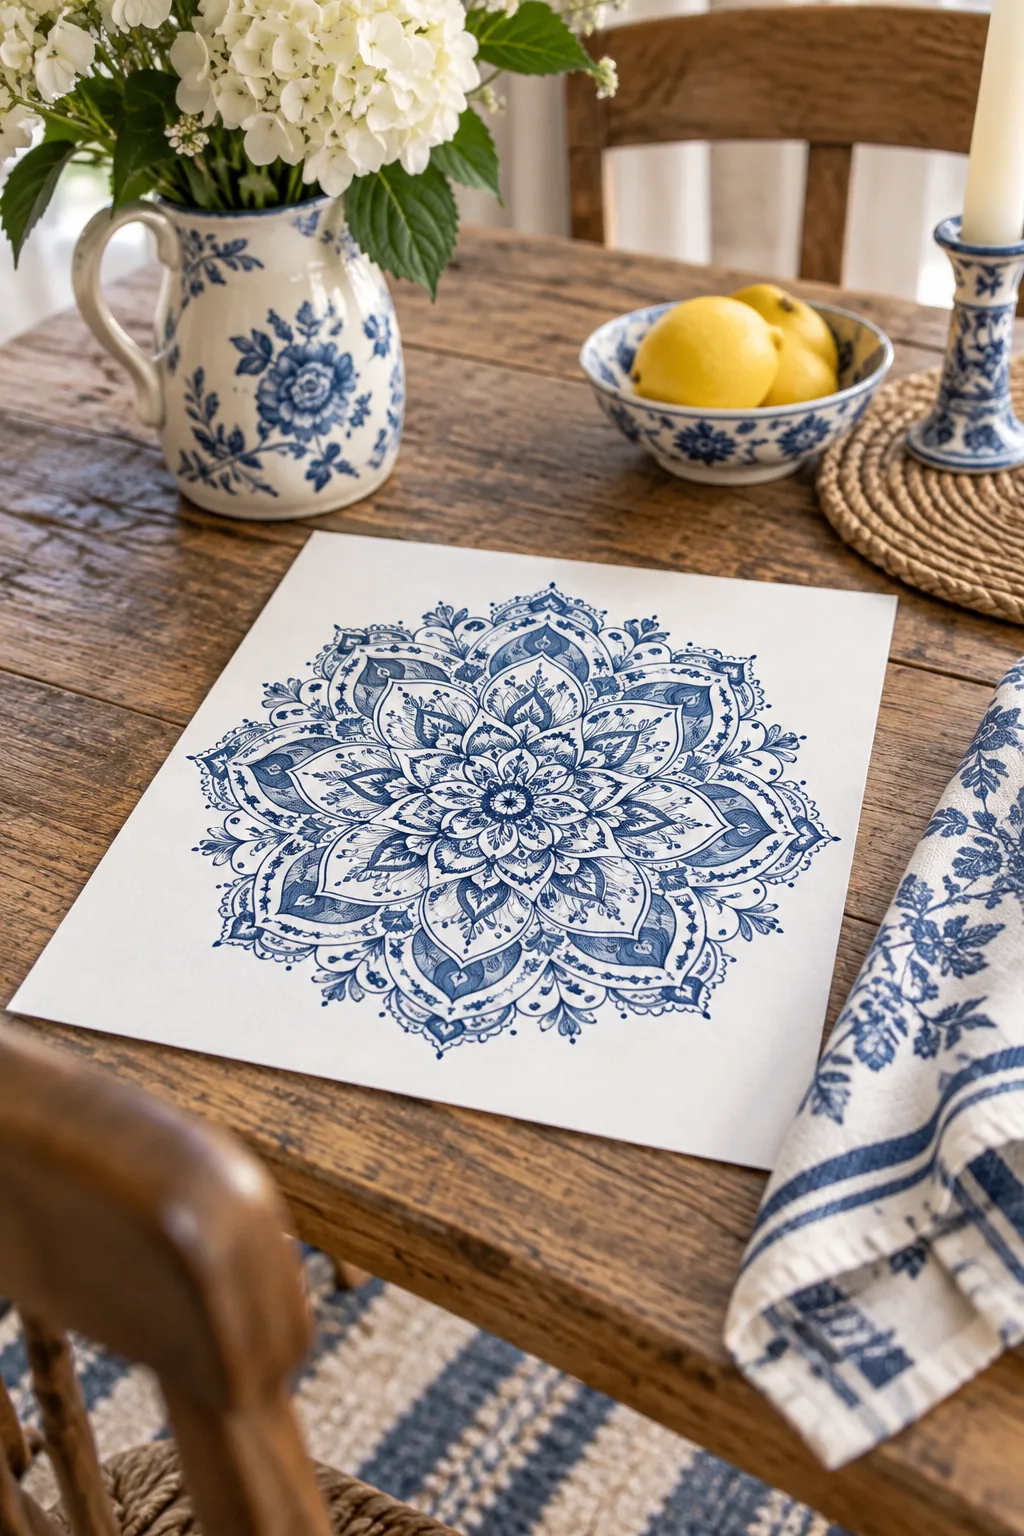
Classic blue porcelain: Draw with a rich indigo blue fineliner on stark white paper to mimic the timeless elegance of classic Delftware pottery.