Hand-Painted Wood Signs: The Complete Tracing Cheat Sheet
Master hand-painted wood signs without the frustrating bleed-through by grabbing my complete printable one-page lettering sequence. You will be able to perfectly center, trace, and paint a flawless piece every time using this exact step-by-step cheat sheet.
Prepping the Wood Canvas
Applying a fully cured, leveled foundation is the absolute most critical step for ensuring clean tape adhesion later on in the process. Taking the time to build this flawless surface keeps your adhesive stencils locked down tight.
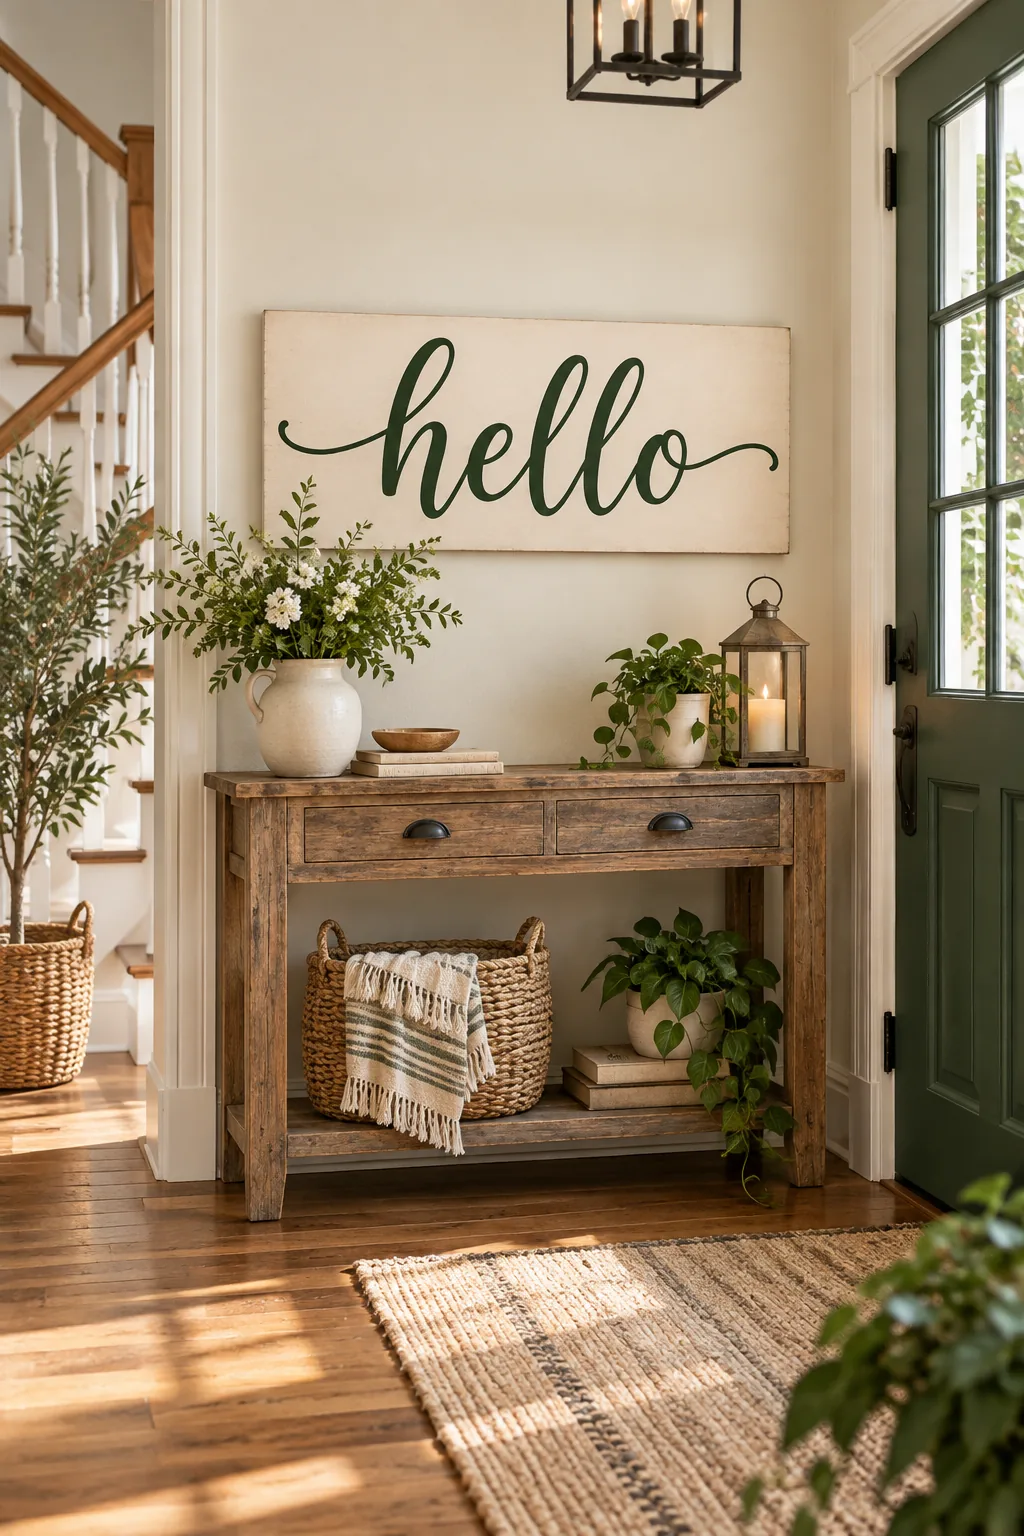
Before applying that first coat of warm-white paint, ensure your pine board is truly ready to accept an even, durable finish that will not peel over time.
Allow a full 24-hour dry time after painting before applying any tape or stencil so the strong adhesive cannot lift the fresh background.
Choosing the Right Base Paint
I always recommend applying two solid coats of a warm-white base paint to create a beautiful, soft contrast against dark green lettering. Using a premium primer-and-paint blend saves valuable time and provides a rock-solid foundation for the delicate tracing steps ahead.
Sanding Between Base Coats
Lightly scuffing the board with a 320-grit sanding sponge between your two base coats knocks down any raised wood fibers. This extra minute of prep work guarantees a glass-like surface that allows your lettering brush to glide effortlessly without skipping.
Layout From the Center Out
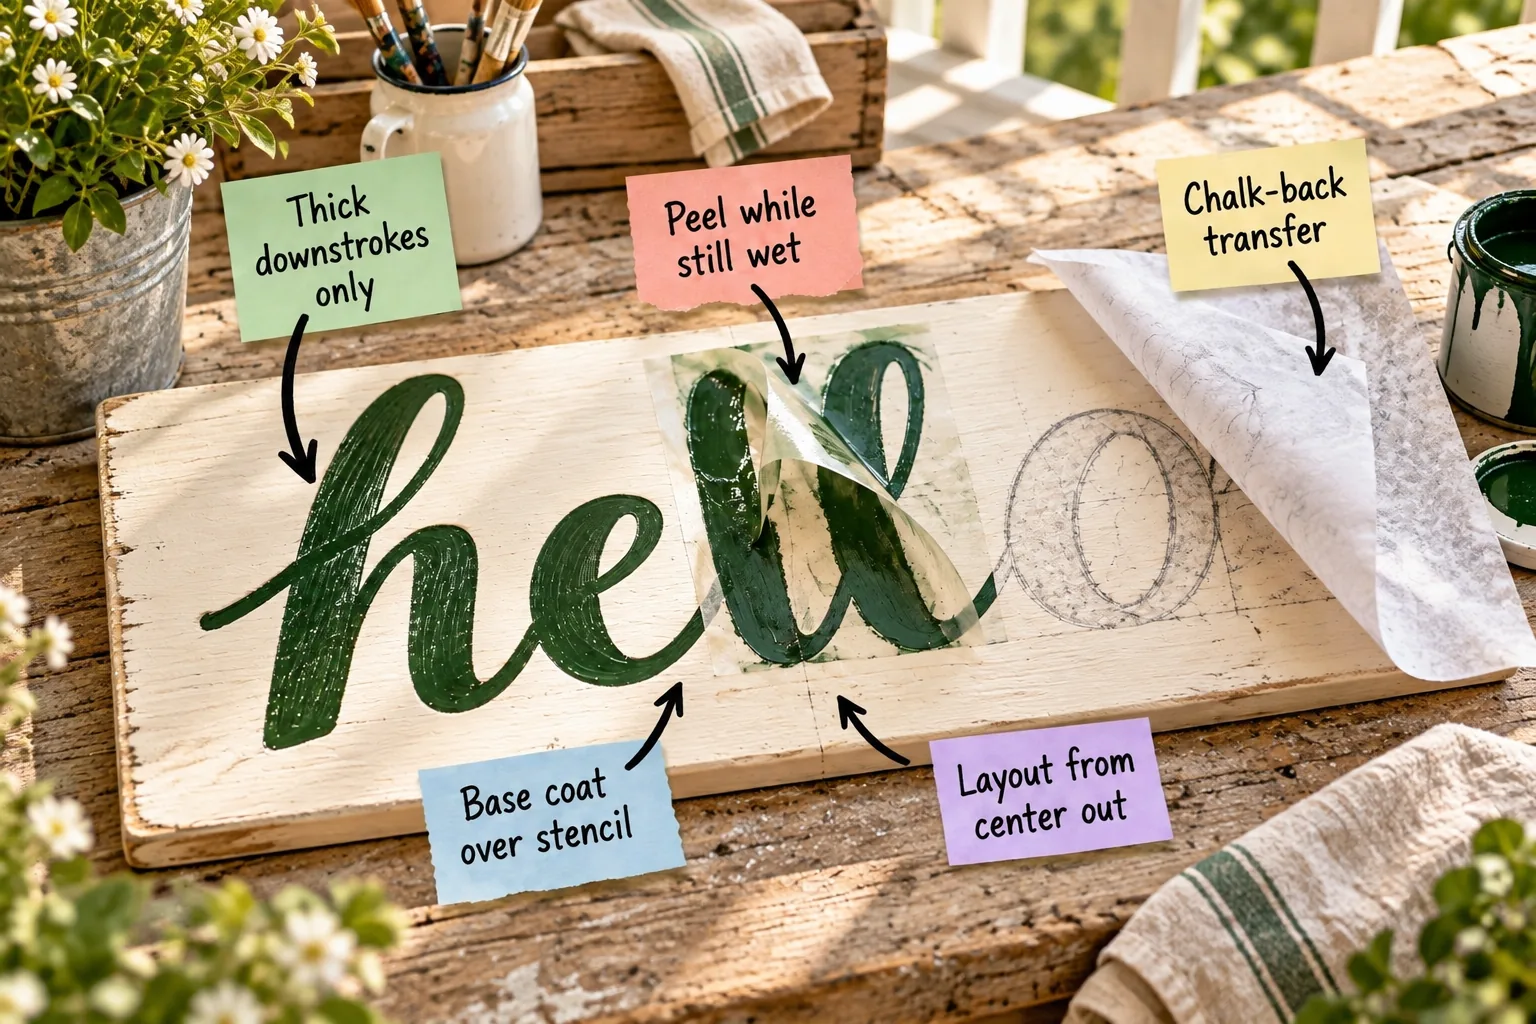
Find the physical center of the board and align it with the middle letter of your word, such as the first ‘l’ in ‘hello’.
- Measure the total width of your prepared wood canvas using a standard metal tape measure.
- Mark the exact halfway point lightly with a sharp pencil near the top and bottom edges.
- Count the characters and spaces in your design to locate the true middle point of the phrase.
- Align that exact middle character directly over your vertical pencil marks.
Working outward from this center line guarantees perfectly even margins on both sides of your finished piece without requiring any complex math or frustrating guesswork.
Securing the Paper Template
Once your center layout is locked in, firmly tape the top edge of your paper template directly to the wood canvas. This creates a highly flexible hinge, allowing you to peek underneath without losing your precise alignment during the transfer phase.
The Chalk-Back Transfer Method
Using a printed guide ensures your entire phrase fits perfectly within the board’s margins before you open a single paint can. This completely removes the anxiety of running out of space halfway through your favorite quote.
Rub standard white chalk heavily over the reverse side of your printed paper template to create a dense, even layer of transfer dust.
| Transfer Material | Visibility on Dark Wood | Ease of Erasure |
|---|---|---|
| Standard White Chalk | Excellent high contrast | Wipes away instantly with a damp cloth |
| Carbon Transfer Paper | Poor visibility overall | Prone to permanent dark smudging |
| Graphite Pencil Rubbing | Moderate reflective shine | Requires heavy sanding to remove mistakes |
Tape the sheet face-up on the board and trace the letters firmly with a pencil to press a faint, perfectly scaled chalk outline onto the wood.
Revealing the Traced Guidelines
Lifting the hinged paper reveals your complete design transferred beautifully onto the painted background without any messy carbon residue. These crisp chalk lines provide an exact roadmap for your brush, eliminating the stress of freehand lettering on a pristine white canvas.
Sealing the Stencil Edges
If using an adhesive stencil over your layout, brush a very thin layer of the warm-white background paint over the cut edges.
I completely ruined my very first porch welcome sign by skipping this crucial step, so now I meticulously seal every single edge before adding color.
Selecting the Best Brush Size
Choosing a short-handled round brush in size two or three gives you maximum control over the sweeping curves of your letters. A brush with synthetic bristles holds its shape much better than natural hair, ensuring your stroke widths remain perfectly consistent.
Managing Paint Consistency
Your lettering paint should flow smoothly off the brush like heavy cream rather than clumping up in thick, sticky ridges. Adding just a tiny drop of water to your acrylics helps the pigment level out beautifully, hiding any visible brush strokes.
Painting Thick Downstrokes Only
Applying variable brush pressure is the secret technique required to create authentic faux-calligraphy strokes with a standard round paint brush. Mastering this subtle pressure control elevates a basic craft project into a professional-looking piece of custom typography.
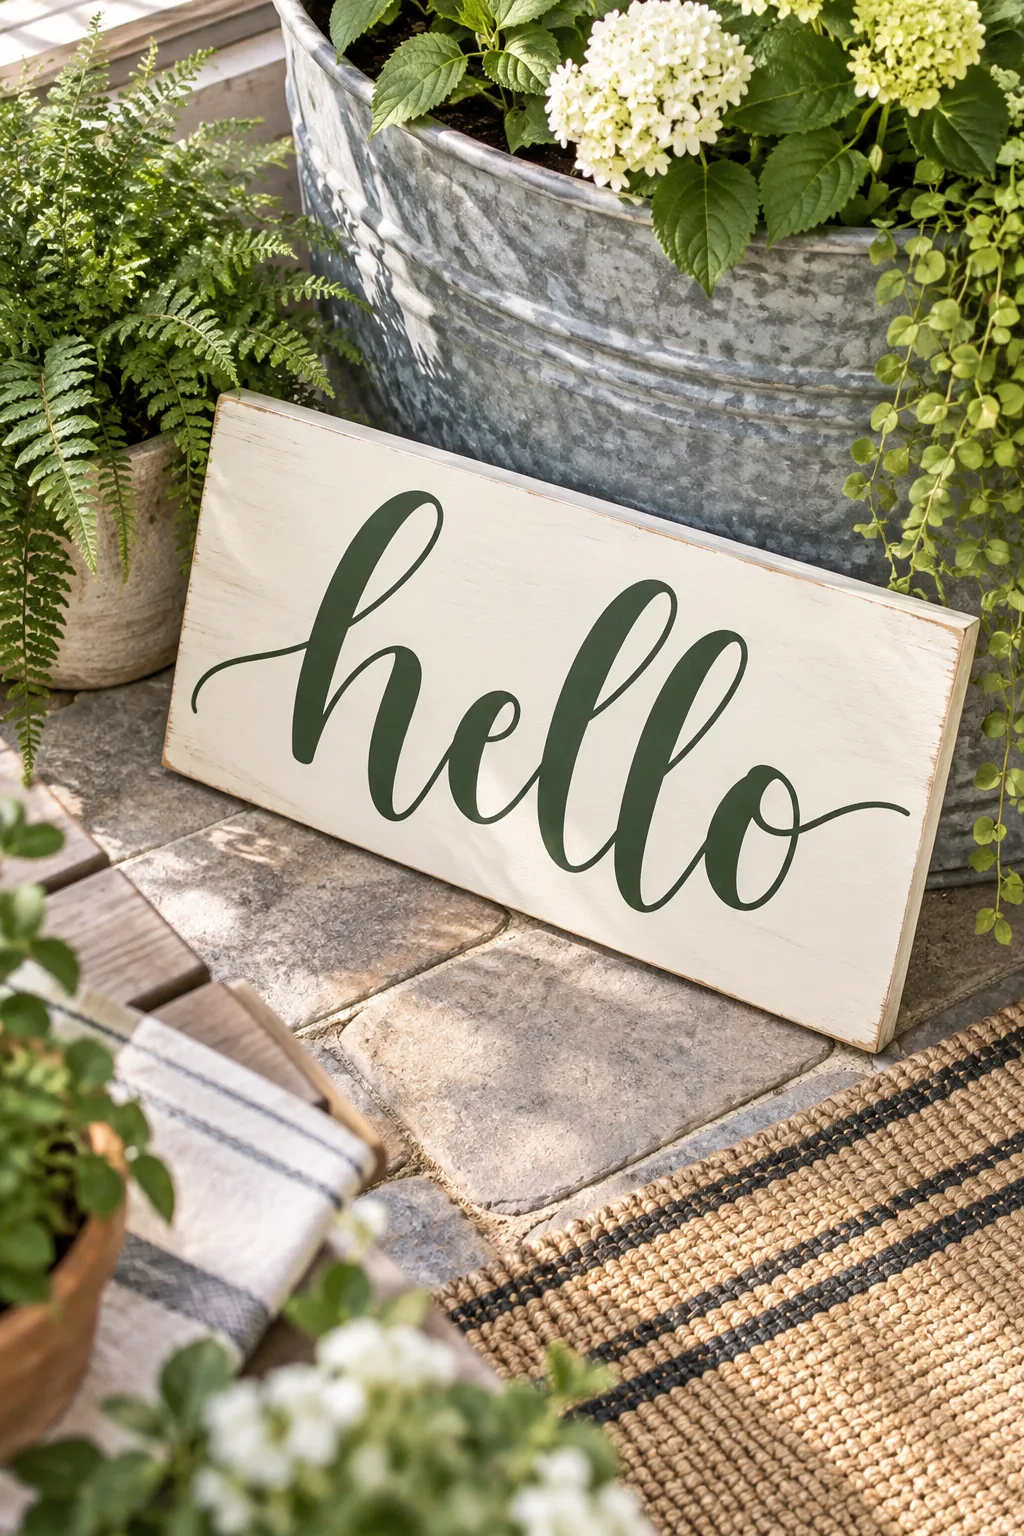
To mimic professional calligraphy, apply heavier brush pressure only when pulling the brush downward toward your body. When I lettered my sister’s wedding signs, mastering that heavy downstroke completely transformed my basic handwriting into elegant art.
Mastering the Thin Upstroke
Keep all horizontal connections and upward strokes thin and light by lifting the brush slightly off the surface as you move. This deliberate contrast gives the forest green lettering an elegant, hand-crafted rhythm that looks entirely natural and beautifully balanced.
Fixing Minor Paint Bleeds
If a tiny amount of green paint manages to escape your stencil, let it dry completely before attempting any repairs. Trying to wipe wet pigment will only smear it further; simply touch up the dry mistake with a tiny detail brush and warm-white paint.
Peel While Still Wet
Choosing a flat sealer protects the sign without adding distracting glare, but achieving that flawless finish starts with perfect tape removal. Your lettering edges must be incredibly sharp before any clear coat touches the wood.
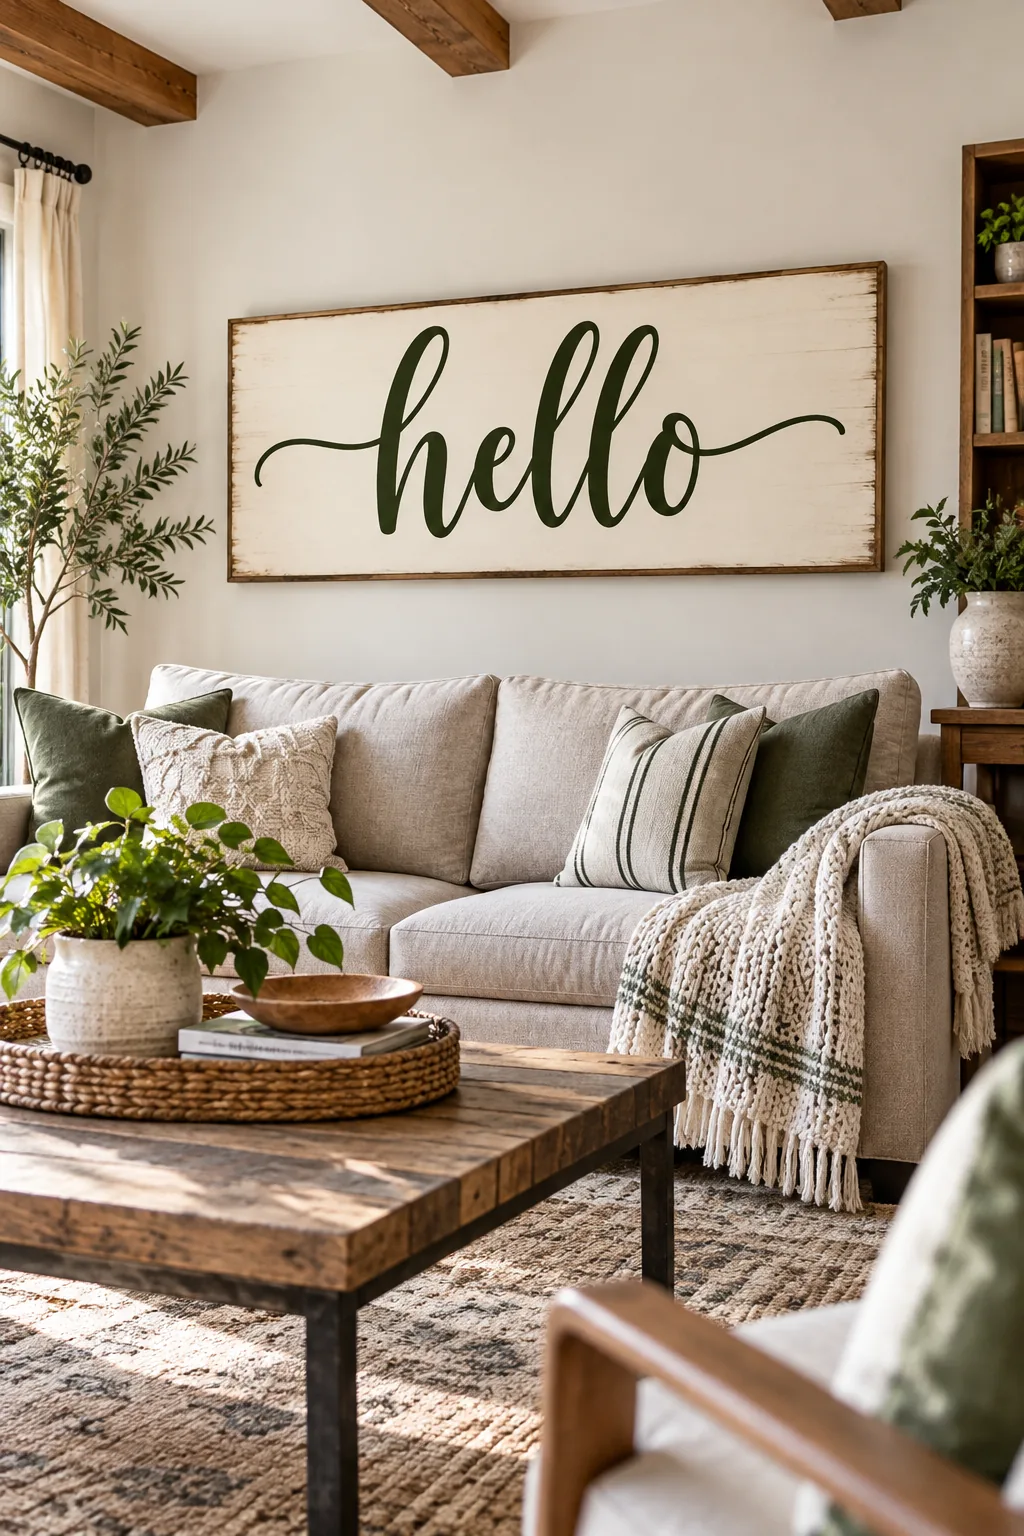
Remove any tape or stencil material while the green lettering paint remains glossy and wet to ensure a razor-crisp line.
Avoiding the Torn Edge
Waiting until the paint fully dries creates a flexible, rubbery film across the stencil boundary that connects the tape to the wood. Pulling the tape late will stretch this film and tear the crisp edge, pulling chunks of green paint off your background.
Handling Stencil Bridges
When removing the inner pieces of letters like ‘o’ or ‘e’, use a sharp craft knife or weeding hook to lift the vinyl gently. Piercing the center of the wet mask allows you to pull it straight up without accidentally dragging it across your fresh paint.
Topcoat and Curing Time
A rushed topcoat can ruin hours of careful lettering work in mere seconds, so watch out for these incredibly common sealing errors before finishing your project.
Let the finished lettering cure for at least 48 hours before applying a clear matte spray sealer to the board.
Building Light Sealer Coats
Use multiple light misting passes rather than one heavy coat to avoid reactivating the dark green paint underneath. Sweeping the spray can continuously back and forth builds a durable, protective shell that will withstand changing seasonal humidity and outdoor exposure.
Your Printable Lettering Sequence
Relying on a printed sequence keeps the project moving logically so you never miss a crucial drying window or important prep step. Checking off each phase prevents costly mistakes when you are deep in the creative painting zone.
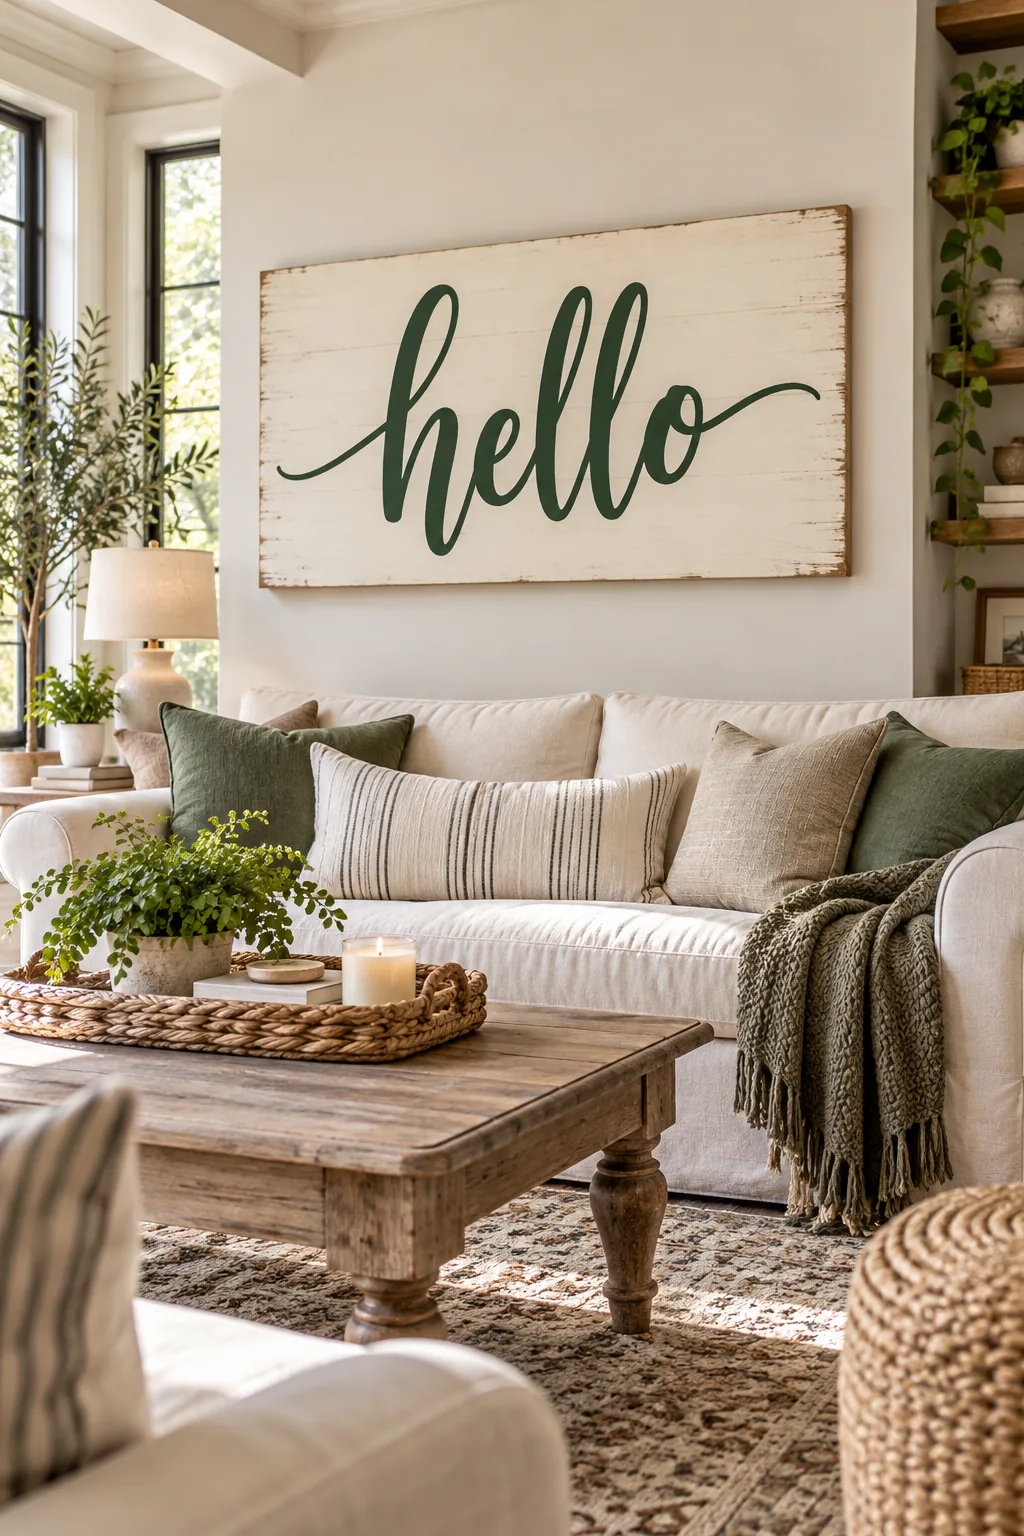
Download the complete one-page sign lettering sequence below to keep your workbench moving smoothly from start to finish. It covers every step from center-out layout to the final topcoat, including exact dry times to guarantee a flawless result.
3 Distinct Sign Styles to Try
Once you master the basic transfer technique, adapt the sequence to fit any of these beautiful room aesthetics.
Farmhouse Classic: Distress the edges of the white base coat before applying black lettering for a timeless, weathered aesthetic.
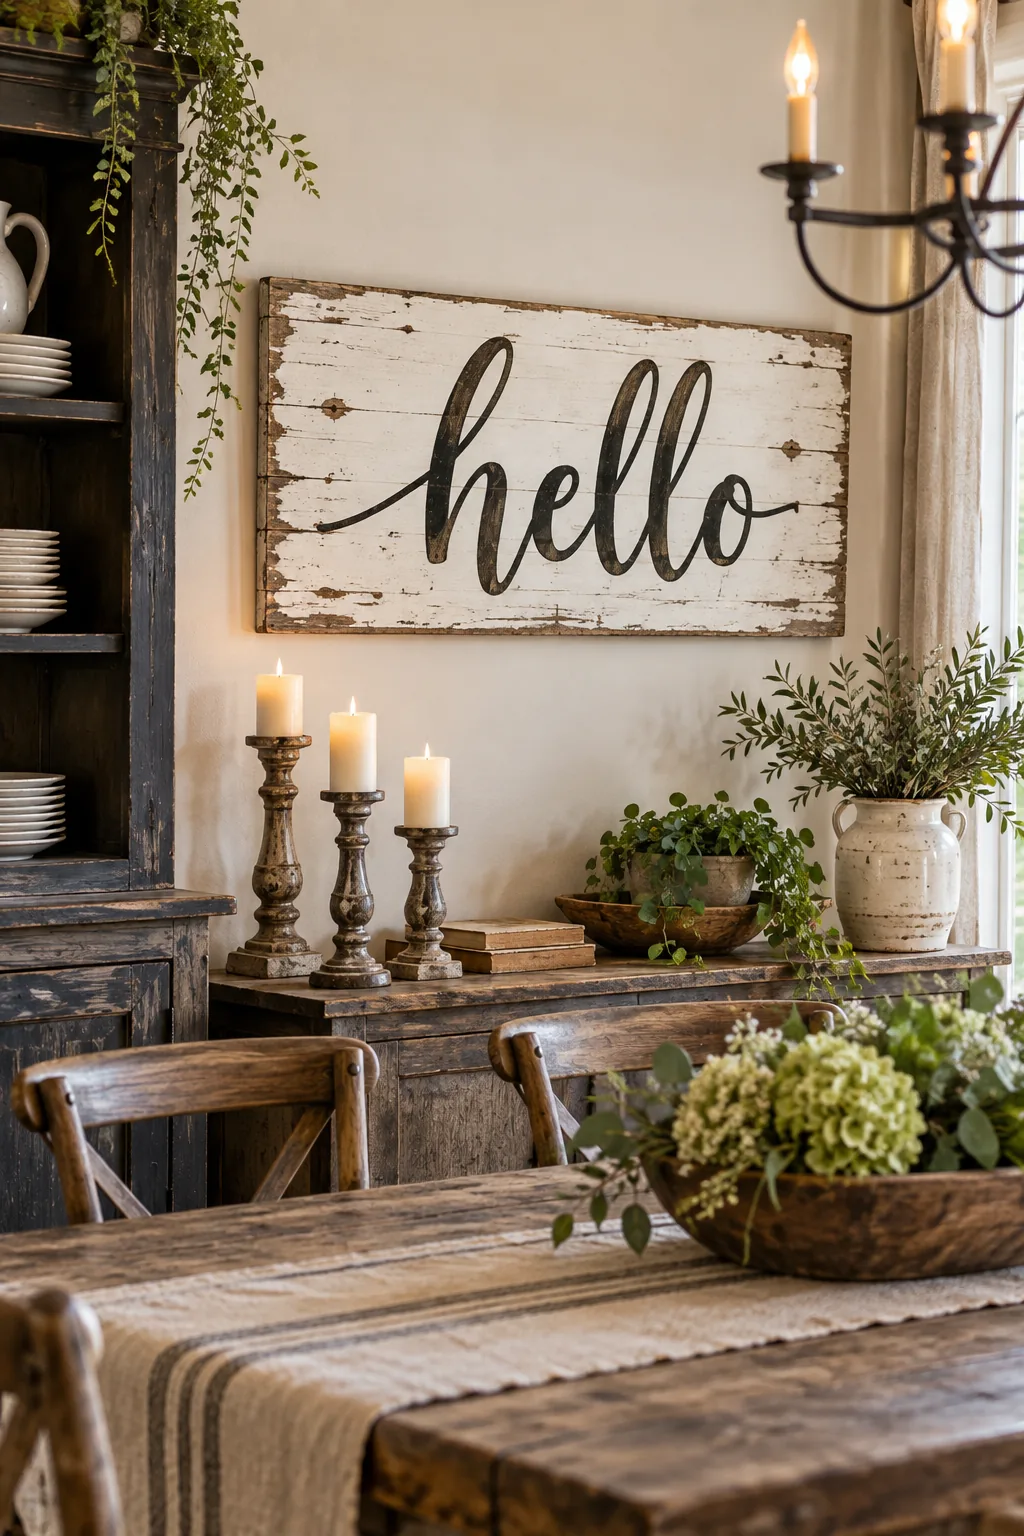
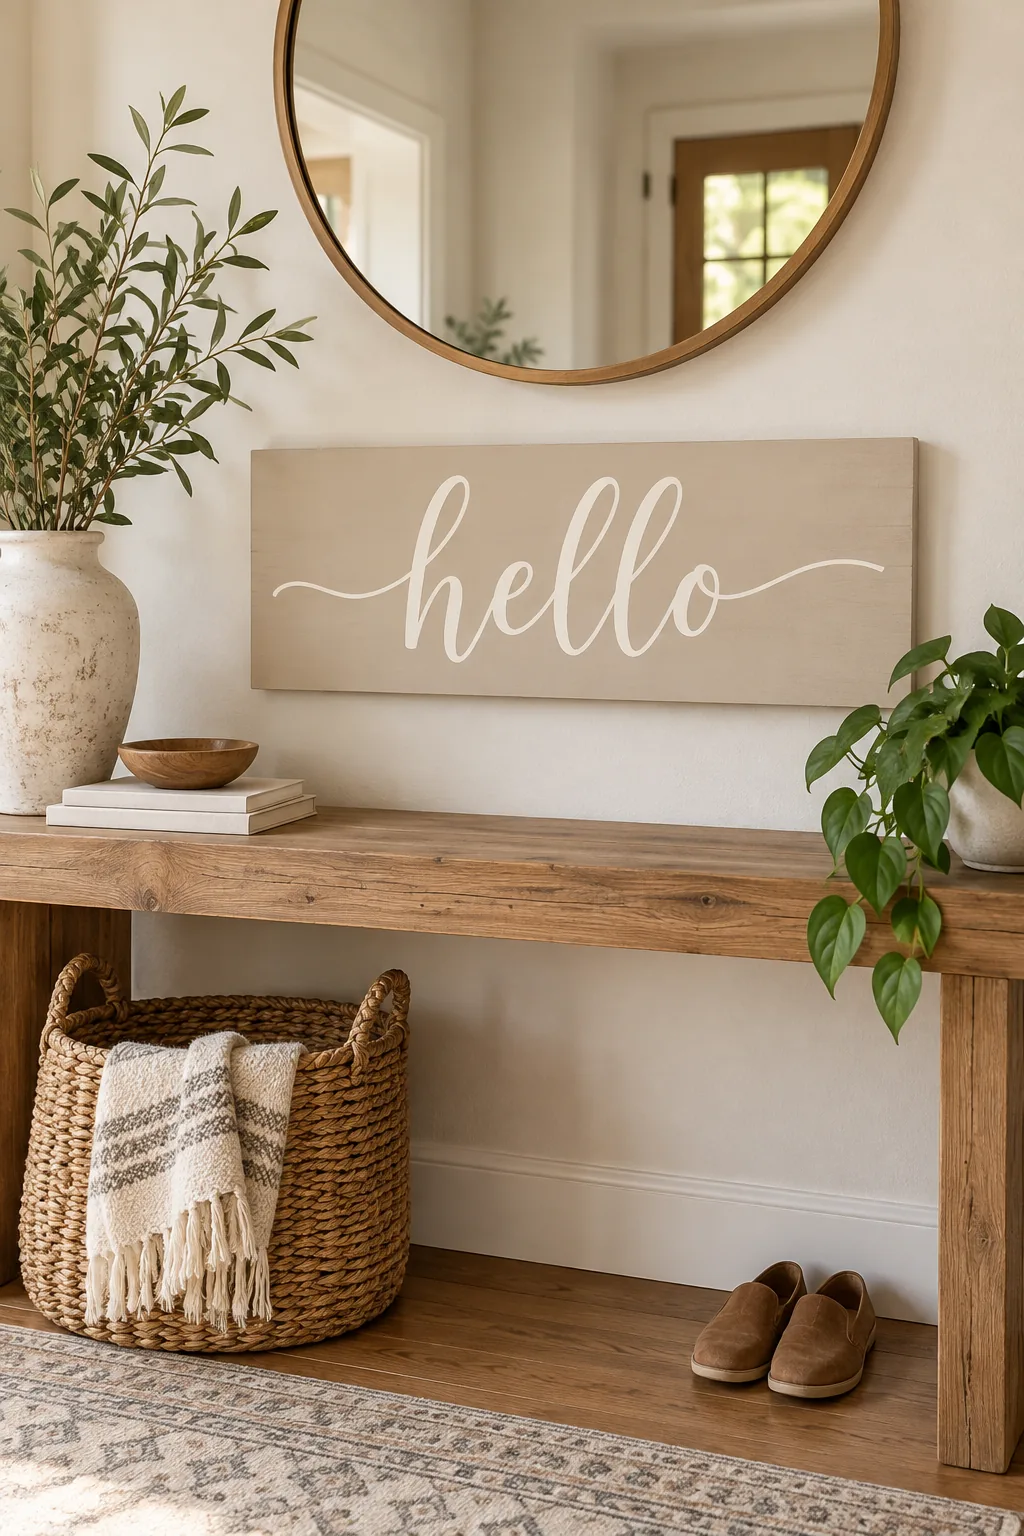
Modern Minimalist: Pair a warm beige background with tonal white paint for a subtle, contemporary sign that blends seamlessly into modern spaces.
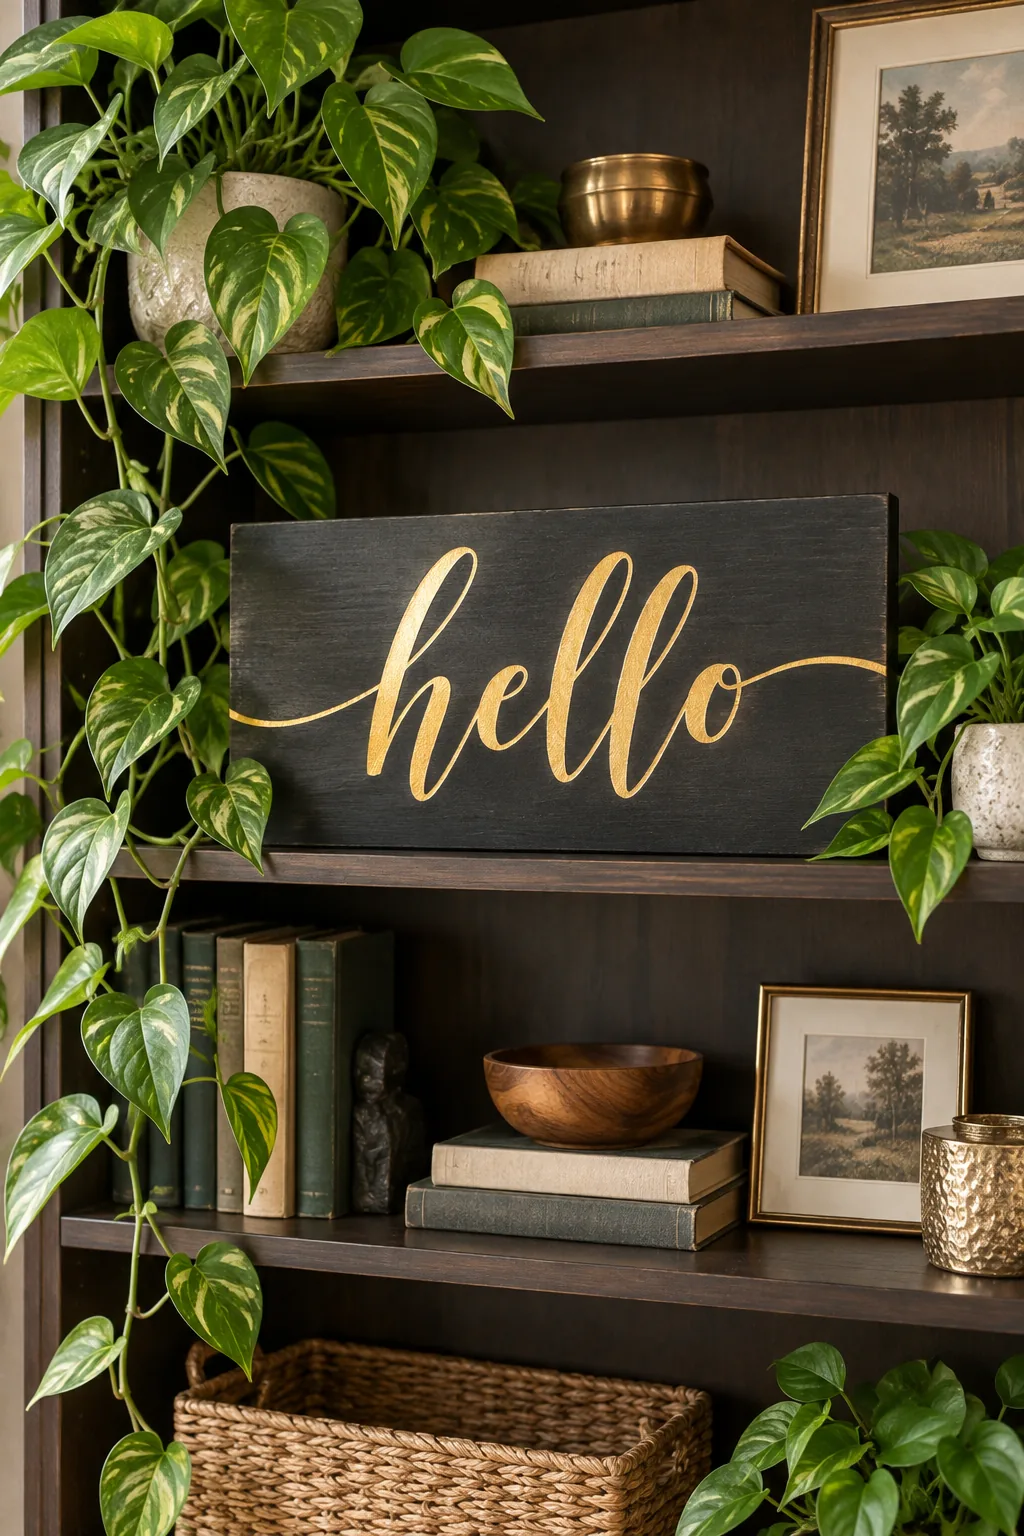
Moody Botanical: Use metallic gold paint over a deep charcoal base to create a striking, high-contrast focal point among indoor greenery.