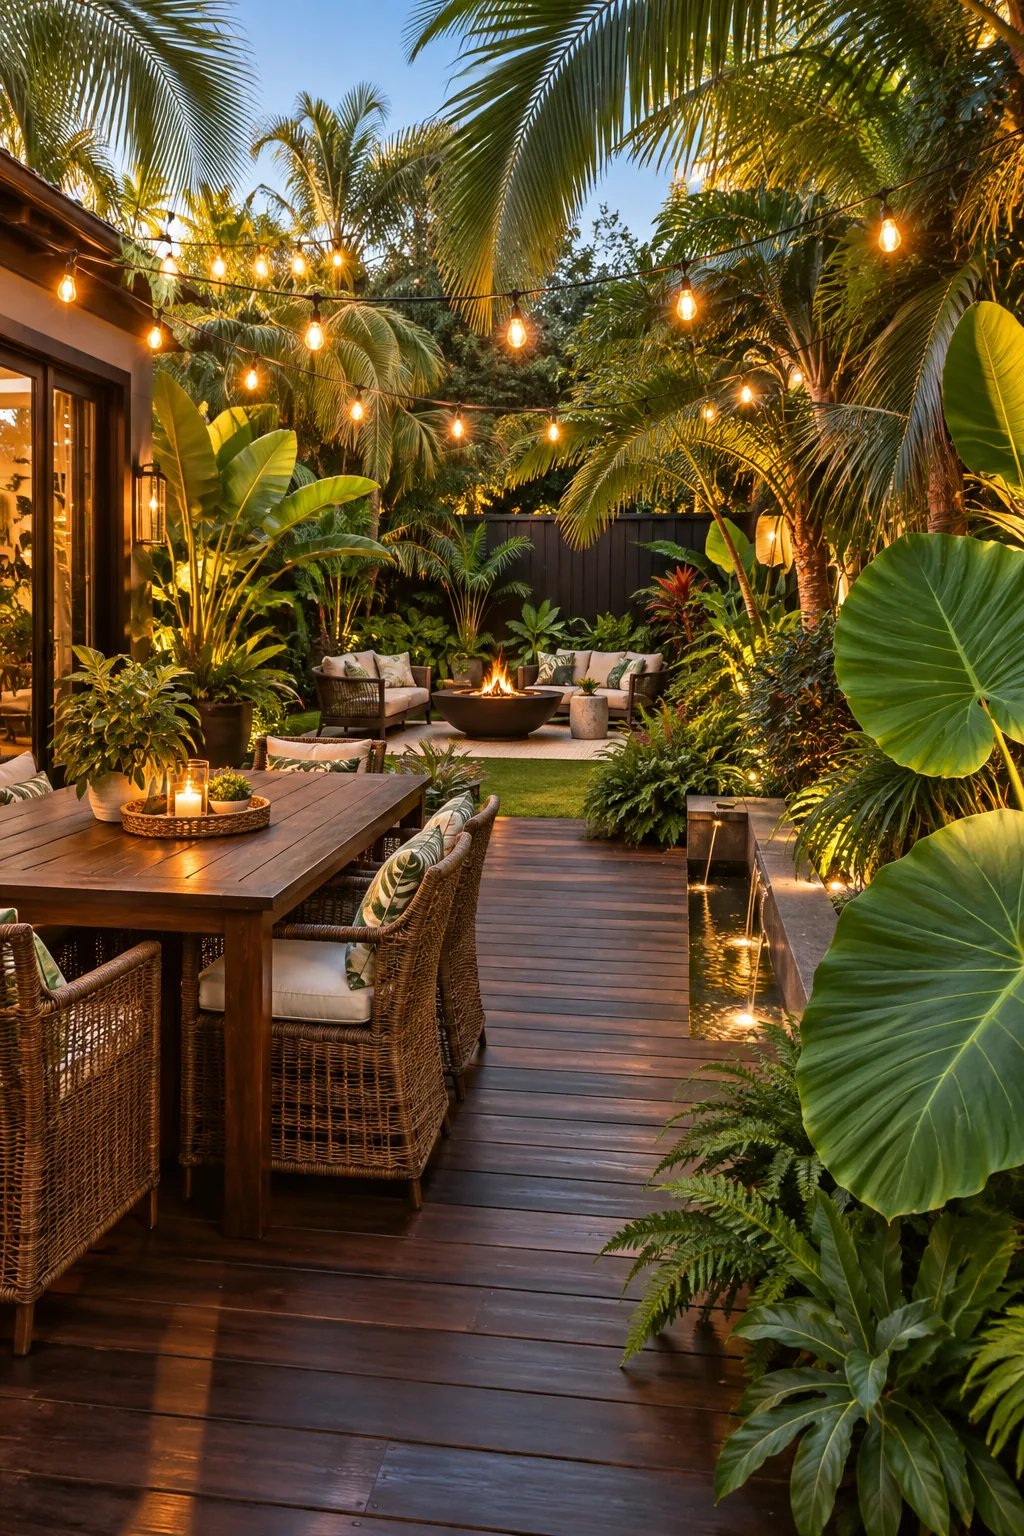
3-Zone Backyard Layout: The Designer Map for Rectangle Yards
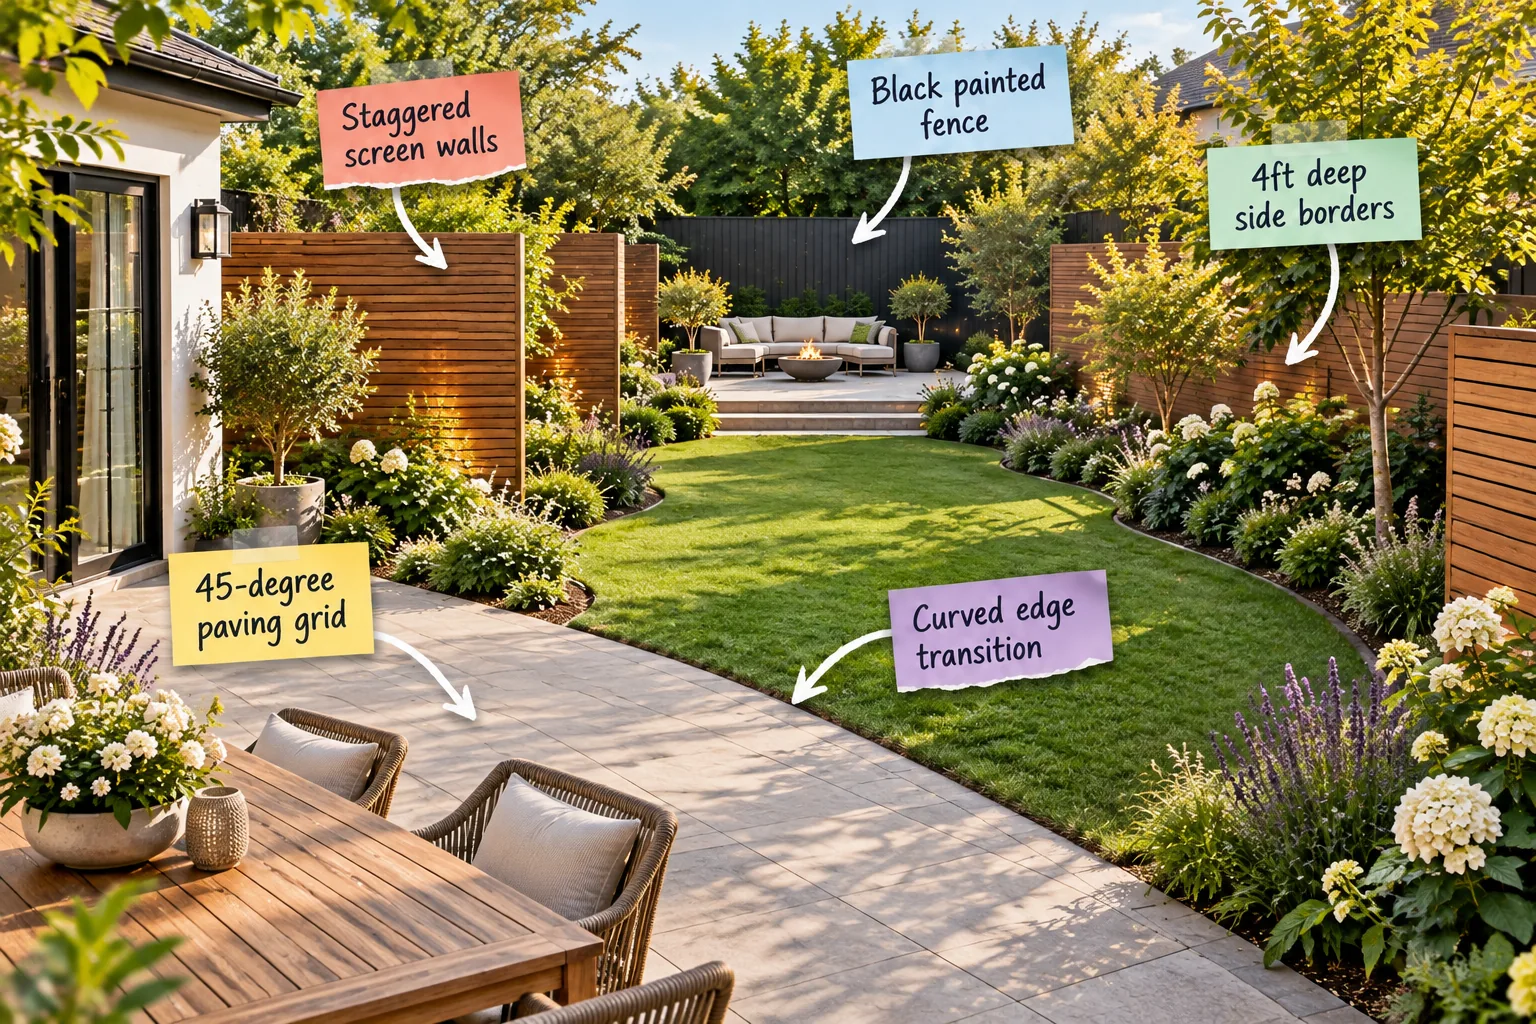
If your rectangular lot feels like a narrow bowling alley, our 3-Zone Backyard Layout Measurement Guide will help you map out three distinct, professionally proportioned living zones. You will learn exactly how to measure and mark your space to create a lush, functional retreat right outside your back door.
The 3-Zone Backyard Layout Map
When I first mapped out my own narrow Austin yard, dividing the rectangle into three specific areas—a 30-percent dining patio, a 50-percent central lawn, and a 20-percent fire pit lounge—completely eliminated that dreaded bowling-alley effect.
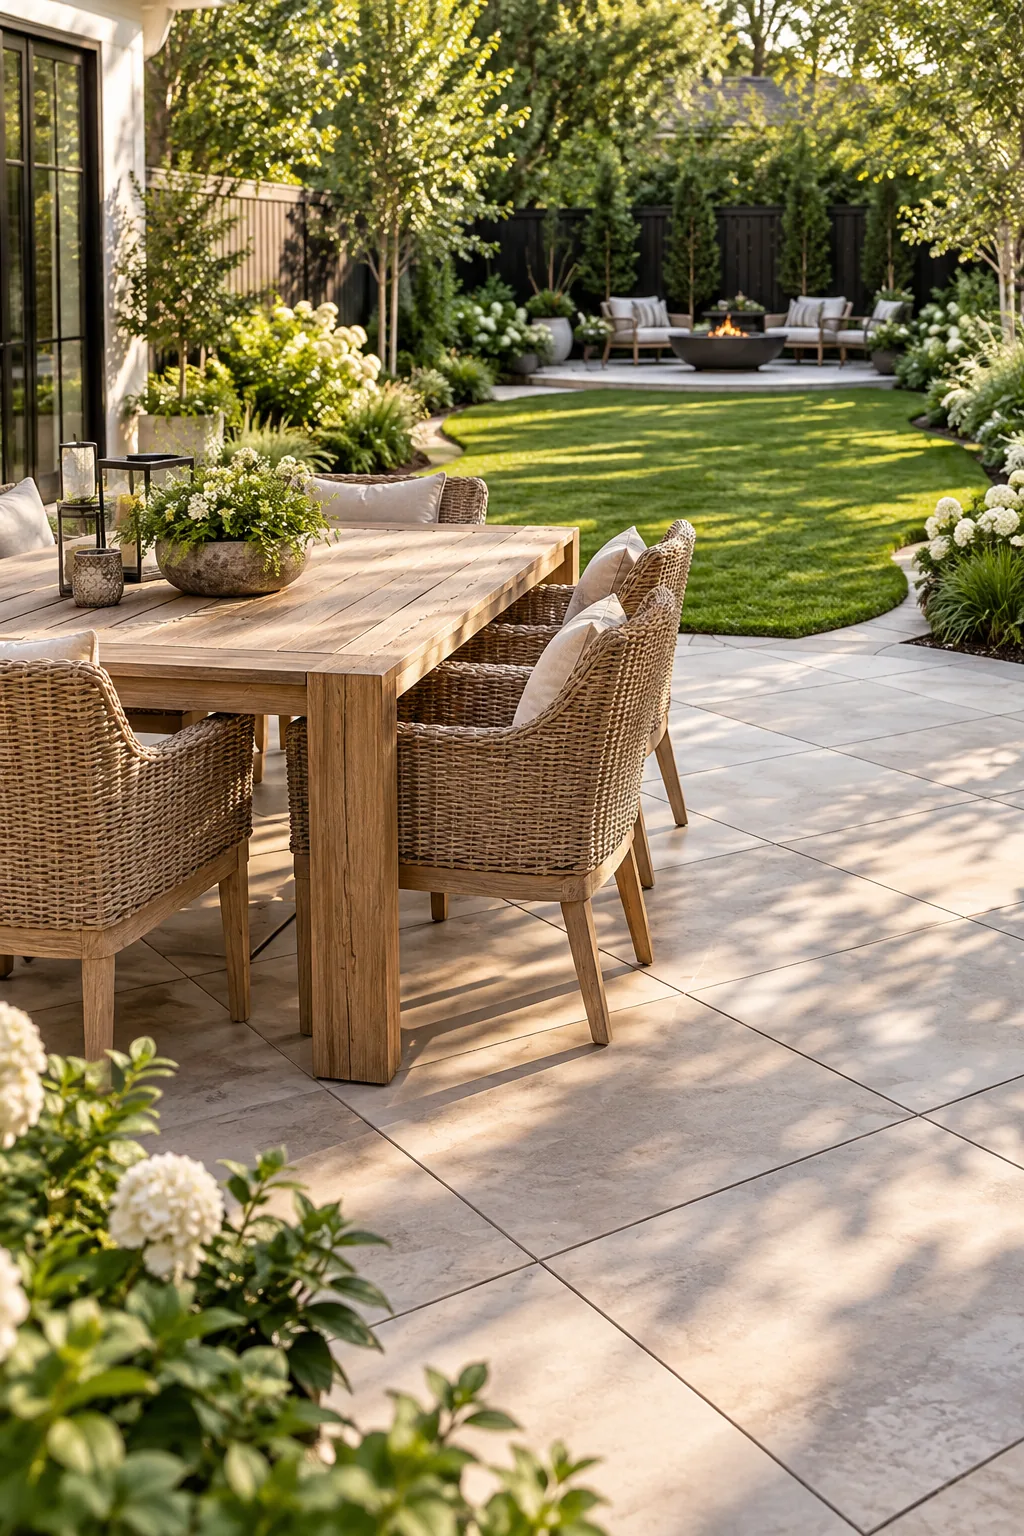
Before buying a single paver or plant, verify your layout on the ground to ensure each of these three zones has enough breathing room for your furniture and foot traffic.
Staking Out the Zone Ratios
Using standard mason line and wooden stakes allows you to visualize the exact proportions of your three zones before committing to permanent hardscaping. Pull the string tight across the width of the yard at your calculated 30-percent and 80-percent marks to establish clear boundaries.
| Total Yard Depth | Zone 1 (Patio) | Zone 2 (Lawn) | Zone 3 (Lounge) |
|---|---|---|---|
| 40 feet | 12 feet | 20 feet | 8 feet |
| 50 feet | 15 feet | 25 feet | 10 feet |
| 60 feet | 18 feet | 30 feet | 12 feet |
Excavating the Patio Base
A stable patio requires proper foundation depth to prevent shifting over time. Dig down exactly six inches across your entire Zone 1 area to accommodate four inches of compacted gravel, one inch of leveling sand, and the thickness of your chosen paving stones.
Compacting the Gravel Foundation
Pour crushed limestone into your excavated patio bed in two-inch layers. Run a heavy steel tamper over each layer until the surface feels as hard as concrete, which guarantees your finished dining area will never develop dangerous sunken spots after heavy rains.
Widen the Space With a 45-Degree Paving Grid
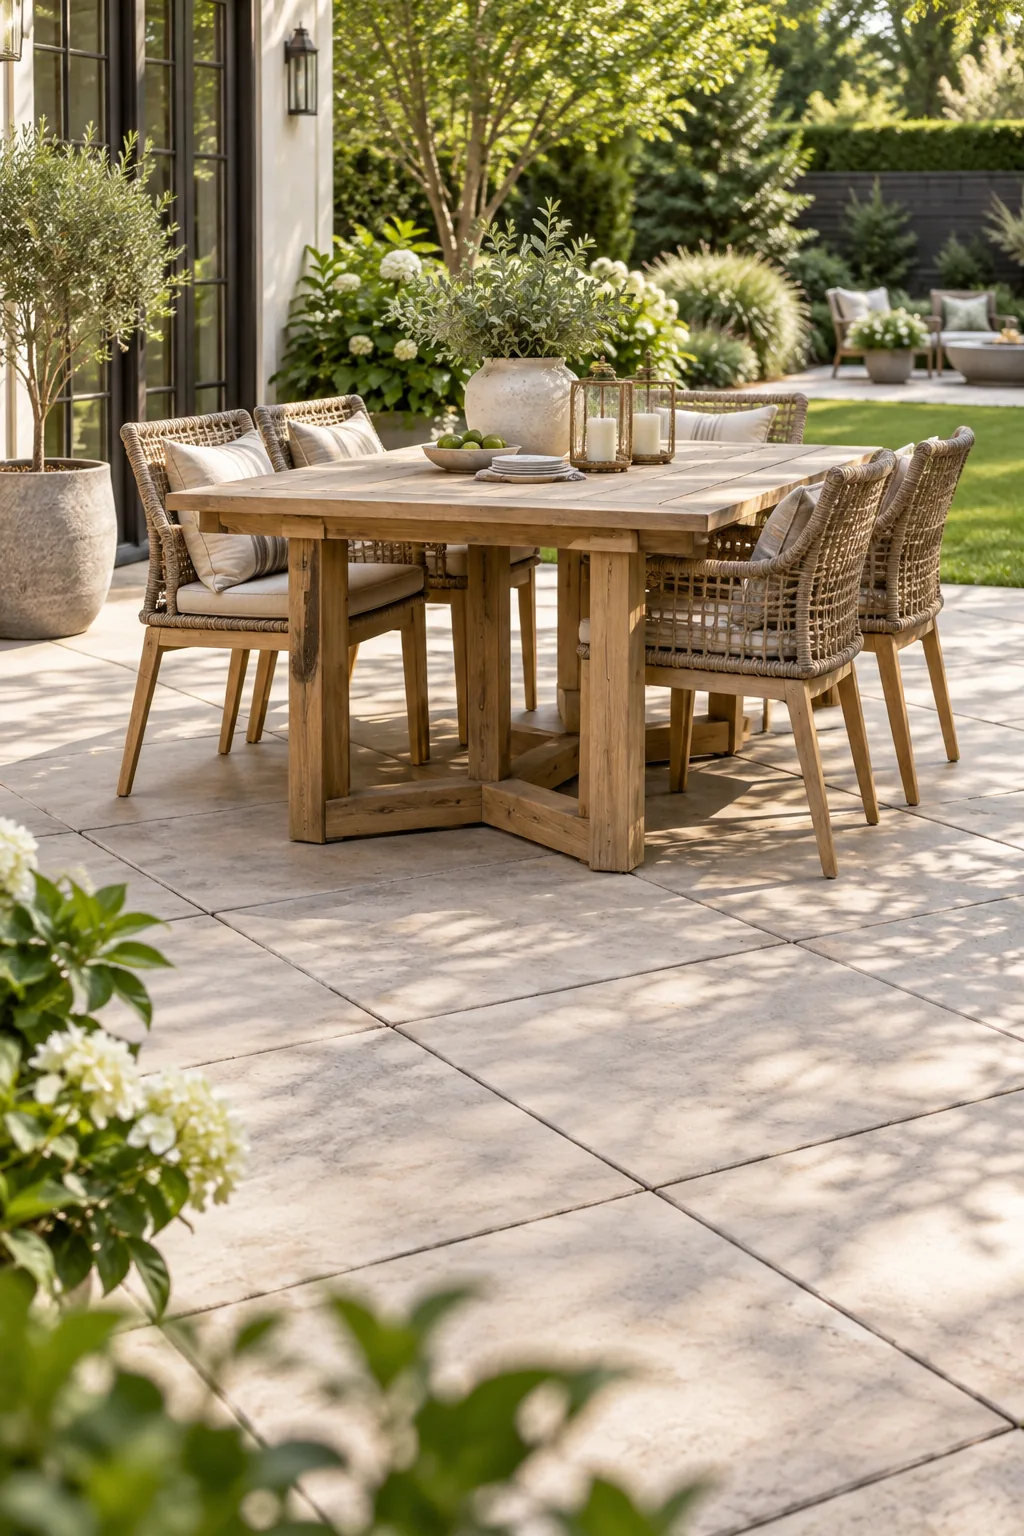
Laying standard 24×24 inch pavers in a 45-degree paving grid tricks the eye into seeing a wider space because the longest grout lines stretch toward the corners. I used this exact diagonal pattern on my own patio, and it instantly made the narrow side fences feel further away.
Cutting Pavers for Diagonal Edges
Because a diagonal layout intersects straight property lines, you will need to cut the perimeter pavers into precise triangles. Renting a wet saw with a 10-inch diamond blade ensures clean, factory-quality edges where the patio meets your house foundation and side borders.
Sweeping Sand Into the Paving Joints
Lock your diagonal grid in place by sweeping polymeric sand into the narrow gaps between each stone. Lightly misting the entire patio activates the binding agents in the sand, creating a solid, weed-proof joint that keeps insects from burrowing under your dining table.
Soften the Yard With a Curved Edge Transition
Connect your rigid, angled patio to the central lawn using a sweeping curved edge transition. This rounded border naturally guides foot traffic toward the deeper parts of the garden while beautifully breaking up the harsh geometry of your straight property lines.
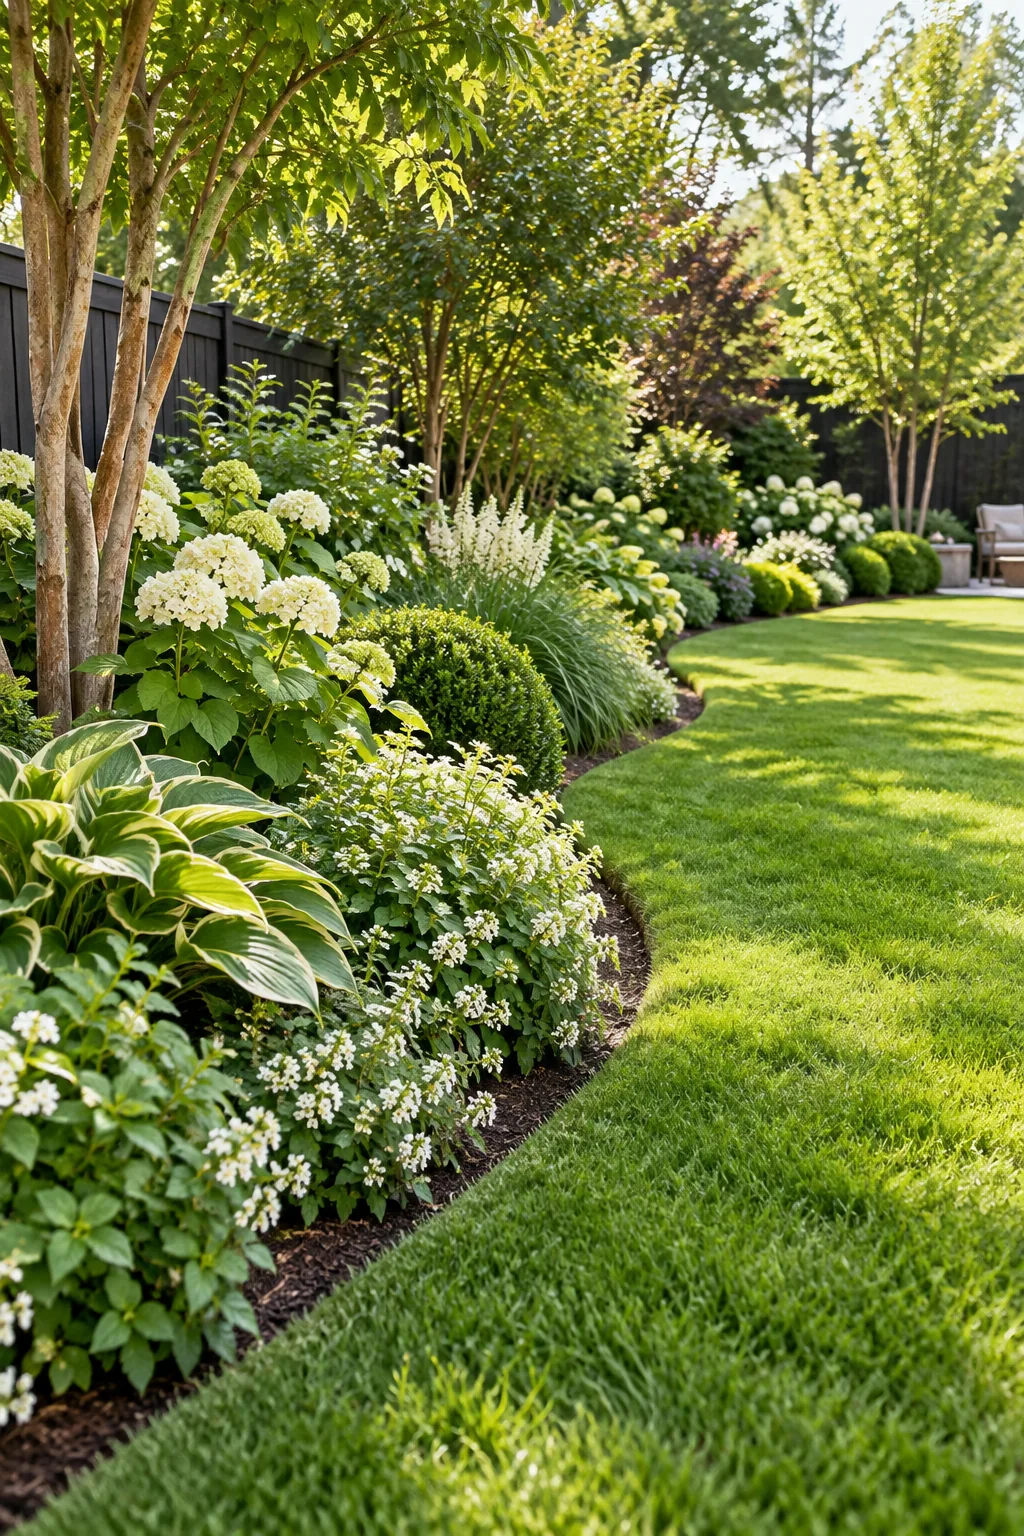
Securing the Curved Border
To keep that sweeping curve crisp over time, install flexible steel landscape edging directly against the patio stones. Pounding 10-inch steel spikes through the edging brackets every three feet prevents the metal from shifting when the soil freezes and thaws.
Grading the Central Lawn
Before planting grass in Zone 2, use a wide landscape rake to slope the soil gently away from your new patio. A subtle one-inch drop for every ten feet of lawn ensures heavy rainwater drains safely toward the back fence rather than pooling near your foundation.
Push the Lawn Inward With 4ft Deep Side Borders
Expanding to 4ft deep side borders forces your central lawn into an irregular, organic shape that feels like a natural clearing. When I widened my own planting beds, the extra depth allowed for lush, layered planting that completely hid the straight fence lines.
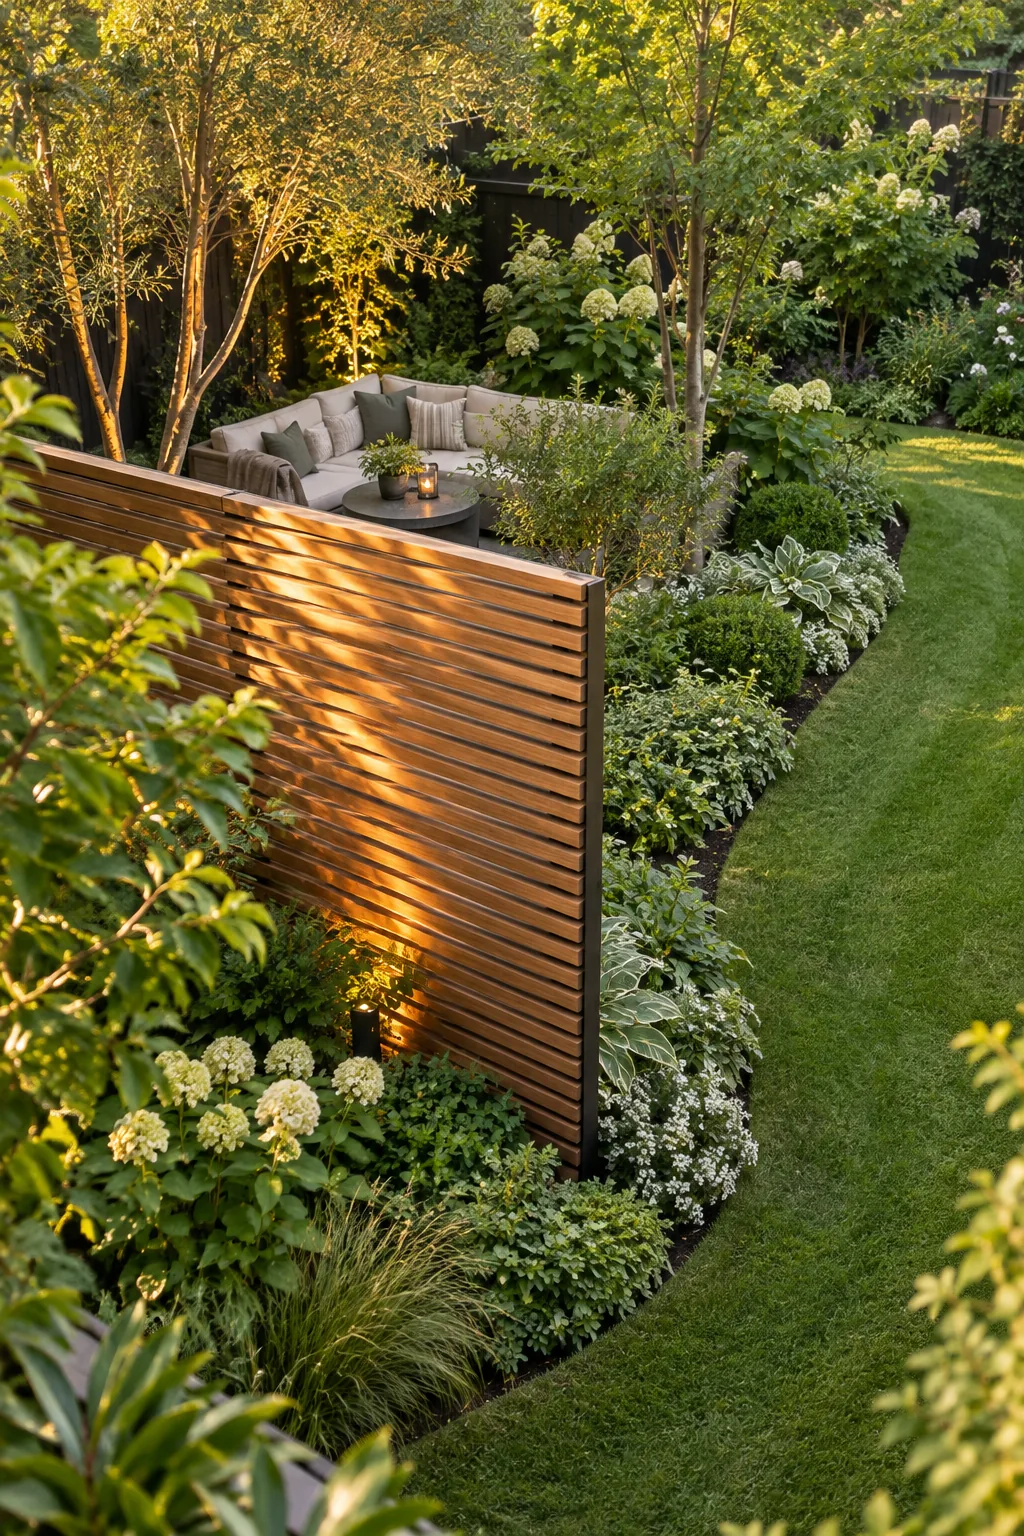
It is incredibly tempting to keep borders narrow to save lawn space, but this actually highlights the boxy shape of the yard instead of hiding it.
Amending the Soil for Deep Borders
Deep planting beds require nutrient-rich soil to support larger shrubs and small trees. Mix three inches of organic compost into the native dirt using a garden fork, which improves drainage and gives new root systems the perfect environment to establish quickly.
Layering Plants for Maximum Depth
A four-foot depth gives you enough room to plant in three distinct tiers. Place tall evergreen shrubs at the back, mid-sized perennial grasses in the center, and low trailing groundcovers at the front edge to spill softly over the curved lawn border.
Create Hidden Depth Using Staggered Screen Walls
Place freestanding slatted wood panels on alternating sides of the lawn to build staggered screen walls. These barriers block a full view of the back boundary, forcing the eye to zig-zag and making the yard feel twice as deep by creating a sense of discovery.
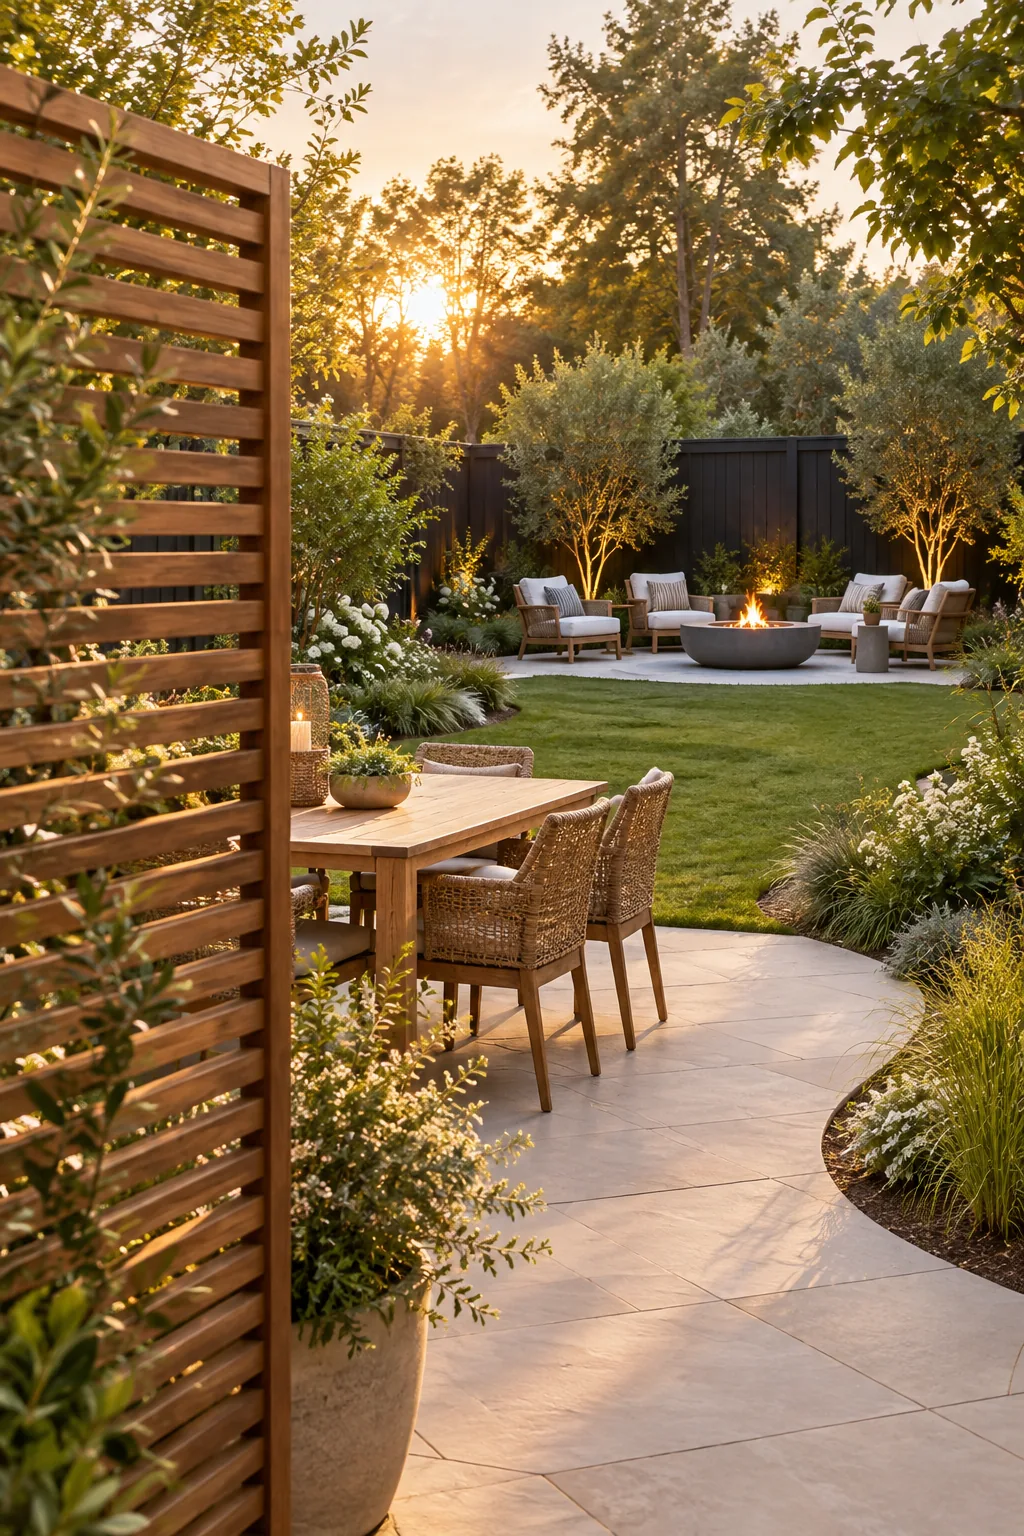
Spacing the Screen Slats
When building your privacy panels, leave a one-inch gap between each horizontal cedar board. This specific spacing allows cooling breezes to flow through the lounge area while still providing enough visual obstruction to hide the back fence from the dining patio.
Anchoring Your Privacy Screens
Because these freestanding screens catch significant wind, they require sturdy foundations. Sink heavy-duty 4×4 pressure-treated posts at least two feet into the ground and secure them with fast-setting concrete to ensure your panels remain perfectly plumb during heavy storms.
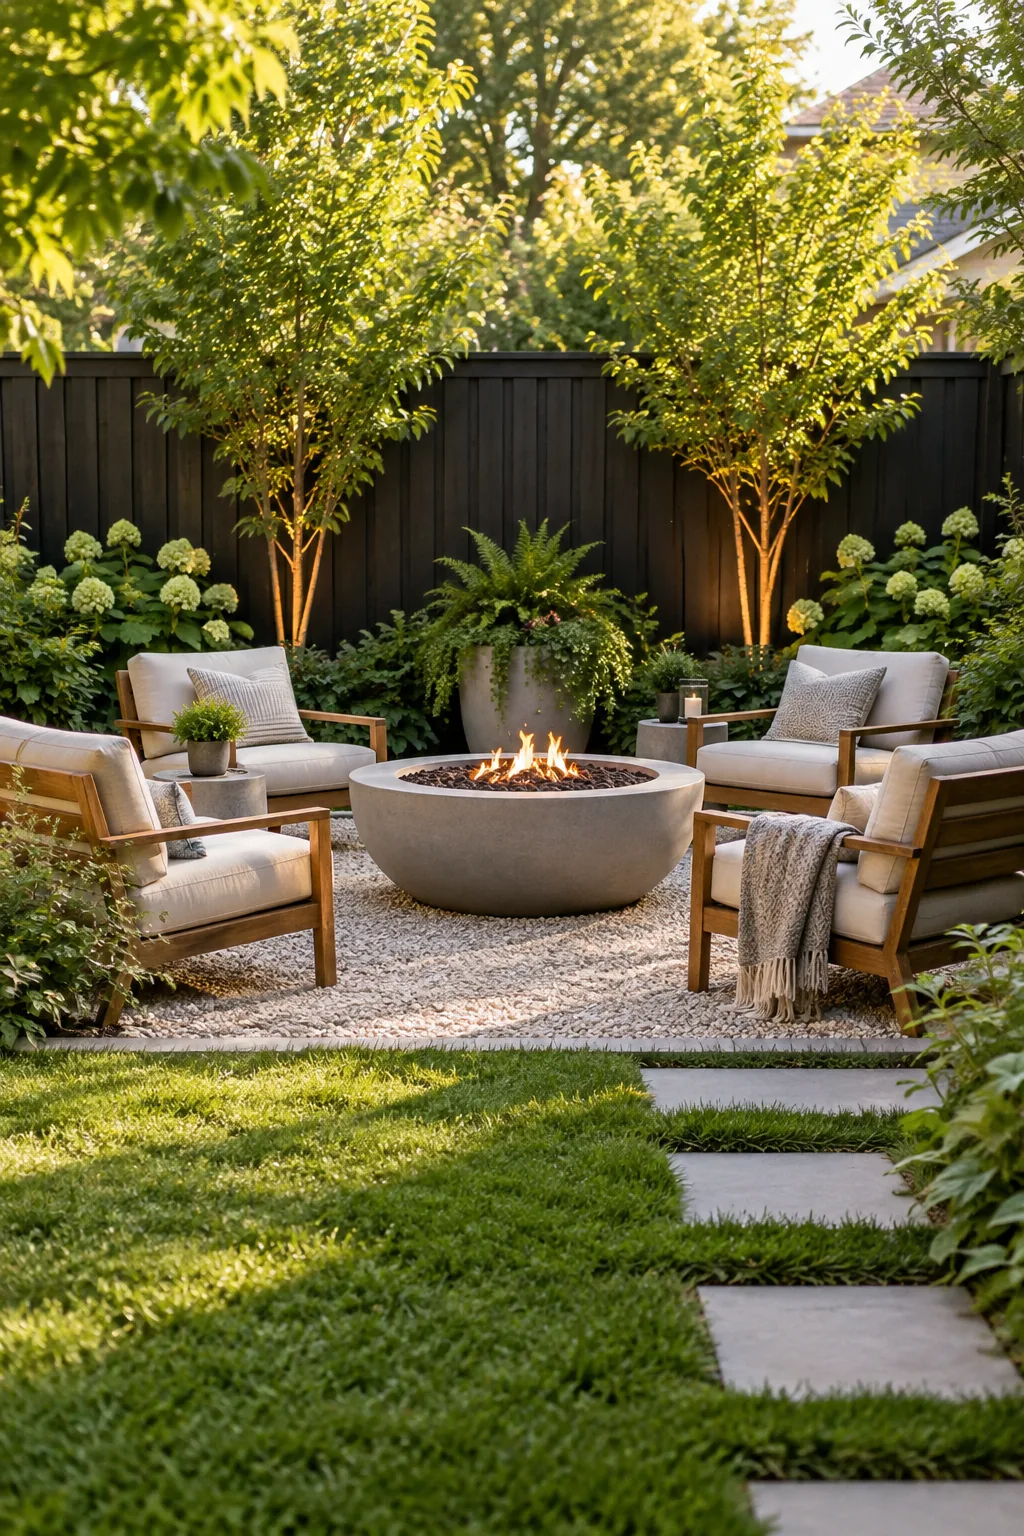
Positioning the Fire Pit Lounge
Center your fire pit in the final 20 percent of the yard, leaving at least three feet of clearance on all sides for seating. Paving this rear lounge area with crushed pea gravel creates a relaxed, casual texture that contrasts nicely with the formal dining patio.
Lighting the Rear Lounge
String warm-white café lights between your staggered privacy screens to illuminate the pathway to the fire pit. Keeping the light source low and ambient draws the eye toward the back of the property at night without washing out the stars.
Preparing the Fence for Paint
Before darkening your back boundary, use a stiff bristle brush to remove dirt, algae, and loose splinters from the wood. Applying a high-quality exterior primer ensures your dark topcoat adheres smoothly and prevents natural wood tannins from bleeding through the finish.
Make the Boundary Recede With a Black Painted Fence
Finish your third zone by applying a black painted fence treatment to the rear boundary. Dark colors absorb light, causing the physical barrier to recede visually and completely disappear behind the bright green foliage surrounding your cozy fire pit lounge.
3 Ways to Style a Rectangular Yard
See how this exact 3-zone layout adapts to completely different design styles.
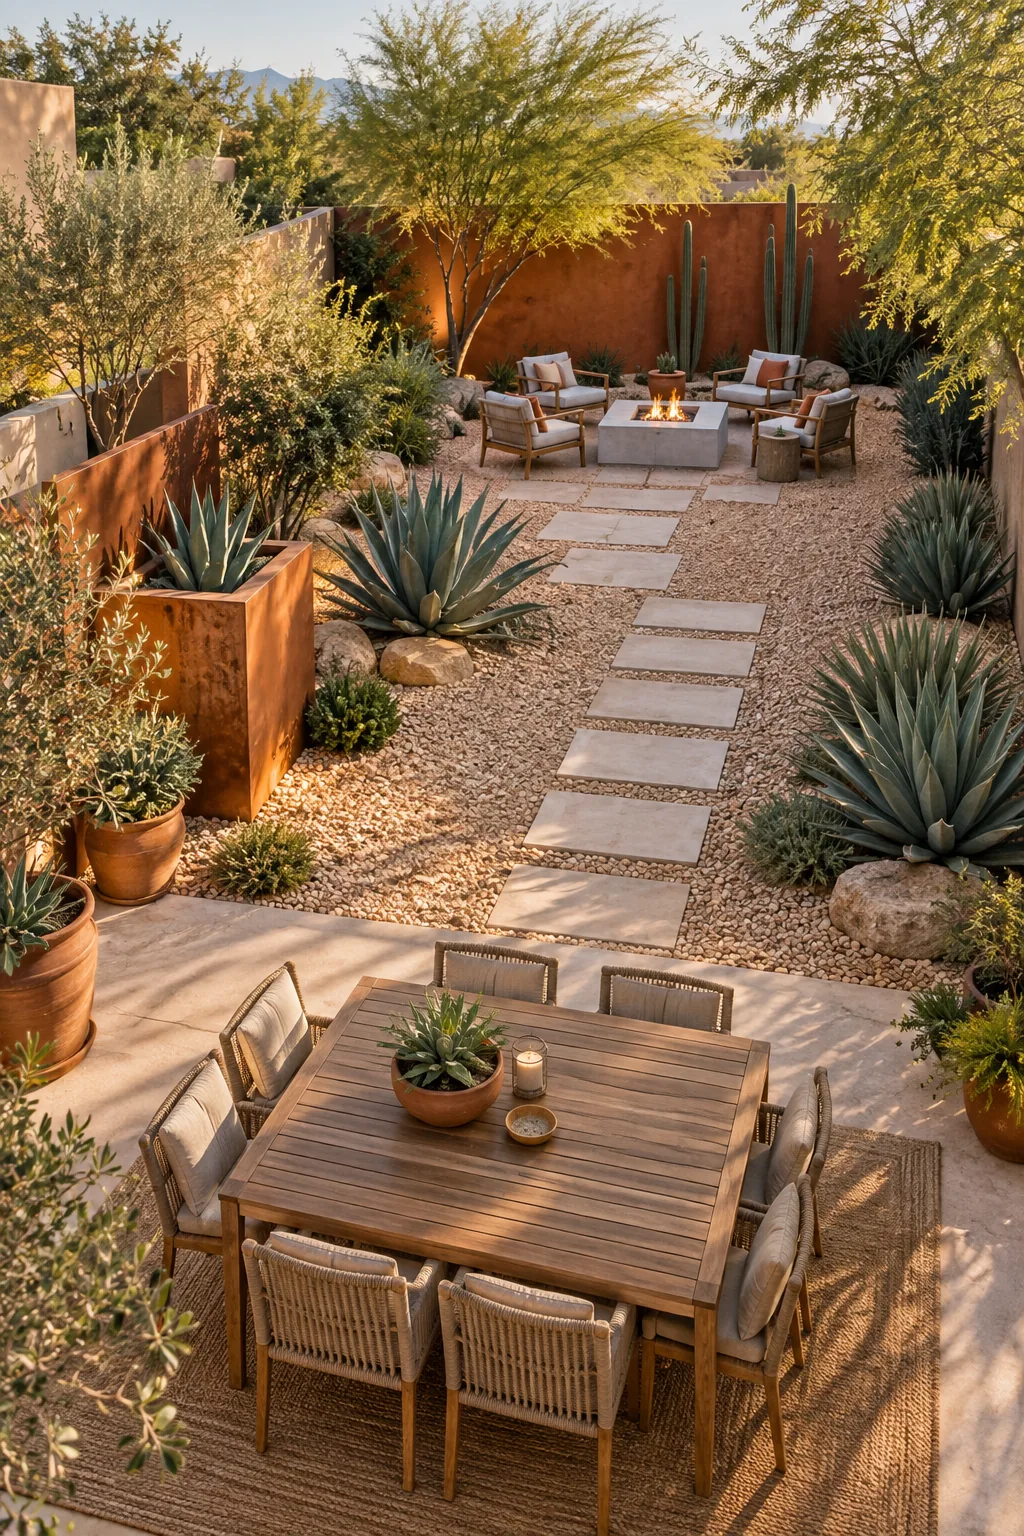
Modern Desert Rectangle Layout: Swap the lawn for crushed gravel and plant sculptural agaves to create a low-maintenance, drought-tolerant modern desert escape in a standard rectangular lot.
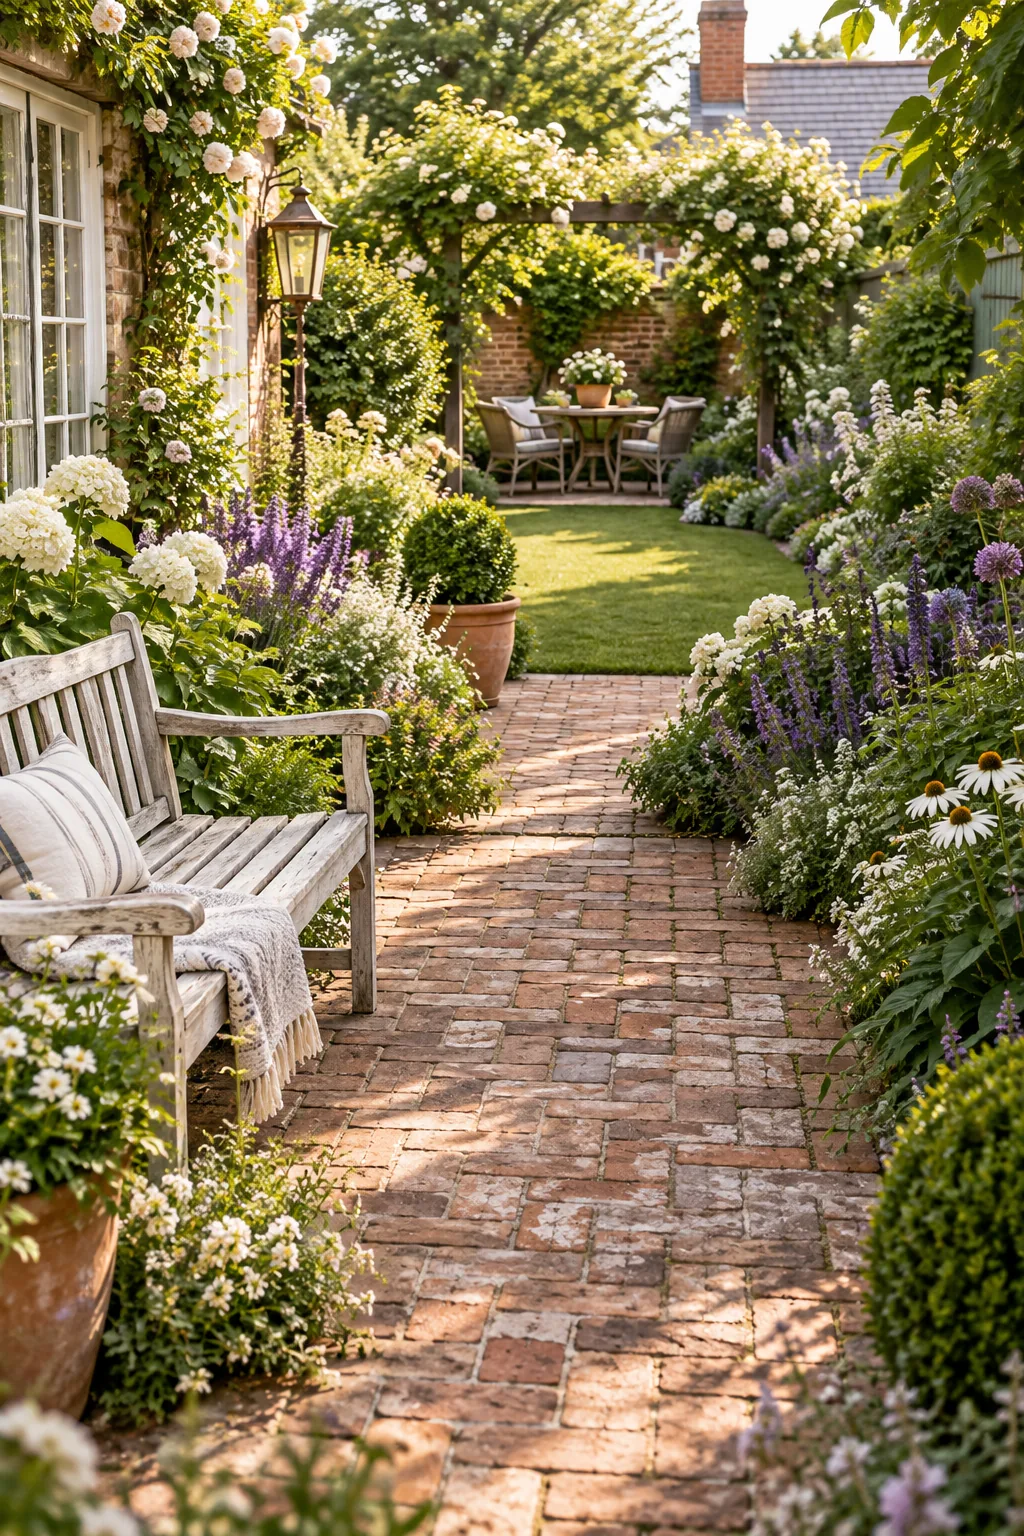
English Cottage Rectangle Layout: Use reclaimed brick paving and overflowing perennial borders to soften the rigid straight lines, turning a basic backyard into a romantic English cottage garden.
Tropical Oasis Rectangle Layout: Layer oversized tropical foliage against dark stained fencing and hang warm string lights to transform a boxy urban yard into a lush, private jungle retreat.