
Easy Spring Classroom Door Decor: Printable Supply & Build Sheet
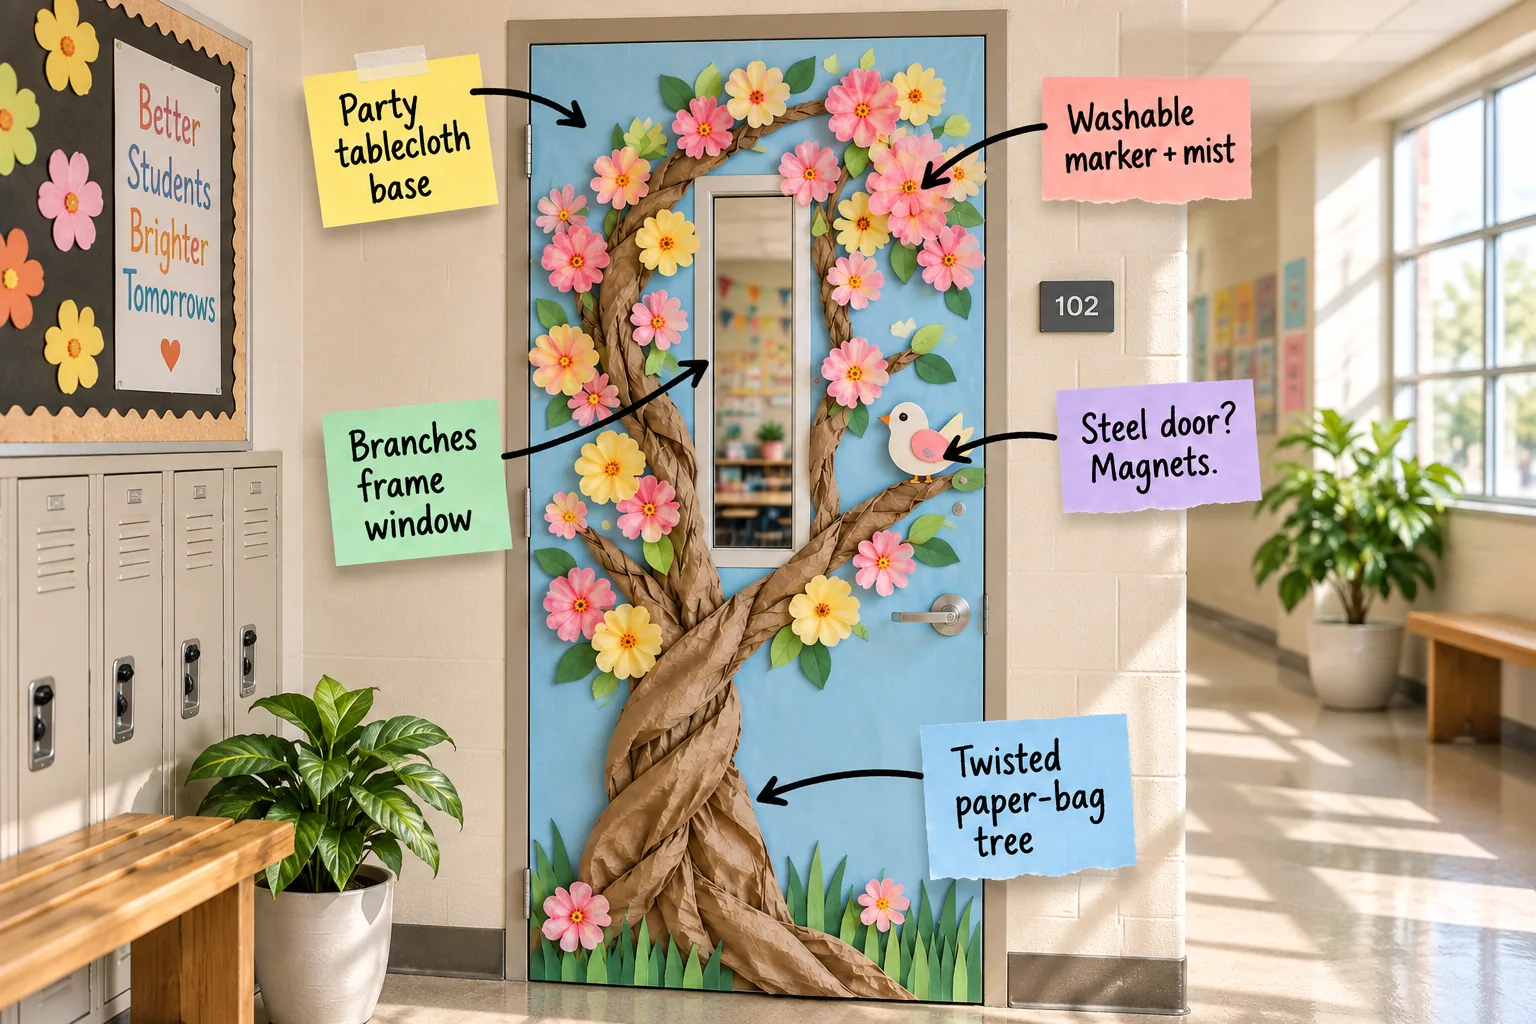
Grab our free two-page printable build sheet with exact supply quantities and step-by-step instructions to turn your classroom door into a blossoming spring tree. You will be able to gather the exact materials needed and follow a proven sequence to build this 3D design from the background layer to the final magnetic mounting.
Sizing the Party Tablecloth Base
To cover a standard 36×80-inch classroom door, I always start by cutting and fitting a 54×108-inch plastic party tablecloth, wrapping the excess tightly over the edges just like I do when covering my own messy craft tables at home.
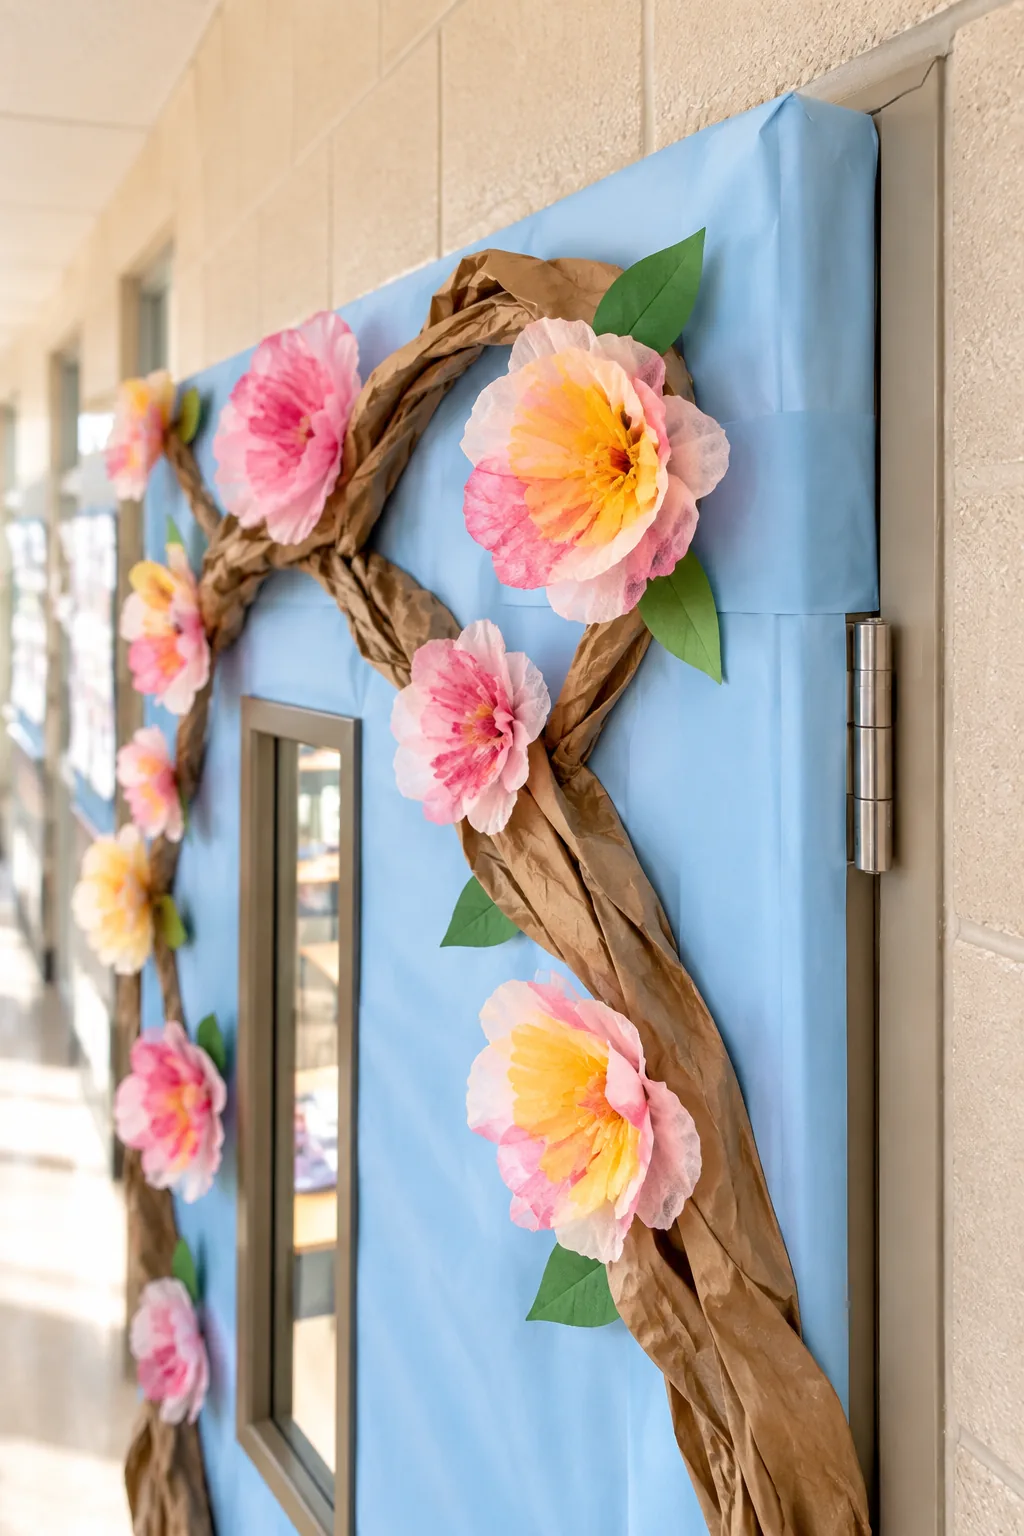
Securing the plastic smoothly requires focusing on the hidden edges rather than the visible surface.
Preventing Background Wrinkles
Pulling the plastic taut across the door face eliminates sagging and creates a crisp canvas for your 3D elements. I recommend taping the top edge first, then pulling firmly down to the bottom edge before securing the sides.
- Start with the top corners to establish a level horizon line.
- Smooth downward in a V-shape to push trapped air out the sides.
- Tape the bottom corners last to lock in the vertical tension.
Preparing the Kraft Paper Bags
Before twisting the base, you must remove the stiff paper handles from your grocery bags to prevent awkward bulges in the trunk. Carefully tear the glued handles off from the inside to keep the outer face of the bag completely intact.
Twisting the Paper-Bag Trunk
You can build substantial visual weight by opening, crinkling, and twisting 4 to 5 large brown kraft paper bags into a thick 3D rope, a trick I learned making faux vines for my backyard patio.
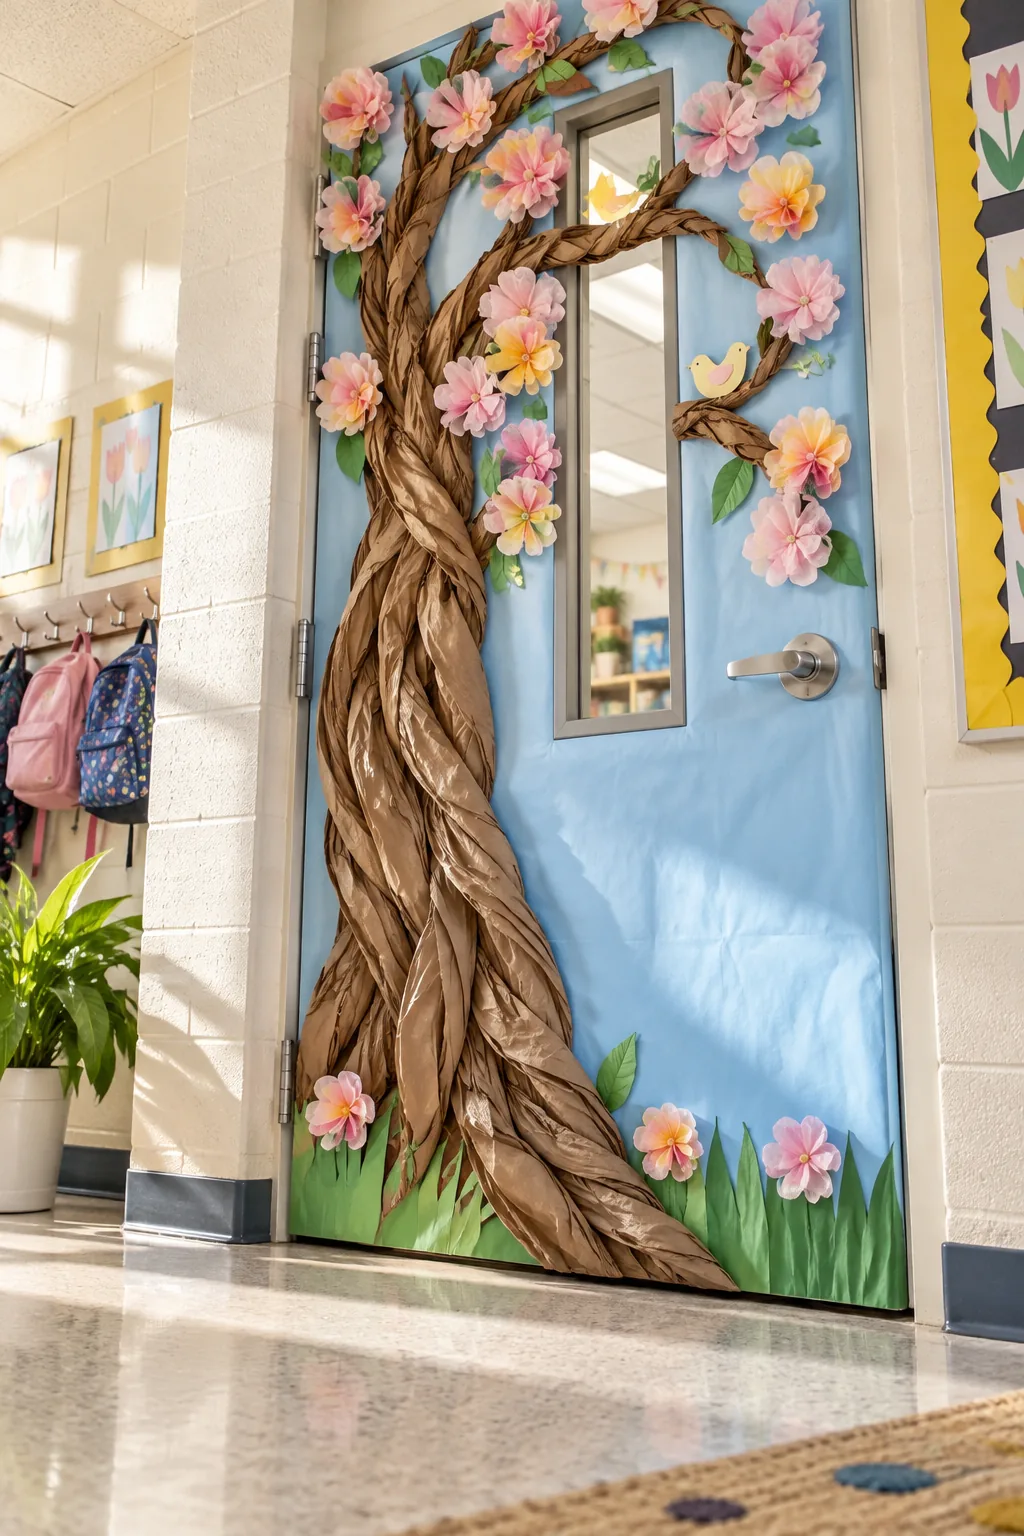
Layering multiple bags together allows you to hide the printed store logos while creating deep, realistic bark crevices.
Splicing the Trunk Sections
Because a single grocery bag is only about 16 inches tall, you must overlap the twisted segments to reach the center of the door. Tuck the base of each new bag inside the opening of the previous one.
| Trunk Section | Bags Needed | Twist Tightness |
|---|---|---|
| Base Roots | 2 bags | Loose and wide |
| Main Trunk | 3 bags | Medium tight |
| Lower Branches | 2 bags | Very tight |
Creating Bark Texture with Scissors
For an extra layer of realism, use sharp scissors to make small, shallow vertical snips along the twisted paper rope. Gently pulling these cut edges outward mimics the rough, peeling texture of natural tree bark perfectly under the hallway lights.
Routing Branches Around the Window
Split your thick twisted paper trunk into two thinner branches that arch gracefully around the standard 6×30-inch glass panel to keep the narrow vertical door window completely unobstructed for safety.
Maintaining a clear line of sight through the safety glass ensures continuous hallway visibility for both teachers and passing administrators.
Securing the Branch Angles
Bending the kraft paper creates natural tension that actively wants to pull away from the door surface. Pinch the paper tightly at the corners of the window frame to create sharp, permanent creases that hold the arched shape securely.
Gathering the Right Washable Markers
Achieving the perfect watercolor bleed requires standard water-based school markers rather than permanent ink. The water-soluble pigments react instantly when misted, pulling the vibrant pinks and yellows outward toward the ruffled edges of the filter for a natural look.
Selecting the Best Coffee Filters
Standard 8-12 cup basket-style coffee filters provide the ideal circular shape and ruffled edges for this specific project. Avoid cone-style filters entirely, as their seamed edges will not open into a symmetrical blossom when pinched in the center.
Creating the Watercolor Blossoms
Color 25 to 30 standard white coffee filters with washable pink and yellow markers, then mist them lightly with water to create a beautifully blended watercolor canopy.
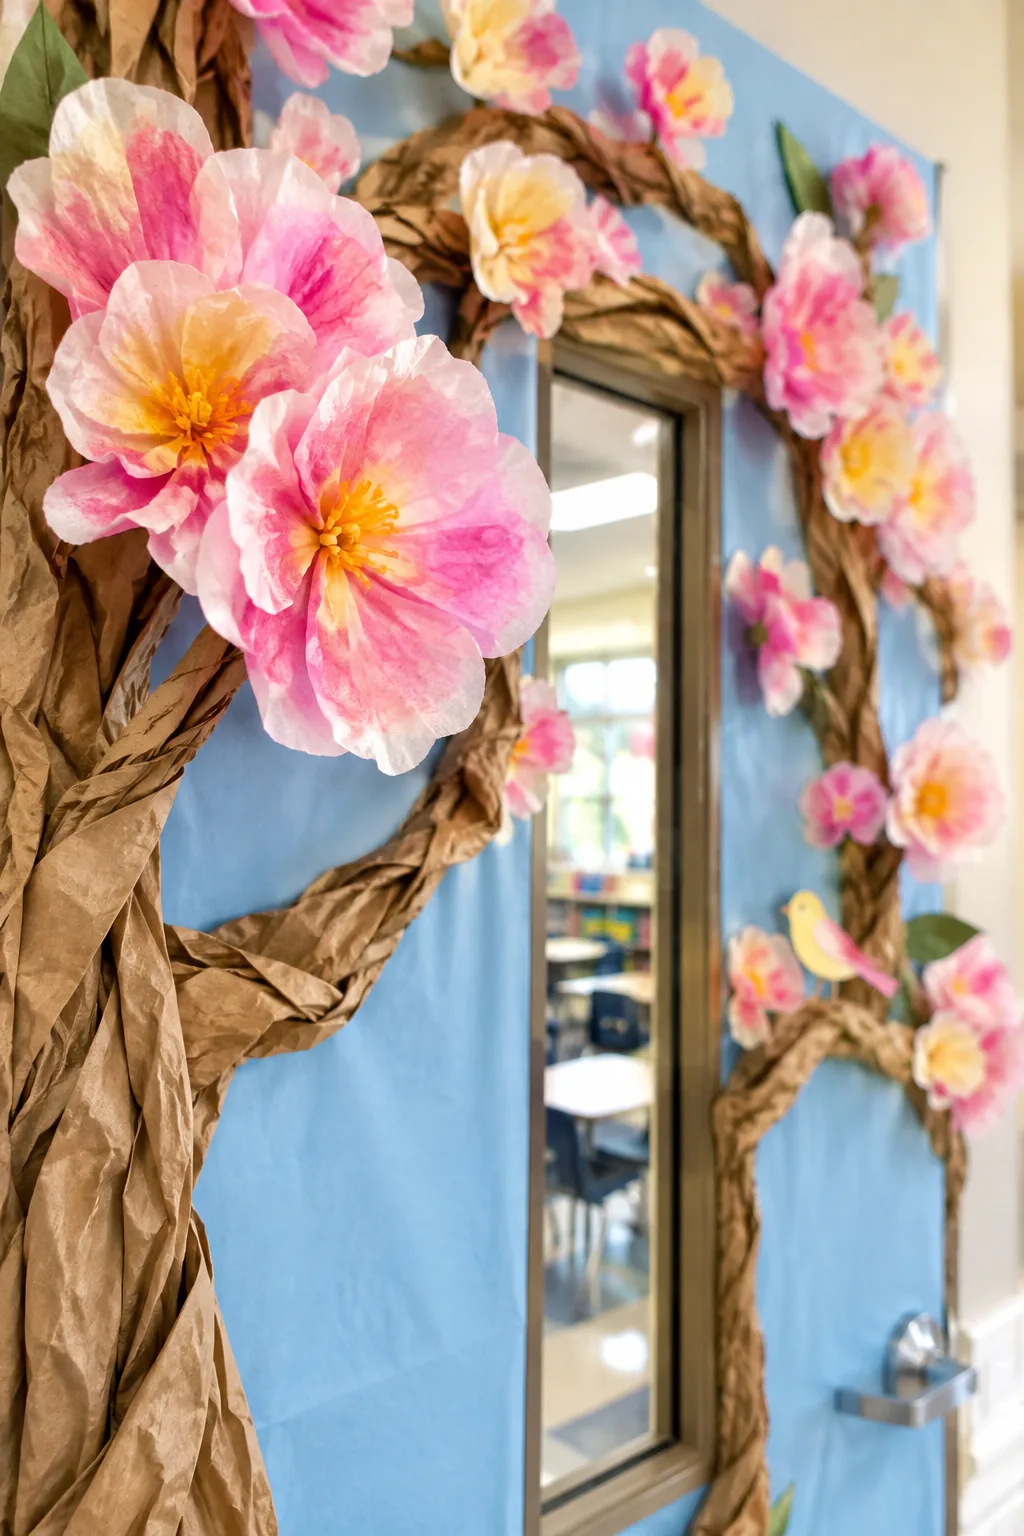
Getting the perfect watercolor bleed requires controlling the moisture level carefully.
Protecting the Floor During Assembly
Misting the colored filters will inevitably cause some tinted water to drip down the door face. Place a spare plastic tablecloth or an old towel at the base of the door to protect your classroom flooring from temporary pink stains.
Drying and Fluffing the Flowers
Wet coffee filters are incredibly fragile and will tear easily if handled immediately. Lay them flat on a plastic tray to dry overnight, then pinch the center of each filter and twist slightly to create a voluminous, ruffled 3D blossom.
Spacing the Flowers for Impact
Arrange your dried blossoms in tight clusters of three or five along the upper branches, leaving intentional negative space so the blue tablecloth shows through like a clear spring sky.
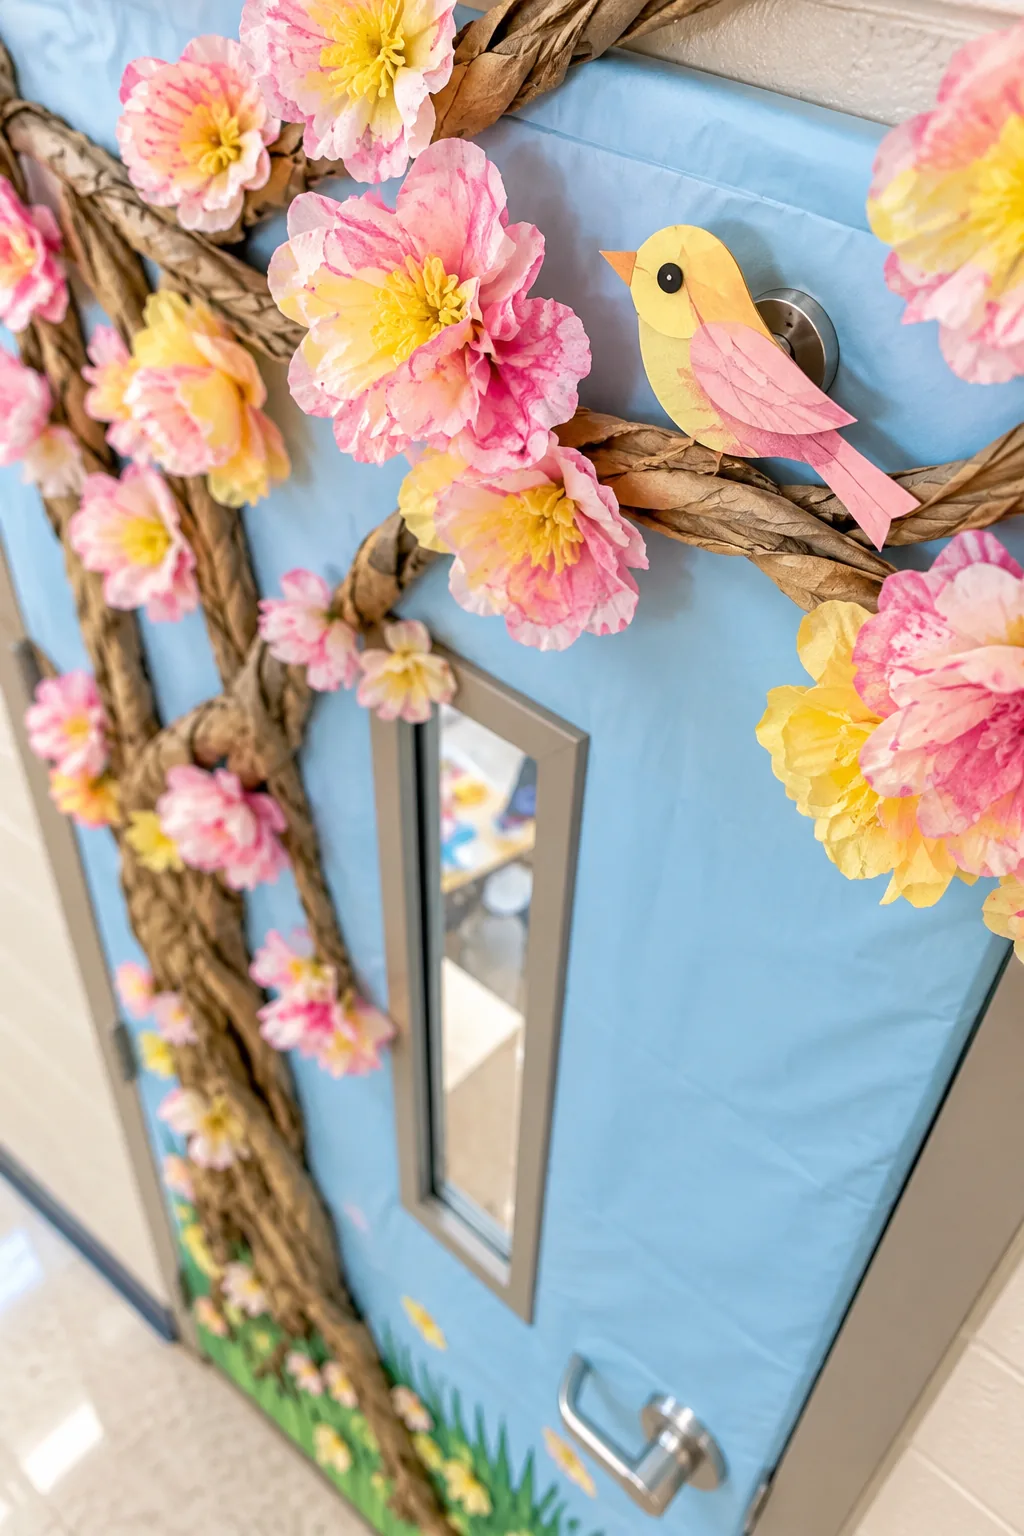
- Place the largest five-flower cluster at the top right corner.
- Add a secondary three-flower cluster on the left branch.
- Fill the remaining gaps with single blossoms to balance the visual weight.
Adding Leaf Details to the Canopy
While the pink and yellow blossoms provide the main pop of color, tucking small green paper leaves into the clusters adds necessary contrast. Cut simple teardrop shapes and glue them directly behind the ruffled coffee filters for extra dimension.
Coordinating with Hallway Lighting
Fluorescent school lighting can easily wash out subtle watercolor tones on your door. Saturate your coffee filters with more marker pigment than you think you need, ensuring the pinks and yellows remain incredibly vibrant when viewed from down the hall.
Calculating Magnet Strength
Standard refrigerator magnets lack the necessary pull force to hold thick layers of twisted kraft paper securely. Look for ceramic disc magnets with a 2-pound pull force to guarantee your heavy trunk stays firmly attached to the steel door.
Mounting on Steel Doors with Magnets
For fire-rated steel classroom doors, I rely entirely on heavy-duty ceramic button magnets instead of staples, just like I do for hanging heavy wreaths on my own metal front door.
Using magnets allows you to adjust the positioning of your branches and birds multiple times without leaving any sticky residue.
Concealing the Magnetic Hardware
Exposed magnets break the illusion of a natural tree and can easily be bumped off by passing backpacks. Glue your decorative elements directly to the magnets so the mounting hardware remains completely invisible to students walking through the hallway.
Adapting for Wooden Classroom Doors
If your school features solid wood doors instead of steel, simply swap the magnets for heavy-duty painter’s tape. Roll the tape into sticky loops and press them firmly behind the thickest parts of the paper branches to prevent sagging.
Adding Grass and Character Details
Finish the bottom edge with a 6-inch tall fringe of green construction paper grass to anchor the trunk, cutting varied triangular blades just like I do when making springtime table centerpieces for my own dining room.
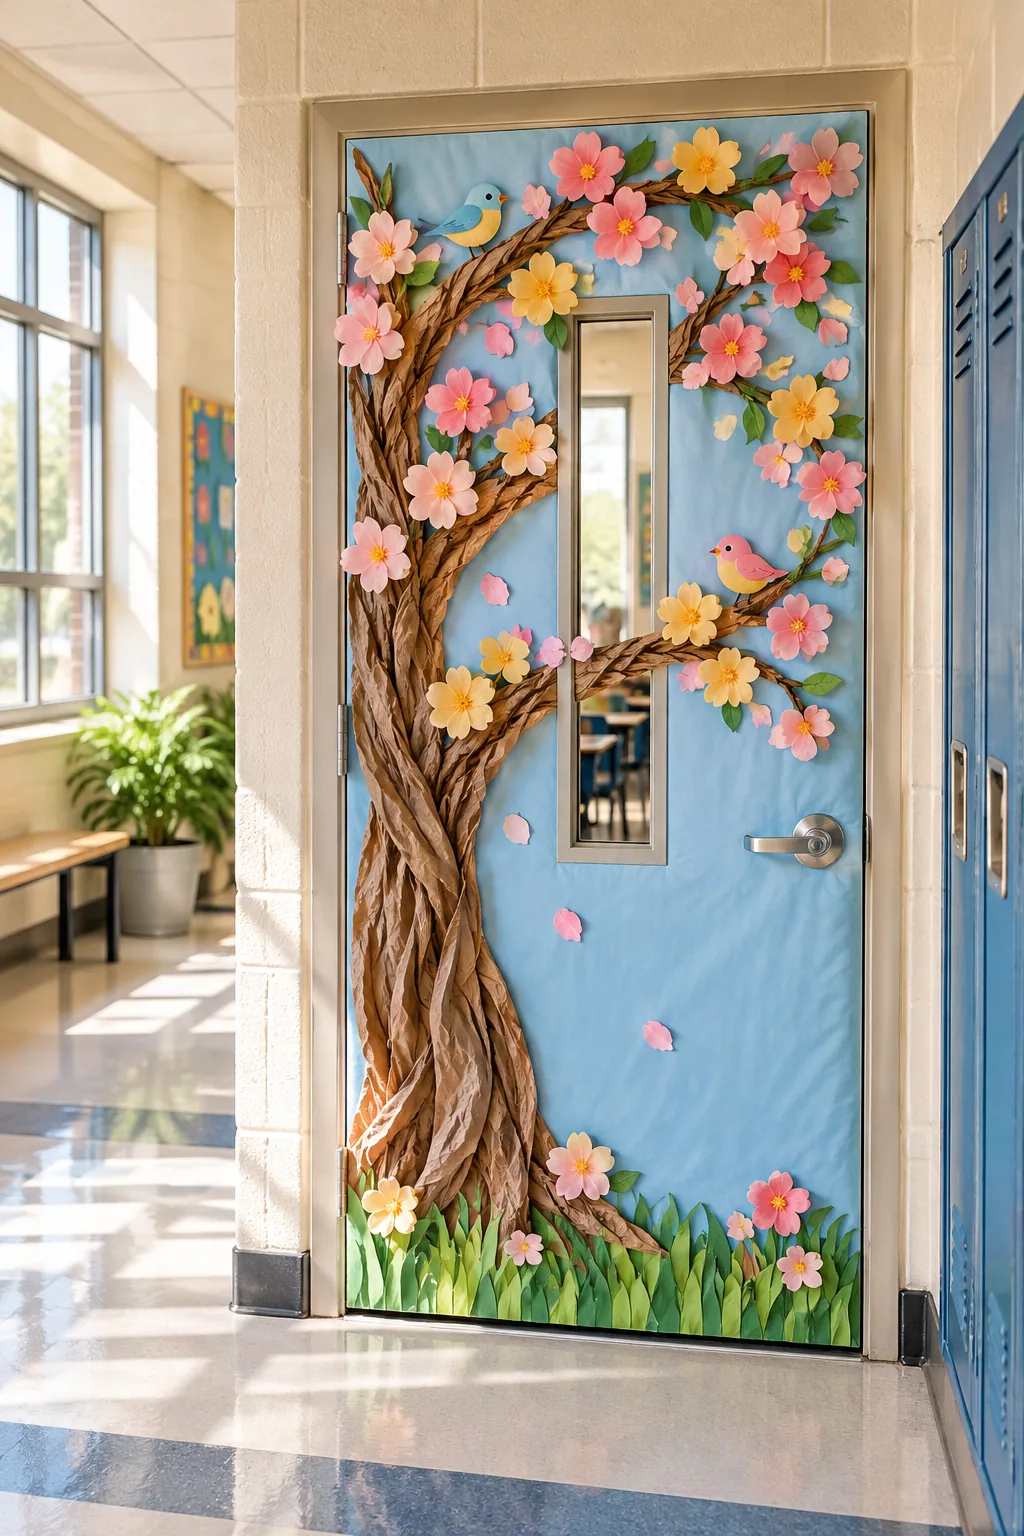
Layering the Grass Fringe
Create visual depth at the base of your tree by layering two different shades of green construction paper. Cut the darker green layer slightly taller than the light green layer to mimic the natural shadows of a lush spring meadow.
Positioning the Paper Bird
Add a simple paper bird on a lower branch to create an engaging focal point exactly at the students’ eye level. Placing the bird slightly off-center naturally draws the eye upward along the trunk toward the colorful floral canopy.
Involving Students in the Build
This design offers a perfect opportunity to let your students contribute to the classroom environment. Have them color the coffee filters during morning free time, turning the canopy construction into a fun, collaborative art project they can feel proud of.
Maintaining the Decor Throughout Spring
Hallway humidity and frequent door slamming can cause the heavy paper trunk to shift slightly over time. Check the tension of your twisted bags every few weeks and add an extra hidden magnet to any sagging branch joints as needed.
Removing the Decor Safely
When the spring season ends, peel the packing tape away from the back edges of the door slowly at a 45-degree angle. This gentle removal technique prevents the strong adhesive from stripping the clear coat off the metal door frame.
More Spring Classroom Door Ideas
Explore these different color palettes and themes to adapt the basic paper-bag tree for your specific hallway.
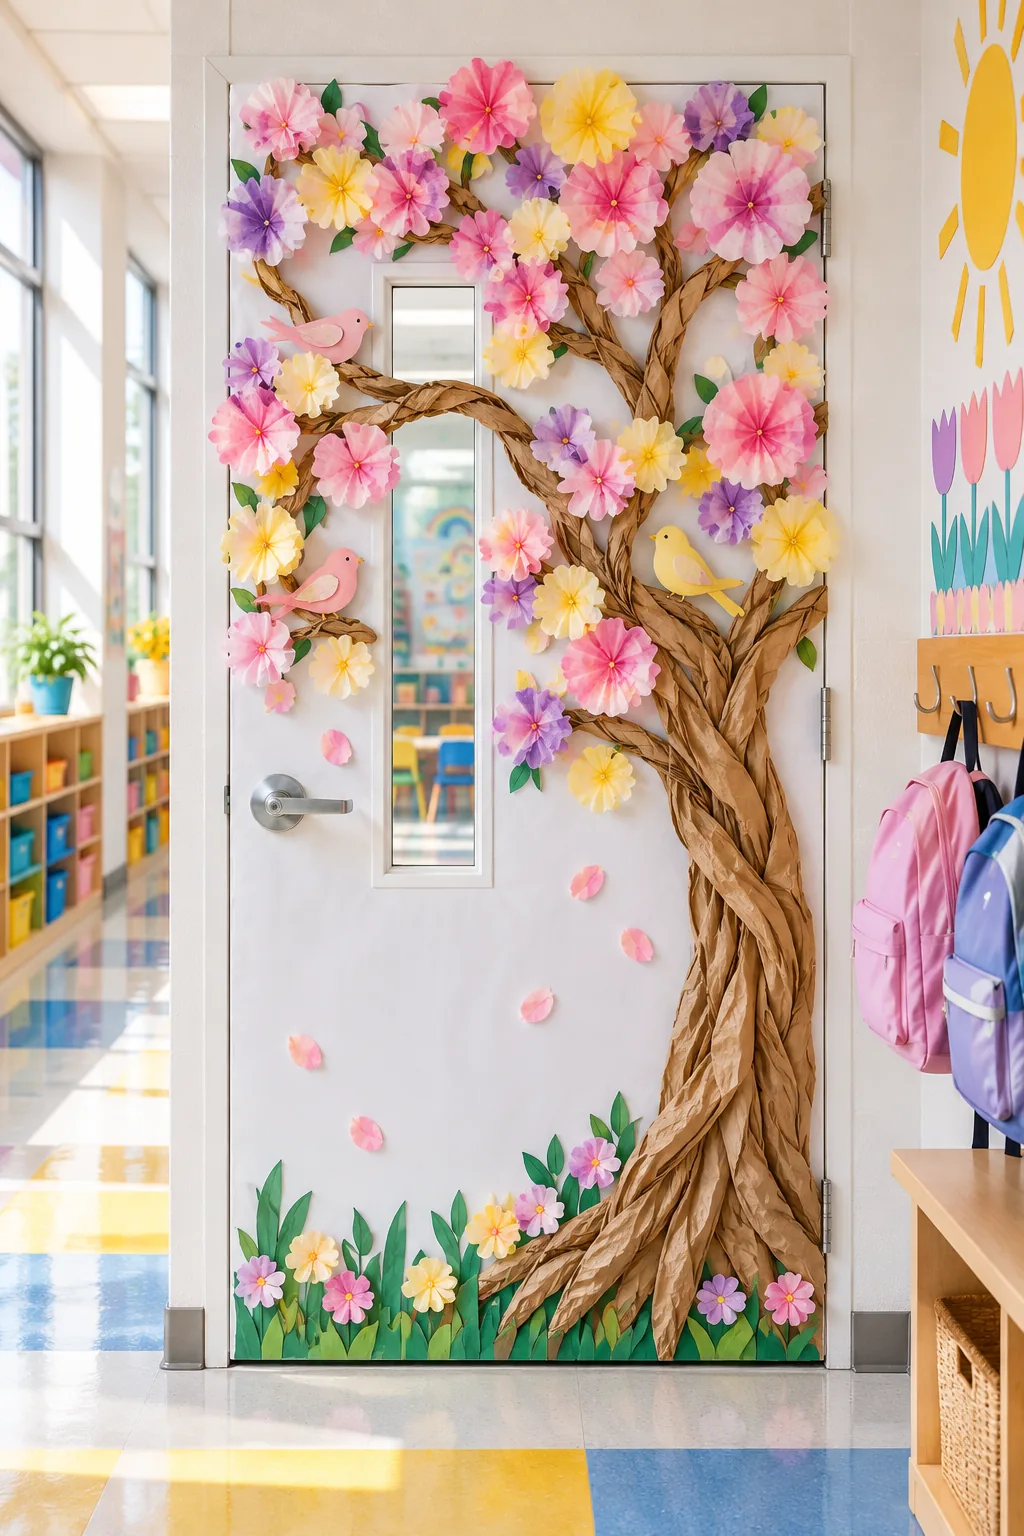
Pastel Rainbow Canopy: Swap the blue background for crisp white and use a mix of soft pastel markers to create a gentle, inviting rainbow canopy perfect for early education wings.
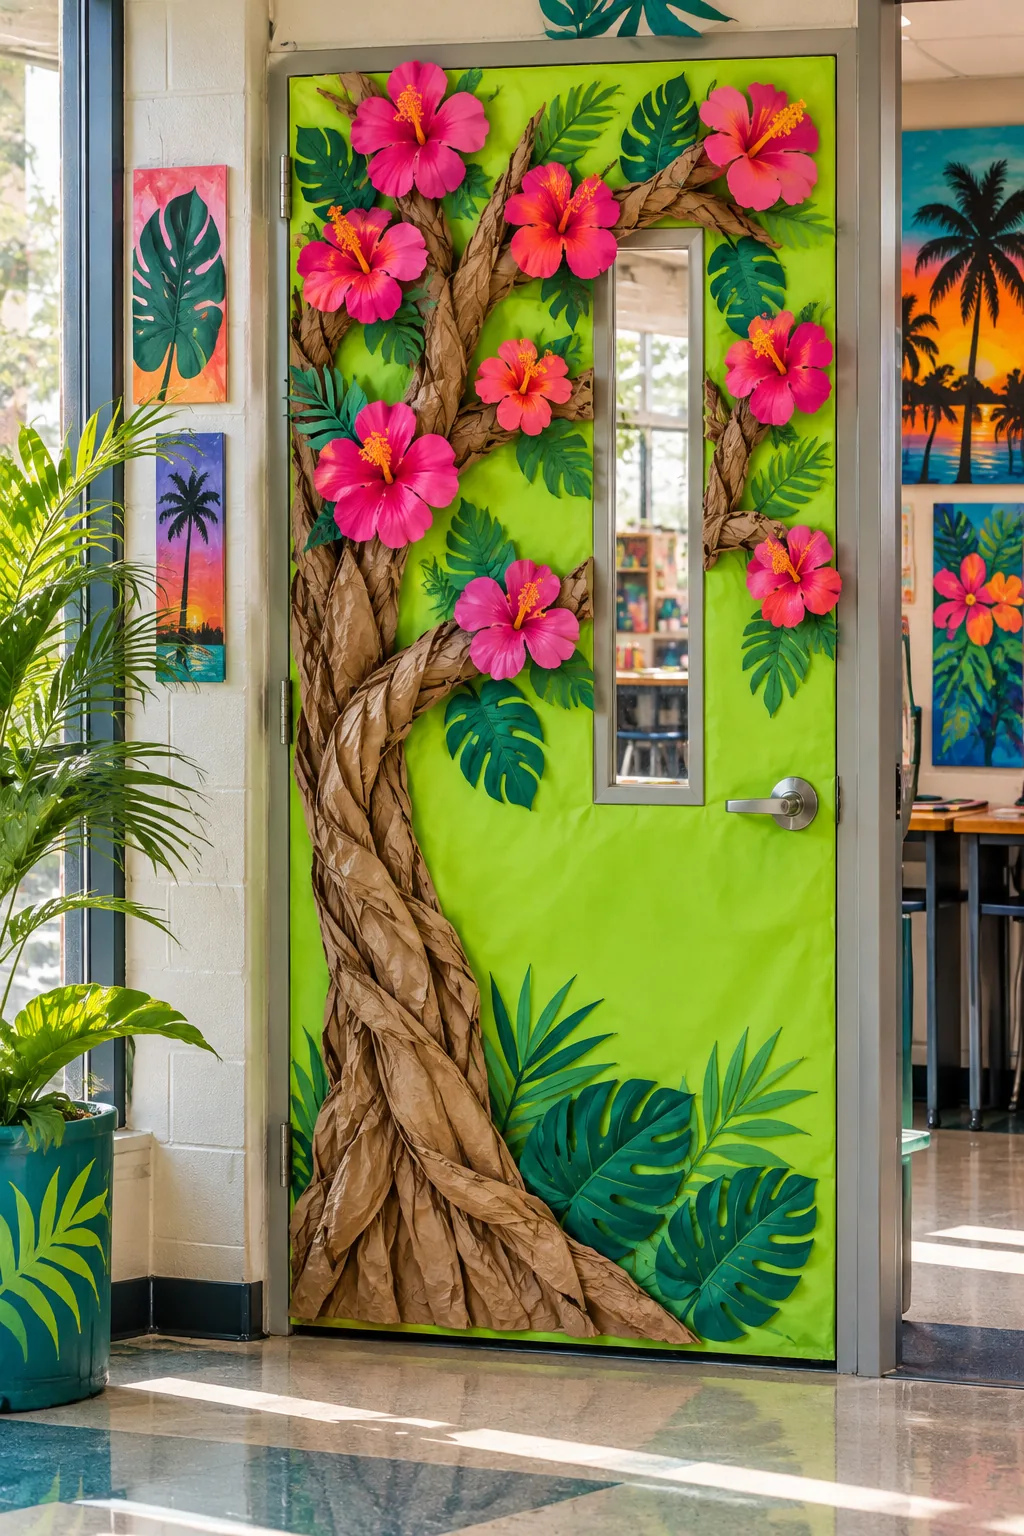
Neon Tropical Spring: Energize an art hallway by pairing a neon green tablecloth base with oversized, vibrant magenta blossoms cut into tropical hibiscus shapes.
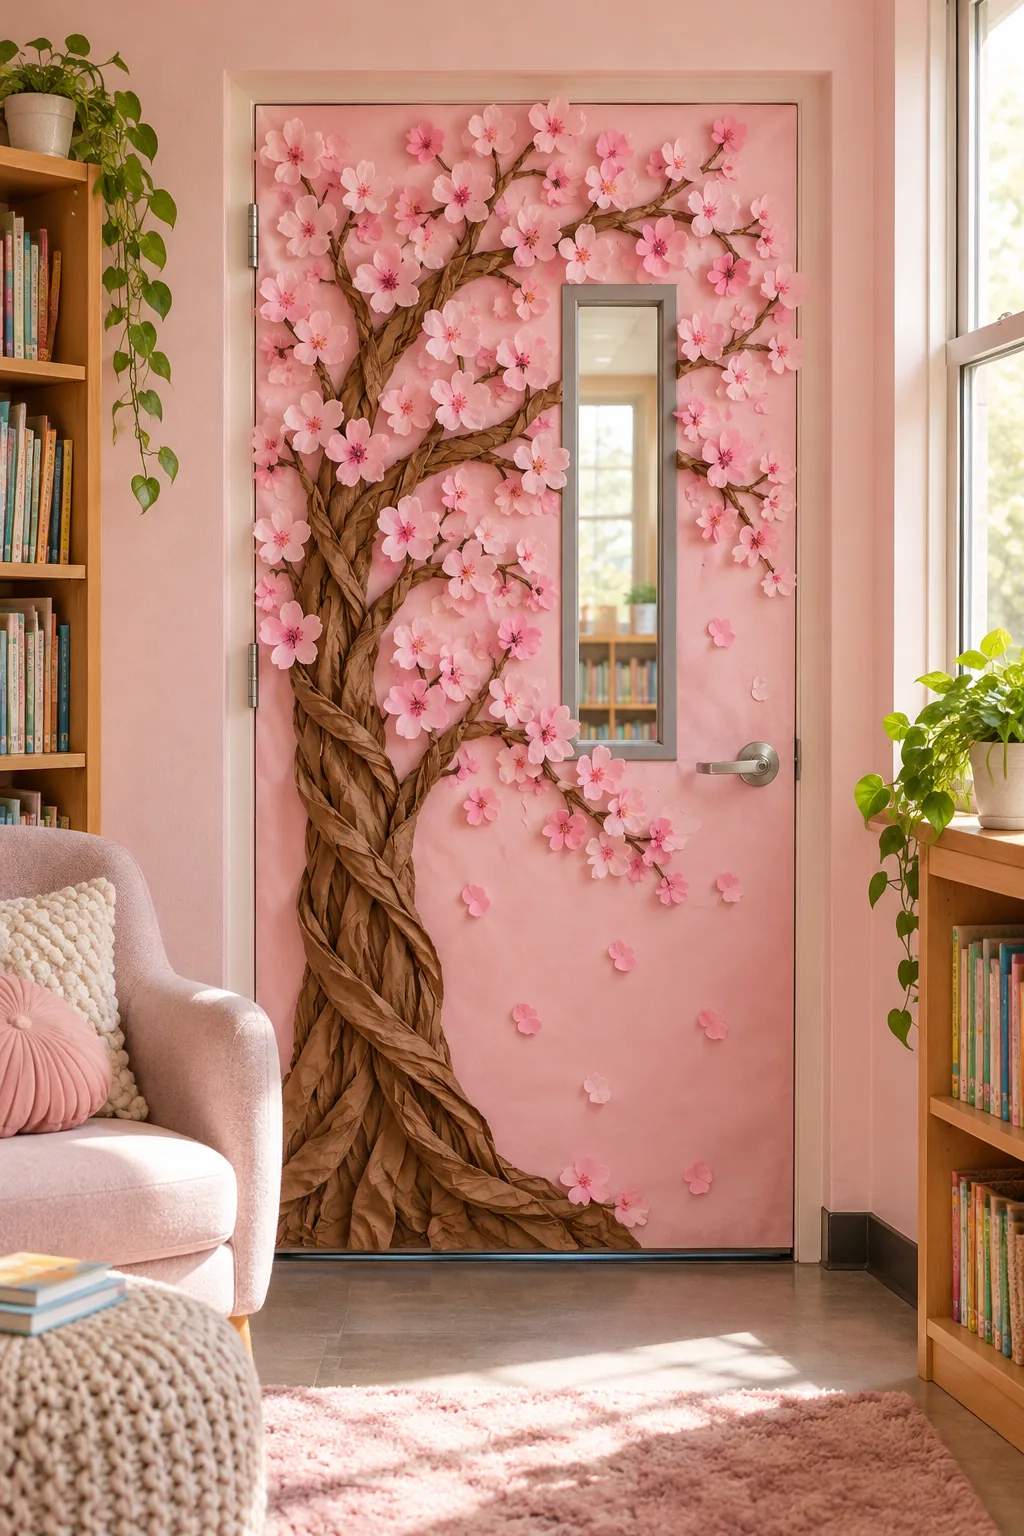
Monochromatic Cherry Blossom: Create a calming, cohesive aesthetic for a reading room by matching pale pink cherry blossoms directly to a soft pink background layer.
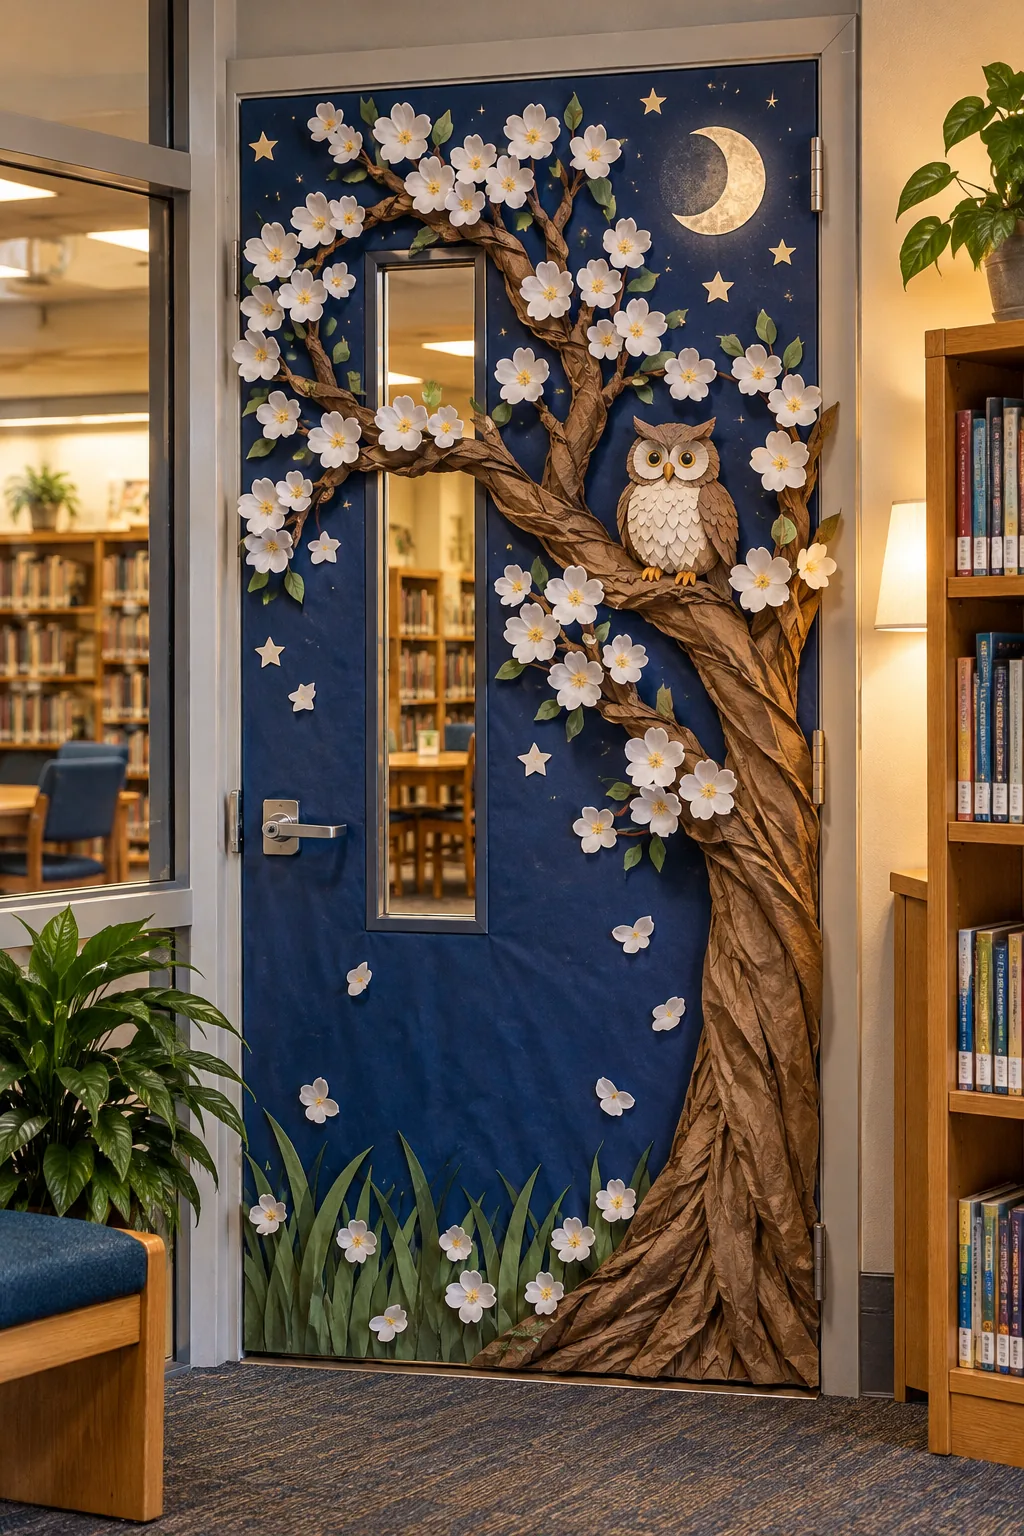
Nighttime Spring Owl: Shift the mood to evening with a deep navy background, contrasting pure white blossoms, and a wise paper owl watching over the library entrance.
Download the Spring Door Build Sheet
Print your complete two-page Spring Door Build Sheet below to get the exact supply list, including tablecloths, paper bags, coffee filters, markers, and magnets, along with the step-by-step sequence from a bare door to the finished tree.
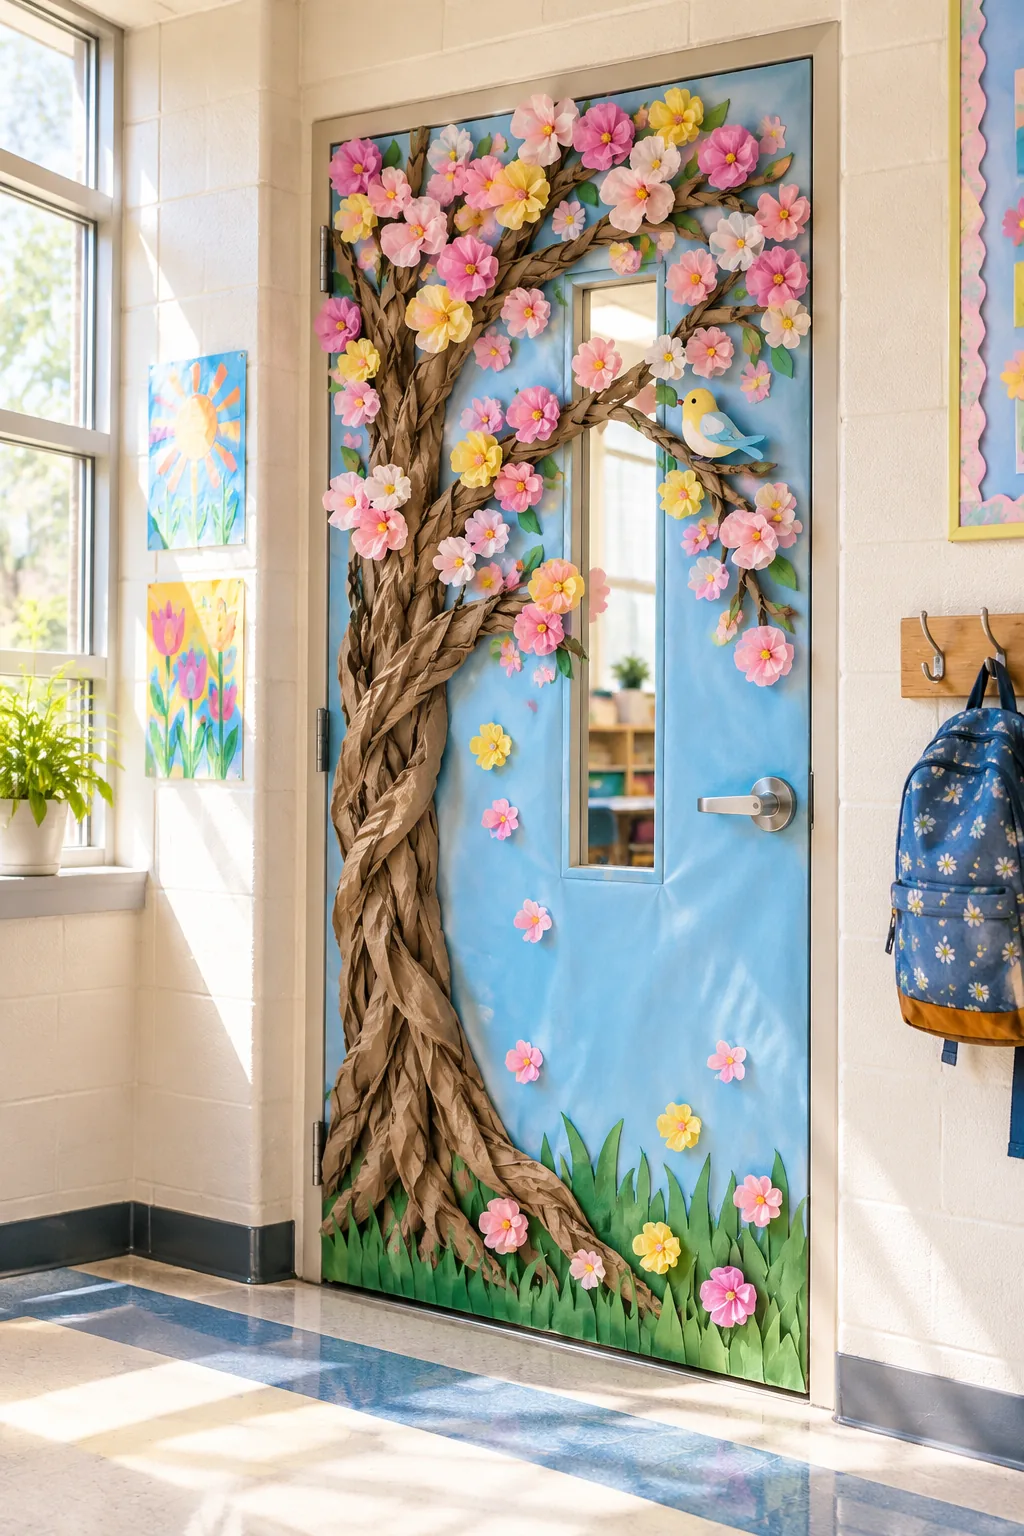
Review the final placement of all elements against the provided diagram to ensure your branches and blossoms are perfectly balanced before the morning bell rings.