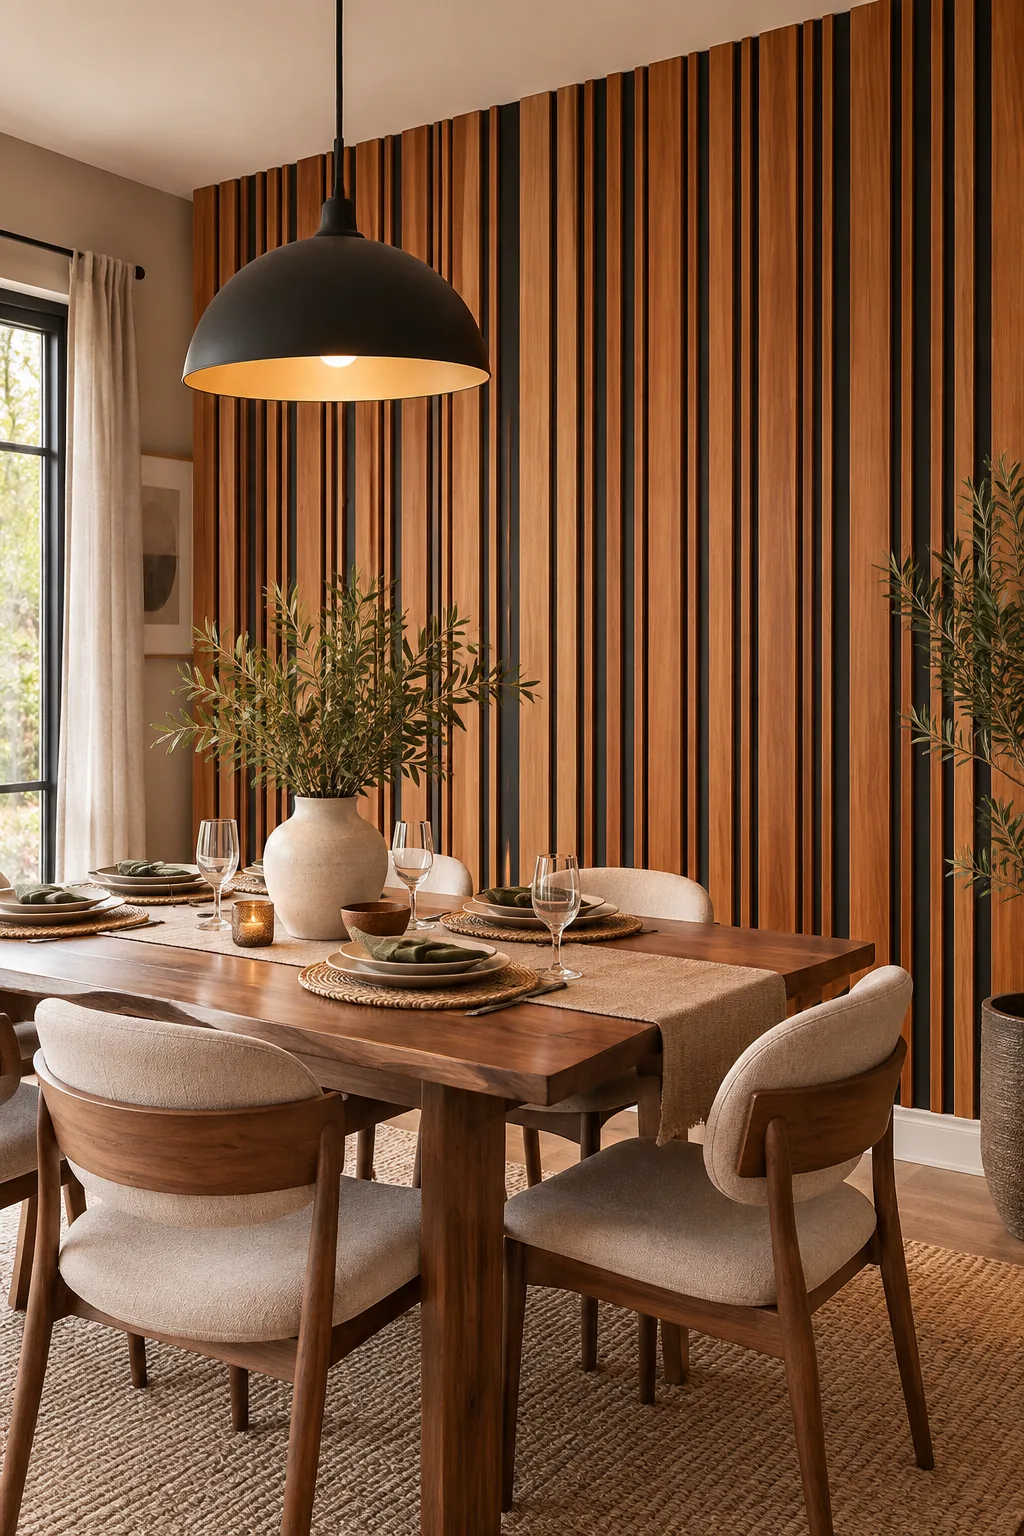
Modern Wood Slat Wall: The Complete Material & Spacing Guide
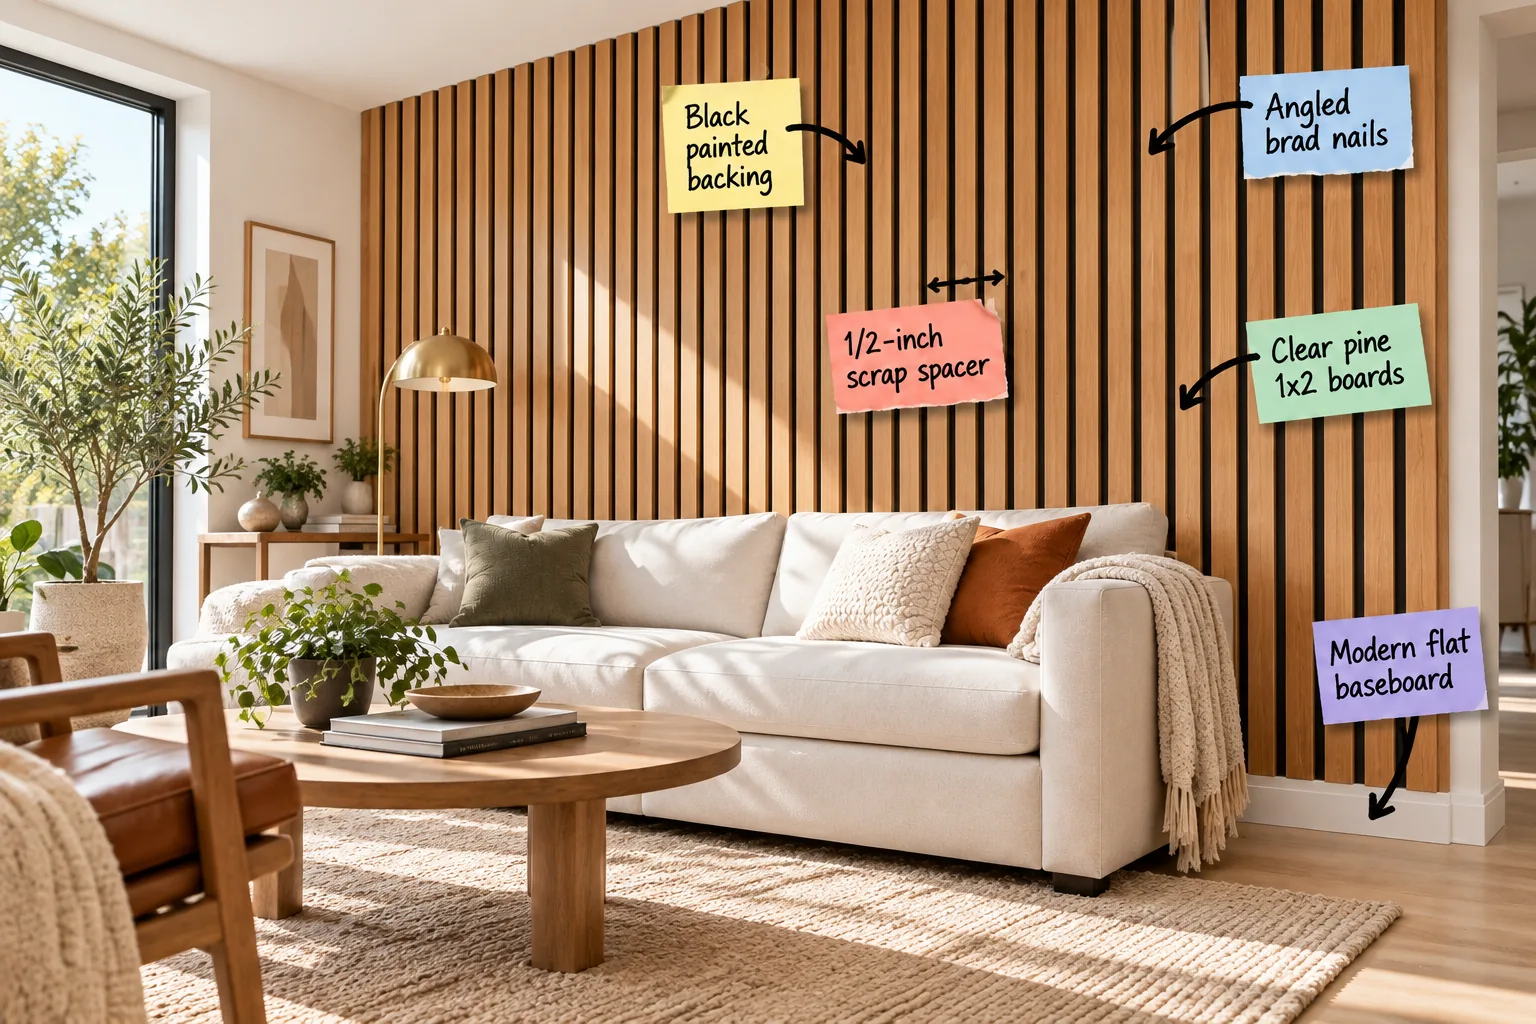
If you are planning a modern wood slat wall, this complete material and spacing guide will help you calculate your lumber needs, cut consistent spacers, and install perfectly aligned boards. You will learn the exact dimensions and fastening tricks required to build a flawless slatted accent wall.
Prepping the Dark Canvas
Painting the wall black first is crucial for creating the deep, recessed shadow that makes a modern wood slat accent wall pop. In my Austin dining room, I skipped this step once and the white drywall glared terribly through the gaps.
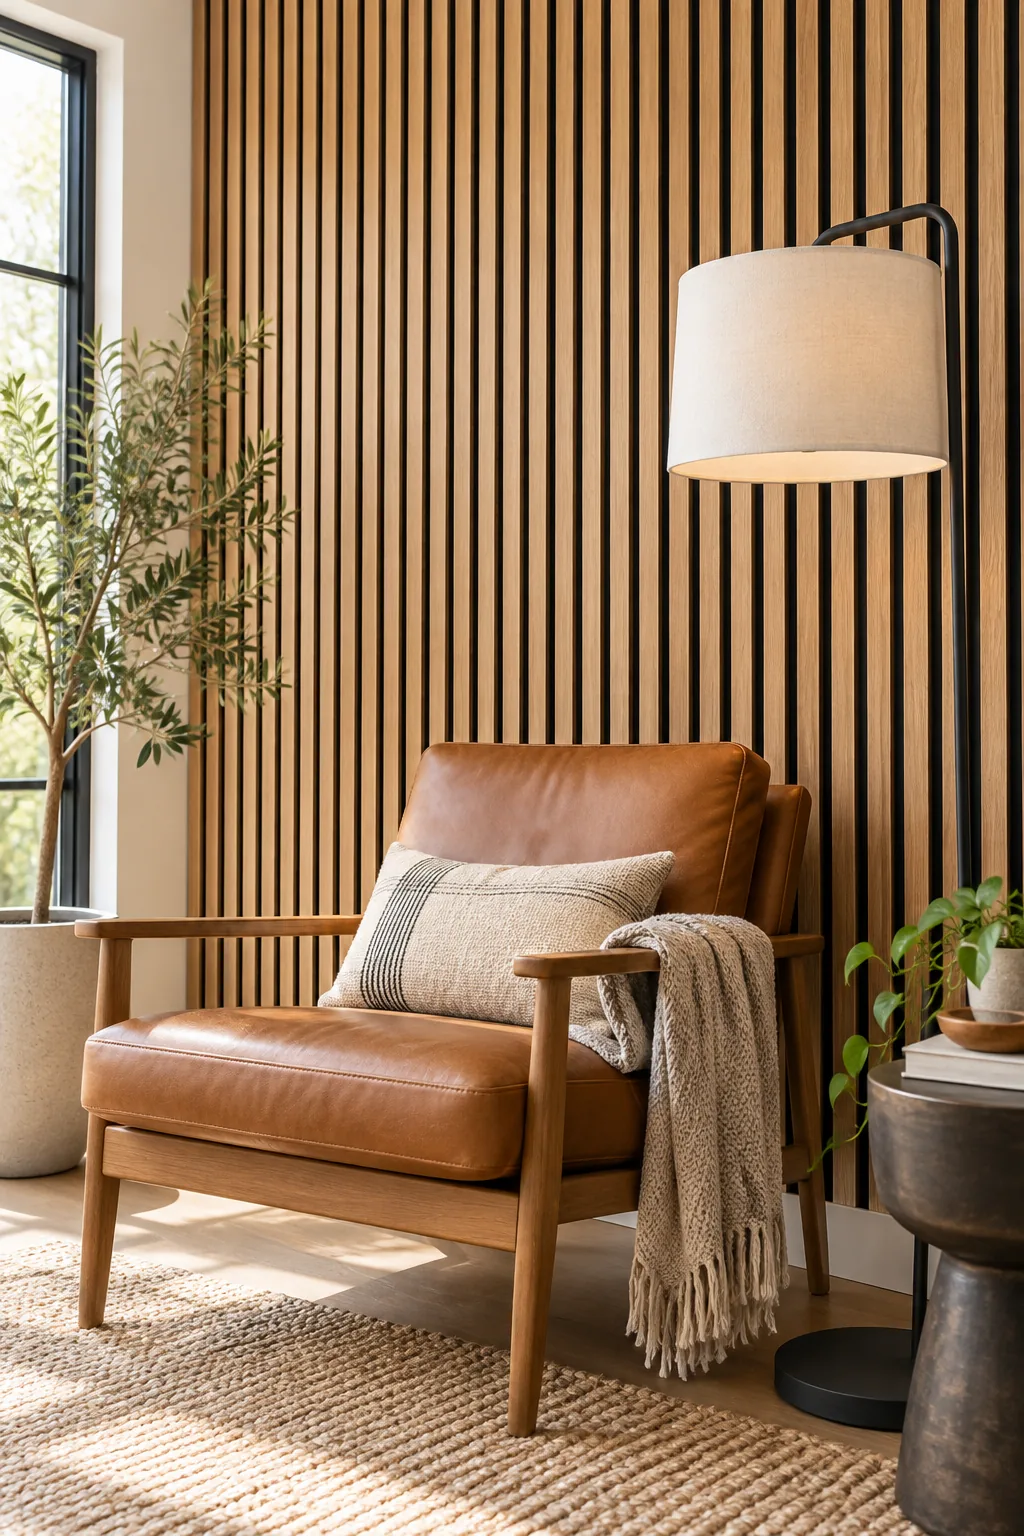
Before attaching any wood, ensure the surface is completely ready to recede into the background.
Painting the Ceiling Line
To prevent a stark white line from showing above your boards, cut the black paint into the ceiling corner. Extending the black painted backing just a quarter-inch onto the ceiling ensures the dark void continues endlessly.
Selecting the Right Wood
Choosing clear pine 1×2 boards is essential because the term “clear” means the lumber is graded to be knot-free. Premium knot-free wood prevents future warping and keeps the modern aesthetic incredibly clean and linear.
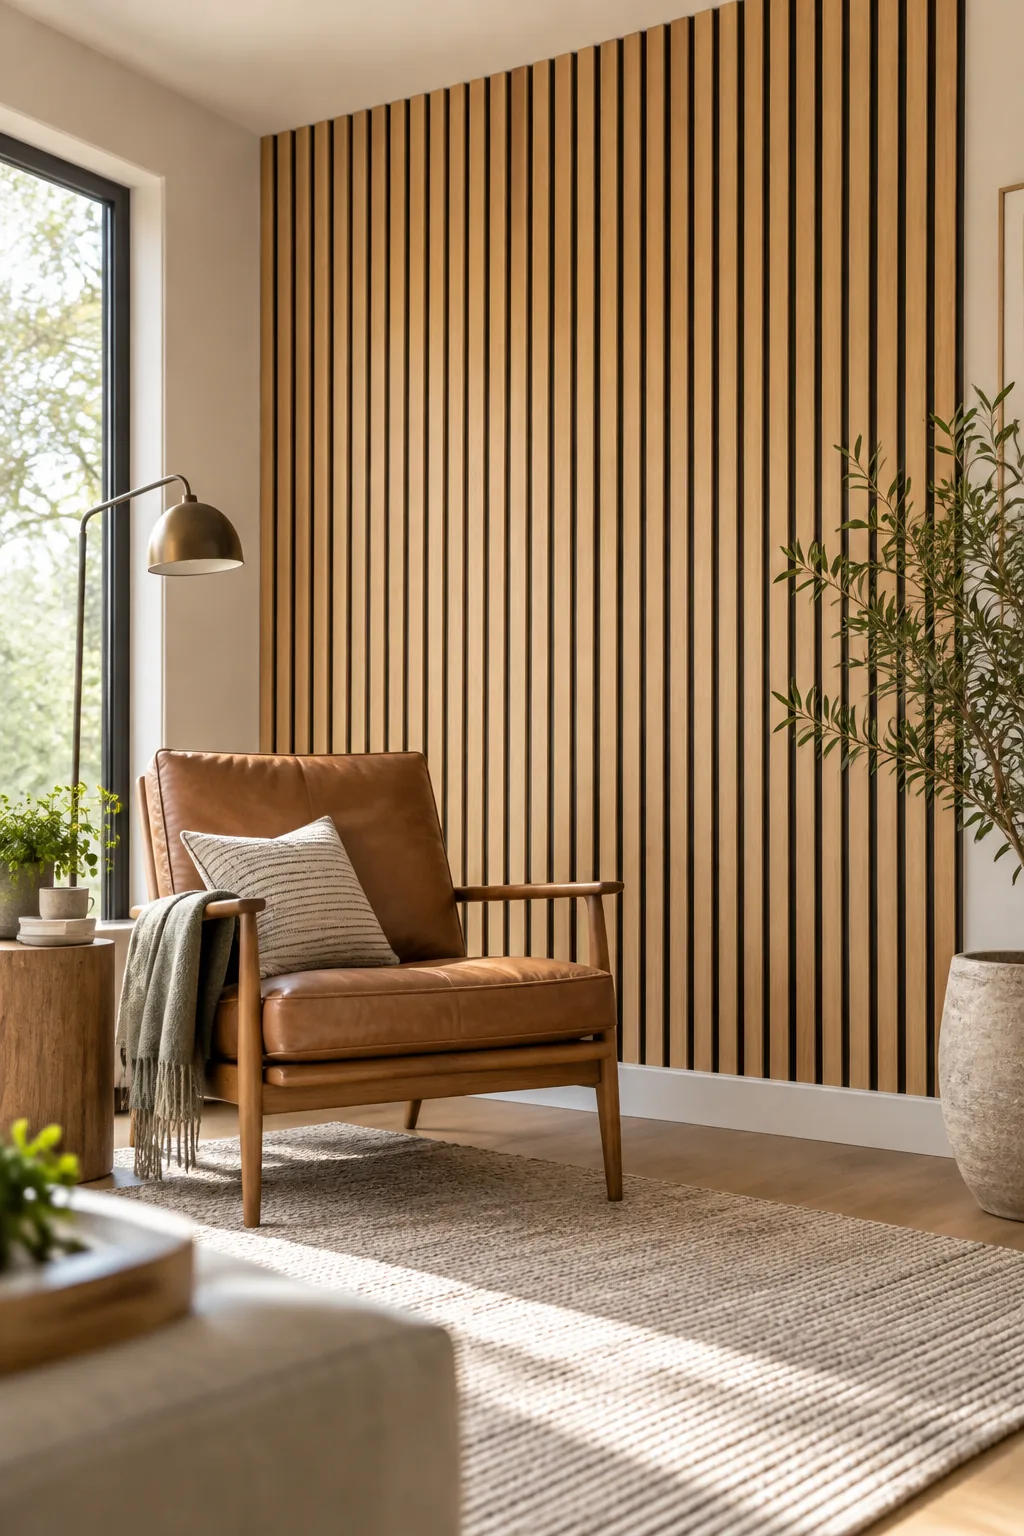
Lower-grade lumber often twists as it dries, which will instantly ruin the precise parallel lines you are working so hard to establish.
Acclimating Your Pine Boards
Always bring your purchased lumber inside and let it rest in the installation room for at least 48 hours. This crucial wood acclimation period allows the pine to adjust to your home’s humidity, preventing shrinking after installation.
Managing Board Bowing and Warps
Even premium clear pine can have a slight curve, so sight down the edge of every board before cutting. Place any slightly bowed boards aside to use for shorter cuts around windows or electrical outlets where the curve is manageable.
The Material and Spacing Guide
Understanding the core material ratios is the secret to buying exactly the right amount of lumber. Standard 1×2 boards are actually 0.75 by 1.5 inches, which dictates your entire layout math.
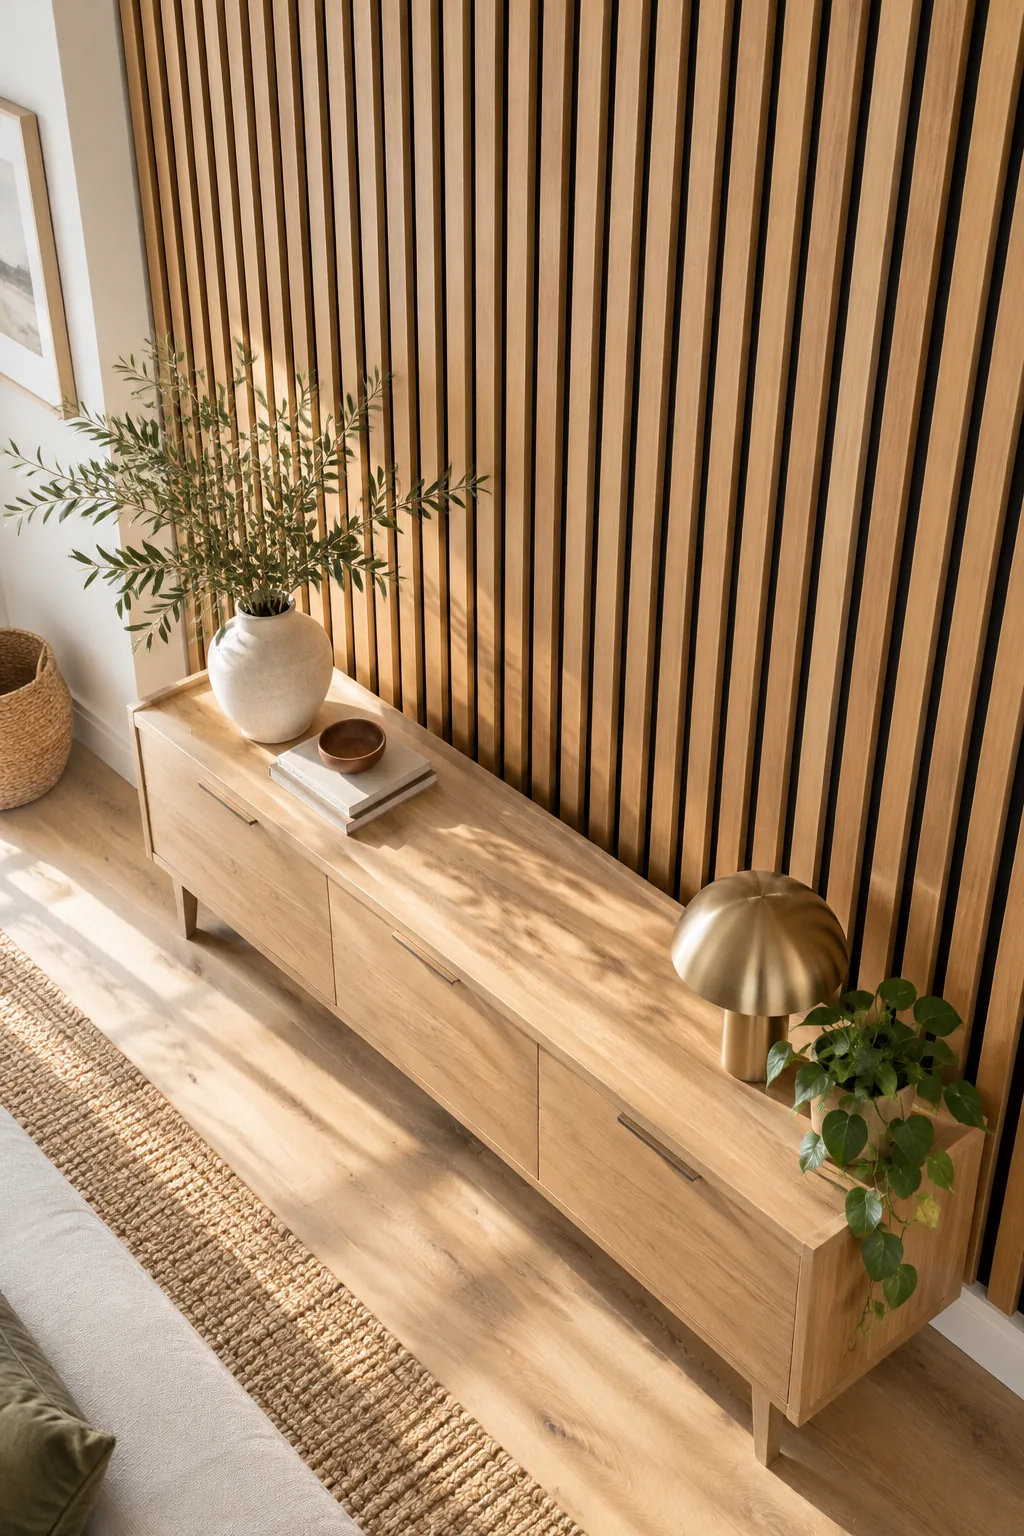
| Wall Width | Board Count (1/2″ Gap) | Board Count (3/4″ Gap) | Nails Required |
|---|---|---|---|
| 4 feet | 24 boards | 21 boards | ~300 nails |
| 6 feet | 36 boards | 32 boards | ~450 nails |
| 8 feet | 48 boards | 42 boards | ~600 nails |
| 10 feet | 60 boards | 53 boards | ~750 nails |
| 12 feet | 72 boards | 64 boards | ~900 nails |
Pairing a 1.5-inch board face with a 0.5-inch gap means you need exactly one board for every 2 inches of wall width. This simple ratio makes ordering your materials completely foolproof.
Always purchase ten percent more lumber than your final calculation requires to account for trimming errors and the occasional hidden defect.
Calculating Your Total Lumber Run
Measure your total wall width in inches and divide by two to get your exact board count for a half-inch gap. Multiply that number by your ceiling height to determine the total linear feet of clear pine required.
Sanding and Prep Before Installation
Run a 220-grit sanding block over the front face and side edges of every board while they are still lying flat on your sawhorses. Removing the rough mill glaze now guarantees a silky smooth final finish once mounted.
Creating the Perfect Gap
Using a dedicated 1/2-inch scrap spacer guarantees perfectly parallel lines from floor to ceiling. I cut three identical spacer blocks from scrap wood so I wouldn’t have to measure every single board while holding the heavy pine slats.
Rigid spacer blocks are the only way to ensure your entire wall remains perfectly straight as you work across the room.
- Wedge the first spacer near the ceiling to lock the top gap securely.
- Place the second spacer at eye level to keep the middle section straight.
- Slide the third spacer down by the baseboard to anchor the bottom.
Choosing the Right Brad Nailer
A cordless 18-gauge brad nailer is the ideal tool for this project because it provides enough holding power without splitting the narrow pine. Adjust your compressor depth so the nail head sinks just below the wood surface.
Securing the Slats Invisibly
The best way to hide fasteners is by shooting angled brad nails directly into the side edges of the wood. I learned the hard way on my first wall that shooting straight into the face leaves ugly holes and pulls out easily.
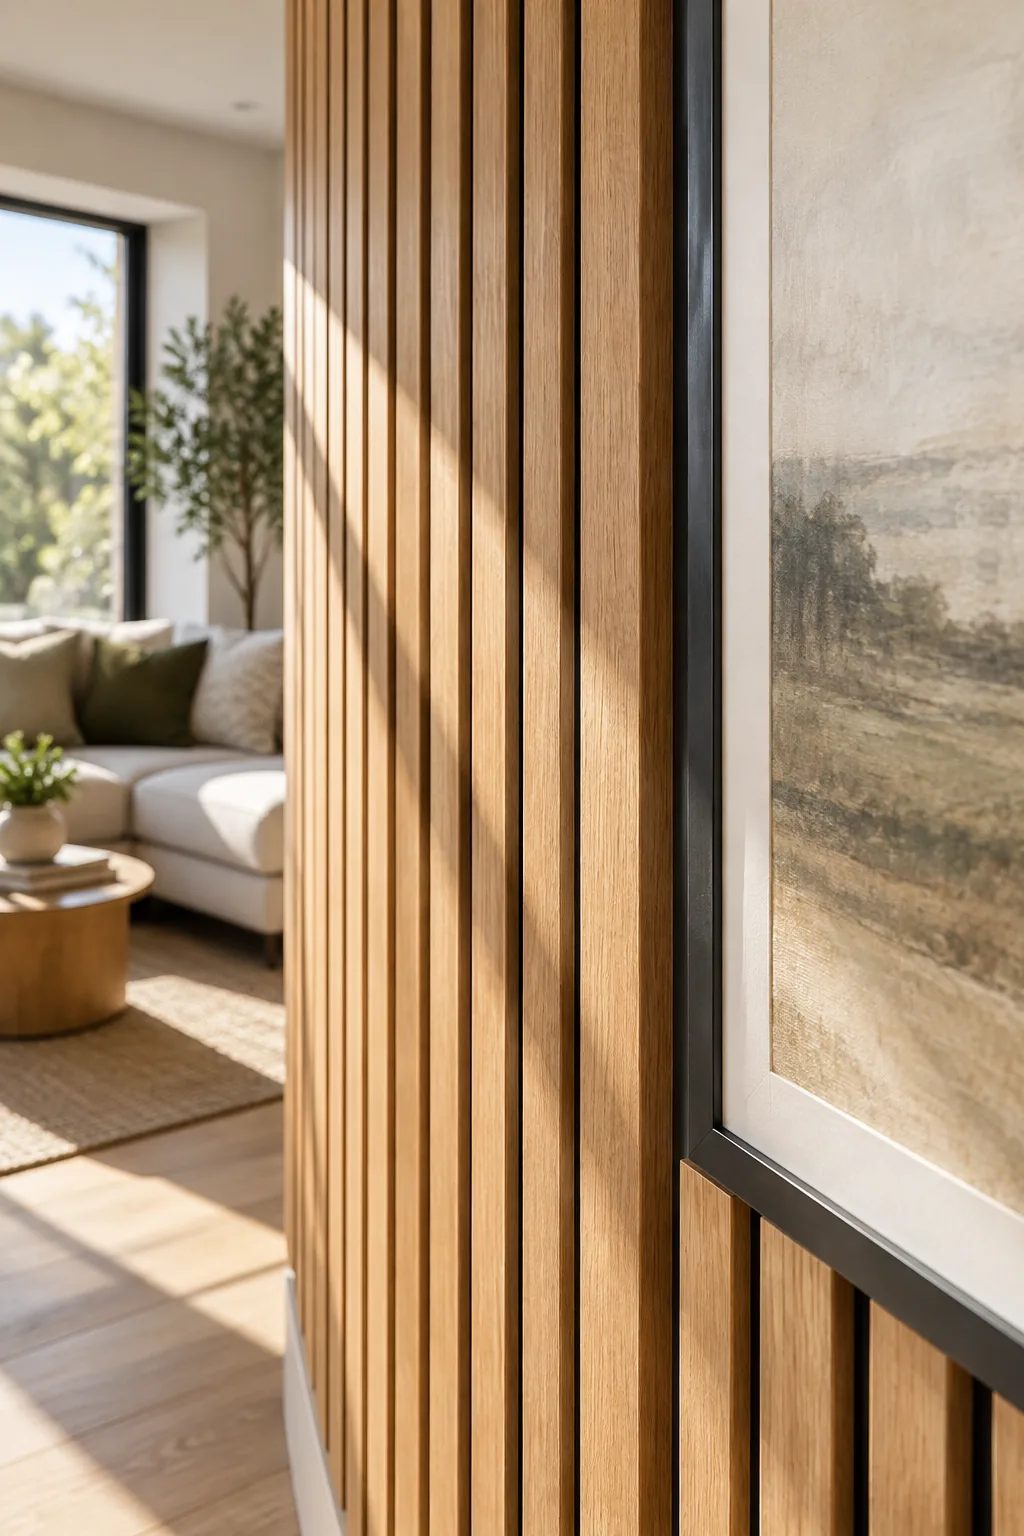
A flawless finish relies entirely on how the boards are anchored to the wall structure.
Applying Construction Adhesive
For boards that land between your marked wall studs, a zigzag bead of heavy-duty construction adhesive provides the necessary grip. Press the board firmly into the drywall, then use your angled brad nails to hold it while the glue dries.
Handling Outlets and Switches
When your slats hit an electrical box, you must extend the receptacle to sit flush with the new 3/4-inch wood depth. Installing a plastic electrical box extender safely brings the outlet forward to meet the pine face.
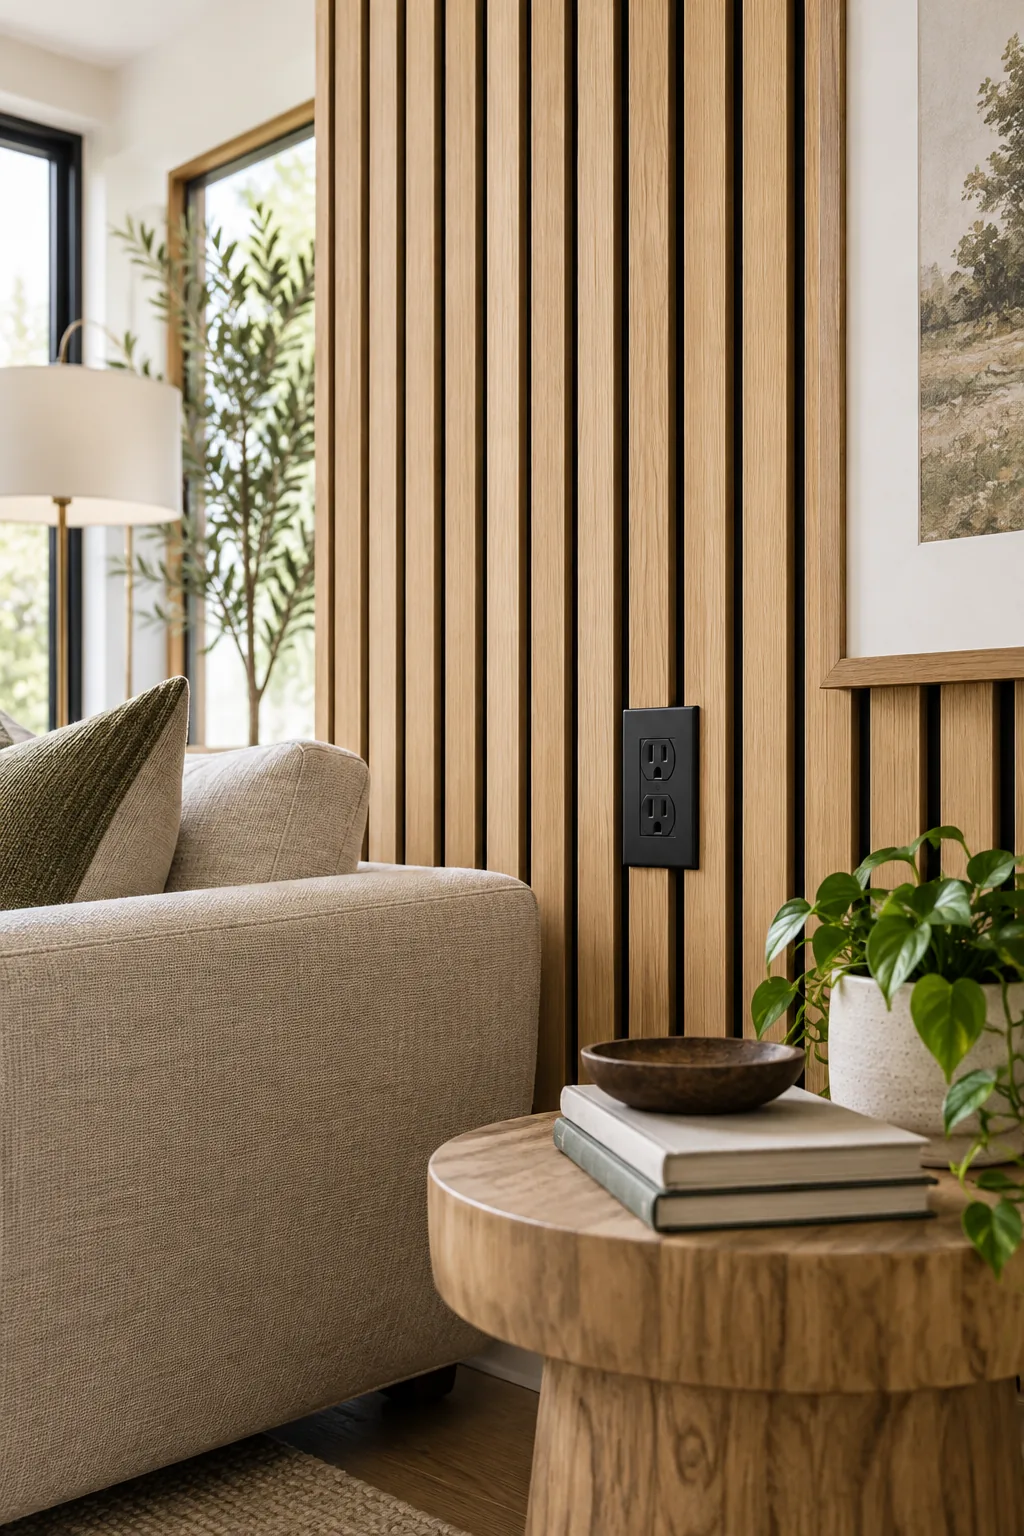
Never leave an electrical outlet recessed behind the wood slats, as this creates a serious fire hazard and violates most residential building codes.
Integrating Wall Sconces
If you plan to add lighting, pull the wiring through the drywall before painting the background black. Mount a round wooden electrical block that matches your slat depth so the sconce canopy sits perfectly flush against the wall.
Navigating Uneven Ceilings
Most residential ceilings are not perfectly level, so you should measure and cut each vertical slat individually rather than batch-cutting them all at once. Leave a tiny 1/8-inch expansion gap at the top to accommodate seasonal house movement.
Dealing with Window Trim
When your slat wall meets a window, you will need to frame the opening with a deep jamb extension. Ripping a custom clear pine board on a table saw creates a crisp border that covers the exposed slat edges.
Grounding the Look
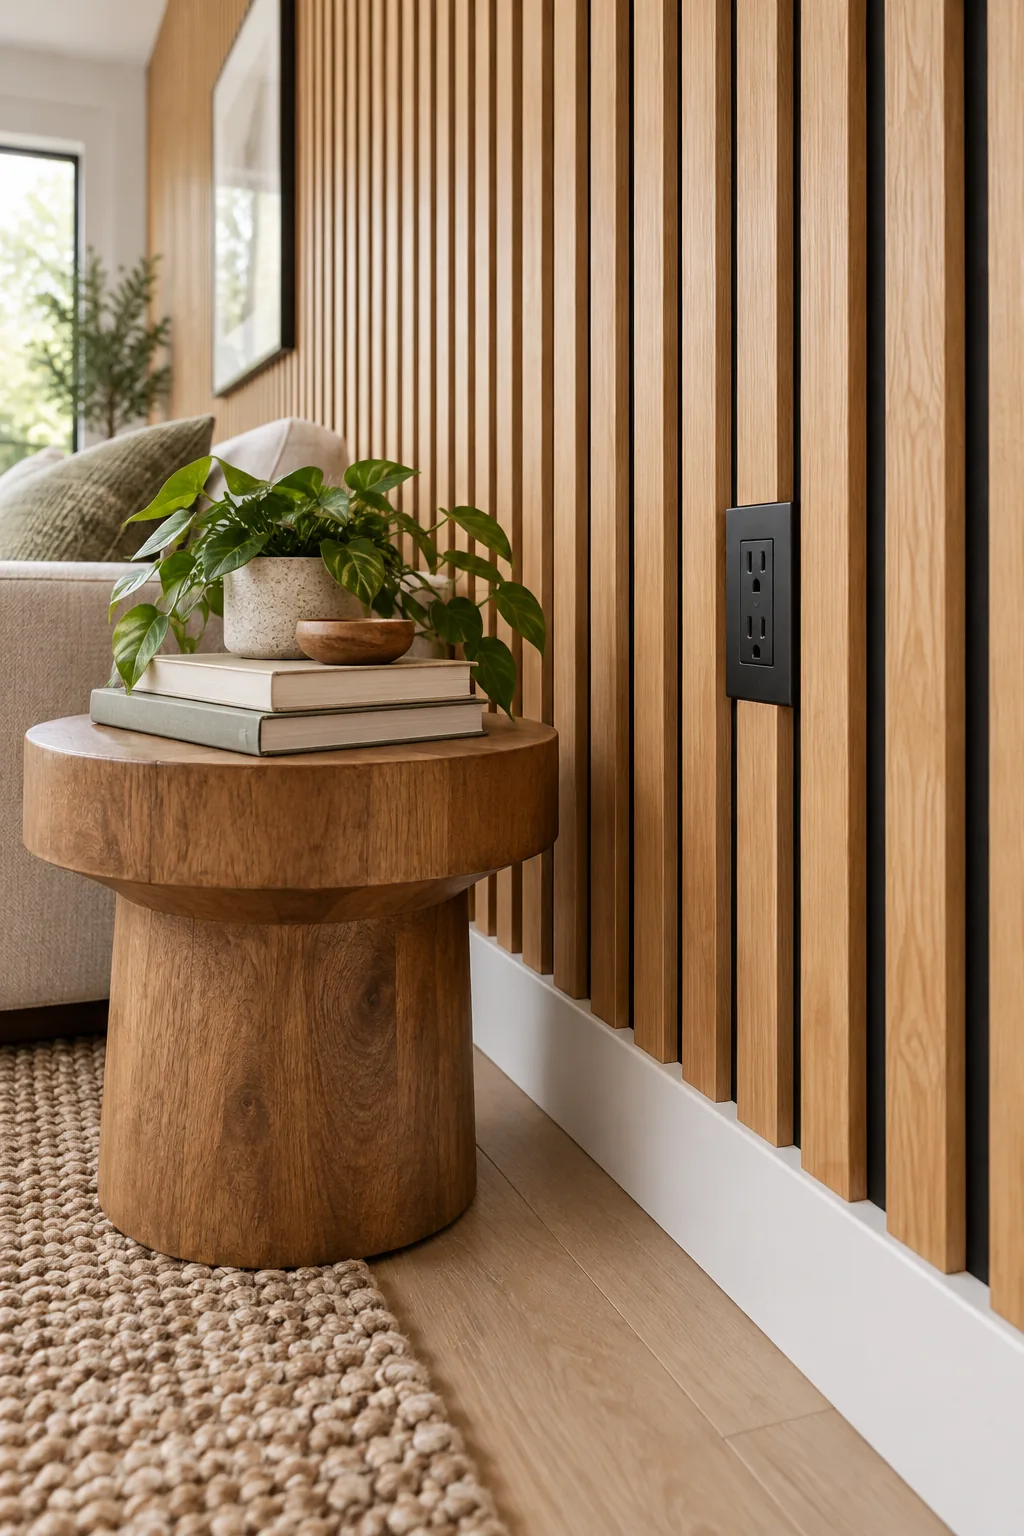
Grounding your new accent wall visually requires a solid foundation at the floor level. A modern flat baseboard provides a clean, square ledge that matches the depth of the 1×2 slats perfectly, avoiding the awkward overhangs of traditional curved trim.
Trimming the Top Edge
If your ceiling line is exceptionally wavy, you can install a horizontal 1×2 trim board flat against the ceiling before adding vertical slats. This top border cleanly caps the wood ends and hides any height variations.
Working Around Baseboard Heating
If your room features baseboard radiators, never run the wood slats directly to the floor. Stop the boards two inches above the heater unit to allow proper airflow and prevent the raw pine from warping under direct heat.
Filling Unavoidable Nail Holes
If you must face-nail a stubborn, twisted board to a stud, fill the tiny indentation with a stainable wood putty. Sand the spot lightly with 220-grit paper once dry so the patch blends seamlessly into the pine grain.
Final Touch-Ups and Wood Care
Before applying your clear coat, ensure your vertical slats meet a flat baseboard at the floor. A modern flat baseboard provides the cleanest architectural finish for vertical slats because it matches their depth perfectly and grounds the entire structure.
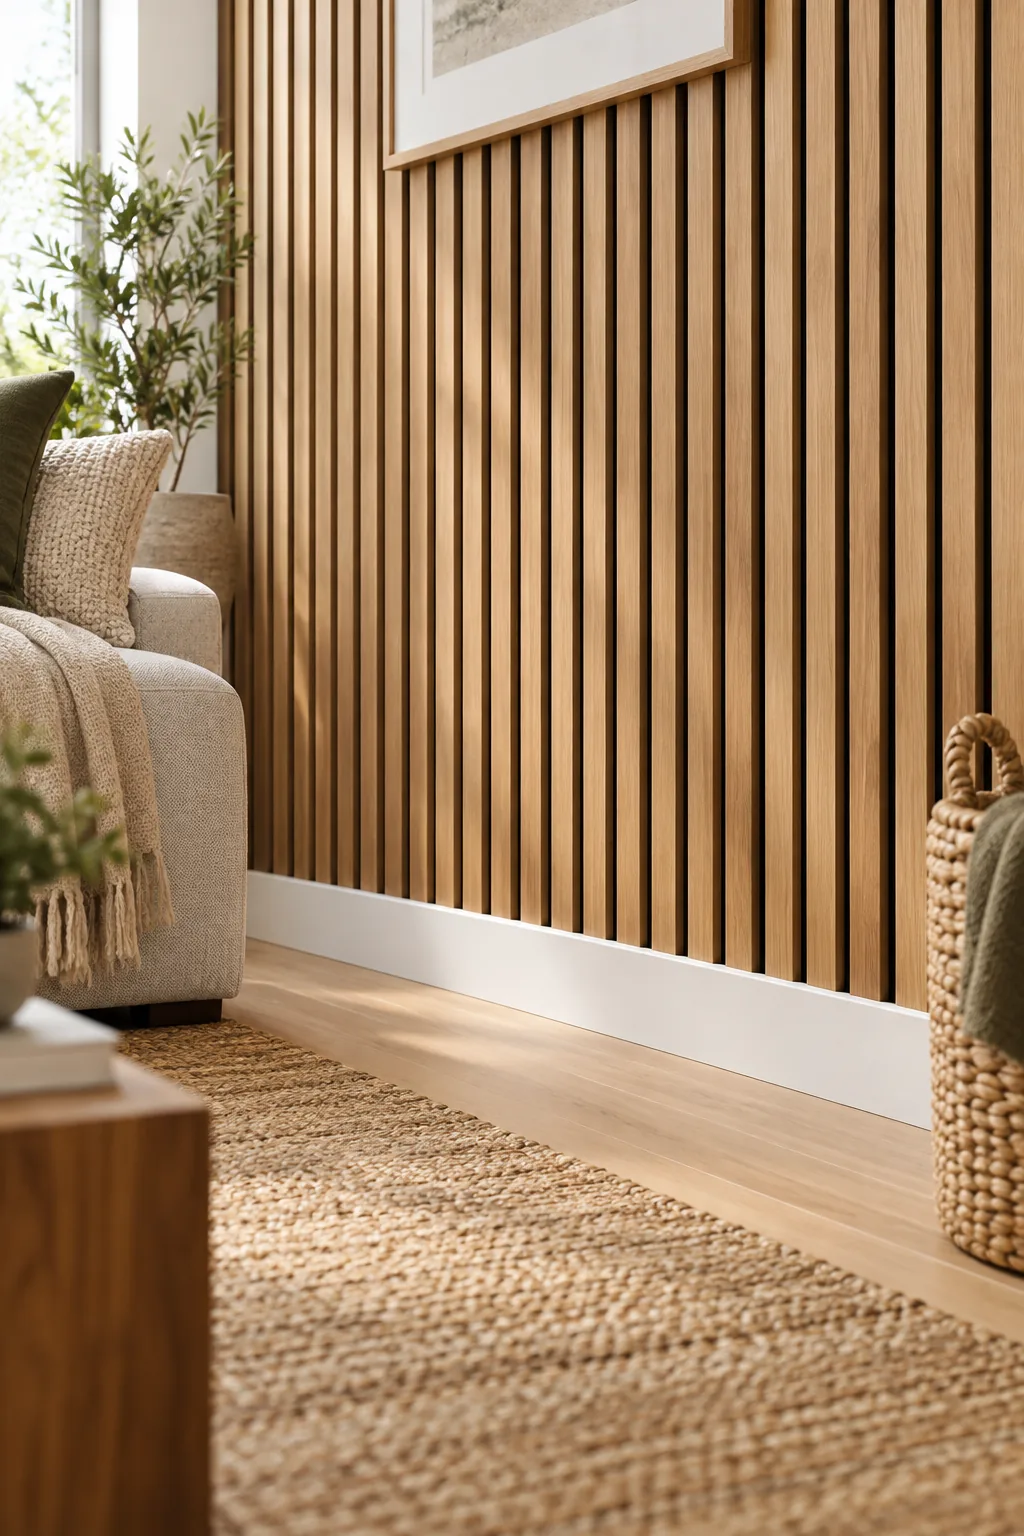
Protecting your finished accent wall requires sealing the raw pine against daily dust and ambient moisture. Brushing on a clear matte water-based polyurethane seals the surface without yellowing the beautiful natural wood color over time.
5 Ways to Style a Wood Slat Accent Wall
Explore how different wood tones, paint colors, and board widths can completely change the mood of your slatted wall.
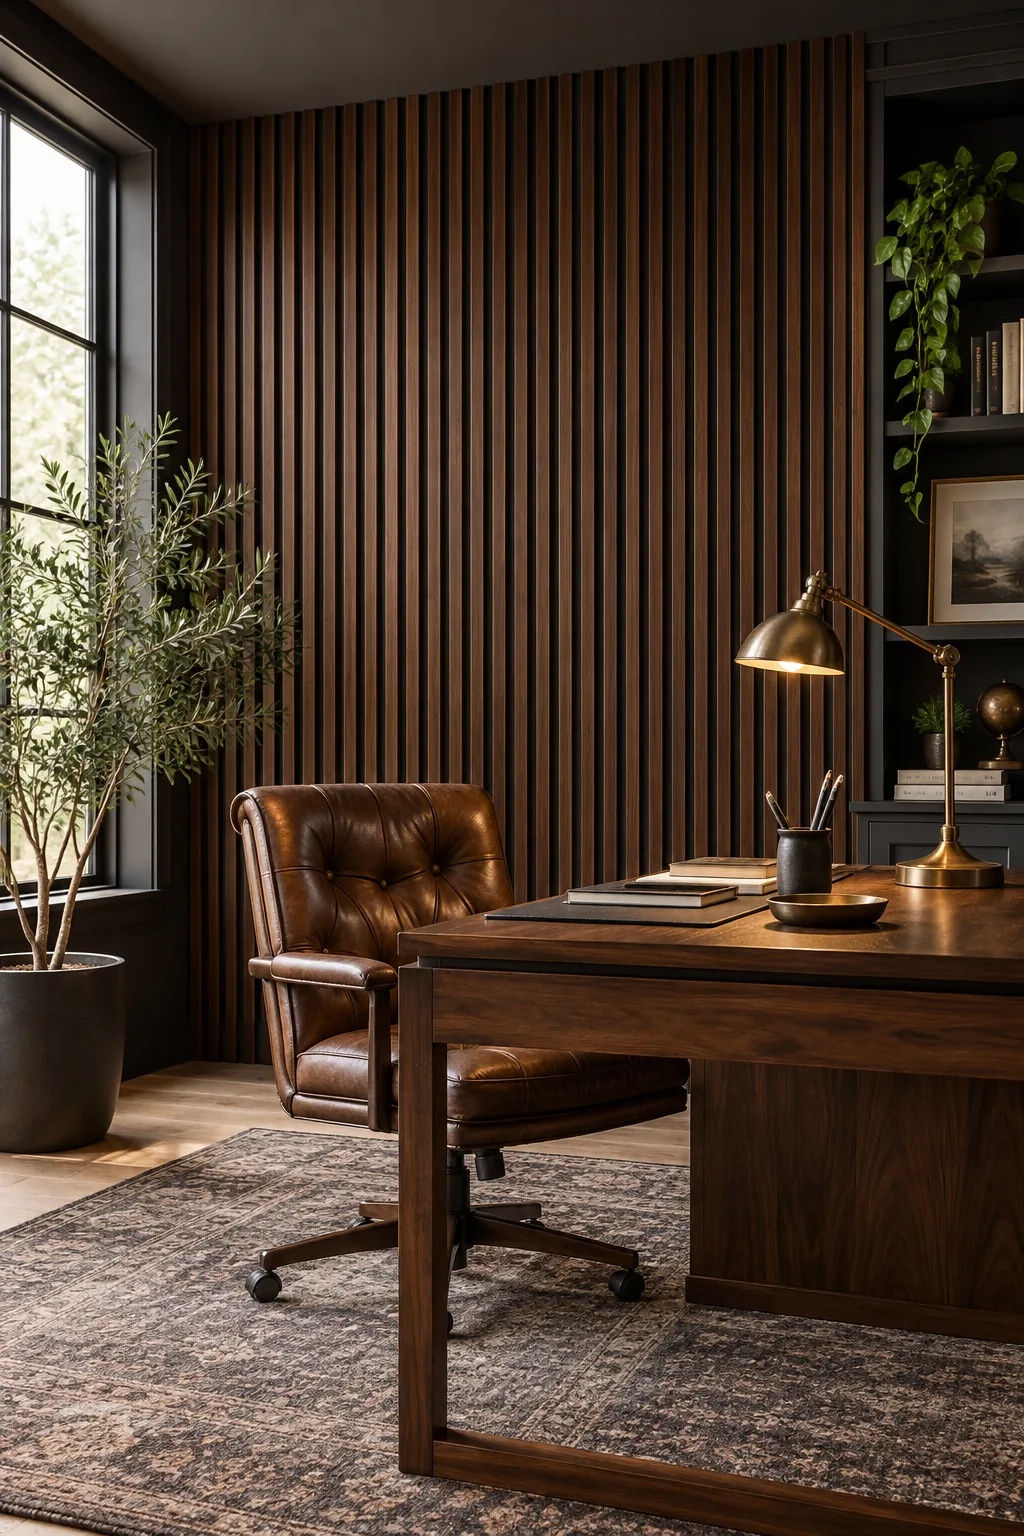
Moody Walnut Home Office: Rich walnut wood paired with a dark charcoal backing creates a sophisticated, moody atmosphere perfect for a focused home office.
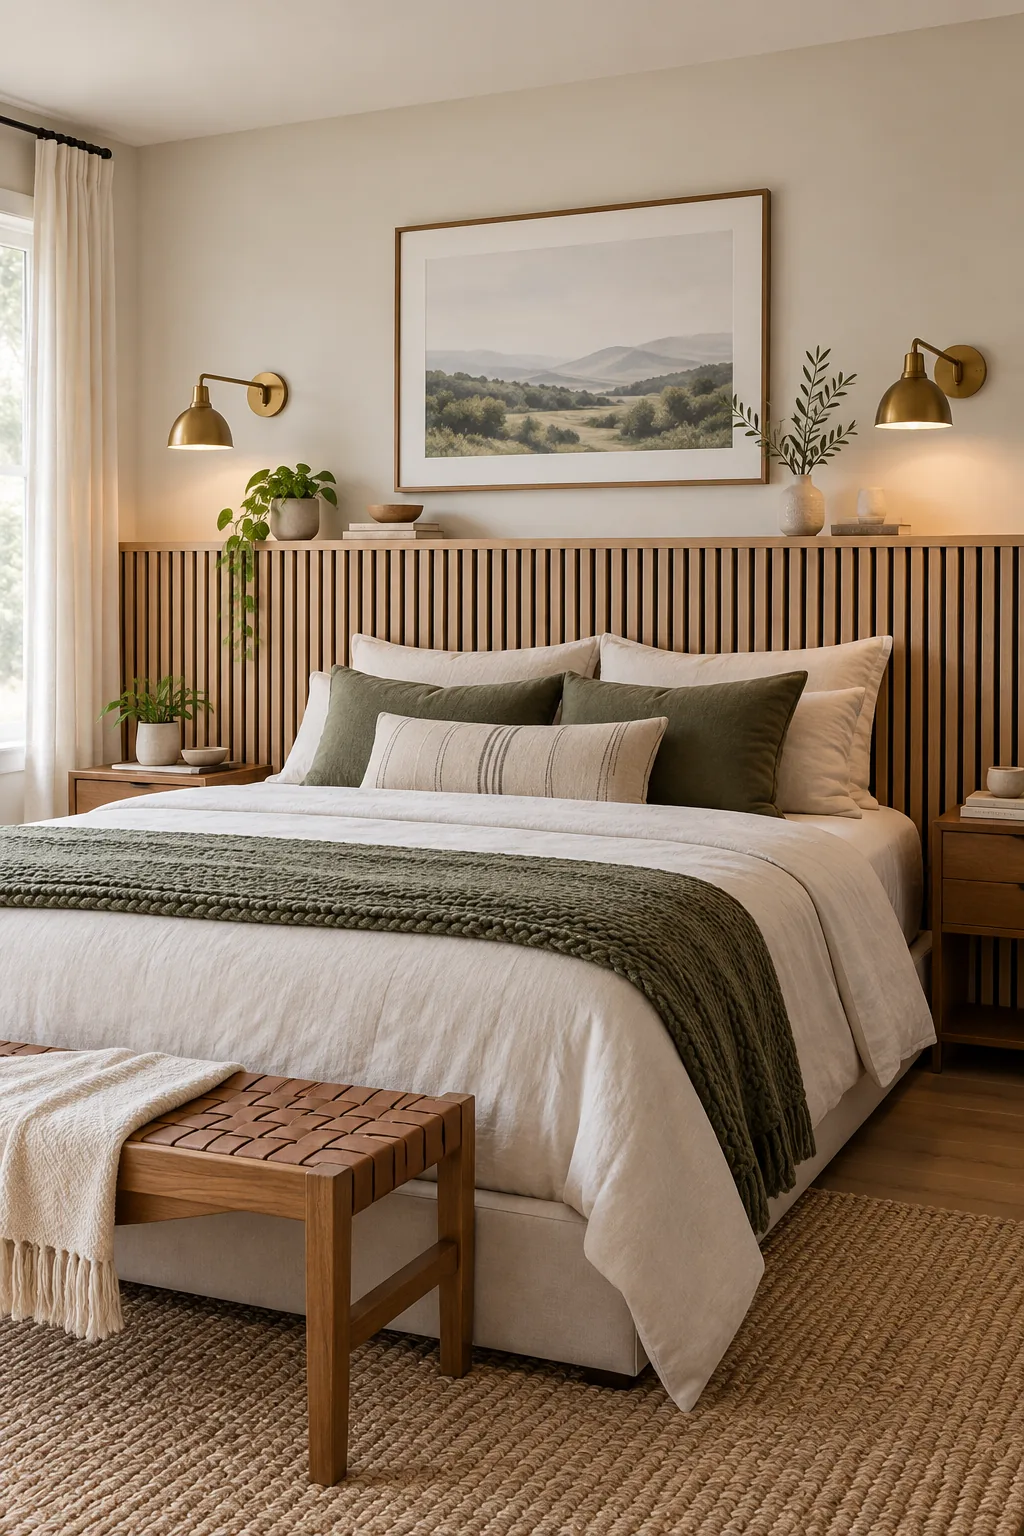
White Oak Half-Wall Headboard: Running slats only halfway up the wall forms a built-in architectural headboard with a convenient display ledge for art and lighting.
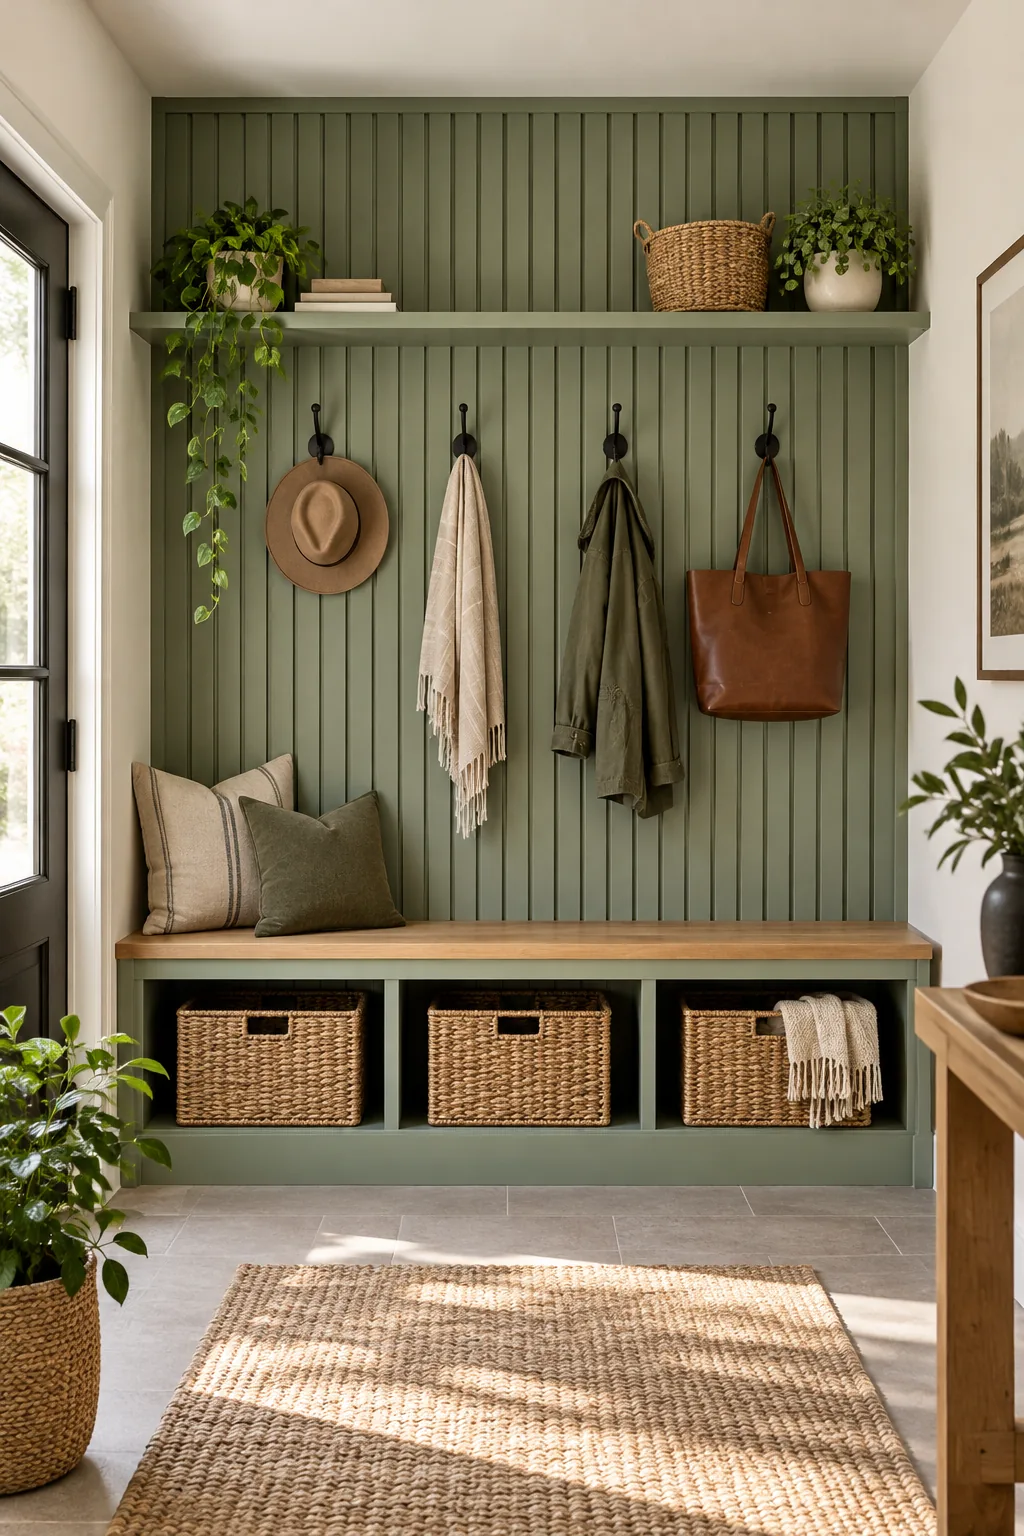
Painted Sage Green Mudroom: Painting the entire slatted installation one solid color adds subtle, durable architectural texture to high-traffic drop zones.
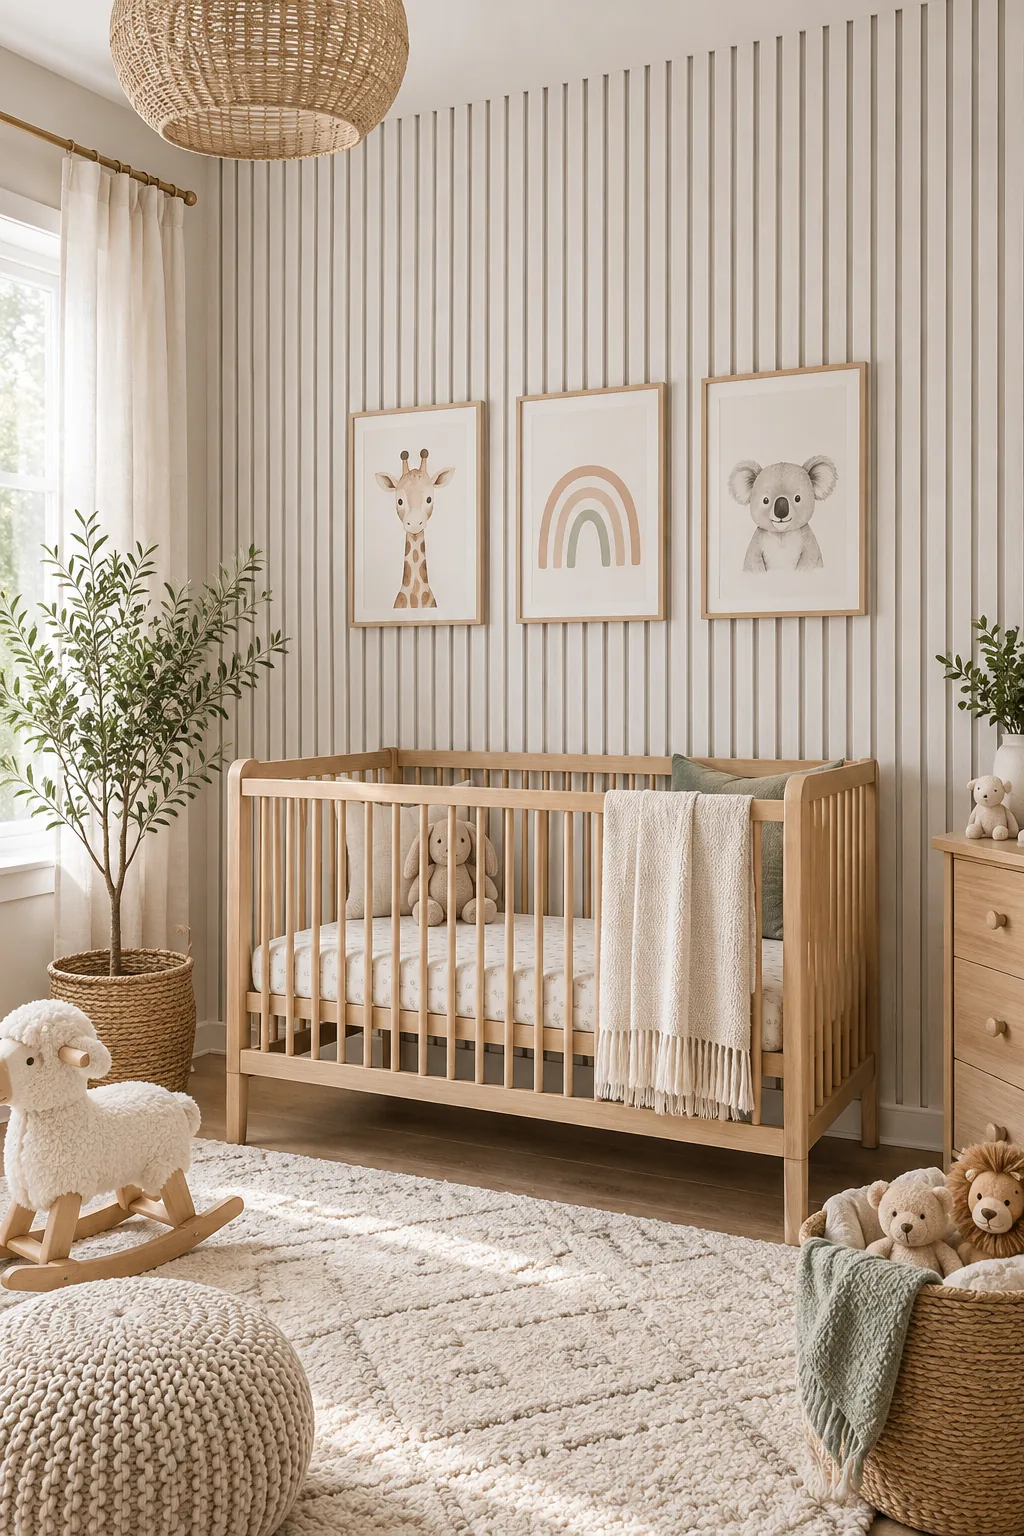
Whitewashed Wood Nursery: Soft whitewashed wood and a lighter gray backing soften the high-contrast look for a calming, airy nursery environment.
Asymmetrical Cedar Dining Room: Mixing one-by-two and one-by-three boards in a random pattern gives this dining space a custom, organic rhythm.