Lone Star Western Decor: The Wall Sizing & Patina Guide
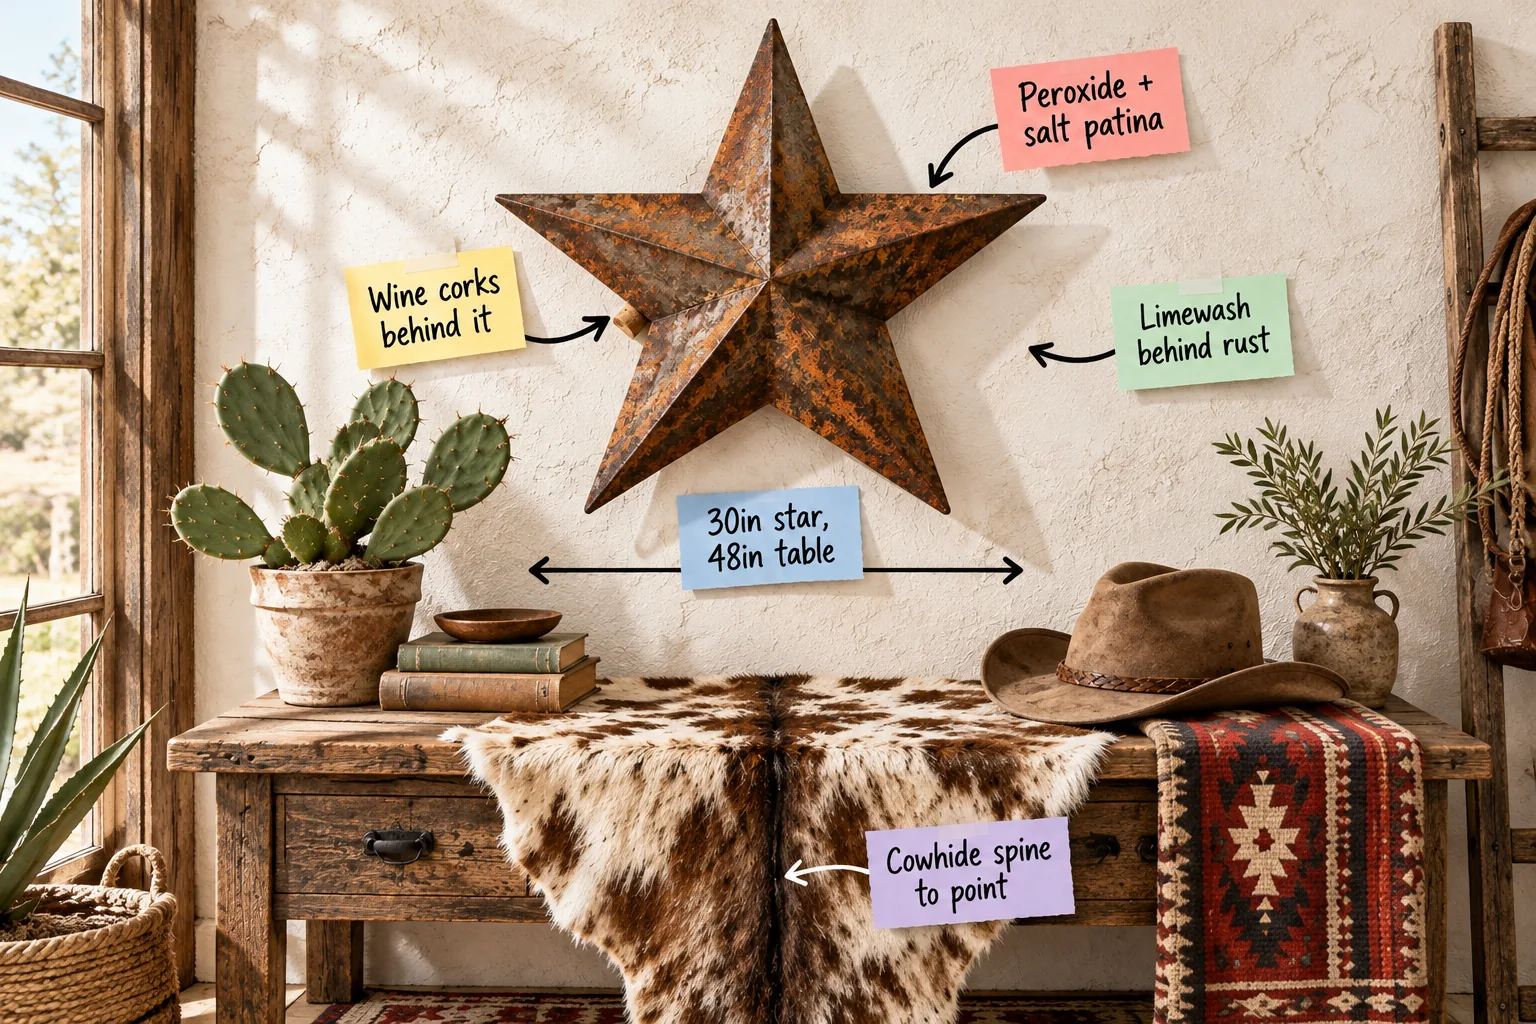
You can perfectly scale your wall star and apply a genuine aged finish using my printable Lone Star Wall Sizing & Patina Sheet. I designed this comprehensive two-page guide to help you master western decor proportions and create a professional floating shadow mount.
The Warm Limewash Backdrop
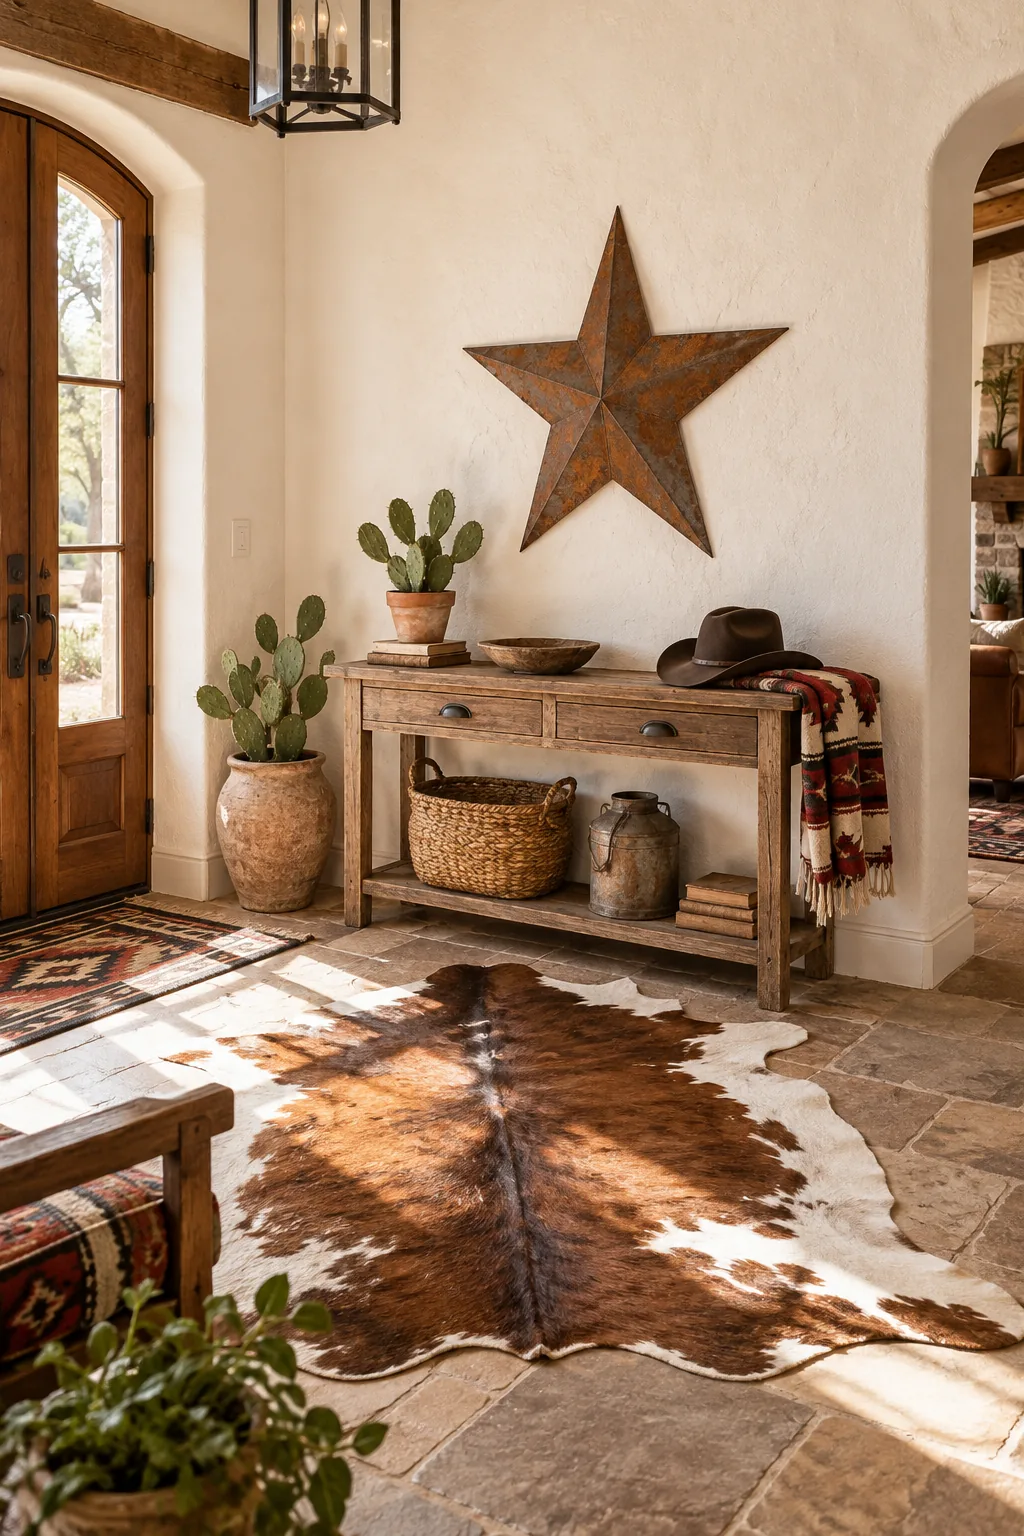
A chalky, warm-white limewashed wall provides the perfect high-contrast canvas for heavy rusted steel. The beautifully soft, matte mottling prevents a massive metal star from feeling overly harsh or industrial while actively absorbing the ambient room light to significantly reduce visual glare.
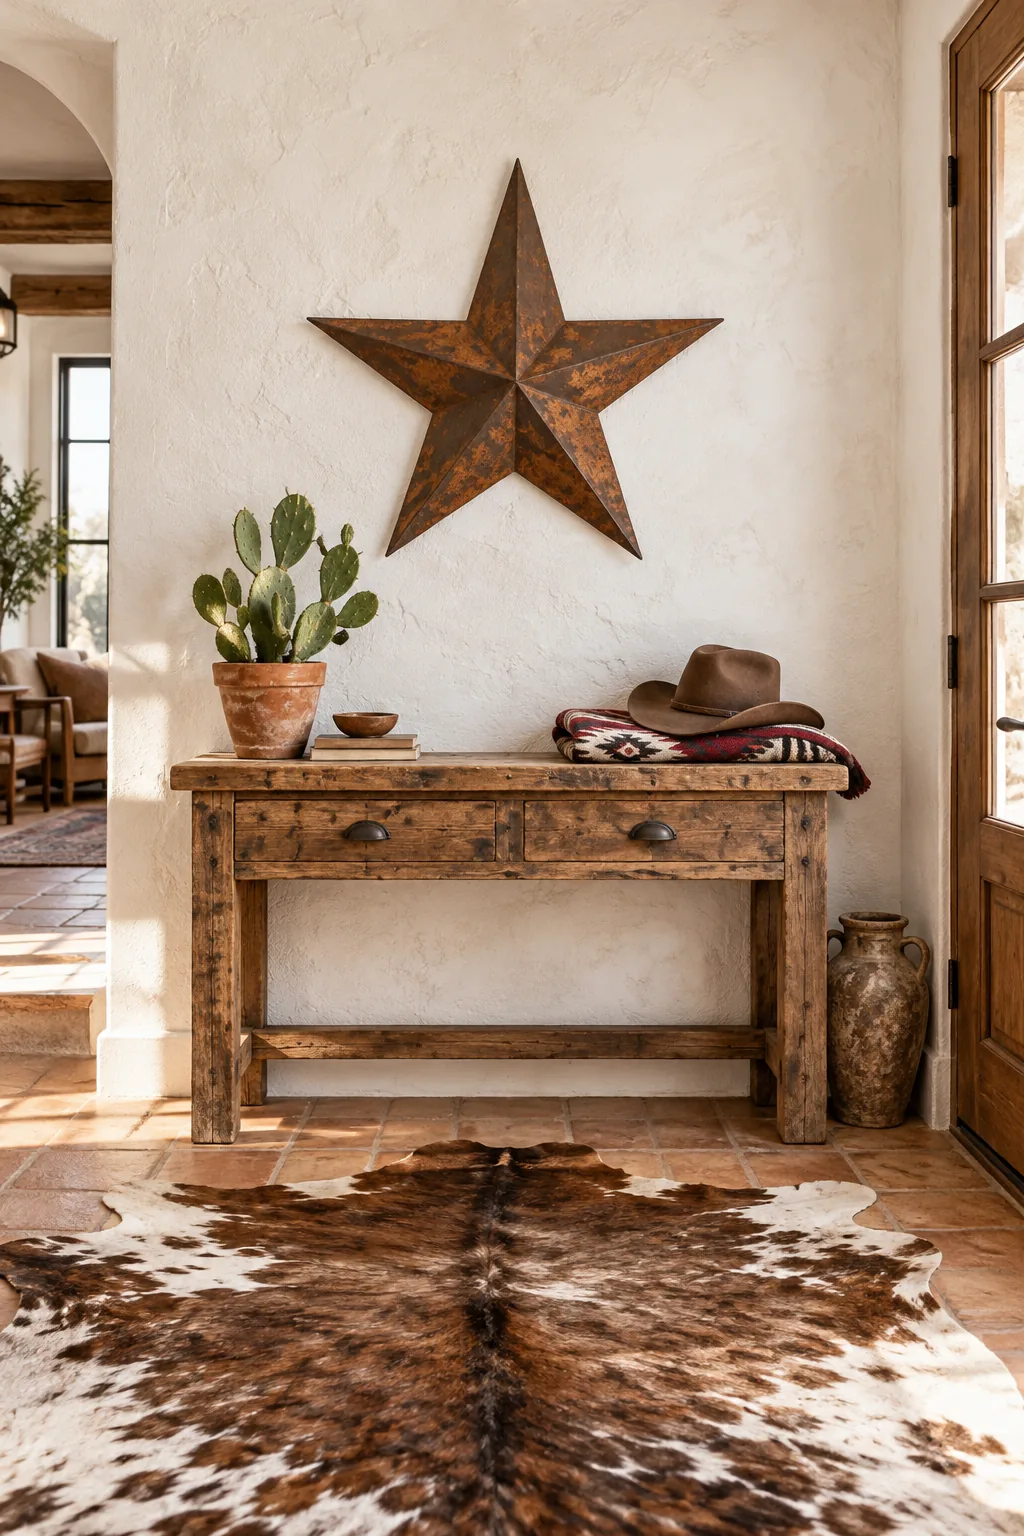
Because traditional limewash lacks the reflective sheen of standard latex paint, it beautifully emphasizes the rough, oxidized texture of the metal. This strategic contrast between the soft plaster background and the hard steel artifact successfully grounds your entire western vignette.
Anchoring with the Cowhide Centerline
To visually ground a heavy floating object, you must perfectly align the darker spine line of your cowhide rug directly beneath the star’s top point. This creates an invisible vertical axis that seamlessly connects your natural floor covering to the wall art.
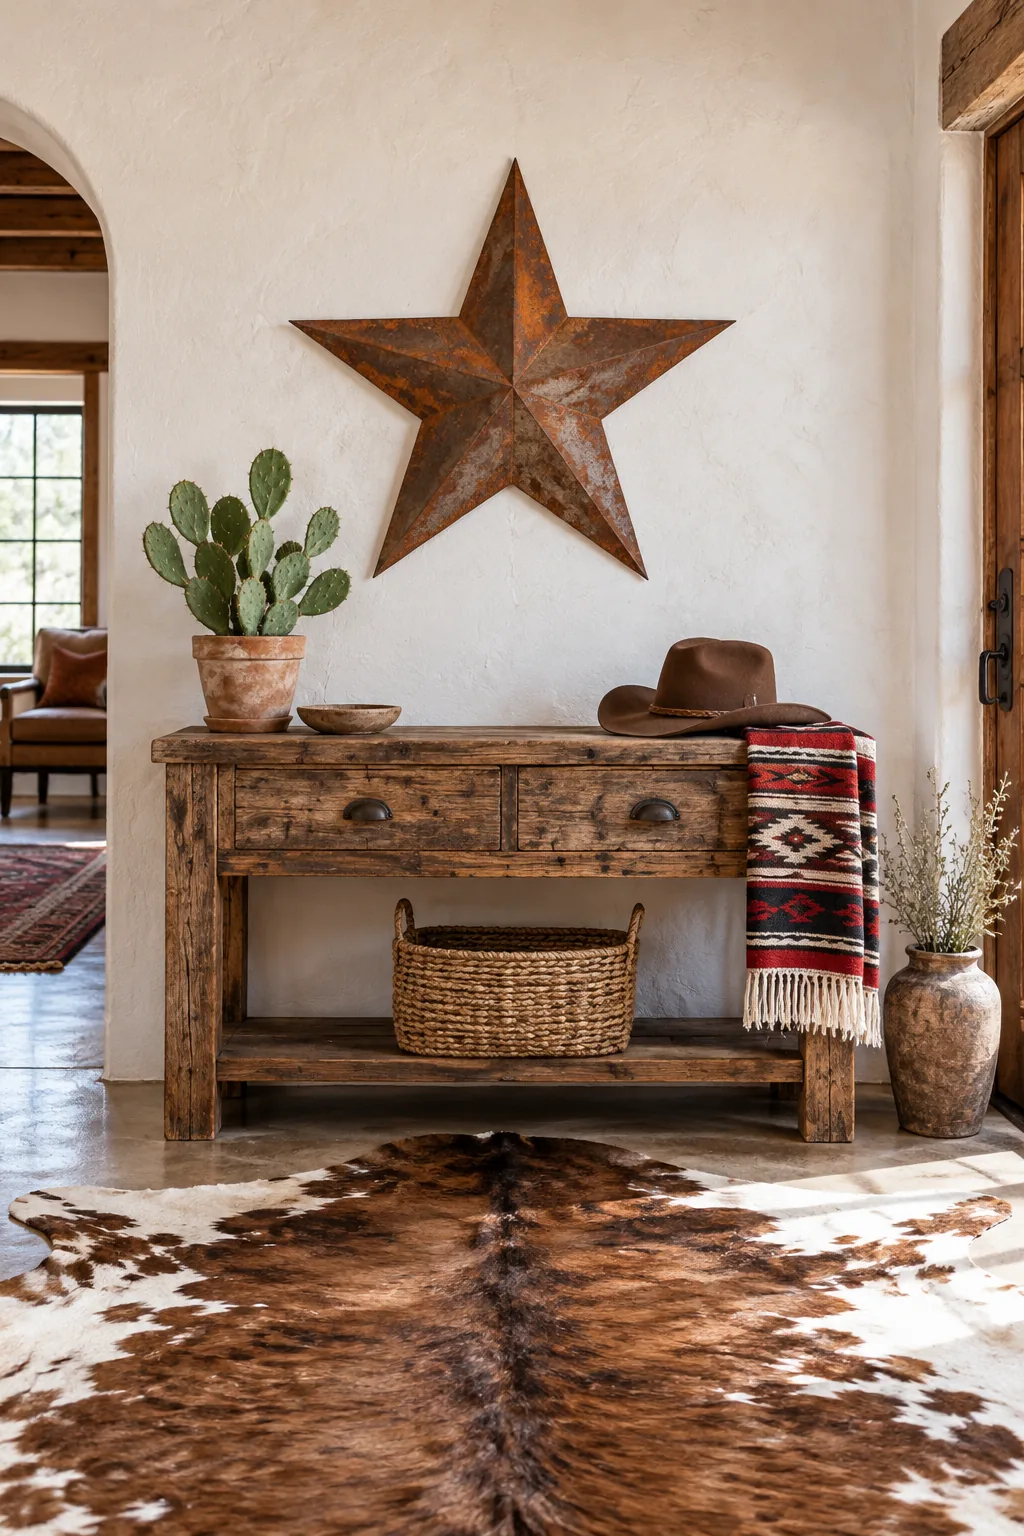
Without this critical central alignment, large metal wall pieces often feel awkwardly disconnected from the rustic furniture positioned below them. Centering the rug’s natural geometry exactly under the console ensures the whole arrangement reads as one cohesive, highly intentional design zone.
Console and Star Proportions
In my own Denver entryway, I learned the hard way that a 30-inch star pairs perfectly with a 48-inch console table. Your wall decor should span roughly sixty to seventy percent of the furniture’s width to maintain proper visual balance without feeling top-heavy.
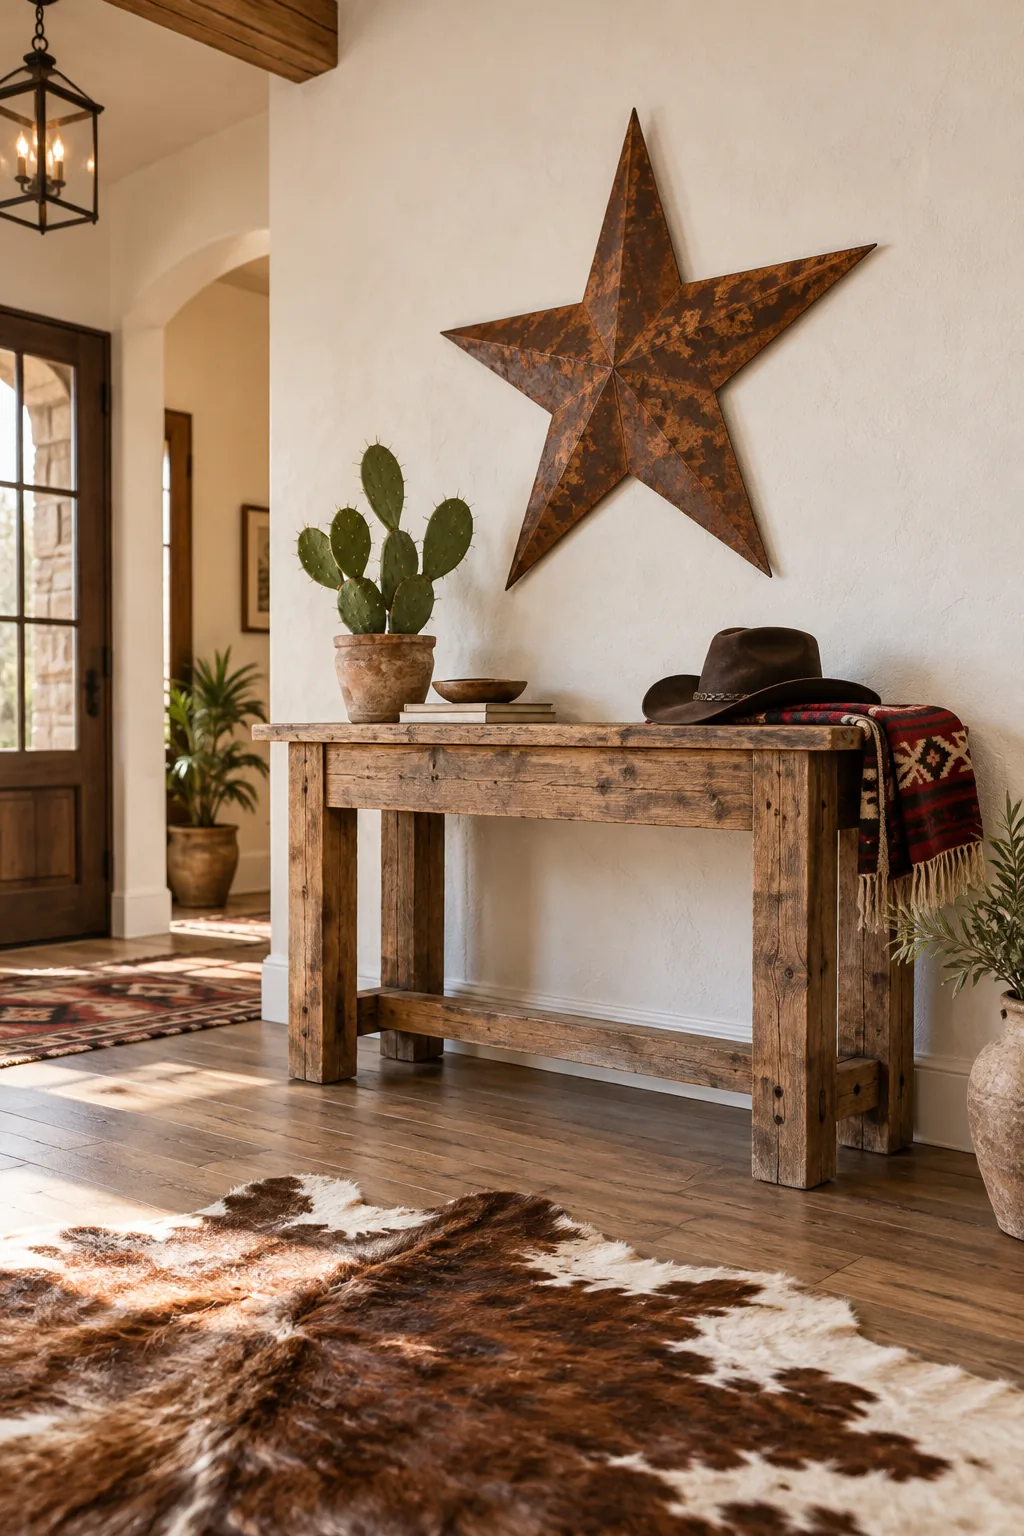
Before committing to a heavy piece of metal, you can easily test the scale on your own wall using simple household materials. This quick visual check prevents you from buying a piece that completely overwhelms your carefully curated western furniture arrangement.
The Accelerated Rust Patina
You can transform raw steel into a beautifully weathered western artifact in just a few hours using a highly reliable chemical rust recipe. This accelerated oxidation process requires only basic household ingredients to create a genuine, deep orange-brown bloom on brand-new metal.
- 16 ounces of standard 3% hydrogen peroxide to provide the necessary extra oxygen molecules that substantially speed up the natural rusting process.
- 2 ounces of distilled white vinegar to gently etch the smooth bare steel surface so the chemical mixture can properly adhere.
- 1 tablespoon of standard table salt to act as the primary chemical catalyst that forces the metal to oxidize rapidly upon contact.
- A clean, adjustable plastic spray bottle to apply the highly acidic mixture in a fine, perfectly even mist across the steel.
When you spray this acidic mixture onto bare steel, the hydrogen peroxide, white vinegar, and salt immediately trigger a remarkably aggressive oxidation cycle. The vinegar etches the metal surface while the salt accelerates the rusting process to produce decades of aging overnight.
| Application Step | Wait Time | Visual Result | Action Needed |
|---|---|---|---|
| First Light Mist | 15 minutes | Light orange spotting appears across the surface | Do not wipe the metal; let it air dry completely |
| Second Light Mist | 30 minutes | Even base rust coverage begins to form | Target only the remaining shiny metal areas with the spray |
| Third Heavy Coat | 1 hour | Deep brown-orange bloom fully develops | Allow the chemical reaction to reach its absolute peak |
| Baking Soda Wash | 10 minutes | Rust color deepens slightly as acid neutralizes | Rinse thoroughly with clean warm water to remove salt |
| Sun Drying Phase | 2 hours | Chalky matte rust texture emerges clearly | Ensure zero moisture remains hidden in the metal crevices |
| Clear Coat Seal | 24 hours | Permanent locked-in patina prevents any flaking | Apply two thin coats of premium matte sealer spray |
Building the patina in multiple light coats rather than one heavy soaking prevents the liquid from pooling awkwardly in the metal crevices. This measured, step-by-step approach guarantees an authentic, naturally aged western character rather than a poorly manufactured, heavily painted faux finish.
Stopping the Oxidation Process
You must neutralize the acid with a baking soda wash and seal the metal with a matte clear coat to stop the rusting permanently. This crucial finishing step prevents loose orange dust from staining your pristine limewash wall after you mount the star.
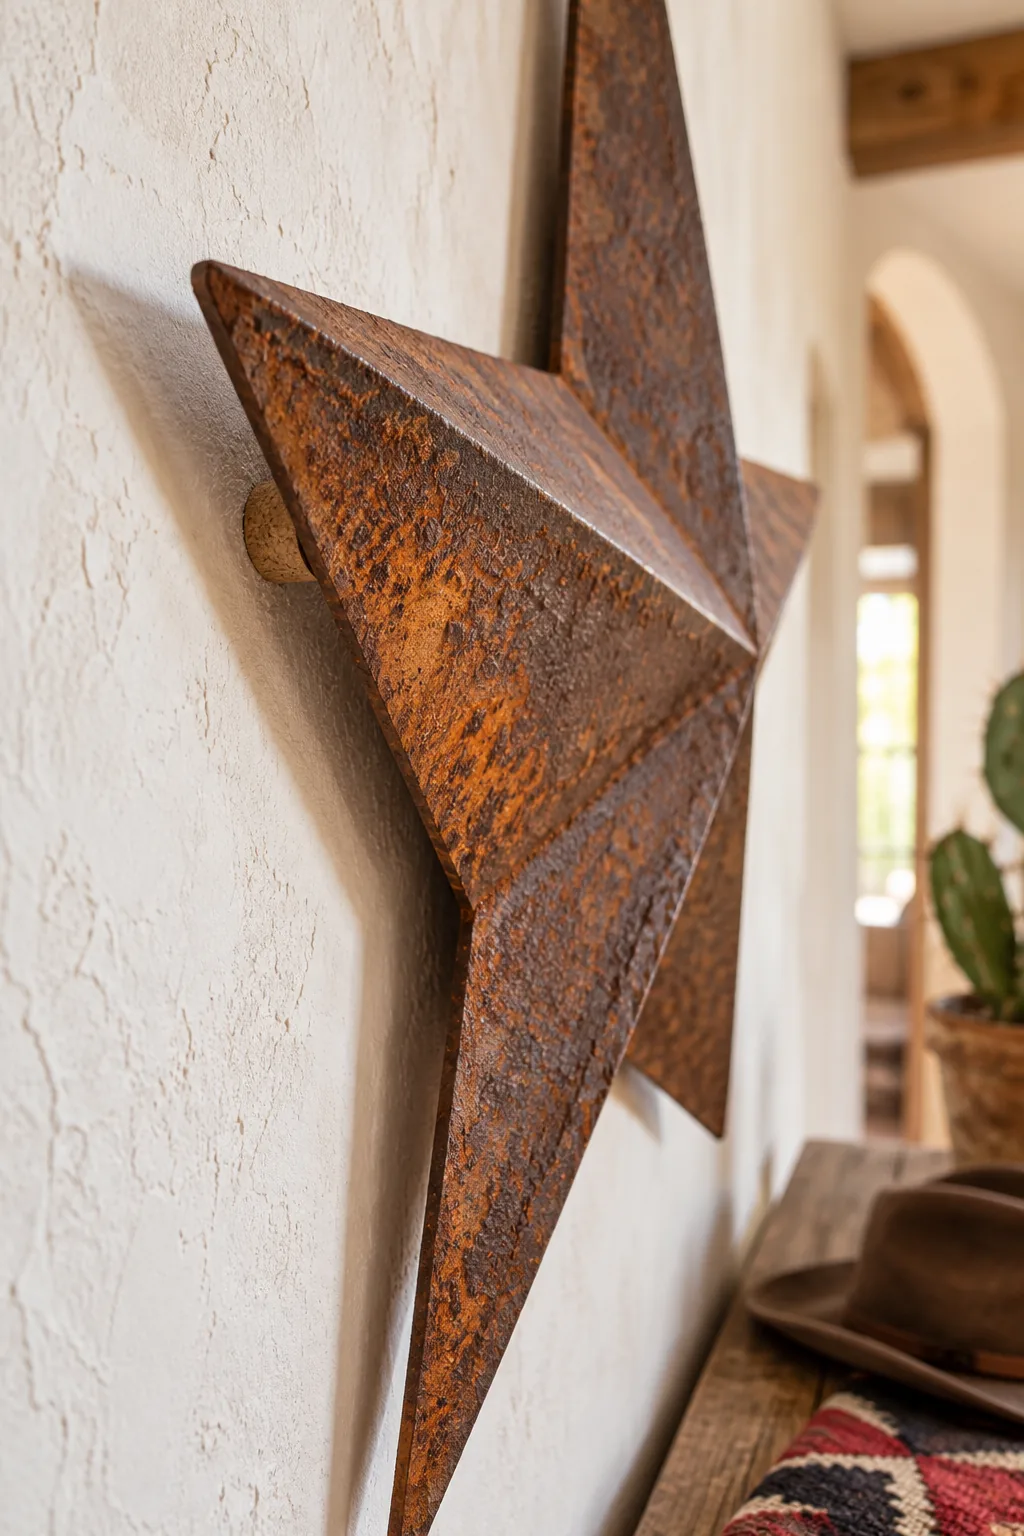
Once you achieve the perfect rust tone, you must immediately halt the chemical reaction before bringing the star indoors. Skipping this mandatory stage guarantees that the ongoing corrosion will eventually ruin both the metal itself and your surrounding interior wall finishes.
The Wine Cork Floating Mount
The secret to a professional installation is gluing half-inch cut wine cork rounds directly behind the star’s five points. This incredibly simple spacer trick pushes the heavy steel away from the plaster to create a crisp, dramatic shadow across the entire wall.
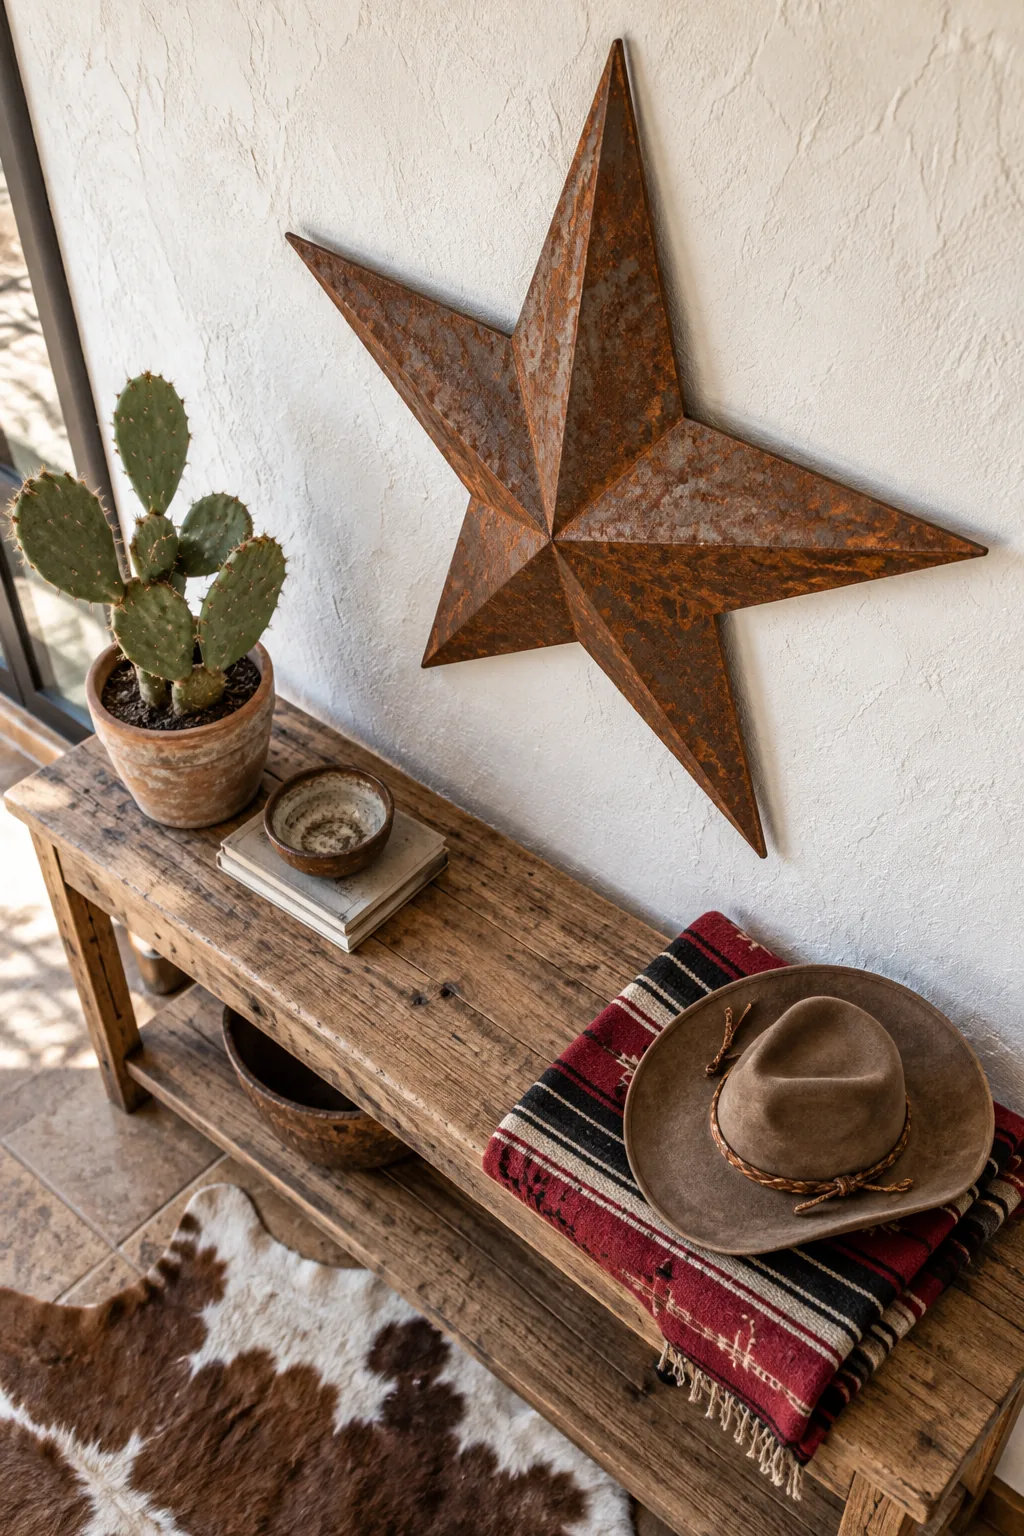
By forcing the metal to hover slightly, the star appears to magically float rather than sitting flat and lifeless against the room’s perimeter. The technique is incredibly simple to execute on a workbench before you attempt to hang the heavy piece.
- Slice a standard natural wine cork into five perfectly even half-inch disks using a sharp utility knife to ensure they sit flat against the wall.
- Apply a generous drop of heavy-duty construction adhesive to the flat back of each metal star point where it will touch the wall.
- Press the cork disks firmly into the adhesive and let them cure undisturbed for a full 24 hours in a well-ventilated area.
- Attach heavy-duty D-rings to the top point to ensure the star hangs perfectly straight on the wall without shifting over time.
Beyond creating that beautiful architectural shadow line, the soft natural cork compresses slightly against the wall surface. This reliable protective barrier ensures the sharp rusted edges never scratch, dent, or gouge your delicate limewash finish when the house naturally vibrates.
Layering Western Accessories
To soften the sharp geometry of the metal star, you must intentionally style the console beneath it using rich organic textures. I always incorporate a potted prickly pear, a folded saddle-blanket throw, and a structured felt cowboy hat to balance the heavy steel.
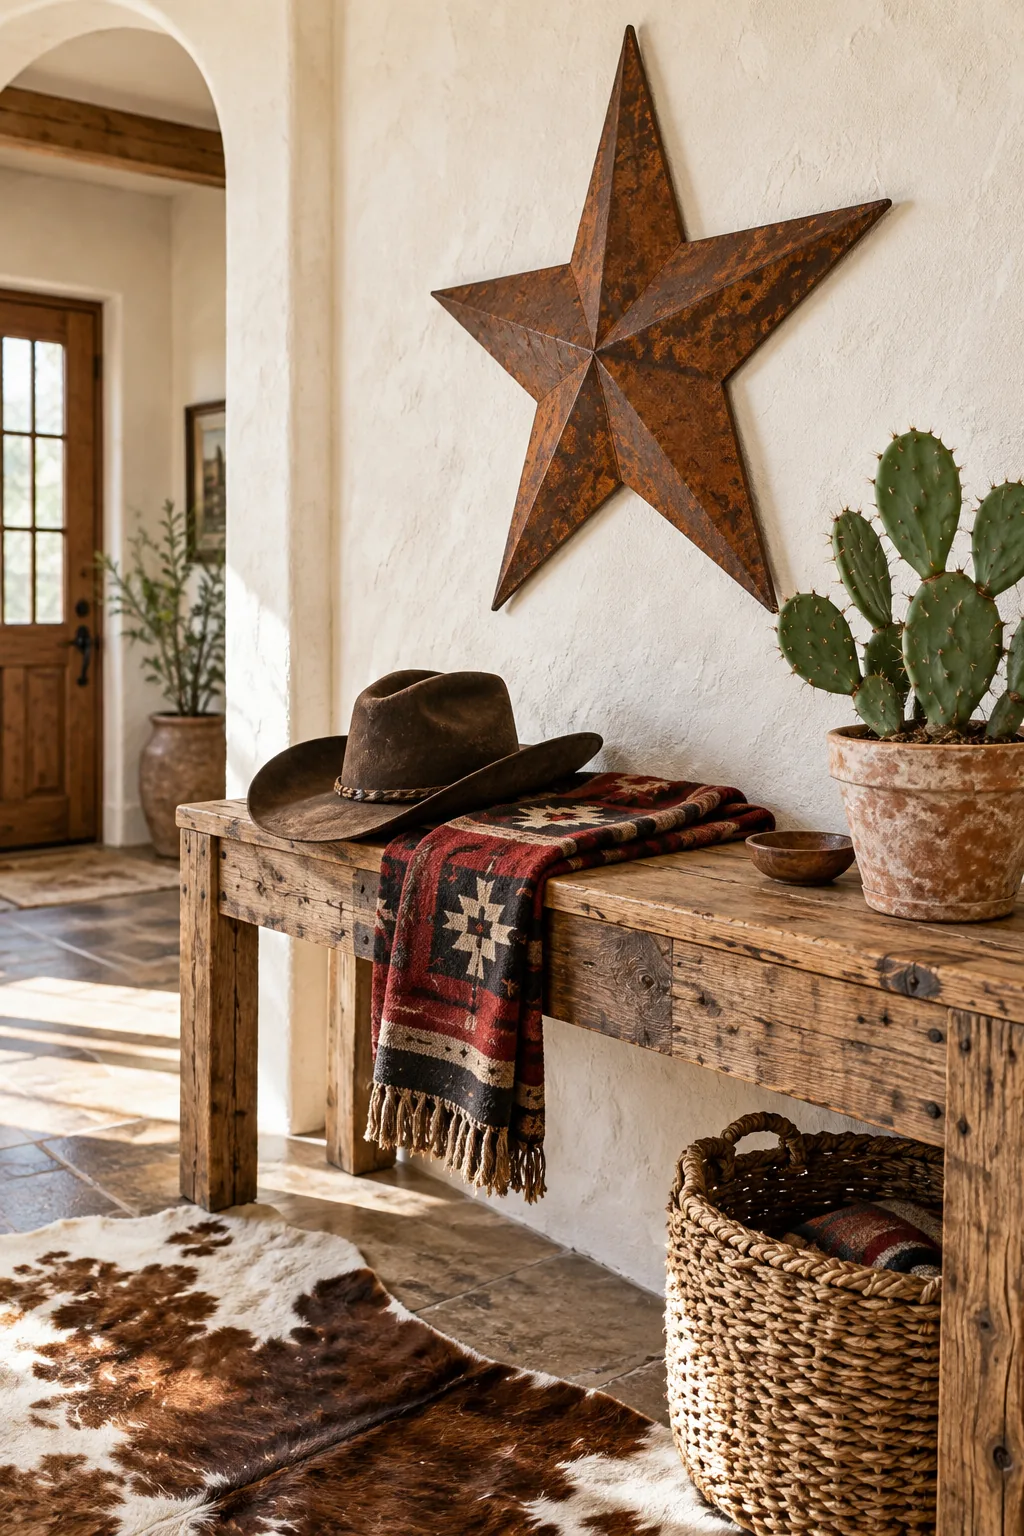
These highly tactile western elements beautifully bridge the visual gap between the heavy ironwork above and the natural cowhide rug resting below. Balancing hard industrial steel with soft woven wool and living desert plants completes the harmonious design equation perfectly.
The Star Sizing & Patina Sheet
I constantly reference this two-page sizing chart and patina guide when scaling western art for my clients’ sprawling mountain homes. Page one pairs exact star diameters with furniture widths, while page two details the complete step-by-step peroxide rust recipe for bare steel.
You can download the complete printable sheet today to ensure your entryway feels perfectly proportioned and professionally finished. Having the exact coat counts and drying times on hand takes all the stressful guesswork out of aging and mounting your western metal decor.
More Ways to Style a Lone Star
Explore how different metal finishes and wall textures can adapt the lone star to entirely different aesthetics.
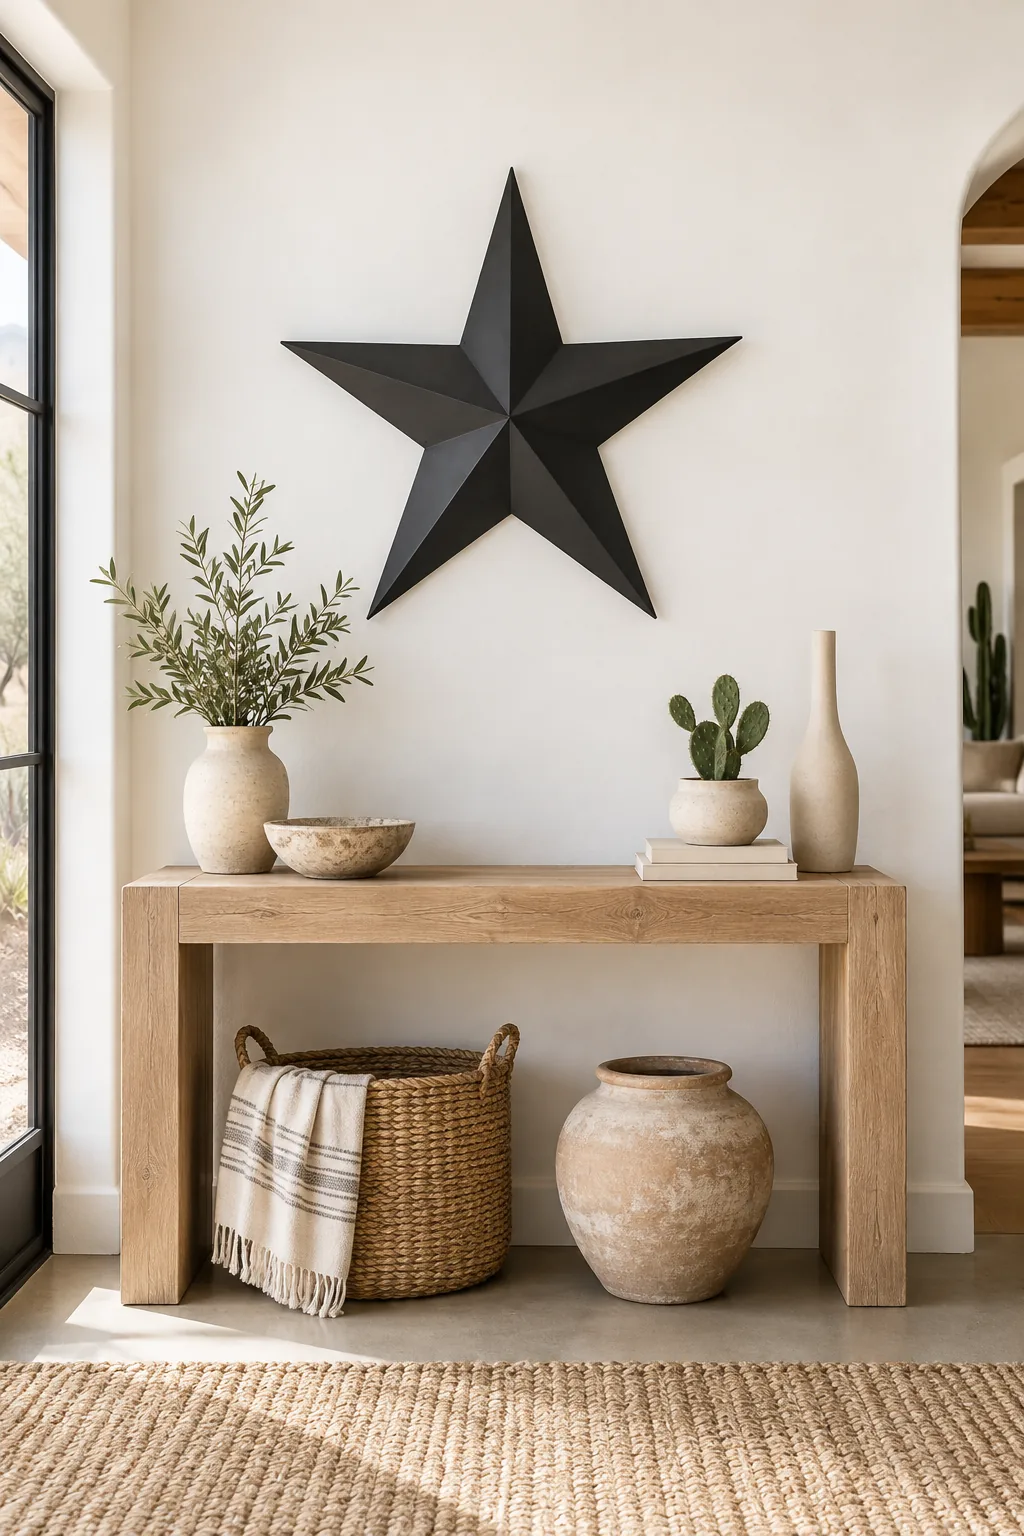
Modern Minimalist Desert: A matte black star against a stark white wall creates high contrast, pairing beautifully with a bleached oak console for a minimalist desert aesthetic.
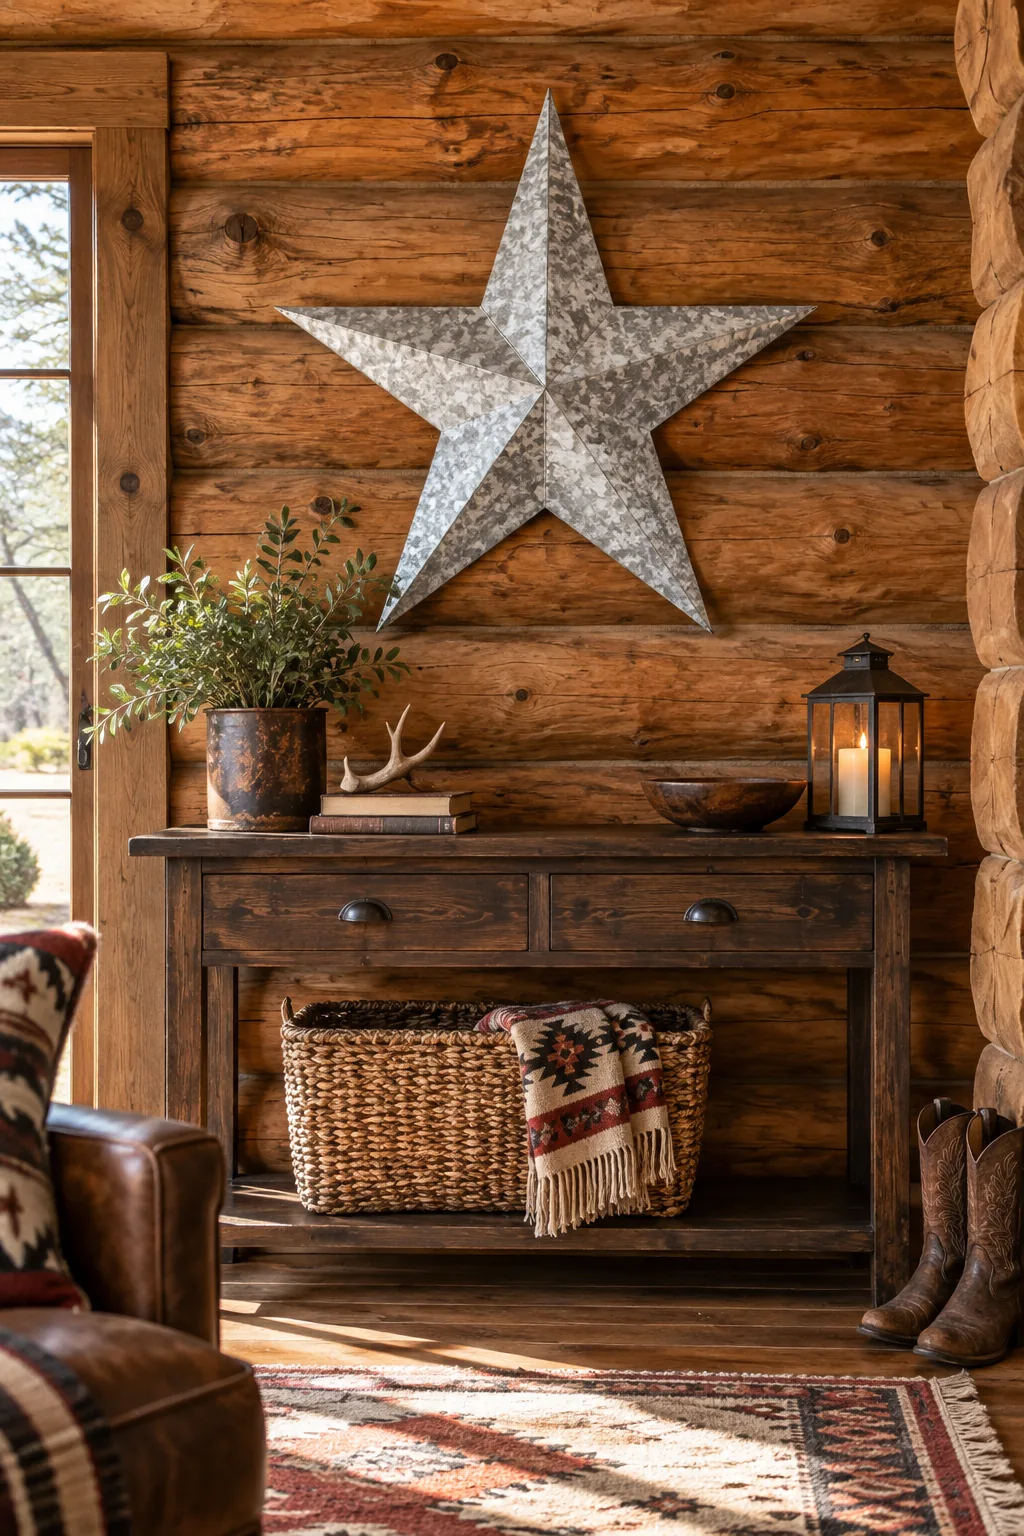
Rustic Log Cabin: Galvanized silver metal pops against warm log cabin walls, while a dark walnut table grounds the bright star with deep, rich wood tones.
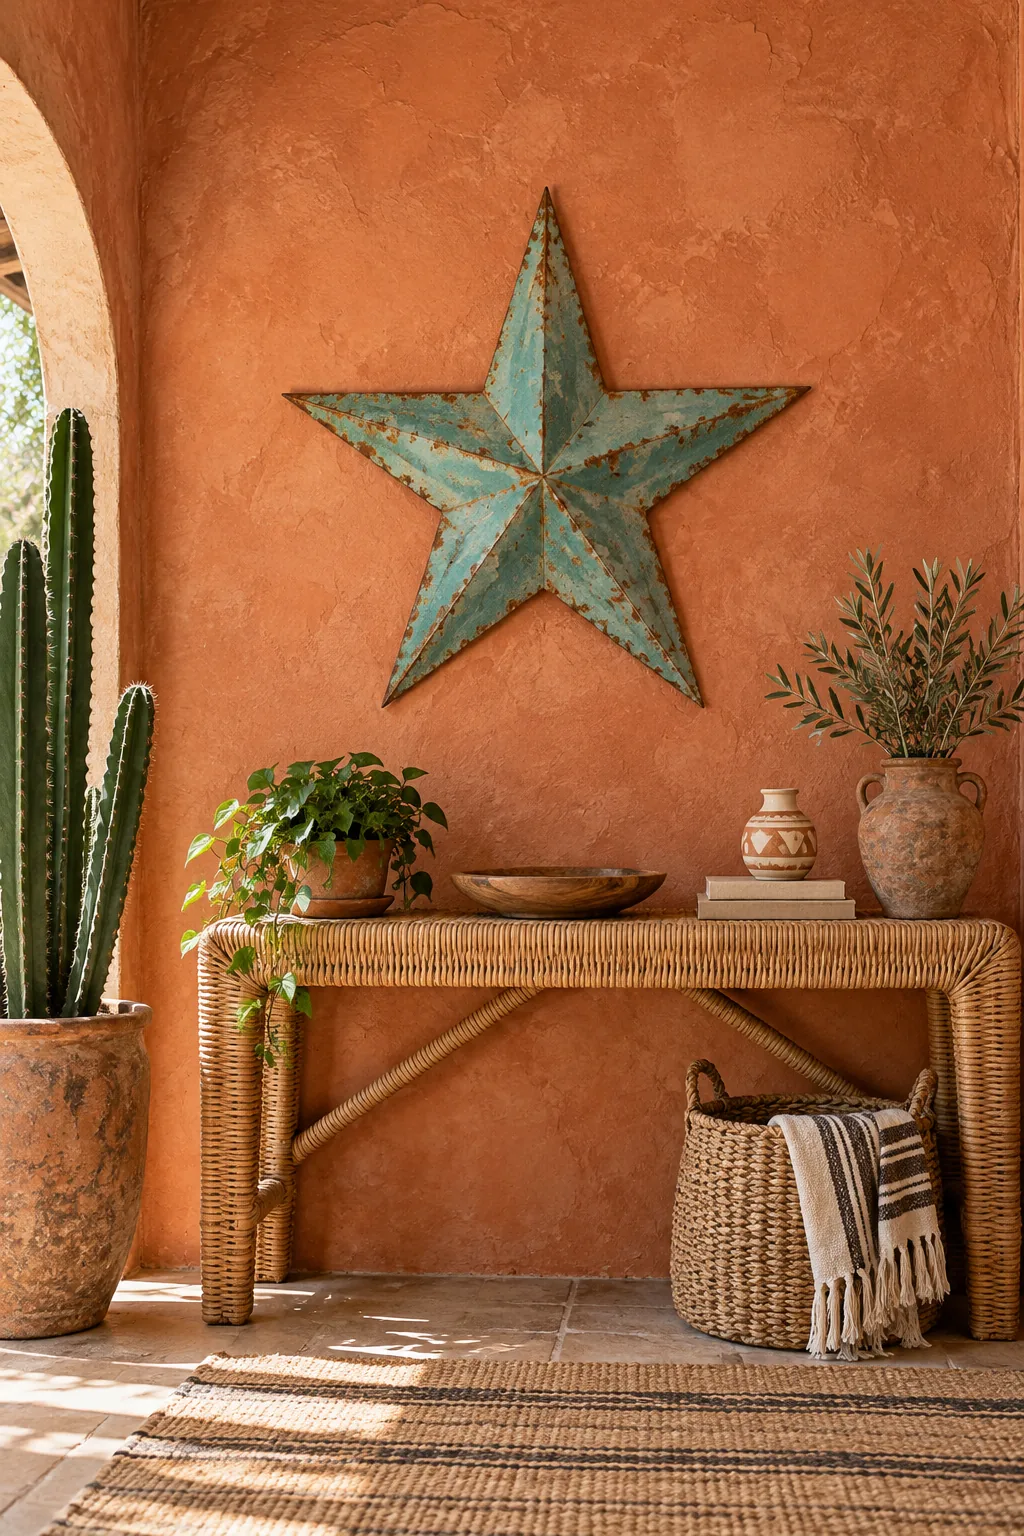
Southwestern Bohemian: A turquoise painted star adds vibrant color to a terracotta wall, perfectly complemented by a woven rattan console for a relaxed southwestern bohemian vibe.
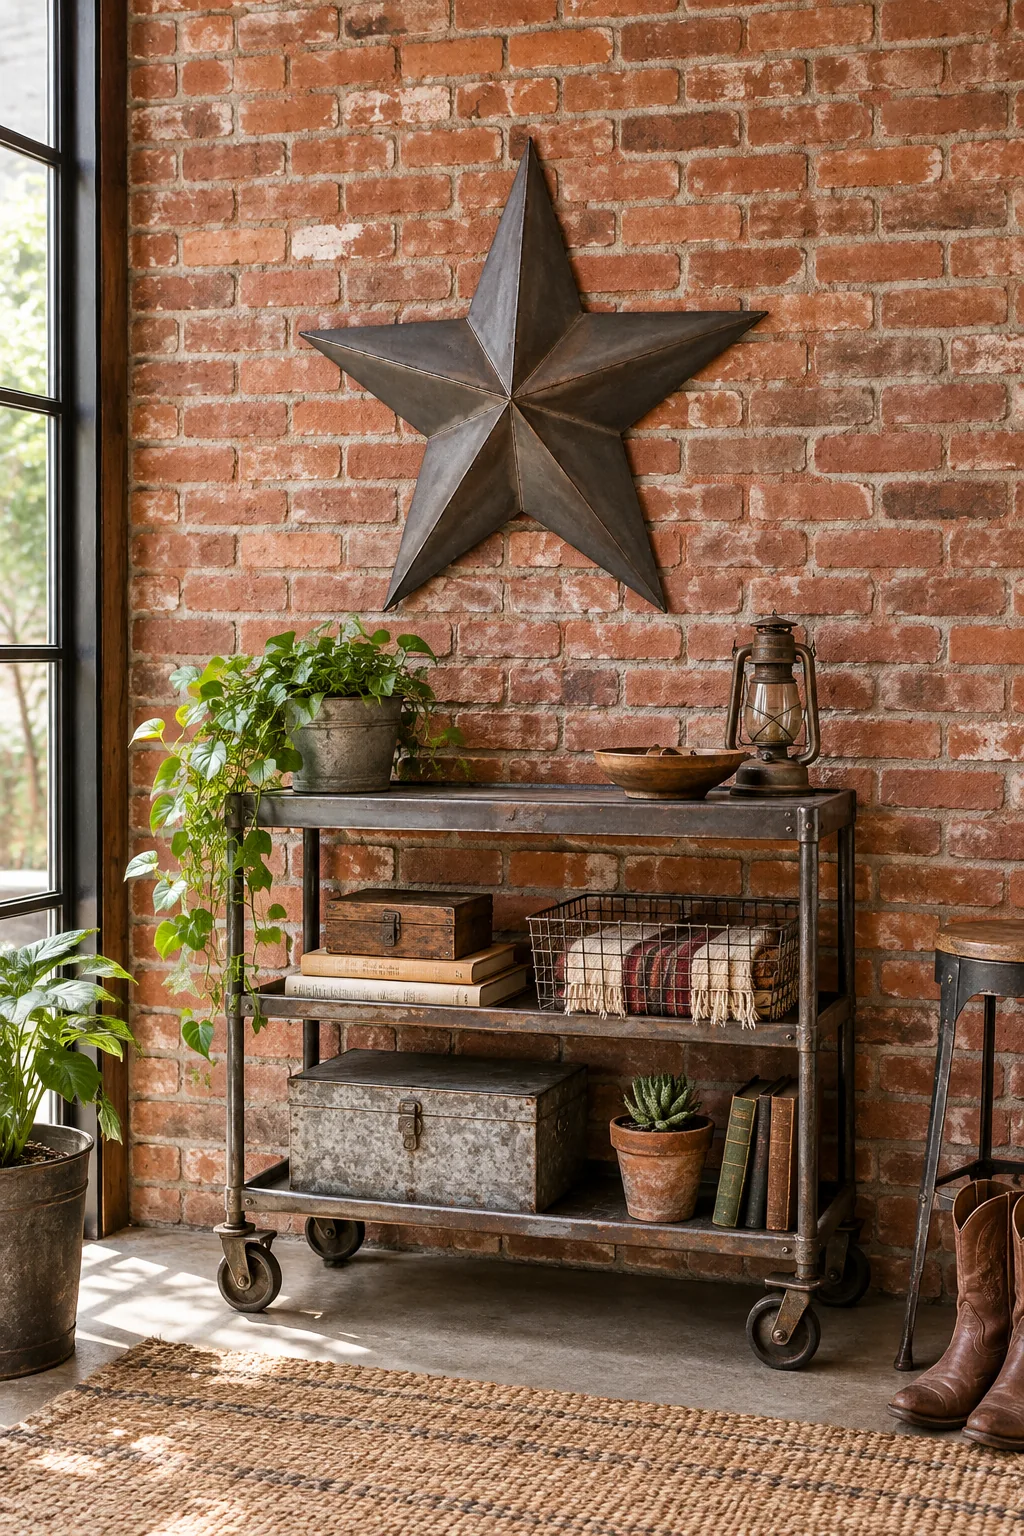
Industrial Ranch: Raw, unrusted steel brings an industrial edge to an exposed brick wall, especially when styled above a vintage metal rolling cart.