
Bedroom Wall Art Spacing & the Bed-Size Scaling Chart
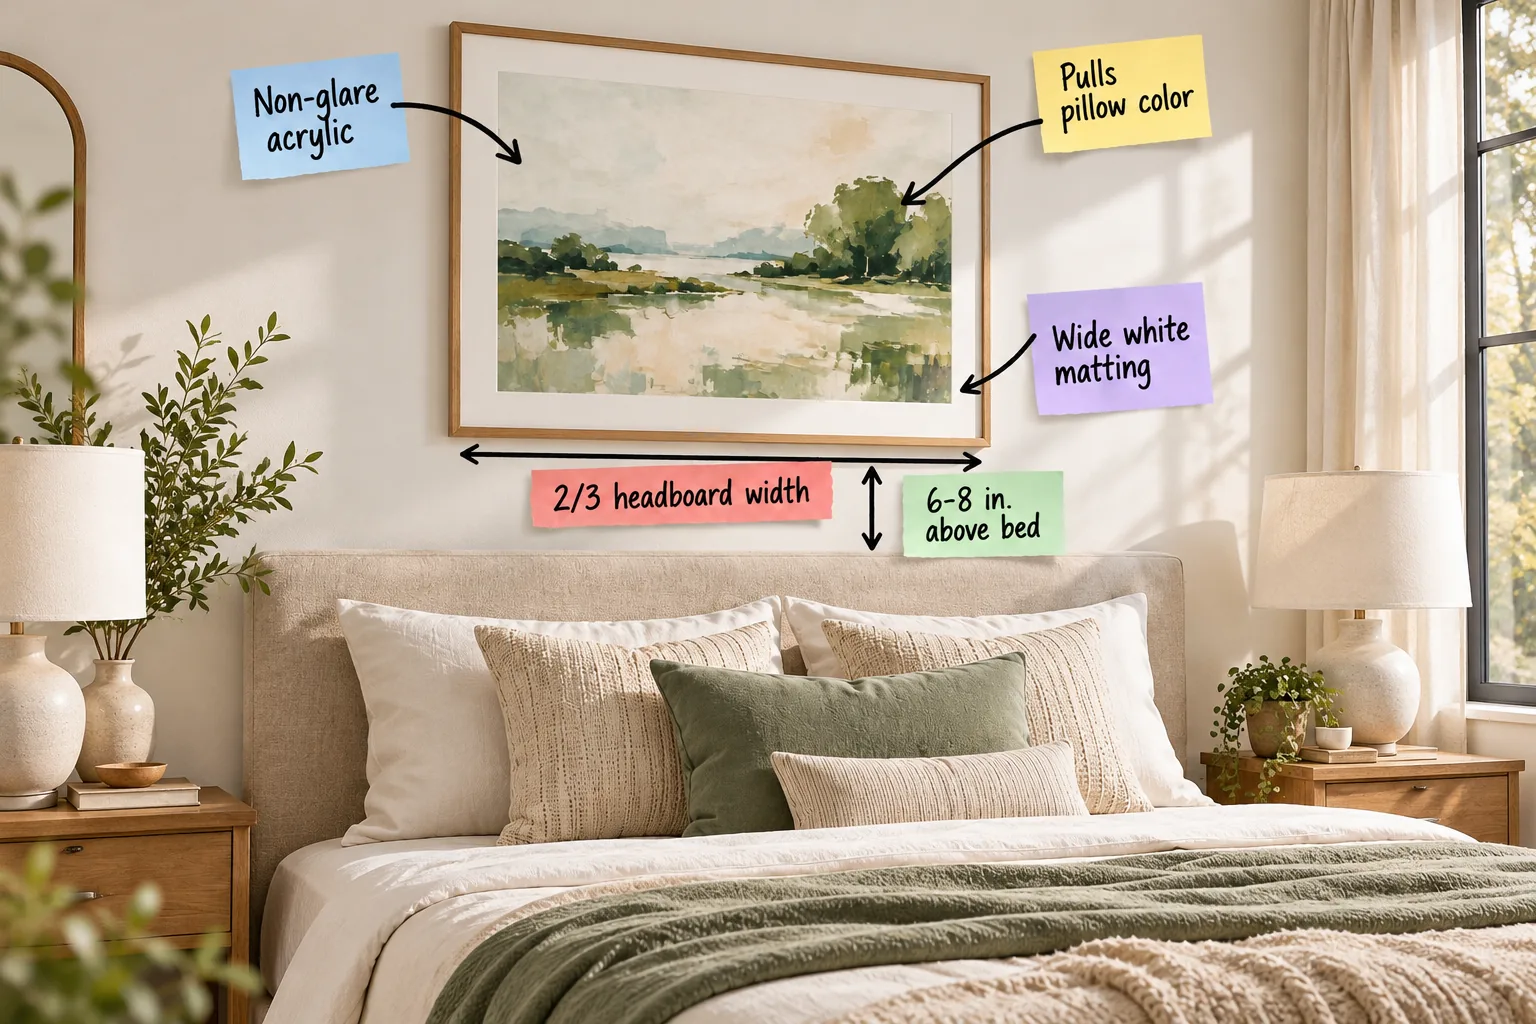
You will confidently select, scale, and hang perfectly proportioned artwork above any bed using our exact spacing measurements and the free bed-size art scaling chart. Take the guesswork out of decorating your headboard by following these straightforward structural and framing rules.
Calculating the Right Width
To prevent your artwork from looking like a tiny postage stamp or overwhelming the furniture, aim to cover approximately two-thirds of the headboard’s width to establish a strong focal point.
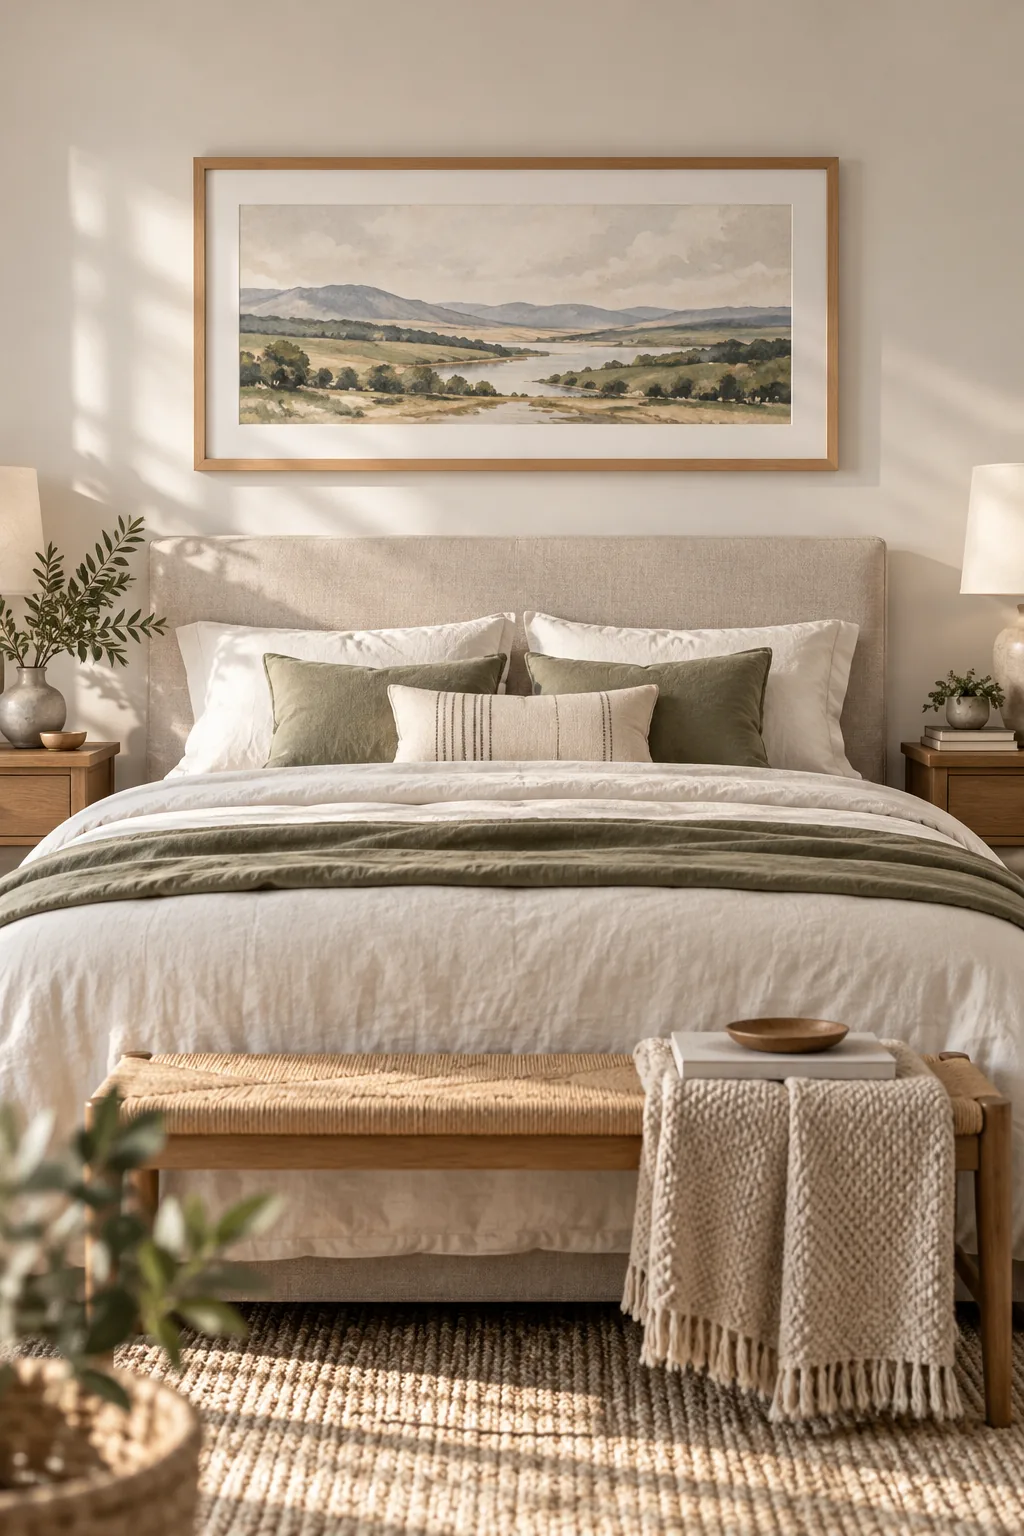
For example, a standard 60-inch queen bed requires a frame spanning roughly 40 inches to look intentionally anchored, rather than floating aimlessly on the expansive drywall above your sleeping area.
Scaling for King and California King Beds
Adapting proportions for a massive king-size mattress requires a much wider visual footprint to maintain that crucial balance without looking dwarfed by the expansive furniture below.
- Target a total horizontal art span of at least 50 inches for a standard king bed.
- Use matching diptychs or triptychs to cover the distance without needing custom oversized glass.
- Maintain a tight two-inch gap between multiple frames to keep them reading as a single cohesive unit.
Grouping multiple smaller frames allows you to achieve the necessary span elegantly, avoiding the logistical nightmare of transporting and hanging a single massive piece of artwork.
The Bed-Size Art Scaling Chart
Use this reference to quickly determine the ideal horizontal span for your specific mattress size, eliminating the frustrating guesswork from your next framing project.
| Bed Size | Mattress Width | Target Art Width |
|---|---|---|
| Twin | 38 inches | 26 inches |
| Full | 54 inches | 36 inches |
| Queen | 60 inches | 40 inches |
| King | 76 inches | 50 inches |
Keep in mind that these target measurements apply equally whether you hang a single oversized canvas or calculate the total width of a gallery arrangement.
Using Diptychs and Triptychs
Breaking a large landscape into two or three distinct panels adds architectural interest to the wall while making the installation process significantly more manageable for one person.
This segmented approach naturally draws the eye across the entire width of the sleeping area, establishing a serene and balanced focal point for the room.
Framing for Minimalist Spaces
If your bedroom leans toward a minimalist aesthetic, consider using a sleek metal gallery frame rather than heavy wood molding to keep the overall installation feeling light, airy, and entirely focused on the artwork itself.
Setting the Perfect Height
You should hang the bottom edge of the frame exactly 6 to 8 inches above the bed to connect the art directly to the furniture below.
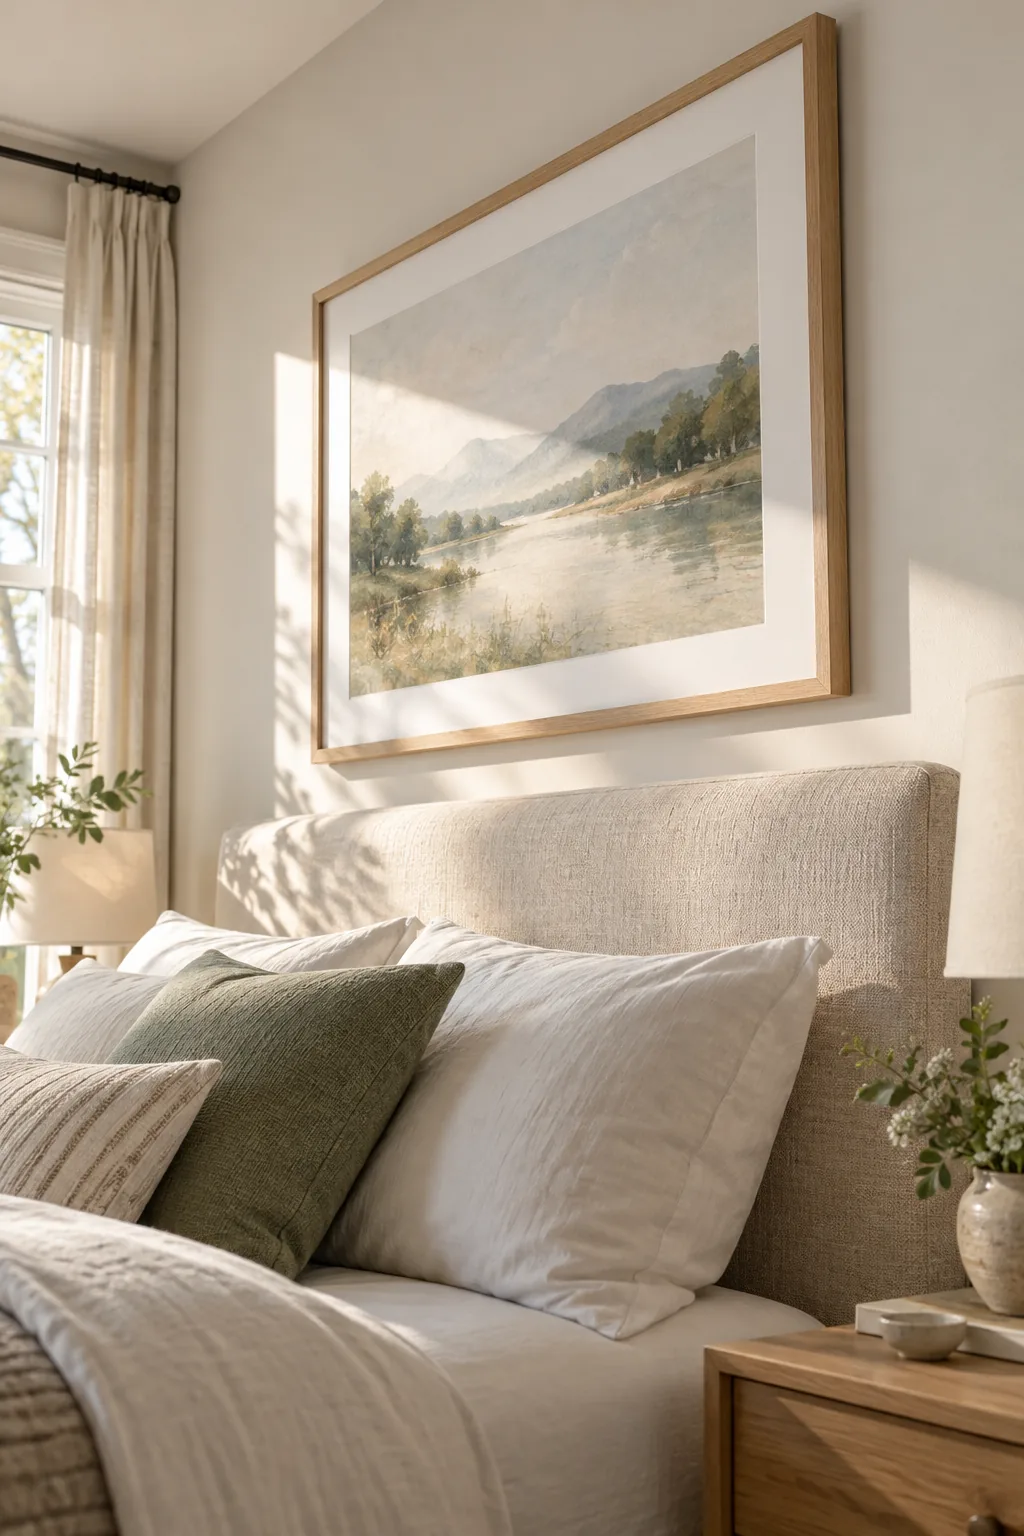
Leaving too much empty wall space severs the visual tie, making the artwork and the headboard feel like two entirely disjointed elements rather than a unified design.
Accommodating Oversized Euro Shams
While the standard measurement works beautifully for most setups, your specific layers of decorative bedding might require a minor vertical modification to prevent visual overlap.
Always measure your clearance starting from the top edge of your tallest decorative pillows when they are propped up in their normal daytime arrangement.
Why Matting Matters
Adding a wide white matboard elevates the entire piece by providing essential visual breathing room between the busy landscape and the solid frame molding.
- Specify a minimum mat width of 3 to 4 inches for large over-the-bed pieces.
- Choose an archival white core to prevent the inner bevel from yellowing over time.
- Ensure the mat proportions keep the central artwork from feeling cramped against the edges.
Skipping the mat on a large print often makes the composition feel heavy, whereas a generous border immediately mimics a sophisticated, high-end gallery presentation.
Selecting the Right Frame Profile
The thickness of your frame molding should directly correlate with the visual weight of your headboard to maintain a harmonious balance across the entire wall, ensuring neither element overpowers the other in the final room composition.
Choosing the Right Glazing
Selecting non-glare acrylic over standard glass is an absolute necessity for bedrooms, especially those featuring prominent ceiling fixtures or bright morning windows.
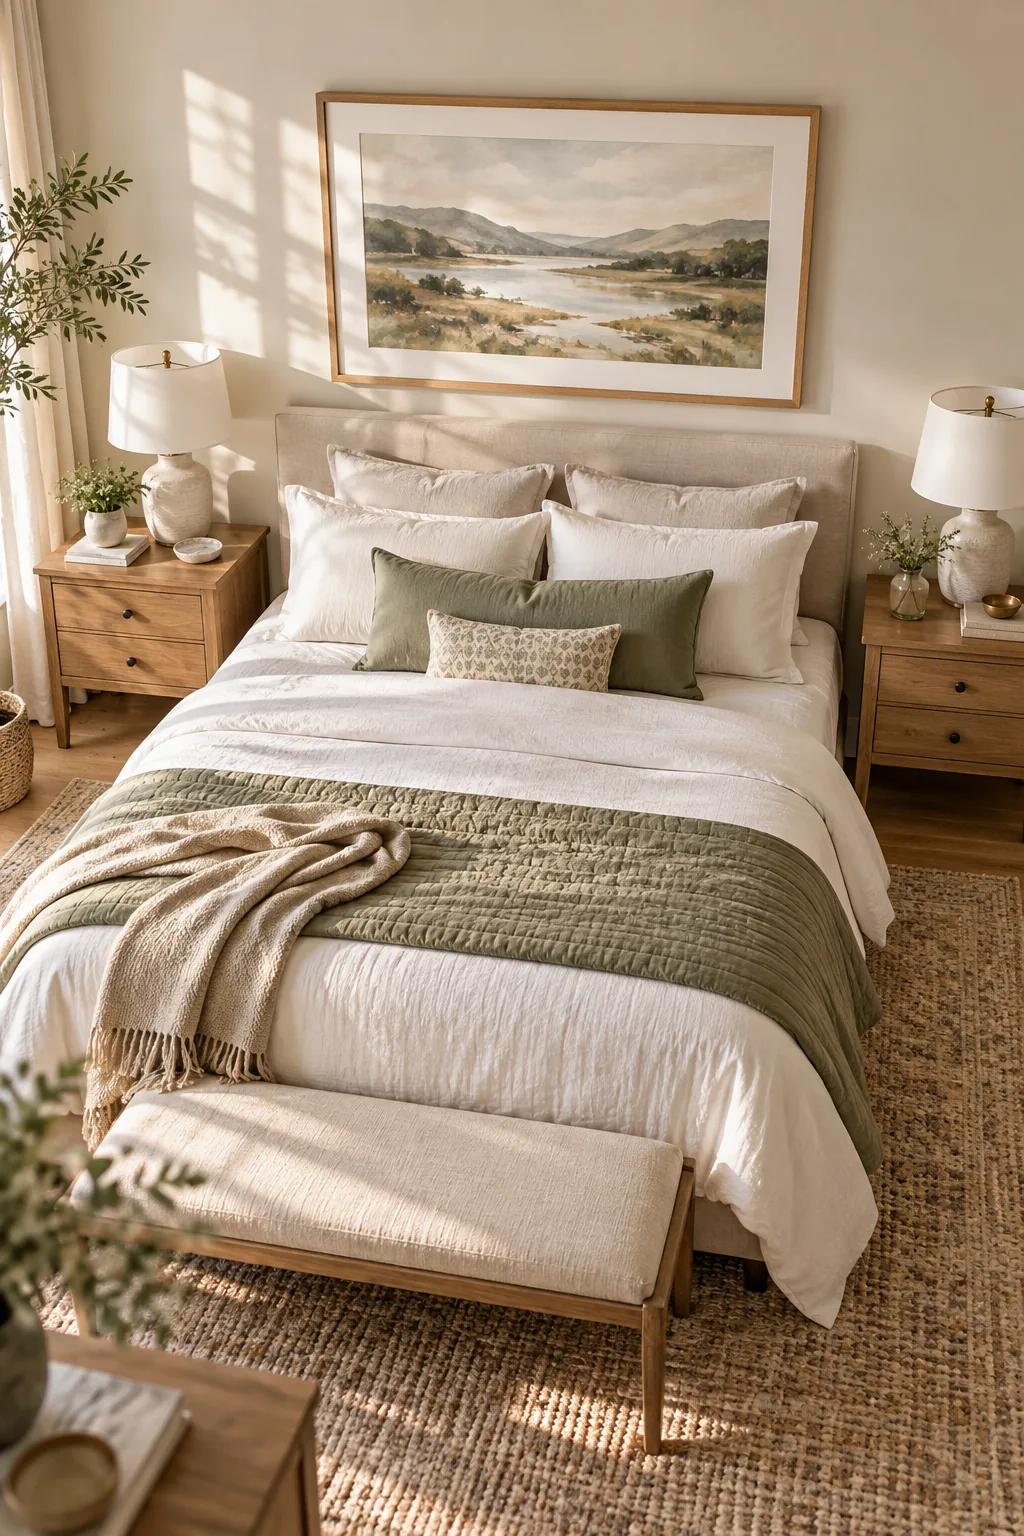
In my own bedroom, the morning sun used to turn my framed landscape into a blinding mirror until I finally swapped the heavy glass for a matte acrylic alternative.
The Safety Benefits of Acrylic
Beyond eliminating frustrating reflections, acrylic is significantly lighter than traditional glass, drastically reducing the sheer weight pulling on your drywall anchors and giving you absolute peace of mind when resting beneath a substantial frame.
Cleaning and Maintaining Acrylic
Unlike traditional glass, acrylic requires a specialized microfiber cloth and an ammonia-free cleaner to prevent micro-scratches from dulling the pristine, non-glare surface over time, ensuring your investment remains perfectly clear for years to come.
Connecting Art to Bedding
You can effortlessly create a professionally styled room by pulling a specific accent color from the artwork down into the layered bedding below.
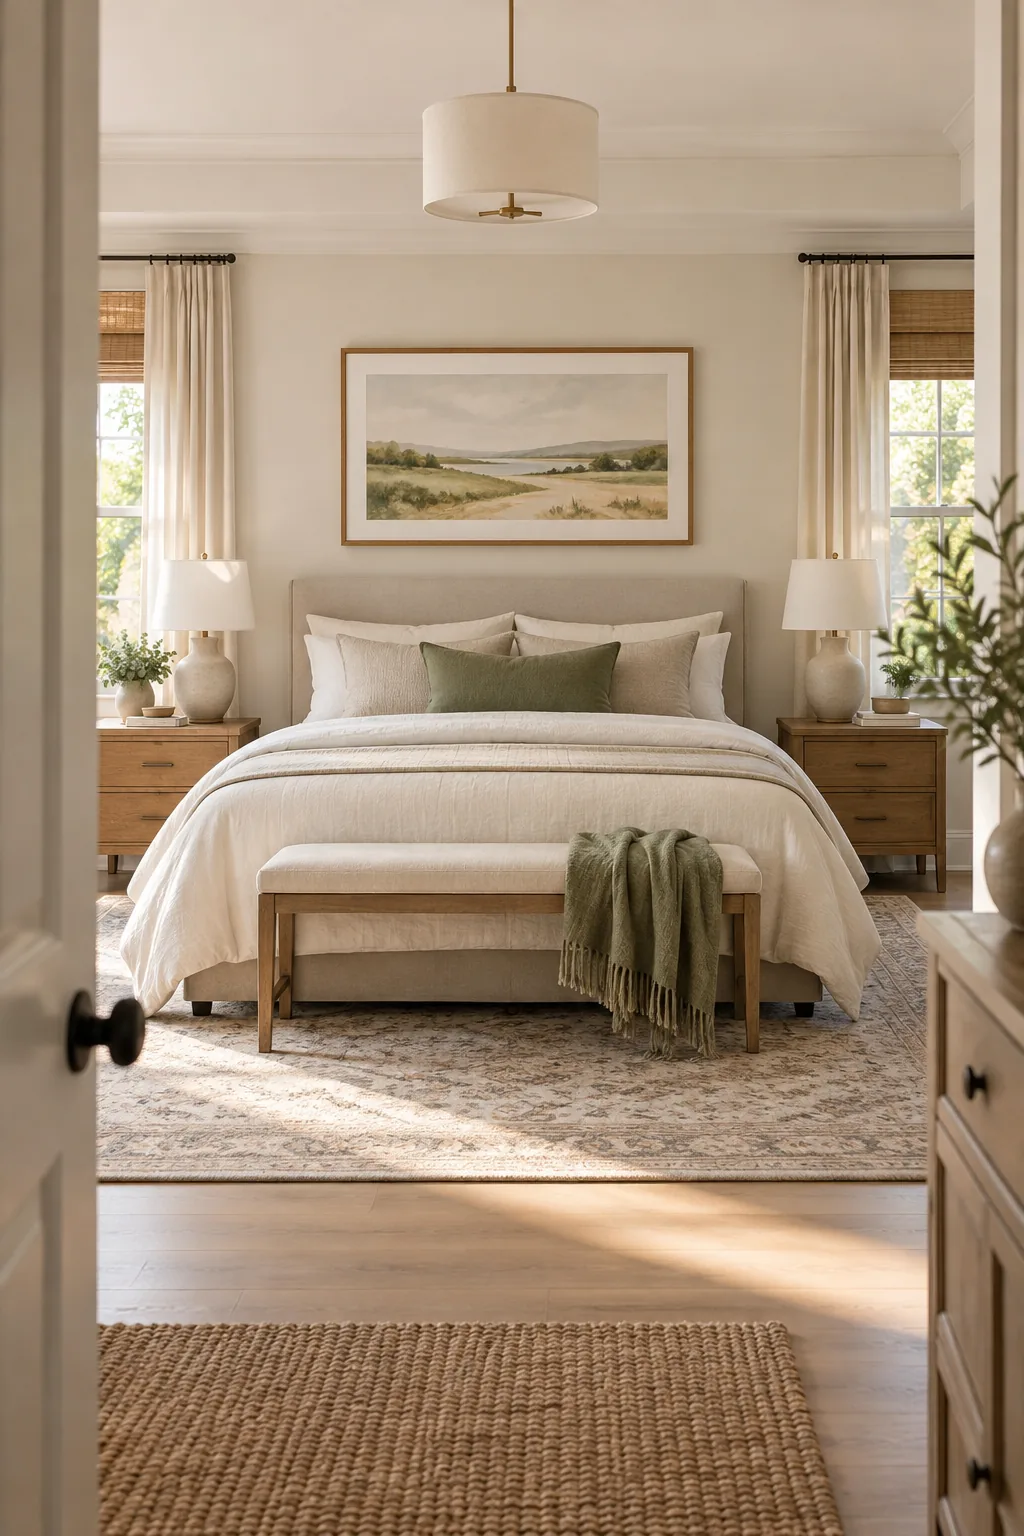
I recently finished a primary suite where we matched a subtle sage green brushstroke in the abstract art directly to a heavily textured throw pillow resting on the mattress.
Balancing the Nightstands
Address the surrounding spatial context by ensuring your bedside lamps never visually overlap the outer vertical edges of your carefully centered artwork, which can quickly make the entire wall feel cluttered, claustrophobic, and poorly planned.
Managing Lampshade Clearances
Maintaining clear boundaries between your lighting and your art requires careful measurement of your nightstand positioning relative to the frame width.
- Center your mattress and headboard perfectly on the main bedroom wall.
- Position your flanking nightstands symmetrically on either side of the bed frame.
- Measure to leave at least 4 inches of horizontal clearance between the frame edge and the widest part of the lampshades.
I once had to swap out a client’s massive drum shades for slender brass task lamps just to achieve that necessary breathing room alongside their framed canvas.
3 Ways to Style Over-the-Bed Art
Explore these three distinct bedroom styles to see how the scaling rules adapt to different aesthetics.
Moody monochromatic contrast: A single oversized black-and-white photograph in a thin brass frame pops dramatically against dark charcoal walls.
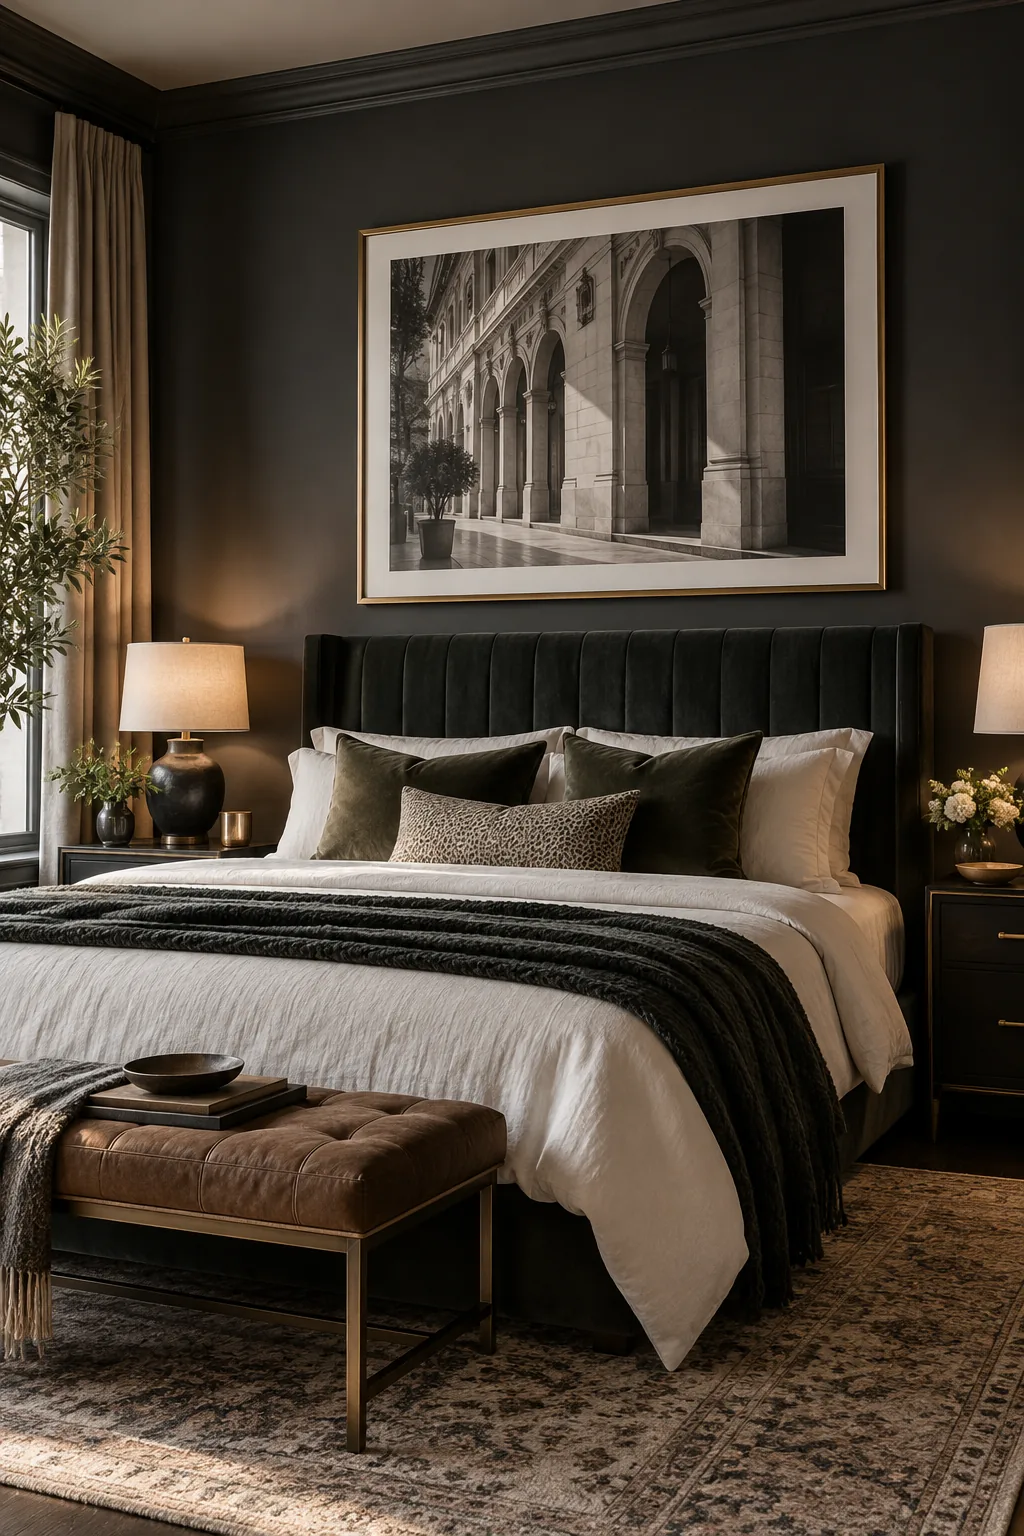
Coastal triptych arrangement: Three vertical seascapes fill the two-thirds width rule together while introducing airy blue tones to a woven rattan headboard.

Warm minimalist texture: An unframed textured plaster canvas blends seamlessly into warm terracotta walls, creating a soft, tactile focal point.
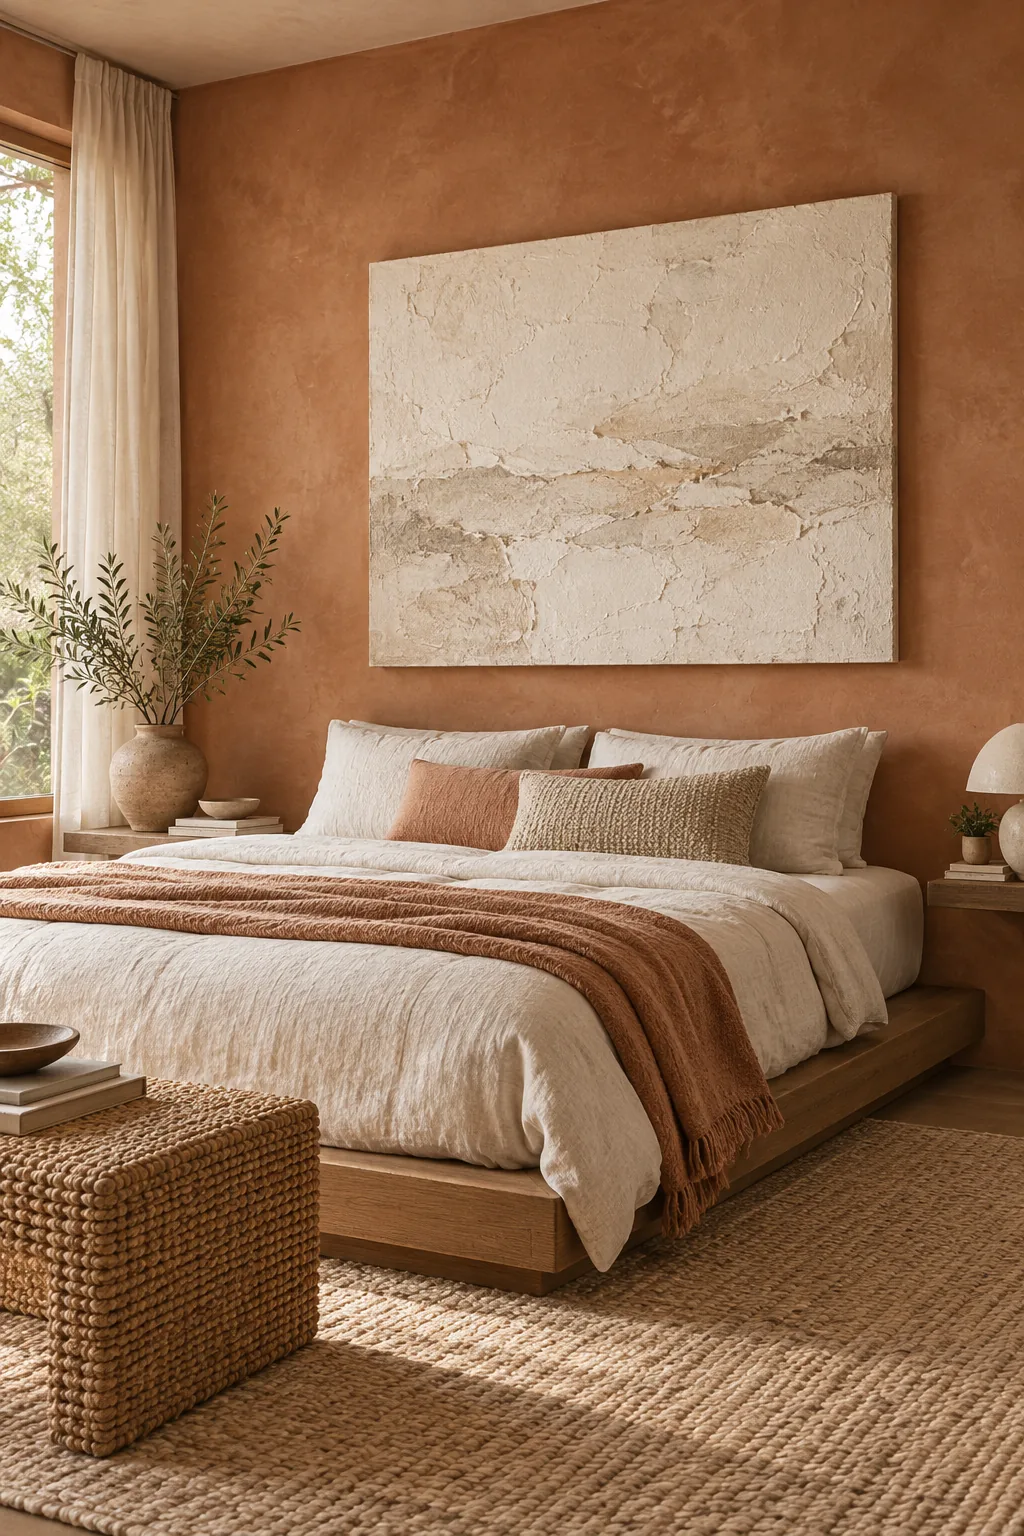
Testing the Layout Before Hanging
Cut a piece of kraft paper to the exact dimensions of your frame and tape it to the drywall to experiment with placement without causing damage.
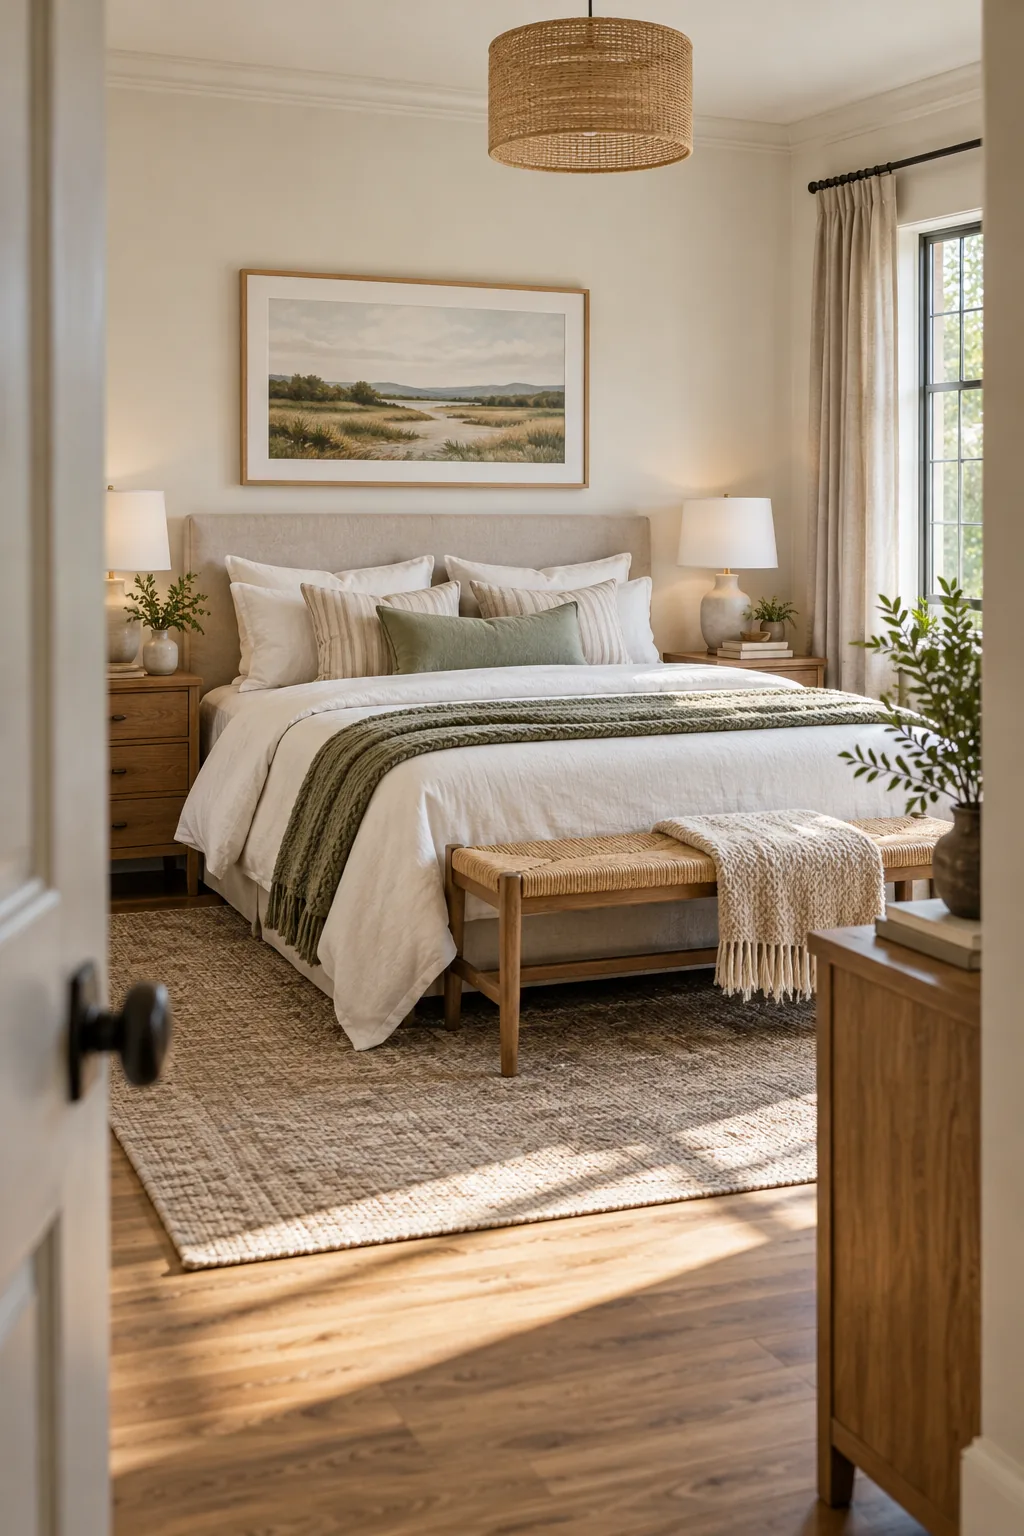
Before picking up the hammer and committing to a nail hole, run through this final visual check to ensure your measurements translate perfectly to the physical room.
Taking ten extra minutes to verify these spatial relationships guarantees that your chosen artwork will perfectly anchor the room and elevate your entire bedroom design.