Flower Pot Design: Hidden Layers & Free Printable Guide
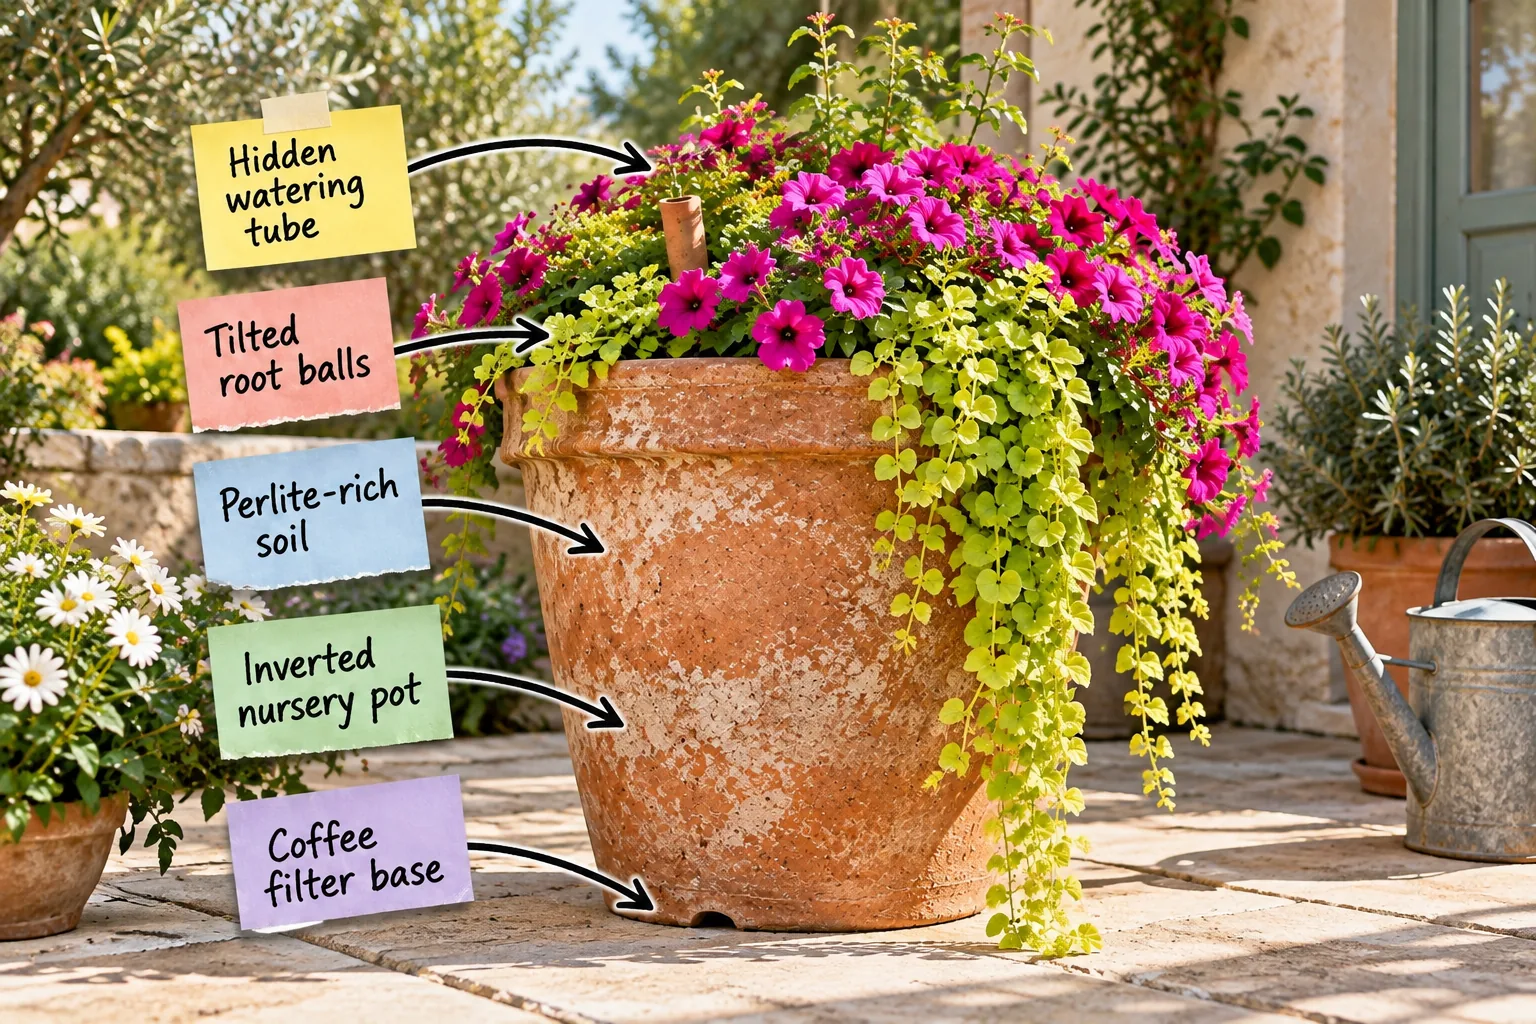
Master the secret structural layers of oversized planters so you can assemble a lightweight, perfectly draining container, and download your printable potting layer formula and spacing guide below. You will be able to build a thriving display from the drainage hole all the way to the top foliage.
Securing the base with a coffee filter
Start by placing a standard paper coffee filter directly over the primary drainage hole to keep the potting soil from washing out onto your patio. This simple barrier maintains perfect airflow while keeping the surrounding stone completely clean.
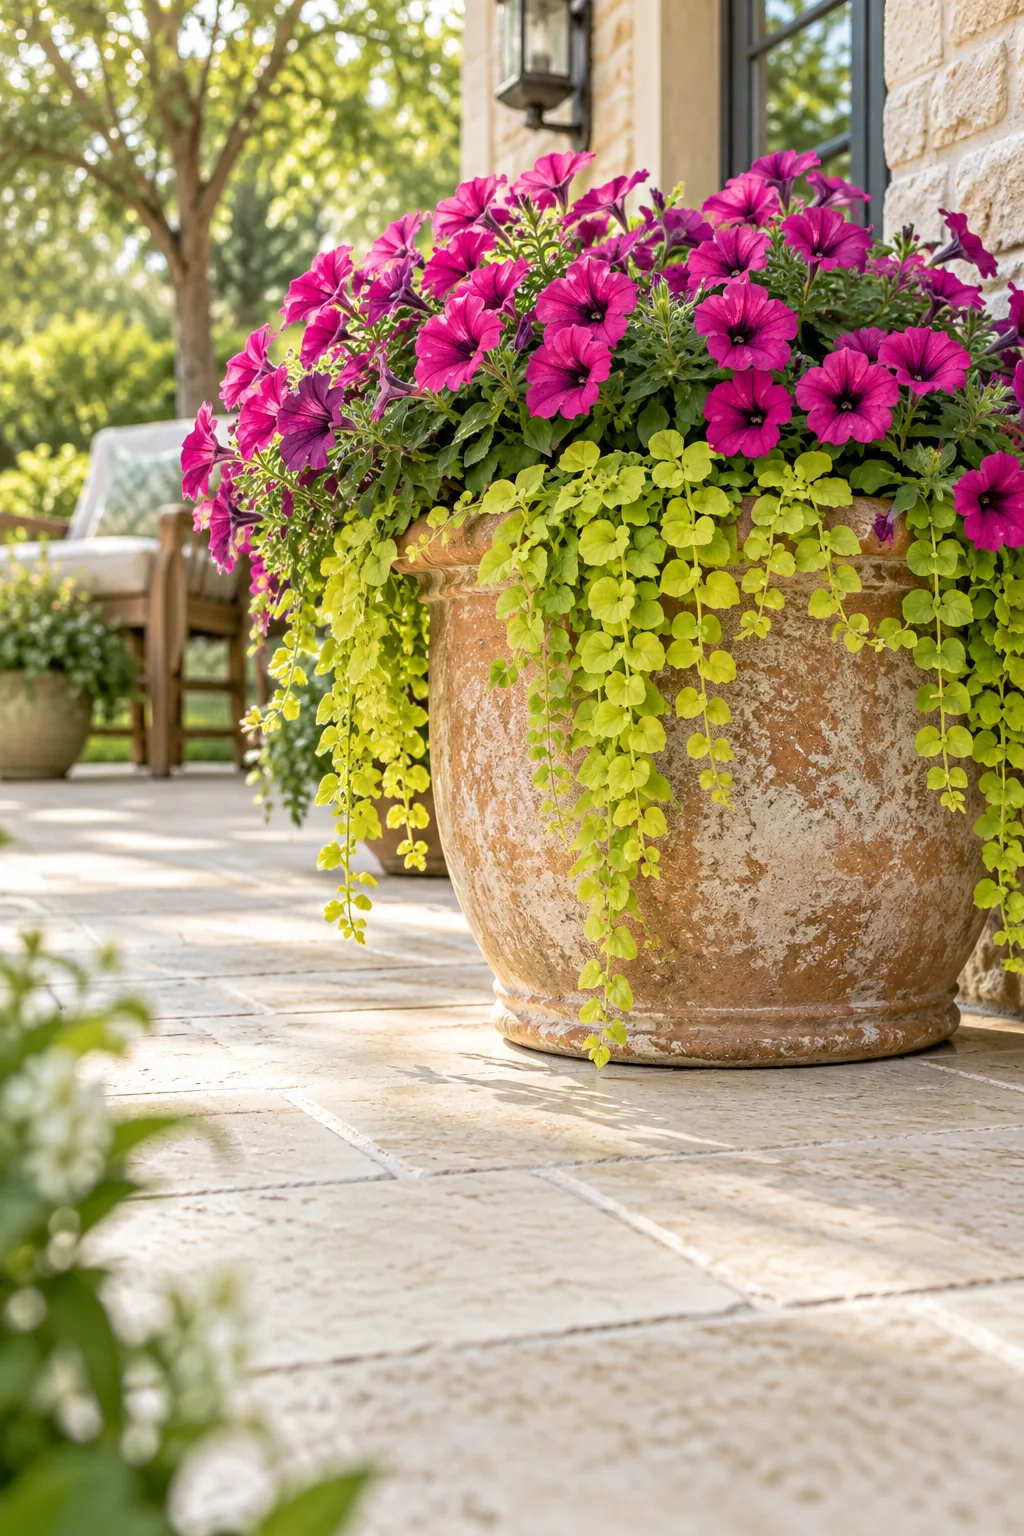
While broken pottery shards are a traditional choice for drainage holes, they often shift and allow muddy water to escape. A paper filter provides a much more reliable soil seal.
Adding an inverted nursery pot
Place an empty 8-inch or 10-inch plastic nursery pot upside down in the very center of the base. This false bottom reduces the required soil volume by about 30 percent, keeping the massive planter surprisingly light.
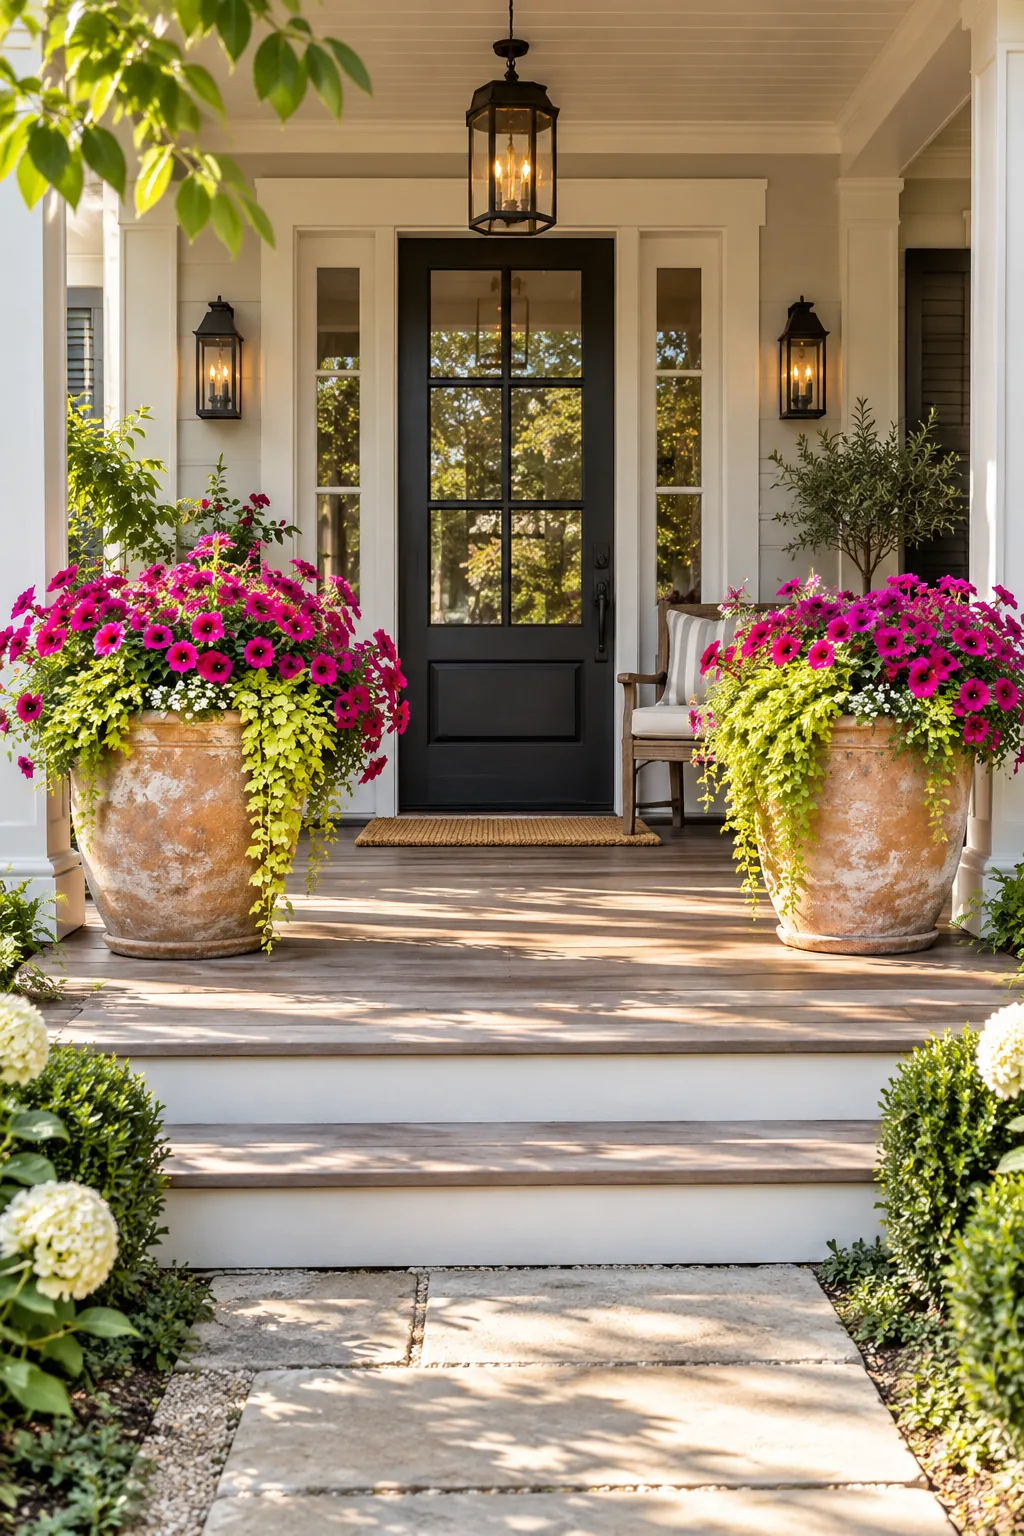
Using this hidden structural trick means you will never struggle to shift your heavy seasonal displays across the porch again.
- Measure the interior height of your decorative planter.
- Select a sturdy plastic nursery pot that fills the lower third.
- Center the empty pot securely over your coffee filter base.
Blending a perlite-rich potting mix
Fill the remaining space around and above the false bottom with a lightweight, well-aerated soil blend. Use a strict ratio of two parts premium potting soil to one part perlite to ensure the deep root zone never becomes waterlogged.
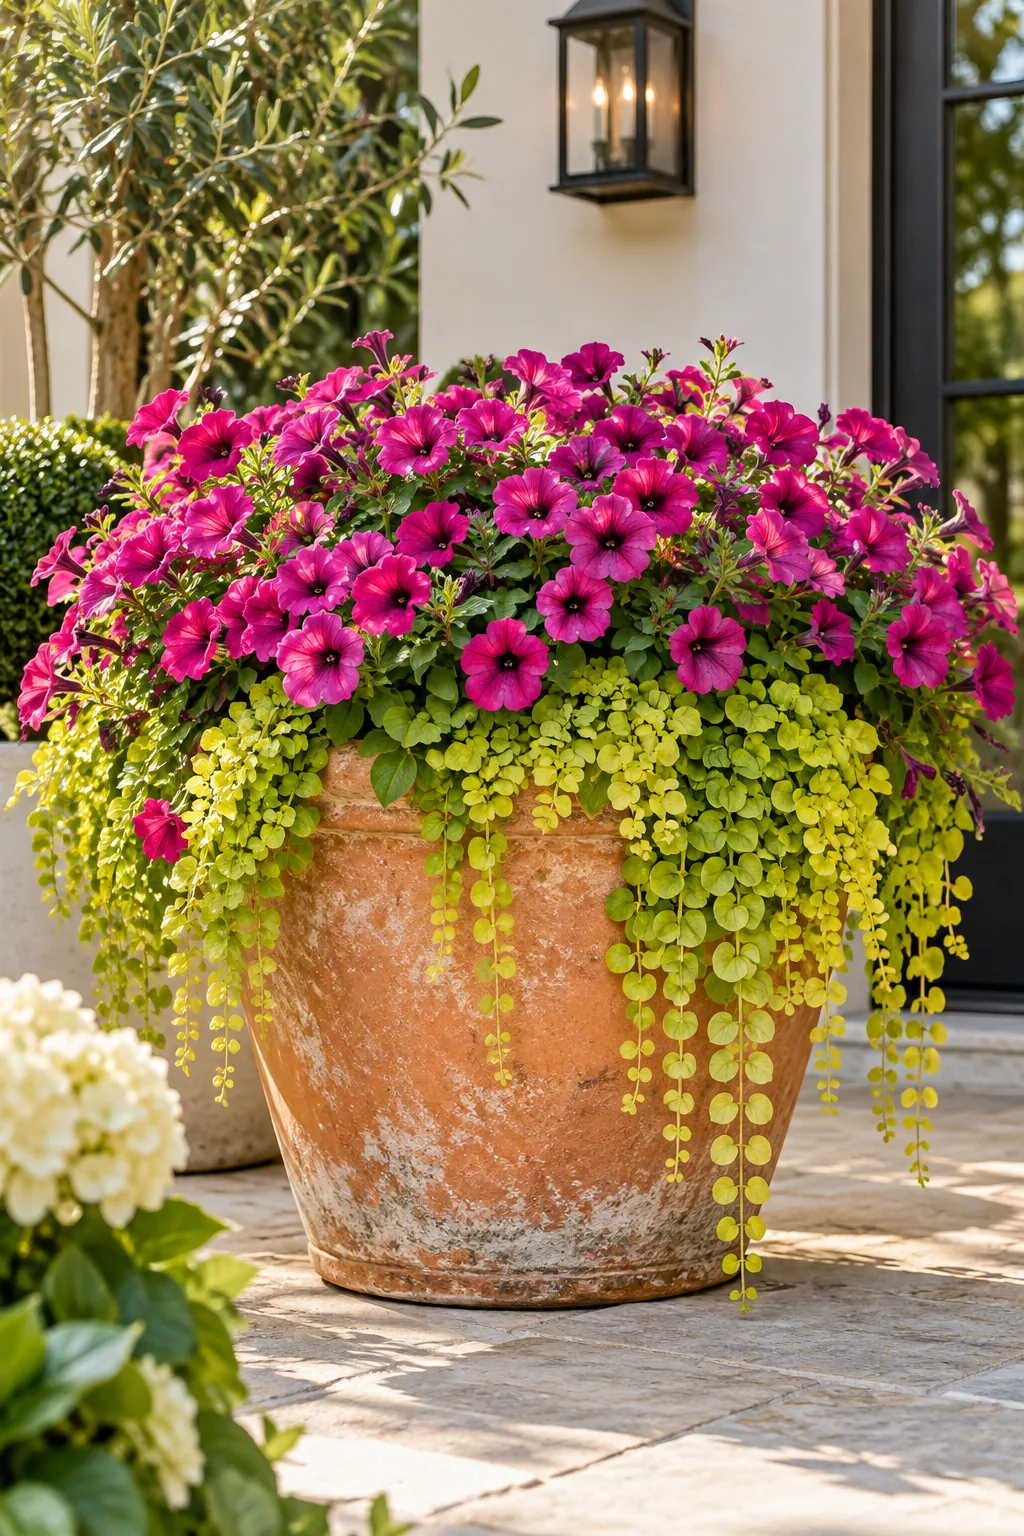
This airy foundation naturally supports the technique of angling trailing plants to create an instant cascading effect over the rim.
- Premium moisture-control potting soil
- Coarse horticultural perlite for drainage
- Slow-release granular flower fertilizer
Tilting root balls for a fuller spill
When placing your trailing vines near the rim, plant the root balls at a 45-degree angle pointing outward. This forces the foliage to cascade immediately down the sides rather than growing upward first.
Sinking a hidden watering tube
Insert a 1-inch diameter bamboo or terracotta pipe deep into the center of the soil before adding your final upright plants. Leave just the top inch visible so you can pour water directly down to the deepest roots.
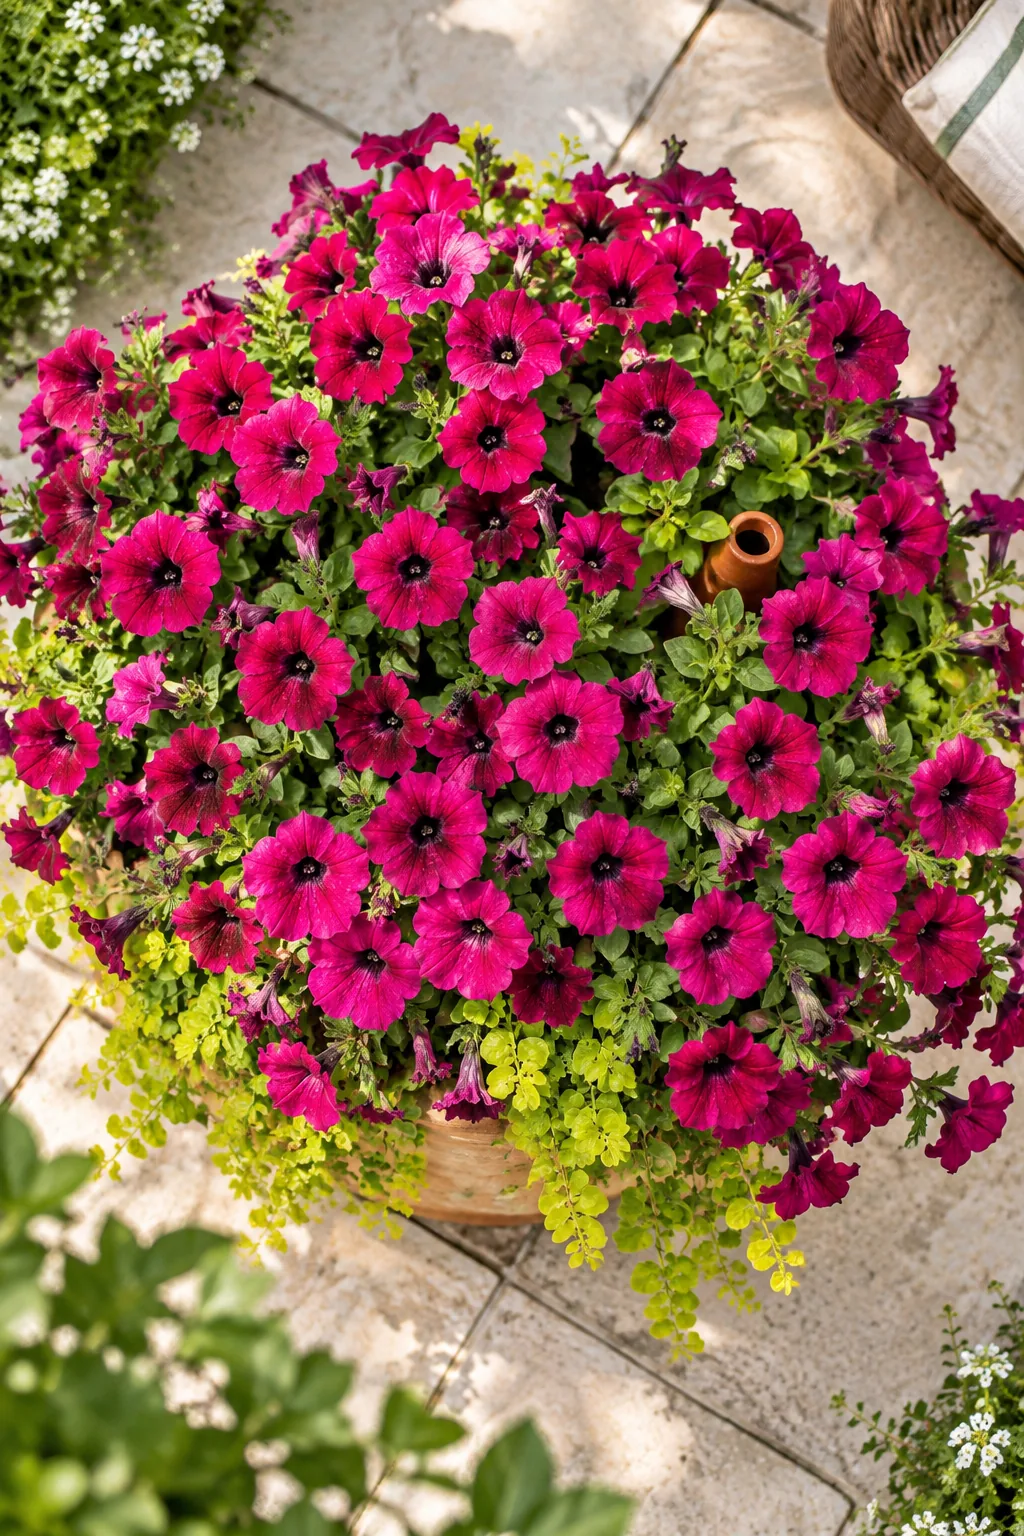
Oversized planters often suffer during peak summer heat because the dense canopy of blooms acts like an umbrella, shedding water away from the soil. I actually lost a whole pot of petunias to this dry-soil effect before I started using the tube method!
Your printable potting layer and spacing guide
Take the guesswork out of your next garden project with our comprehensive layer formula. Download the printable potting guide for exact soil ratios, layer depths, and a foolproof grid for spacing trailing and upright plants.
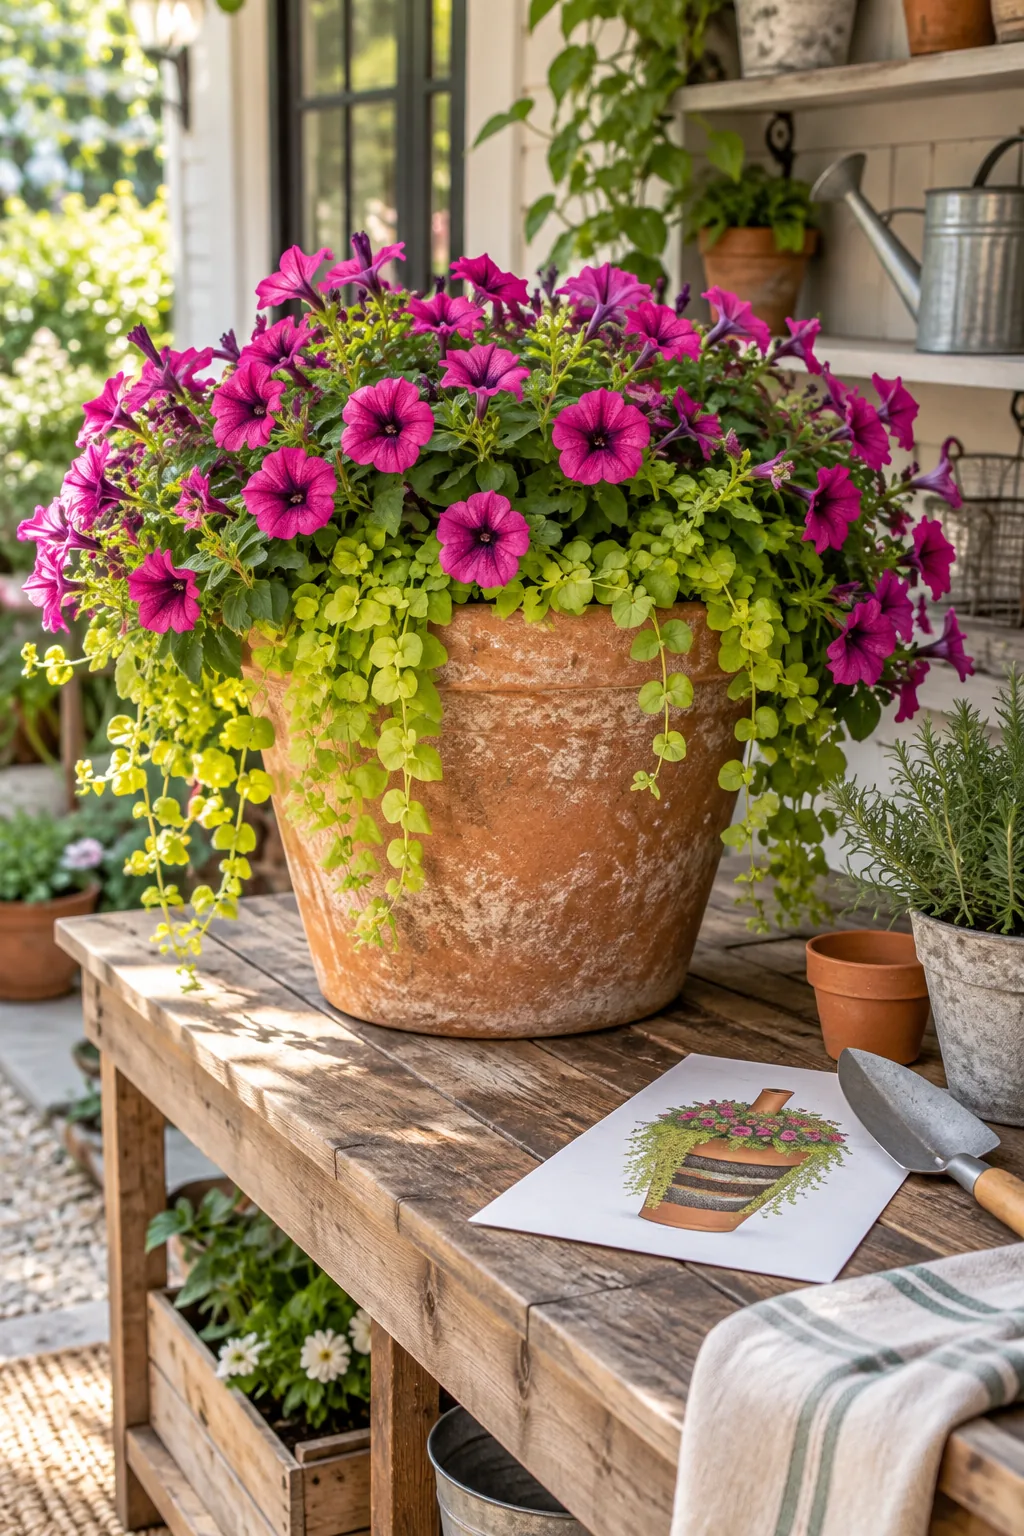
Keep this reference sheet tucked in your gardening caddy for spring planting season. I finally laminated my own copy after ruining the first one with muddy gloves during a weekend planting marathon.
More styled planter looks
Explore how this same layered technique works across different garden styles and containers.
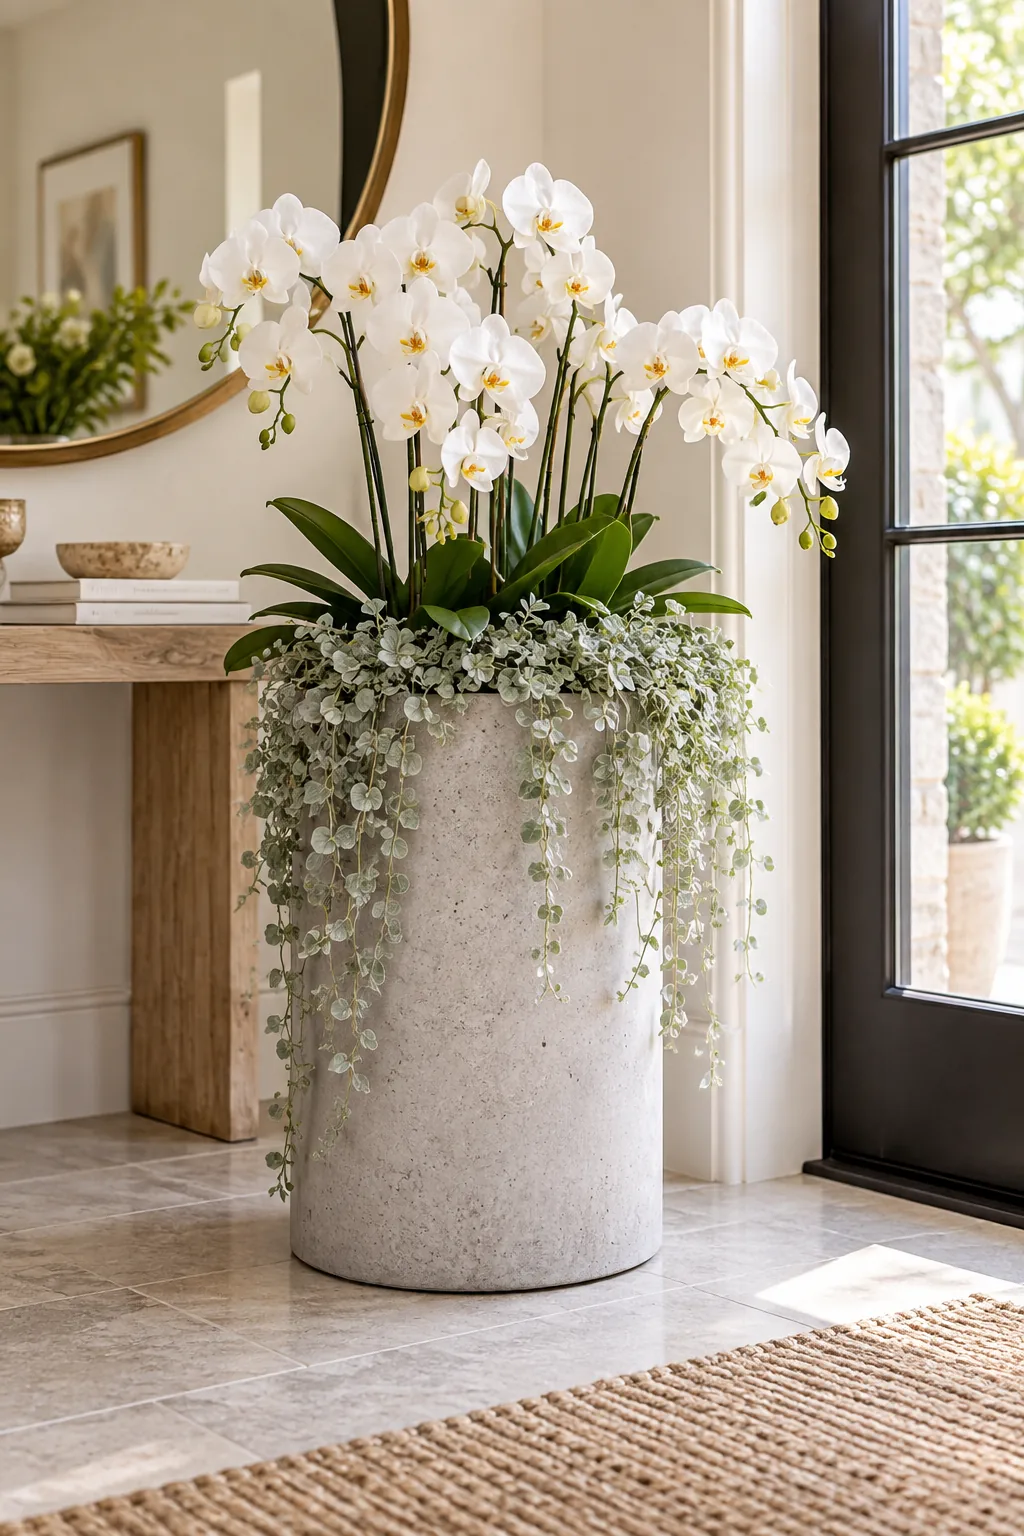
Modern minimalist concrete and silver: Sleek concrete pairs beautifully with structural white orchids, while silver dichondra adds a cool-toned spill.
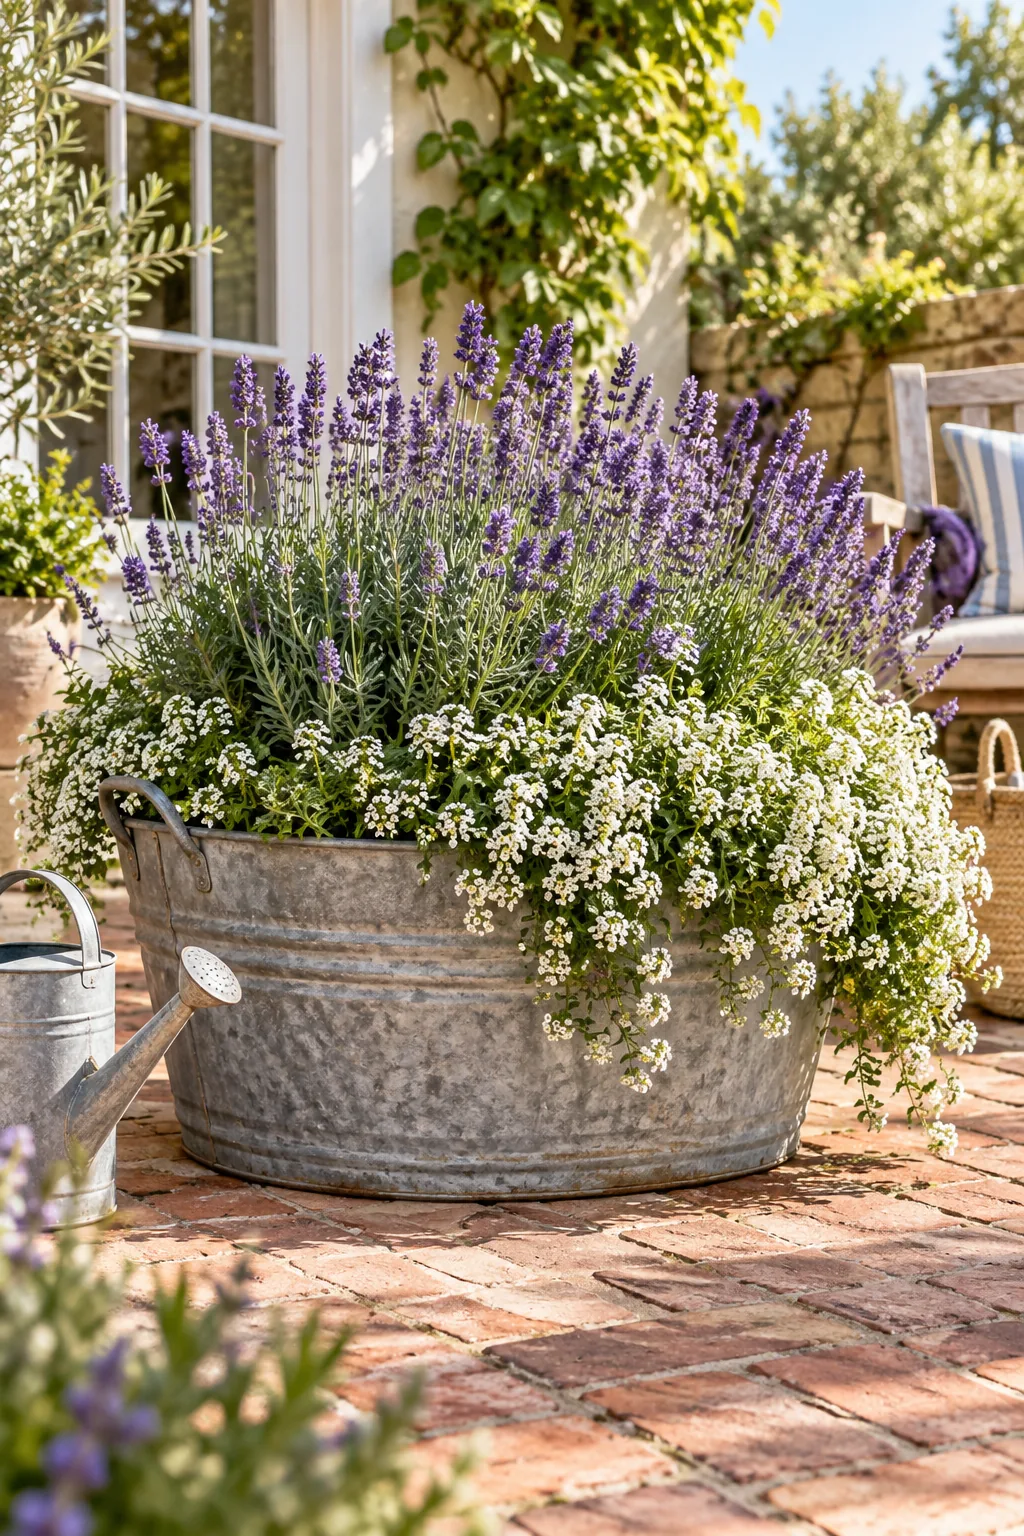
Rustic farmhouse galvanized metal tub: A vintage metal wash tub creates instant farmhouse charm when packed tightly with fragrant lavender.
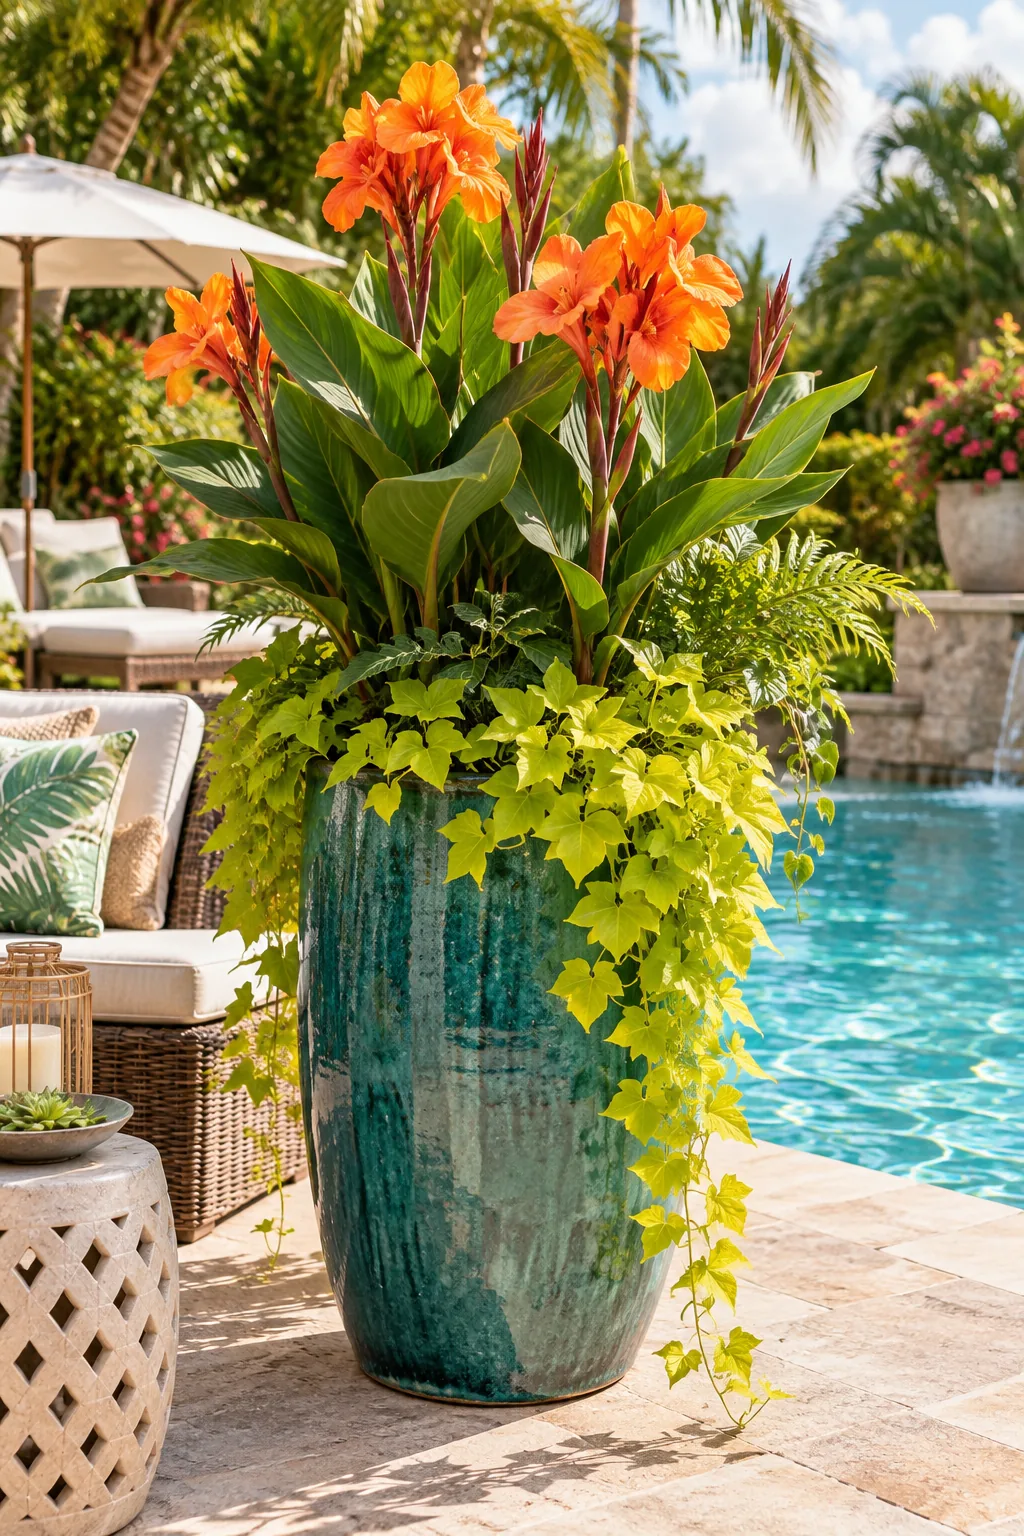
Tropical lush teal and orange: High-contrast colors like bright orange cannas against a glazed teal pot create a vibrant resort feel.
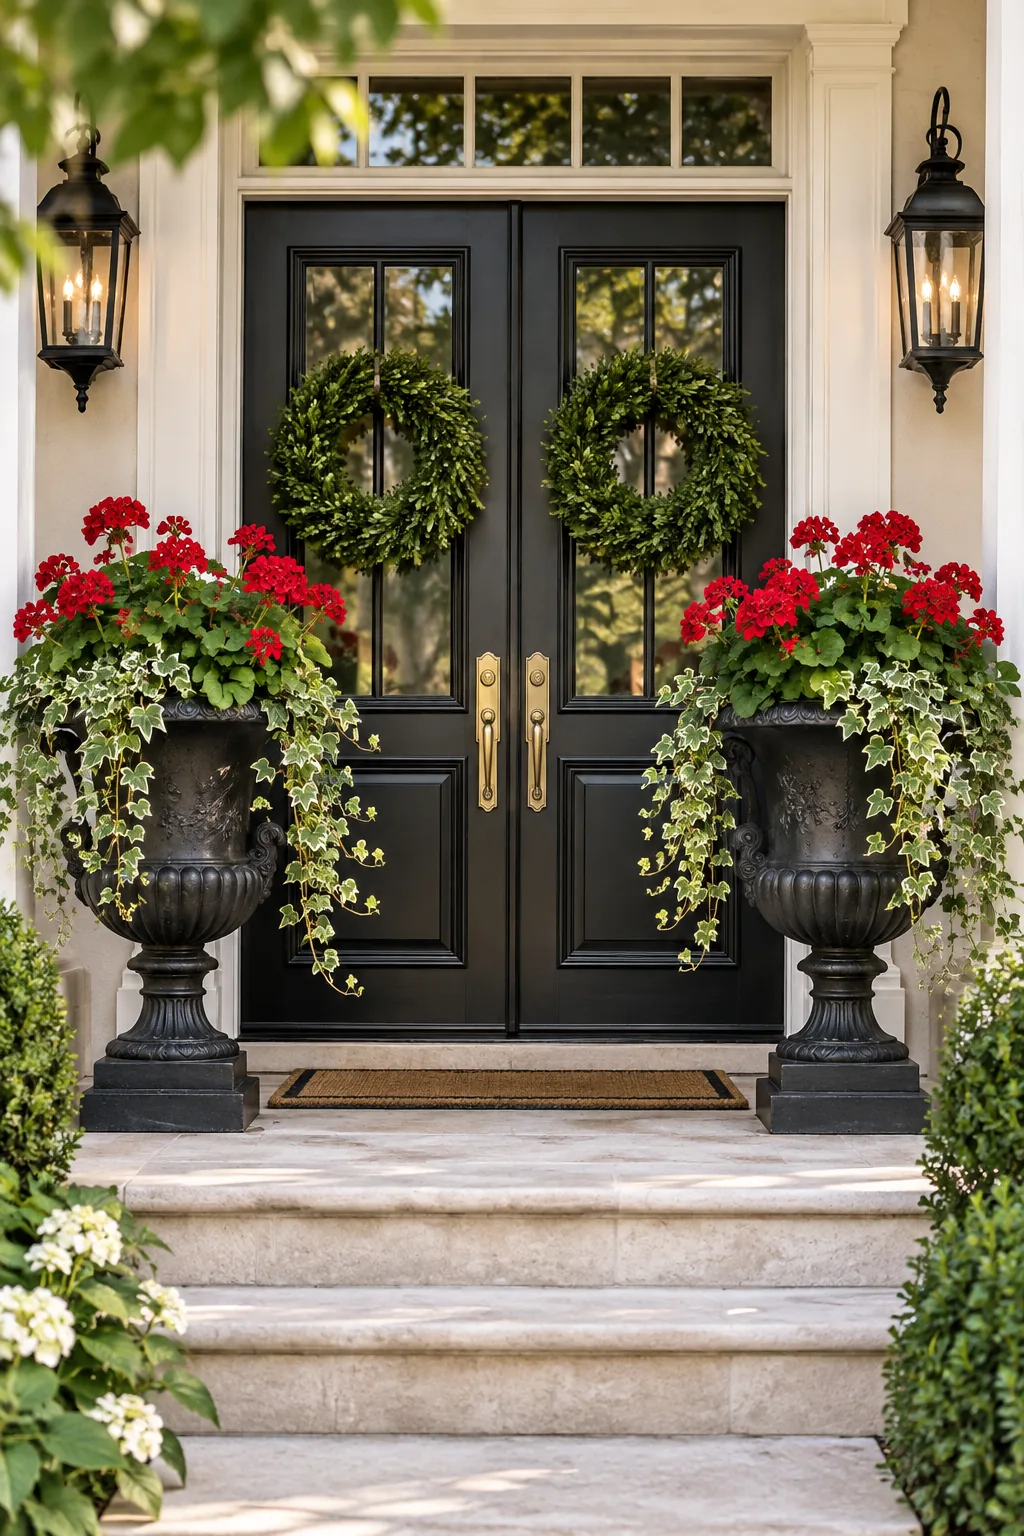
Classic traditional cast iron urn: Deep red geraniums and classic english ivy offer timeless curb appeal in a formal cast iron urn.