
Weekend Ceiling Design: The Faux-Coffered Batten Grid
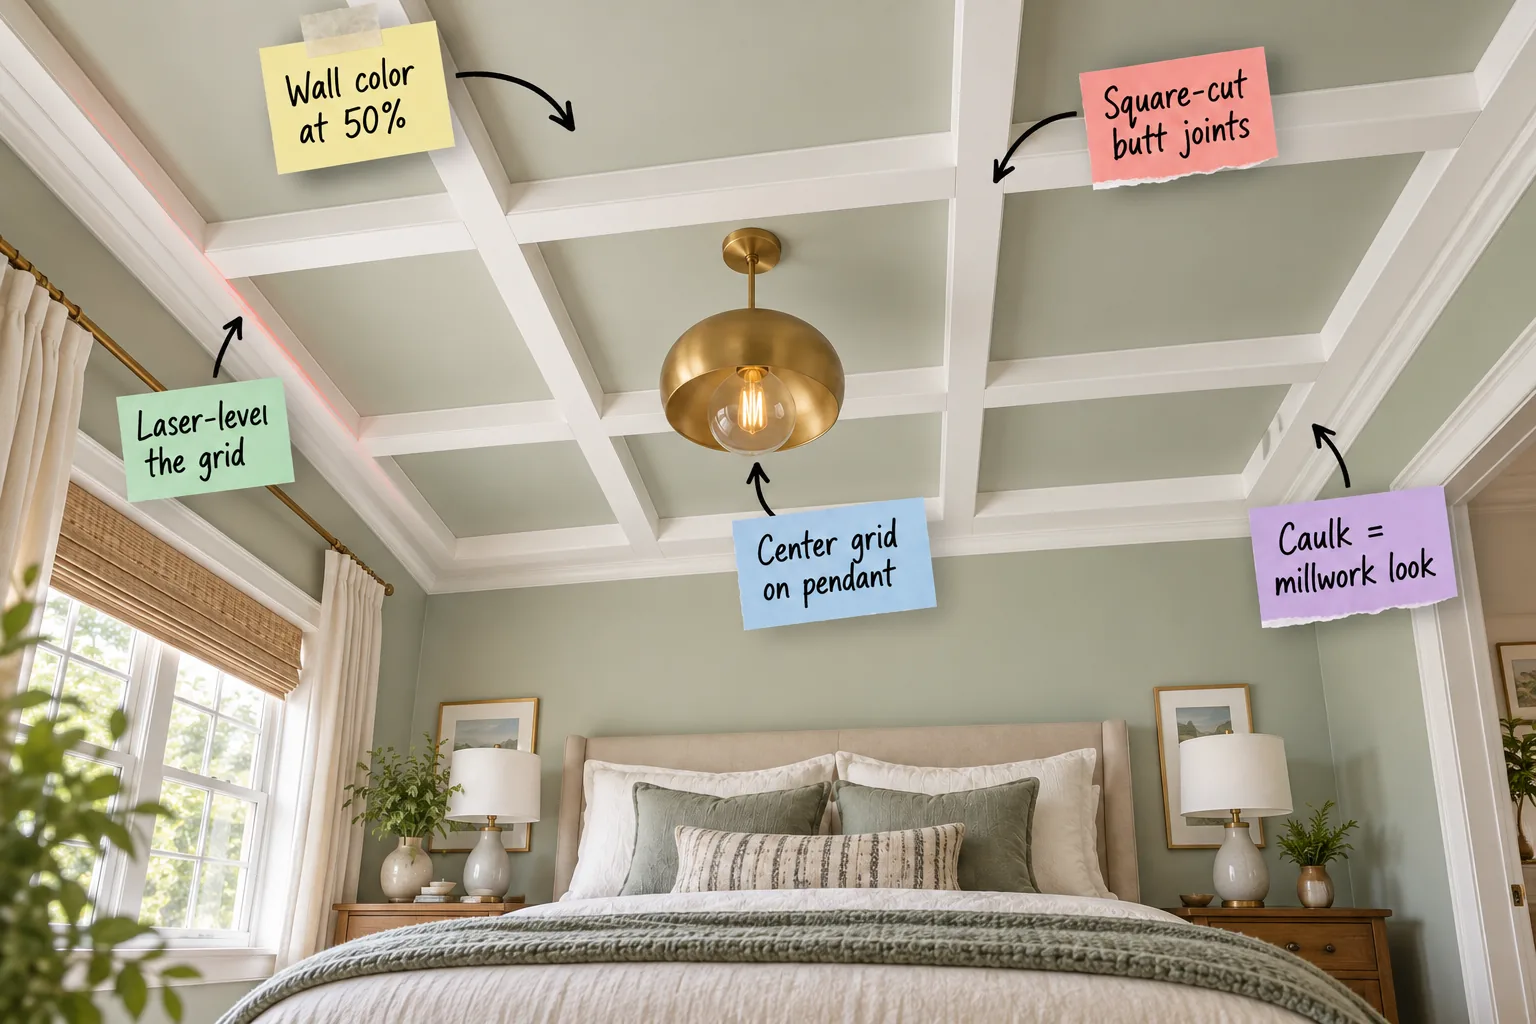
Upgrade your bedroom with a DIY faux-coffered ceiling using my complete two-page Weekend Ceiling Grid Plan, which includes a precise batten cut list and a Saturday-to-Sunday layout schedule. You will be able to map, cut, level, and install a perfectly centered architectural ceiling grid by Sunday evening.
Centering Your Grid on the Light Fixture
A balanced ceiling grid always starts from the center of the room, so measure outward from your brass pendant to ensure an odd-count panel layout. Dividing the total room width by your desired coffer size calculates the exact dimensions of this center anchor box.

Keeping the fixture perfectly isolated in the middle coffer prevents any awkward intersections where a batten might overlap the pendant canopy.
Calculating Your Coffer Dimensions
Finding the perfect grid scale requires a bit of basic math before you make any cuts to your lumber. Measure your total room width in inches and divide it by your target box size to determine exactly how many full coffers will fit across the ceiling span.
| Room Width | Target Box | Odd Count | Actual Coffer Size |
|---|---|---|---|
| 120 inches | 24 inches | 5 panels | 24.0 inches |
| 144 inches | 30 inches | 5 panels | 28.8 inches |
| 168 inches | 36 inches | 5 panels | 33.6 inches |
Always round your panel count to the nearest odd number to ensure a single center box anchors the room perfectly without shifting the entire layout.
Acclimating Your Batten Lumber
Bring your primed pine boards into the bedroom at least 48 hours before installation to let the wood adjust fully to the indoor humidity. Skipping this crucial step often leads to shrinking boards and aggressively cracked caulk joints once the seasonal weather shifts.
Projecting Level Lines Across the Ceiling
Drywall ceilings are rarely perfectly flat, making physical straightedges unreliable over long distances. Set up a red laser level line directly across the ceiling to establish a true, straight path for the flat battens.
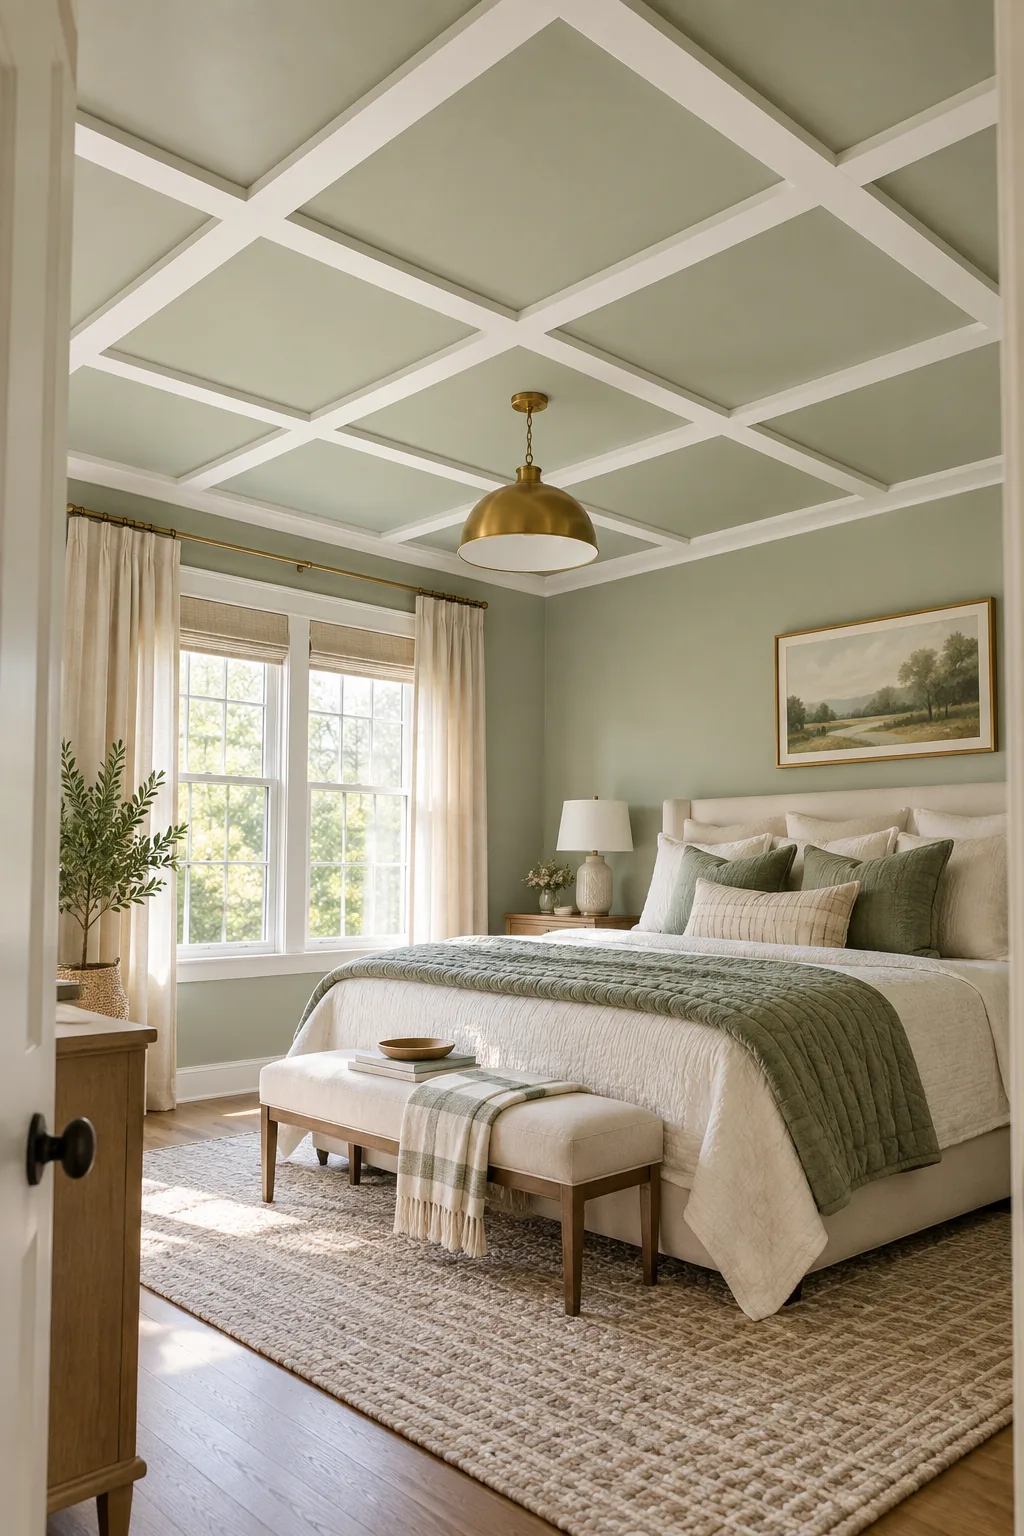
This optical guide ensures the grid remains perfectly square even if the underlying ceiling joists bow slightly over the span of the room.
Mapping the Joists for Secure Nailing
Use a high-quality magnetic stud finder to locate and mark every ceiling joist along your projected laser lines. Marking these hidden structural supports with a pencil ensures your brad nails will bite into solid wood rather than just hanging in empty drywall.
Protecting the Bedroom Floor
Construction adhesive and acrylic caulk are notoriously difficult to remove from carpet or hardwood once they dry. Lay down heavy-duty canvas drop cloths across the entire room, taping the edges securely to the baseboards to catch any accidental drips during the installation process.
The Weekend Ceiling Batten Schedule
Building a custom ceiling grid requires strict timing, which I learned the hard way when a rushed Sunday paint job peeled on me. Download the two-page Weekend Ceiling Grid Plan to get your complete batten cut list and hour-by-hour schedule for layout, glue-up, caulk, and paint.

Before starting the clock on Saturday morning, ensure your materials and workspace are fully prepped to keep the weekend schedule on track.
Once your prep is complete, follow these essential weekend milestones to sequence the build without waiting around for adhesive to cure.
- Saturday morning: Project laser layout lines and cut all main batten runs.
- Saturday afternoon: Glue and nail the grid, starting from the center coffer.
- Sunday morning: Apply acrylic caulk to every seam and wipe clean.
- Sunday afternoon: Paint the battens and tinted ceiling field.
Selecting the Right Batten Material
Standard one-by-four primed pine boards offer the crispest edges and most stable performance for custom ceiling applications. Avoid using MDF for ceiling grids, as it tends to sag under its own weight and absorbs moisture heavily if your roof humidity fluctuates.
Planning for Square-Cut Butt Joints
Flat ceiling battens do not require complex mitered intersections if you plan your layout with continuous main runs that cross the entire room. The shorter perpendicular pieces simply butt squarely against them, creating 90-degree square-cut butt joints.
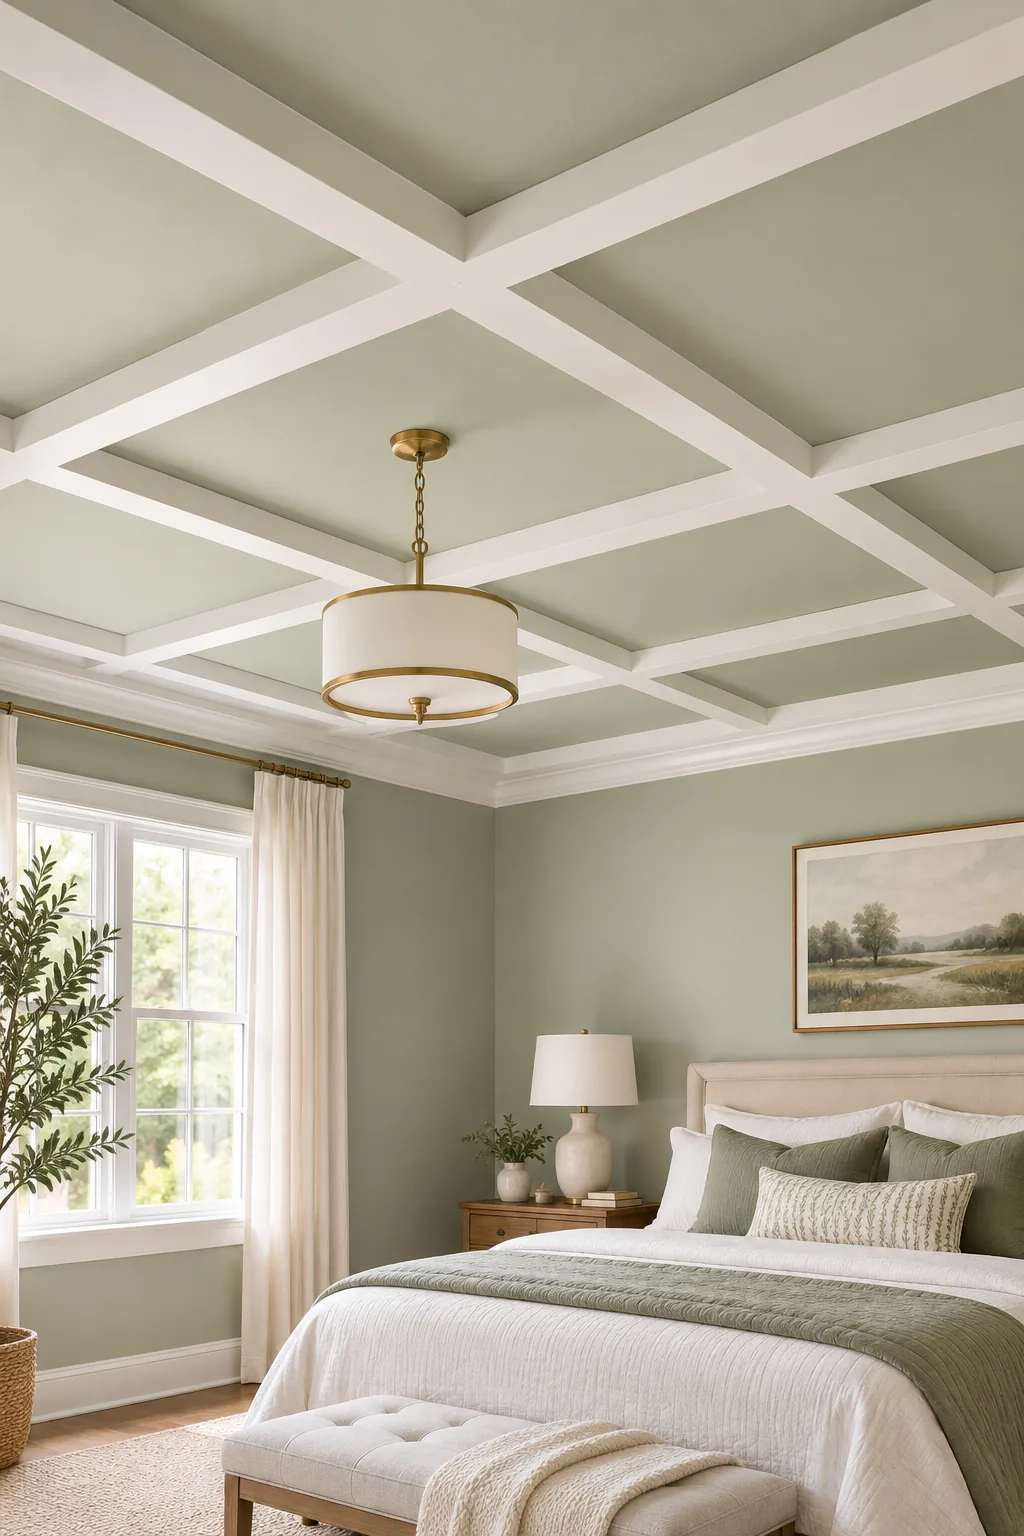
These flat intersections are significantly faster to cut on a miter saw and much easier to align tightly while balancing on a ladder.
Making Clean Cuts on the Miter Saw
Equip your miter saw with a high-tooth-count finishing blade to prevent the primed pine from splintering at the delicate ends. Cut your boards slightly long and shave off tiny increments until they wedge perfectly tight between the continuous main runs.
Sanding the Batten Edges
Lightly run a 220-grit sanding block over the cut ends of every batten before carrying it up the ladder. Removing those tiny burrs ensures your butt joints press together seamlessly without any stray wood fibers holding the gap open.
Securing the Battens to the Joists
Gravity is the biggest enemy of a ceiling treatment, and I once had a decorative board pop loose because I trusted brad nails alone. Apply a continuous zigzag bead of heavy-duty construction adhesive to the back of each batten before pressing it onto the layout line.

Secure the boards immediately with 2-inch brad nails driven directly into the hidden ceiling joists through the 1/2-inch drywall to guarantee a permanent hold.
Managing Adhesive Squeeze-Out
Pressing the battens firmly against the ceiling will occasionally force excess construction adhesive out along the edges. Wipe this squeeze-out away instantly with a damp rag, as dried adhesive chunks will block your caulk line and ruin the seamless millwork look.
Filling the Brad Nail Holes
Press a small amount of lightweight spackle into every brad nail divot using your fingertip, leaving it slightly mounded to account for shrinkage. Once dry, sand the spots flush with a fine grit sponge so the fasteners disappear completely under the final paint.
Caulking for a Custom Millwork Finish
Raw lumber only looks like built-in millwork once the gaps are completely erased with a thin bead of premium paintable acrylic latex caulk. Run this caulk along every seam where the battens meet the ceiling and the perimeter trim.
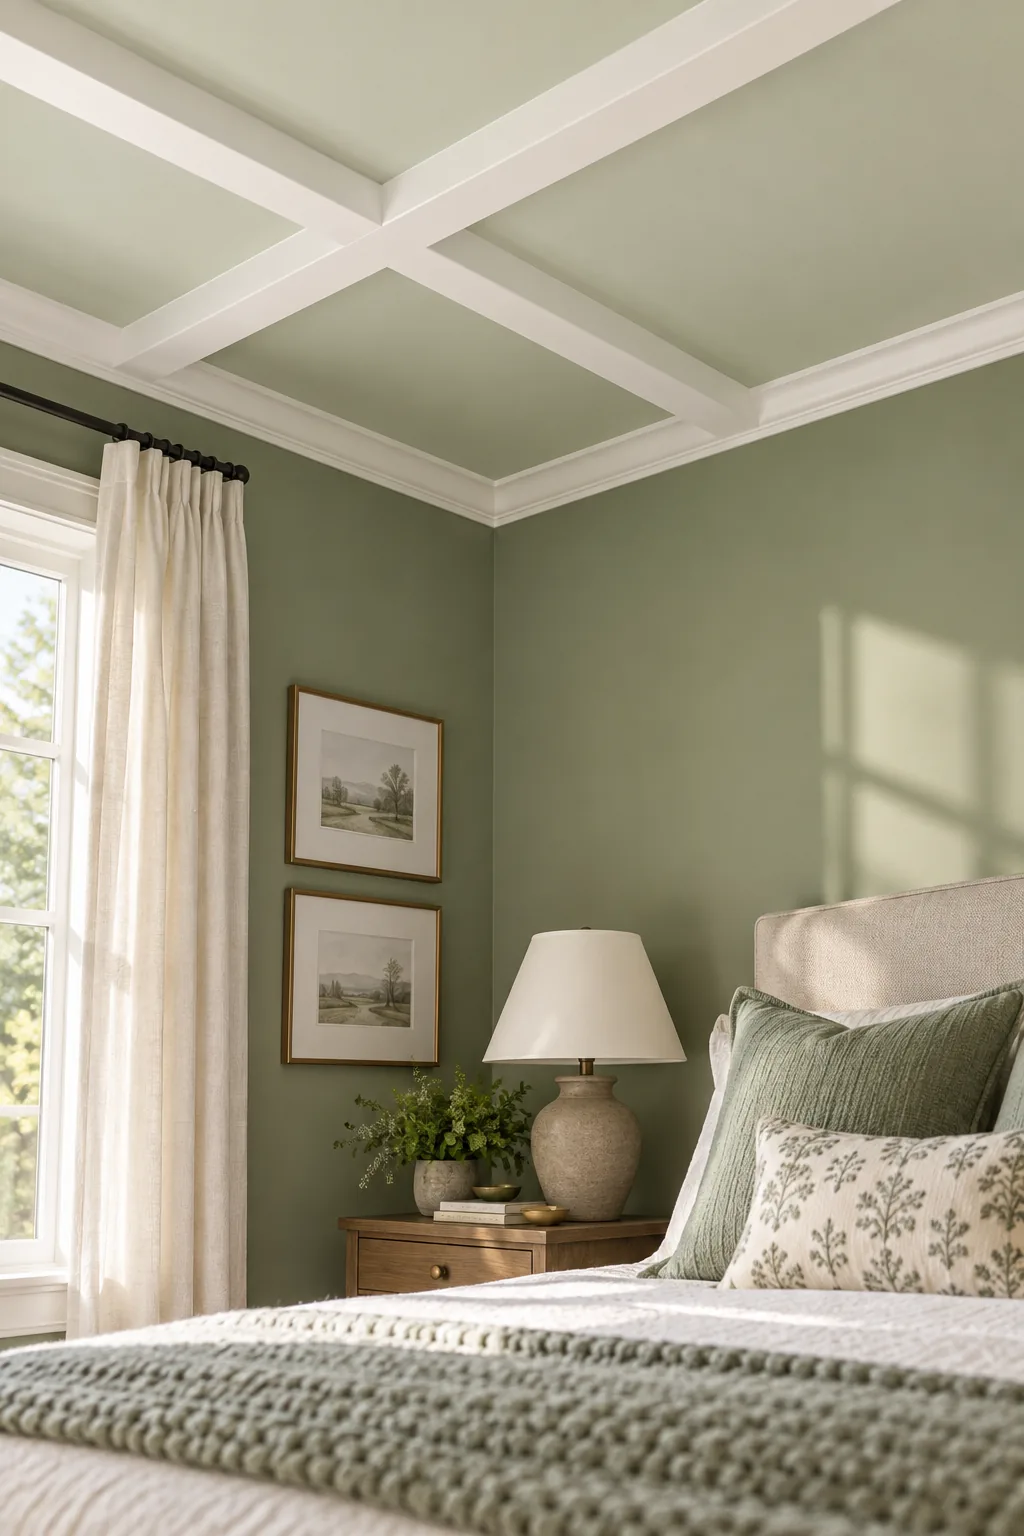
Flawless caulking is the secret to high-end trim work, but a few minor application errors can ruin the final painted finish.
Priming the Raw Wood Grid
Even if you purchased pre-primed pine boards, the sanded joints, spackled nail holes, and fresh caulk lines require a fresh coat of stain-blocking primer. Rolling a quick layer of primer over the entire grid ensures your final paint sheen looks beautifully uniform.
Cutting in the Ceiling Perimeter
Use a high-quality angled trim brush to carefully cut in the paint along the crown molding and the inner corners of every coffer square. Maintaining a wet edge while brushing prevents visible lap marks from showing up once the ceiling paint dries.
Choosing the Right Paint Sheen
Opt for a flat or matte finish for the ceiling field to hide any remaining drywall imperfections, but choose a satin finish for the battens themselves. This subtle difference in sheen highlights the architectural grid and makes the custom millwork pop against the softer background.
More Faux-Coffered Ceiling Styles
Explore these four distinct batten grid variations to find the perfect architectural detail for your space.
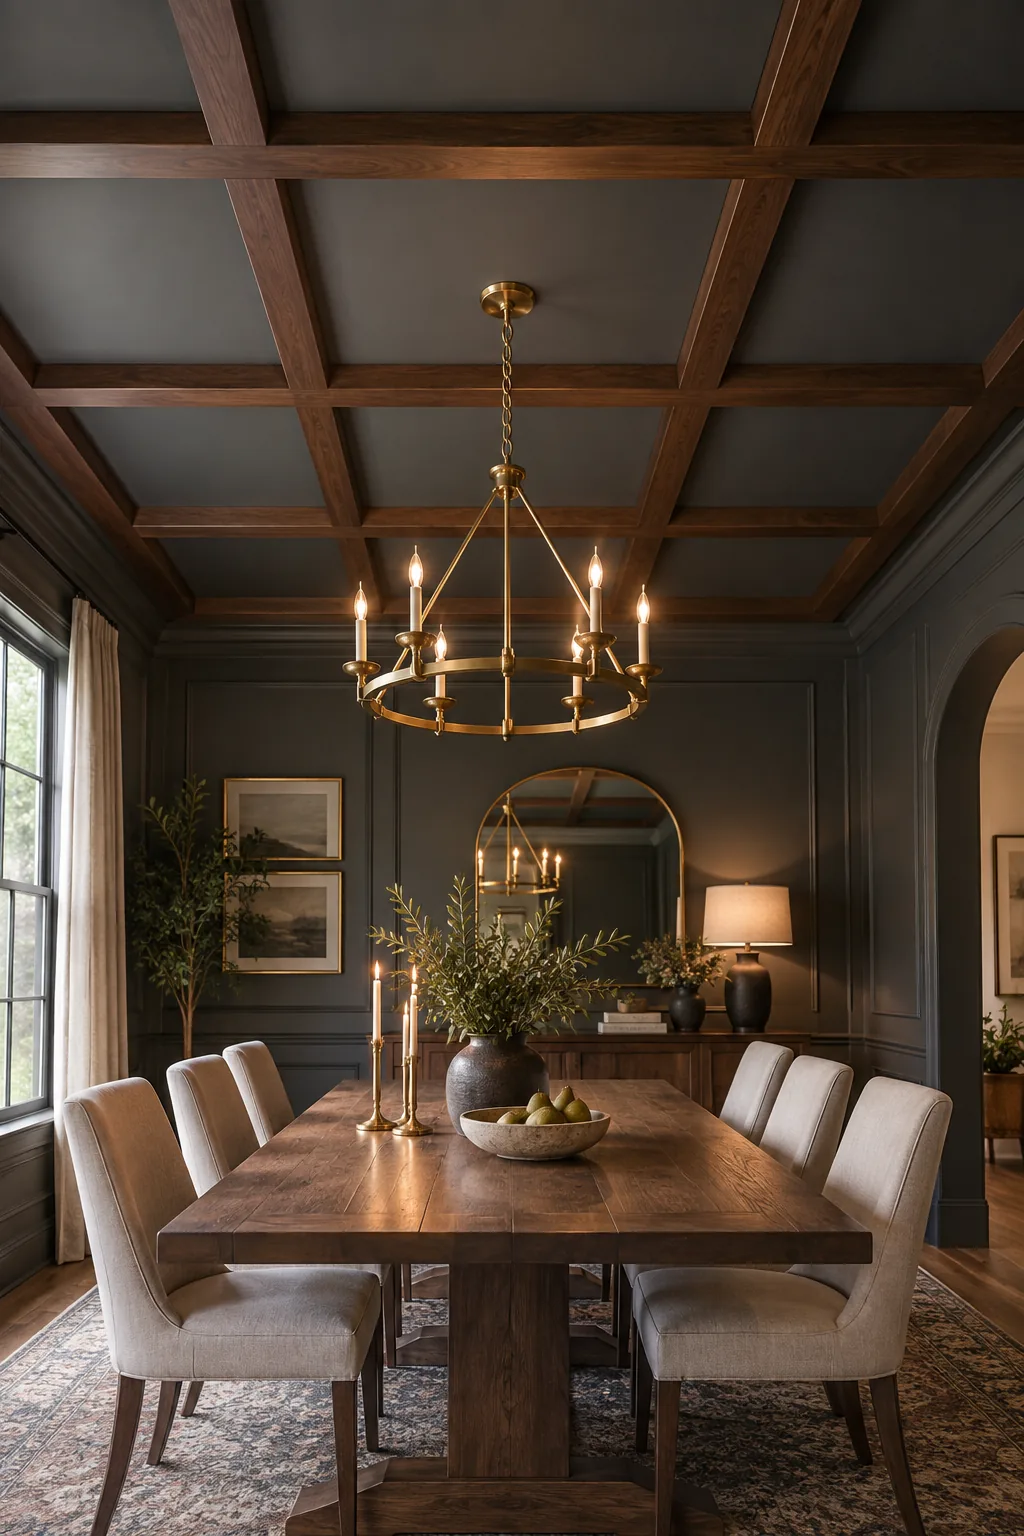
Moody Charcoal Dining Room: Rich walnut battens over a dark charcoal ceiling create an intimate, dramatic atmosphere perfect for evening entertaining.
Coastal Shiplap Grid: Layering a crisp white grid over navy blue shiplap adds incredible nautical texture and depth to a coastal living space.

Tonal Beige Nursery: Painting the battens and the ceiling field in the exact same soft sand hue provides subtle architectural texture without visual clutter.

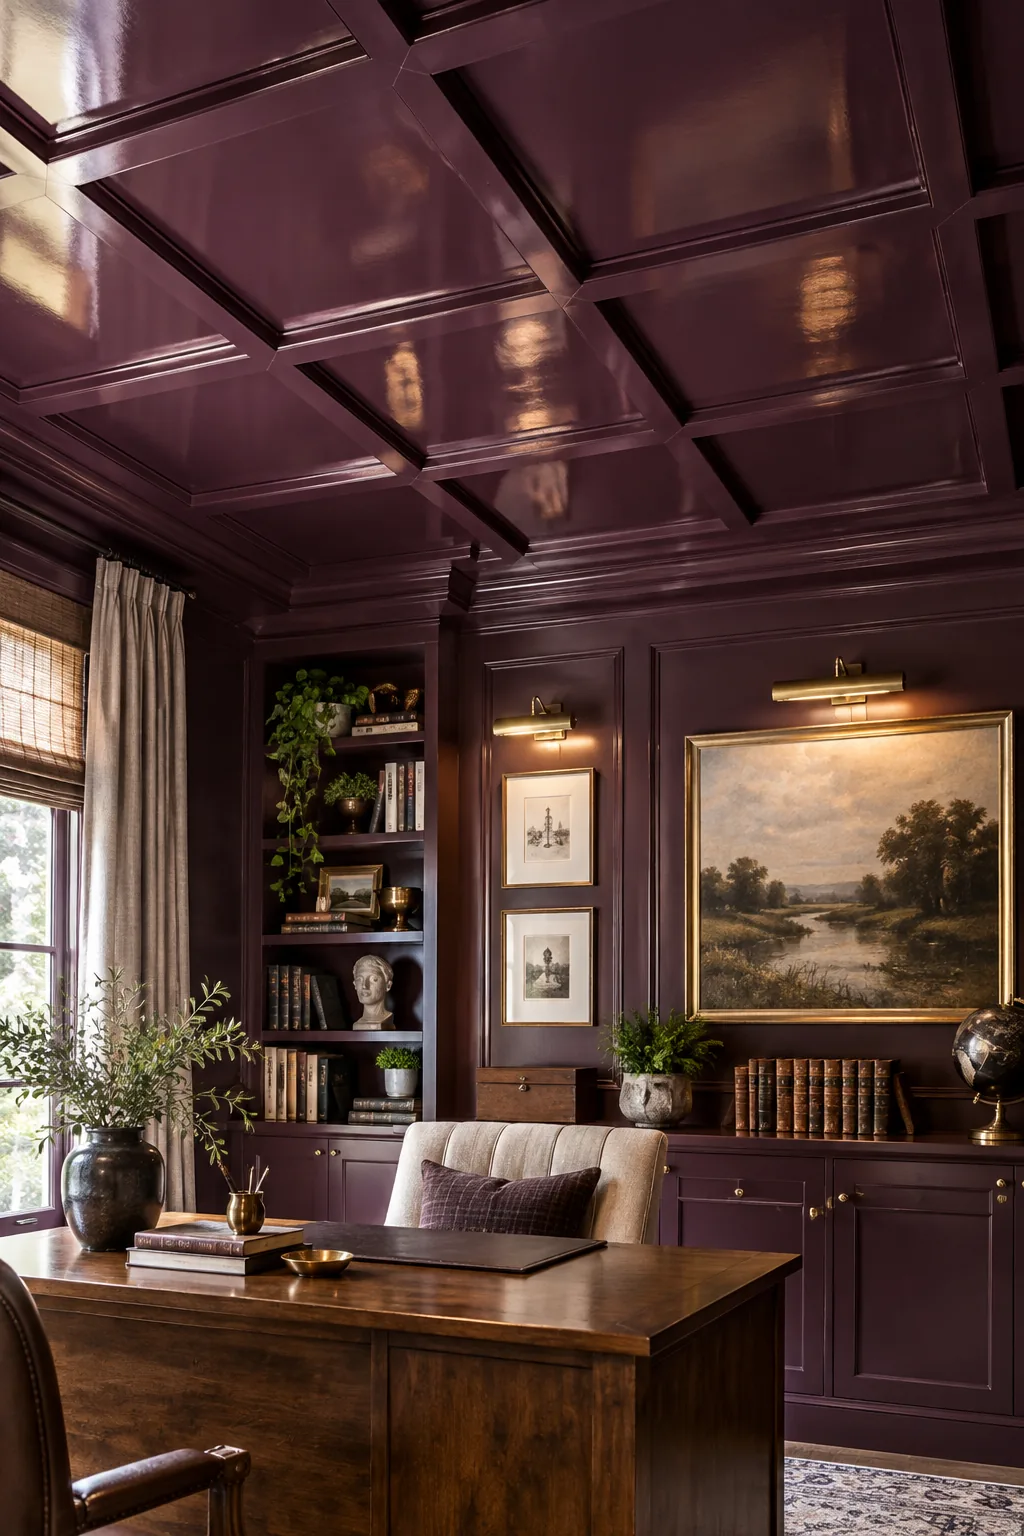
High-Gloss Library: A high-gloss finish on a monochromatic dark plum grid reflects light beautifully, elevating a standard home office into a classic library.
Tinting the Ceiling Paint to Match
A stark white ceiling can feel jarring against colored walls and a bright white batten grid. Request the paint desk to mix your ceiling field color at exactly 50% of your wall color formula to create a paler version of the sage wall.

This subtle tint softens the contrast while keeping the room bright and visually cohesive from the floorboards to the crown molding.