
The Quiet-Morning Breakfast in Bed Sequence and Tray Plan
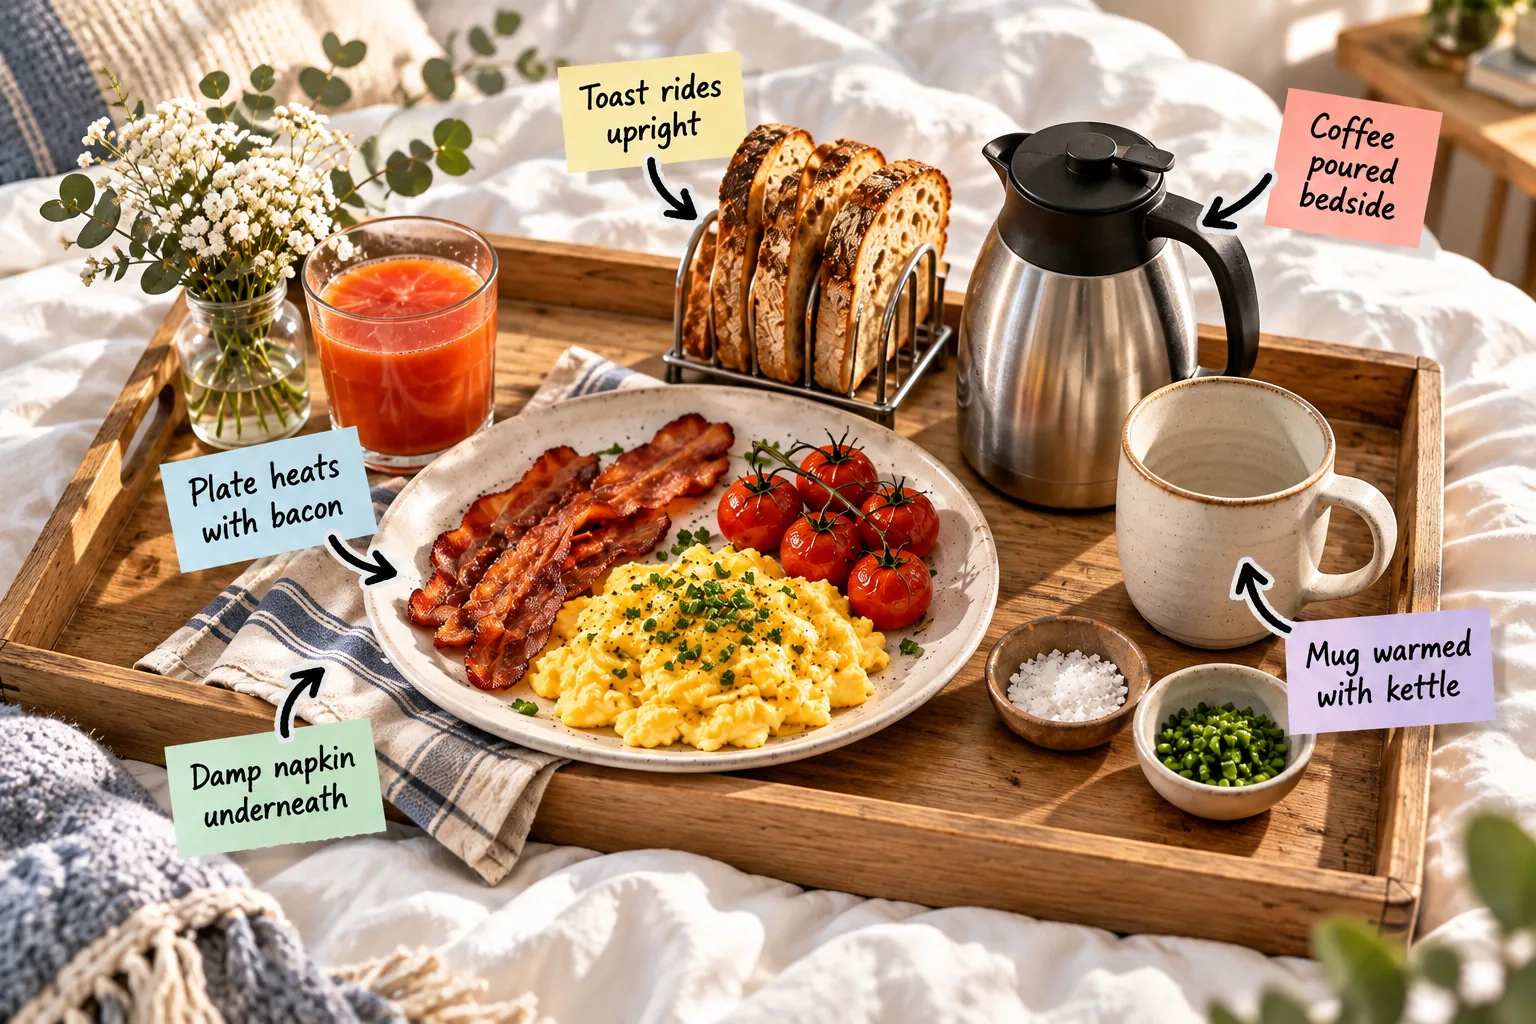
You will be able to time a hot, elaborate breakfast perfectly and carry it upstairs without a single spill using my printable backward-timed sequence and spatial tray packing guide. Print the quiet-morning tray countdown below to master every element, from the night-before prep to the final balanced carry.
Preparing the Bedroom Environment
Before you even begin cooking, sneak into the bedroom to open the blinds slightly and clear a flat space on the nightstand. Having a dedicated landing zone for the tray ensures you won’t be awkwardly balancing heavy dishes while scrambling to move books.
Selecting the Perfect Wooden Tray
A successful bedside meal requires a tray wide enough to hold multiple vessels without crowding, ideally measuring at least 24 inches across. Trays with folding legs keep the weight off the recipient’s legs, allowing them to shift comfortably under the duvet.
Inspecting the Folding Legs
Always inspect the locking mechanism on your tray’s folding legs before loading any food in the kitchen. A loose hinge or collapsed leg will instantly ruin the entire morning surprise, sending hot coffee and eggs tumbling across your pristine white bedsheets.
The Night-Before Tray Foundation
Set up your sturdy wooden lap tray the night before to eliminate frantic morning noise and give yourself a clear, dedicated workspace. I always place a dampened linen napkin completely flat beneath the main plate and juice glass zones to create a high-friction surface.
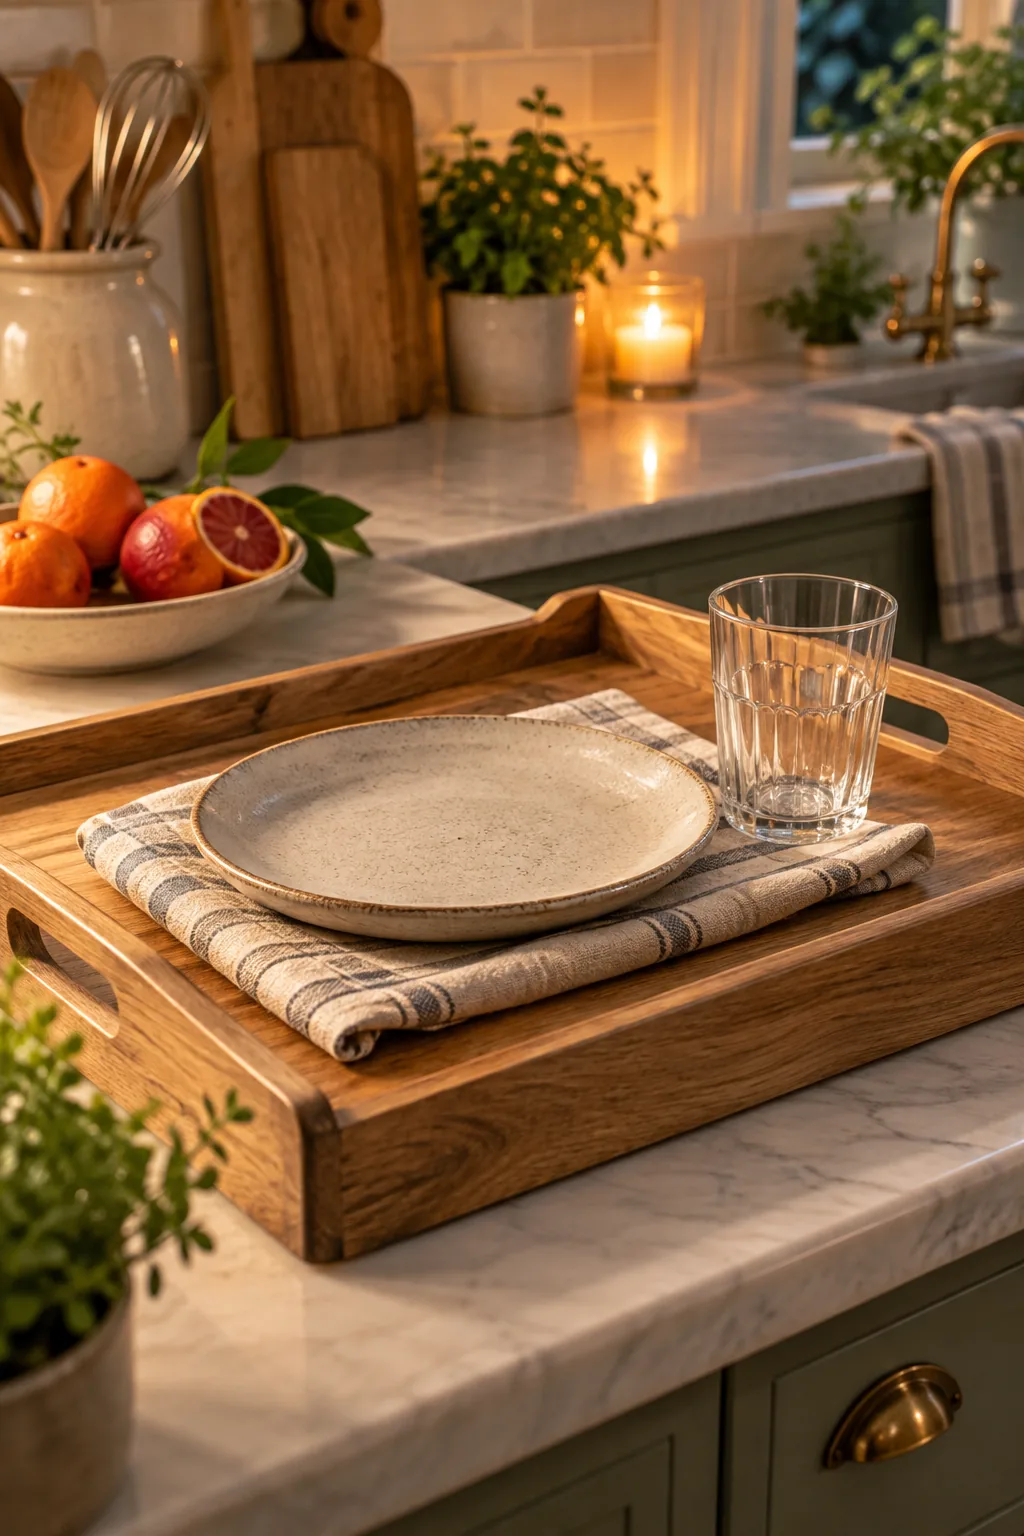
This hidden layer of moisture grips the dishes firmly, ensuring that the damp napkin underneath prevents any sliding during the trip upstairs. You will never have to worry about rattling ceramics waking up your recipient before you even reach the bedroom door.
Positioning the Napkin Properly
Ensure the edges of your dampened napkin do not hang over the sides of the wooden tray, as dangling fabric can easily catch on doorknobs or stair banisters. Keep the linen entirely contained within the raised lip to maintain a sleek, hazard-free profile.
The Quiet-Morning Countdown Sequence
Print or screenshot this backward-timed sequence to ensure every single component lands on the duvet at the perfect temperature. Start exactly 30 minutes before wake-up time so you can work at a calm, methodical pace without banging pots or slamming cabinet doors.
Choosing the Best Bacon Cut
Thick-cut center bacon performs best for this oven method, as it renders slowly and maintains a satisfying, meaty chew. Thinner cuts tend to shatter when bitten, scattering greasy crumbs across the duvet that are incredibly frustrating to clean up later.
Using a Rimmed Baking Sheet
Always cook your bacon on a heavy-duty, rimmed aluminum baking sheet lined with parchment paper to trap the rendering fat. This prevents hazardous grease fires in the oven and makes your post-breakfast kitchen cleanup completely effortless once the pan cools.
Oven Bacon and the Warm Plate Trick
Bake your bacon at 400°F for 15 to 18 minutes to achieve hands-off crispness without splattering grease all over your stovetop. For the final five minutes of cooking, slide the empty ceramic main plate directly onto the oven rack beside the bacon.
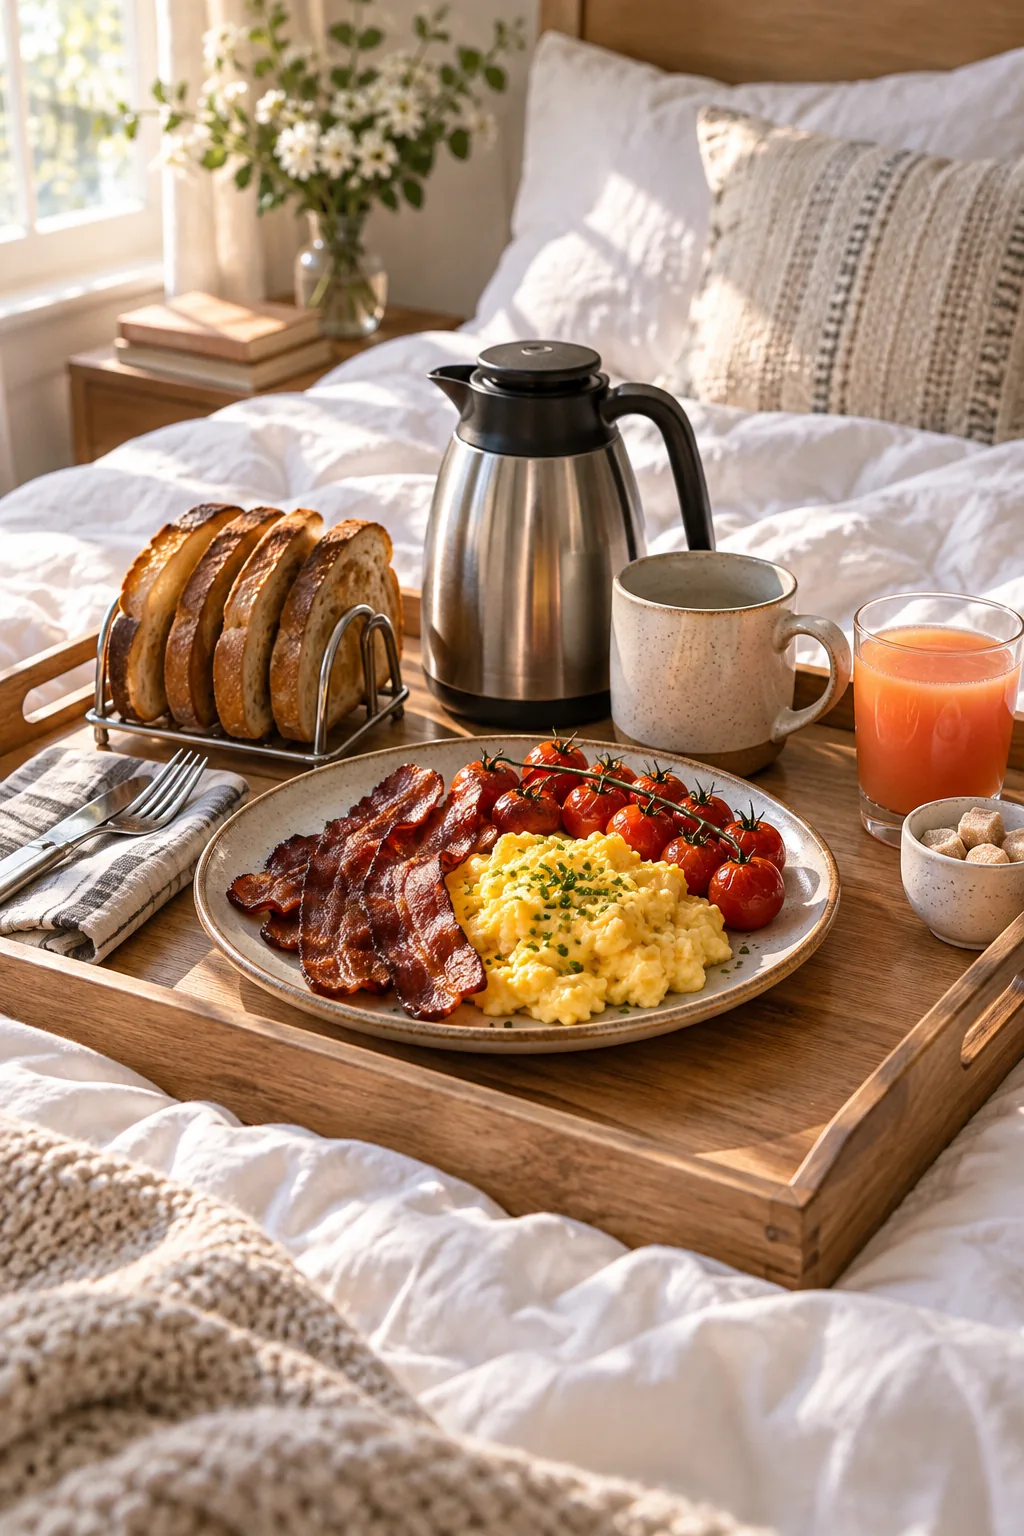
This genius step ensures the plate heats with bacon safely, giving you a perfectly warmed surface for plating the hot food. A pre-warmed plate is the absolute best defense against eggs turning cold during the transit from your kitchen counter to the bedroom.
Glossy Eggs and Blistered Tomatoes
The secret to luxurious breakfast-in-bed eggs is anticipating the carryover cooking that happens between the kitchen and the bedroom. Pull your soft-scrambled eggs off the stove while they still look slightly wet and glossy, as the hot plate will finish them perfectly.
The Ideal Scramble Consistency
When scrambling the eggs, use a silicone spatula to push the curds gently from the edges toward the center of the pan. This technique creates large, pillowy folds rather than dry, crumbly bits, elevating the texture to a true restaurant-quality standard.
Choosing the Right Sourdough Loaf
Select a sturdy, artisan sourdough boule with a dense crumb structure to support the rich butter and jam. Pre-sliced sandwich bread is far too flimsy and will quickly disintegrate when exposed to the ambient steam rising from the hot scrambled eggs.
Keeping the Toast Crisp
Hot toast placed completely flat on a warm plate immediately creates trapped steam, quickly turning your beautiful artisanal sourdough into a soggy disappointment. Instead, use a small metal toast rack so the toast rides upright for the entire upstairs journey.
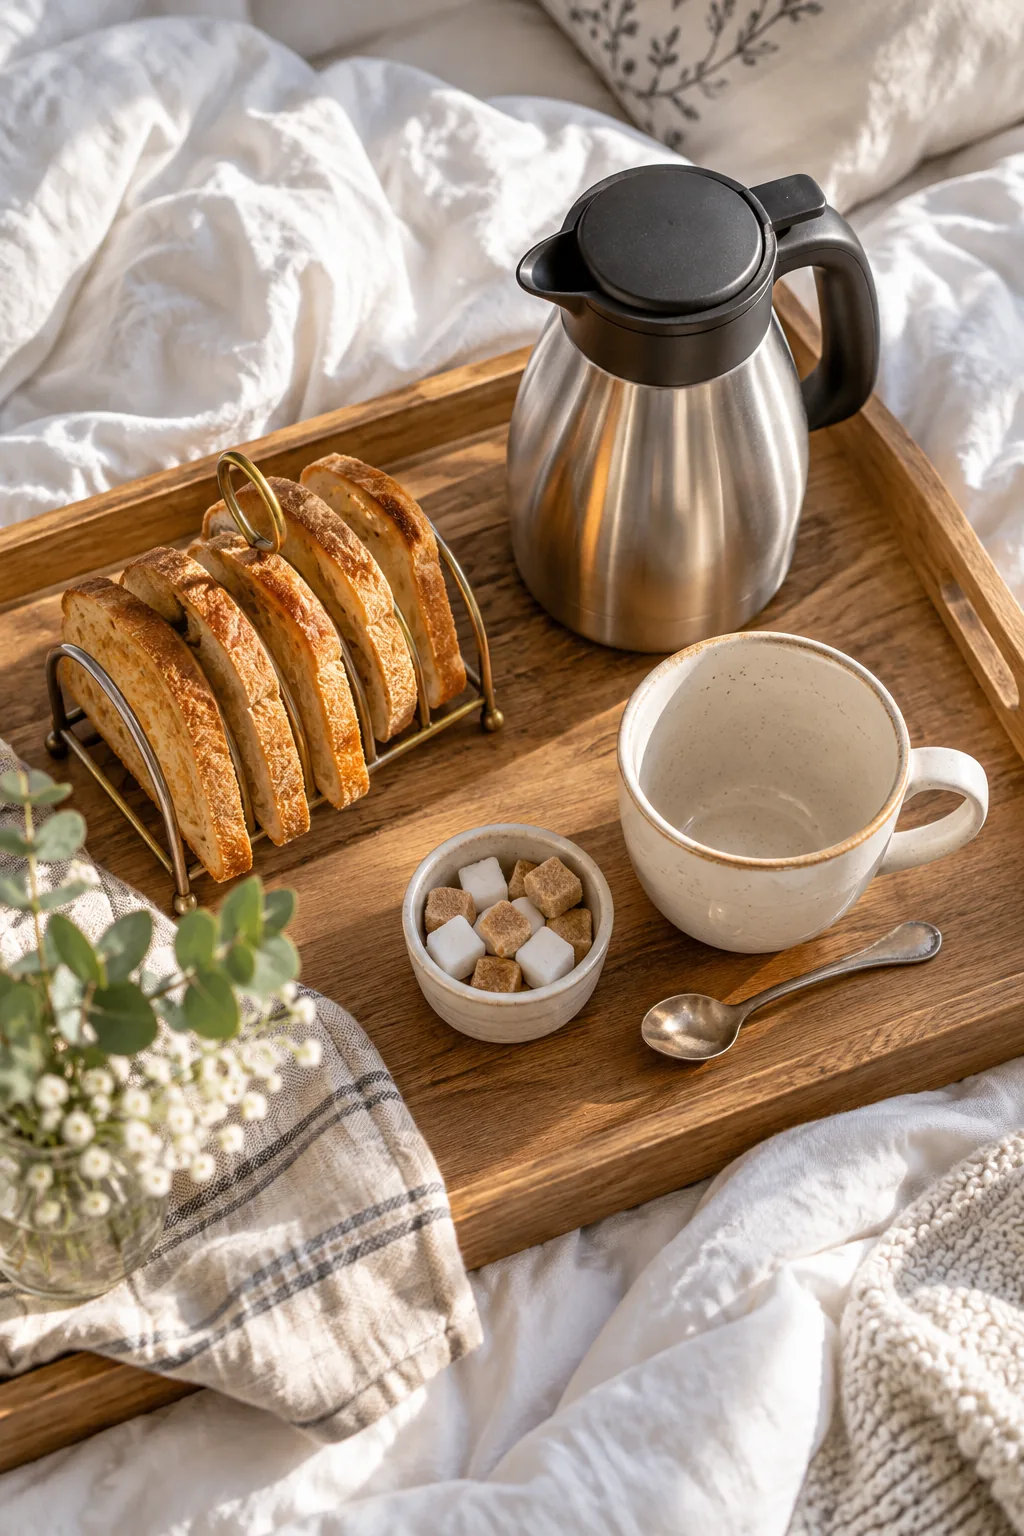
Allowing air to circulate freely around each slice maintains that essential crunch, contrasting beautifully with the soft eggs. If you lack a dedicated rack, you can simply prop the slices against each other in a slight tent shape to achieve the exact same airflow.
The Pre-Warmed Mug Technique
A cold ceramic mug will instantly sap the heat from your freshly brewed coffee the moment the liquid hits the cup. To prevent this, pour boiling kettle water into the empty mug while your eggs are gently cooking on the stove.
| Mug Material | Pre-Warming Time | Heat Retention |
|---|---|---|
| Thick Ceramic | 2 minutes | Excellent once heated |
| Double-Walled Glass | 1 minute | Superior insulation |
| Fine Bone China | 30 seconds | Loses heat quickly |
Empty the water into the sink and quickly dry the interior right before the tray leaves the kitchen. This ensures the mug warmed with kettle retains maximum heat without watering down the brew when the recipient finally pours their first cup.
Pre-Heating the Coffee Carafe
Just as you warm the ceramic mug, you should also pour a splash of boiling water into your insulated carafe before filling it with coffee. Swirl the hot water around the stainless steel interior for thirty seconds before dumping it out to maximize heat retention.
Selecting the Right Coffee Roast
A medium-dark roast coffee pairs beautifully with a savory breakfast, offering enough robust chocolate notes to cut through the richness of the bacon. Brew the coffee using filtered water heated to exactly 200°F for the smoothest, least bitter extraction possible.
Preparing the Cream and Sugar
If your recipient takes cream, warm it slightly in a small glass pitcher before adding it to the tray. Pouring cold milk directly into the cup will immediately drop the beverage temperature, completely defeating the purpose of your carefully insulated carafe.
The Bedside Coffee Pour
Carrying a full, open mug of hot coffee upstairs is a guaranteed spill risk that I learned the hard way after ruining a vintage runner in my own hallway. Pack a lidded insulated carafe alongside the pre-warmed empty mug instead.
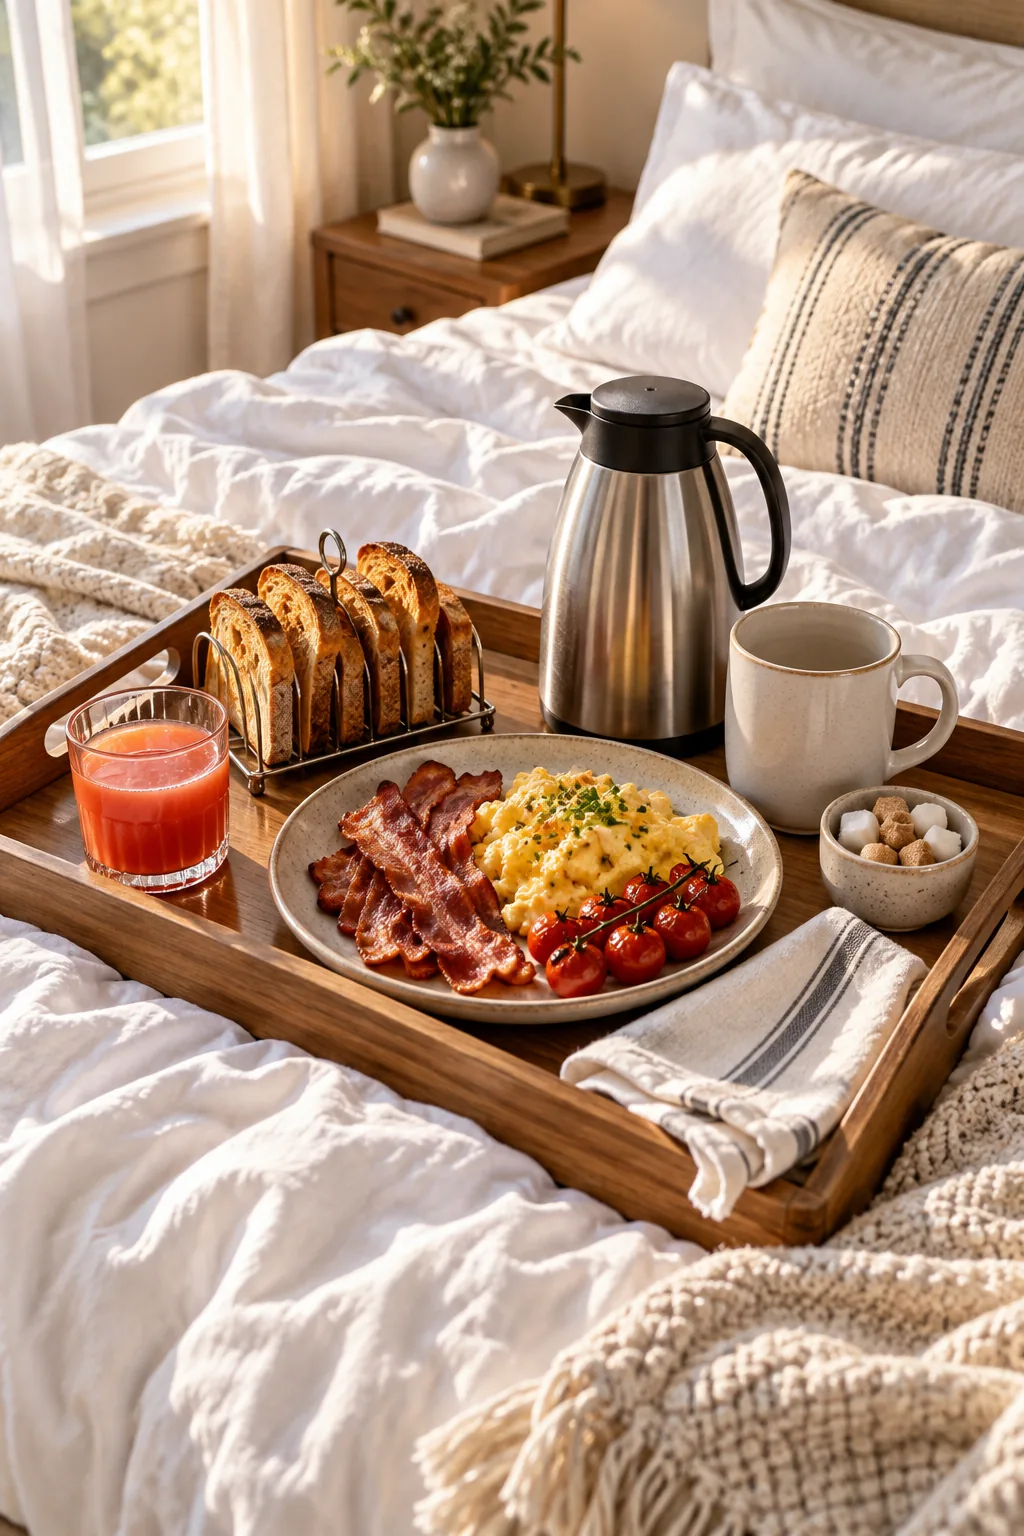
This sealed setup ensures the coffee poured bedside is completely safe to transport and remains steaming hot when the recipient is finally settled. It also allows them to top off their own cup at their leisure without rushing through the first serving.
Selecting Spill-Proof Glassware
Tall, narrow juice glasses are incredibly prone to tipping when carried on a moving tray, especially if you must navigate steep stairs. Opt for short, heavy-bottomed tumblers that maintain a low center of gravity during the precarious transit upstairs.
Fresh Juice and Finishing Touches
Add a bright pop of color and acidity with a small glass of chilled blood-orange juice, which always feels a bit more special than standard orange in my apartment. Include tiny ramekins of flaky sea salt and fresh chopped chives.
- Pour exactly four ounces of chilled juice to prevent sloshing over the glass rim.
- Provide a tiny spoon for the sea salt so the recipient can season cleanly.
- Sprinkle the fresh chives over the eggs at the very last second to preserve their color.
Three Ways to Style a Morning Tray
Match the breakfast-in-bed presentation to the recipient's personal style with these distinct tray setups.
Minimalist Scandi: Embrace clean lines with a light ash tray, matte black stoneware, and cool grey linen bedding.
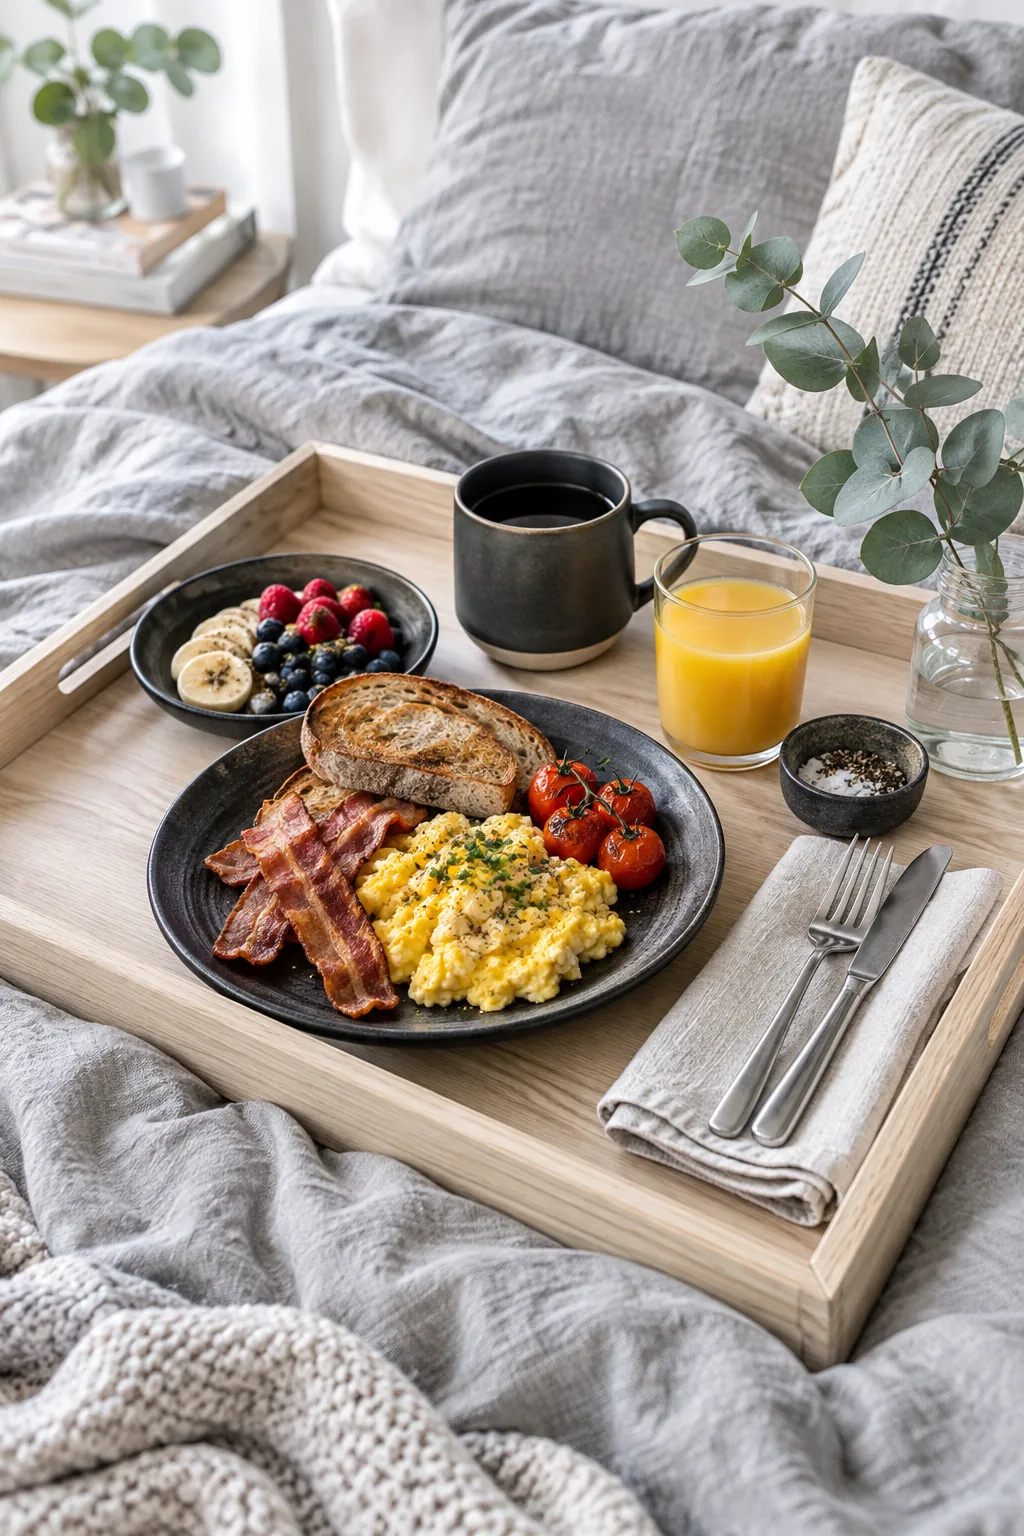
Romantic Floral: Create an elegant morning with a vintage brass-handled tray, delicate floral porcelain, and fresh pink roses.

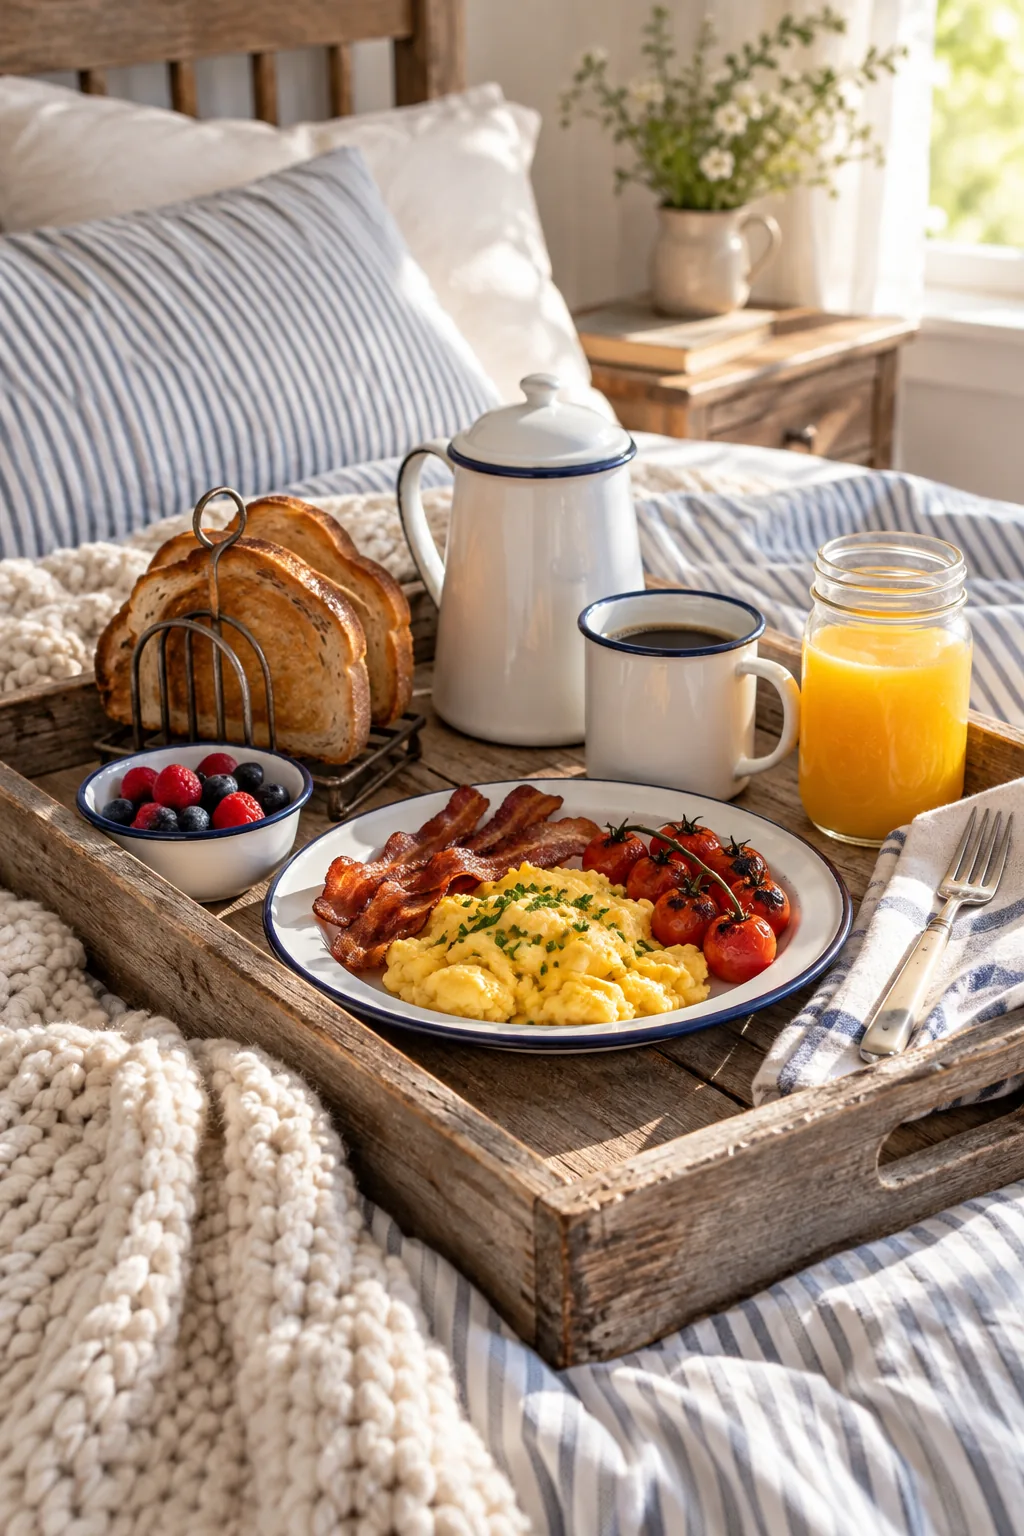
Rustic Farmhouse: Keep it cozy and casual using a reclaimed wood tray, classic enamelware, and ticking stripe sheets.
Packing the Tray for a Steady Carry
Arrange the tray spatially for perfect balance, placing the heaviest items—the filled carafe and the loaded main plate—in the exact center directly over your hands. This keeps the center of gravity low and exceptionally stable during the walk.
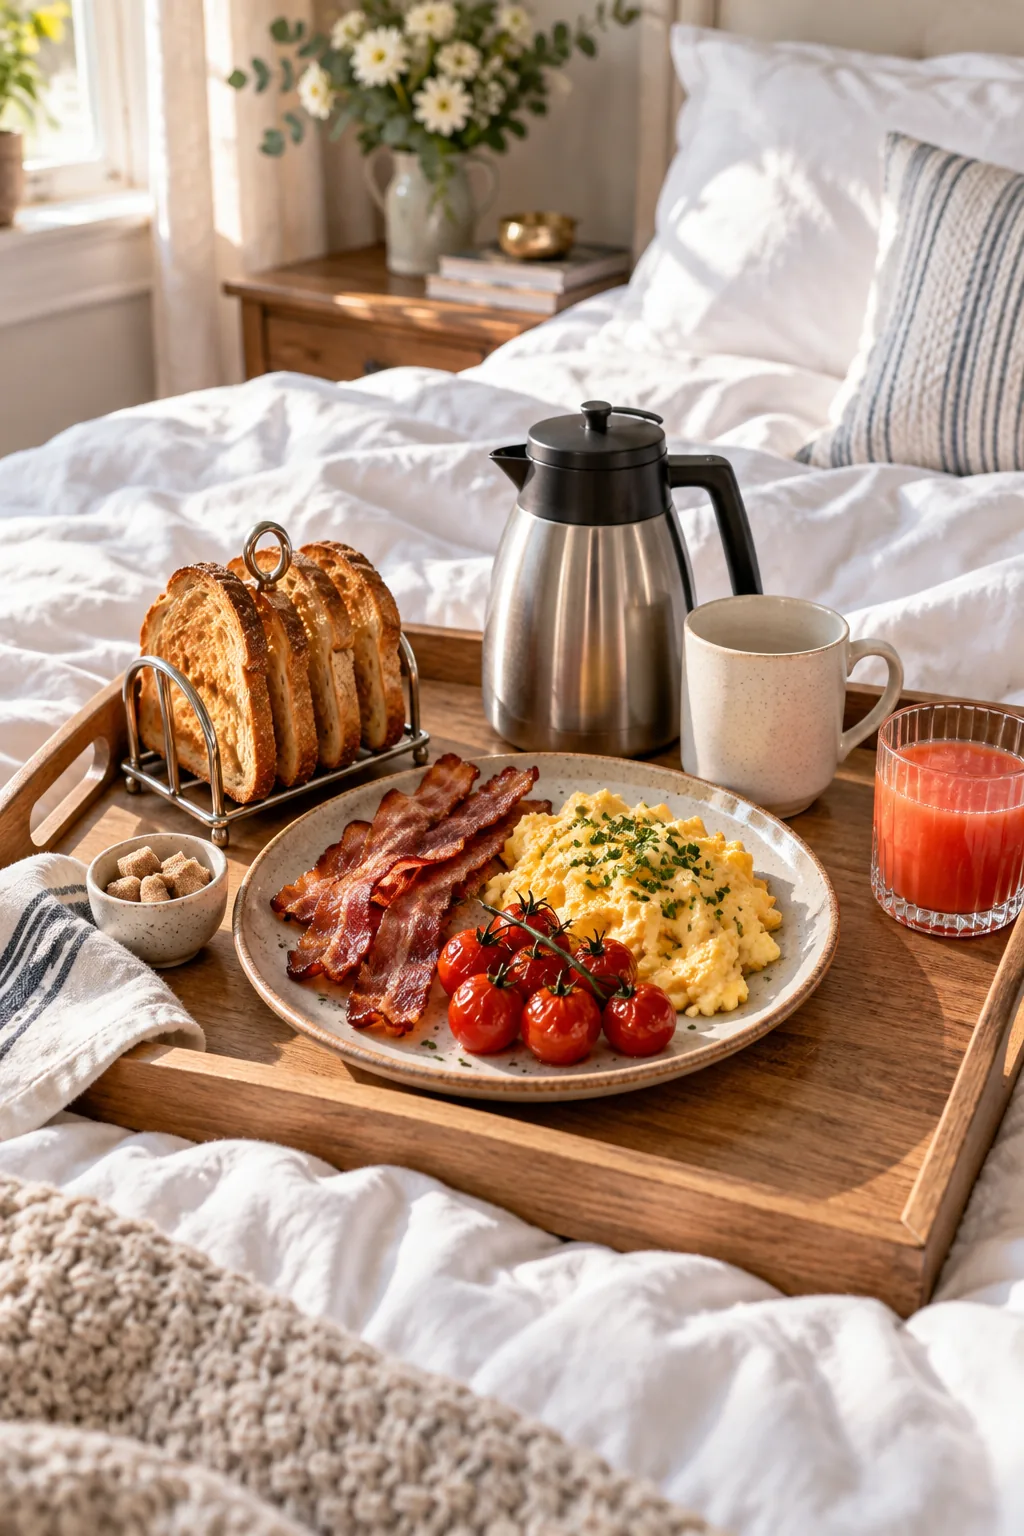
Keep the lighter toast rack and juice glass at the outer corners to maintain a wobble-free balance as you navigate the stairs. Walk slowly, keep your eyes focused on your path rather than the tray, and enjoy the perfect quiet morning.