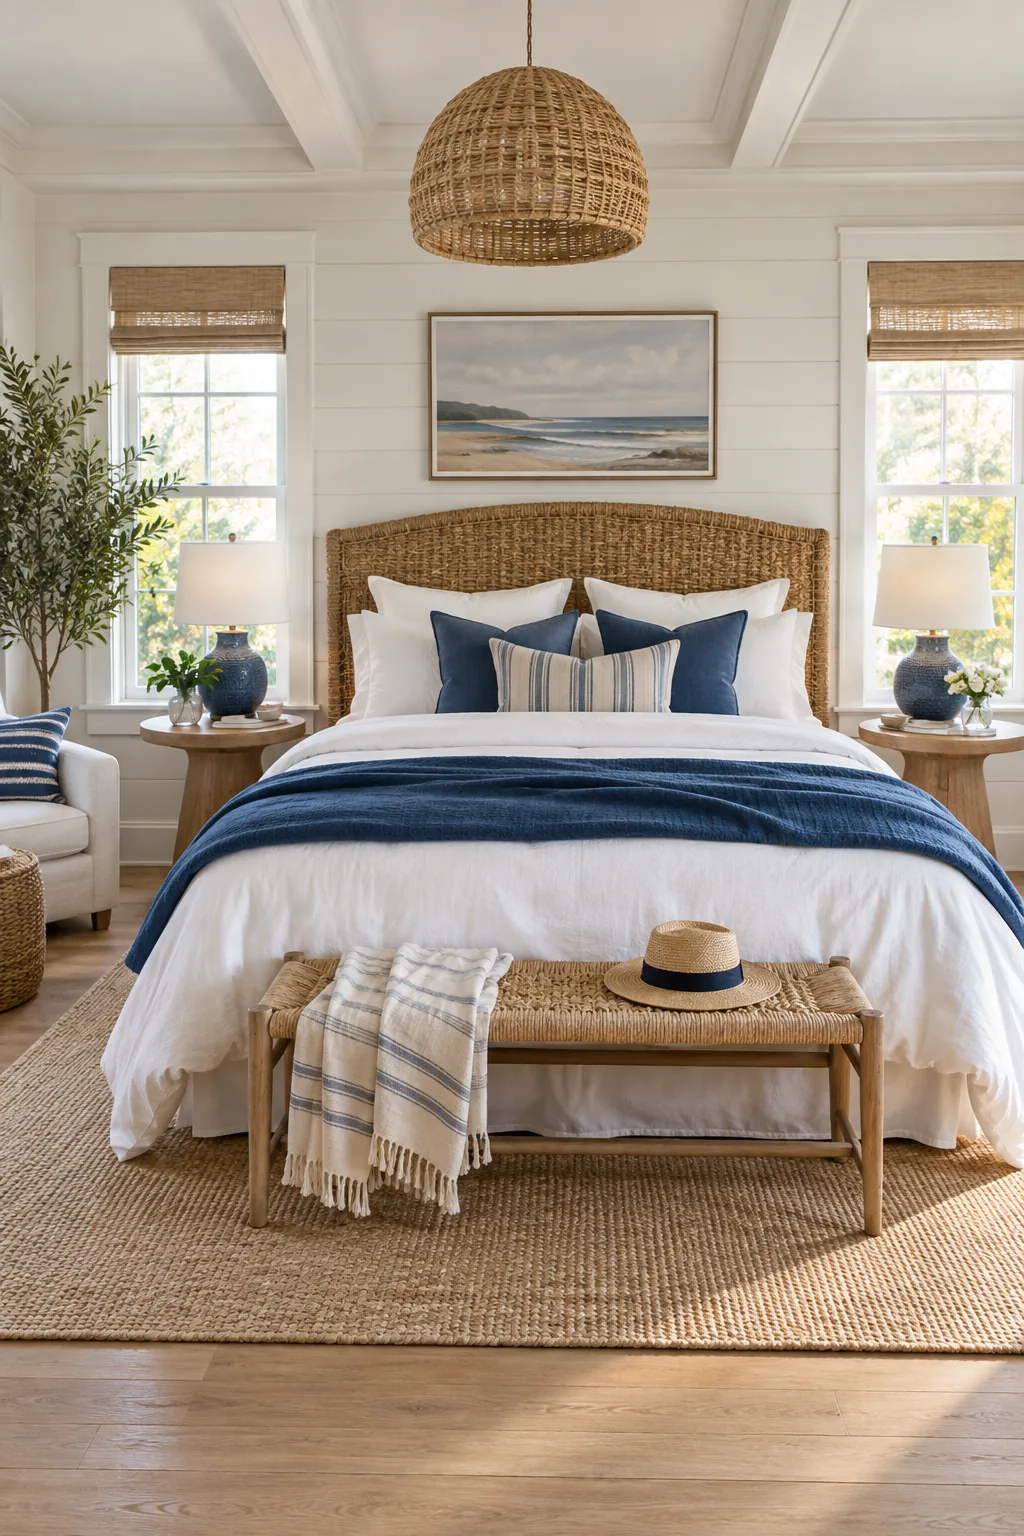
Master Bedroom Layout: The Bed-Wall Test & Clearance Sheet
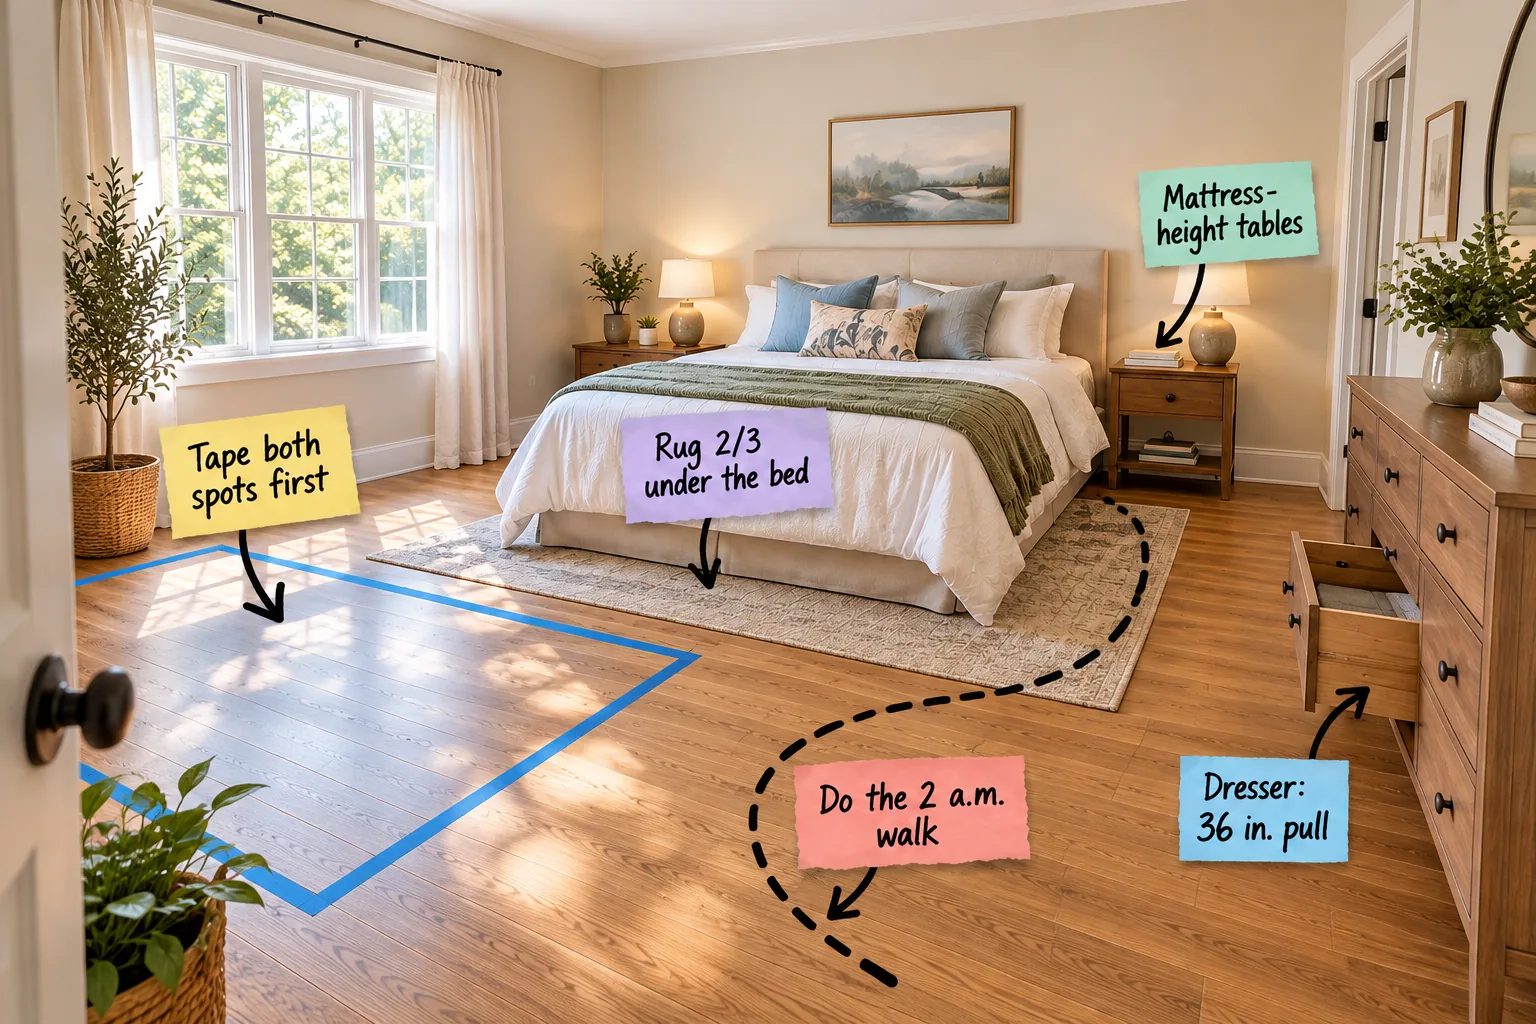
Struggling to position your furniture gracefully between windows and solid walls can feel entirely overwhelming, but downloading our Printable Bed-Wall Test & Clearance Sheet will help you perfectly place your bed, rug, and nightstands. You will confidently finalize your master bedroom layout using exact measurements and our two-spot tape method.
The Two-Wall Bed Dilemma
Choosing between a solid architectural wall and a bright window wall is the critical opening chess move of any master bedroom design. Visualizing this precise footprint before moving heavy furniture prevents cramped walkways and ensures your space maintains a calming, balanced energy from the moment you enter.
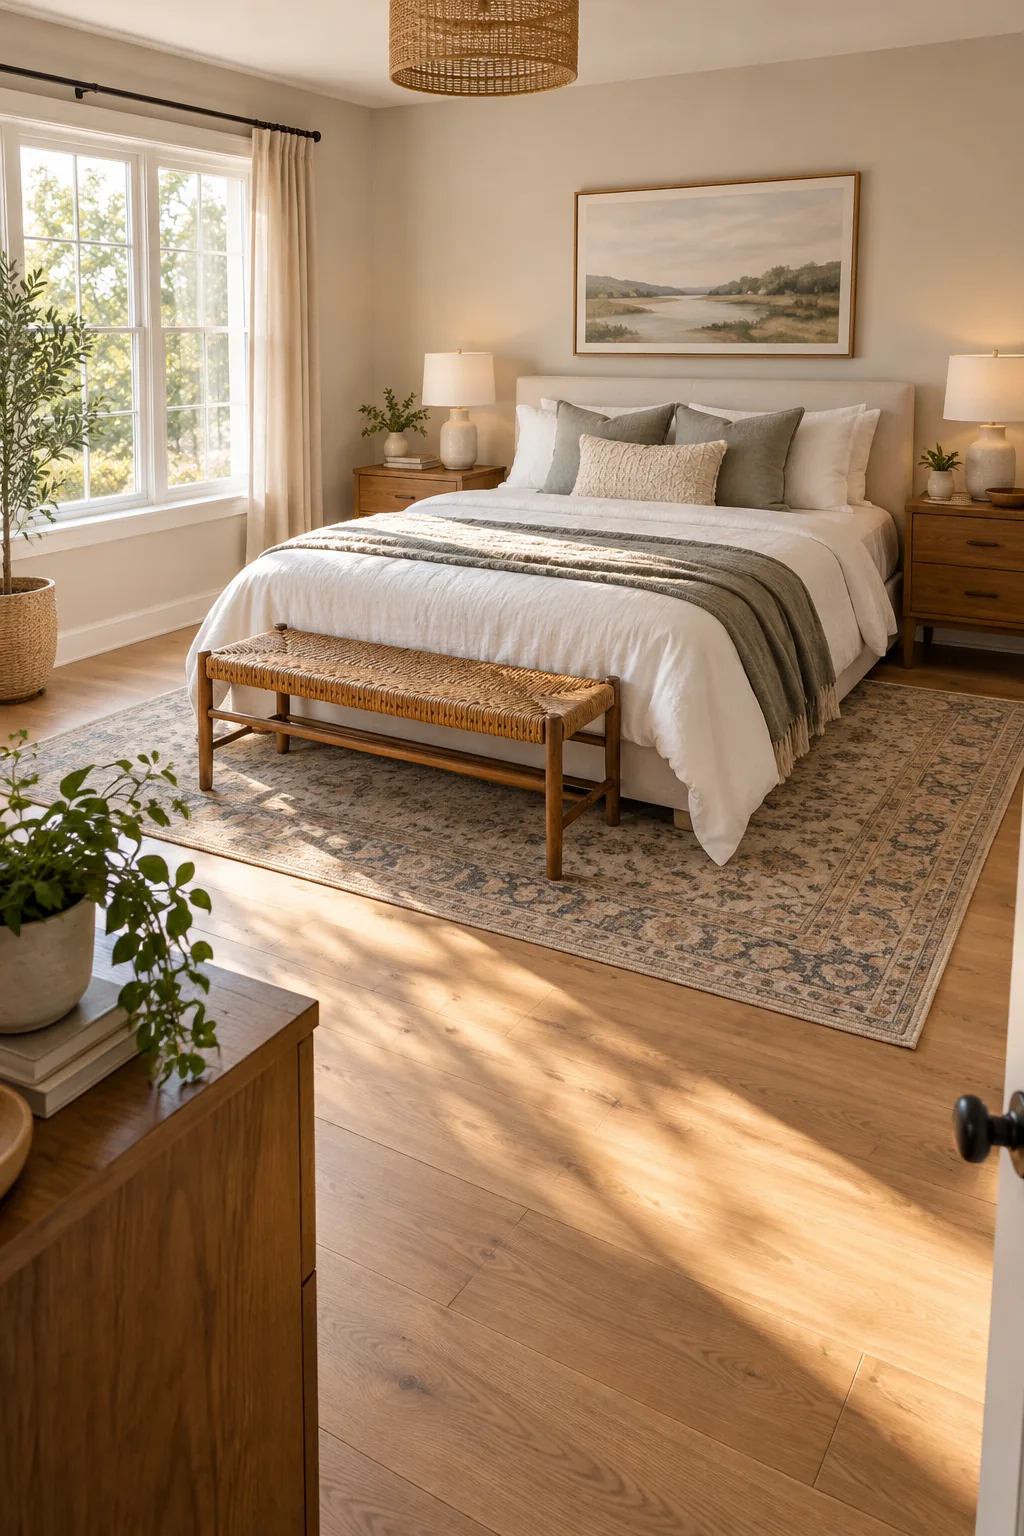
While Western design often defaults to the longest unbroken wall, Eastern principles suggest placing the bed where you have a commanding view of the door. Testing both options practically on your floor reveals which exact anchor point truly supports a deeply restful and secure sleeping environment.
Evaluating Window Wall Placements
Placing your bed against a window wall often feels counterintuitive, but it provides an excellent strategic solution when solid walls are interrupted by awkward closet doors. You must carefully measure your headboard height to ensure it does not block essential natural light, interfere with window operation, or disrupt the room’s exterior symmetry.
Tape Both Spots First
Before committing to a permanent layout, use blue painter’s tape to outline your queen or king bed’s exact footprint in the two most viable spots. This highly effective strategy instantly reveals exactly how much breathable floor space genuinely remains for your daily traffic and supporting furniture.
Taping the dimensions physically demonstrates how the Tape both spots first method exposes hidden pinch points near closets and entryways. Moving a few strips of adhesive tape is infinitely easier than dragging a heavy oak bed frame across your freshly finished hardwood floors.
Accounting for Baseboards and Trim
When measuring your available floor space, always calculate from the face of the baseboard rather than the bare drywall to ensure absolute accuracy. Ignoring this crucial half-inch of architectural trim often causes meticulously planned furniture arrangements to buckle, forcing nightstands to sit unevenly or scrape against your beautiful custom molding.
The Printable Bed-Wall Test & Clearance Sheet
In my Denver design projects, I always hand clients this exact layout guide so they stop guessing and start measuring their rooms accurately. Grab our Printable Bed-Wall Test & Clearance Sheet to map your sleeping side walkways, drawer depths, and door swings precisely.
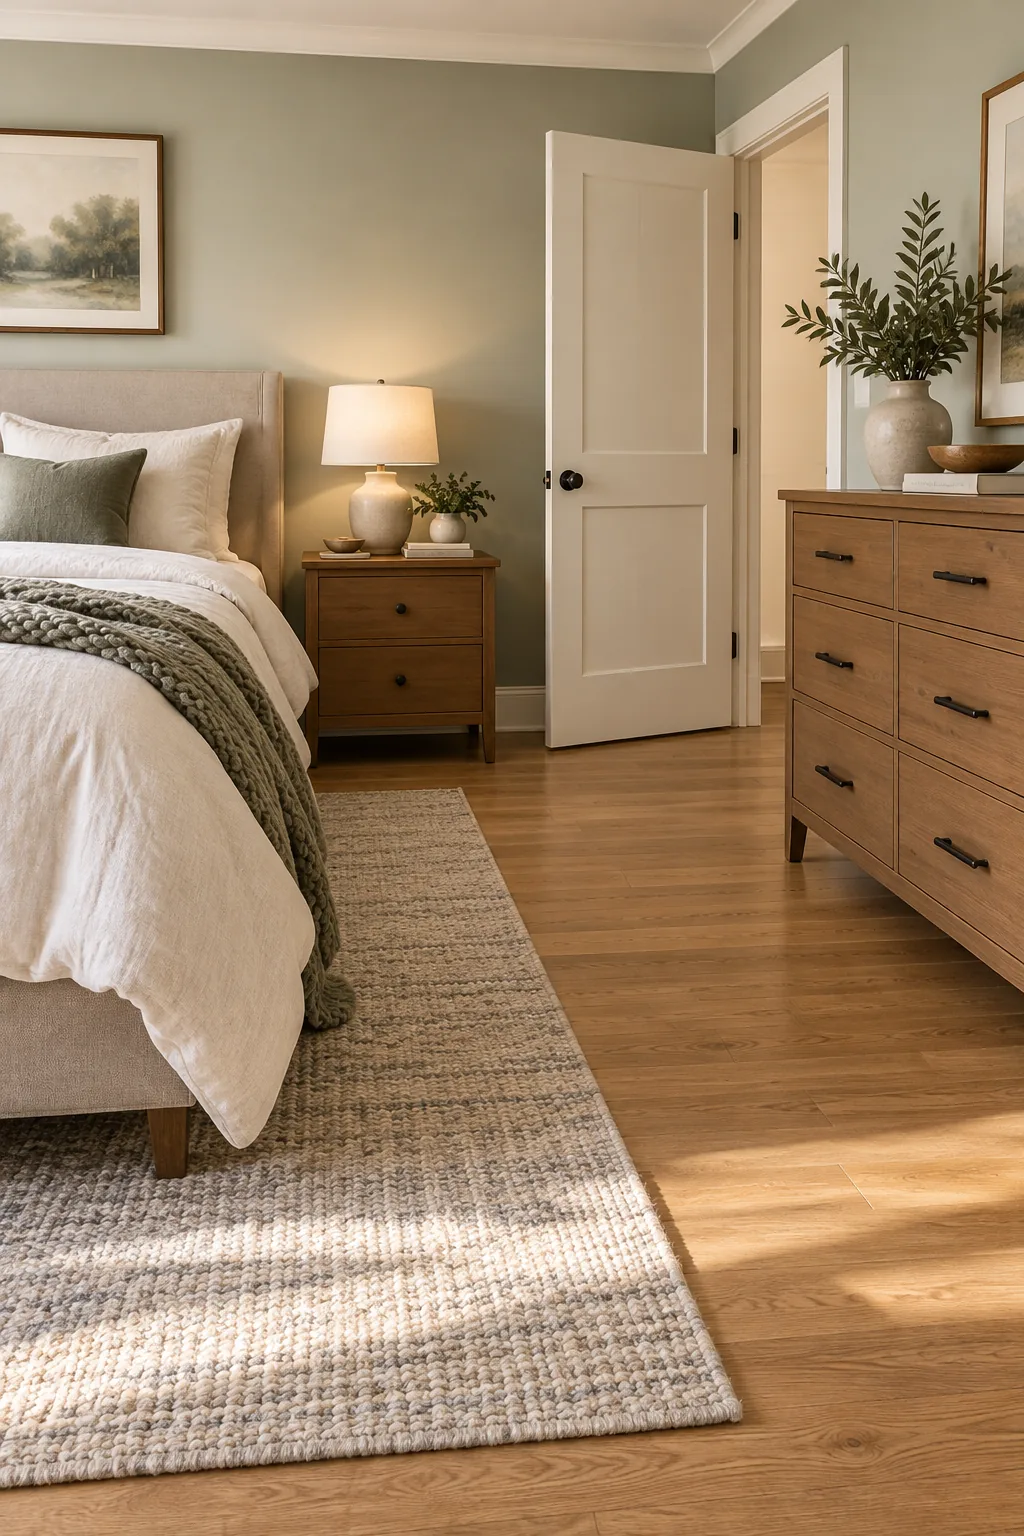
Keep these essential layout measurements readily accessible during your planning phase to guarantee every piece of furniture serves the room’s natural flow. A mathematically well-spaced arrangement transforms a chaotic, cramped sleeping area into a highly functional, deeply relaxing master retreat.
| Clearance Zone | Minimum Distance | Ideal Distance | Why It Matters for Flow |
| Sleeping Side Walkway | 30 inches | 36 inches | Prevents cramped nighttime navigation and allows easy bed making. |
| Dresser Drawer Pull | 36 inches | 42 inches | Allows comfortable standing while drawers are fully extended. |
| Entry Door Swing | 12 inches past arc | 18 inches past arc | Avoids damaging furniture upon entry and keeps pathways clear. |
| Closet Door Swing | 24 inches | 36 inches | Ensures you can step back to view your wardrobe easily. |
| Rug Under Bed | 1/2 of bed | 2/3 of bed | Anchors the room aesthetically without hiding beautiful flooring. |
| Nightstand Height | Level with mattress | Max 2 inches higher | Supports ergonomic reaching for lamps and water glasses. |
Do the 2 a.m. Walkway Test
Navigating your bedroom in complete darkness requires an intuitive, completely obstacle-free path from the edge of the mattress to the doorway or bathroom. Mapping this critical route ensures you never stub your toe on a misplaced bench or an oversized, poorly positioned nightstand.
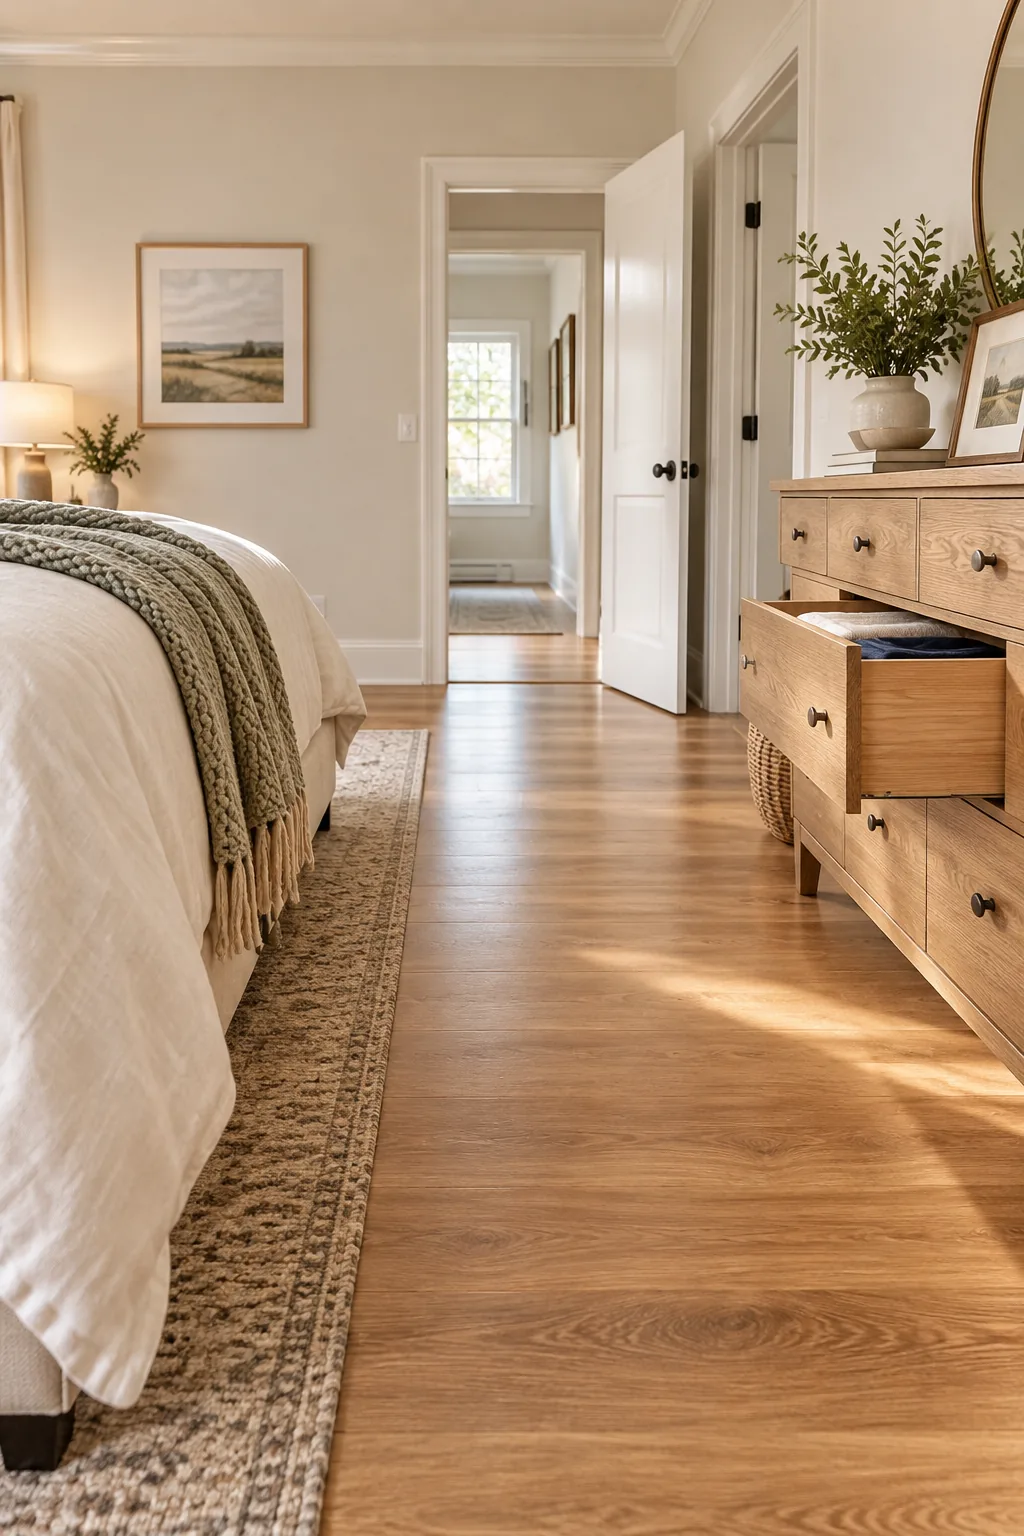
If you do the 2 a.m. walk along the dotted marker footpath, you will immediately feel whether the physical spacing is genuinely safe and comfortable. Ensure an unobstructed path to the main doorway to maintain a serene, stress-free morning routine every single day.
- Start at your designated sleeping side and walk naturally along the bed rail toward the primary exit or en suite bathroom.
- Measure the narrowest point between the foot of the bed and the nearest wall, window treatment, or heavy furniture piece.
- Adjust the taped layout on the floor until you consistently maintain a safe, minimum 30-inch to 36-inch clearance everywhere.
Selecting the Proper Bed Frame Profile
The physical thickness of your wooden or upholstered bed frame dictates exactly how much mattress space genuinely translates into occupied floor space. Selecting a sleek, low-profile platform frame rather than a bulky sleigh bed reclaims crucial inches, ensuring your carefully measured 2 a.m. walkways remain wide, safe, and completely unobstructed.
Dresser Clearance and the 36-Inch Pull
Heavy storage pieces require significantly extra breathing room because their functional footprint expands dramatically whenever they are actively in use. You must secure a Dresser: 36 in. pull zone to allow deep drawers to open fully while someone stands comfortably in front of them.
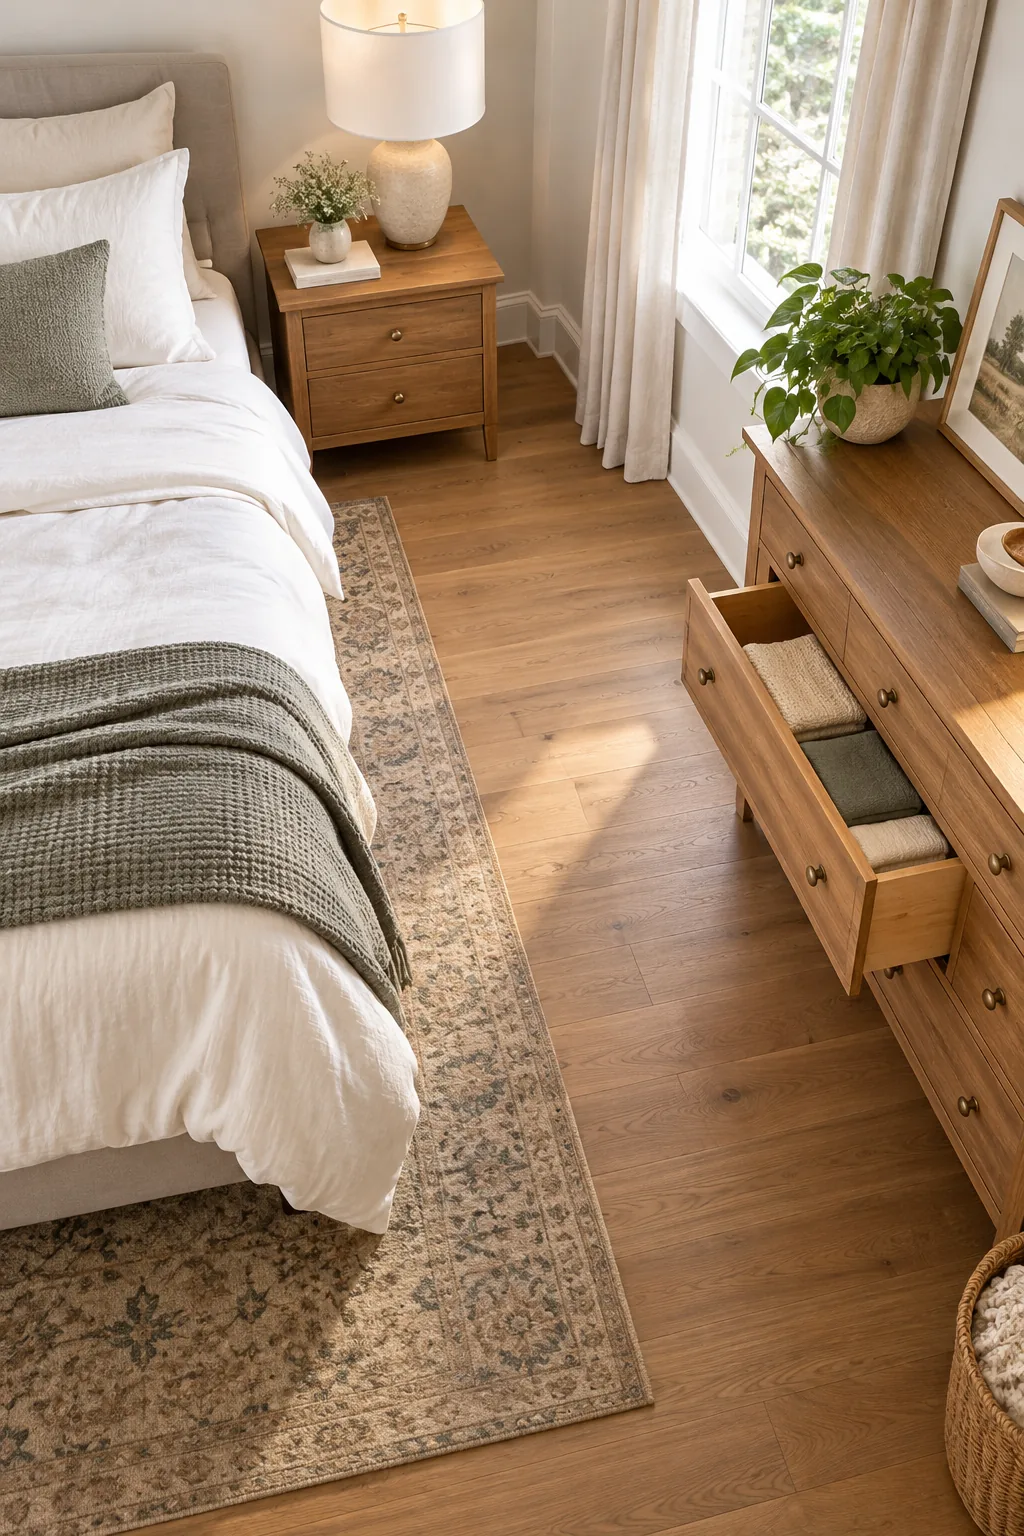
Without this generous open floor space, you will find yourself awkwardly approaching your clothing from the side or bumping into the bed frame. Proper clearance transforms your daily dressing ritual from a frustrating spatial chore into a seamless, highly elegant morning experience.
Balancing Secondary Bedroom Seating
Once your primary sleeping and storage zones are established, evaluating the remaining corners for secondary seating prevents the room from feeling visually bottom-heavy. Adding a small reading chair or a narrow, upholstered bench at the foot of the bed introduces immense functional luxury while maintaining the required 36-inch clearance pathways.
Sizing Mattress-Height Nightstands
Ergonomics play a surprisingly massive role in bedroom comfort, especially when reaching blindly for a glass of water or turning off a reading lamp. Mattress-height tables should sit perfectly level with or no more than two inches above your plush mattress top.
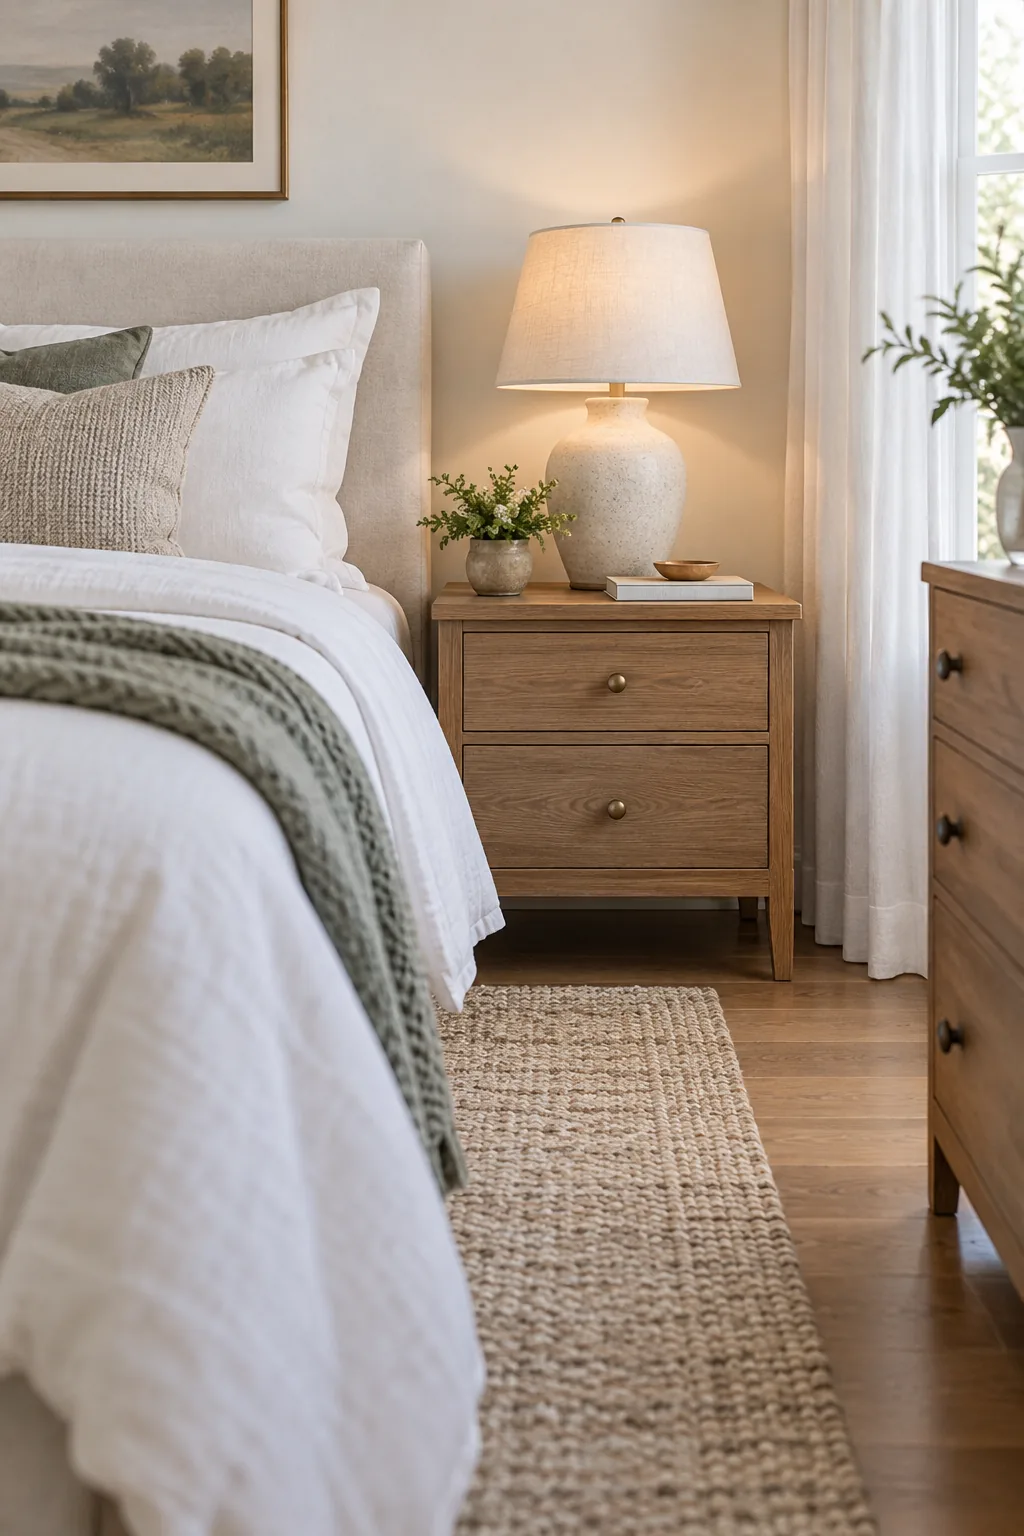
Because modern bed frames and thick pillow-top mattresses rarely follow standard dimensions, assuming a beautifully styled table will automatically fit perfectly can lead to awkward reaching. Measure your specific bed frame plus the mattress and box spring before buying expensive nightstands.
Managing Wall Outlets and Cords
Perfectly sized nightstands lose their aesthetic appeal if they completely block your only available electrical outlets or force dangerous, unsightly cord stretching. Survey the wall directly behind your taped bedside table zones to confirm you have immediate, safe access to power sources before moving any heavy furniture into its final position.
Anchoring with the Two-Thirds Rug Rule
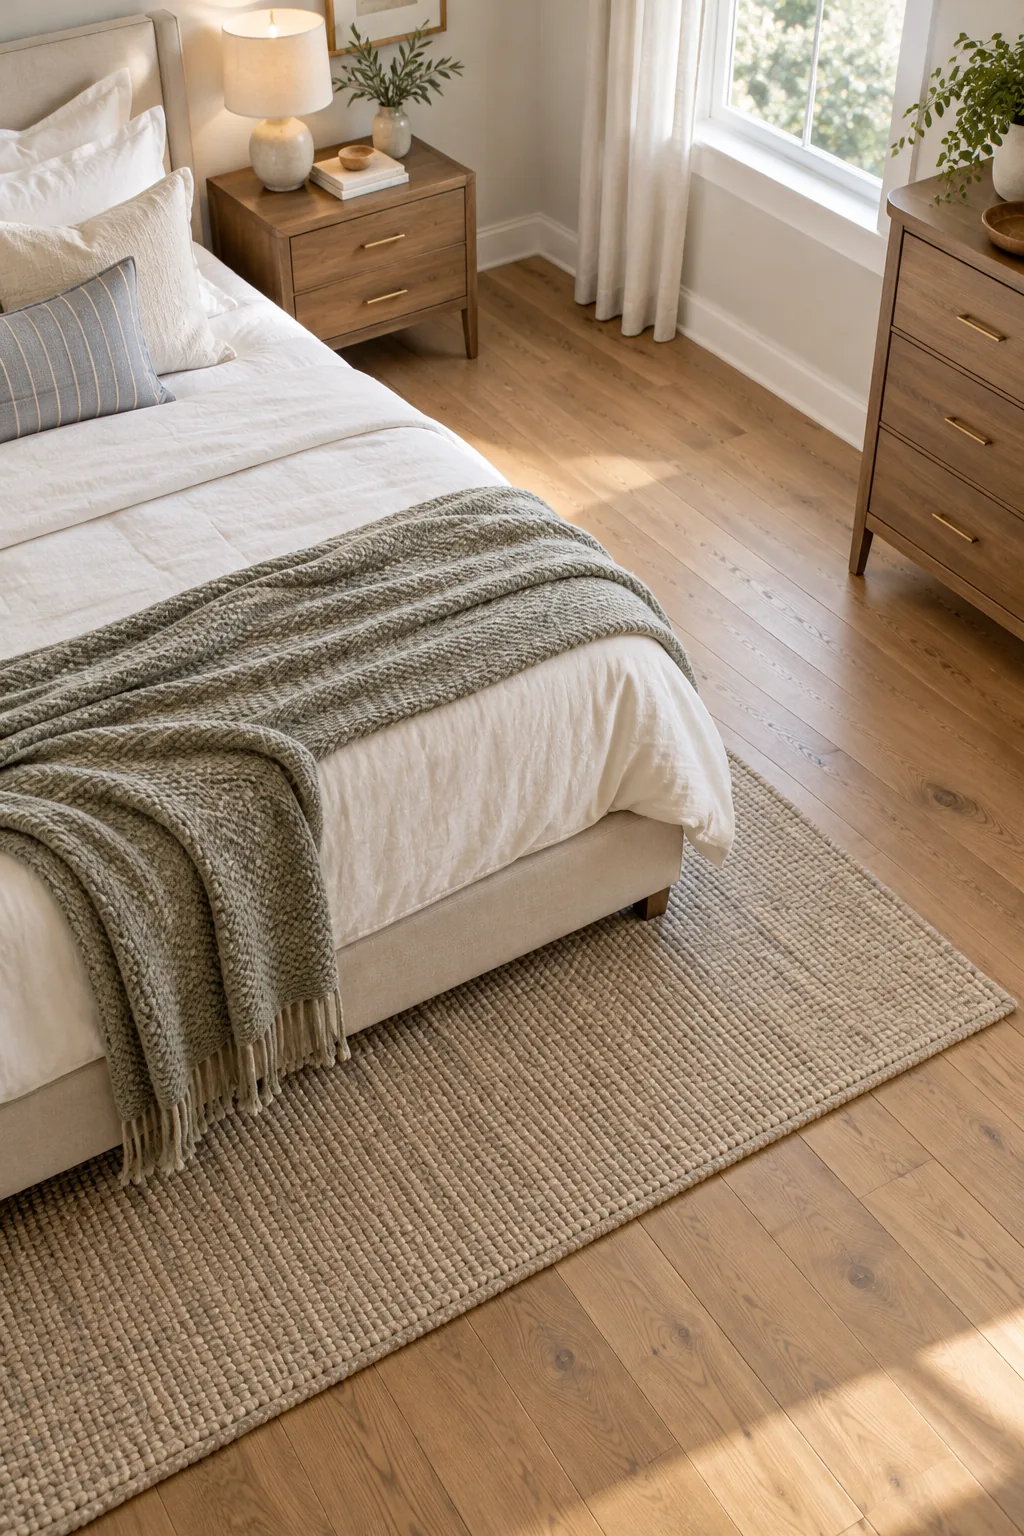
I recently redesigned my own master bedroom and quickly realized how a poorly placed area rug can make the whole space feel visually unmoored. Placing your Rug 2/3 under the bed cushions cold morning footsteps while beautifully grounding the heaviest wooden furniture.
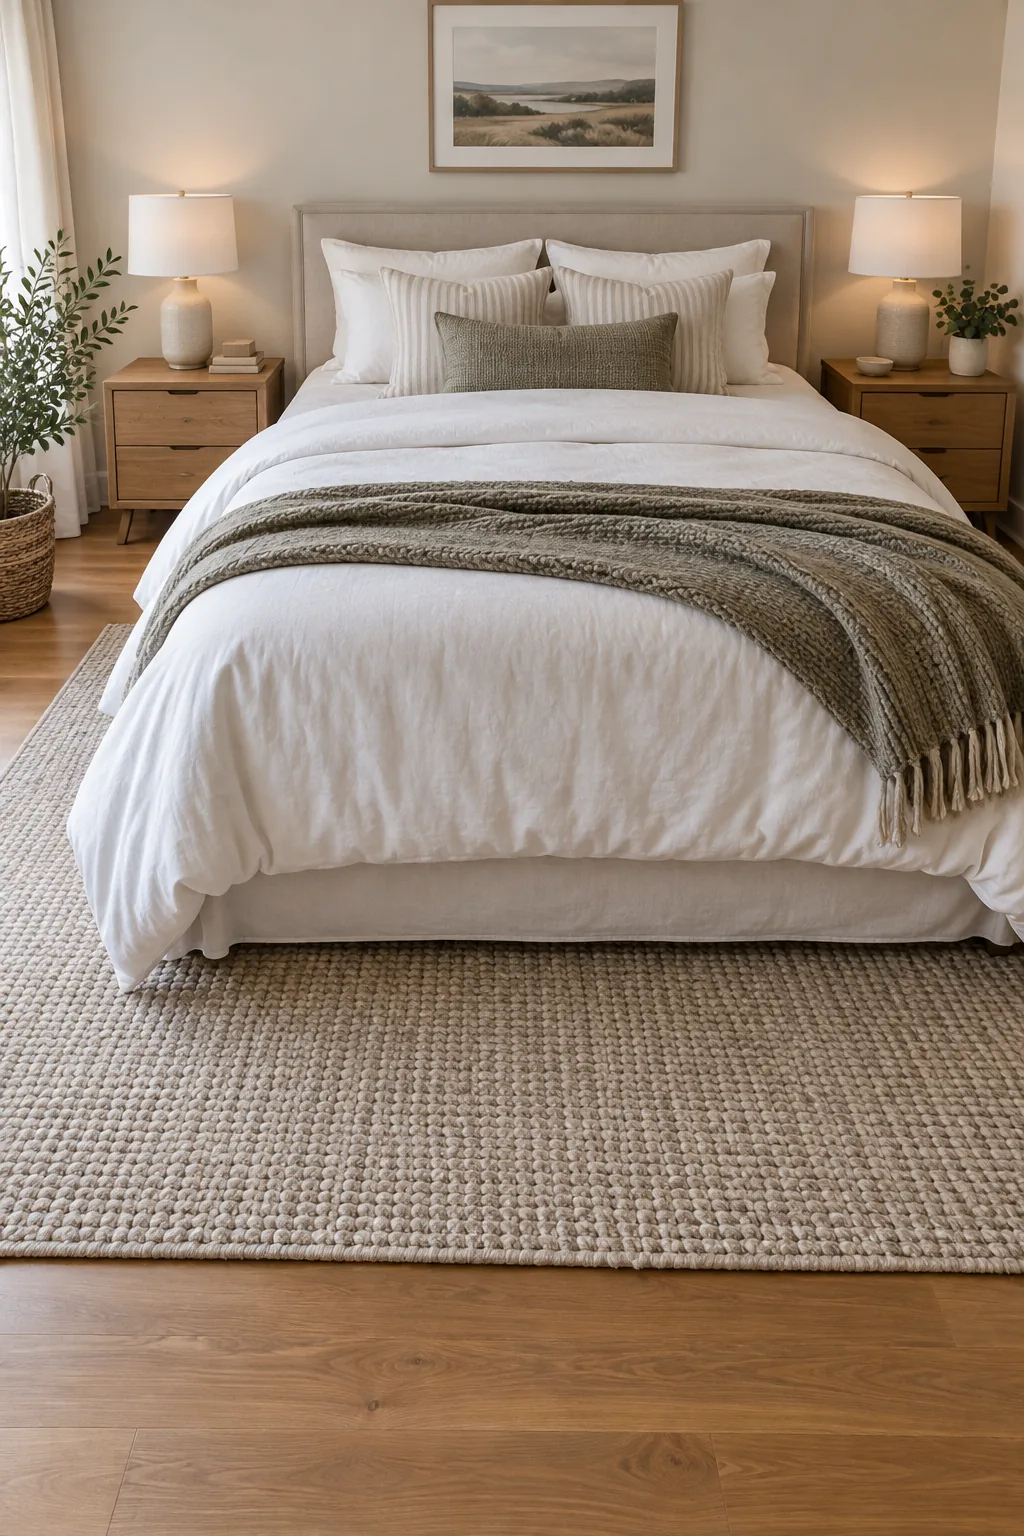
Start the top edge of the area rug just in front of the nightstands, intentionally leaving the floor bare directly under your bedside tables. This strategic, measured placement honors both Western symmetry and Eastern spatial balance by framing the sleeping zone beautifully.
Finalizing the Door-Swing Zone
In my very first solo design project, I completely forgot to account for the closet door arc, resulting in a deeply scratched bed frame. Keep all large furniture at least 12 inches away from the maximum swinging arc of entry and closet doors.
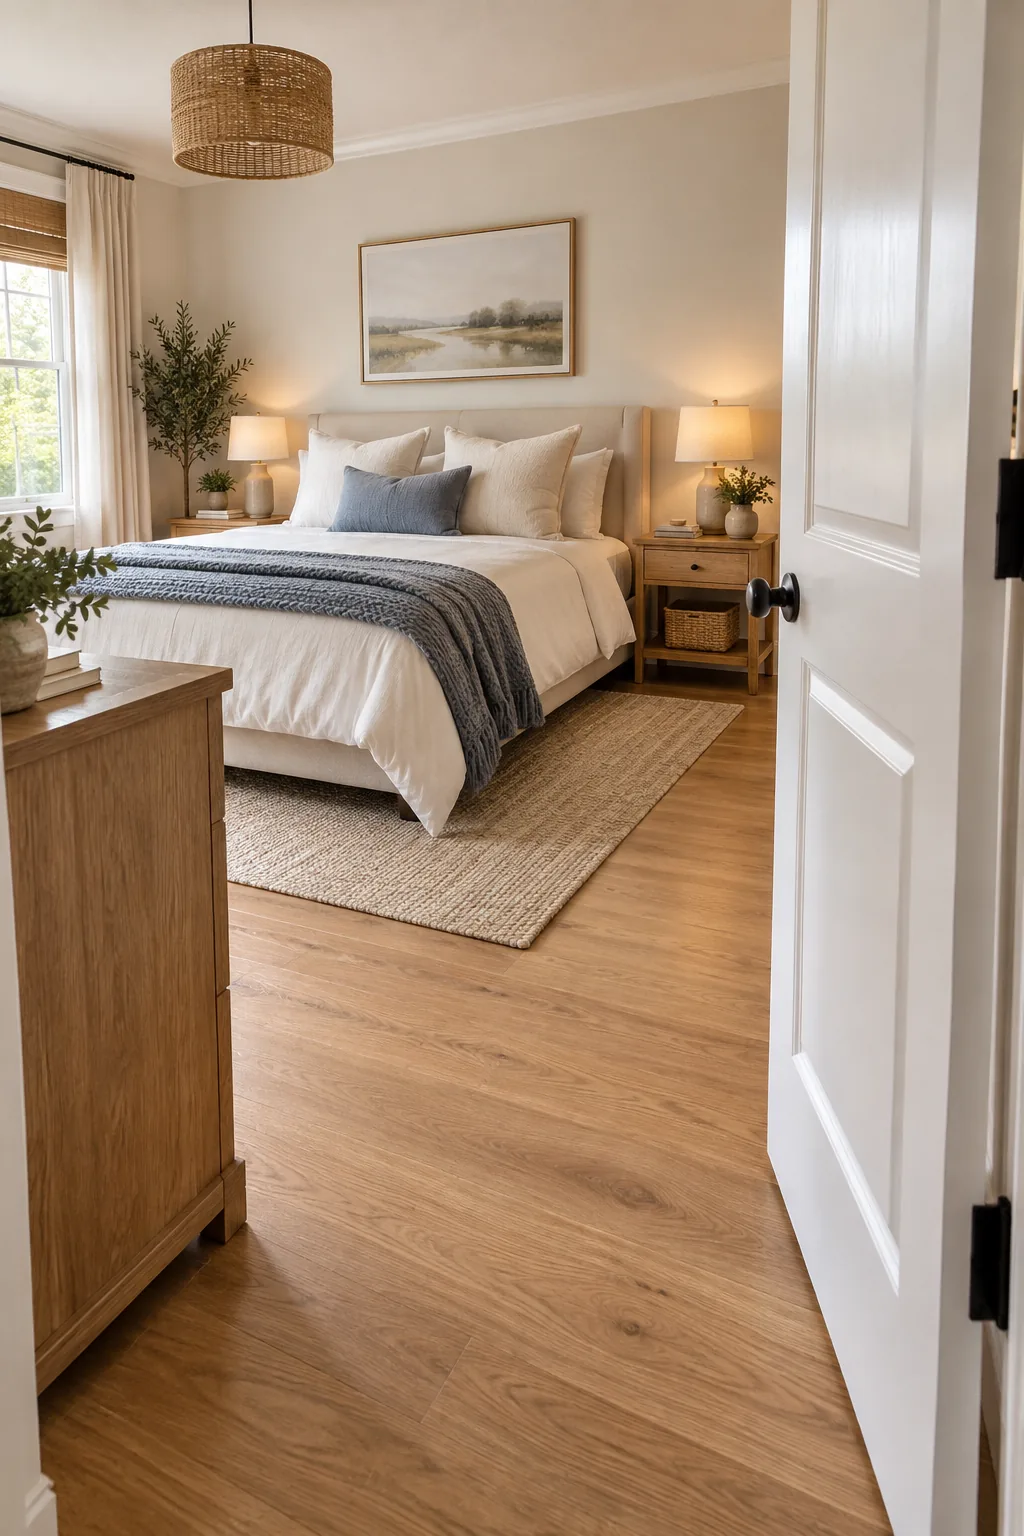
Once the major furniture pieces are placed perfectly on paper, verify the functional flow of the entire room before making any heavy lifting permanent. Accounting for the full swinging arc prevents frustrating daily collisions and actively preserves your beautifully peaceful sanctuary.
Three Bedroom Layout Styles to Try
Discover how these precise clearance rules adapt to different aesthetic styles and room sizes.
Minimalist Scandinavian primary bedroom: Keep the layout breathable with floating nightstands and a low-profile platform bed that maximizes visual floor space.
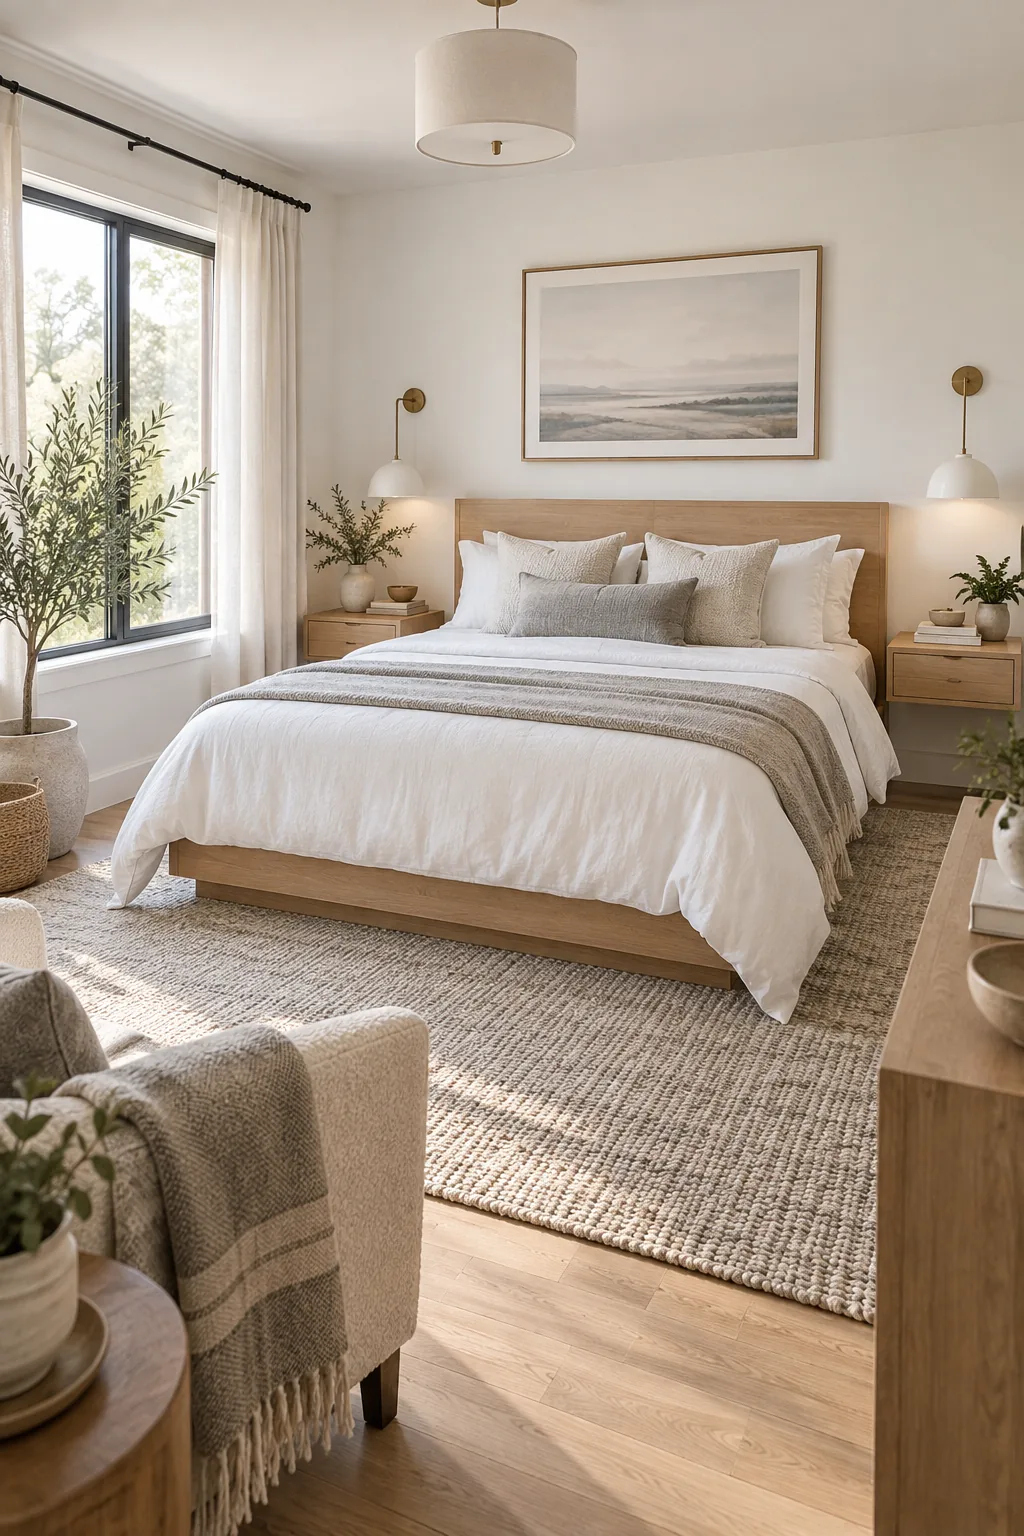
Moody transitional guest suite: Anchor a darker room with a high-contrast vintage rug and tall, narrow dressers that require less pull clearance.
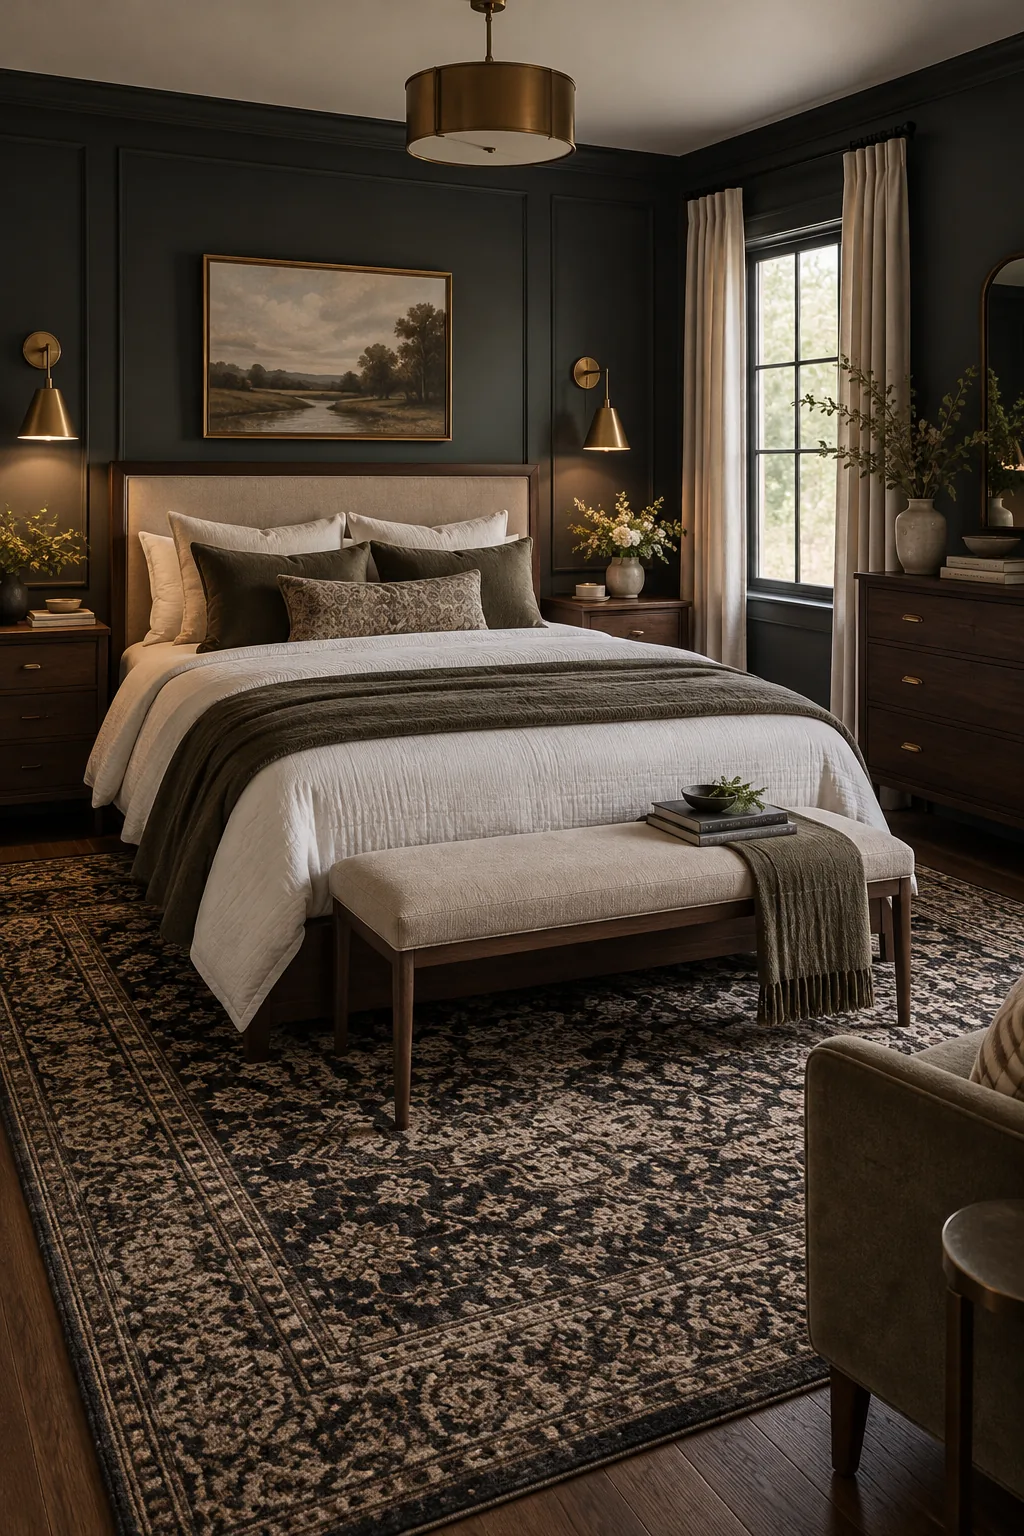
Coastal cottage master retreat: Embrace a relaxed flow by pairing a woven headboard with round bedside tables that soften tight walkway corners.