
Paver Patio Layer Depth Guide: Build a Base That Never Sinks
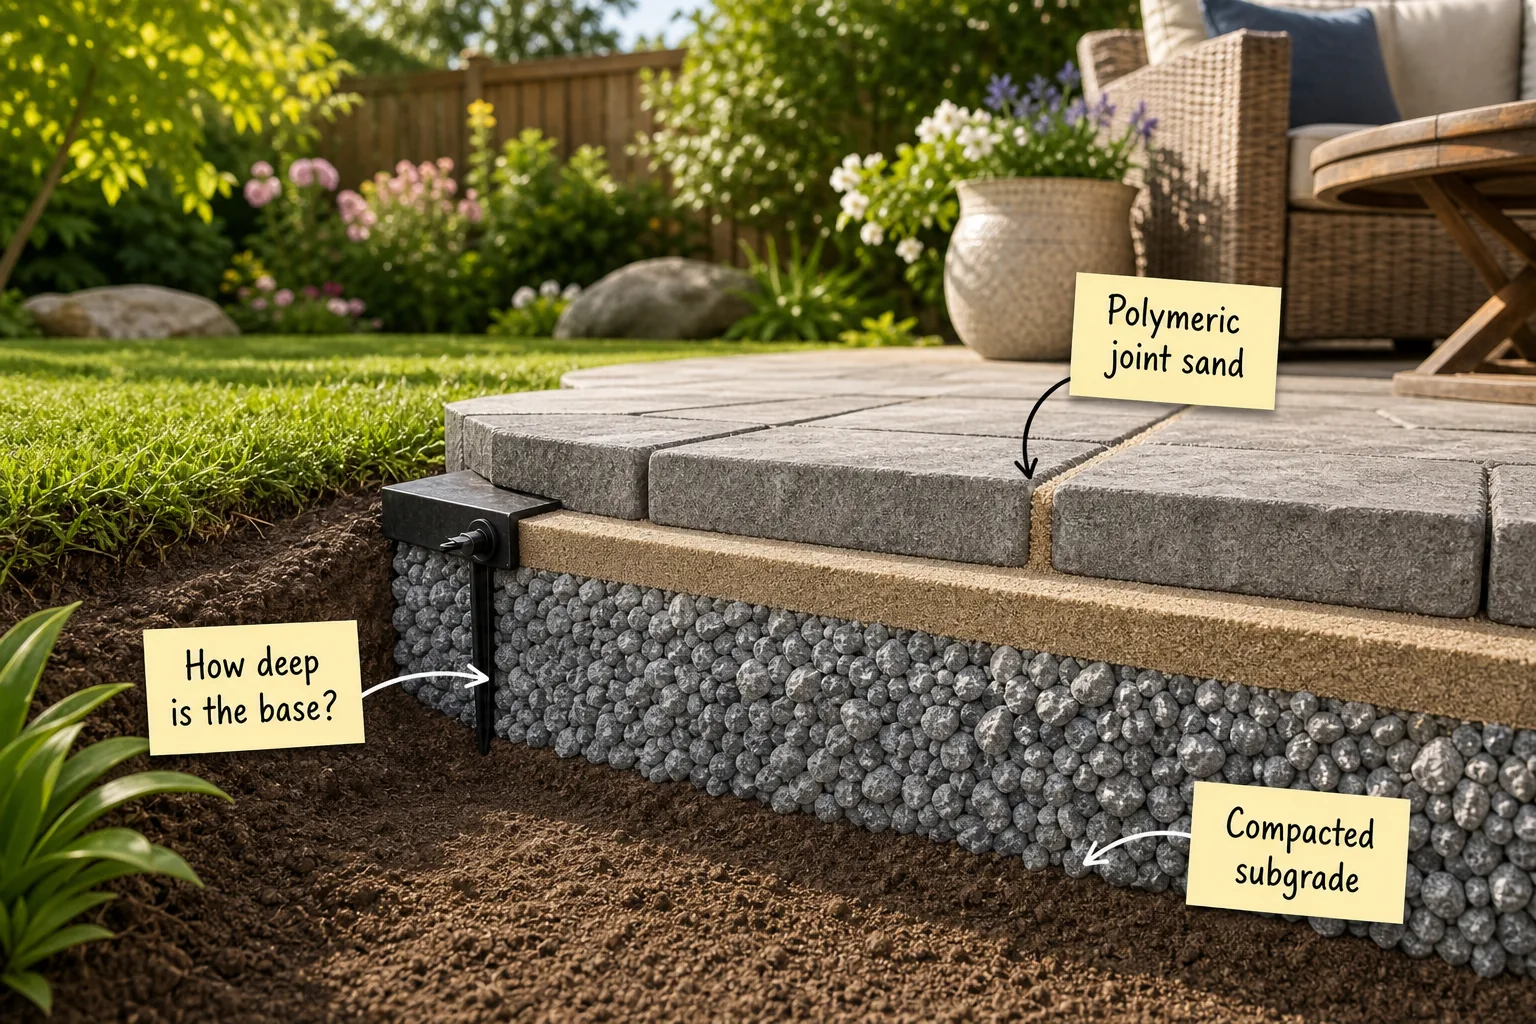
You will be able to calculate exactly how deep to dig and what materials to buy for a permanent, sink-proof paver patio with this complete layer depth guide. Mastering these underground specifications guarantees a perfectly flat surface that withstands decades of extreme weather and heavy foot traffic.
The Complete Layer Depth Guide
A standard pedestrian patio requires 4 to 6 inches of gravel base, 1 inch of leveling sand, and a typical 2.375-inch paver, meaning a total dig depth of 7.5 to 9.5 inches. Knowing this final measurement ensures your finished patio sits completely flush with the surrounding lawn.
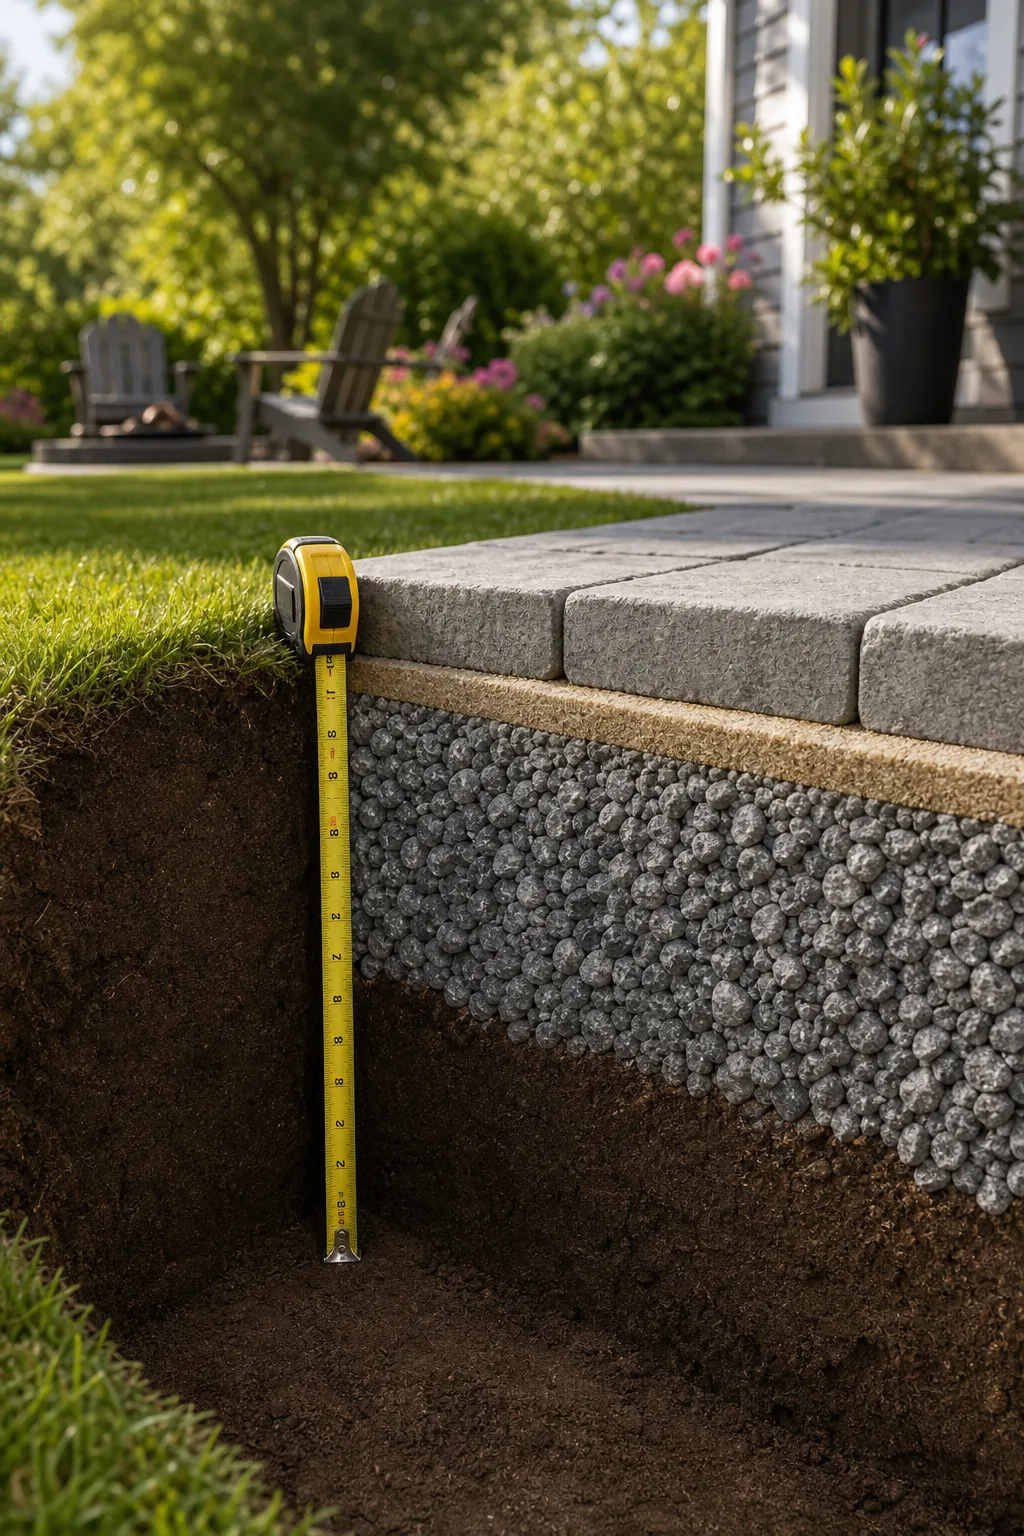
Before a single shovel hits the dirt, verify these three site conditions to ensure your excavation goes safely and drains properly. Skipping these preliminary layout checks can lead to severe flooding issues or catastrophic utility line strikes during the initial digging phase.
Calculating Your Material Tonnage
Once you know your exact excavation depth, you must translate those vertical inches into cubic yards and tons for your bulk material delivery. Ordering the correct volume of crushed stone and concrete sand upfront prevents costly mid-project delays and expensive secondary delivery fees.
| Layer Material | Depth | Coverage per Ton | Compaction Shrinkage |
|---|---|---|---|
| 3/4-inch minus gravel | 4 inches | ~100 square feet | 20 percent |
| 3/4-inch minus gravel | 6 inches | ~70 square feet | 20 percent |
| Coarse concrete sand | 1 inch | ~200 square feet | None (uncompacted) |
Always order an additional 10 percent above your calculated gravel tonnage to account for the intense compaction process. Heavy vibratory plates force the jagged stones and fine dust together so tightly that the raw material volume shrinks significantly as it reaches maximum structural density.
Reaching the Compacted Subgrade
Dig past the soft organic topsoil until you expose raw, inorganic dirt, which must be heavily consolidated with a vibratory plate compactor to create a solid compacted subgrade. This undisturbed dirt foundation serves as the vital structural floor for every subsequent stone layer.
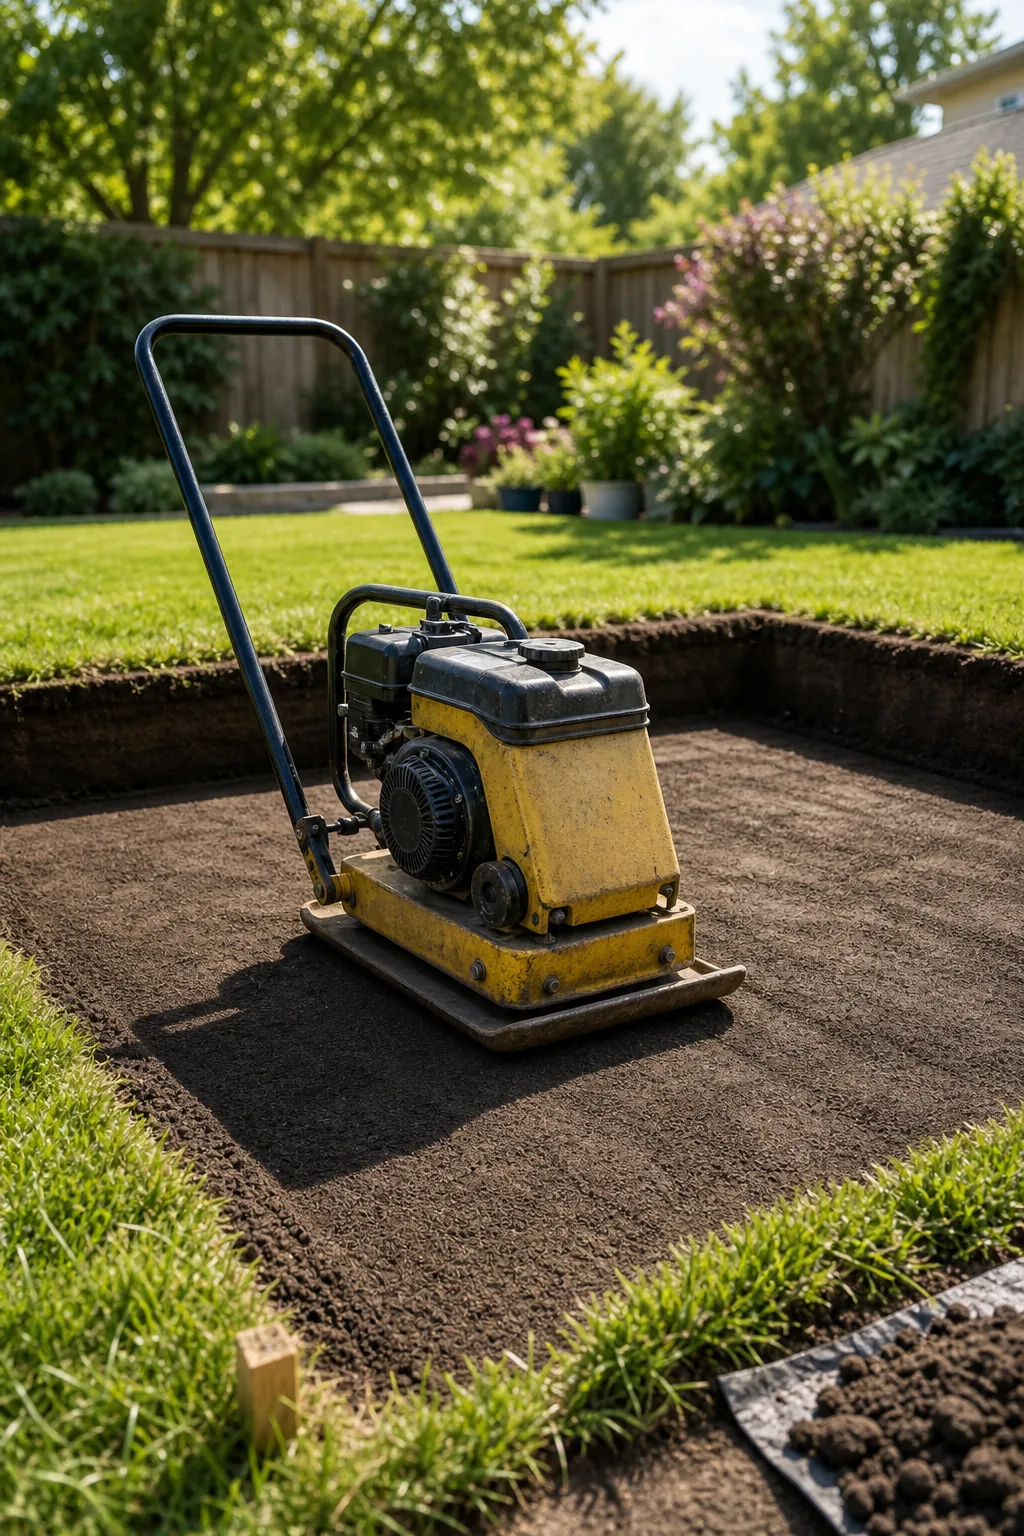
Building a patio directly on topsoil guarantees failure because decomposing organic matter creates underground voids that cause the entire structure to settle unevenly over time. You must remove all dark, root-filled soil until you strike the lighter, densely packed subsoil hidden beneath.
Upgrading With Geotextile Fabric
Laying a commercial-grade, non-woven geotextile fabric directly over your freshly compacted subgrade provides a crucial physical barrier between the raw dirt and your clean gravel base. This breathable synthetic layer allows ground moisture to pass through while completely preventing the underlying mud from pushing upward.
Without a fabric barrier, seasonal freeze-thaw cycles and heavy rain will slowly pump soft clay into the clean gravel layer above. As the crushed stone sinks into the mud, your perfectly flat paver surface will develop severe structural dips and dangerous tripping hazards.
How Deep Should the Gravel Base Be?
For standard pedestrian patios, the exact answer to how deep is the base? is a 4-inch to 6-inch layer of 3/4-inch minus crushed stone. This specific material must include the fine stone dust alongside the jagged larger rocks to ensure proper consolidation.
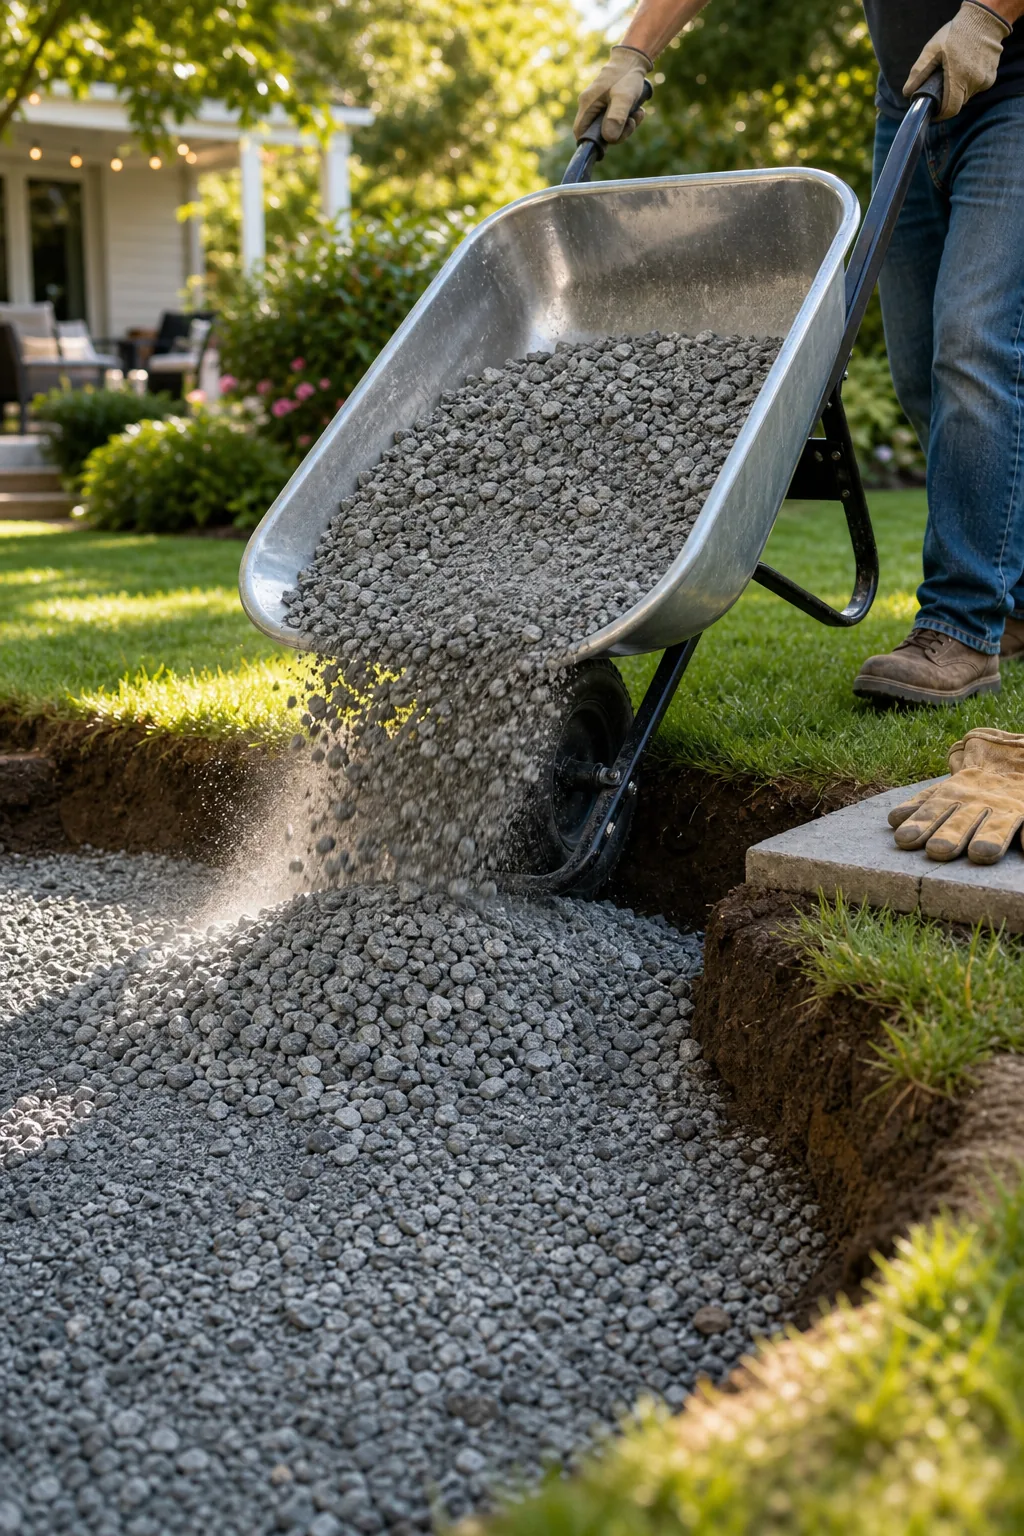
Driveways or areas supporting heavy vehicular loads require a much deeper crushed stone foundation of 10 to 12 inches. If you attempt to use clean, washed river rock instead of crushed stone, the smooth pieces will continually shift underfoot and never lock together.
Essential Tools for the Job
Building a permanent hardscape requires heavy-duty motorized equipment that you simply cannot substitute with standard residential garden tools. Renting the correct professional machinery ensures your underground base layers achieve the necessary density to support heavy loads without sinking or shifting.
- Vibratory plate compactor: Essential for consolidating the dirt subgrade and locking the crushed stone base.
- Diamond blade wet saw: Required for making clean, precise cuts through thick concrete blocks without cracking them.
- Laser level or transit: Guarantees your critical drainage slope is perfectly pitched away from the house.
Resist the temptation to tamp the gravel base by hand, as manual tampers can never generate the thousands of pounds of downward force required to lock the angular stones together. Renting a vibratory plate compactor is the single most important investment for a permanent patio.
The Secret to a Base That Never Sinks
To achieve maximum density, you must compact the gravel in 2-inch lifts rather than filling the entire excavated trench at once. Lightly misting each shallow layer with a hose helps the fine dust bind the jagged stones together under the heavy vibratory plate.
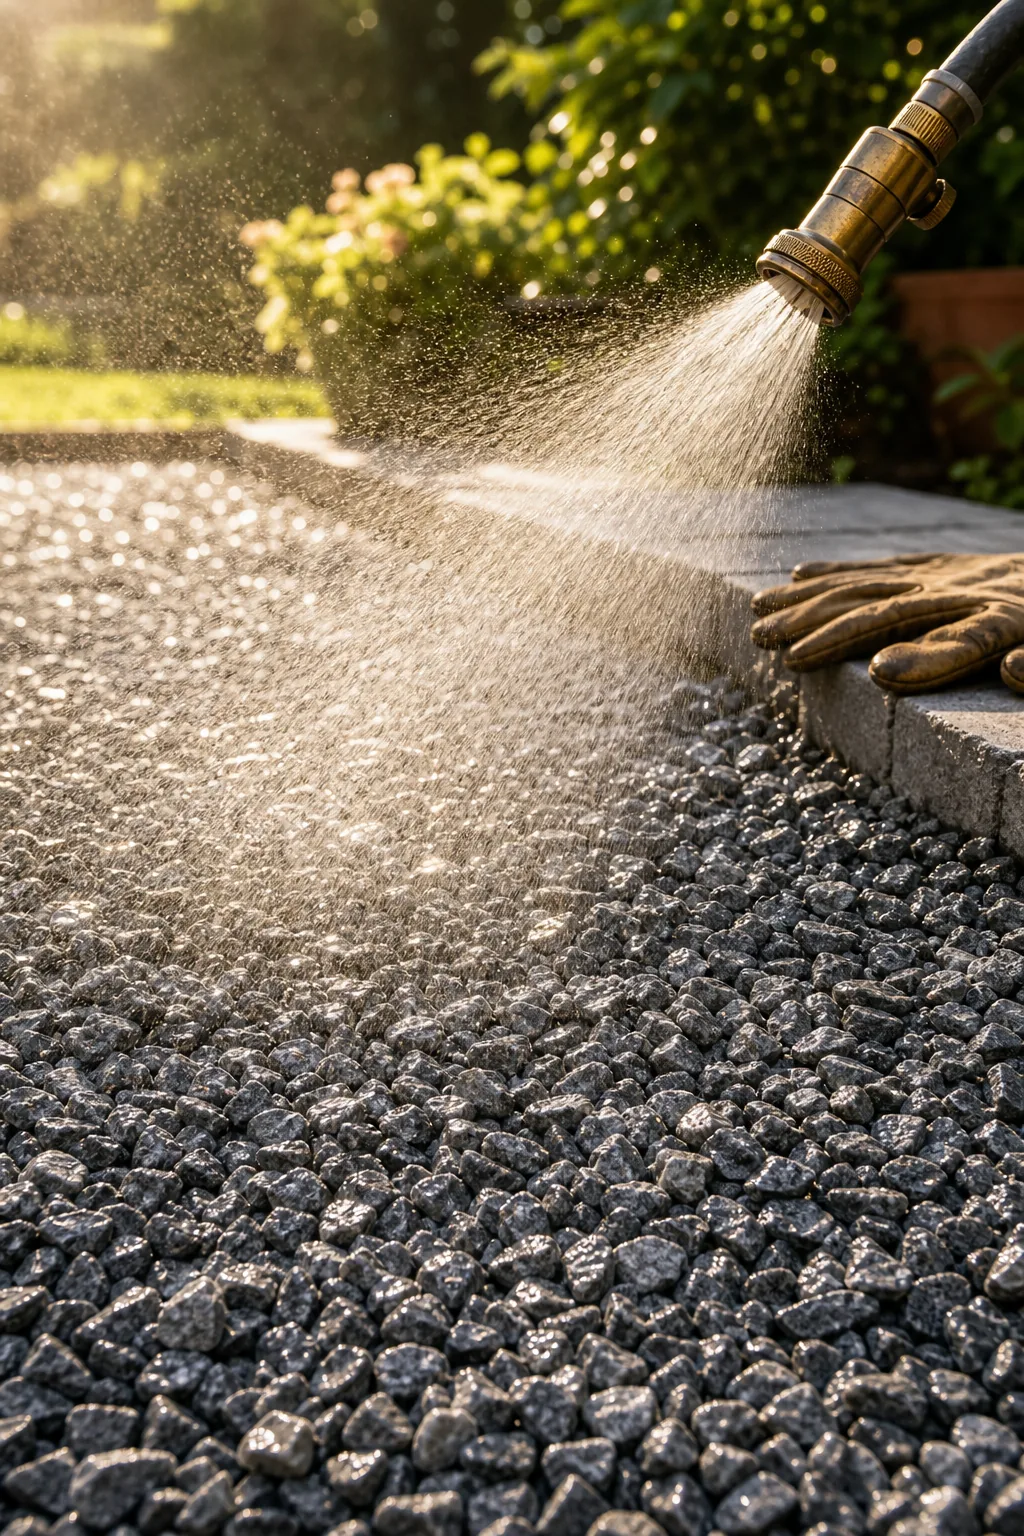
Even the correct depth of premium crushed stone will eventually fail if it is installed incorrectly. Avoid these common structural errors when building your patio base to ensure the foundation remains perfectly flat for decades without developing low spots.
Planning the Drainage Slope
Before laying any sand, verify your compacted gravel base perfectly mirrors the required drainage slope of 1 inch per 4 feet. Connecting wooden corner stakes with a taut string line allows you to measure down and confirm the downward pitch is completely uniform.
Screeding the 1-Inch Leveling Bed
Lay two 1-inch outside-diameter PVC pipes over the compacted gravel base to act as precise depth guides for your 1-inch leveling bed. Space these parallel pipes roughly three feet apart to support the outer edges of your straight aluminum screed board.
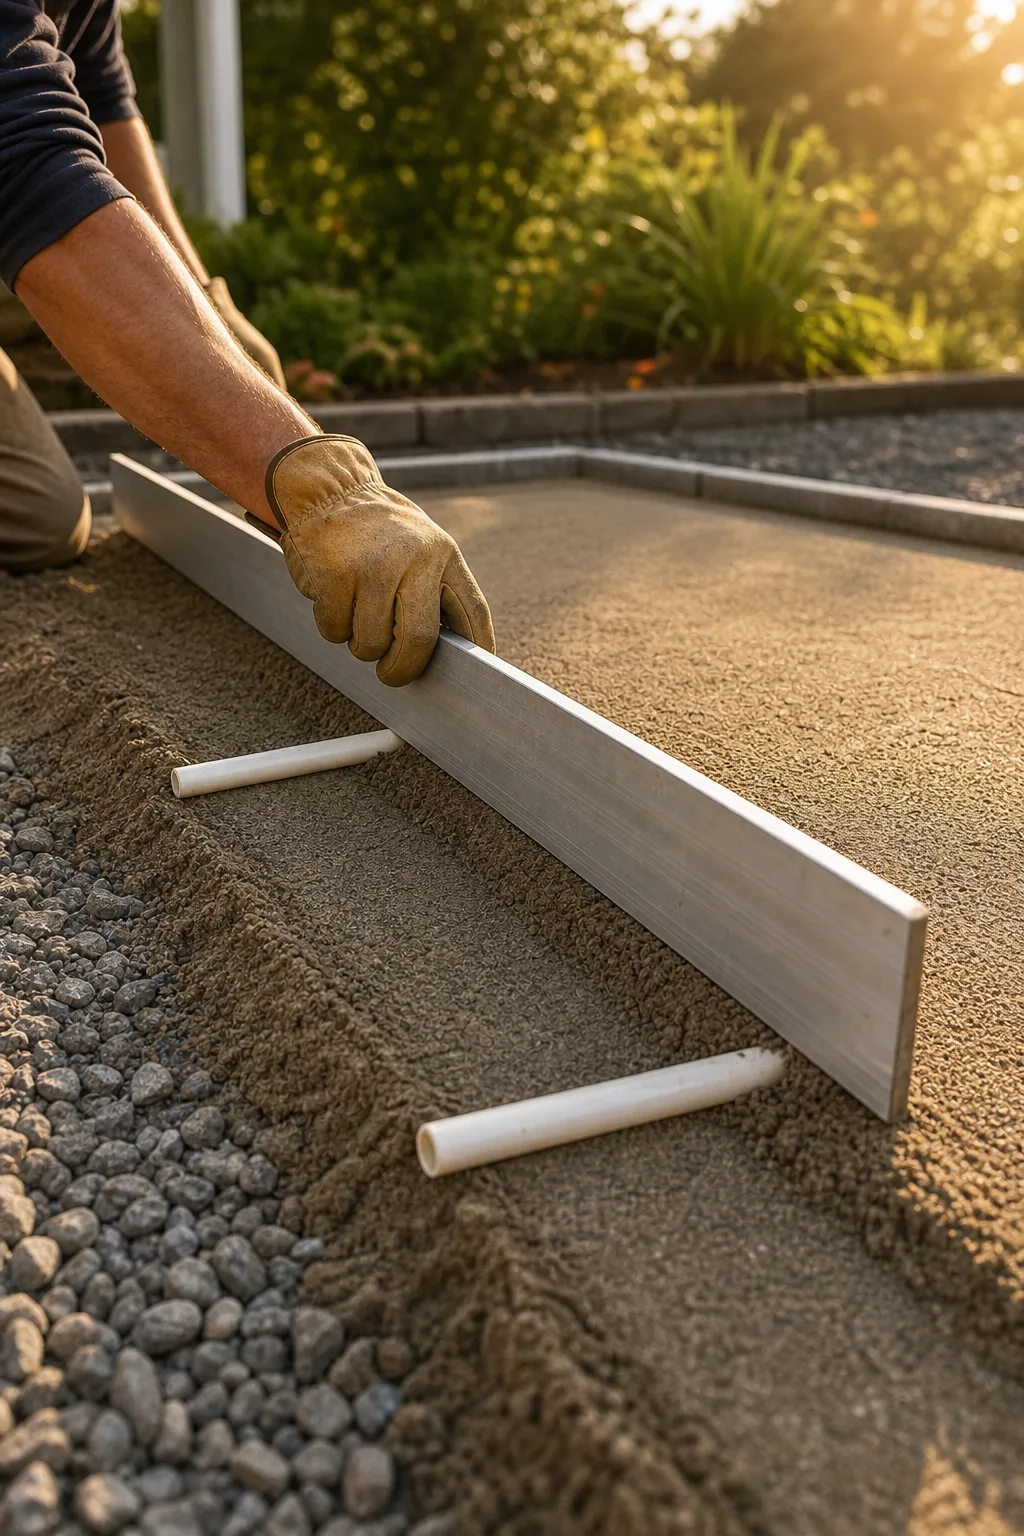
Pull the rigid aluminum board slowly backward across the PVC guides to leave a perfectly smooth, uncompacted layer of coarse sand. Once the area is level, carefully remove the pipes and fill the remaining narrow trenches with fresh sand using a hand trowel.
Choosing the Right Sand for the Bed
Always purchase coarse concrete sand for your leveling bed rather than fine mason sand, play sand, or stone dust. The larger, angular particles in washed concrete sand resist shifting, drain water efficiently, and provide a much more stable setting bed for heavy concrete blocks.
Securing the Hidden Edge Restraint
Install a rigid plastic hidden edge restraint along the open perimeter directly on top of the compacted gravel to prevent the patio from spreading outward. Cutting the sand bed away from the edges allows the plastic L-bracket to sit firmly on the dense stone.
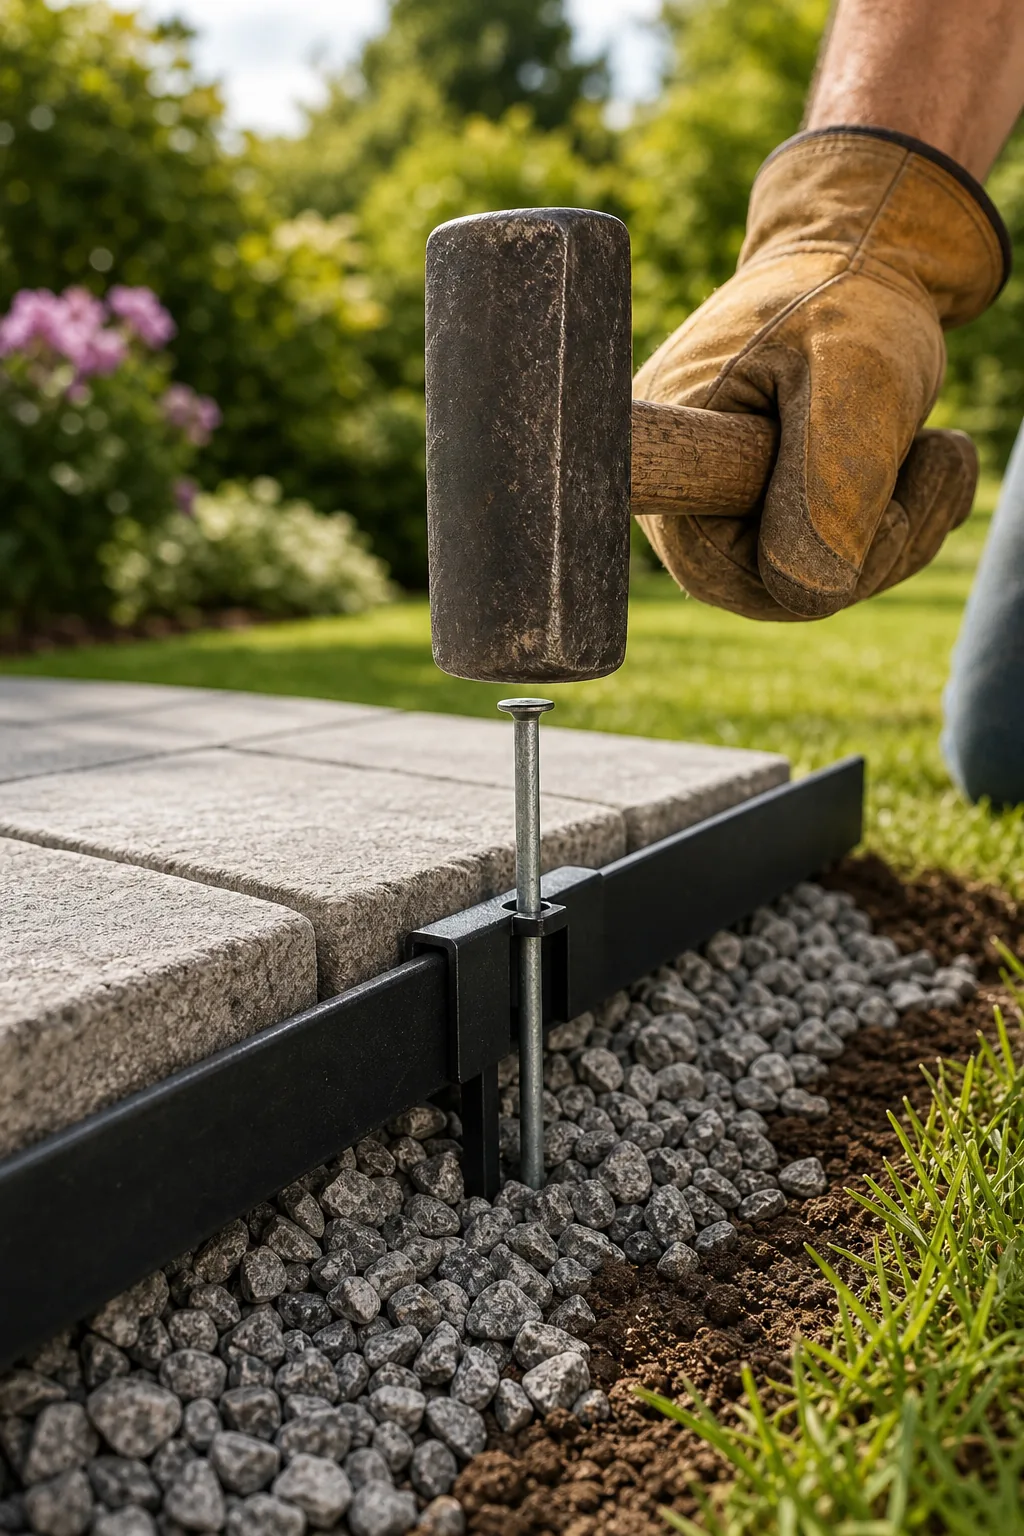
Drive 10-inch galvanized landscape spikes through the pre-drilled holes in the plastic brackets and straight into the compacted stone base. Securing these vital restraints into the soft sand or surrounding topsoil will result in complete edge failure after a single winter season.
Cutting Pavers for Custom Borders
Most patio designs require trimming the outer blocks to fit a curved layout or accommodate a contrasting border pattern. Renting a wet masonry saw with a diamond blade ensures you achieve clean, factory-quality cuts without shattering the expensive concrete blocks during the installation process.
Laying the Paver Surface
Place the concrete pavers directly onto the pristine leveling bed by lowering each heavy block vertically into its final position. Work methodically from a 90-degree corner, keeping your body weight on the installed pavers rather than stepping into the screeded sand.
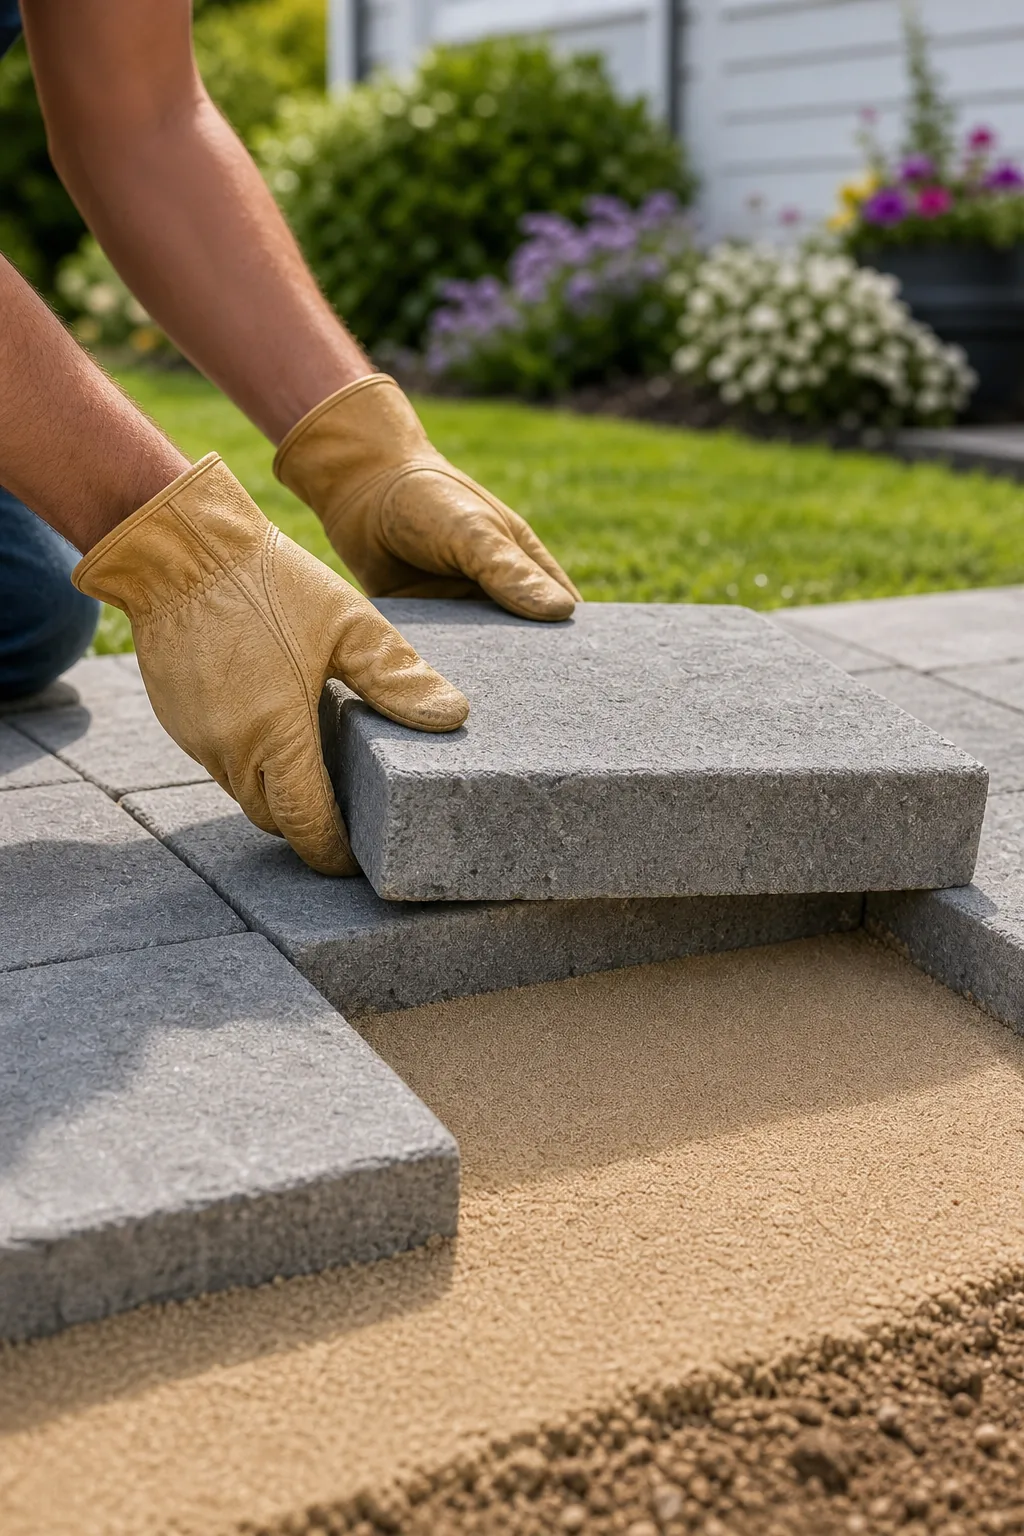
Sliding the blocks sideways will dig into the smoothed sand, creating an uneven surface that requires pulling the pavers and completely re-screeding the area. If a paver lands slightly out of alignment, gently tap its side with a non-marring rubber mallet to adjust it.
Maintaining Straight Paver Lines
As you lay the patio surface, stretch a tight mason string line across the working face every four feet to verify your blocks are tracking perfectly straight. Minor manufacturing variations in the concrete pavers can cause your rows to slowly drift out of square.
Locking It With Polymeric Joint Sand
The final step is sweeping fine polymeric joint sand into the narrow gaps between the blocks, which must only be done when the pavers are bone-dry. This specialized material contains advanced binding agents that will prematurely activate and stain the surface if exposed to moisture.
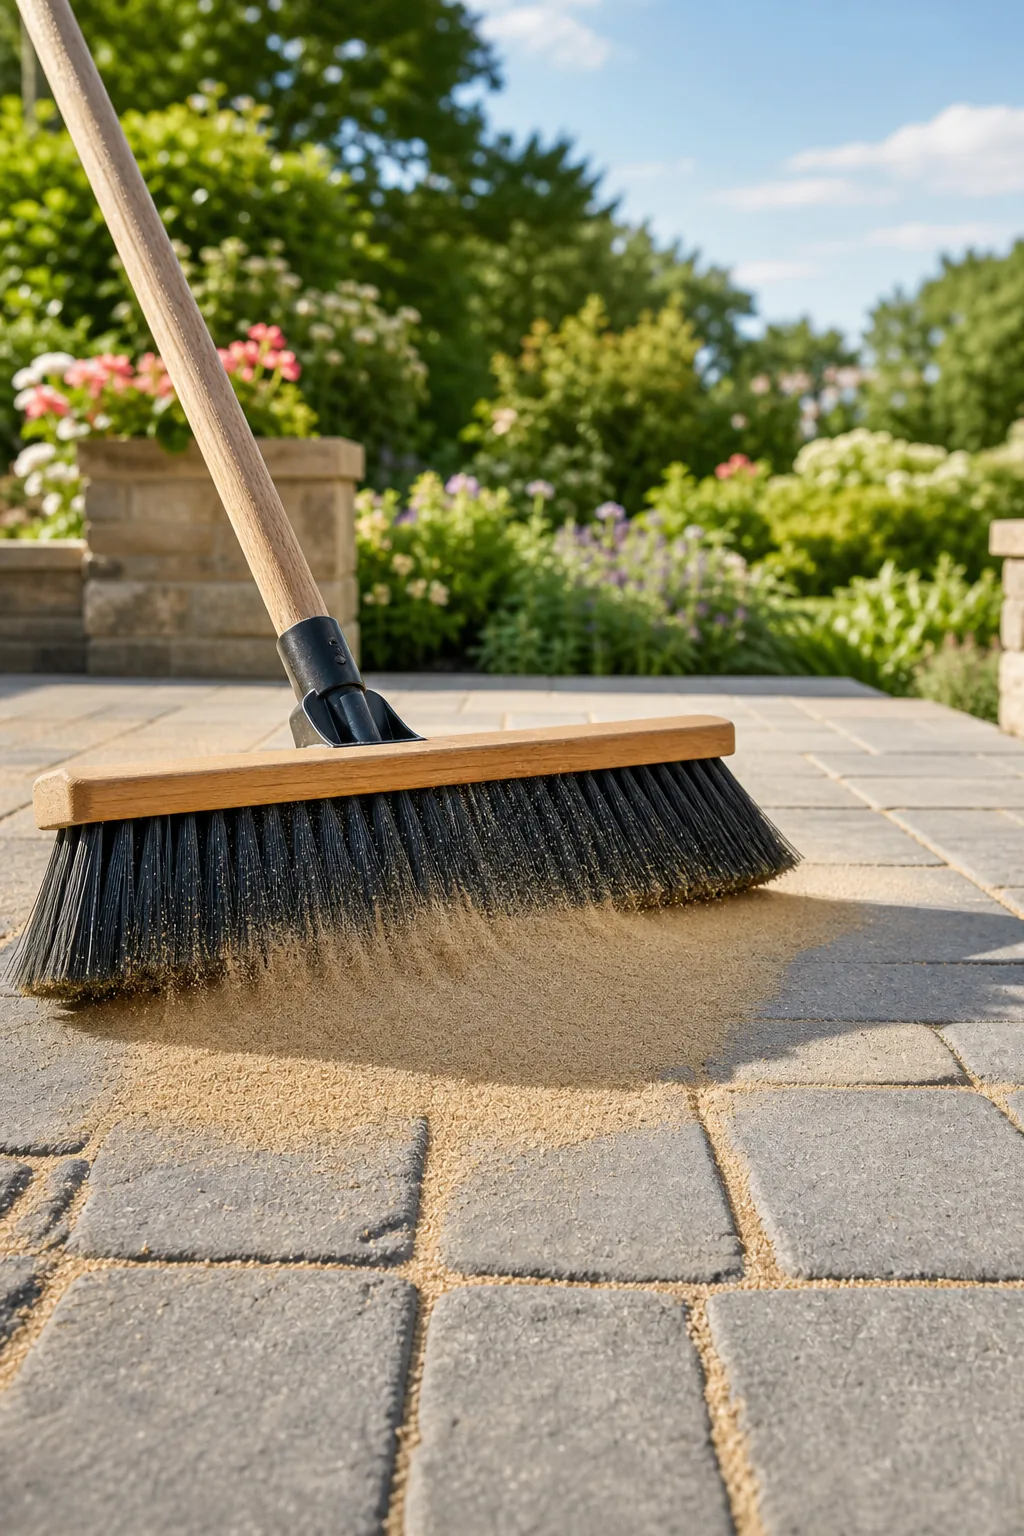
Run the compactor over the surface with a protective urethane pad to vibrate the sand deeply into the joints, sweeping away all excess dust afterward. Finally, lightly mist the entire patio with a hose to activate the polymers and permanently lock the system together.