
Finished Basement Remodel Guide: Plan the Perfect Space
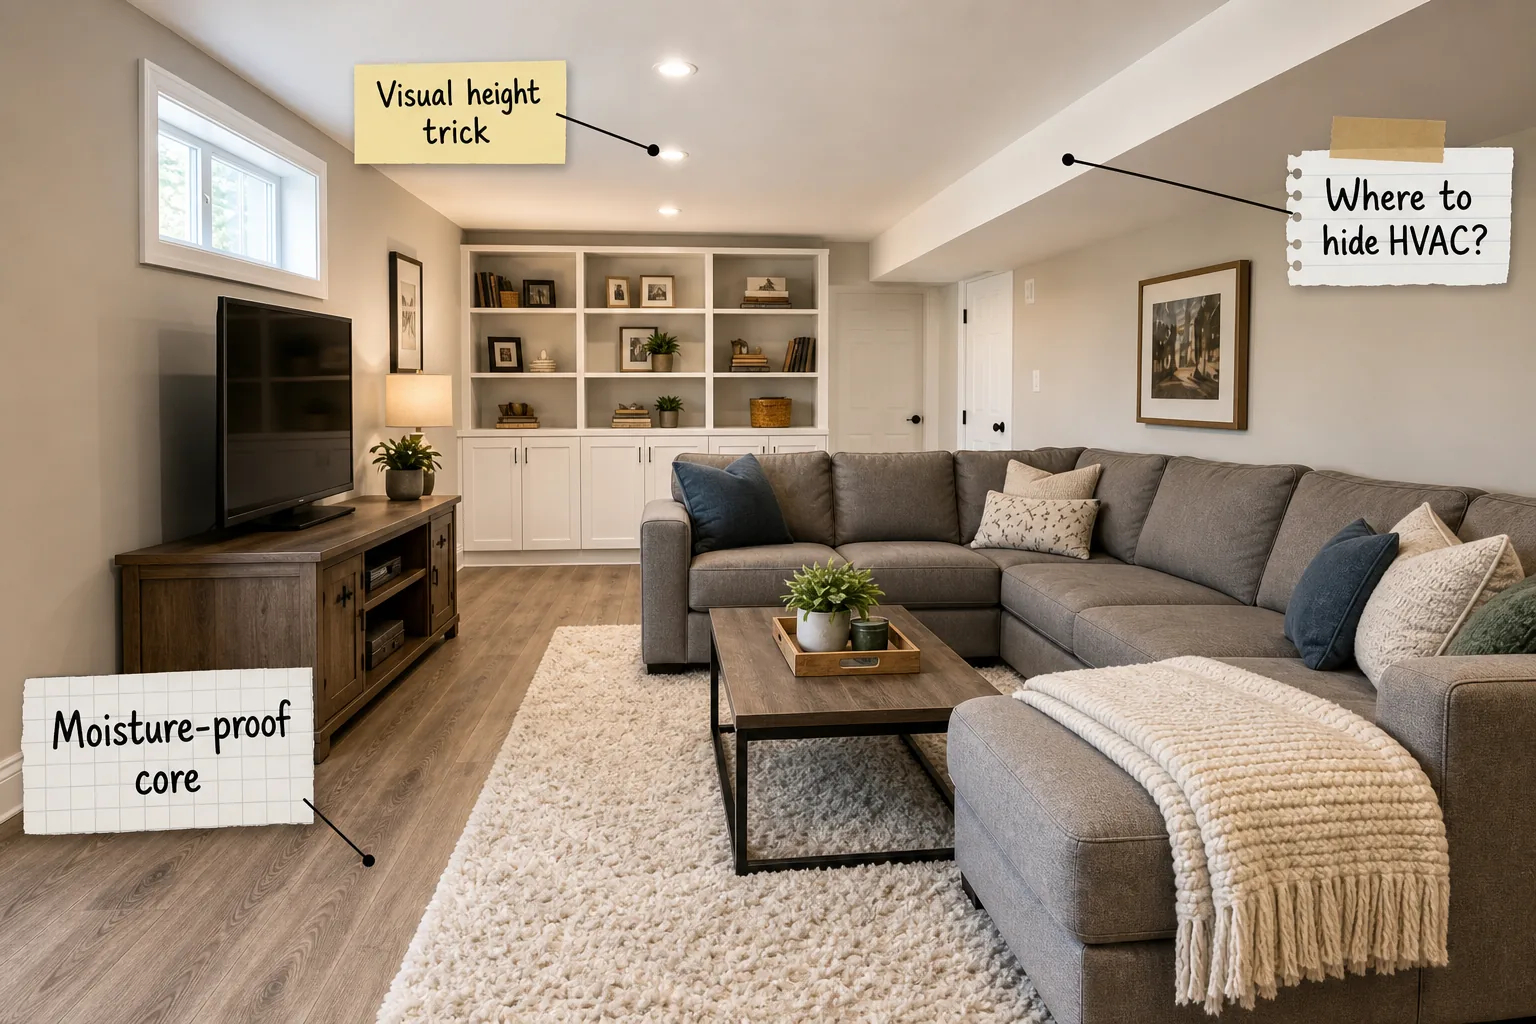
Download our comprehensive basement remodel planning guide to confidently sequence your project and choose materials that survive below-grade conditions. You will learn exactly how to frame out HVAC systems, maximize ceiling height, and install moisture-proof flooring for a durable living space.
Concealing HVAC with Drywall Bulkheads
Before starting any ceiling work, you must determine the minimum framing clearance needed around existing basement ductwork. Maintain a minimum 7-foot clearance beneath the drop where local codes allow, establishing the structural boundaries for your new ceiling.
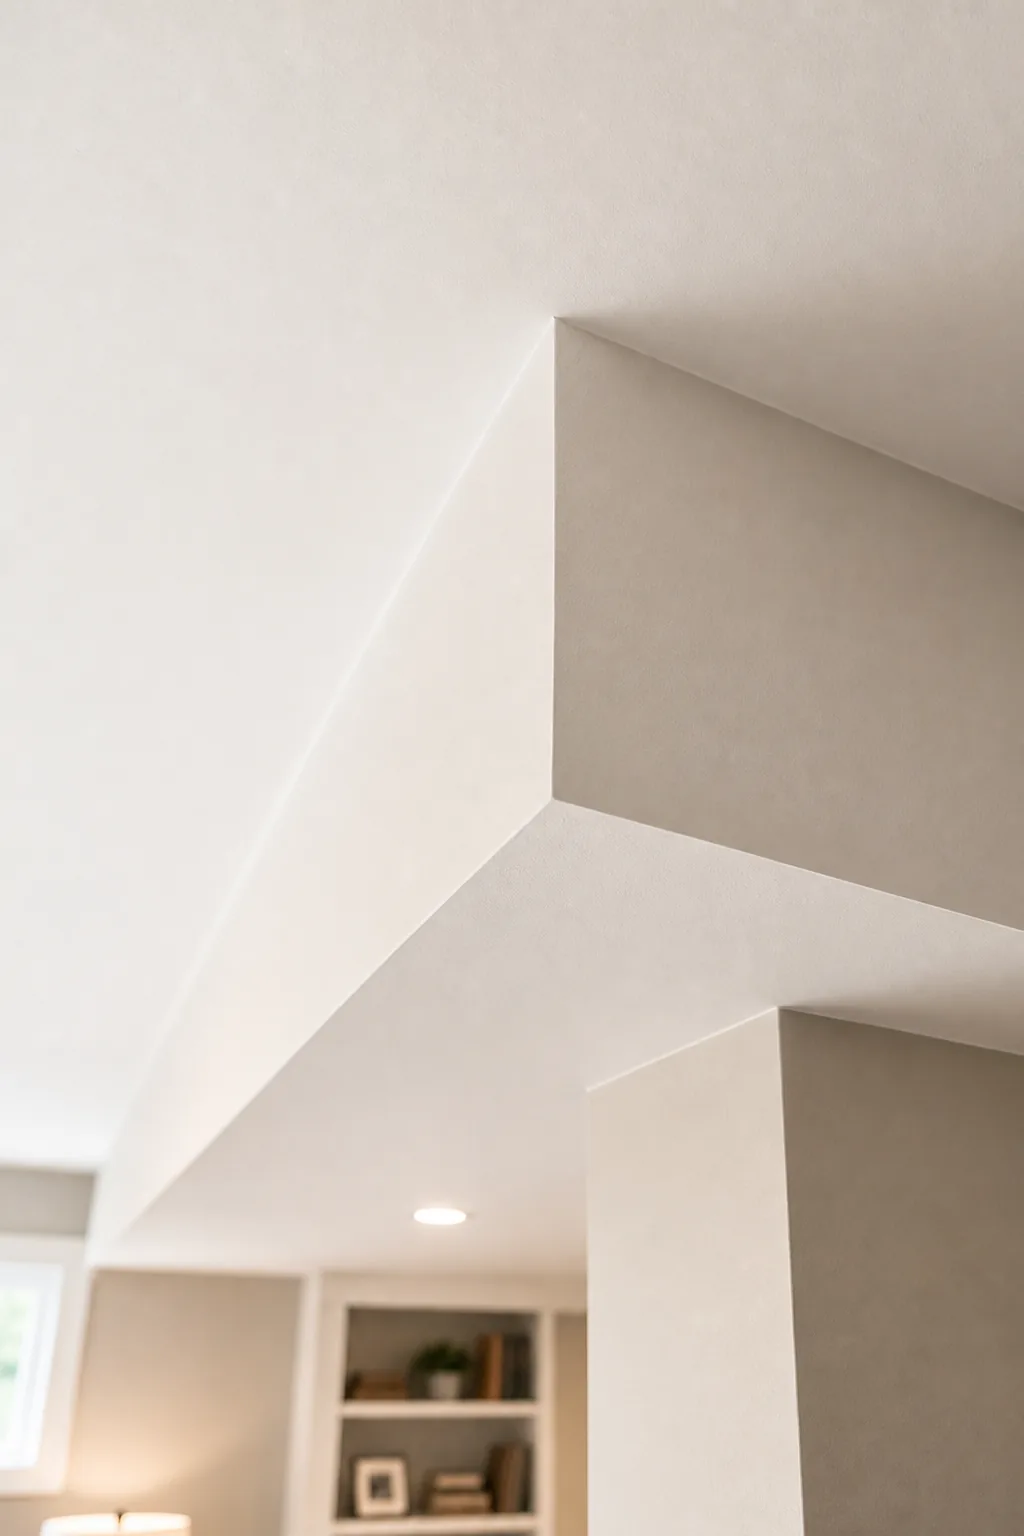
Once the framing is complete, your finishing choices determine whether the bulkhead feels like an architectural feature or a necessary compromise.
Calculating Minimum Ductwork Clearances
Understanding the dimensions of your existing mechanicals helps you plan a tighter framing layout. You must measure the outer diameter of the rigid metal pipes and account for any required ventilation gaps before attaching drywall.
| Duct Type | Typical Width | Required Drop | Framing Strategy |
|---|---|---|---|
| Main supply trunk | 16 to 24 inches | 10 to 12 inches | Box out entirely |
| Round branch lines | 6 to 8 inches | 8 inches | Run through joists |
| Return air plenum | 20 to 24 inches | 12 inches | Frame wide bulkhead |
| PVC plumbing drains | 3 to 4 inches | 6 inches | Slope inside soffit |
Maximizing Headroom with Recessed Lighting
Because traditional flush mounts intrude on low clearances, ultra-thin LED wafer lights are the visual height trick required for basement ceilings. These fixtures sit flush against the drywall, creating an illusion of vertical volume without casting heavy shadows.
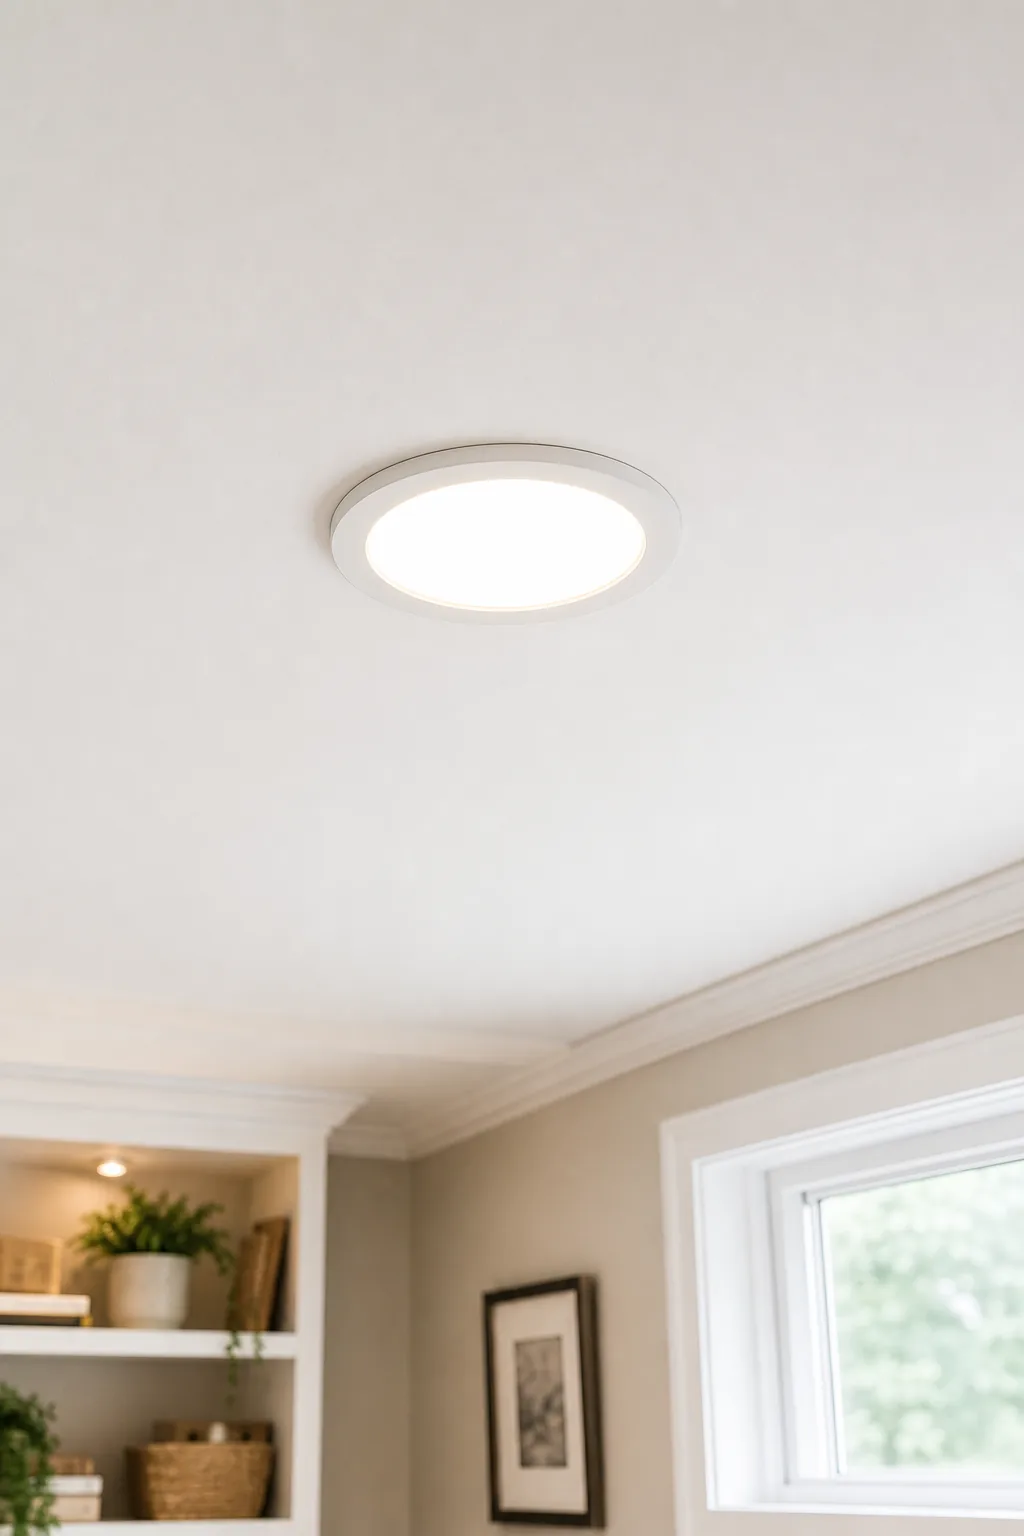
To achieve perfectly even illumination across a dark lower level, you must calculate the correct distance between each fixture based on the ceiling height.
Establishing a Lighting Layout Grid
Proper fixture placement prevents the harsh spotlight effect common in poorly planned remodels. You should divide the room into functional zones and align the lighting grid with your primary seating areas.
- Space the ultra-thin LED wafers exactly 4 to 6 feet apart in primary living spaces.
- Keep fixtures at least 3 feet away from walls to avoid highlighting drywall imperfections.
- Install separate dimmer switches for the media zone and the general walkway areas.
Insulating Walls for a Thermal Break
Moving down to the exterior walls, you must install continuous rigid foam board insulation to create a thermal break against the cold foundation. Use foam panels that are at least 2 inches thick directly against the concrete to prevent condensation and mold growth.
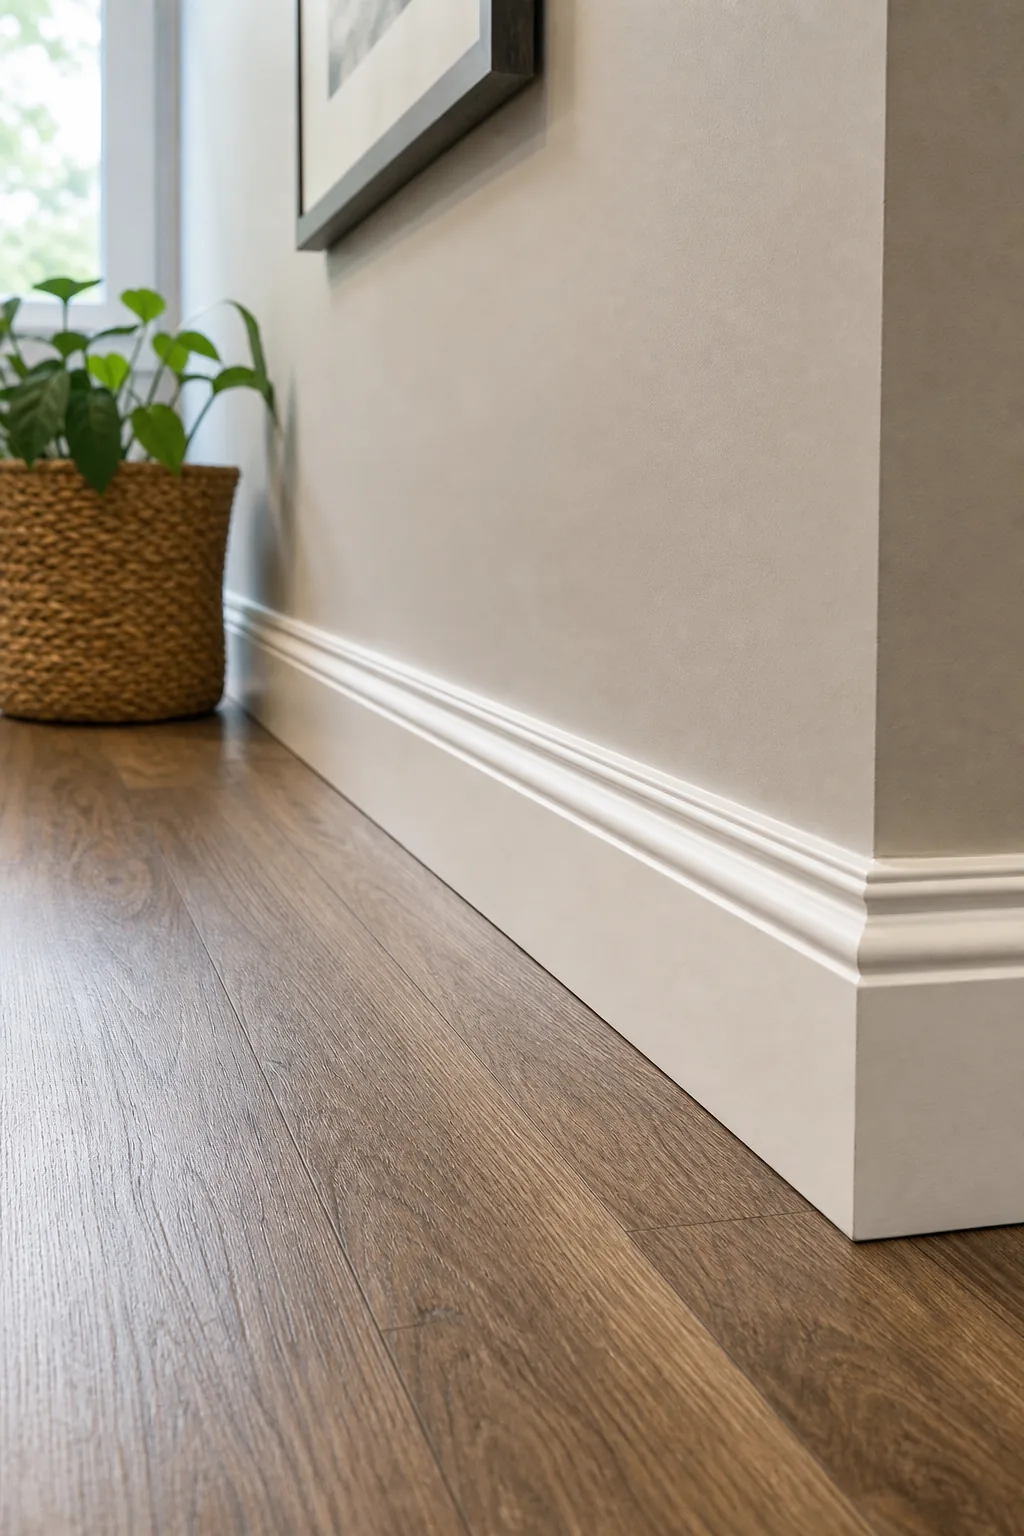
Securing this continuous insulation layer behind the traditional stud wall ensures that interior warm air never touches the freezing concrete surface.
Air Sealing the Rim Joist Cavities
The perimeter where your house framing meets the concrete foundation is a major source of energy loss. You must seal these rim joist pockets with closed-cell spray foam to block drafts before installing the finished drywall ceiling.
Selecting Moisture-Proof Core Flooring
Because concrete slabs continuously wick ground moisture, basements require a flooring material built with a 100-percent waterproof core. Luxury vinyl plank with a rigid composition and an attached underlayment easily handles these below-grade conditions without warping or separating.
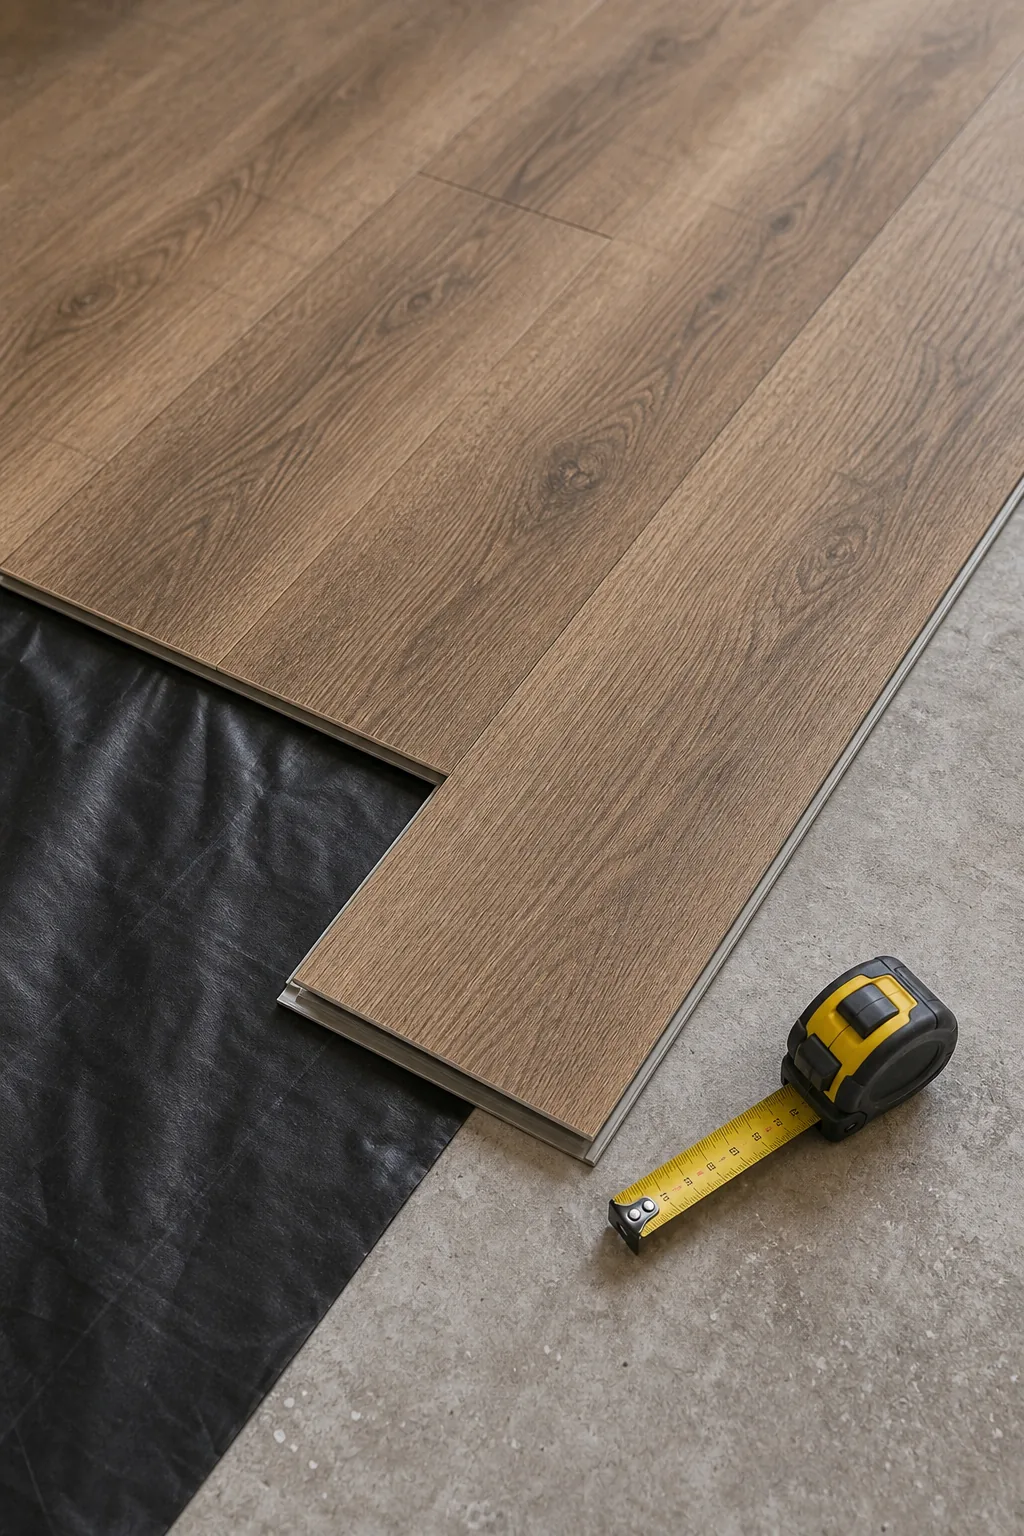
Even the highest-quality waterproof flooring will fail if the concrete subfloor isn’t properly prepared before installation.
Testing the Concrete Subfloor for Moisture
Before purchasing any finishing materials, you must verify the hydrostatic pressure levels in your basement. Tape a 24-inch square of clear plastic to the bare slab and check for condensation after 48 hours to determine if active waterproofing is necessary.
Adding Acoustic Dampening with Textiles
Hard basement surfaces like drywall and vinyl flooring bounce sound waves rapidly, creating an uncomfortable echo chamber effect. You can introduce crucial acoustic dampening by layering a thick, high-pile area rug over the rigid planks to absorb noise and warm up the space.
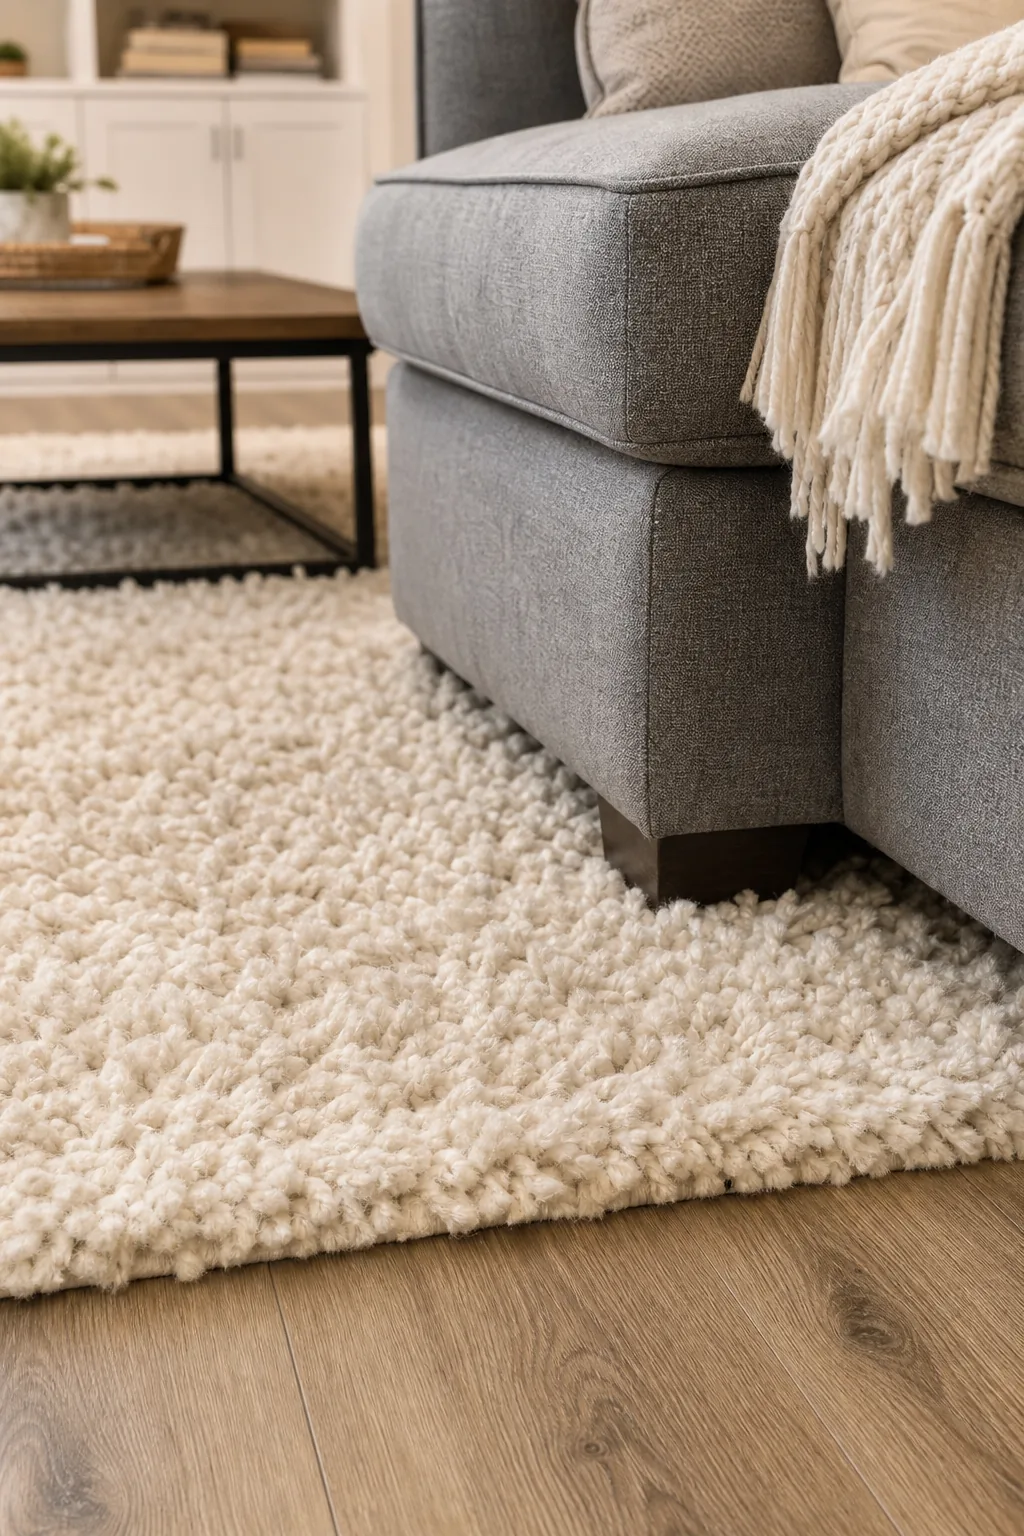
Positioning these large textiles strategically in the primary seating zones instantly cuts down the harsh reverberations caused by the surrounding drywall.
Upgrading the Subfloor Underlayment
If your budget allows, installing a dimpled plastic subfloor membrane beneath the vinyl planks offers superior thermal and acoustic benefits. This specialized underlayment creates a crucial air gap that allows trapped moisture to evaporate while physically separating the floor from the cold slab.
Designing Built-in Storage for Basements
To maximize awkward basement layouts, construct wall-to-wall built-in cabinetry that squares off foundation jogs and hides utility access points. Keep upper shelves to a depth of 12 to 15 inches so you can store books and decor without eating into the functional floor plan.
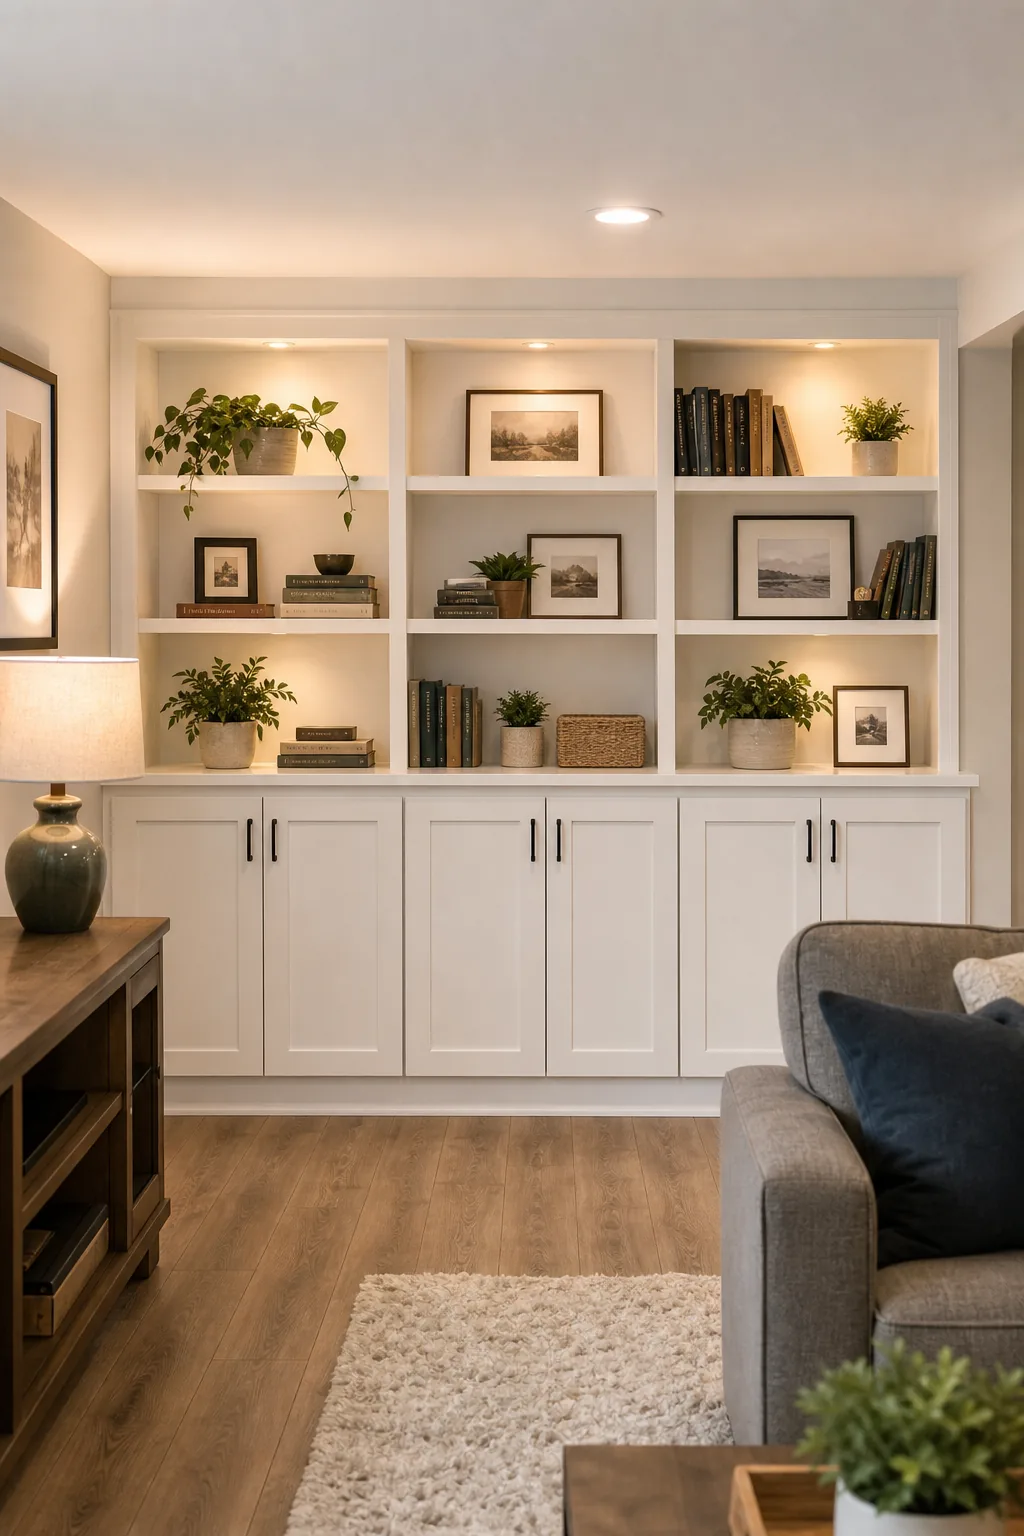
Painting these custom cabinets to match the surrounding walls helps the massive storage structures visually recede into the architecture.
Framing Around Concrete Foundation Jogs
Older homes frequently feature stepped foundations or structural pillars that interrupt clean wall lines. You should frame custom half-walls or deep window seats around these concrete ledges to turn awkward architectural obstacles into intentional design features.
Scaling Furniture for Lower Ceilings
The visual impact of low-back furniture directly influences the perceived ceiling height in a finished lower level. Select sofas and sectionals with a back height of 32 inches or less to maintain open sightlines across the room and create an illusion of vertical volume.
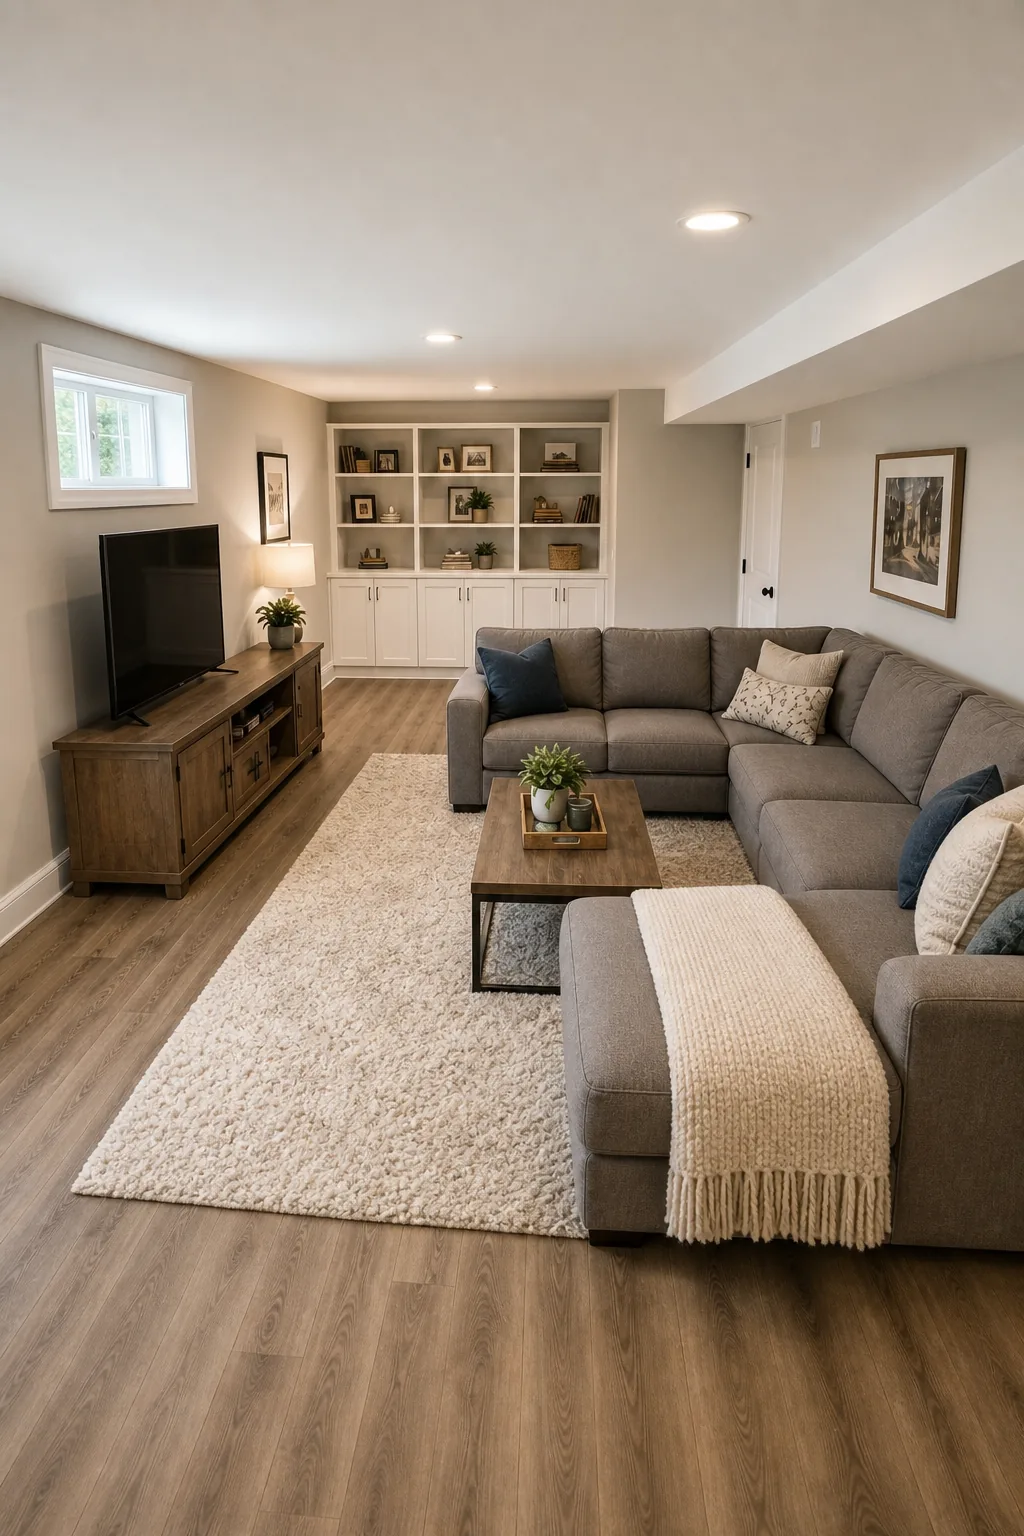
Keeping the furniture scale proportionate to the room prevents the space from feeling cramped, even when the bulkheads drop below standard height.
Establishing Distinct Activity Zones
To visually define a lounge area within an open-concept basement, center your low-profile seating arrangement around the primary media wall. Leaving a 12-inch border of exposed vinyl flooring around the zone prevents the room from feeling completely carpeted.
Your Complete Basement Remodel Planning Guide
To successfully manage these interconnected decisions, you need an exact sequence of planning steps before pulling a basement remodel permit. Our comprehensive Basement Remodel Planning Guide helps you track your progress through every critical construction phase.
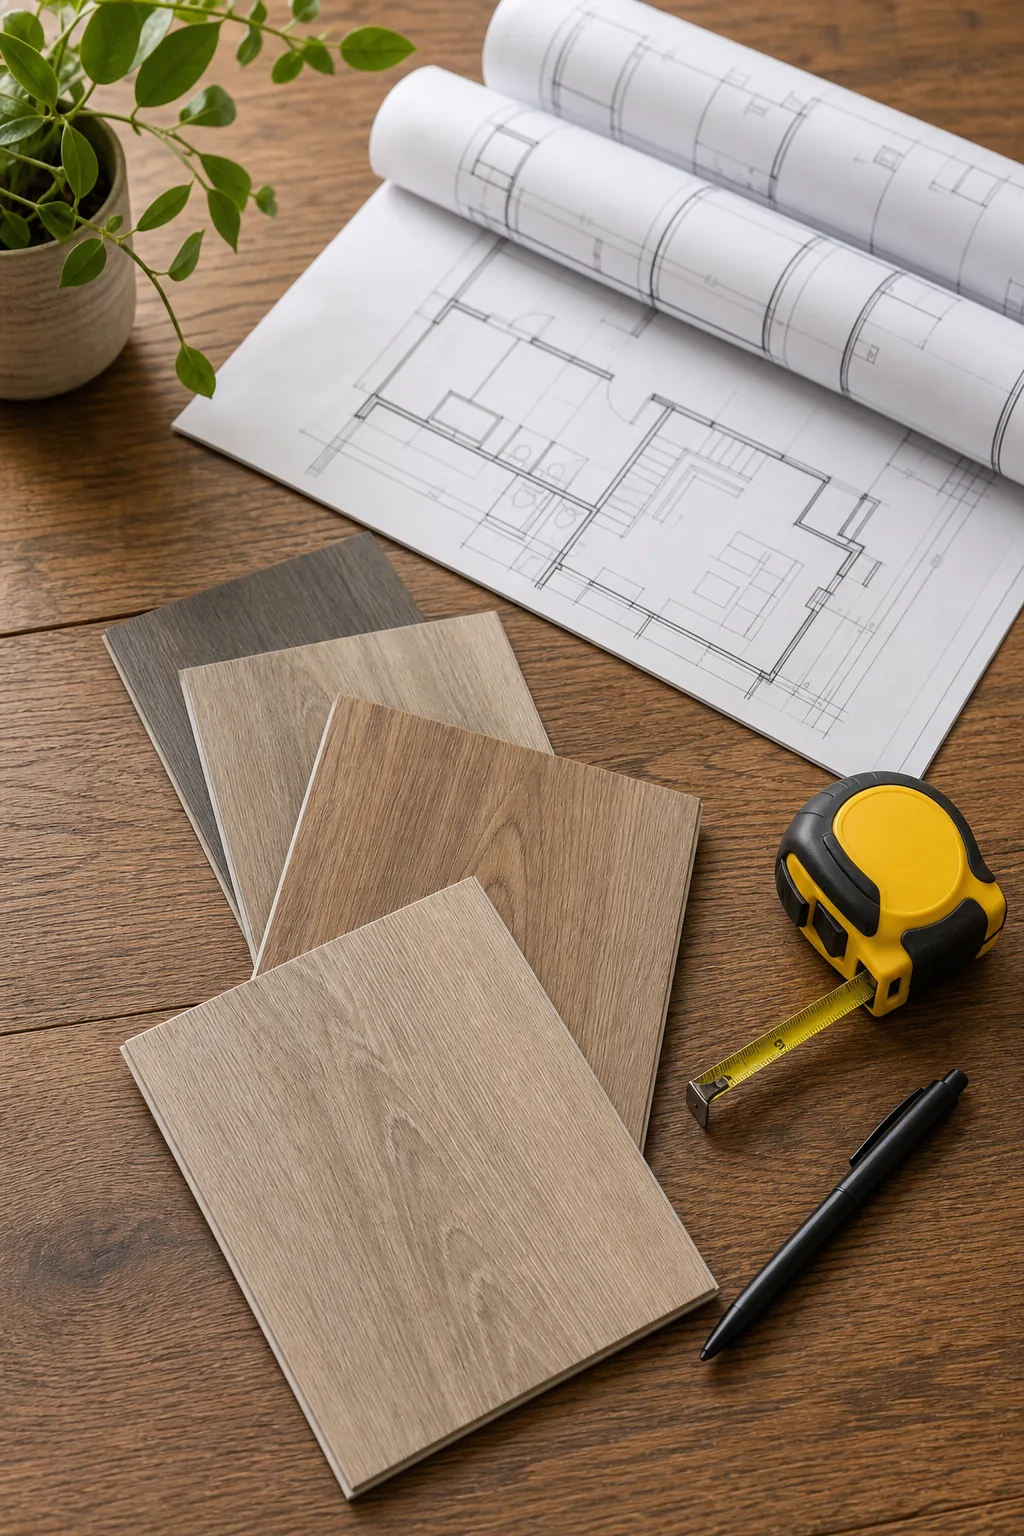
Follow this proven project sequence to ensure your structural work complies with local building codes before you install the final decorative finishes.
- Moisture testing: Tape plastic sheeting to the concrete to check for active vapor transmission before framing.
- Permits and framing: Submit your layout for approval and frame out the continuous thermal break walls.
- Rough-ins: Run electrical wiring for the lighting grid and frame the HVAC bulkheads tight to the ducts.
- Finishes: Install the waterproof core flooring, baseboards, and final acoustic textiles.