
Small Bathroom Walk-in Shower Rules: Exact Dimension Guide
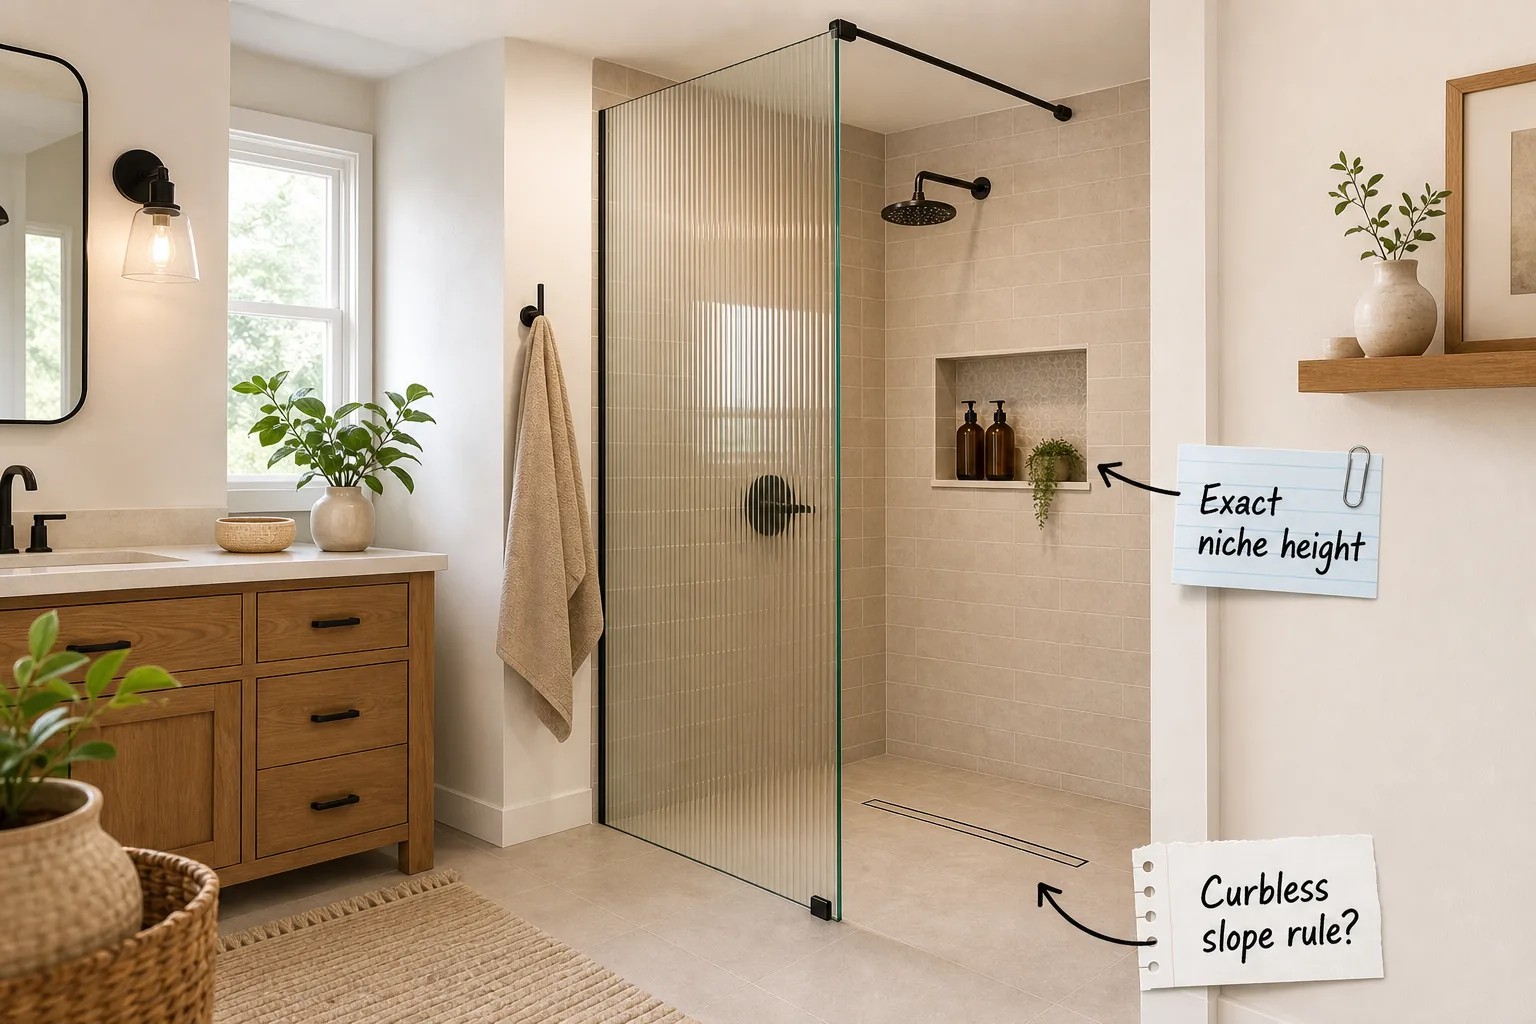
Planning a curbless layout requires precise measurements to ensure proper drainage and comfortable movement within a tight footprint. Use this complete small shower clearance guide to map out the exact entry gaps, glass sizing, and floor slopes needed for a watertight build.
The Small Shower Dimension Guide
Establishing a functional walk-in shower requires an absolute minimum interior footprint of 30 by 30 inches to meet basic residential building codes. Whenever possible, expand this baseline layout to 36 by 36 inches to provide adequate elbow room for comfortable daily washing.
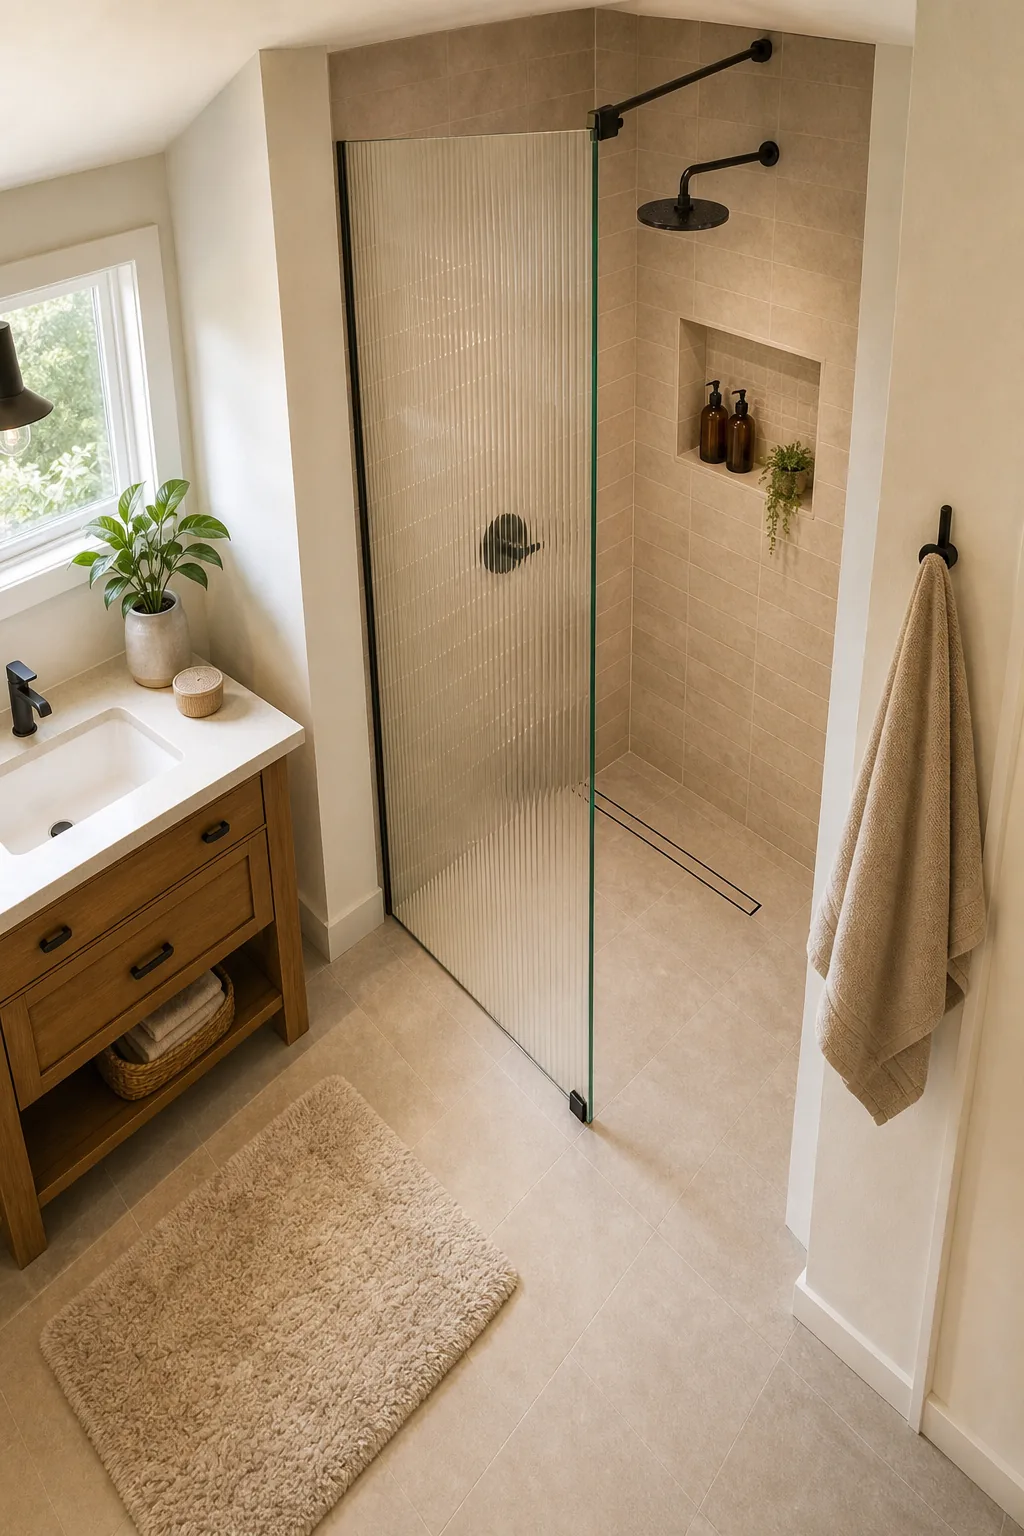
Run through these essential structural checks before finalizing your floor plan to ensure the existing bathroom framework can genuinely accommodate a flush, curbless design. Overlooking these hidden architectural constraints often leads to costly framing modifications or compromised drainage slopes.
Evaluating Floor Joist Direction
The orientation of your underlying structural joists heavily dictates where you can legally position the linear drain. Running the plumbing trench parallel to the framing members is significantly easier than cutting through multiple joists to achieve the necessary waste line drop.
Setting the Minimum Entry Width
The open floor gap between the edge of the glass panel and the opposite wall must maintain a strict 24-inch minimum entry width. Expanding this clearance to 28 or 30 inches prevents users from uncomfortably brushing against wet glass when stepping inside.
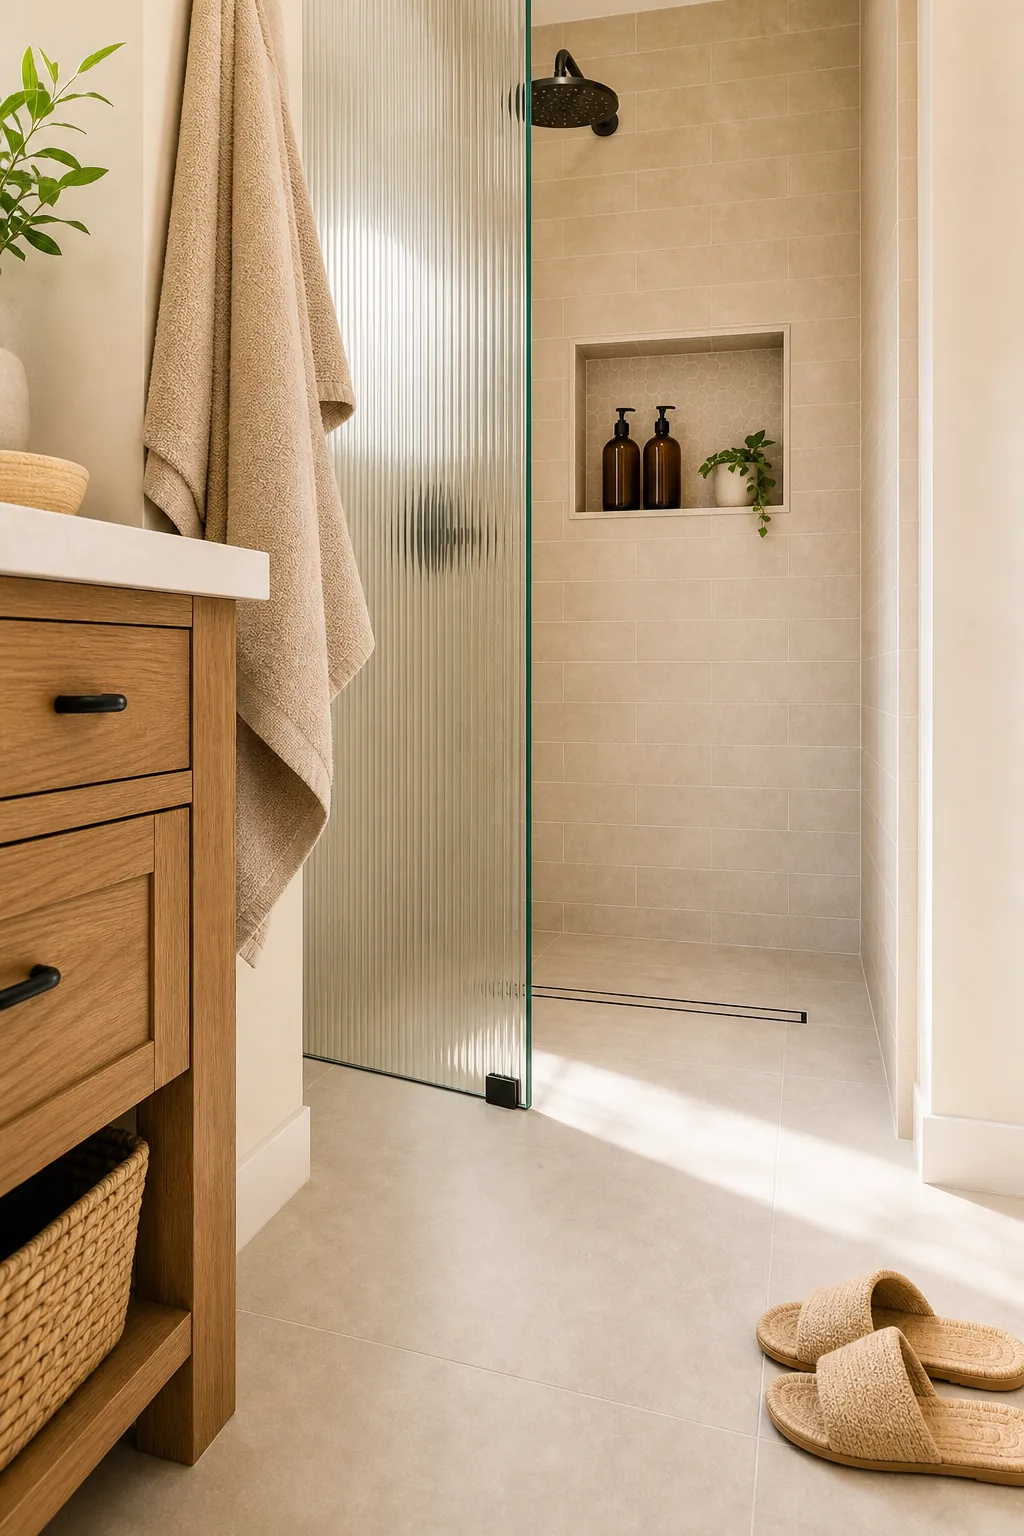
Compare standard entry clearances against your available floor space to ensure the final bathroom layout balances easy shower access with adequate room for the adjacent vanity. Maintaining proper flow prevents the room from feeling cramped during busy morning routines.
| Clearance | Suitability | User Experience |
|---|---|---|
| 24 inches | Absolute Minimum | Tight, requires sideways stepping |
| 28 inches | Standard Walk-In | Comfortable forward entry |
| 32+ inches | Accessible Layout | Spacious, accommodates mobility aids |
Accommodating Bathroom Door Swings
Verify that the main bathroom entry door does not intersect with the open shower gap when fully extended. Reversing the door swing to open outward or installing a space-saving pocket door immediately resolves tight clearance conflicts in highly compact residential layouts.
Mastering the Continuous Tile Trick
The continuous tile trick involves running the exact same floor tile from the main bathroom directly into the shower area. This seamless aesthetic transition eliminates visual boundaries, making a compact bathroom footprint feel significantly more expansive, cohesive, and intentionally designed.
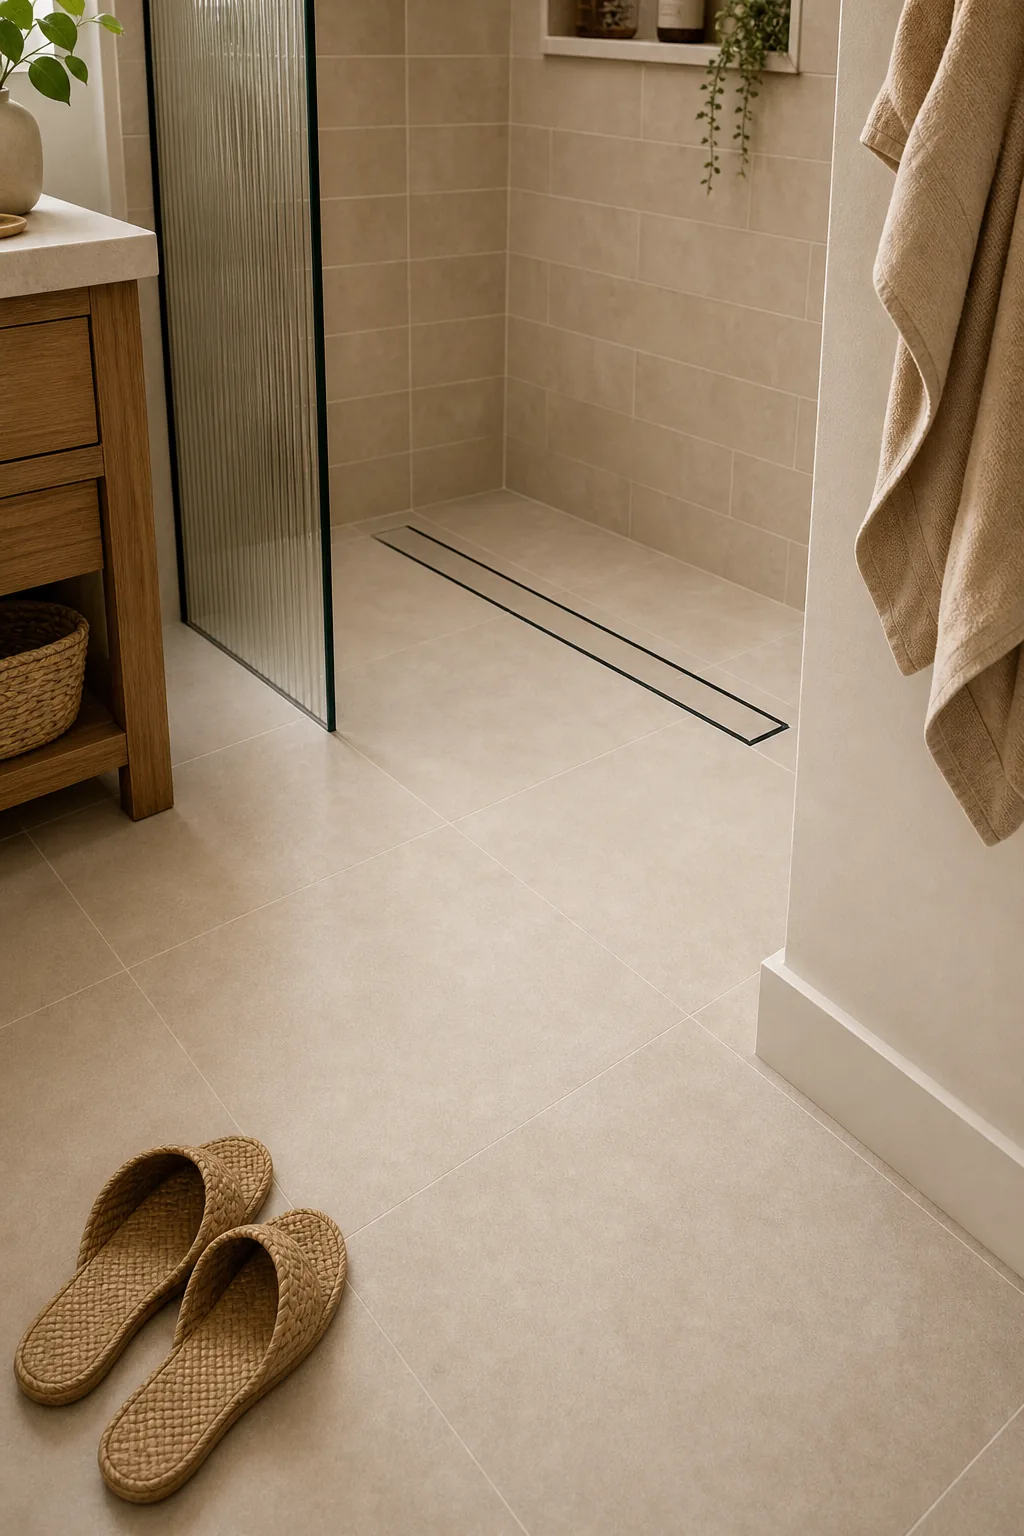
Utilizing large-format tiles across this threshold requires installing a linear drain at the back wall to avoid messy diagonal envelope cuts on the shower floor. This unified approach demands precise subfloor preparation to ensure the tiles remain perfectly flat and fully supported.
Sequencing the Subfloor Preparation
Preparing the structural layer correctly is absolutely critical before applying waterproofing membranes or setting the final continuous tile layout. Following a strict installation sequence guarantees the finished surface remains entirely flush with the dry zones while managing heavy water flow.
- Recess the subfloor between the existing structural joists.
- Install a sloped mortar bed or prefabricated pitched pan.
- Apply a continuous liquid or sheet waterproofing membrane.
Calculating the Curbless Slope Rule
The curbless slope rule mandates that the floor tiles must gently angle down toward the sleek linear drain to prevent flooding. Standard plumbing codes require a precise pitch of 1/4-inch drop per foot of distance toward the primary waste trench.
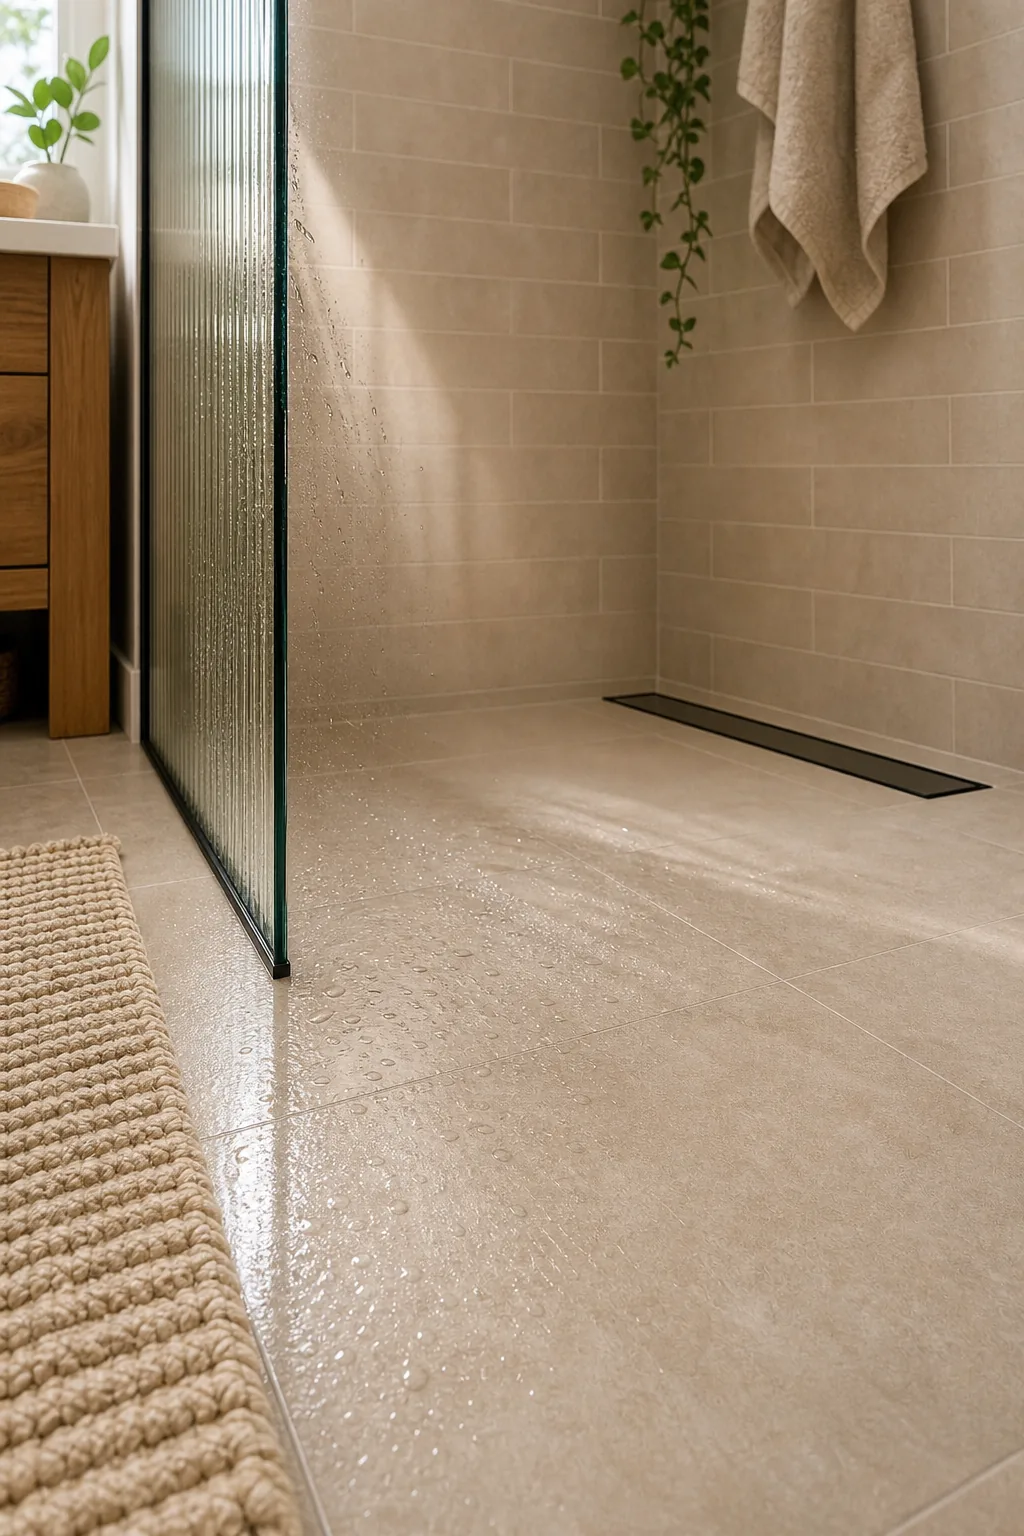
Achieving a true curbless transition requires careful subfloor planning before any mortar is mixed or tile is permanently set into place. Modifying the joist height early in the renovation timeline prevents awkward ramps or raised thresholds at the shower entry.
Sizing the Linear Drain Cap
Match the length of your linear drain to the exact width of the shower opening to capture surface water efficiently. Leaving a gap of more than one inch on either side of the drain channel allows standing water to pool against the side walls.
Defining the Splash Zone Limit
The splash zone limit dictates that the outer vertical edge of the fixed glass partition must extend far enough to contain water without a door. A minimum glass width of 36 inches is mandatory for keeping the surrounding bathroom environment dry.
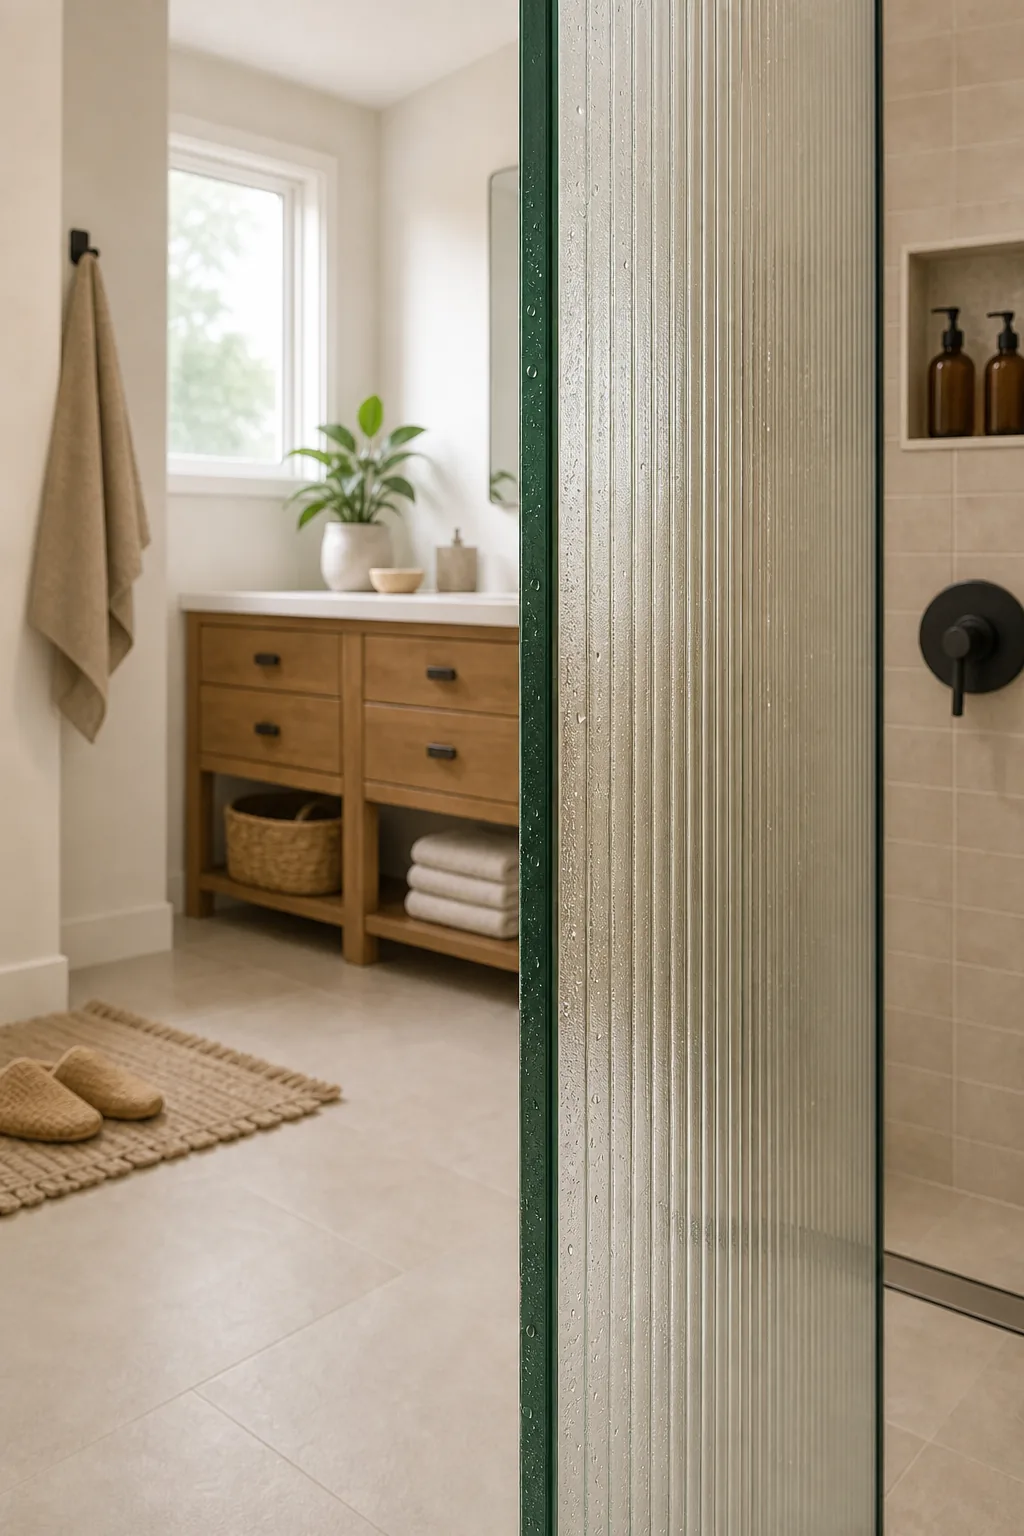
Upgrading to a 48-inch wide partition is highly recommended when installing high-pressure fixtures or multiple body sprays in a compact layout. Wider panels drastically reduce the radius of escaping water droplets, protecting your adjacent drywall, wooden vanities, and fabric towels.
- Standard showerheads require at least 36 inches of coverage.
- Rainfall heads need 42 inches to block outward splashing.
- Dual-head systems demand 48 inches of fixed glass protection.
Managing High-Pressure Fixtures
Wall-mounted body sprays and hand showers introduce horizontal water trajectories that easily bypass standard glass partitions. Positioning these high-pressure features on the same wall as the shower opening ensures their forceful spray patterns point directly toward the safely enclosed back wall.
Securing the Fixed Glass Panel
Stabilizing a heavy, frameless or semi-frameless fluted glass panel in a small space requires robust anchoring hardware. Install a slim metal U-channel at the base and secure the vertical edge directly into a reinforced wall stud to prevent dangerous shifting.
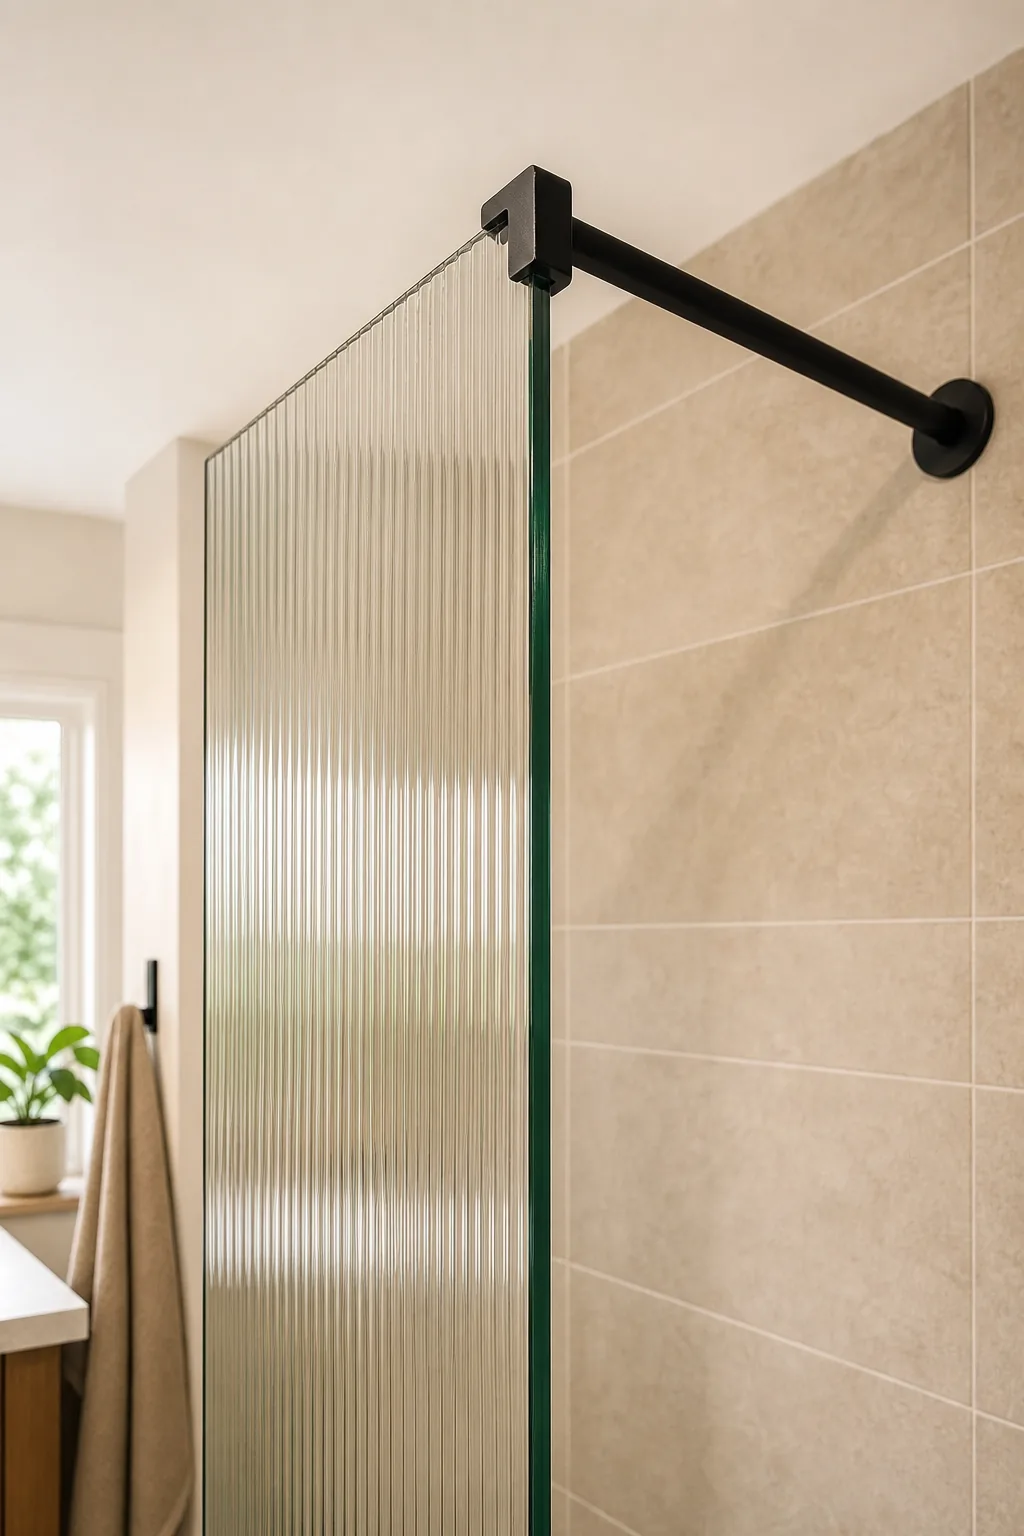
Adding a minimalist top support bar tied to the opposite wall prevents the thick glass from flexing or vibrating when the doorless entry is bumped. Opting for matte black brackets creates a striking modern contrast against light-colored bathroom wall tiles.
Choosing Glass Thickness Standards
Selecting the correct tempered glass thickness directly impacts the structural integrity of a doorless shower enclosure. Standard 3/8-inch panels work well for smaller spans, while expansive 1/2-inch architectural glass provides superior rigidity and a premium, wobble-free feel for wider custom partitions.
Hitting the Exact Niche Height
The recessed shampoo shelf built into the tiled shower wall must be positioned for effortless access without bending. The exact niche height standard places the center of the storage pocket precisely 48 inches from the finished bathroom floor level.
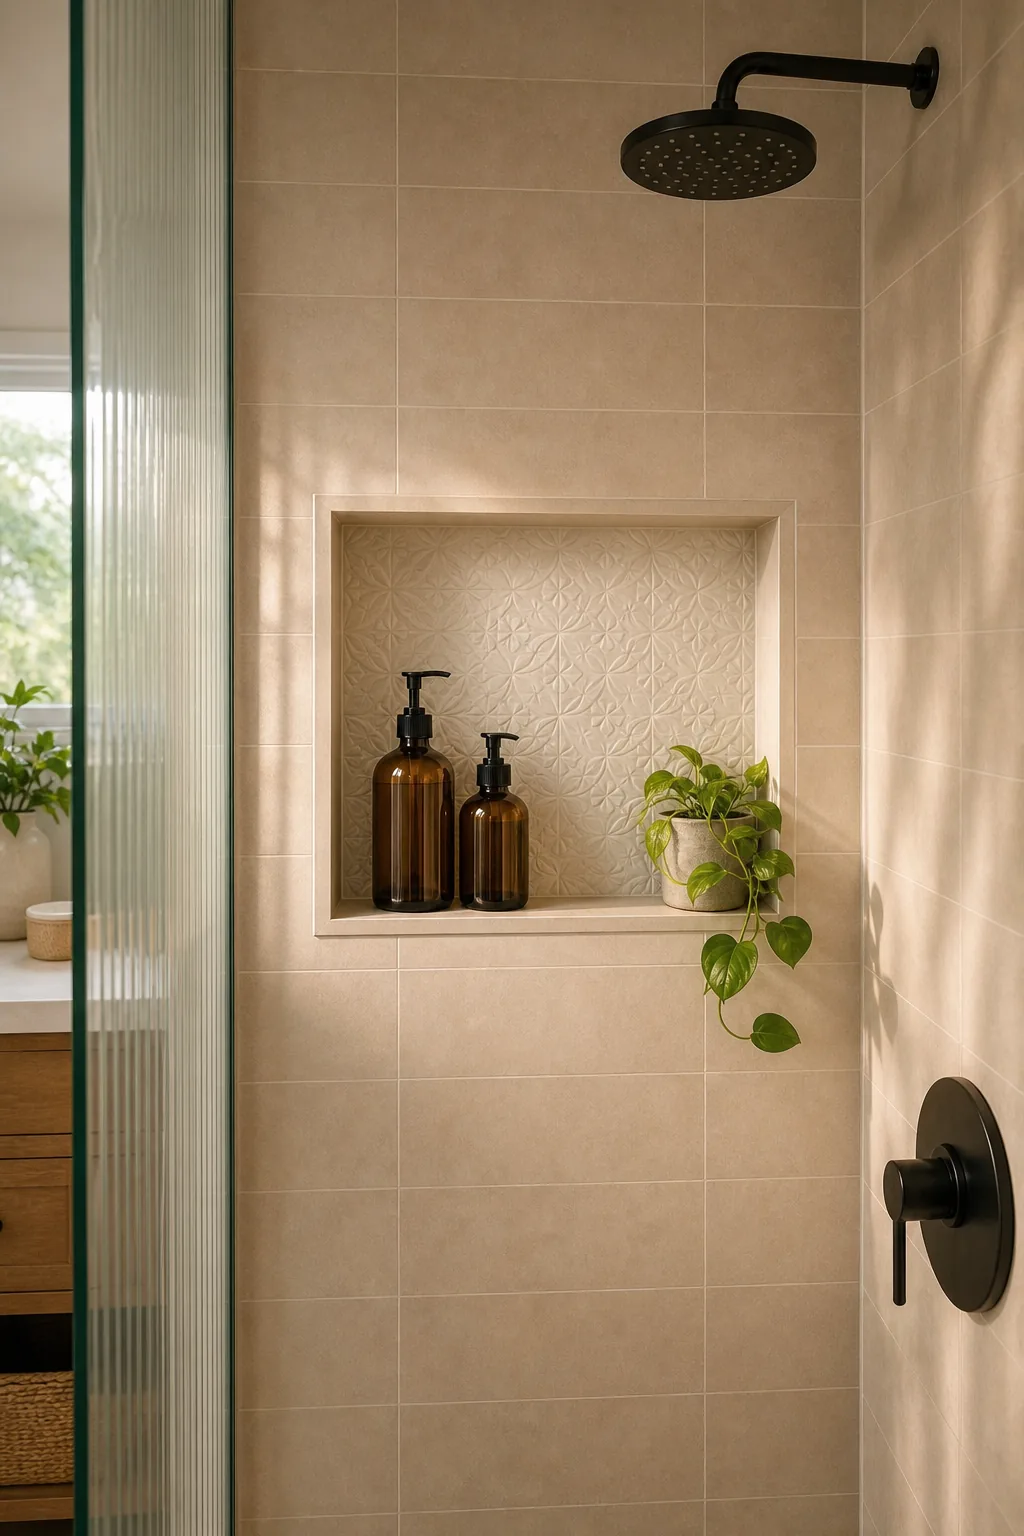
Aligning the bottom or top edge of the recessed shelf with your surrounding horizontal grout lines creates a highly intentional, built-in aesthetic. Planning this layout during the framing stage ensures the storage cavity harmonizes perfectly with the final tile grid.
Waterproofing the Storage Cavity
Every wall penetration in a curbless environment demands meticulous waterproofing to prevent hidden moisture damage inside the structural framing. Treat all internal seams, corners, and recessed shelf boxes with specialized joint sealant before applying the final continuous surface membrane layer.
Strategic Fixture Placement
Locating the showerhead and controls correctly is vital in a tight walk-in layout to maximize usable standing room. Install the primary water valve on the wall nearest the entry gap so users can easily adjust temperatures without getting splashed.
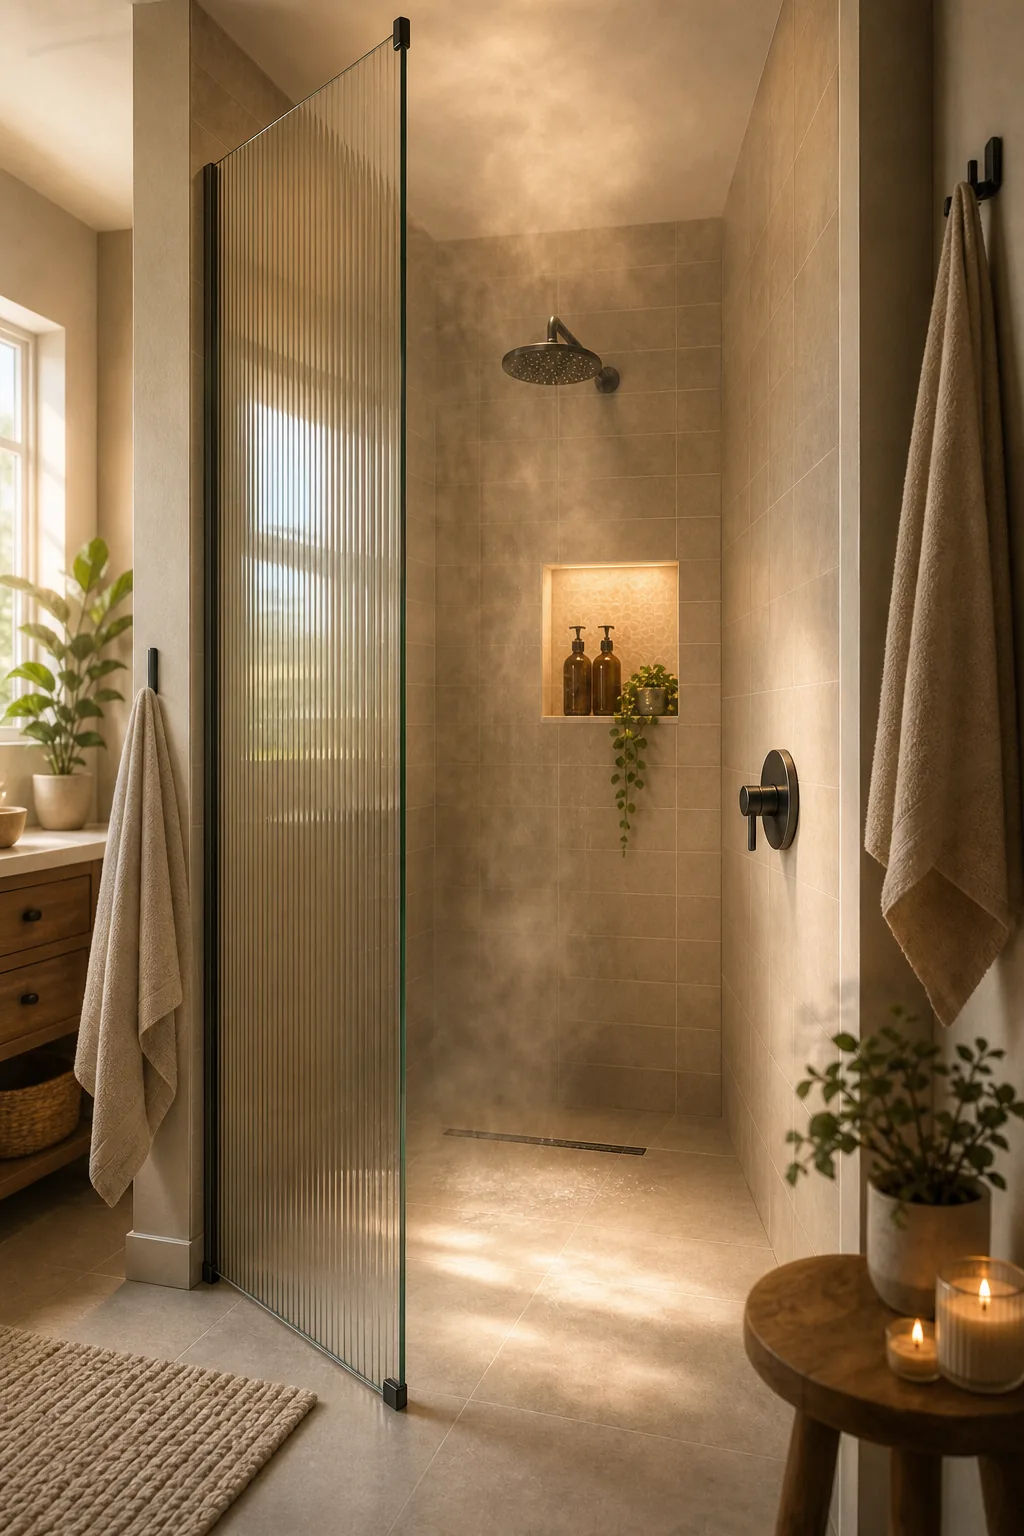
Mount the main showerhead on the furthest opposite wall, directing the heavy spray pattern inward toward the linear drain and safely away from the open doorway. This strategic separation keeps the entry threshold completely dry while optimizing the bathing experience.