
DIY Baby Photoshoot at Home: The 5-Minute Studio Setup
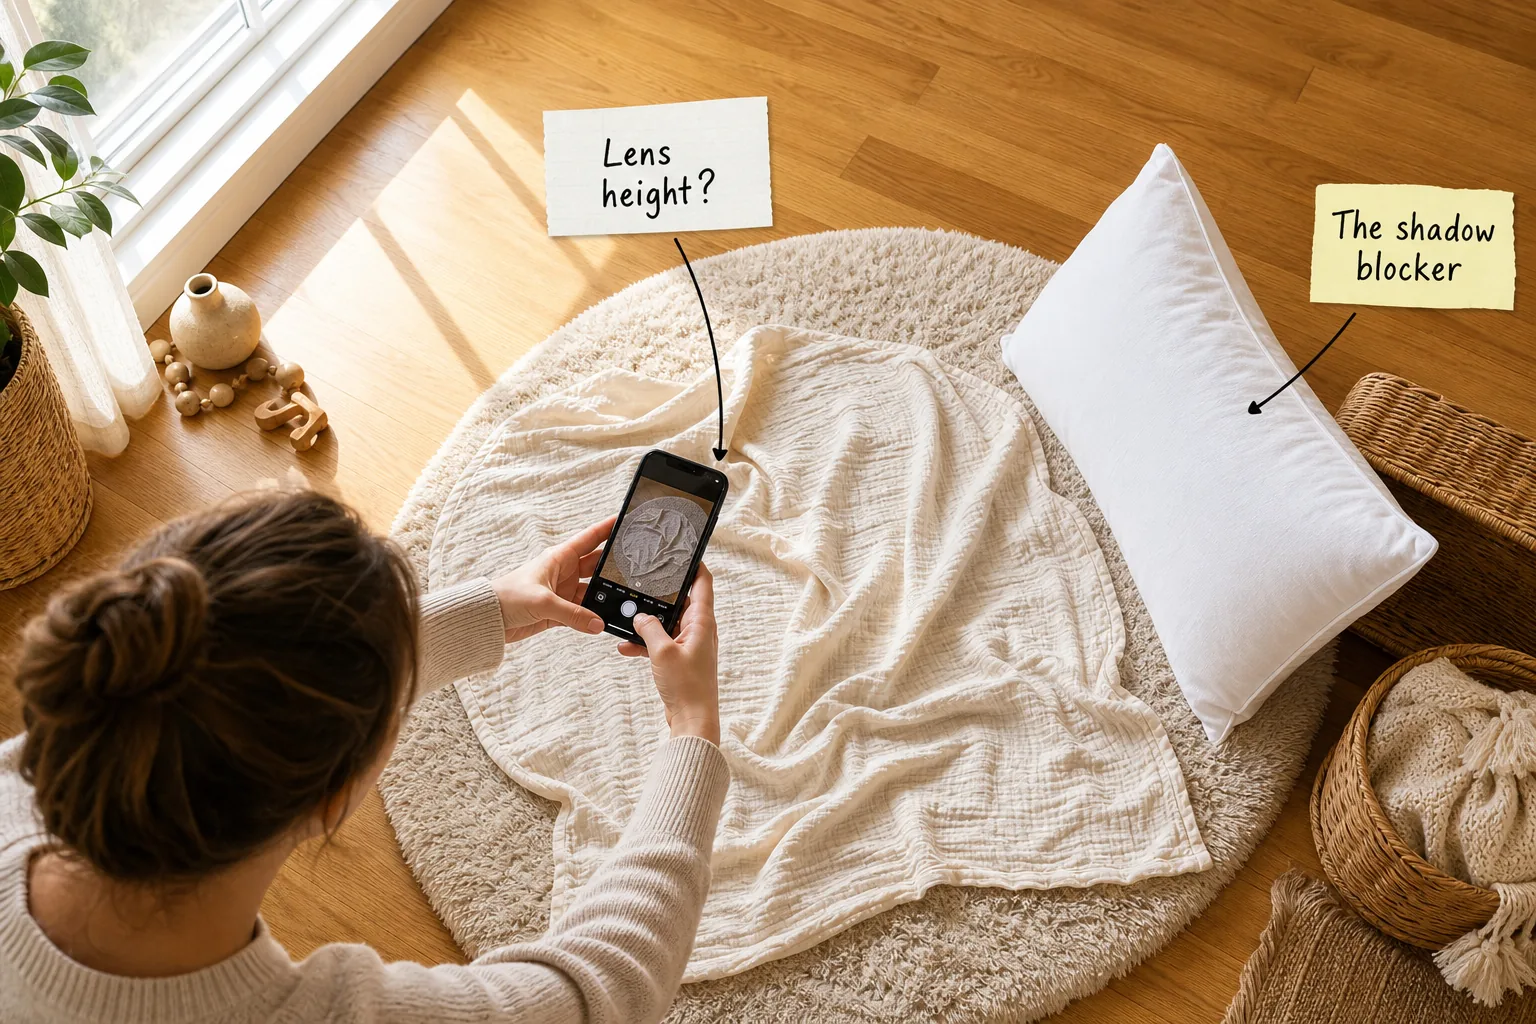
You can assemble a safe, beautifully lit photography space on your living room floor and capture professional newborn portraits in under five minutes. This complete DIY studio setup guide and lighting checklist provides exactly what you need for flawless smartphone images.
Finding the 45° Window Light
Locate the largest window in your home that offers bright, indirect daylight rather than harsh, direct sunbeams. You want to position your photography space so the natural sunlight streaming across the floor hits the setup at a 45-degree angle.
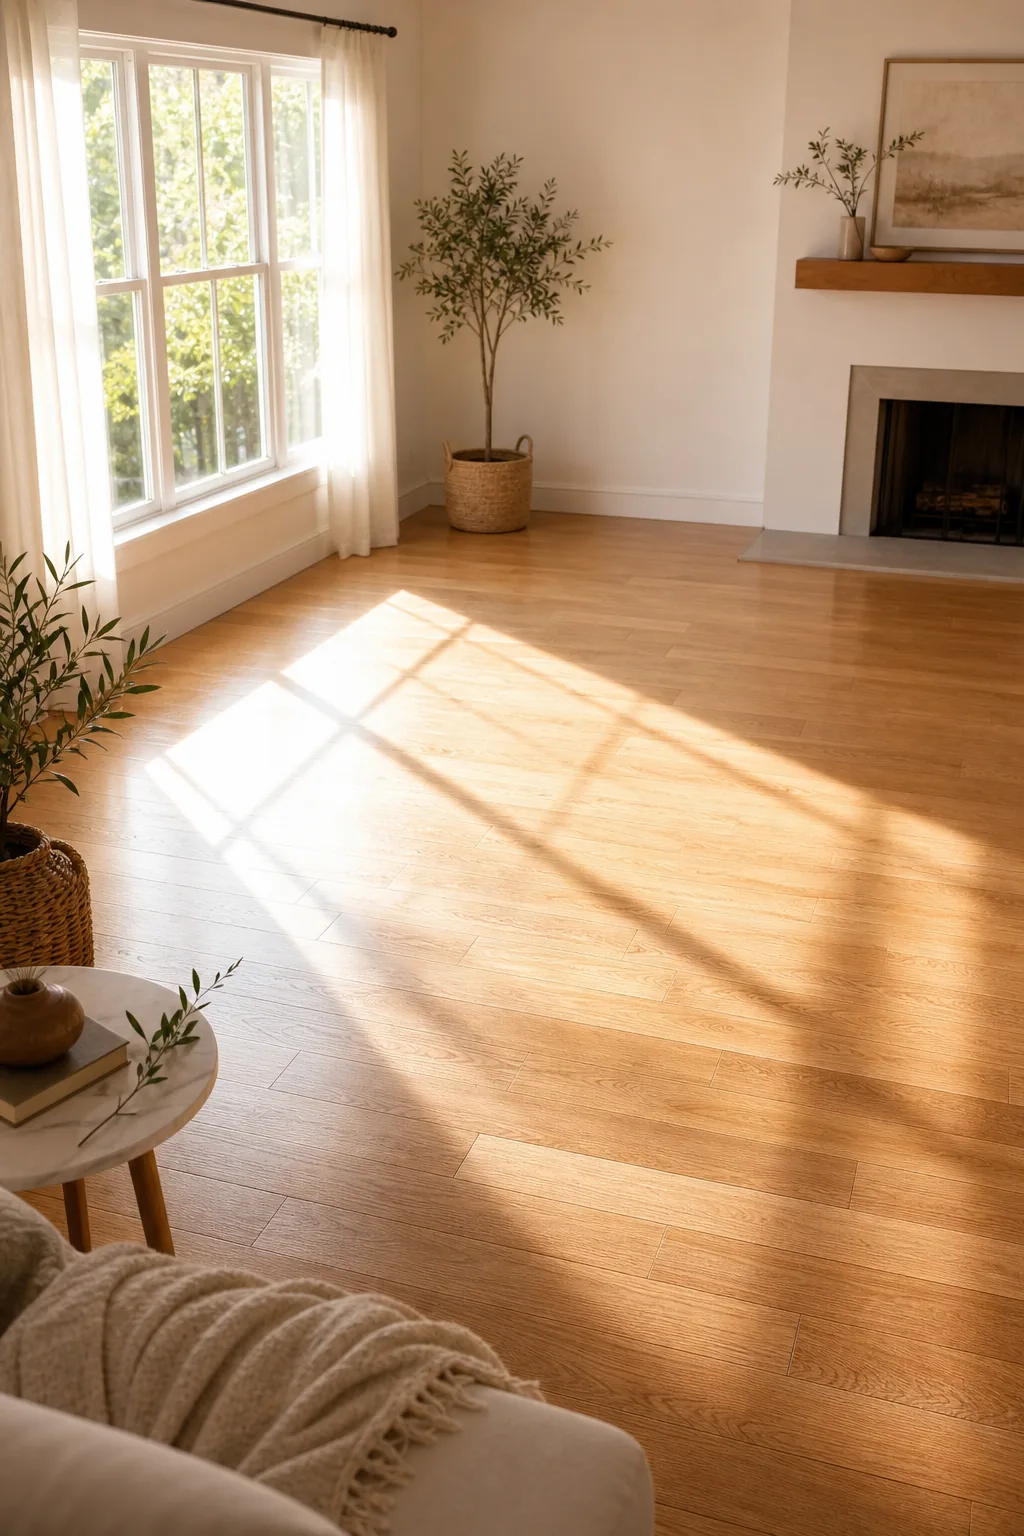
Keep your materials approximately 2 to 3 feet away from the glass to ensure the illumination remains soft and flattering. This specific distance allows the light to wrap gently around the newborn’s features without creating severe, distracting contrast.
Measuring the Ideal Light Distance
If you are unsure about the intensity, hold your hand vertically above the floor and observe the shadow it casts. A sharp, distinct outline means the sun is too direct, while a softly blurred edge indicates the perfect working distance.
| Distance from Window | Shadow Quality | Portrait Result |
|---|---|---|
| Under 1 foot | Harsh, sharp edges | Blown-out highlights |
| 2 to 3 feet | Soft, blurred edges | Flattering, even tones |
| Over 5 feet | Faint, muddy edges | Grainy, underexposed |
Always adjust your distance throughout the day as the sun shifts across the sky. Maintaining that sweet spot of soft, blurred shadows guarantees your smartphone sensor can capture crisp details without overexposing the delicate skin tones.
Creating the Safe Drop Zone
Once you find your light, build a completely padded foundation directly on the hardwood floor to protect the baby. Start by unrolling a thick, plush neutral rug with at least a 1-inch pile depth to serve as your primary cushion.
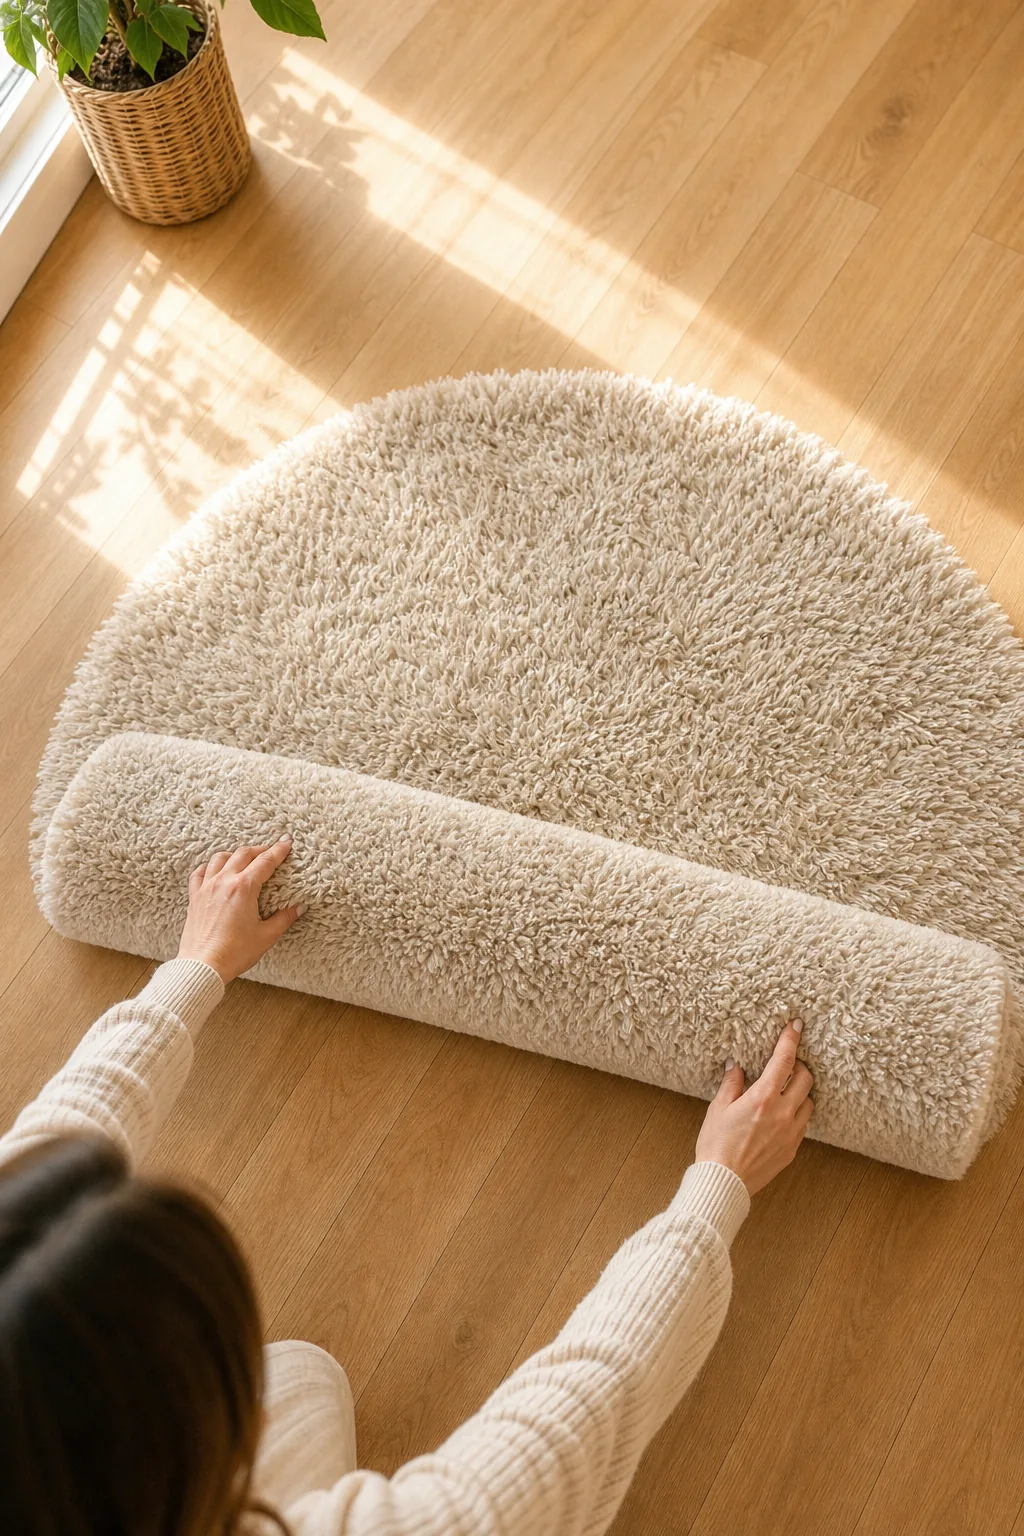
This thick base layer creates a secure, comfortable environment that prevents the newborn from feeling the hard floor underneath. If you lack a high-pile rug, a dense folded duvet works perfectly to achieve the necessary shock-absorbing thickness.
Securing the Padding Layers
When using folded blankets or duvets for your foundation, smooth out any heavy internal creases that might create uneven pressure points. The base must remain entirely flat and stable so the infant does not roll unexpectedly during the session.
A stable foundation gives you peace of mind and allows you to focus entirely on framing the shot. Never compromise on this bottom layer, as safety is the most critical component of any DIY home studio.
Adding the Texture Layer
With the thick padding secured, drape a thin, breathable fabric over the top to serve as your actual photographic backdrop. The softly rumpled muslin swaddle blanket in the center catches the directional light beautifully, creating subtle highlights and shadows.
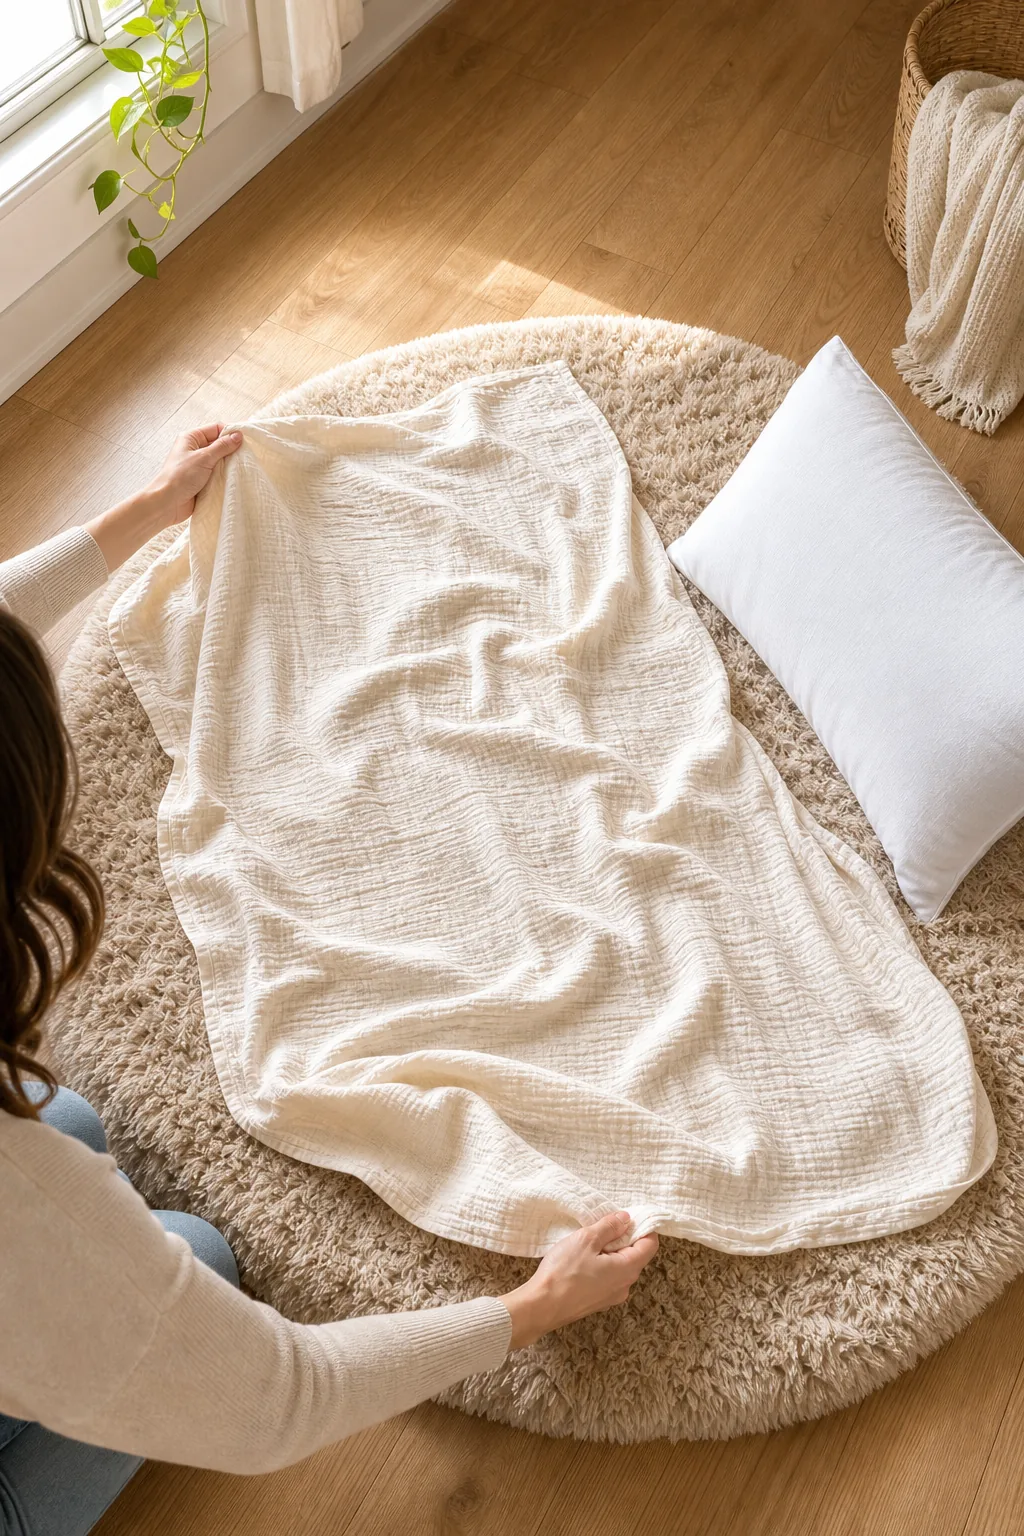
This lightweight material adds essential visual interest to the frame without introducing dangerous, uneven bulk beneath the infant’s back. Simply drop the fabric loosely rather than pulling it taut, allowing natural, organic folds to form around the edges.
Controlling Fabric Wrinkles
Avoid creating deep, sharp folds directly under where the baby’s head and neck will rest. Gently smooth the center circle flat with your palm while leaving the perimeter casually crinkled to frame the subject with soft, inviting texture.
Positioning the Shadow Blocker
Your window provides beautiful illumination on one side, but you must manage the dark shadows falling on the opposite side. Prop a plain white bed pillow directly across from the window to act as your free, highly effective reflector.
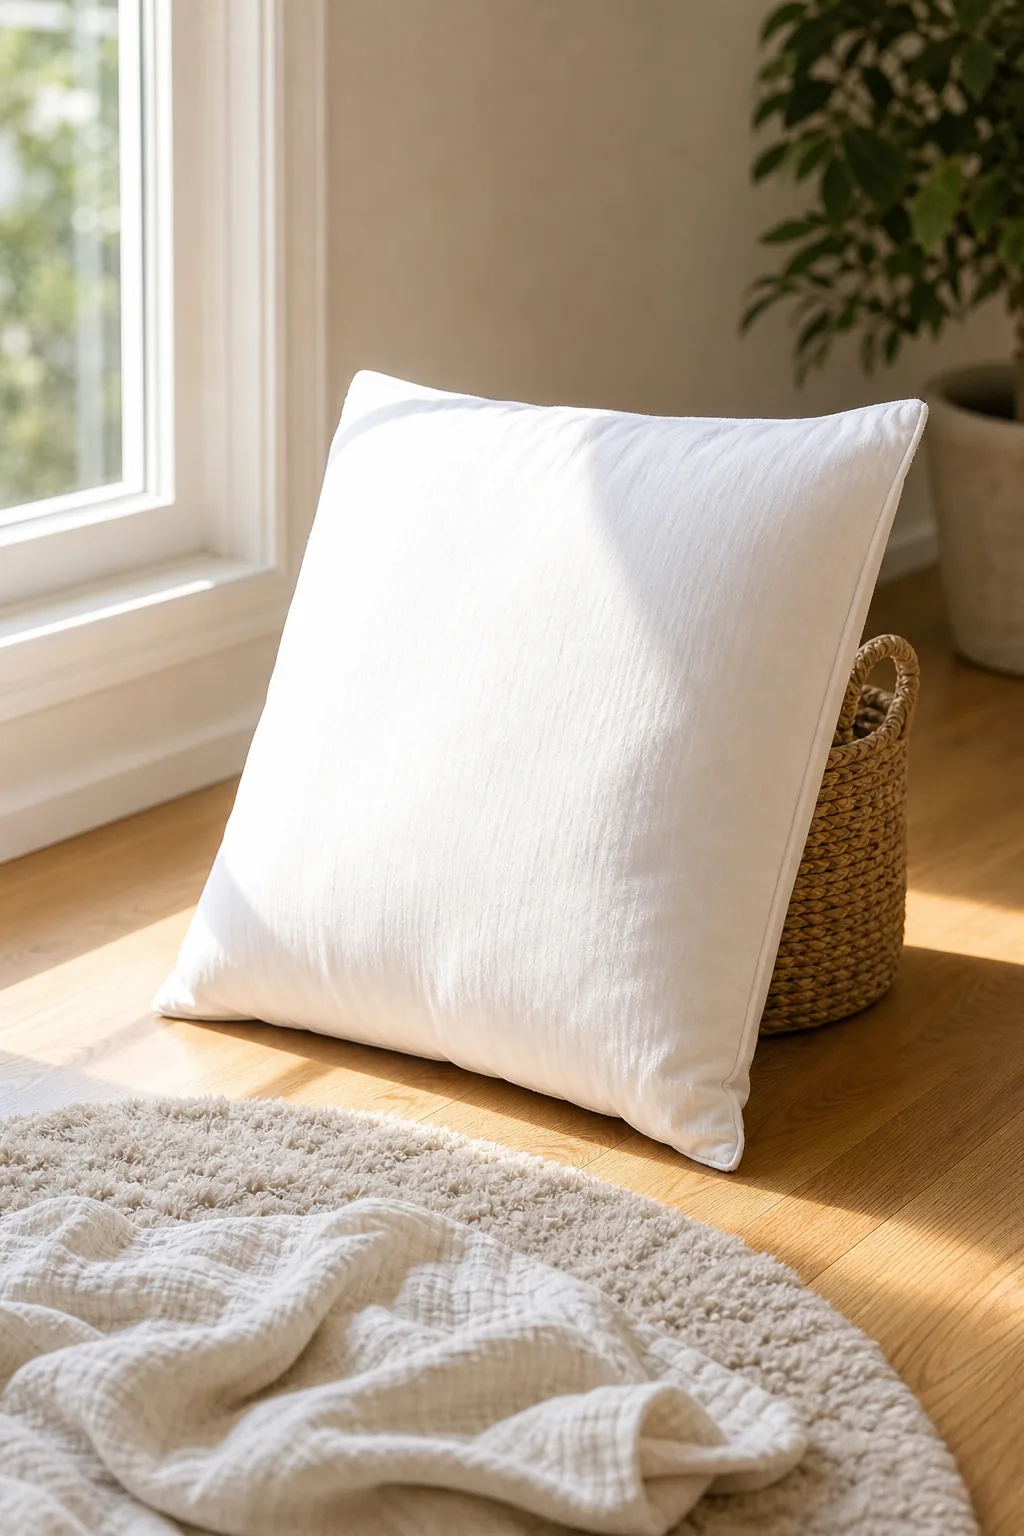
This shadow blocker catches the incoming rays and bounces them gently back onto the unlit side of the baby’s face. The bright white fabric provides a clean, neutral fill light that instantly elevates the image from an amateur snapshot to a professional portrait.
Stabilizing the Reflector
Lean your white pillow against a heavy laundry basket, a stack of books, or a sturdy chair leg to keep it perfectly upright. A stable reflector ensures your fill light remains consistent and prevents the pillow from accidentally falling onto the staging area.
Finding the Right Lens Height
Your physical position is just as important as the lighting arrangement when shooting from above. Hold the camera lens of the smartphone horizontally, maintaining a distance of 24 to 30 inches above the setup to capture the entire scene.
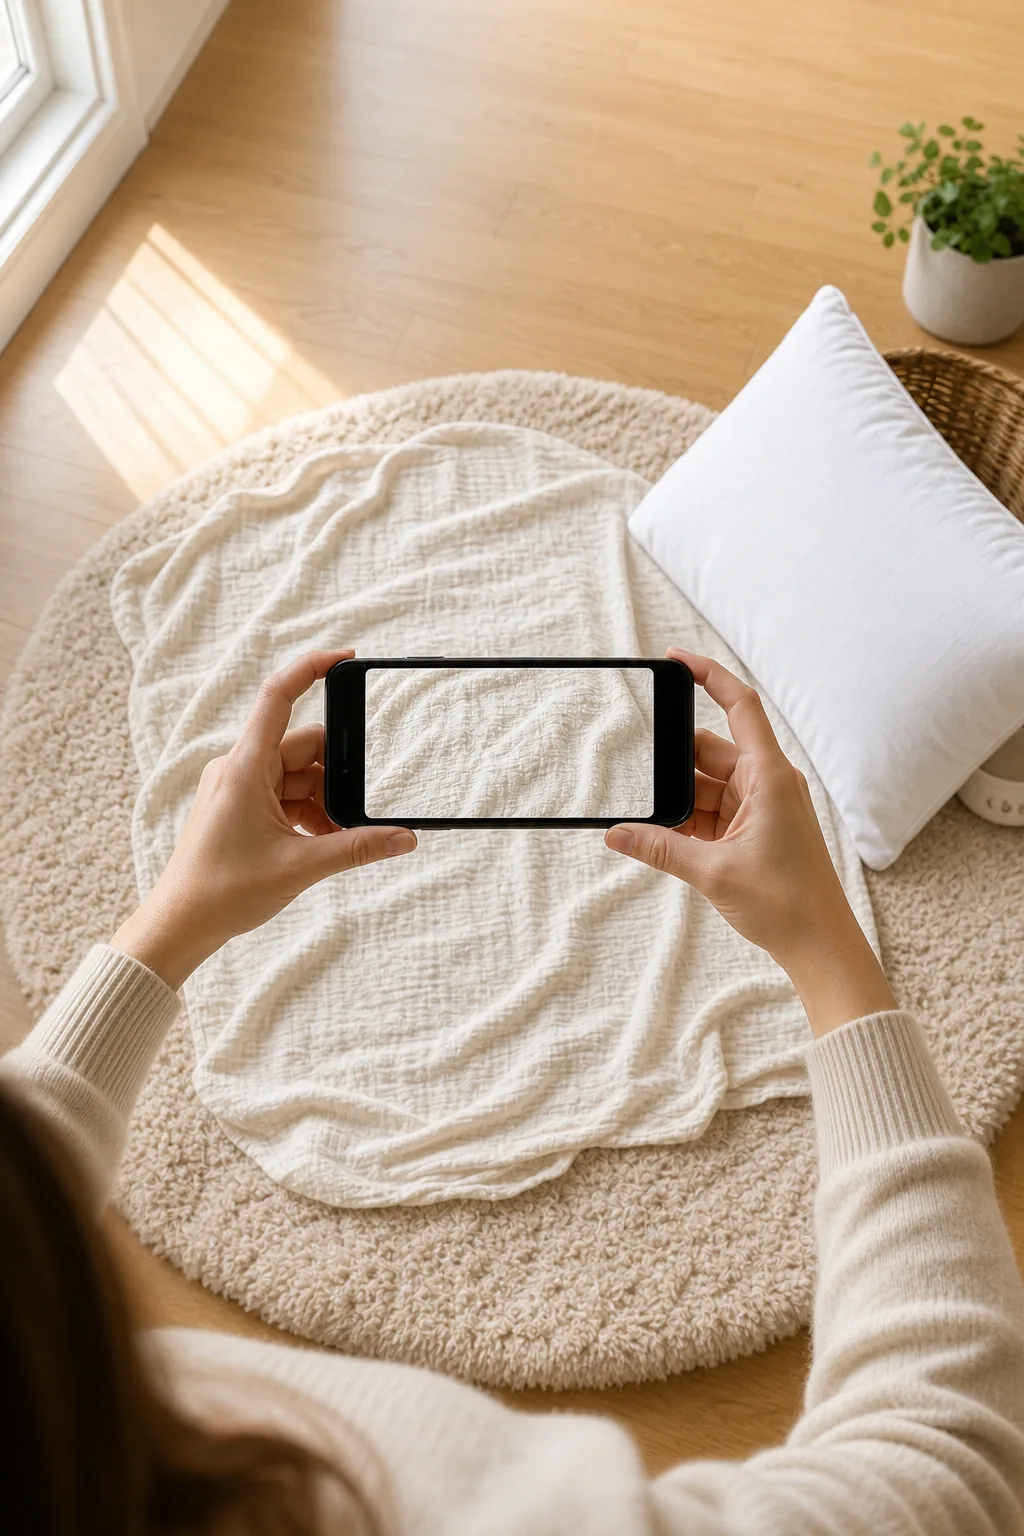
Even with perfect lighting, a slight forward or backward tilt of your phone can make a baby’s forehead look unnaturally large or their body seem disproportionate. Watch out for these common framing errors before you tap the shutter.
Correcting Phone Angles
Always check your screen’s built-in leveling tool to ensure the device is completely parallel to the floor. A perfectly flat camera plane is the secret to maintaining true-to-life newborn proportions in your final gallery.
Taking a moment to lock in your posture prevents the frustrating distortion that ruins otherwise beautifully lit photographs. Keep your elbows tucked against your ribs to stabilize your hands and maintain that perfect parallel hover.
Managing Baby’s Gaze and Comfort
A successful session requires a relaxed, sleepy subject, which means controlling the room’s ambient environment. Warm the living space to 72-74°F so the infant remains perfectly comfortable while resting in lightweight fabrics or simple onesies.
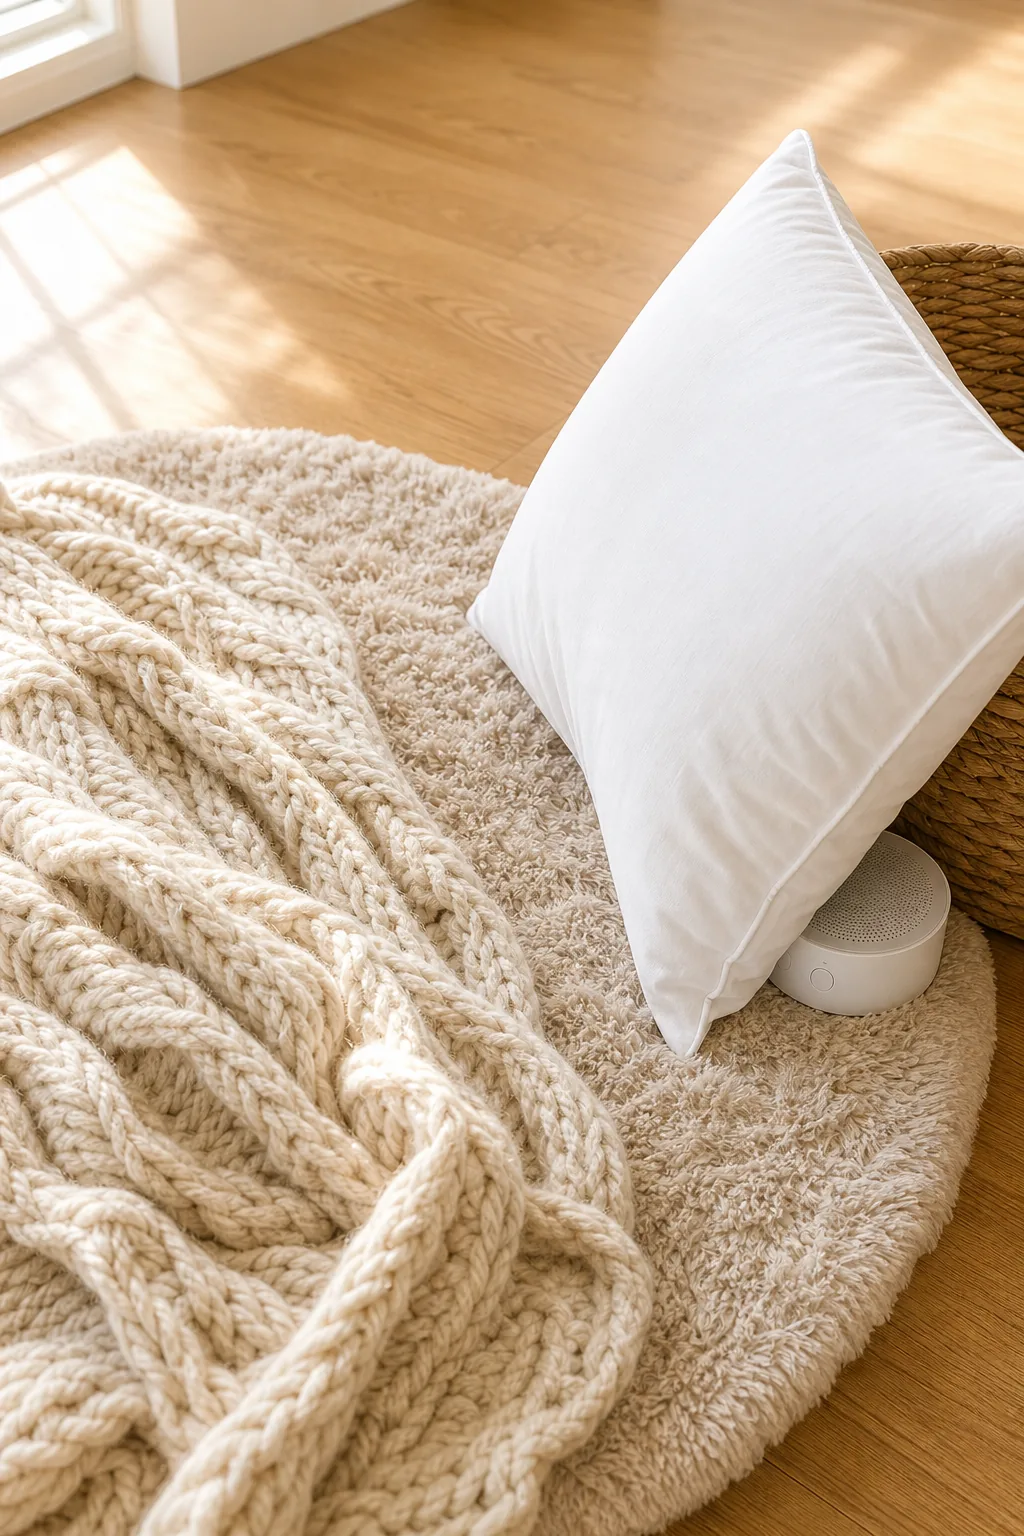
Place a small white noise machine discreetly behind your shadow blocker to mask sudden household sounds and maintain a calm atmosphere. This continuous soothing hum mimics the womb, encouraging the baby to settle quickly and look peacefully toward the window light.
Timing the Session
Plan to build your makeshift studio and test your angles approximately twenty minutes before the baby’s next scheduled feeding. Once they are fully fed, burped, and sleepy, you can transition them straight into the prepared space for a seamless, stress-free experience.
Styling Variations for the Base
You can easily change the entire mood of your gallery by swapping the top muslin for different textured fabrics. A chunky knit blanket offers a cozy, heavily textured seasonal alternative that looks stunning under directional window lighting.
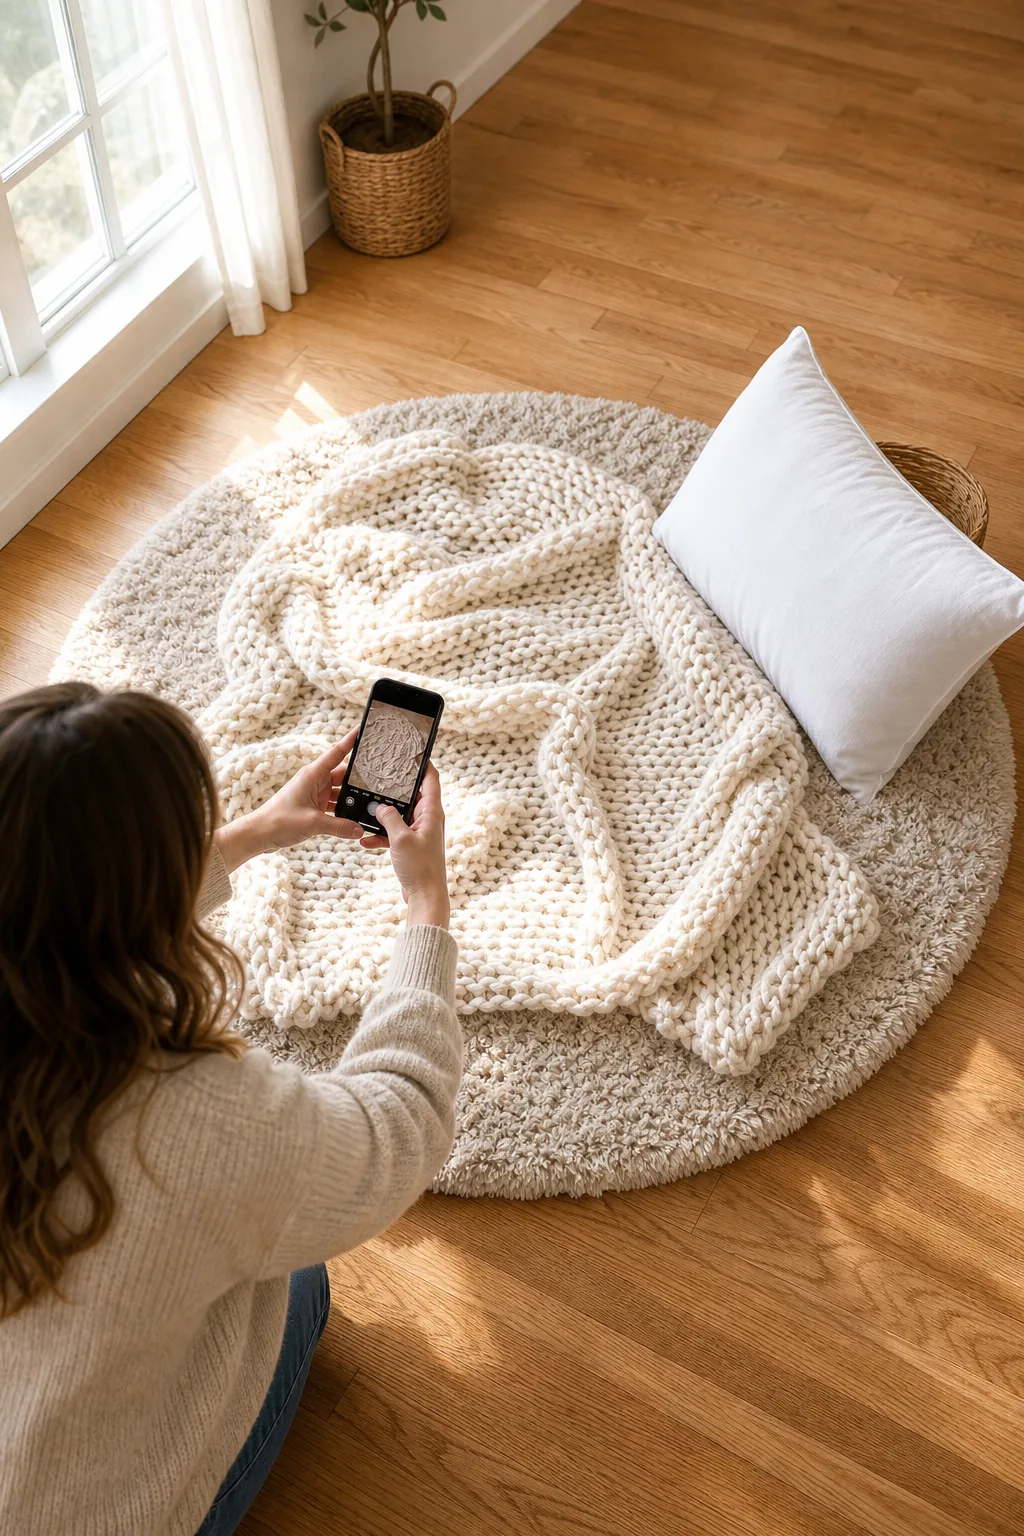
Whether you choose a subtle floral sheet or a waffle-knit throw, always ensure the safety layers underneath remain identical. The lighting and foundation rules never change, giving you the freedom to experiment safely with various aesthetic styles.
Preparing the Final Layout
Before bringing your infant into the room, you must verify that every structural element is correctly positioned and secure. Walk through the physical assembly process one last time to confirm your staging area is completely ready.
- Clear the floor space and verify the window light is hitting at a 45-degree angle.
- Unroll the thick rug or folded duvet to establish the safe drop zone.
- Drape the textured muslin loosely over the center of the padding.
- Prop the white pillow opposite the window to bounce the light.
Completing this sequence without the baby present allows you to troubleshoot shadows and adjust the reflector without rushing. Preparation is the absolute key to a calm, five-minute shooting window.
The 5-Minute Setup Guide & Lighting Checklist
Now that your physical layers are built, it is time to evaluate the scene exactly as your camera sees it. Open your smartphone app and use this final review to guarantee your DIY studio will yield professional results.
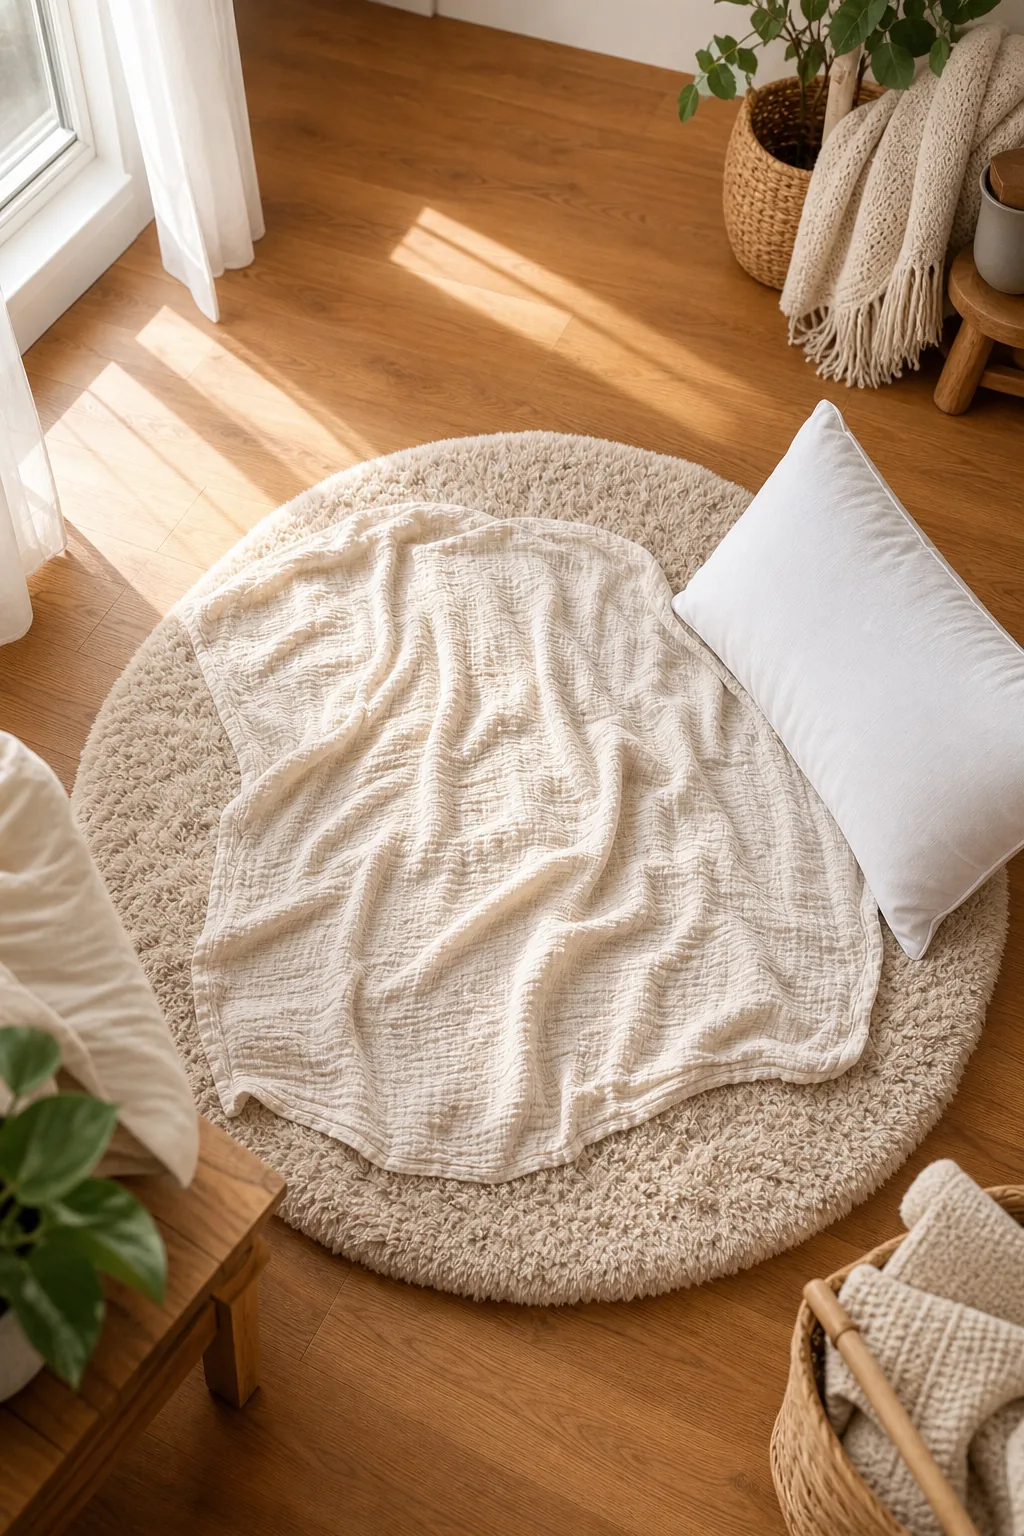
Before you gently lay your newborn down, run through this quick sequence to ensure your makeshift studio is safe, secure, and perfectly lit.