DIY Living Room Accent Wall: Batten Spacing Cheat Sheet
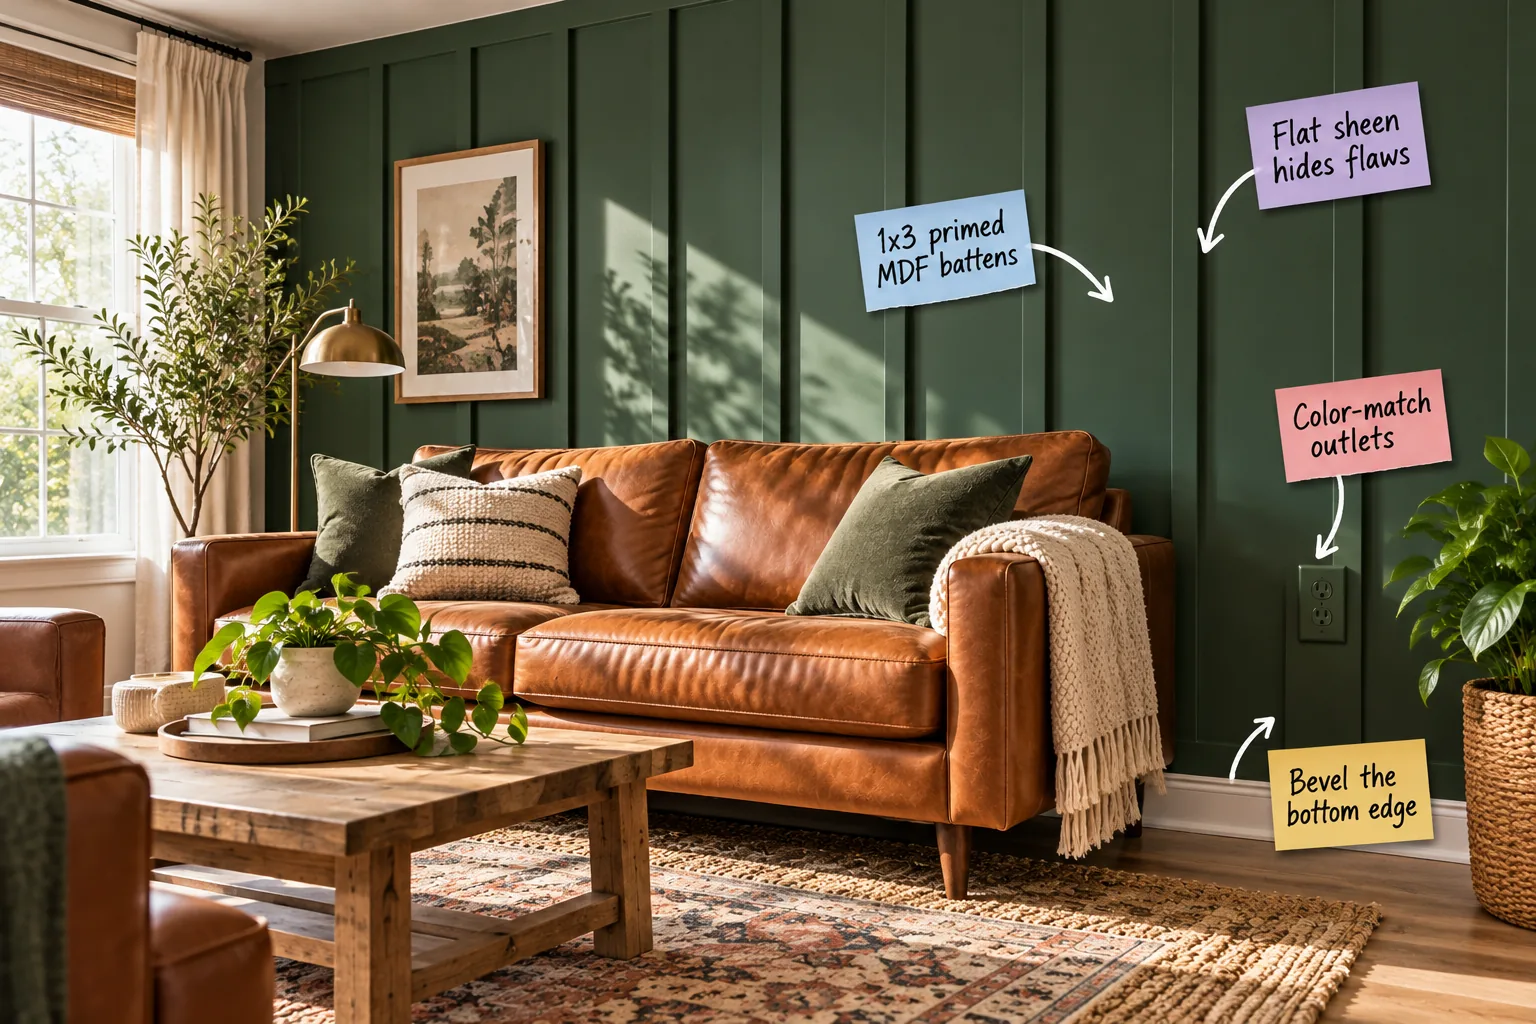
You are about to calculate the exact batten spacing for any wall length and execute a flawless, custom-looking millwork installation using my personal batten spacing cheat sheet. Mastering the math behind a perfectly proportioned board-and-batten wall is incredibly simple once you learn these essential designer finishing tricks.
Calculating Your Batten Spacing
The secret to professional millwork is mathematically perfect gaps, which you find by subtracting the combined width of all vertical battens from your total wall length, then dividing that remainder by the number of spaces. This simple formula guarantees that every single panel looks completely intentional and balanced.
For example, on a 120-inch wall using seven 2.5-inch wide battens, you will have exactly eight identical 12.8-inch gaps. Before running any calculations or firing up your saw, gather the exact dimensions of your space to ensure perfect symmetry across the entire living room.
Selecting 1×3 Primed MDF
Standard pine boards often warp or twist as they dry, which completely ruins the crisp, architectural geometry of a structured grid wall. Choosing 1×3 primed MDF battens ensures every single vertical line remains perfectly straight, smooth, and ready for a flawless, high-end paint finish.
| Material Choice | Nominal Size | Actual Dimensions | Best Application |
|---|---|---|---|
| Primed MDF | 1×3 inches | 0.75″ x 2.5″ | Smooth painted accent walls |
| Select Pine | 1×3 inches | 0.75″ x 2.5″ | Clear stained wood finishes |
| Common Pine | 1×4 inches | 0.75″ x 3.5″ | Rustic farmhouse style trim |
| Primed Poplar | 1×2 inches | 0.75″ x 1.5″ | Thin modern vertical slats |
| PVC Trim | 1×3 inches | 0.75″ x 2.5″ | High moisture bathroom walls |
| Solid Oak | 1×3 inches | 0.75″ x 2.5″ | High-traffic durable baseboards |
Remember that a nominal 1×3 board actually measures 0.75 inches thick by 2.5 inches wide, which is the exact measurement you must plug into your spacing formula. MDF also saves you hours of tedious sanding because the factory-primed surface takes acrylic latex paint beautifully.
Acclimating Your Millwork
Even primed MDF needs time to adjust to the temperature and humidity of your specific living room before you begin cutting. Leaning your boards against the wall for at least forty-eight hours prevents them from shrinking and cracking your perfectly caulked seams during the first cold winter.
Beveling the Bottom Edge
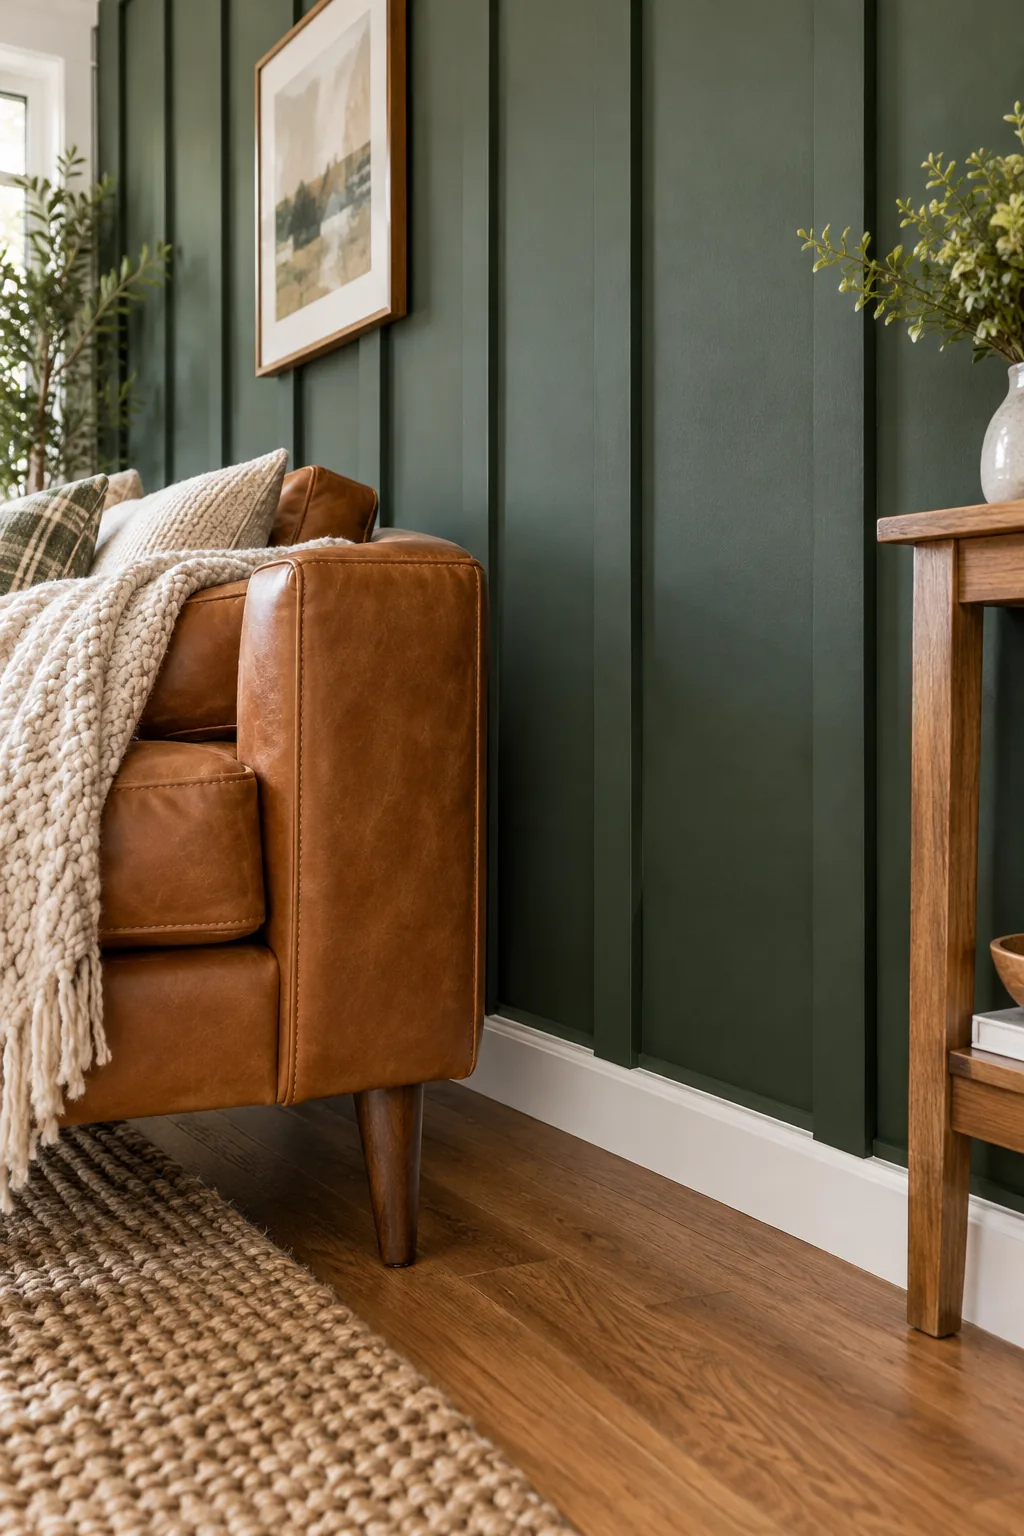
A common DIY hurdle occurs when thick new battens meet thin existing baseboards, creating an awkward, unfinished overhang that screams amateur installation. Instead of tearing out all your existing baseboards, you can simply bevel the bottom edge of every vertical piece to bridge the depth difference.
Cutting a 45-degree bevel into the bottom inch of the batten tapers the thick MDF down to seamlessly meet the thinner trim profile. Transitioning from thick new wood to thin existing trim is where many projects stumble, but this simple angled cut solves it completely.
Nailing and Caulking for a Seamless Look
Secure your vertical battens using 2-inch brad nails, aiming for the wooden wall studs wherever your mathematical spacing naturally allows it. When your grid layout forces a batten to land directly between studs, apply a thin zig-zag of construction adhesive before nailing into the drywall.
- Clear the dust: Wipe down every installed batten with a slightly damp microfiber cloth to remove leftover drywall dust before applying any sealant.
- Cut a tiny tip: Snip the very end of your caulk tube at a sharp 45-degree angle to keep the extruded bead thin and manageable.
- Work in sections: Apply caulk to only one vertical batten at a time so the acrylic does not begin to skin over before you smooth it.
- Smooth with water: Keep a small cup of warm water nearby to dip your finger into before gently gliding it down the fresh caulk line.
- Wipe the excess: Immediately clean any stray caulk off the flat drywall with a damp rag to preserve the sharp 90-degree architectural corner.
The true magic happens during this prep phase, because running a thin bead of paintable acrylic caulk along every single seam is absolutely non-negotiable. Pressing the caulk firmly into the joint creates that high-end, built-in look once the final dark green paint goes on.
Sanding for a Flawless Finish
Once your caulk and wood filler have completely dried, you must sand every filled nail hole with a 220-grit sponge until it feels flush. If your bare fingertips can feel a subtle ridge, it will cast a tiny shadow once painted, so keep sanding until the transition vanishes.
Why a Flat Sheen Hides Flaws
Glossy paint bounces light aggressively around the room, which immediately highlights every tiny caulk line, nail hole, and subtle drywall texture variation. Choosing a flat sheen hides flaws by absorbing the light, making the wall look like a solid, flawless piece of custom architecture.
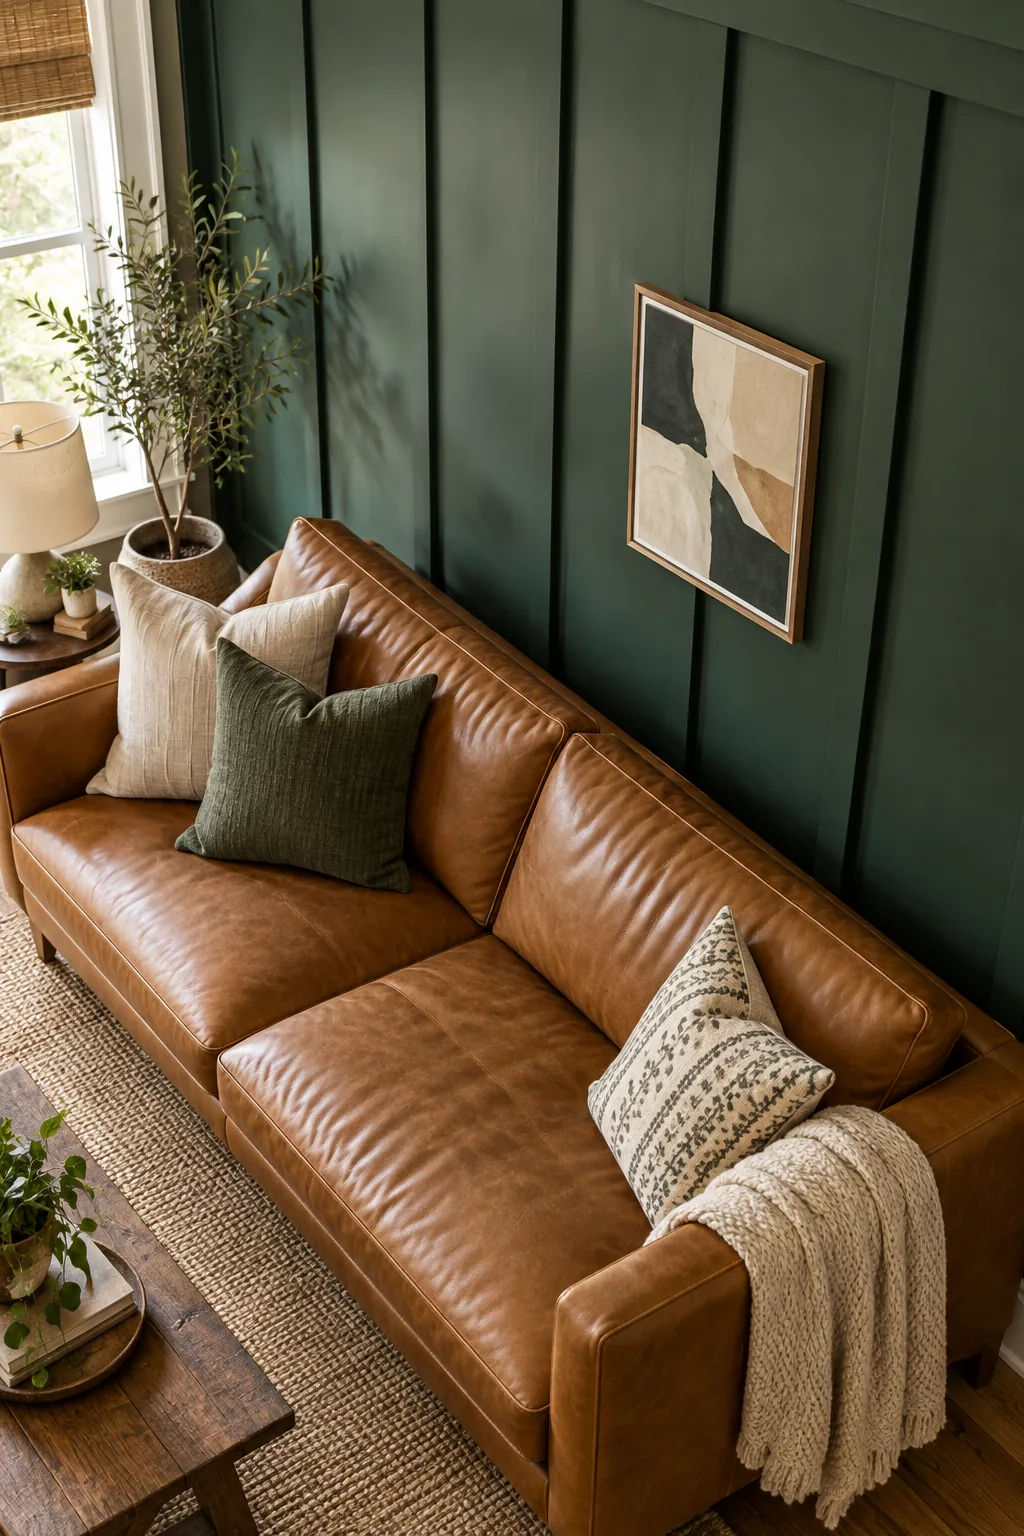
When I painted my own living room accent wall, switching to a matte finish completely erased the subtle drywall bumps that had been driving me crazy. Just be sure to use a premium acrylic latex paint so the flat finish remains durable enough for daily family life.
Color-Matching Your Outlets
Nothing ruins the illusion of high-end custom millwork faster than a stark white electrical outlet interrupting your gorgeous, deep forest green wall. To fix this jarring contrast, you must color-match outlets so the plastic hardware disappears completely into the surrounding architectural grid.

I used to try painting straight over plastic covers, but they always chipped until I learned to lightly sand them and apply a bonding primer first. Painting the primed covers the exact same forest green as the wall is my absolute favorite inexpensive camouflage technique.
Selecting the Perfect Green
Finding a green that looks sophisticated rather than neon requires choosing a paint color with heavy gray or brown undertones to ground the shade. Always test your top three swatches directly on the primed battens, because the physical shadow cast by the 1×3 boards alters how the color reads.
Anchoring with Warm Leather Furniture
A deep, cool-toned forest green wall requires significant high-contrast warmth to keep your living room feeling inviting rather than dark or cave-like. Bringing in a cognac leather sofa provides this necessary organic warmth while beautifully anchoring the entire seating area.
In my own space, swapping a gray fabric couch for warm leather instantly brought the green millwork to life and made the room feel grounded. The natural variations in the leather hide add a beautiful, lived-in character against the freshly painted geometric grid.
Layering Organic Textures and Art
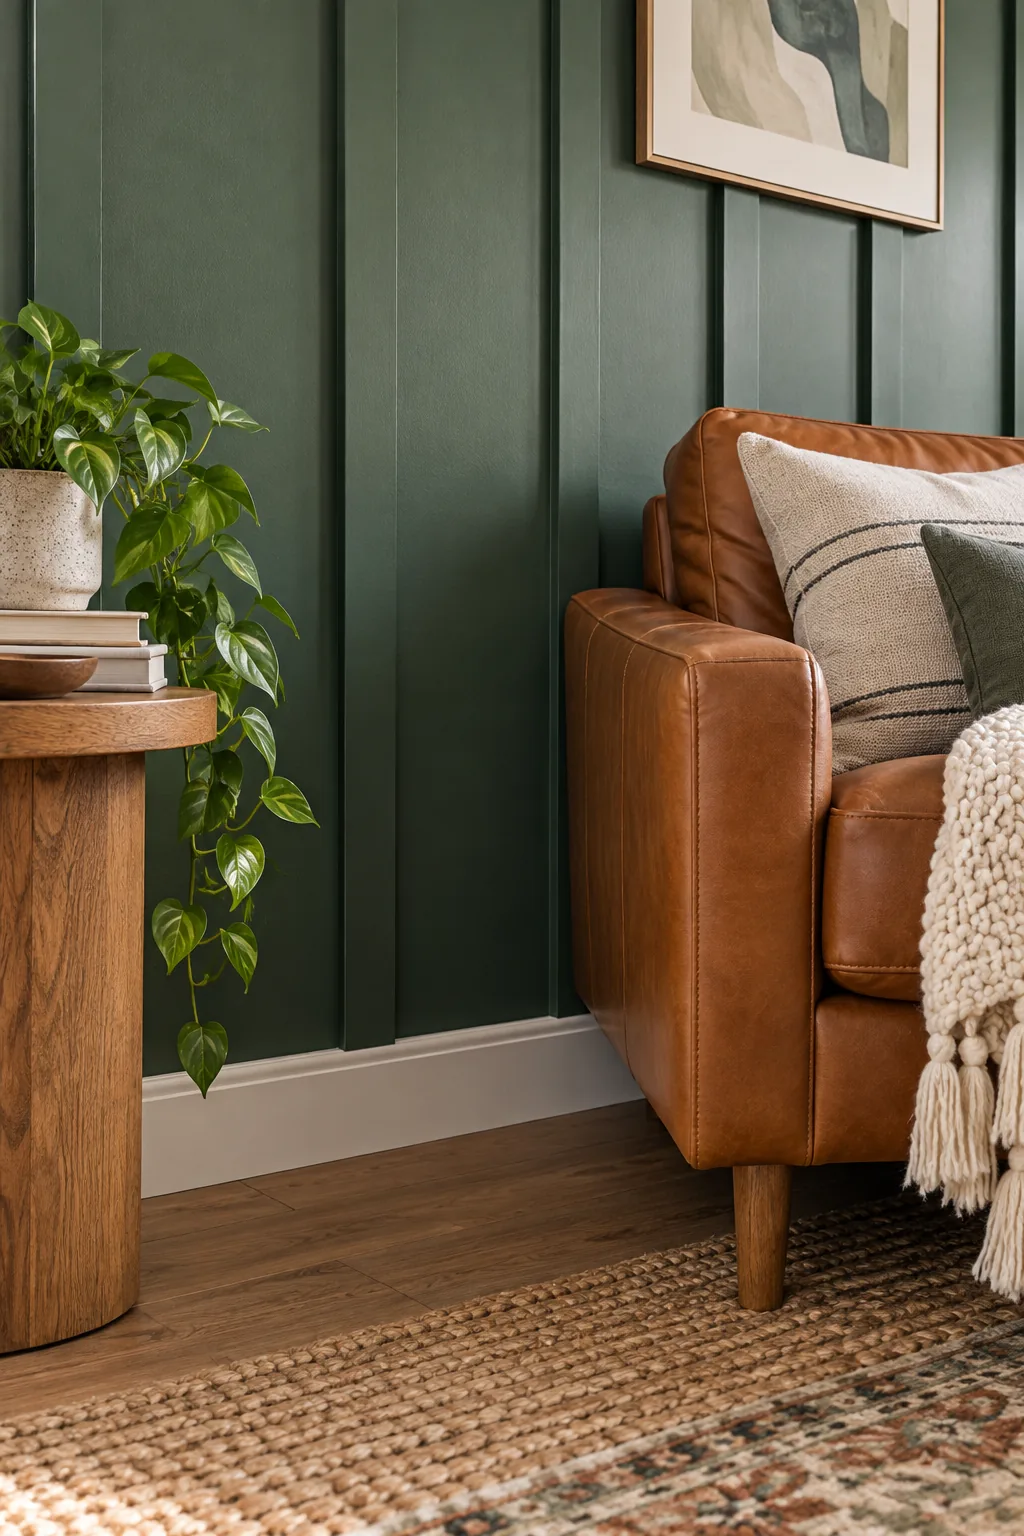
Board-and-batten introduces strong, rigid geometry to a room, so you need to soften those hard architectural lines with natural, textured elements. Layering items like a woven jute rug, chunky knit throws, and trailing green plants effectively breaks up the harsh vertical grid.

Whenever I finish a highly structured project like this, I immediately drape a soft knit blanket and add a potted pothos to relax the space. These simple organic additions make the structured architectural backdrop feel welcoming, comfortable, and completely finished for your family.
More Board and Batten Inspiration
Explore how different colors and proportions can completely change the mood of this classic millwork.
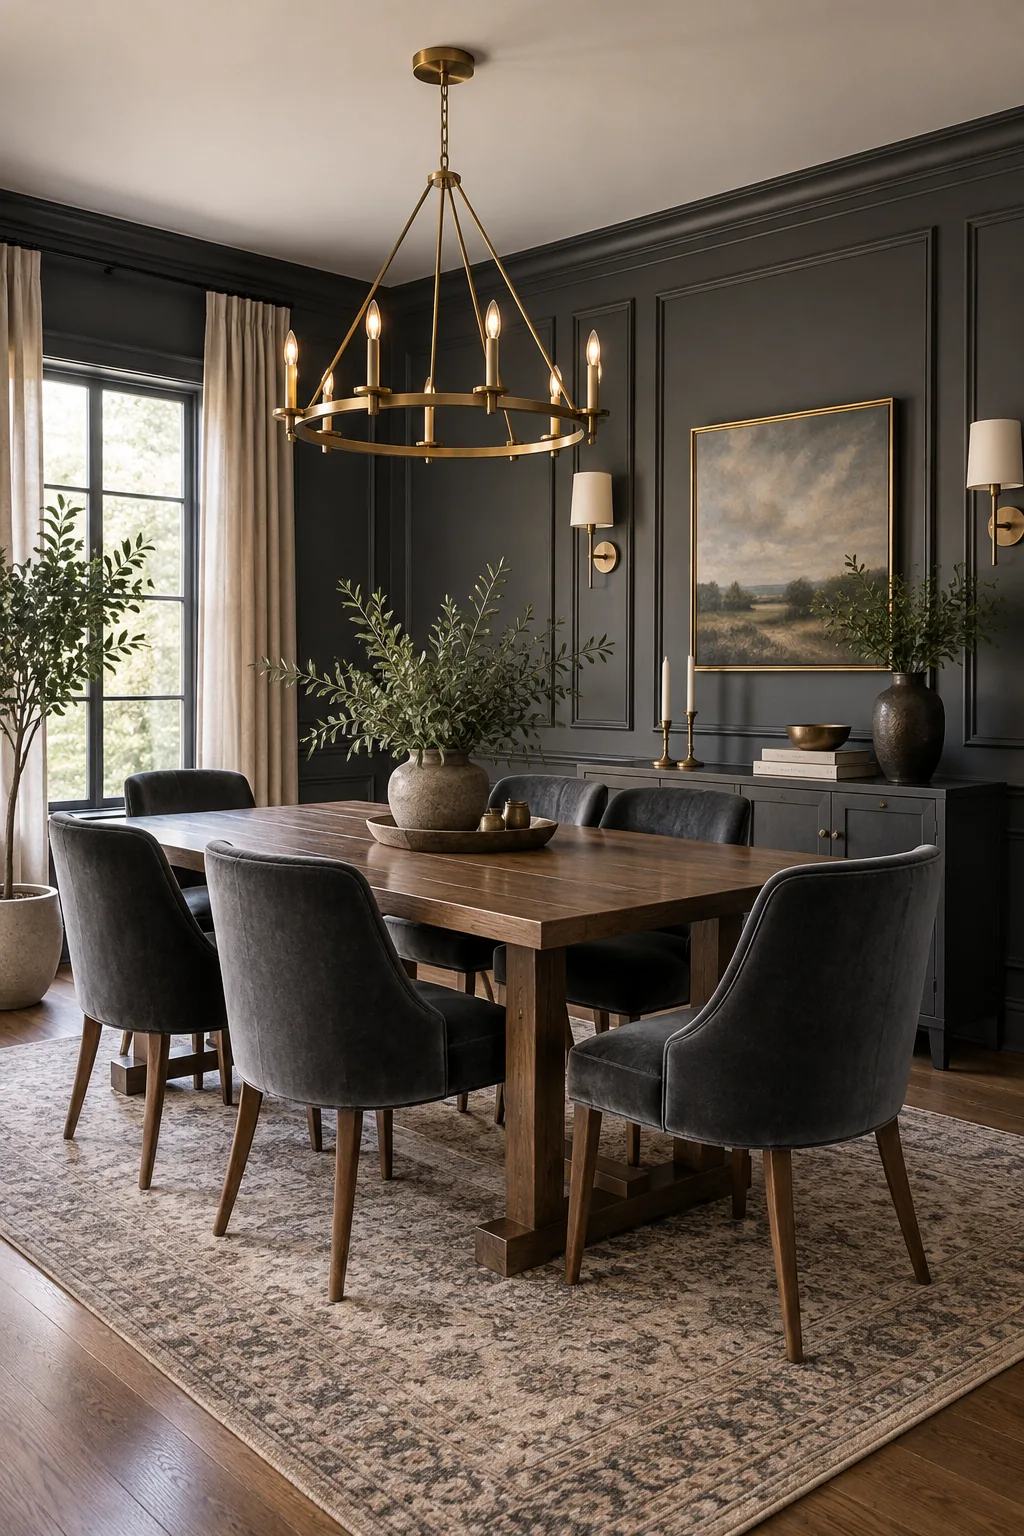
Moody Charcoal Dining Room: Dark grey picture frame molding creates an intimate, formal dining space. Pair it with warm brass lighting to elevate the sophisticated atmosphere.
Coastal Blue Bedroom: Wide battens painted in rich navy blue anchor a coastal bedroom. Crisp white bedding provides a striking, high-contrast focal point.

Warm Beige Entryway: Mushroom beige millwork adds subtle architectural interest to a functional drop zone. Install brass peg hooks directly into the top rail for heavy coats.

Soft Sage Nursery: Installing wainscoting only on the lower half of the wall grounds the room. This leaves the upper half open for playful, patterned wallpaper.