How to Hang a Heavy Mirror over a Fireplace Safely & Securely
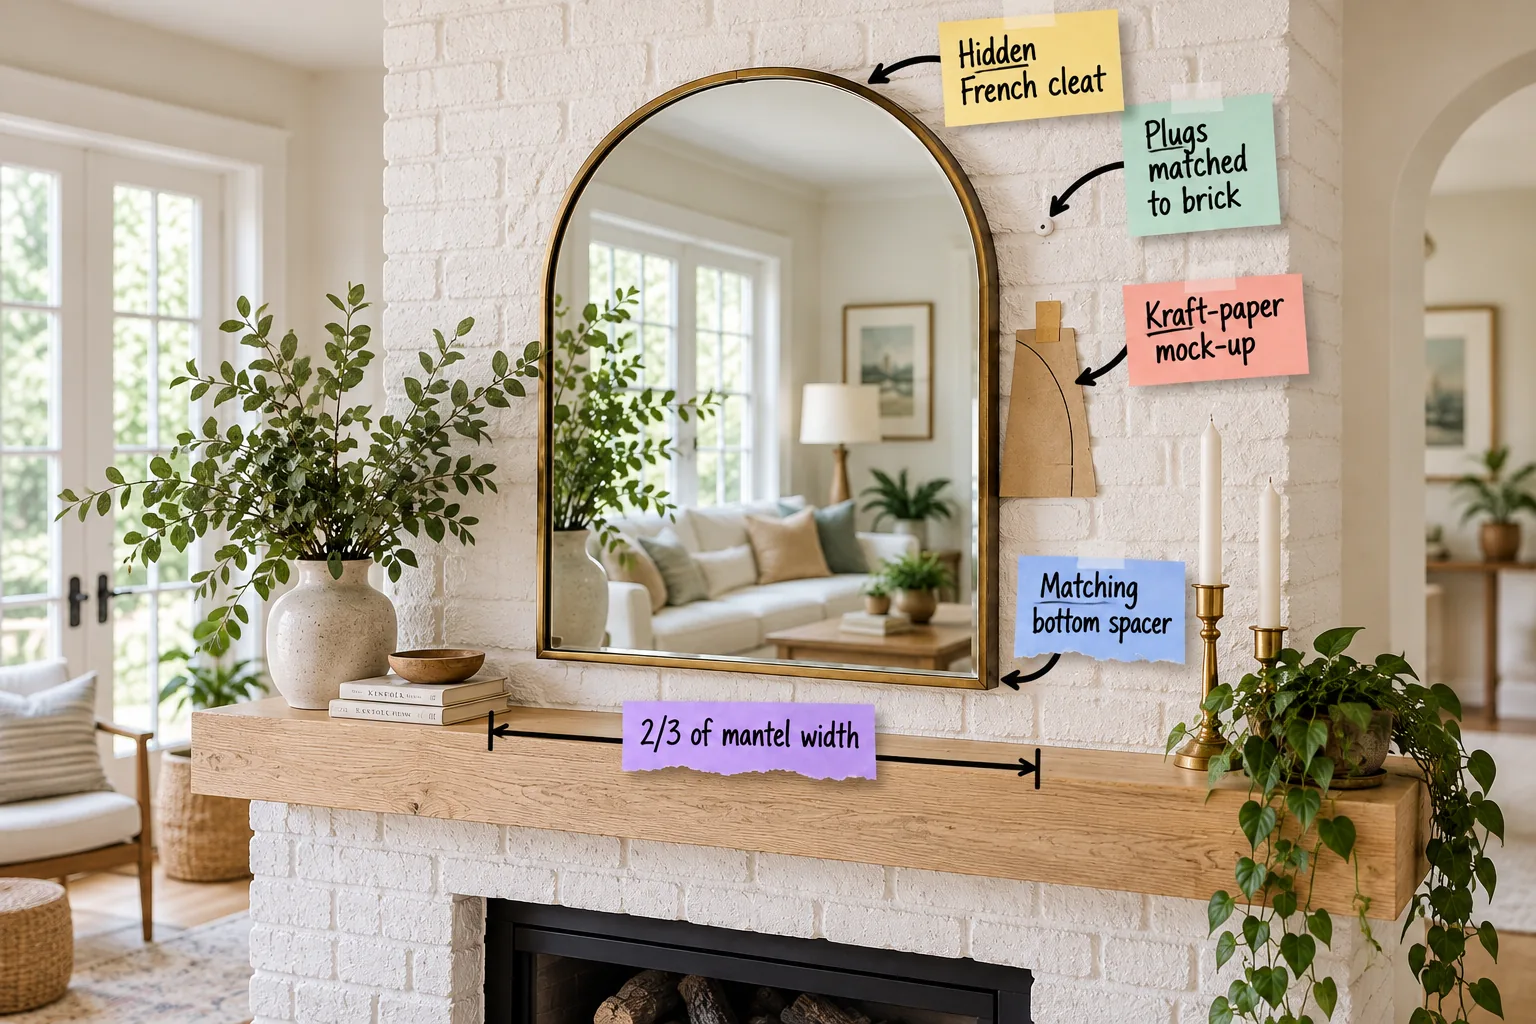
To hang your heavy mirror safely over the fireplace, print our free over-mantel mirror hanging sheet to get the exact sizing chart, mock-up steps, and a French cleat hardware checklist tailored for your specific brick. You will be able to size your glass perfectly for your mantel and mount it securely to masonry using a flush, invisible system.
Sizing the Mirror to the Mantel
A balanced fireplace display relies entirely on proper room proportions, so aim for your mirror to span roughly two-thirds of the mantel shelf width. This specific visual ratio anchors the chimney breast while leaving enough breathing room on either side for tall candlesticks or trailing plants.
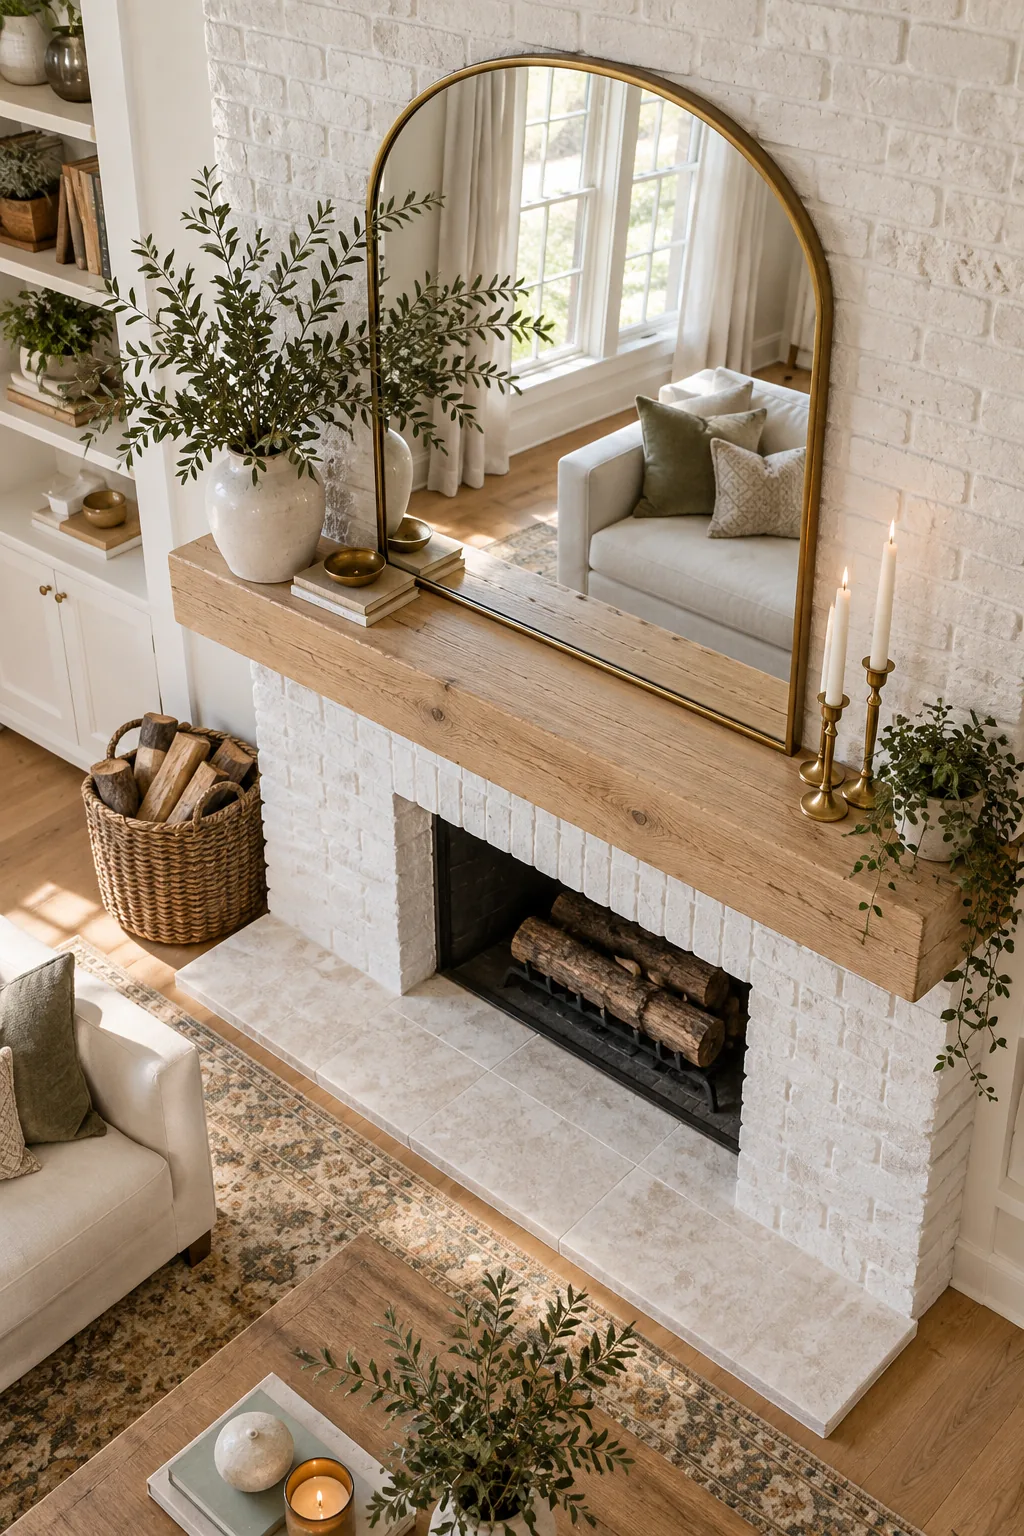
When you follow this two-thirds guideline, you prevent the heavy glass from visually overpowering the room or making the fireplace feel uncomfortably top-heavy. Keep a reliable tape measure handy to verify your exact mantel dimensions before you start shopping for your new focal point.
I always write down both the minimum and maximum acceptable frame widths directly in my phone notes before hitting the antique stores. Having those firm numbers ready keeps you from falling in love with a gorgeous oversized mirror that will ultimately dwarf your carefully styled living room.
Testing Height and Arch Shape
Before drilling any permanent holes into brick, use a kraft-paper mock-up to finalize your ideal placement and test the arch shape. Tape your penciled outline directly to the chimney breast to confirm the height captures the right room reflection from your usual seating area.
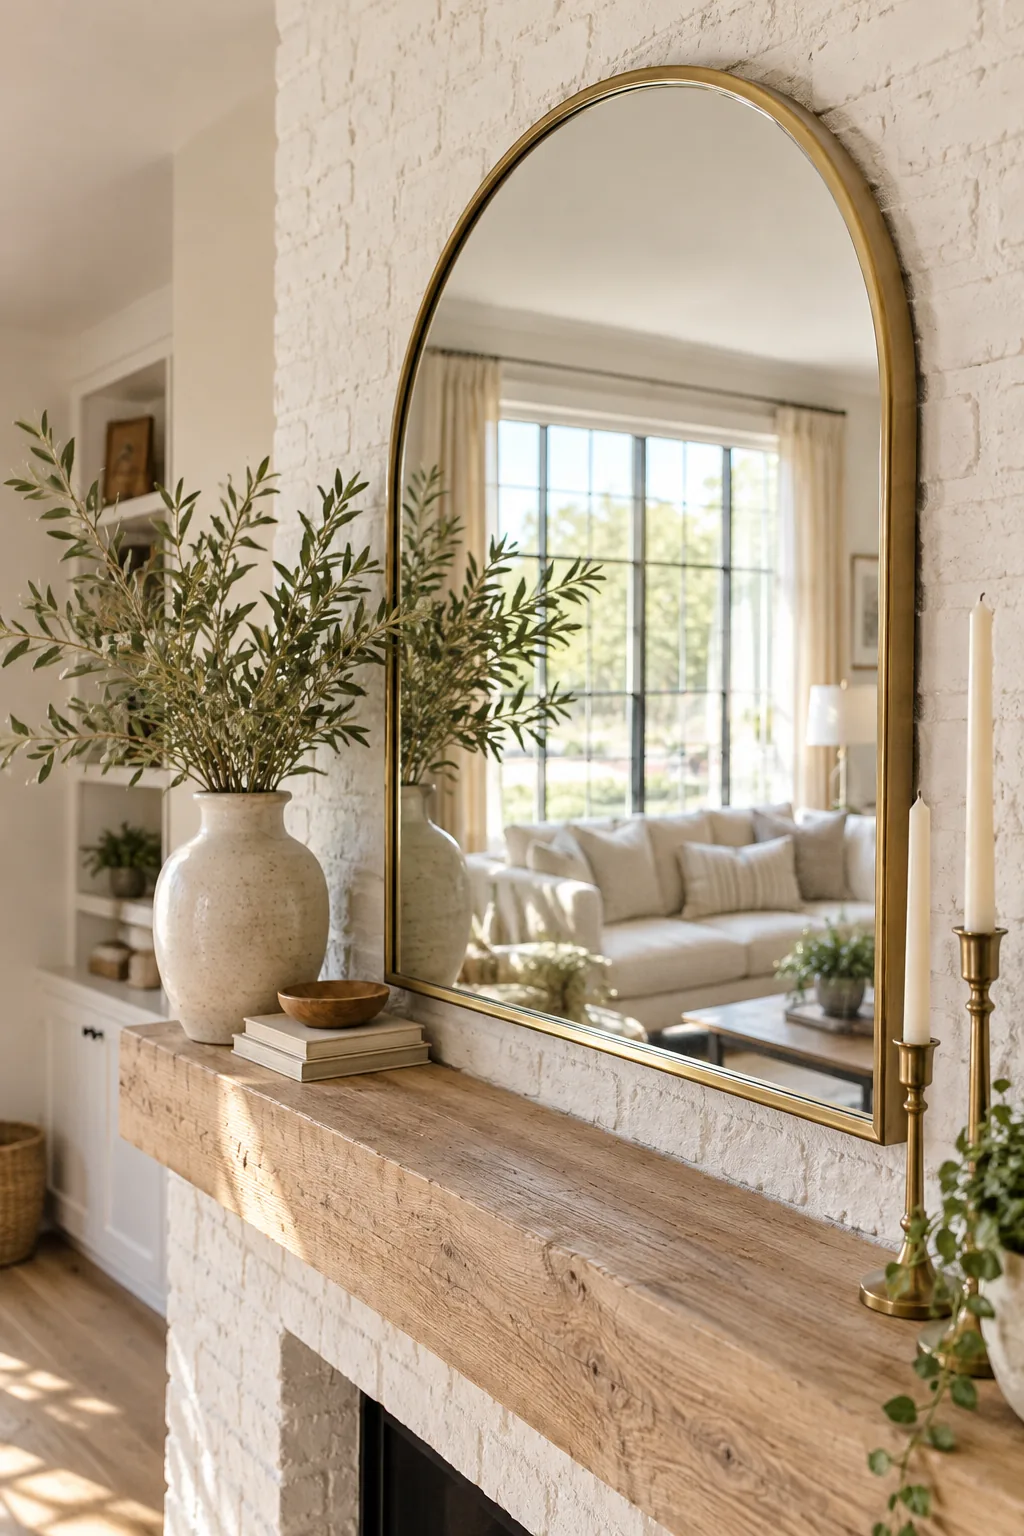
Moving a lightweight paper template is effortless, whereas patching ruined masonry holes is a dusty nightmare you definitely want to avoid. Sit on your sofa and look at the template to ensure you see the opposite window or a beautiful chandelier rather than a plain ceiling.
| Mantel Width | 2/3 Mirror Width | Max Frame Width | Gap Above Shelf |
|---|---|---|---|
| 48 inches | 32 inches | 36 inches | 4 to 6 inches |
| 54 inches | 36 inches | 40 inches | 4 to 6 inches |
| 60 inches | 40 inches | 44 inches | 5 to 7 inches |
| 66 inches | 44 inches | 48 inches | 5 to 7 inches |
| 72 inches | 48 inches | 52 inches | 6 to 8 inches |
Once you find the absolute sweet spot using your paper template and this sizing chart, mark the top center edge lightly on the brick with standard school chalk. This temporary mark guides your hardware installation perfectly without leaving permanent pencil graphite ground into your white painted masonry.
The Hidden French Cleat System
Standard picture wire inevitably allows heavy mirrors to tilt forward and shift off-center over time. A hidden French cleat sits completely invisibly behind the top back edge of the frame, locking the heavy mirror flush and perfectly level against the wall.
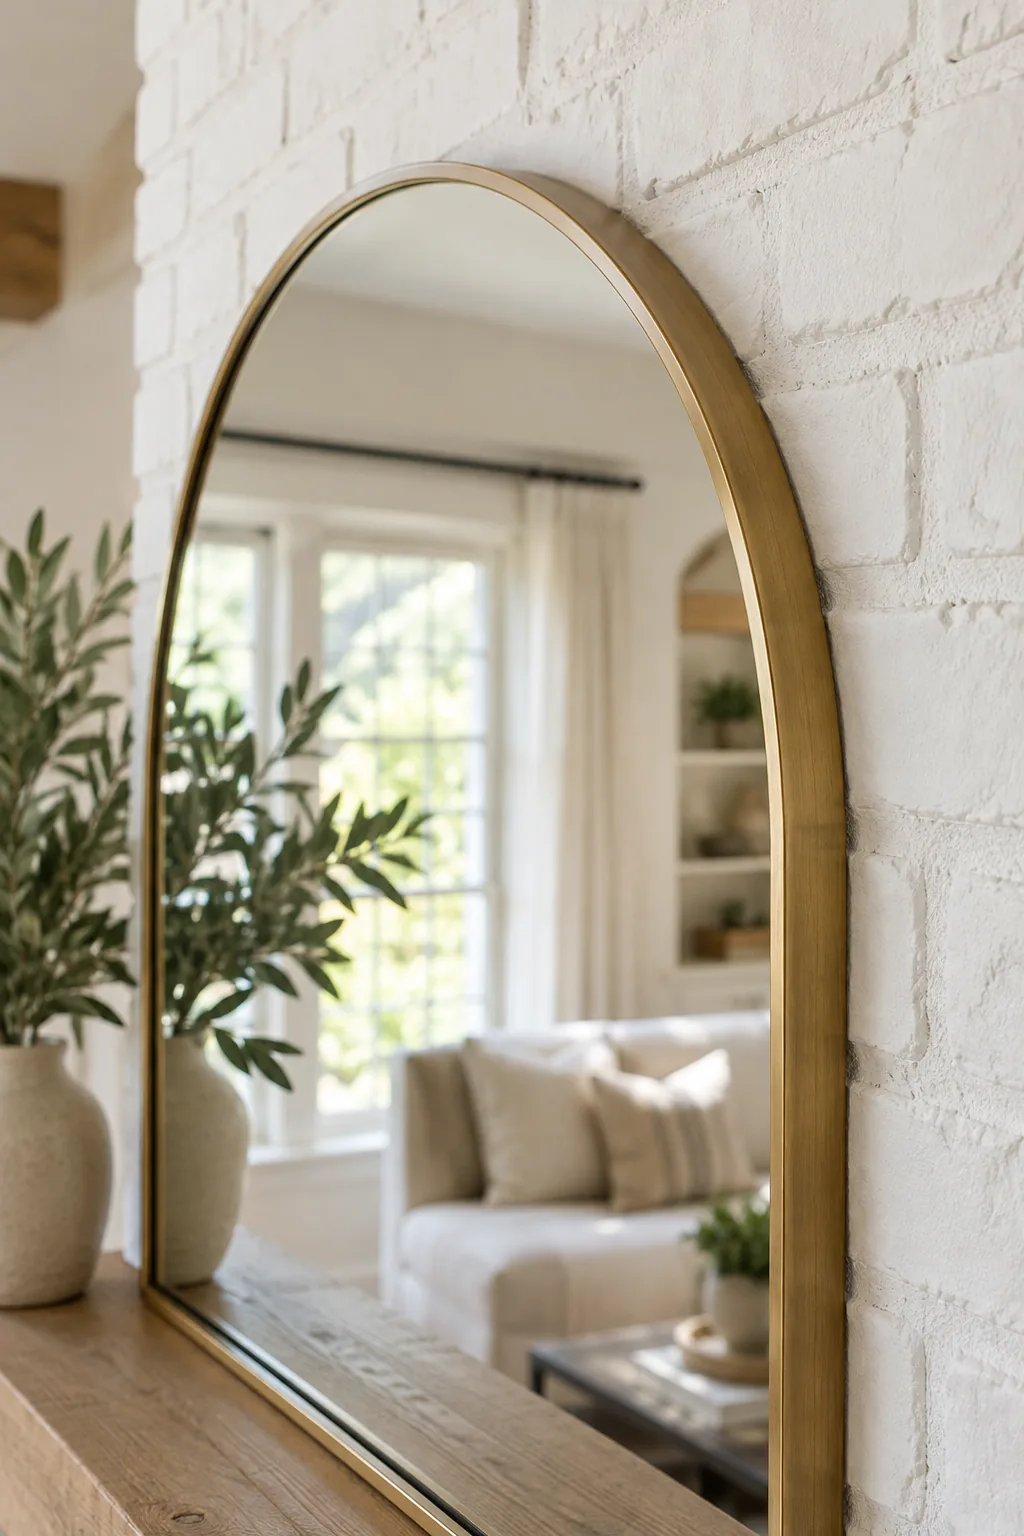
I learned this the hard way when my first over-mantel mirror constantly swung crooked every time a delivery truck drove past our Austin house. Upgrading to an interlocking metal track system instantly solved the annoying vibration issue and kept the glass dead straight.
- Unscrew any existing D-rings, eye hooks, or standard picture wire from the back of your mirror frame.
- Center the frame-side cleat along the very top back edge, ensuring the interlocking lip points downward.
- Pre-drill shallow pilot holes into the frame to prevent the vintage wood or resin from splitting under pressure.
- Drive the provided wood screws through the metal track until the heads sit completely flush against the aluminum.
Taking the time to install this frame-side hardware perfectly parallel to the top edge is absolutely critical for a beautifully level result. If this bracket is angled even slightly, your entire heavy mirror will hang permanently lopsided on the chimney breast despite your best leveling efforts.
Matching Plugs to Chimney Brick
Securing a heavy frame to a chimney breast requires masonry-specific hardware rather than standard drywall supplies. Select plugs matched to brick and screws sized exactly for your material to ensure the wall-side cleat anchors deeply and safely into the masonry.
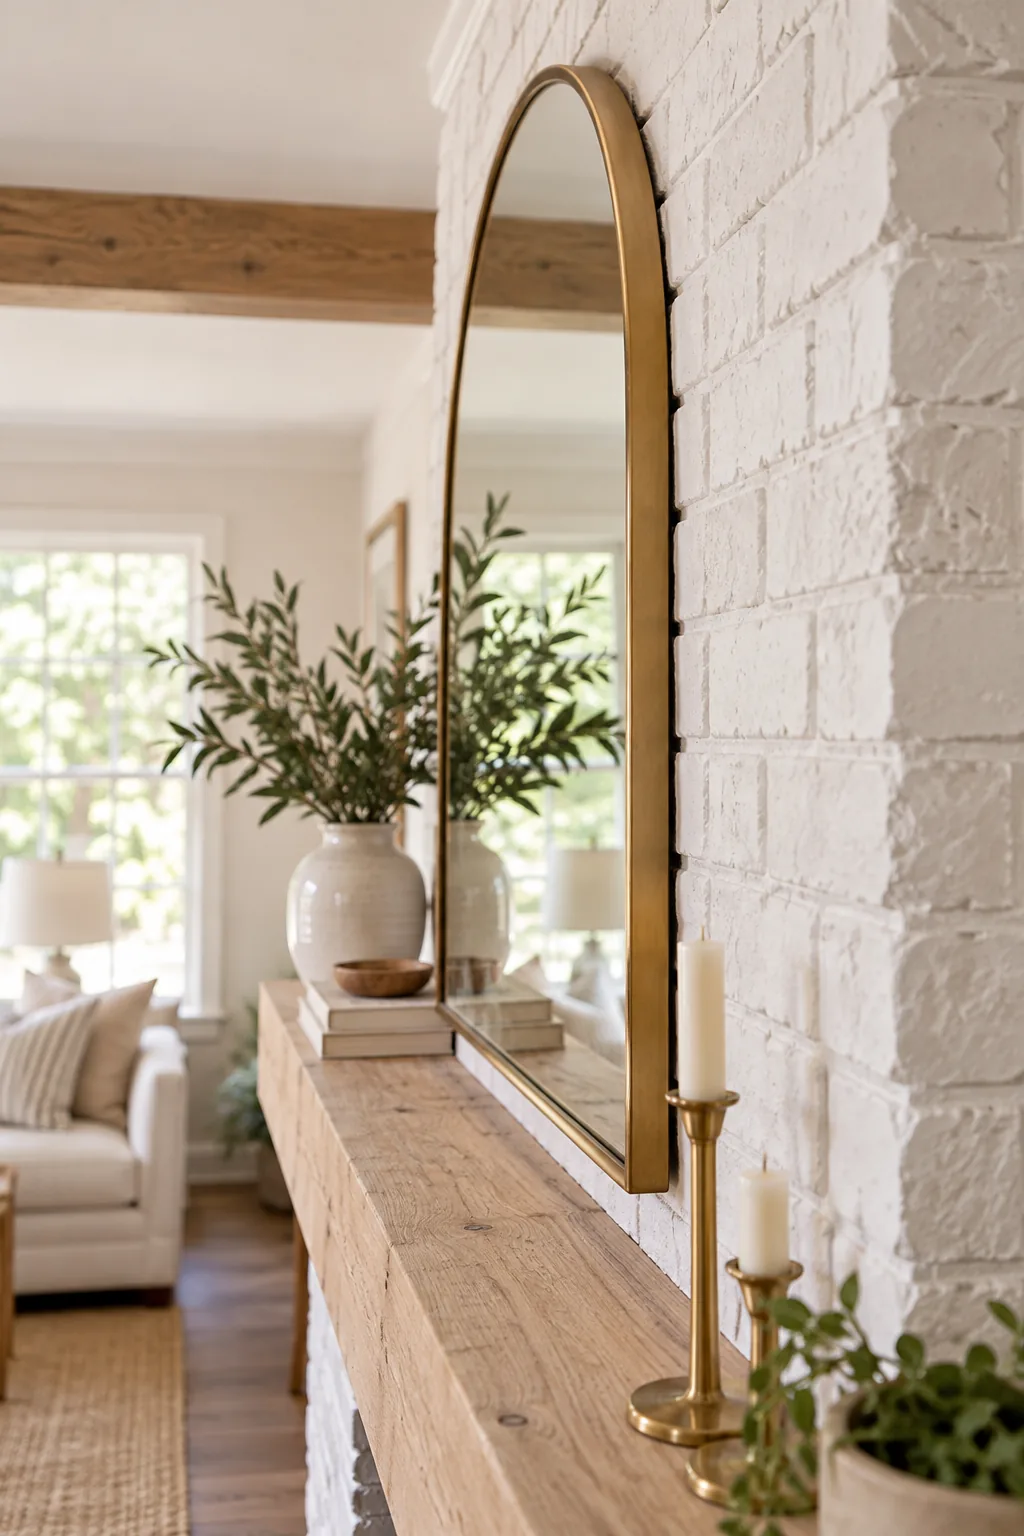
When I mounted our brass arch mirror, I realized our 1970s brick was slightly softer than modern masonry. Choosing specialized fluted anchors designed specifically for older brick gave me the absolute confidence that the heavy glass would never pull loose from the chimney.
Always use a masonry drill bit that exactly matches the specific diameter printed on your anchor packaging. A hole that is even a fraction of a millimeter too wide will prevent the plastic plug from gripping the brick interior tightly, compromising the entire installation.
Securing the Wall-Side Cleat
Fasten the aluminum wall track tightly into your inserted masonry plugs using a power drill driver and firm, steady pressure. Always rest a spirit level across the top edge of the metal track before tightening the final screw to guarantee a perfectly straight installation.
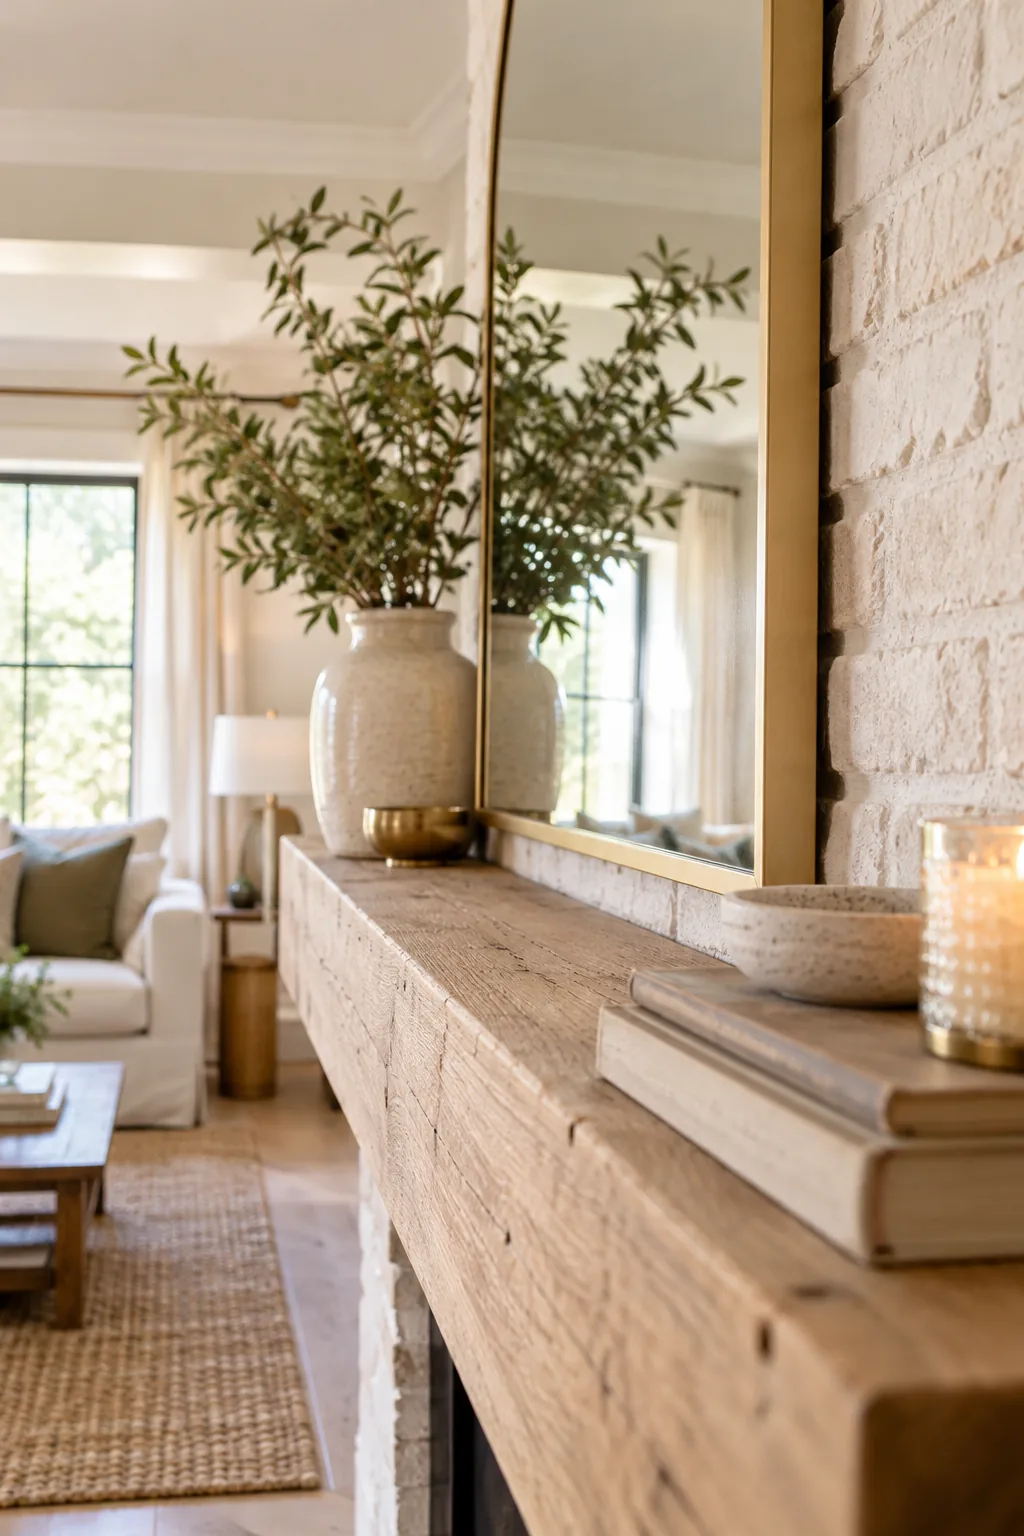
Because French cleats rely entirely on gravity to interlock the two metal tracks, the wall bracket must remain perfectly horizontal to function correctly. Take a step back and check the bubble on your level twice before driving that last masonry screw completely home.
Adding the Matching Bottom Spacer
Because a top cleat naturally pushes the upper frame out slightly, the glass will point downward if left alone. Apply a matching bottom spacer strip to the lower back edge so the mirror hangs completely flush and perfectly parallel to the brick surface.

I used a simple piece of scrap wood painted black for my spacer, and it completely eliminated the weird fun-house reflection we were getting. Making sure this lower bumper is exactly as thick as your metal cleat is the secret to a professional finish.
Once your spacer is securely attached, gently lift the heavy mirror and slide it down the wall until the two metal tracks lock together. You should hear a satisfying metallic click when the top lip drops fully into the wall bracket, confirming a secure hold.
Verifying the Weight Rating
Large over-mantel mirrors carry significant weight that puts constant, heavy stress on your installed fasteners. Check that your chosen cleat, masonry plugs, and screws are all explicitly rated by their makers to hold at least twenty percent more than the mirror’s actual weight.
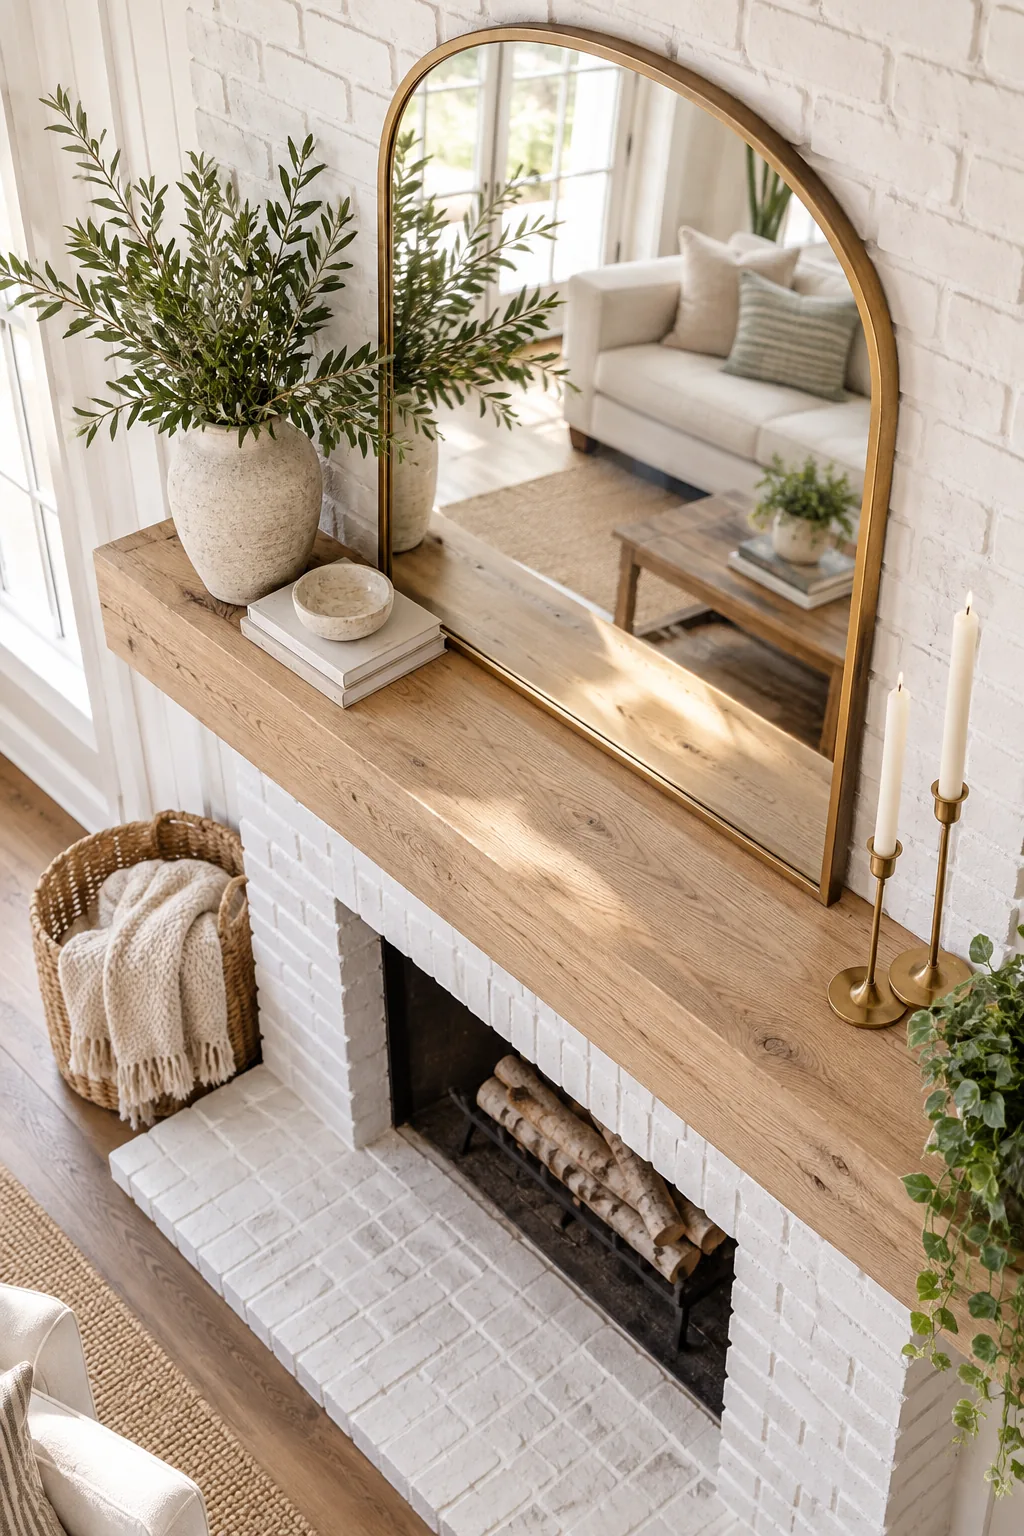
Building in this generous safety margin accounts for the extra leverage created by the frame depth and any minor imperfections in the vintage brick. Never trust a generic hardware kit without verifying its specific load capacity on a solid masonry surface.
- Weigh your mirror on a digital bathroom scale before purchasing any hanging hardware.
- Read the fine print on the cleat packaging to confirm the specific masonry load limit.
- Check that your chosen masonry screws are explicitly rated for heavy shear strength.
- Inspect the frame backing closely to ensure the wood can actually support the bracket screws.
If your mirror weighs fifty pounds, your entire anchoring system needs to be comfortably rated for at least sixty pounds. Taking this extra verification step ensures your beautiful focal point will remain safely mounted above the firebox for decades to come.
Get the Over-Mantel Hanging Sheet
Take the guesswork out of your fireplace focal point by downloading the complete over-mantel mirror hanging sheet. It includes the handy mantel-width-to-mirror-size chart, detailed mock-up steps, and a hardware checklist tailored specifically to safe, secure brick installations in your home.
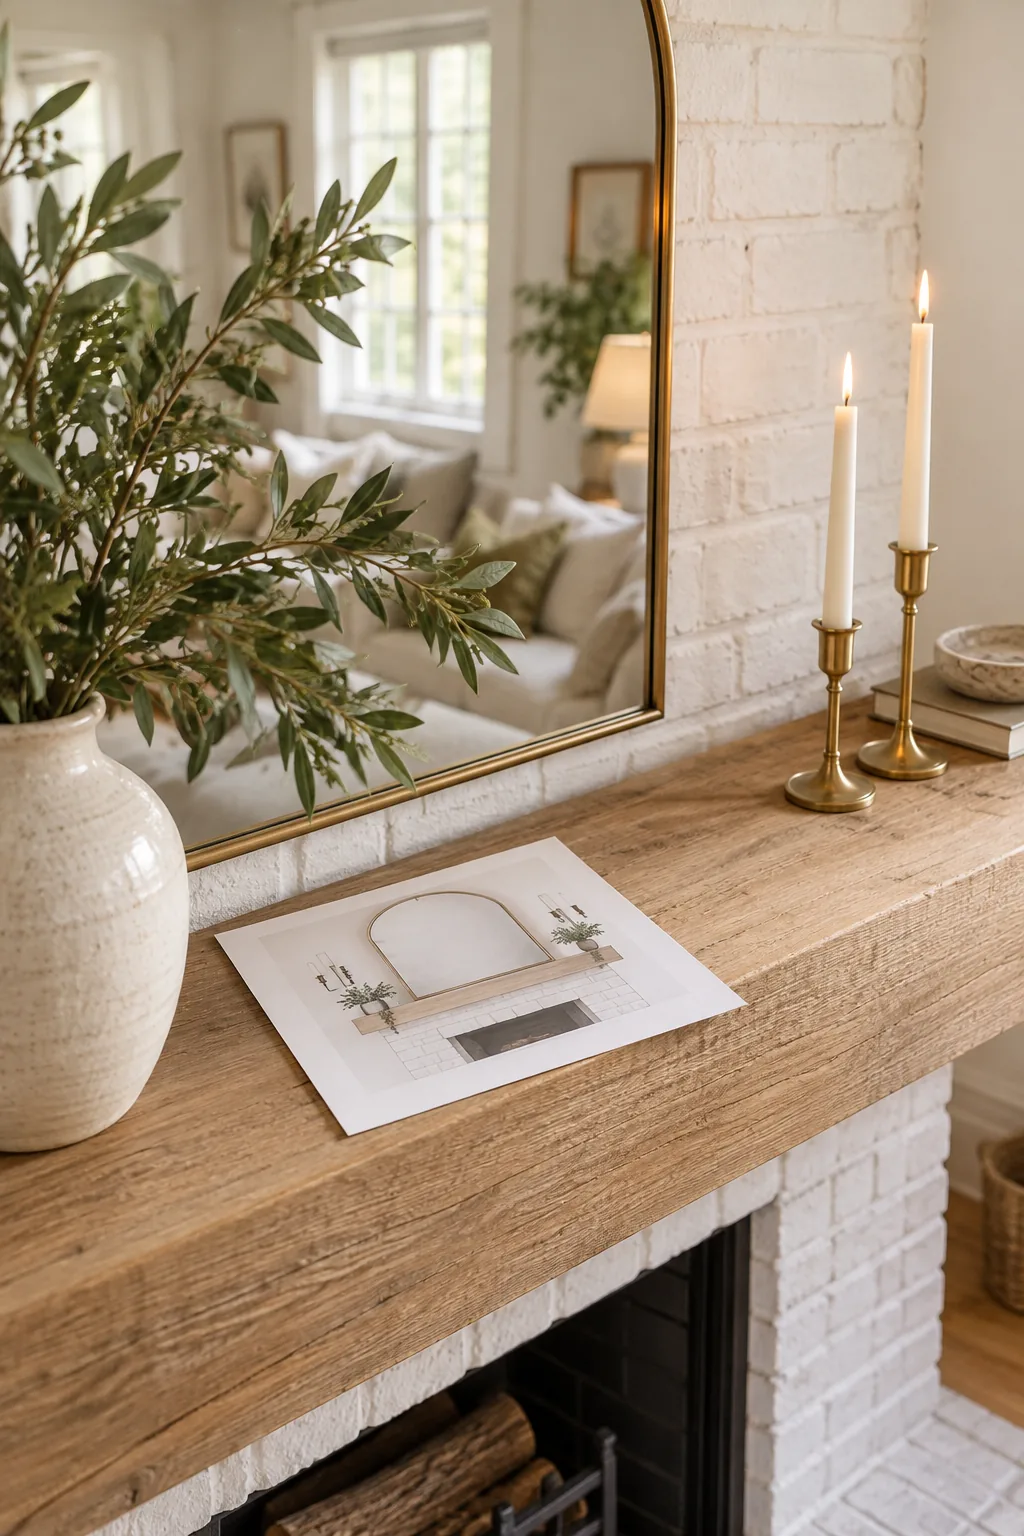
Having all the exact measurements and hardware ratings printed out makes your trip to the hardware store incredibly efficient. You can hand the checklist directly to the store associate to ensure you get the exact fluted masonry plugs and heavy-duty cleats required for success.
Over-Mantel Mirror Styles to Try
Find the perfect mirror and mantel combination for your specific living room aesthetic.
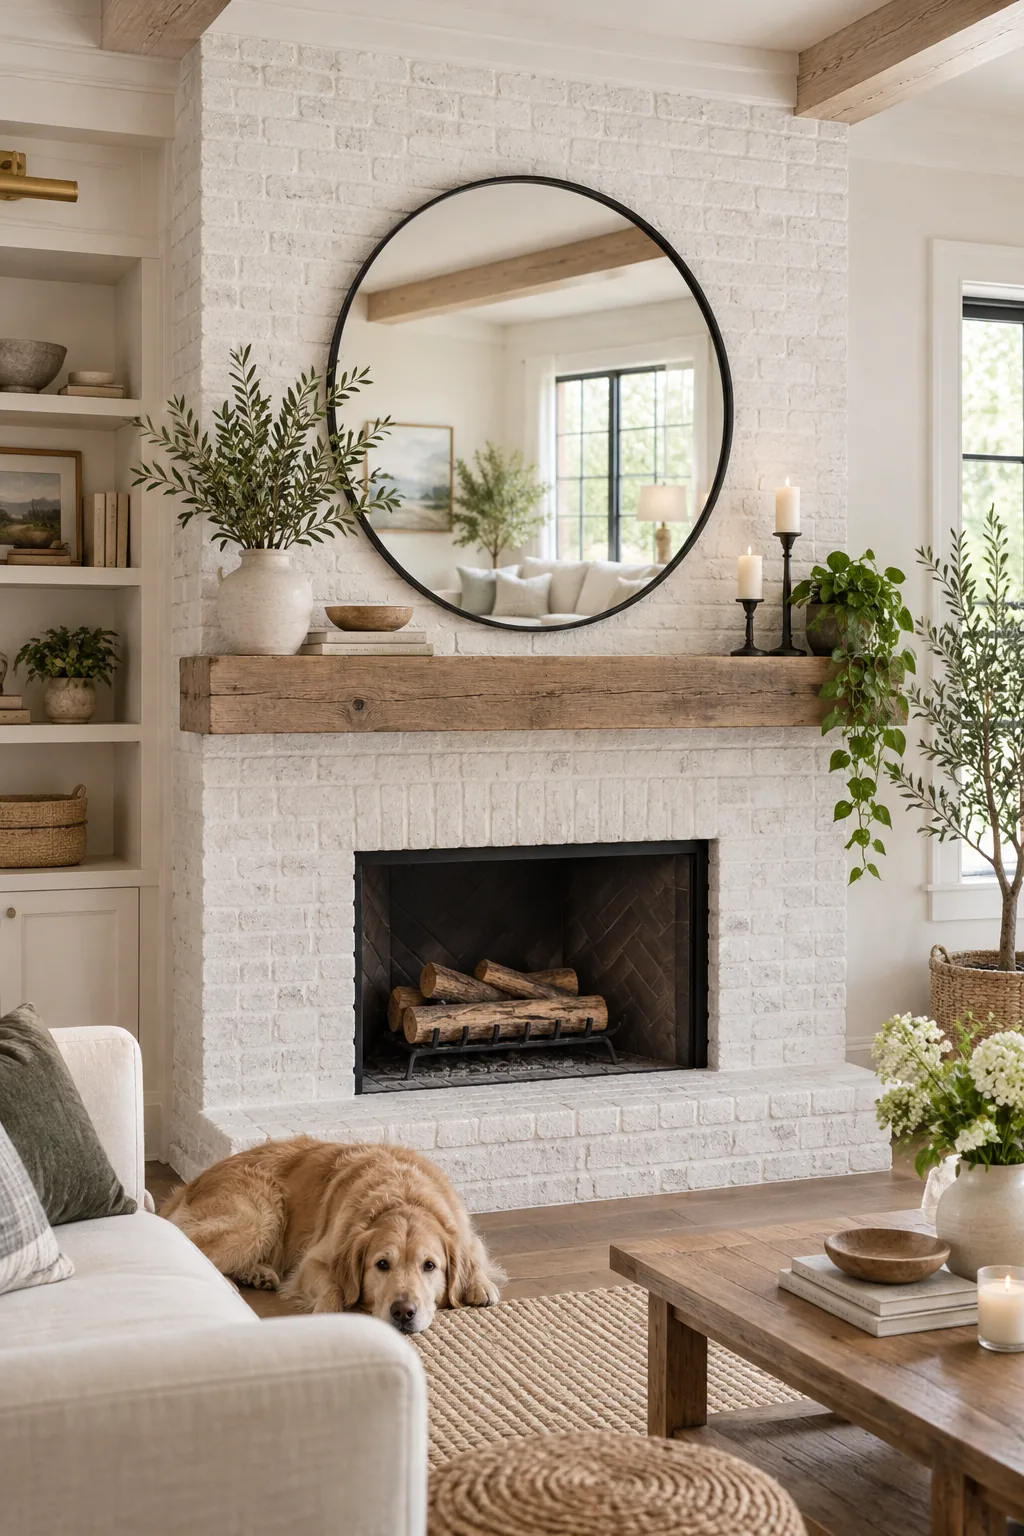
Modern farmhouse round mirror: A matte black circular frame softens the rigid lines of a painted brick chimney breast.
Traditional ornate gold frame: Intricate gold detailing brings classic elegance to a formal living room with a marble surround.

Moody eclectic frameless vintage: Antiqued glass adds subtle texture and history against a dramatic dark teal painted brick wall.

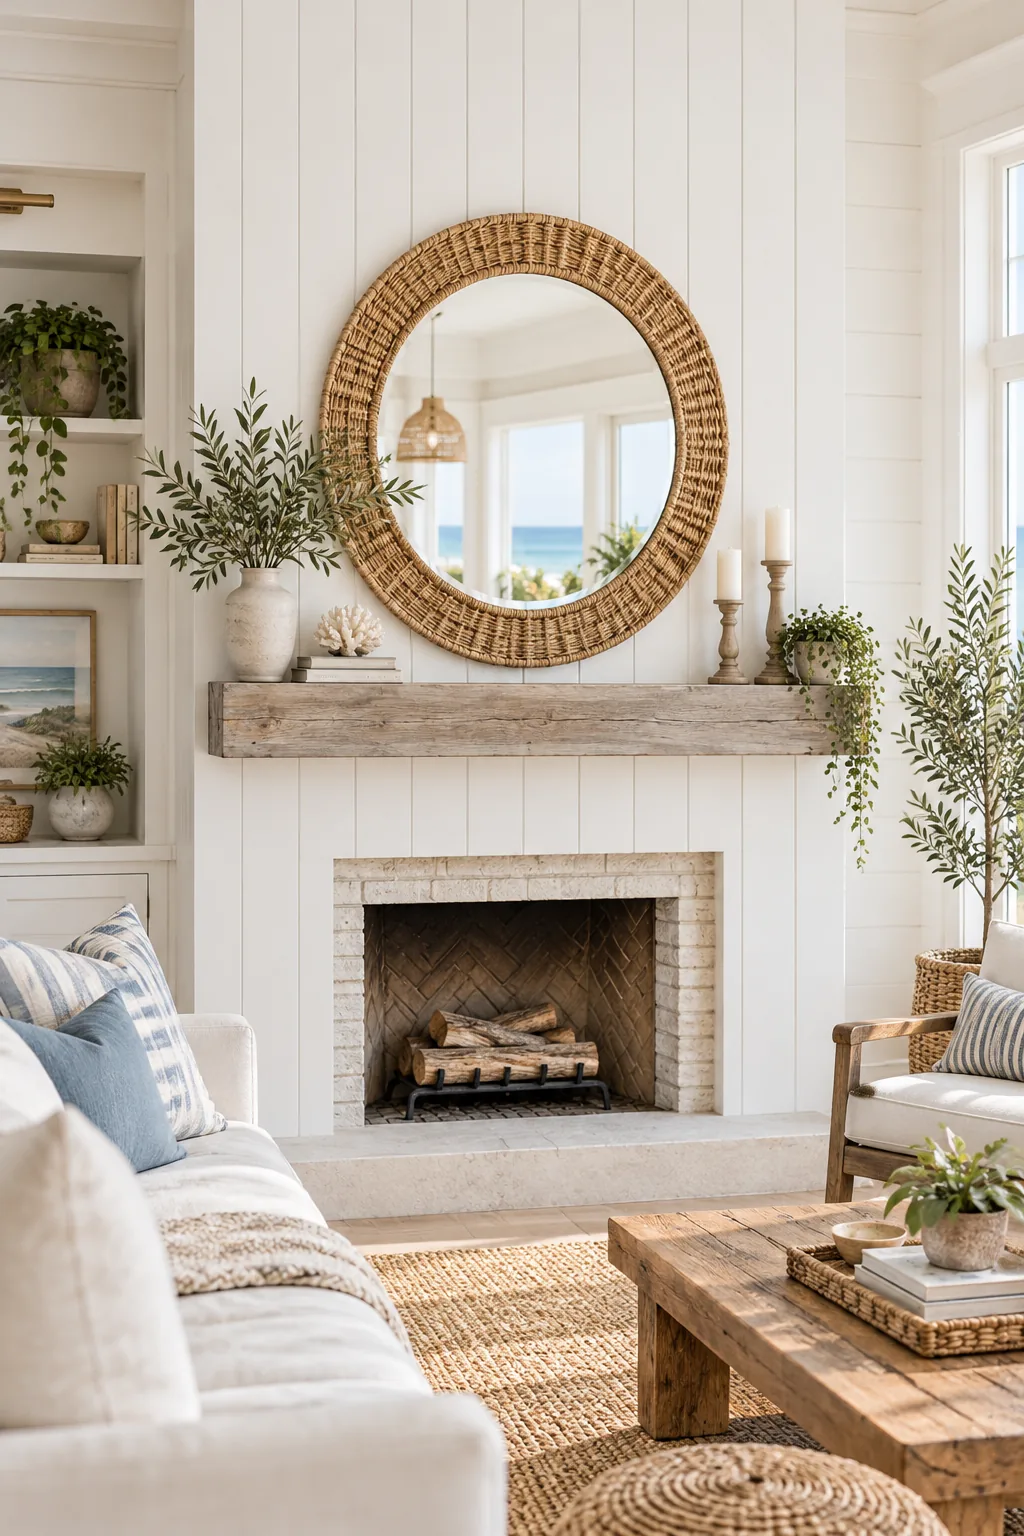
Coastal bright woven rattan: Natural woven textures introduce a relaxed, beach-inspired warmth to crisp white vertical shiplap.
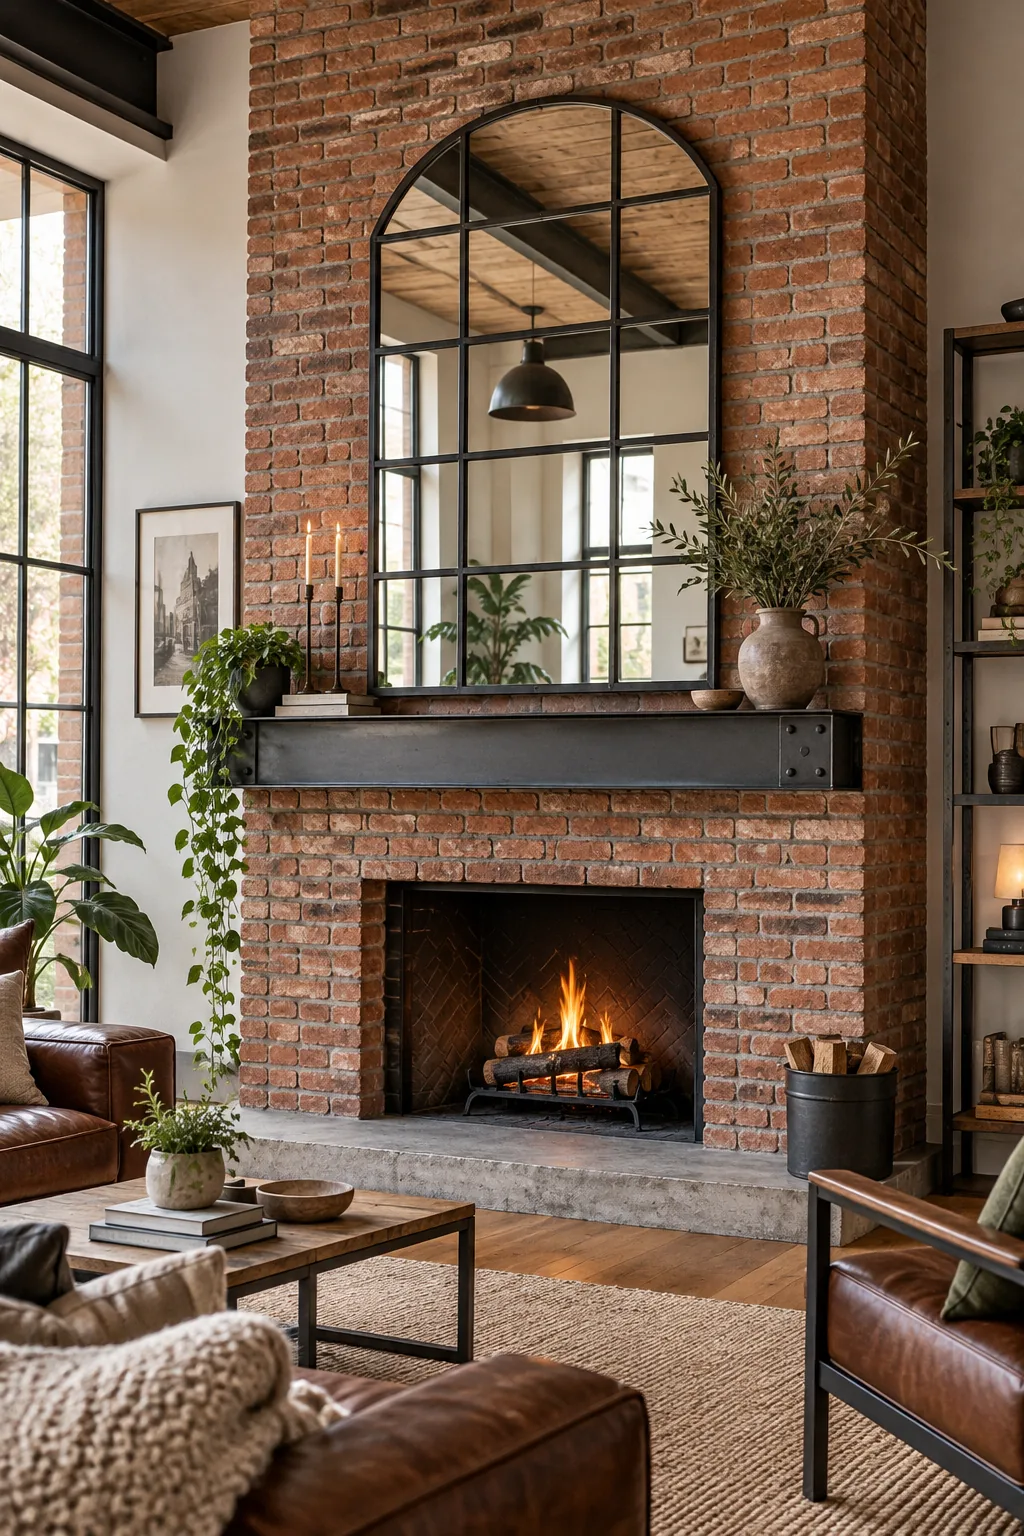
Industrial loft iron grid: A heavy iron windowpane mirror complements the rugged texture of exposed original red brick.