
Above Fireplace Decor: The Visual Triangle Cheat Sheet
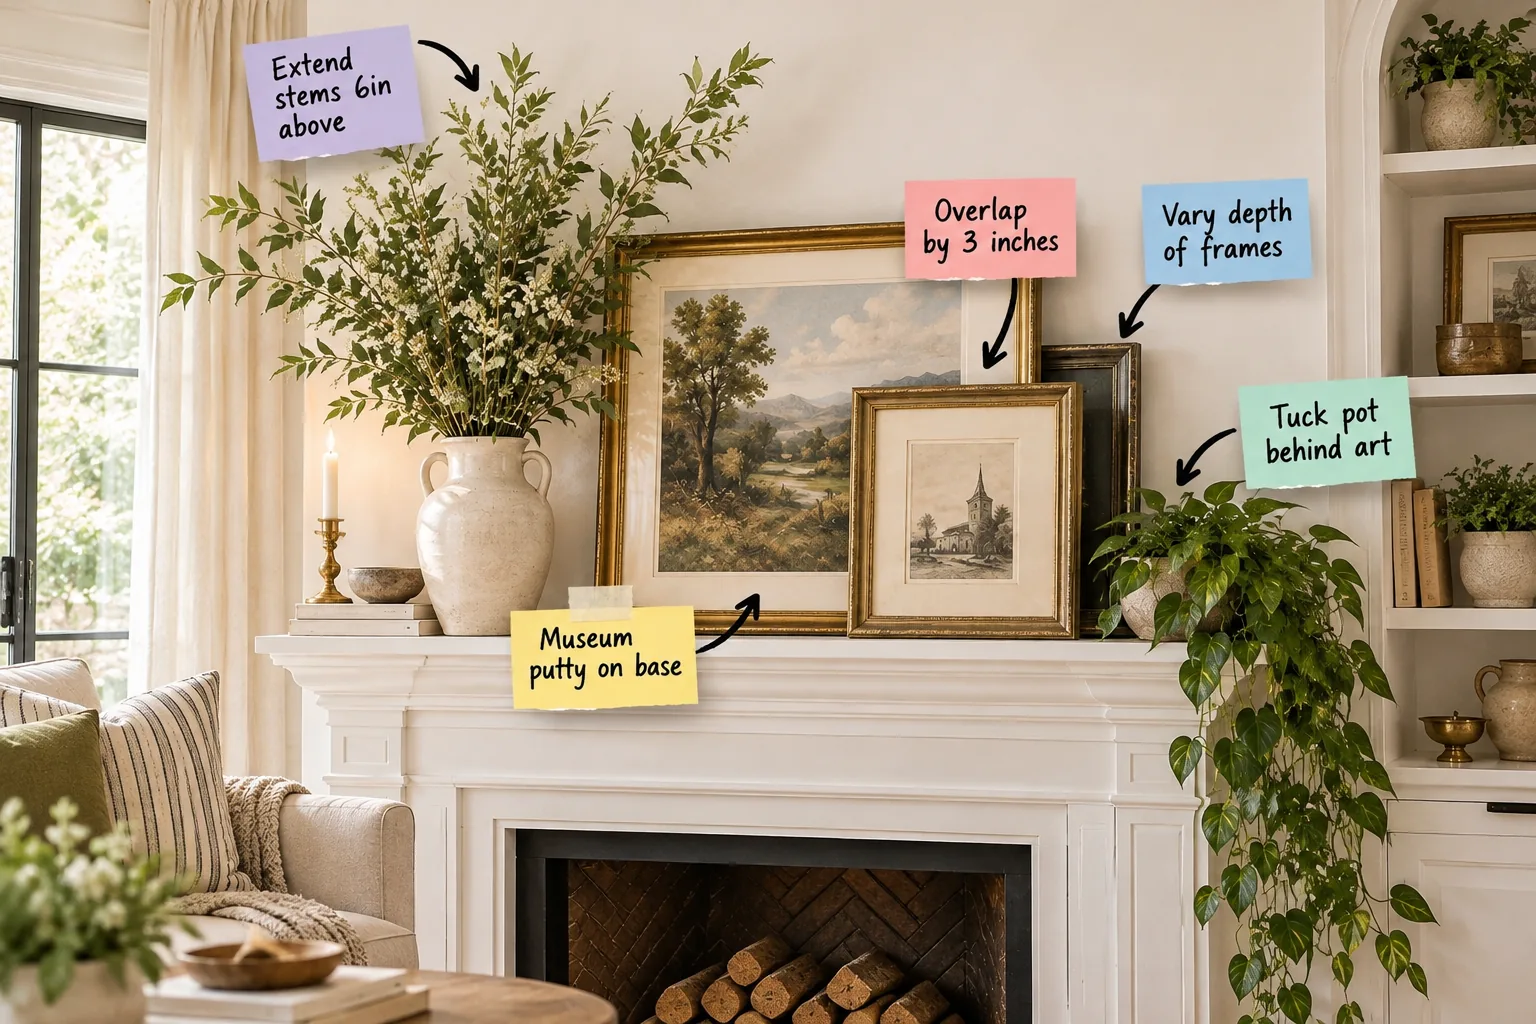
Mastering above fireplace decor is simple with this visual triangle cheat sheet, giving you the exact measurements for perfectly layered, slip-free frames and balanced greenery. You will be able to style a perfectly balanced mantel using exact measurements and secure placement techniques.
Defining the Visual Triangle
The visual triangle is a foundational interior design principle that forces the eye to bounce between three distinct focal points rather than staring blankly at the center. This geometric approach prevents your fireplace from feeling cluttered, heavy, or visually overwhelming.
The Visual Triangle Formula
A successful mantel avoids rigid symmetry by using a high point on one side, a low trailing point on the other, and a solid anchor in the middle. In my own Denver living room, this exact asymmetrical arrangement finally made the fireplace feel like a natural architectural extension.
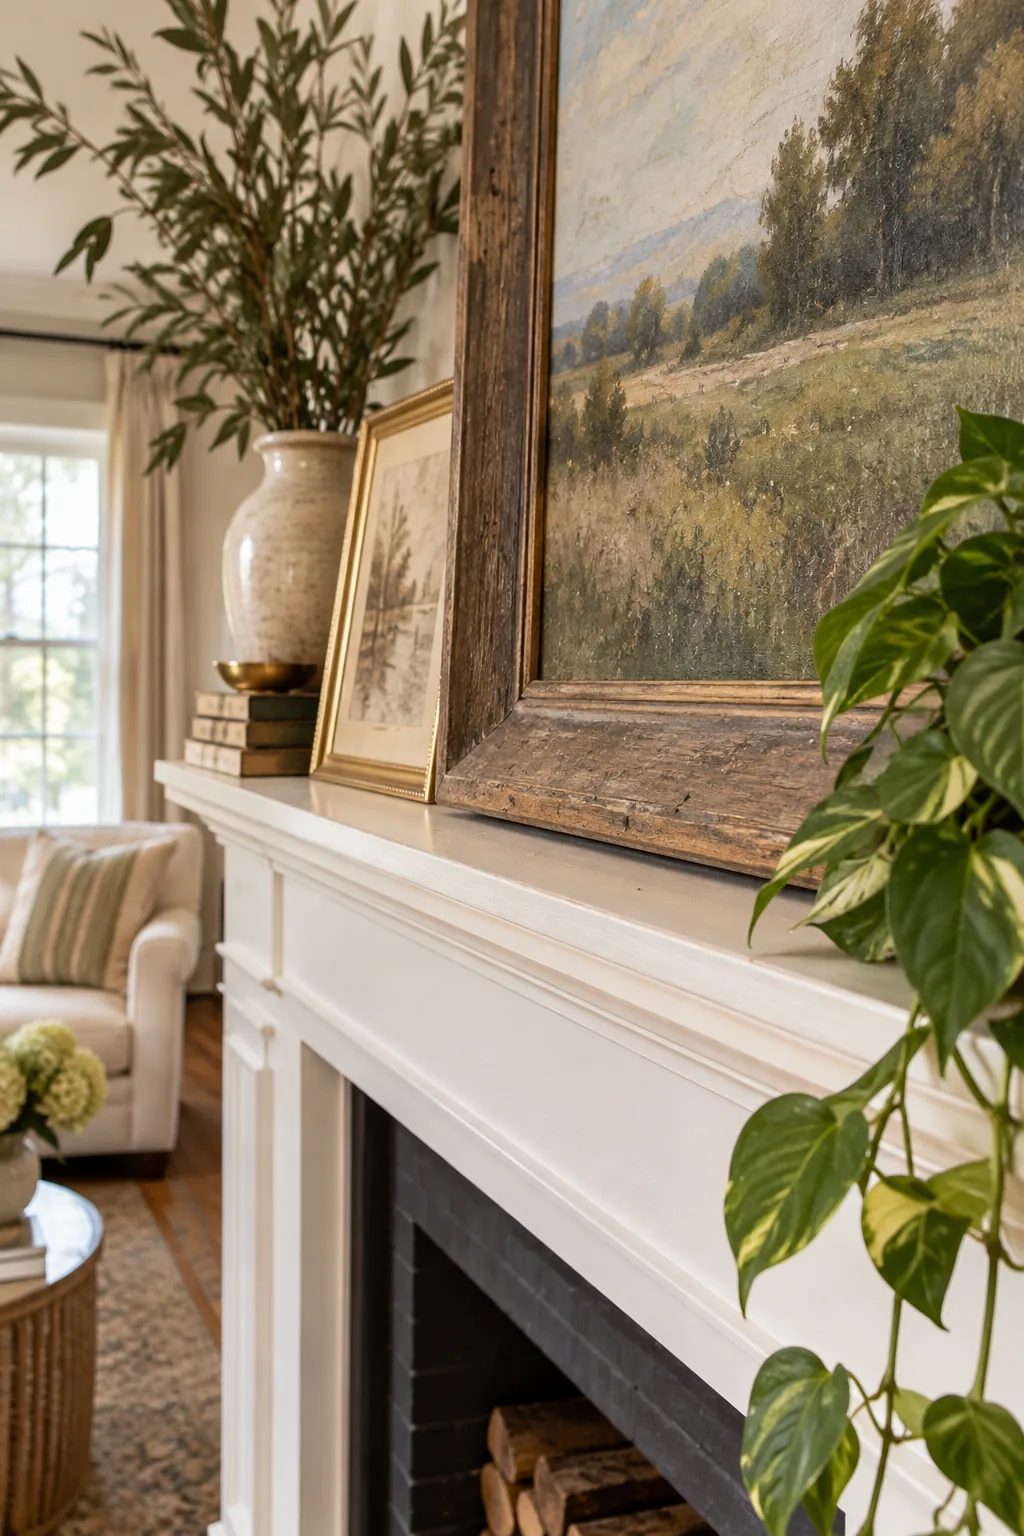
Building the peak of the triangle early prevents the arrangement from feeling like a static, heavy block of objects resting flatly against the wall. This high-low composition creates a natural path for the eye to follow across the architectural feature.
Understanding Asymmetrical Balance
Before placing any objects, you must map out the three critical zones that will carry the visual weight of your design. Defining these zones prevents the common mistake of crowding the center while leaving the outer edges completely bare.
- The Anchor: A heavy, central piece placed slightly off-center to break up predictable symmetry.
- The Peak: A tall vertical element on the left that draws the eye upward toward the ceiling.
- The Cascade: A low, softening element on the right that spills over the harsh wooden ledge.
Evaluating Room Proportions
Your mantel styling must directly respond to the height of your ceilings and the physical depth of the room itself. A massive vaulted living space demands oversized art and towering branches, while a cozy den requires much tighter, controlled layering.
Preparing the Mantel Surface
Before placing any decorative elements, you must clean the wooden or stone ledge to ensure adhesives bond properly. Dust and soot build up quickly near the firebox, which will ruin the grip of your securing materials if left unaddressed.
Choosing the Right Anchor Art
Your central piece dictates the mood of the entire room, so select a substantial canvas or framed print that commands attention. I always recommend choosing a muted, moody landscape that pulls colors directly from your surrounding furniture and textiles.
Securing the Anchor Art
Place your largest piece of art directly on the mantel, shifting it just slightly off-center to initiate the asymmetrical flow. You must press pea-sized balls of museum putty on base corners to lock the heavy piece firmly against the ledge.
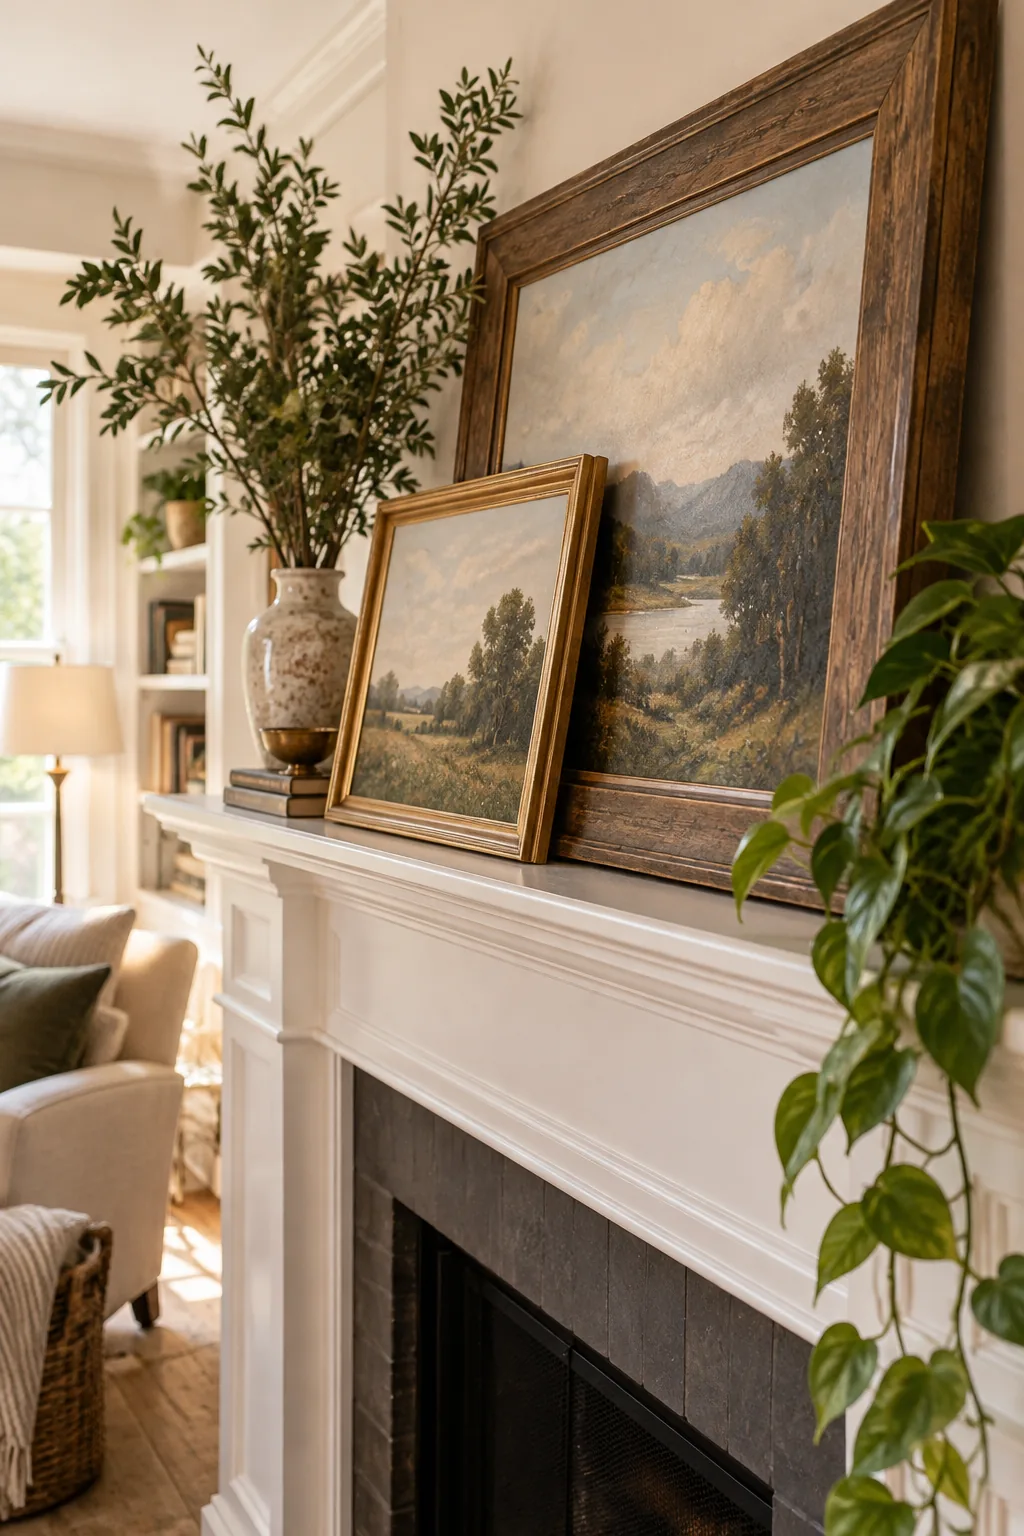
While leaning art looks effortlessly casual, a sudden draft or bump can easily send heavy glass crashing down. A simple hidden material keeps everything locked in place and protects the painted wood surface from scratches.
Selecting the Secondary Frame
The smaller foreground piece should contrast with your anchor by introducing a different subject matter, such as a delicate portrait or architectural sketch. This deliberate pairing prevents the layered composition from feeling overly themed or artificially matched.
Layering Secondary Frames
Position the smaller secondary frame directly in front of the anchor piece to build physical depth. You must overlap by 3 inches to ensure the frames feel connected as a single unit while allowing the primary landscape to shine.
This precise intersection grounds the smaller frame so it does not look like it is floating aimlessly on the ledge. Keeping the overlap modest ensures the foreground piece complements rather than competes with your primary background art.
Mixing Frame Profiles
Pairing a thick, ornate vintage frame with a thin, modern gallery frame creates necessary physical depth. You must deliberately vary depth of frames to prevent the layered art from looking like a flat, uninteresting block against the wall.
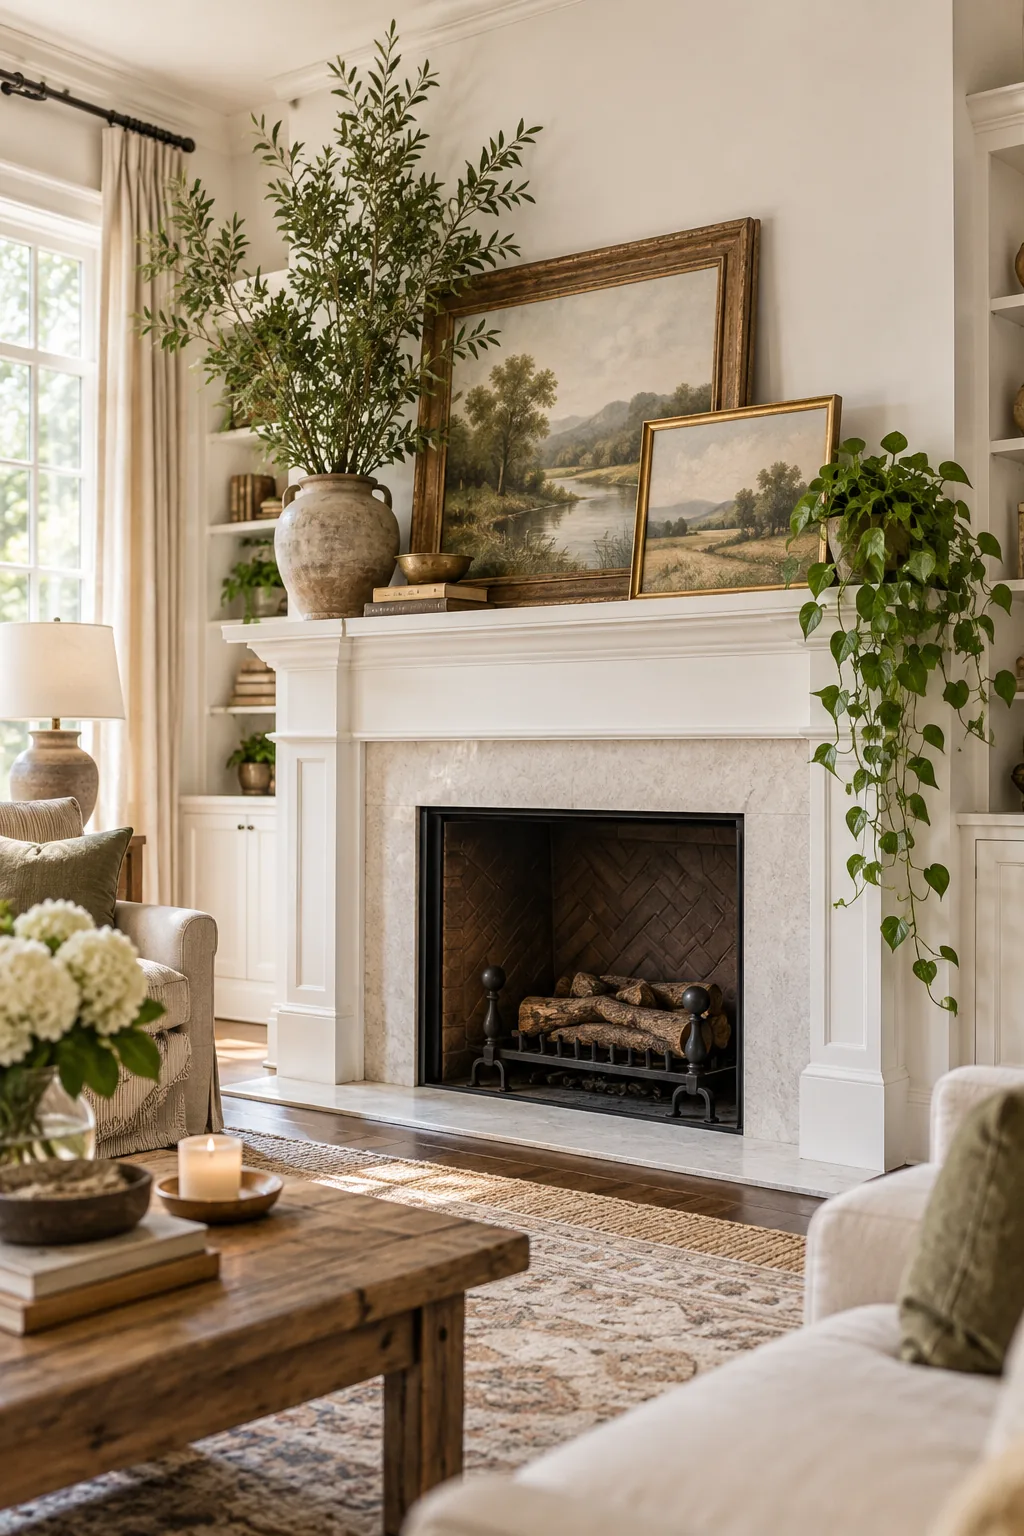
| Frame Style | Profile Depth | Best Position | Visual Effect |
|---|---|---|---|
| Vintage Ornate | 2 to 3 inches | Background Anchor | Adds heavy visual weight and historical character. |
| Modern Metal | 0.5 to 1 inch | Foreground Accent | Provides crisp contrast and sharp architectural lines. |
| Canvas Floater | 1.5 to 2 inches | Standalone Piece | Creates a shadow line for subtle, modern depth. |
Sourcing Heavy Ceramic Vases
A lightweight glass vessel will easily tip over when loaded with tall, heavy branches, creating a dangerous hazard on your ledge. You must choose a dense, heavily weighted ceramic or stoneware jug that provides a rock-solid foundation for dramatic foliage.
Adding Vertical Height
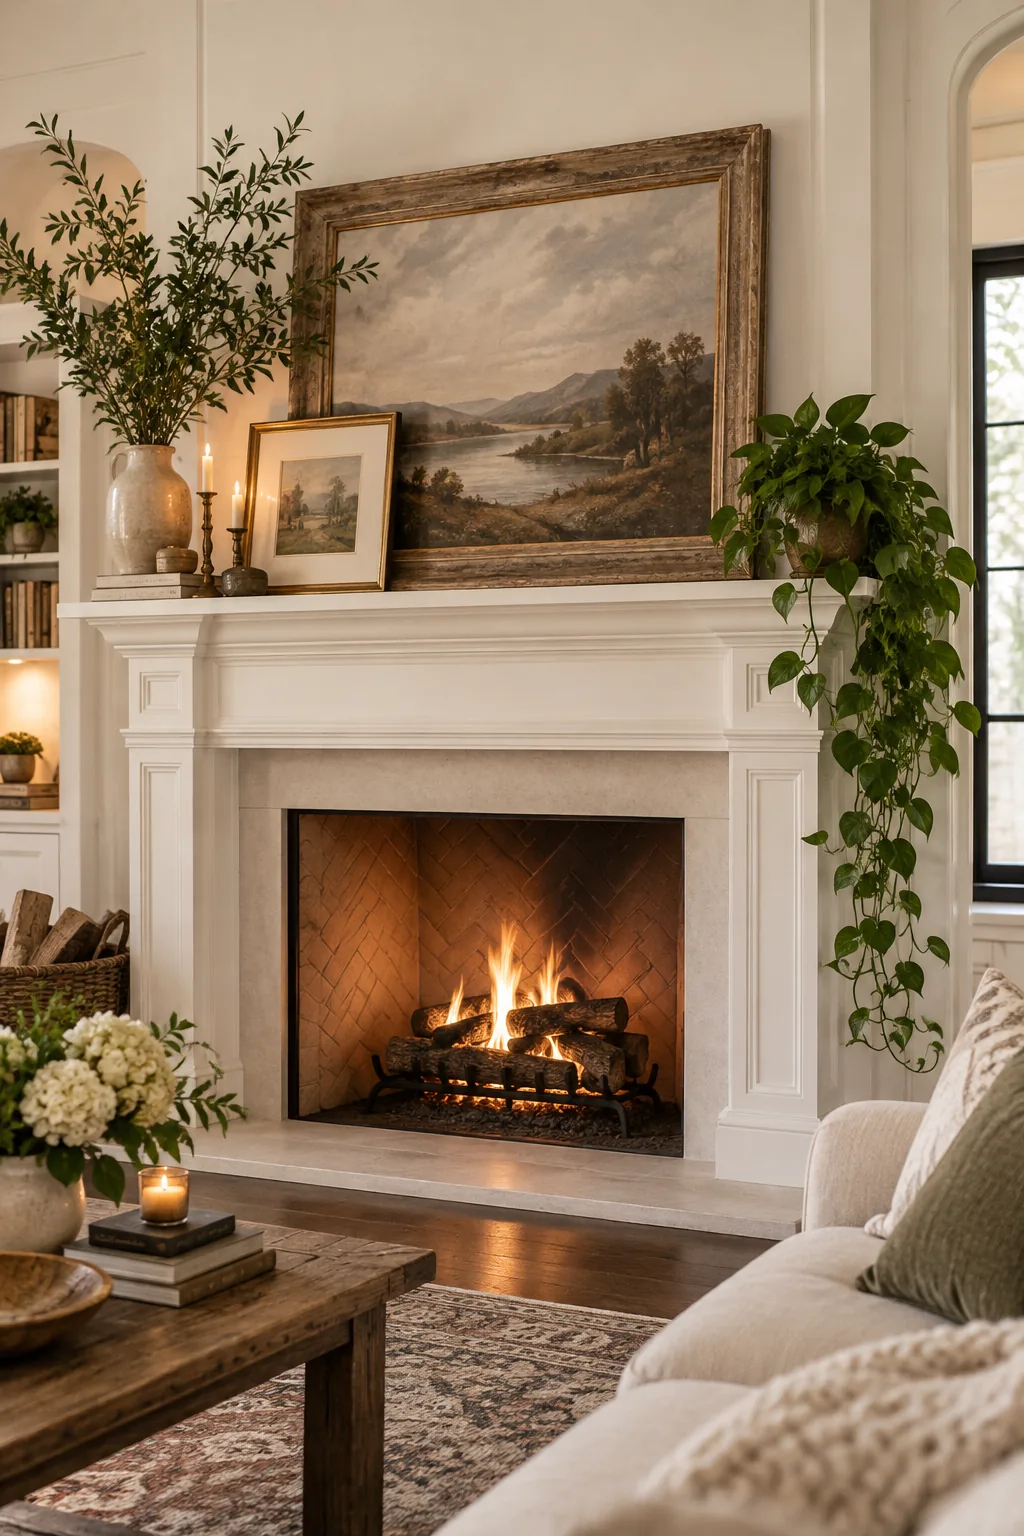
Use a heavy ceramic vase and tall leafy branches on the left side to establish the high point of your visual triangle. I always tell my clients that reaching closer to the ceiling makes the entire room feel significantly larger and more intentional.
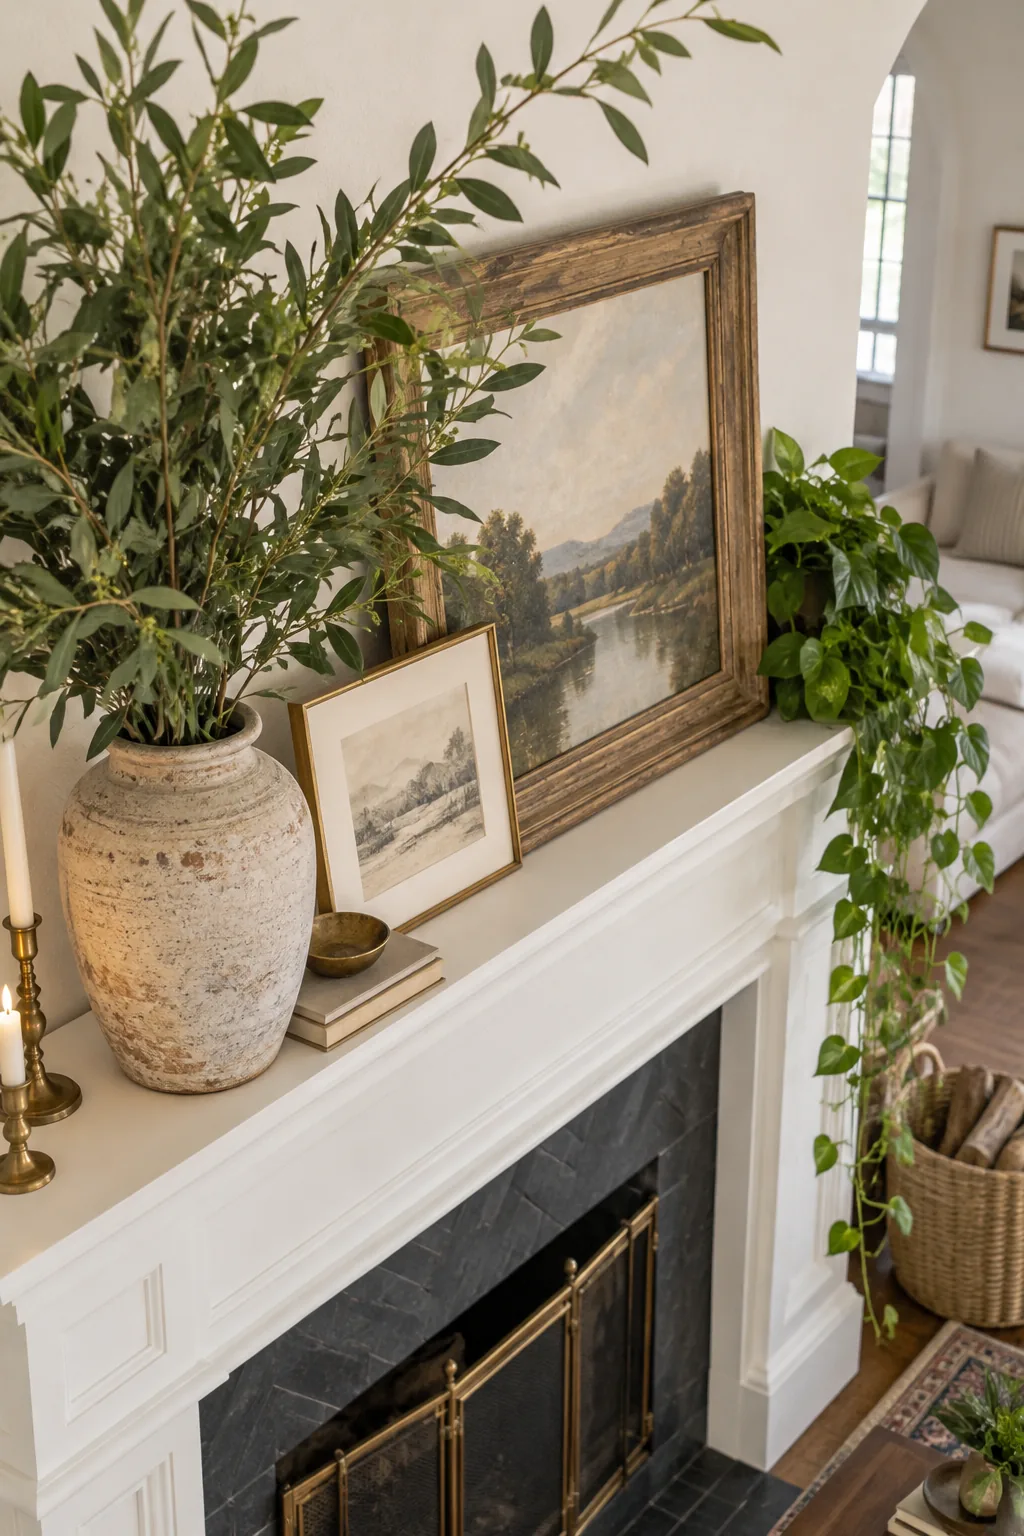
You need to extend stems 6in above the top edge of the anchor artwork to successfully break up the empty wall space. This dramatic height difference forces the eye to travel upward, highlighting your crown molding or ceiling details.
Selecting the Right Branch Scale
Choosing the correct foliage ensures your vertical element feels proportional to the heavy anchor art without overwhelming the mantel depth. Structured branches provide necessary architectural lines, while wispy stems often get lost against the blank wall.
- Measure the total height of your background art to establish your baseline dimension.
- Select sturdy branches that naturally fork, allowing them to fan out across the upper wall.
- Trim the bottom stems so the highest leaf sits exactly six inches above the art frame.
Maintaining Trailing Pothos
Live greenery brings essential energy to the fireplace, but the rising heat from the firebox can quickly dry out delicate soil. Choose a hardy, drought-tolerant trailing plant like a golden pothos that thrives on neglect and requires minimal watering.
Balancing with Trailing Greens
Create the low point of the triangle on the right side by introducing a relaxed, cascading element. In my own home, a simple trailing pothos completely transformed a rigid, formal fireplace into a relaxed and inviting focal point.
You must tuck pot behind art, concealing the plastic or terracotta container completely behind the right edge of the large framed piece. This allows only the organic vines to spill visibly and safely to the far right edge of the mantel.
Styling the Grounding Books
Vintage books provide the perfect architectural riser for small decorative objects that would otherwise get lost on a deep wooden ledge. Remove glossy modern dust jackets to expose the textured linen bindings, ensuring the colors harmonize with your natural ceramic tones.
Grounding the Arrangement
Fill the remaining visual gaps at the base of the tall vase by stacking two or three neutral, fabric-bound books. Top this small stack with a brass candlestick to gracefully bridge the height difference between the mantel deck and the vase neck.
Lighting the Mantel Display
Proper illumination brings your carefully layered textures to life once the sun goes down and the fire is lit. Angle your ceiling directional lights to wash gently over the canvas, casting subtle shadows behind the overlapping frames for dramatic depth.
More Visual Triangle Mantel Ideas
Adapt the visual triangle formula to fit your home's unique style with these distinct fireplace looks.
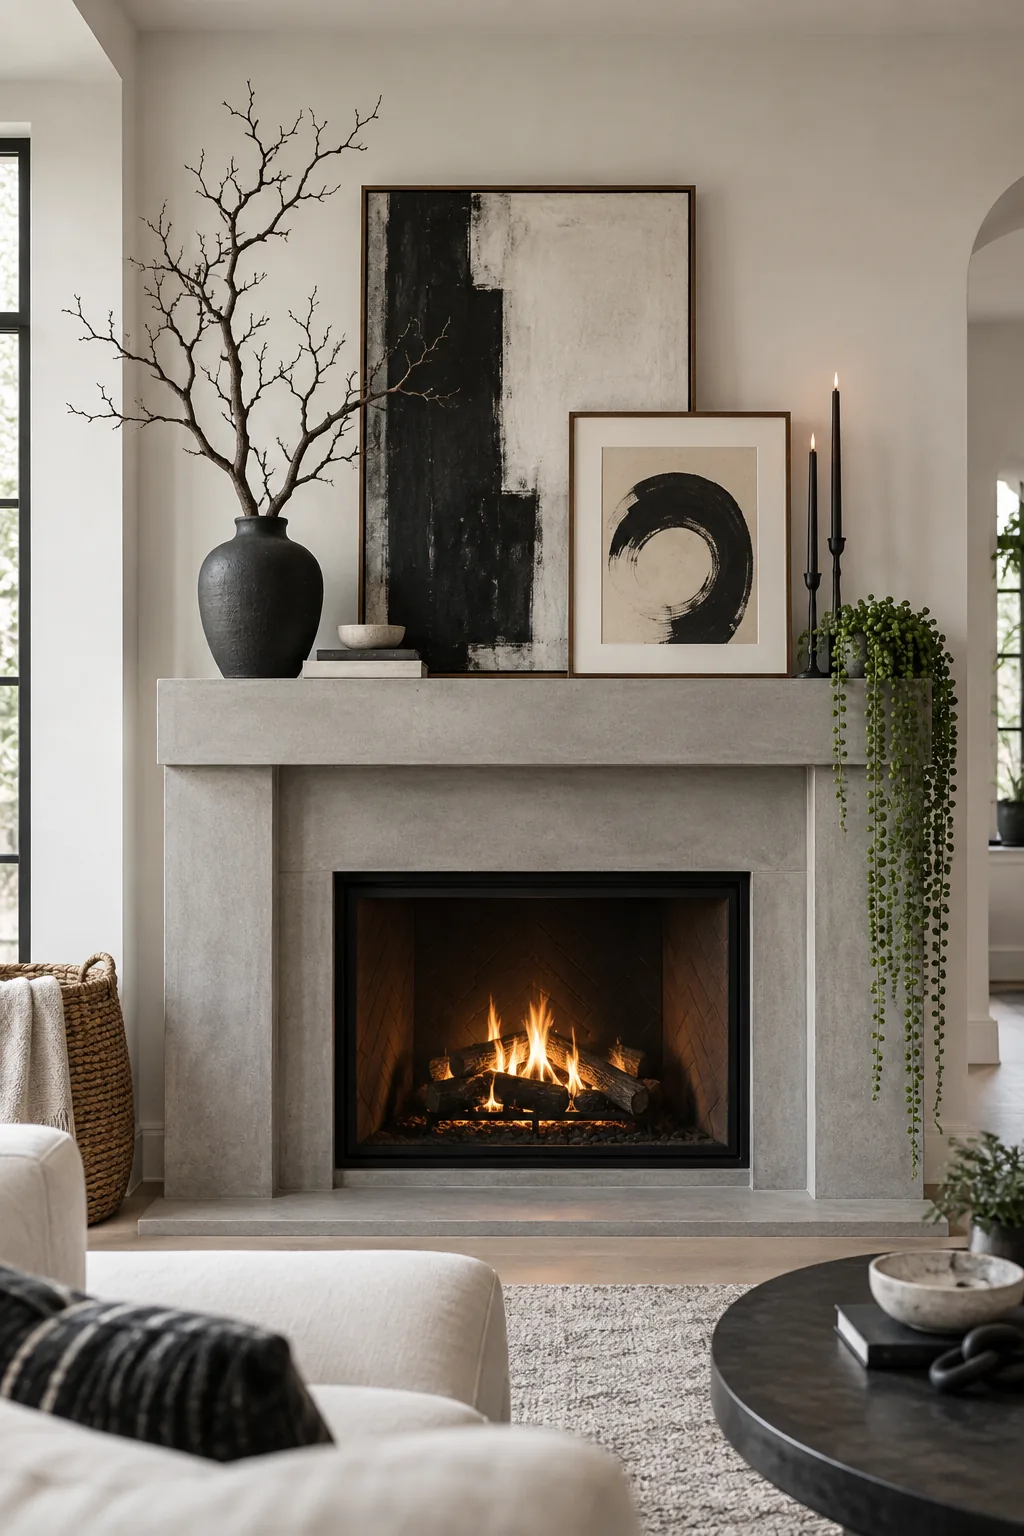
Modern minimalist monochrome: Keep the visual triangle sharp with abstract black-and-white art, a single structural branch, and a sleek trailing string of pearls.
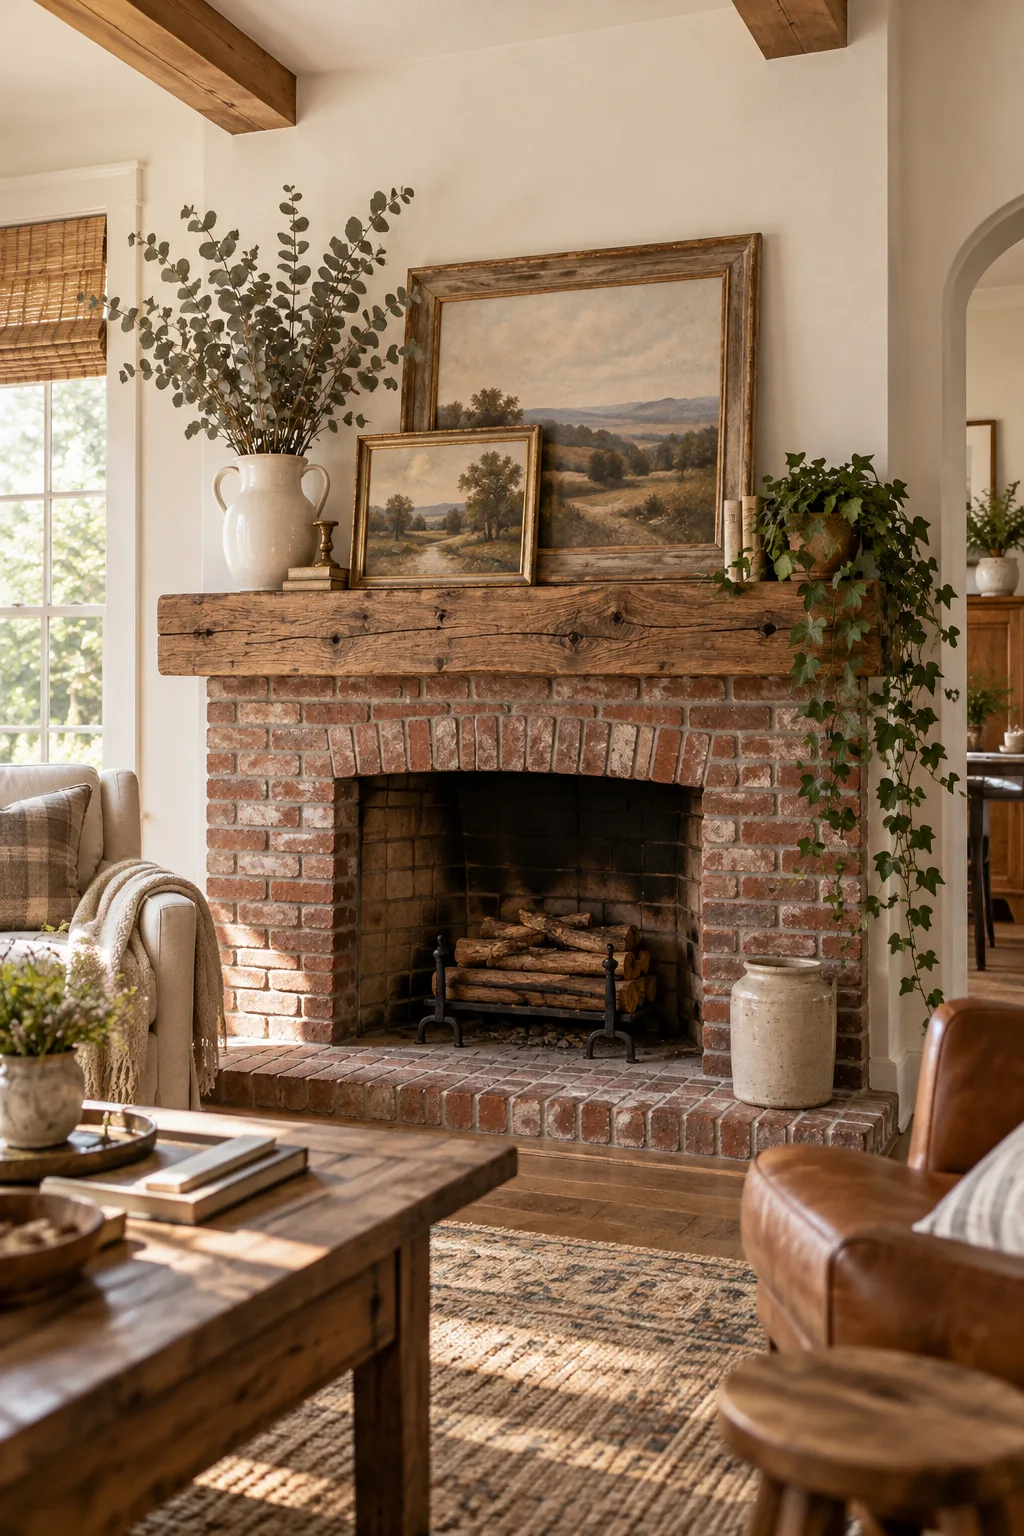
Rustic farmhouse textures: Warm up a brick hearth by layering distressed wood frames, dried eucalyptus stems, and a lush English ivy plant for organic softness.
Moody eclectic maximalism: Embrace drama against a dark teal wall using ornate brass frames, deep burgundy smoke bush branches, and a lush silver satin pothos.
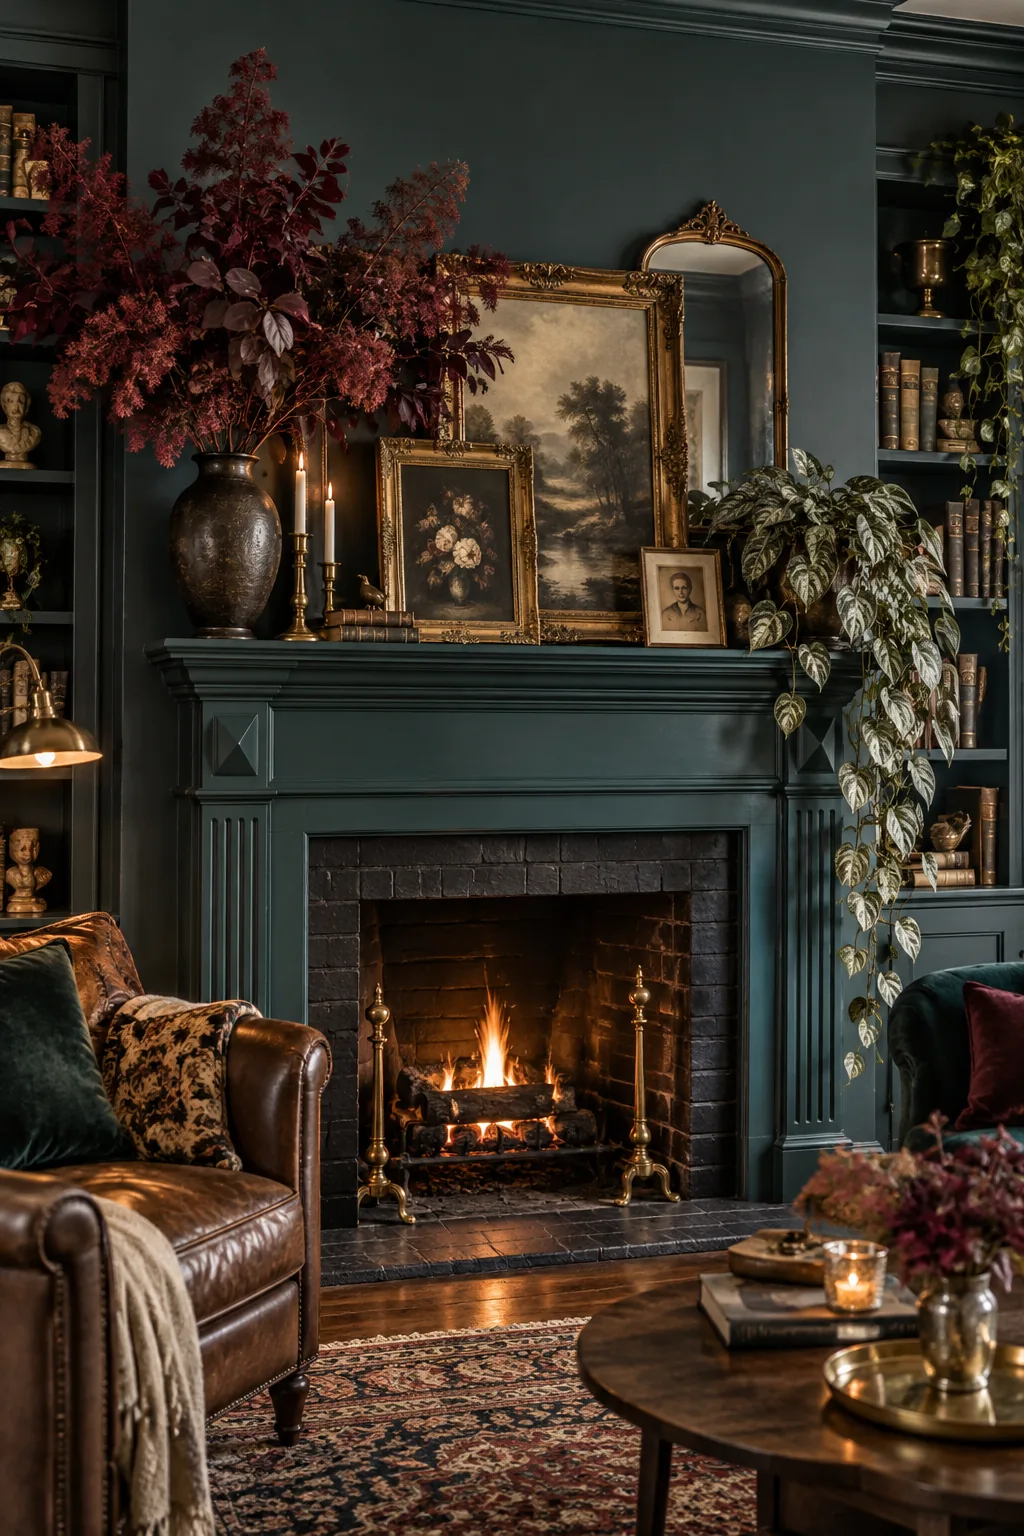
Your Mantel Styling Cheat Sheet
This actionable checklist summarizes the visual triangle method so you can execute perfectly balanced above fireplace decor immediately. Reiterate the precise measurements for overlap and height to guarantee your asymmetrical arrangement feels cohesive and intentional.
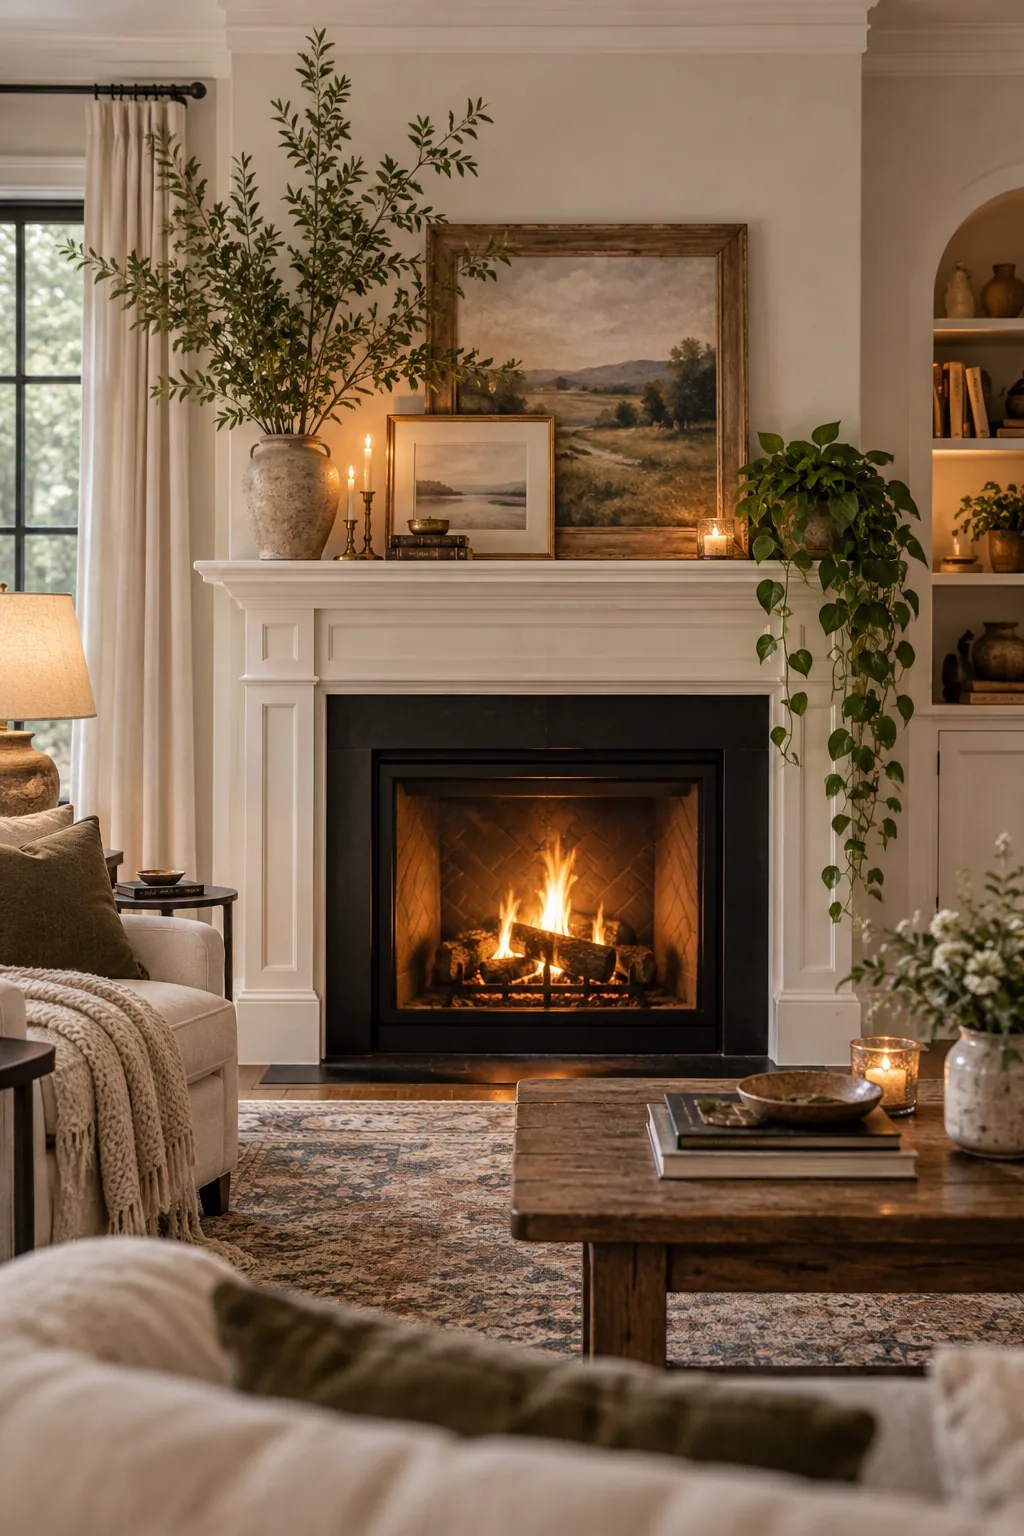
Before you step back to admire your newly decorated fireplace, run through this final checklist to ensure every element is perfectly executed. These exact measurements will keep your design secure, layered, and visually engaging.