
Shower Window Guide: Slab Sills, Waterproofing & Build Sheet
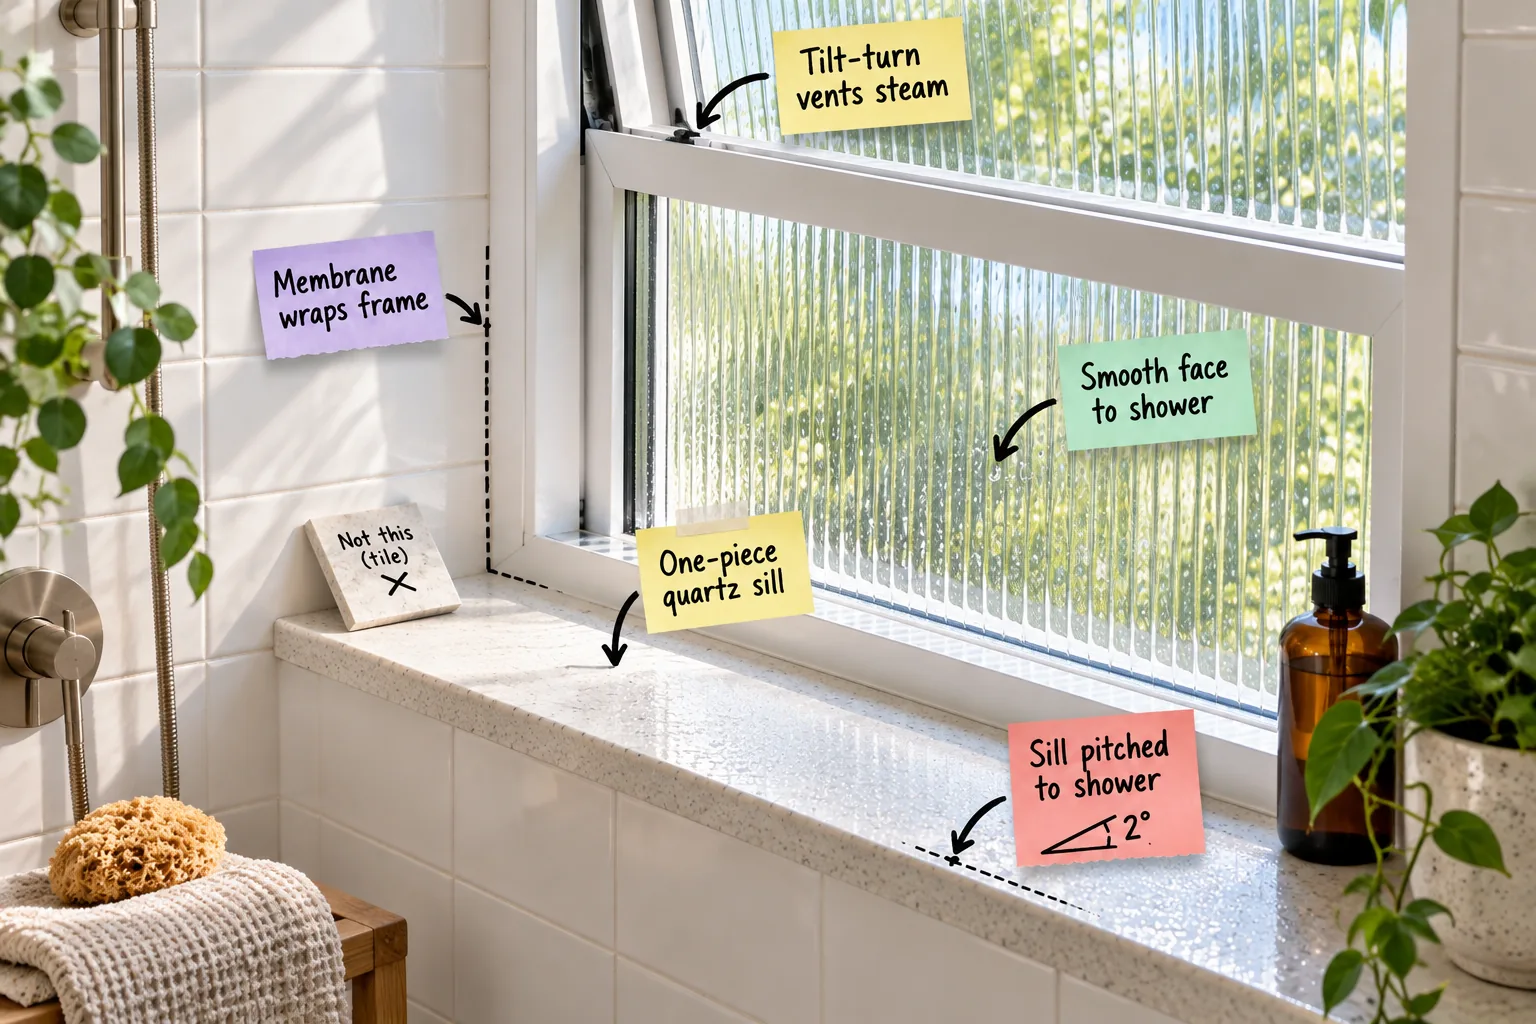
Planning a window in your shower means making crucial waterproofing decisions, which is why I put together the Shower Window Build Sheet. You will be able to confidently order your window, size your slab sill, and hand your contractor the exact waterproofing sequence using this free printable guide.
Why a One-Piece Slab Beats Tile
Horizontal surfaces in a wet zone take an absolute beating, so you need a material that naturally repels standing water. A one-piece quartz sill eliminates the grout lines where moisture typically causes mold and eventual failure in tiled ledges.
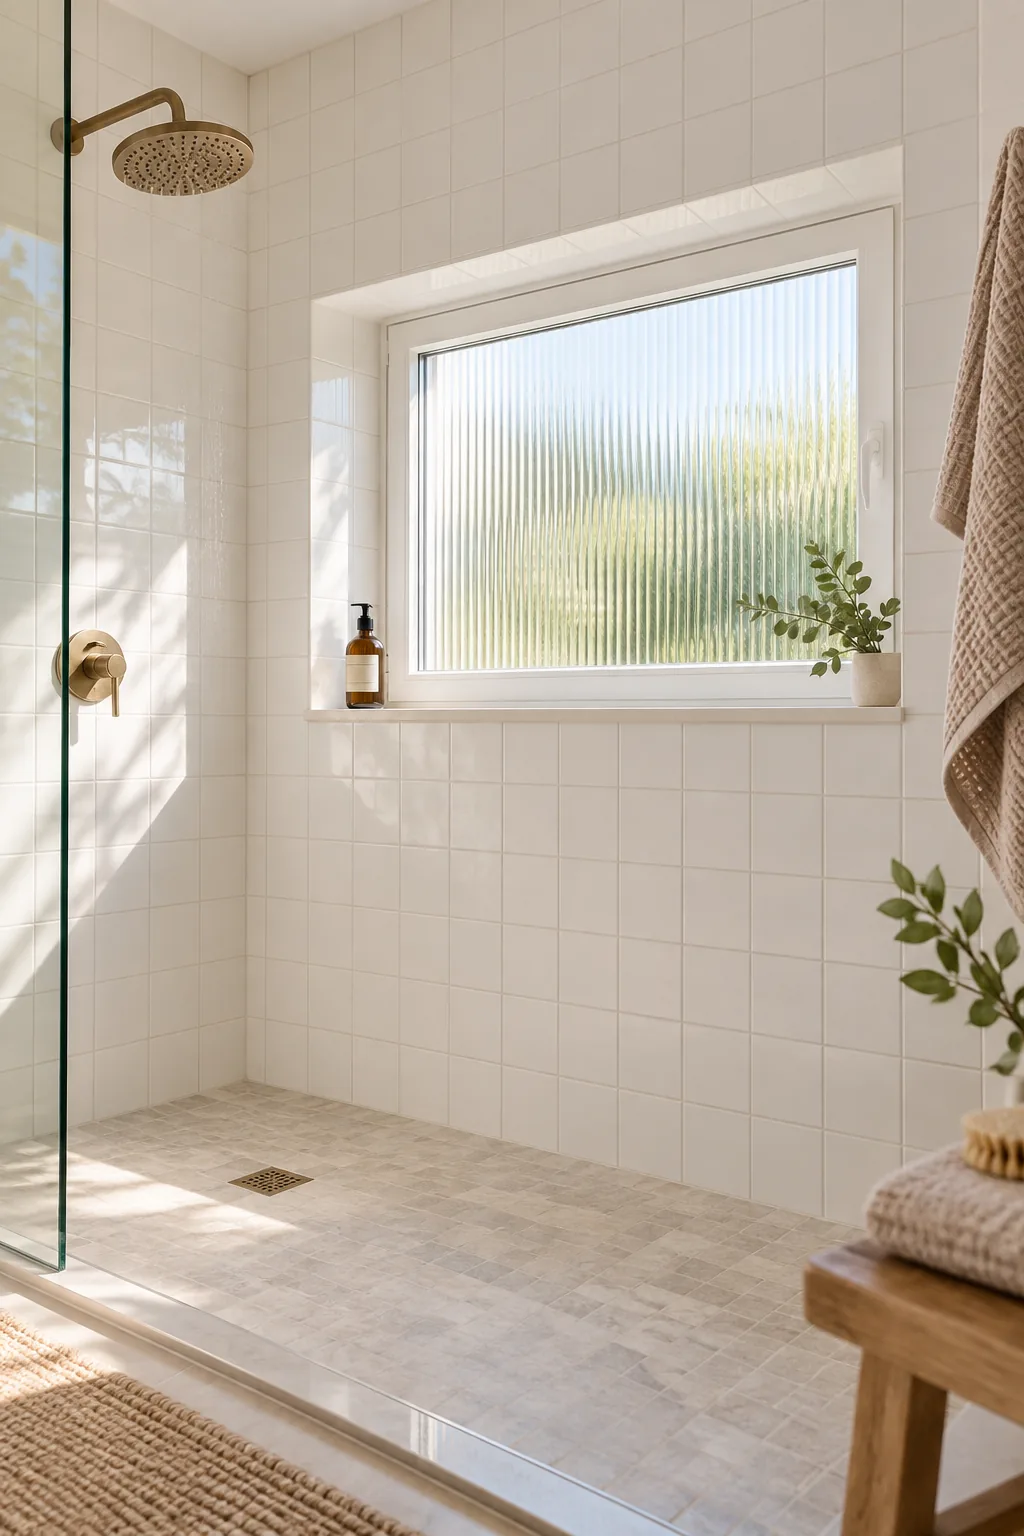
Using a solid slab ensures that water has a smooth, unbroken path right back into the shower pan without seeping into underlying mortar.
Assessing Your Existing Framing
Before ordering your new window, your contractor needs to open the wall and assess the integrity of the existing king and jack studs. If previous leaks caused hidden water damage, you must replace the compromised lumber to ensure the new heavy unit is fully supported.
Positioning the Window Height
The ideal shower window placement keeps the sill above the direct splash zone of your primary showerhead, usually at least shoulder height. Elevating the rough opening minimizes the volume of water hitting the glass, which significantly reduces your daily squeegeeing and long-term maintenance load.
Coordinating with Wall Tile Layout
A truly professional installation aligns the window frame perfectly with your grout lines for a seamless, intentional look across the entire bathroom. Work with your tile setter to map out the courses beforehand, ensuring you avoid awkward slivers of tile around the jambs and sill.
Selecting the Right Engineered Quartz
Natural stone like marble looks gorgeous, but it absorbs moisture and stains easily from everyday shampoos and harsh body washes. Engineered quartz provides a completely non-porous surface that never requires sealing, making it the ultimate low-maintenance choice for a permanently wet environment.
Sizing Your Quartz Sill Overhang
Plan for a 1/2-inch overhang beyond the finished tile face, ensuring the front edge is polished to match the top. When I remodeled my guest bathroom, I learned the hard way that flush sills cause water to track down the walls, so watch out for these common installation errors.
Measuring the Jamb Depth
Before cutting your quartz, you must measure the exact depth from the window frame to the outer face of the cement board. Add the thickness of your thinset and wall tile, plus your overhang, to determine the final total sill depth required for the slab.
Pitching the Sill for Drainage
A perfectly level sill will pool water, so the quartz slab must be installed with a 2-degree pitch dropping toward the shower interior. This subtle slope translates to roughly a 1/4-inch drop per foot of depth.
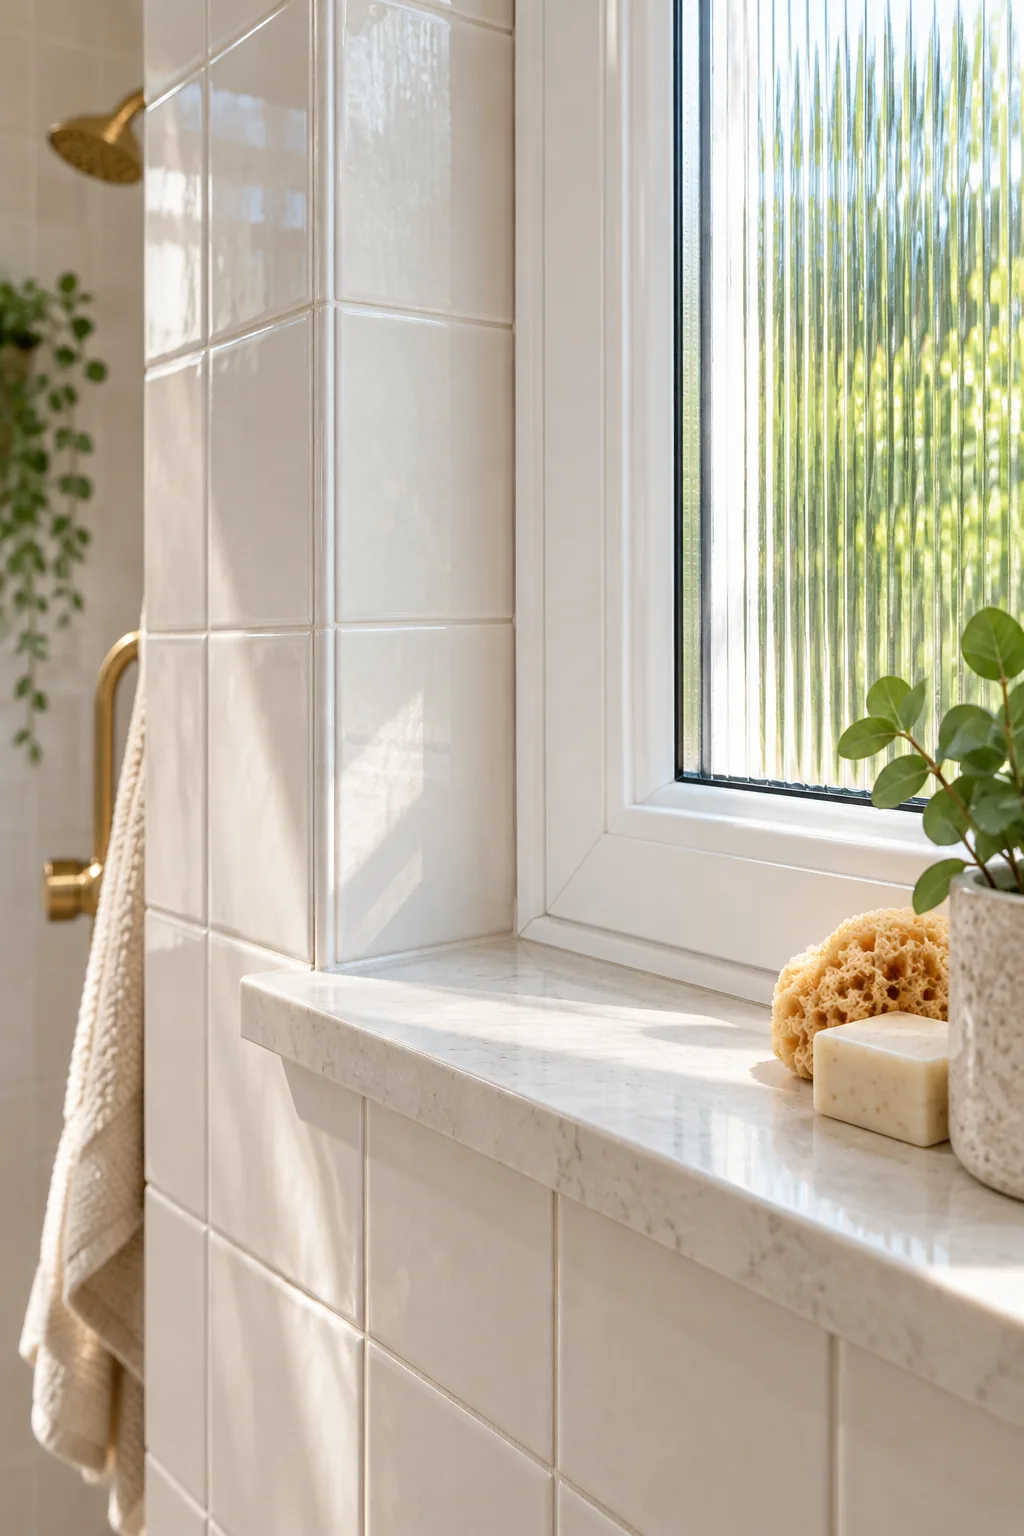
Verifying this angle with a small torpedo level before the thinset cures guarantees your sill will actively shed water after every single shower.
Creating the Mortar Bed Slant
You cannot rely on thinset alone to create the necessary slope for your heavy quartz slab. Your contractor must float a sloped mortar bed over the sill framing, giving the quartz a solid, angled foundation that will never sag or shift over time.
Waterproofing the Frame Connection
Waterproofing does not stop at the tile backer board; the hidden membrane must wrap fully into the jamb returns and integrate with the window frame edge. I once had to tear out a beautiful window surround in my own master bath because the previous owner skipped this exact step.
Tying the waterproofing membrane directly into the frame before any tile is laid is the only way to protect your wall framing from rot.
Liquid vs. Sheet Membranes
Both liquid-applied and sheet membranes work beautifully for shower windows as long as they are rated for continuous moisture exposure. Sheet membranes often provide a more uniform thickness around sharp corners, while liquid versions easily coat complex window frame geometries without tricky folding.
Managing Exterior Flashing
While we focus heavily on the interior waterproofing, the exterior window flashing remains just as critical to your home’s overall structural health. Your installer must integrate the exterior window flanges with the house wrap, using high-quality flashing tape to prevent outdoor rain from penetrating the wall cavity.
Selecting the Window Frame Material
Wood frames will rot in a shower environment, regardless of how well they are painted or sealed against the elements.
| Material | Moisture Resistance | Shower Suitability |
|---|---|---|
| Wood | Poor | Never use |
| Vinyl | Excellent | Highly recommended |
| Fiberglass | Excellent | Highly recommended |
| Aluminum | Good | Prone to cold condensation |
Specifying an all-vinyl or fiberglass frame ensures your window structure can withstand daily direct moisture without degrading or requiring constant maintenance.
Insulating the Rough Opening
The gap between your new shower window and the wall framing requires proper insulation to prevent cold drafts and hidden condensation. Use a closed-cell spray foam designed specifically for windows and doors, which expands to fill voids without bowing the vinyl frame.
Why Tilt-Turn Windows Work Best
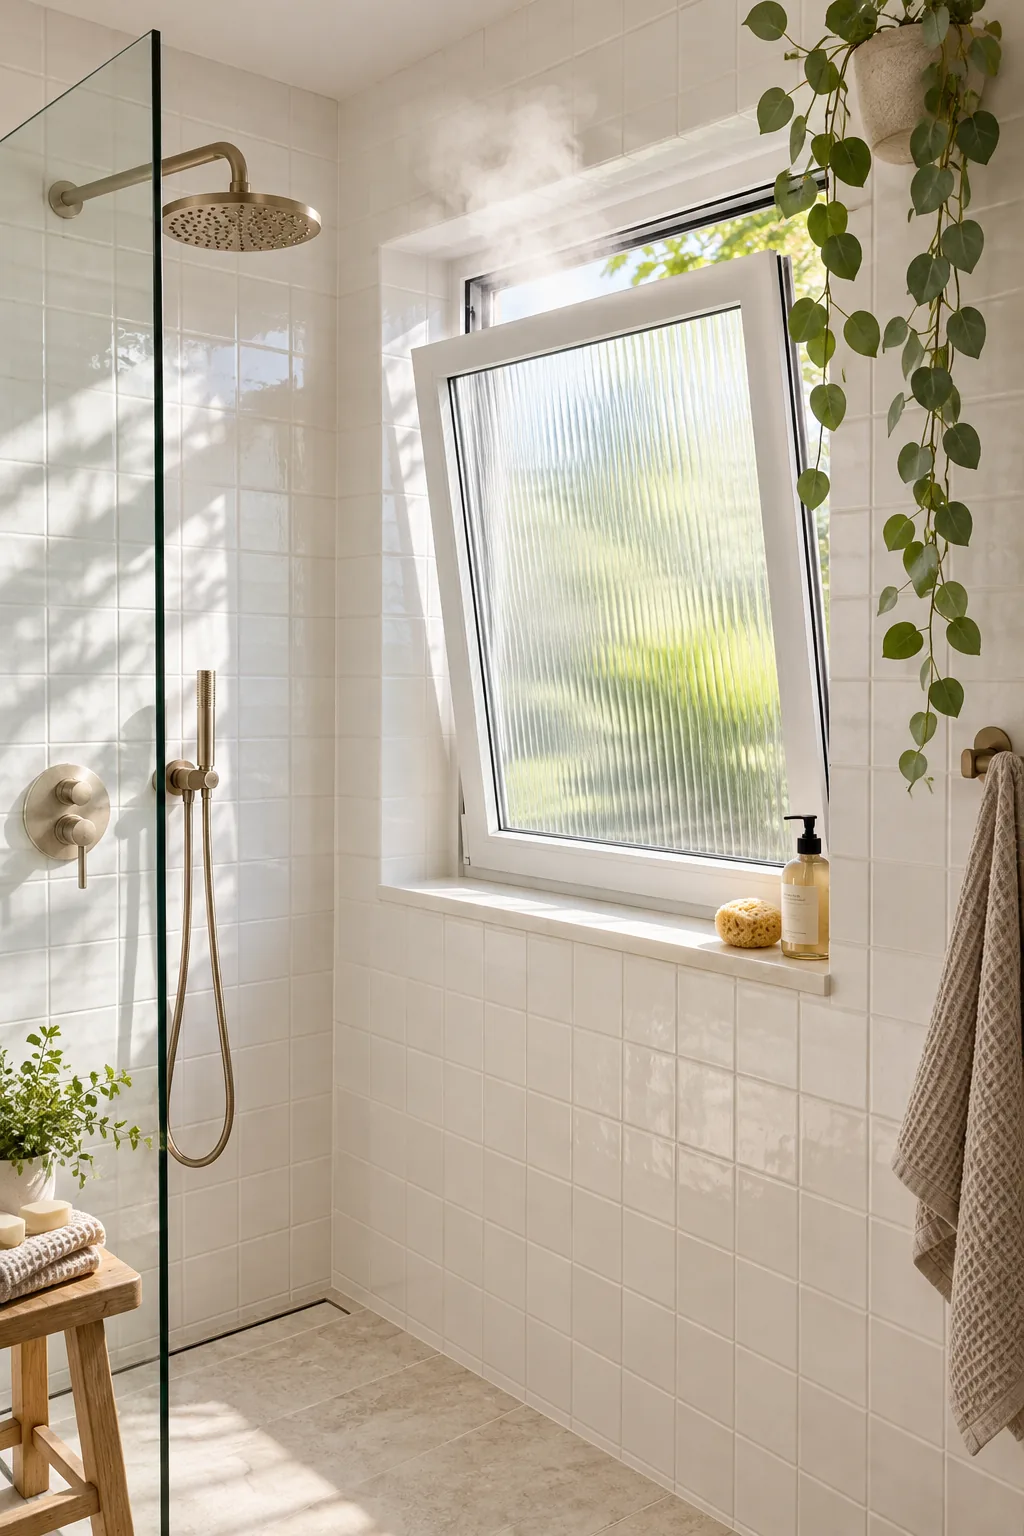
A tilt-turn window offers the best of both worlds for a shower, allowing the top to tip inward to vent heavy steam. I installed one in my Austin home, and I love how it lets out humidity while the angled sash blocks sudden rainstorms.
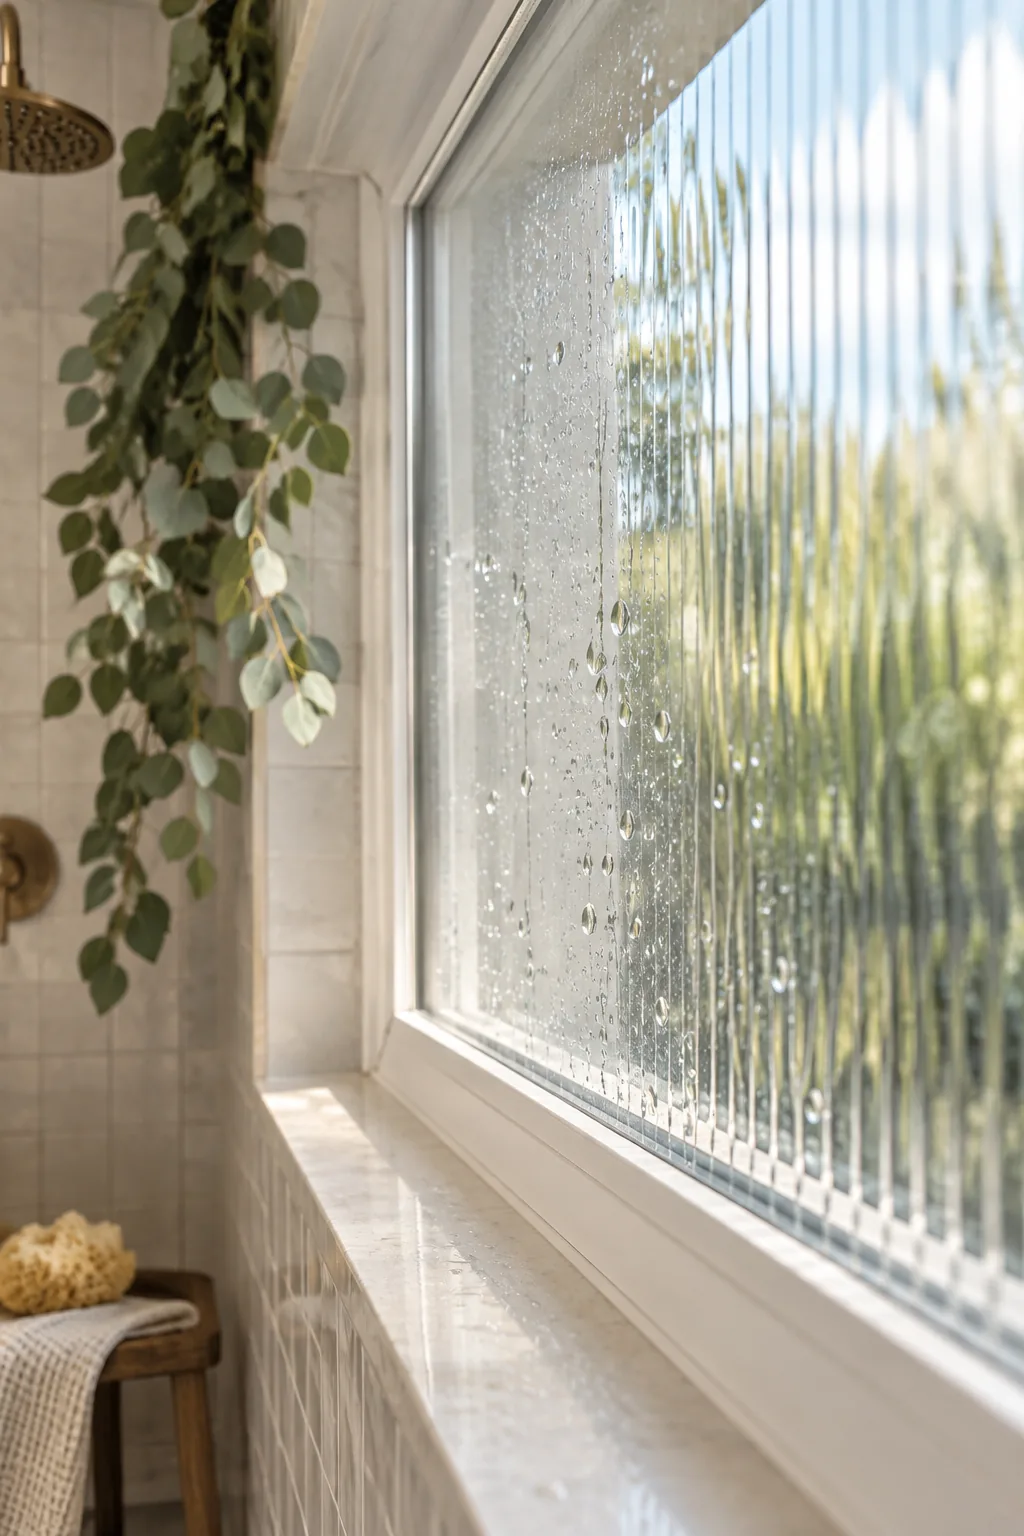
Operating on dual hinges, this clever design keeps your bathroom fresh without sacrificing privacy or exposing your interior to the weather.
Choosing the Right Hardware Finish
Window cranks and hinges sitting inside a shower face constant exposure to water and corrosive soap chemicals. Select solid brass or high-grade stainless steel hardware with a durable PVD finish to ensure your handles never rust or pit over the years.
Orienting Textured Privacy Glass
Reeded or frosted glass provides necessary privacy, but installing the textured side facing inward creates a nightmare for trapping soap scum. When I ordered my custom glass, I specifically requested that the smooth, glossy face point into the shower for effortless squeegeeing.
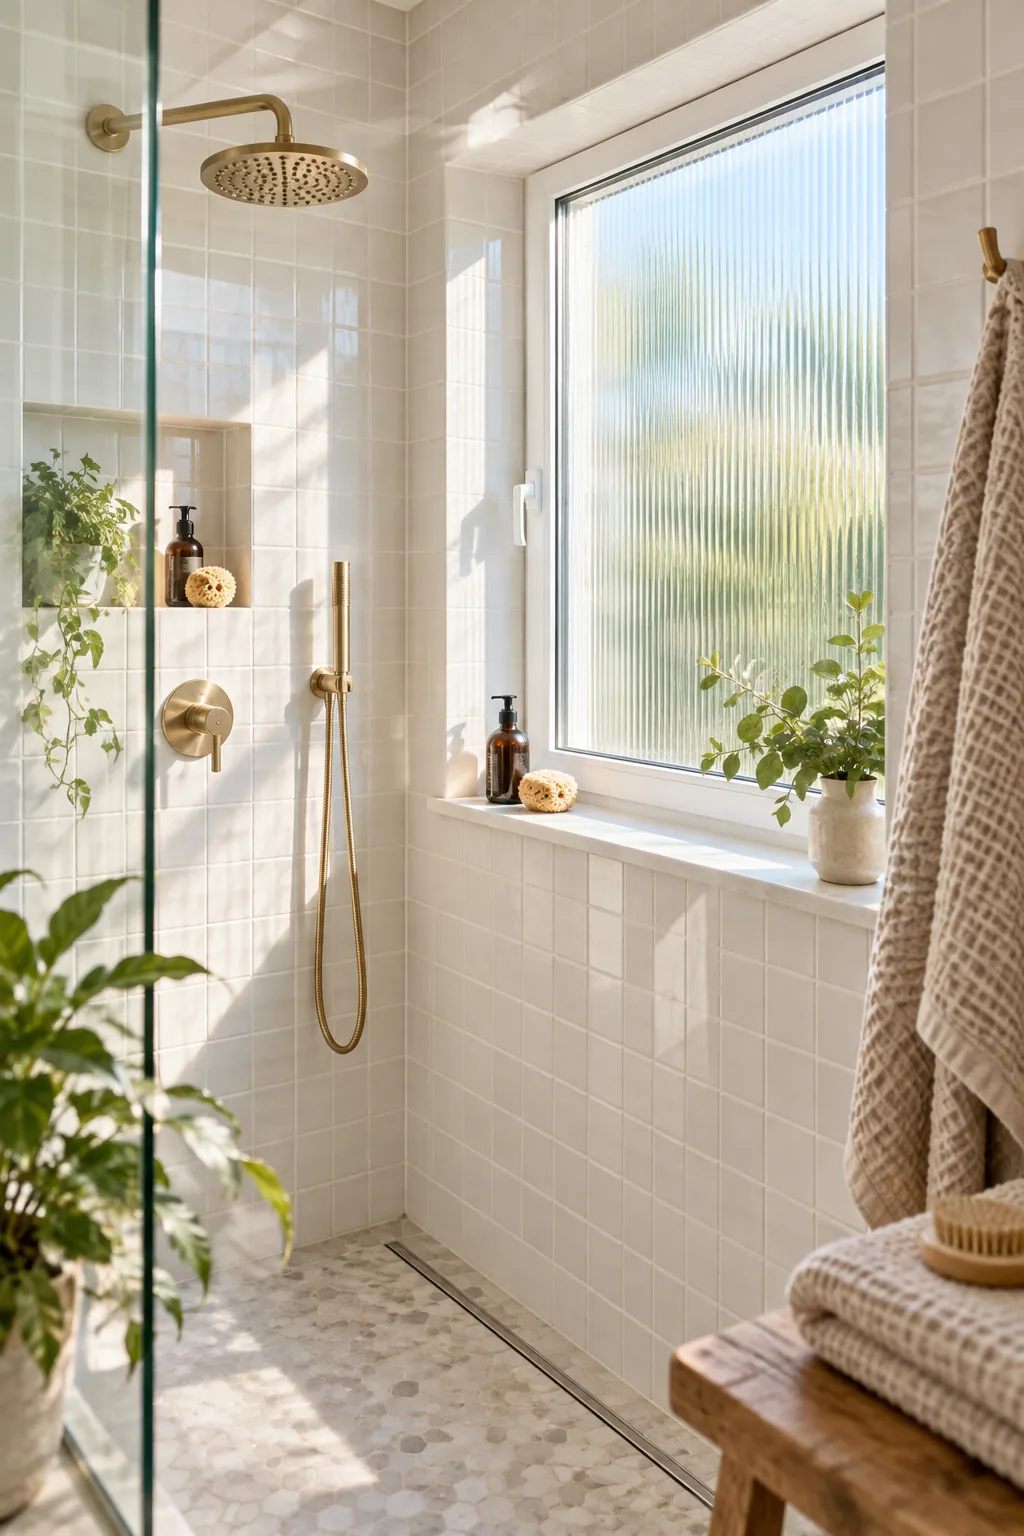
Keeping the fluting or frosting on the exterior side of the pane ensures your daily cleaning routine takes seconds rather than minutes.
Upgrading to Tempered Safety Glass
Building codes strictly require safety glass in any wet zone to prevent dangerous shards if someone slips and falls against the window. Always verify that your manufacturer uses tempered safety glass for both the interior and exterior panes of your shower window unit.
Applying the Perimeter Sealant
Grout will inevitably crack where the wall tile meets the window frame and the quartz sill due to natural house settling. You must fill these transition joints with a 100-percent silicone sealant, which remains flexible and completely waterproof for years.
Routine Maintenance for Shower Windows
Even a perfectly built window requires basic upkeep to stay watertight, so keep a squeegee nearby to clear the glass after every shower. Protect your investment by adding a few simple window checks to your regular bathroom cleaning routine.
Planning for Window Treatments
If your privacy glass still feels too exposed at night, you might consider adding a waterproof window treatment.
- Install a rust-proof tension rod with a quick-dry polyester curtain.
- Mount faux-wood blinds that resist warping in high humidity.
- Apply a secondary decorative privacy film over the smooth glass.
Keep any added treatments entirely within the waterproofed jamb area so they do not interfere with the main shower head spray.
Shower Window Inspiration by Style
Find the perfect material palette and window style to match your bathroom design.
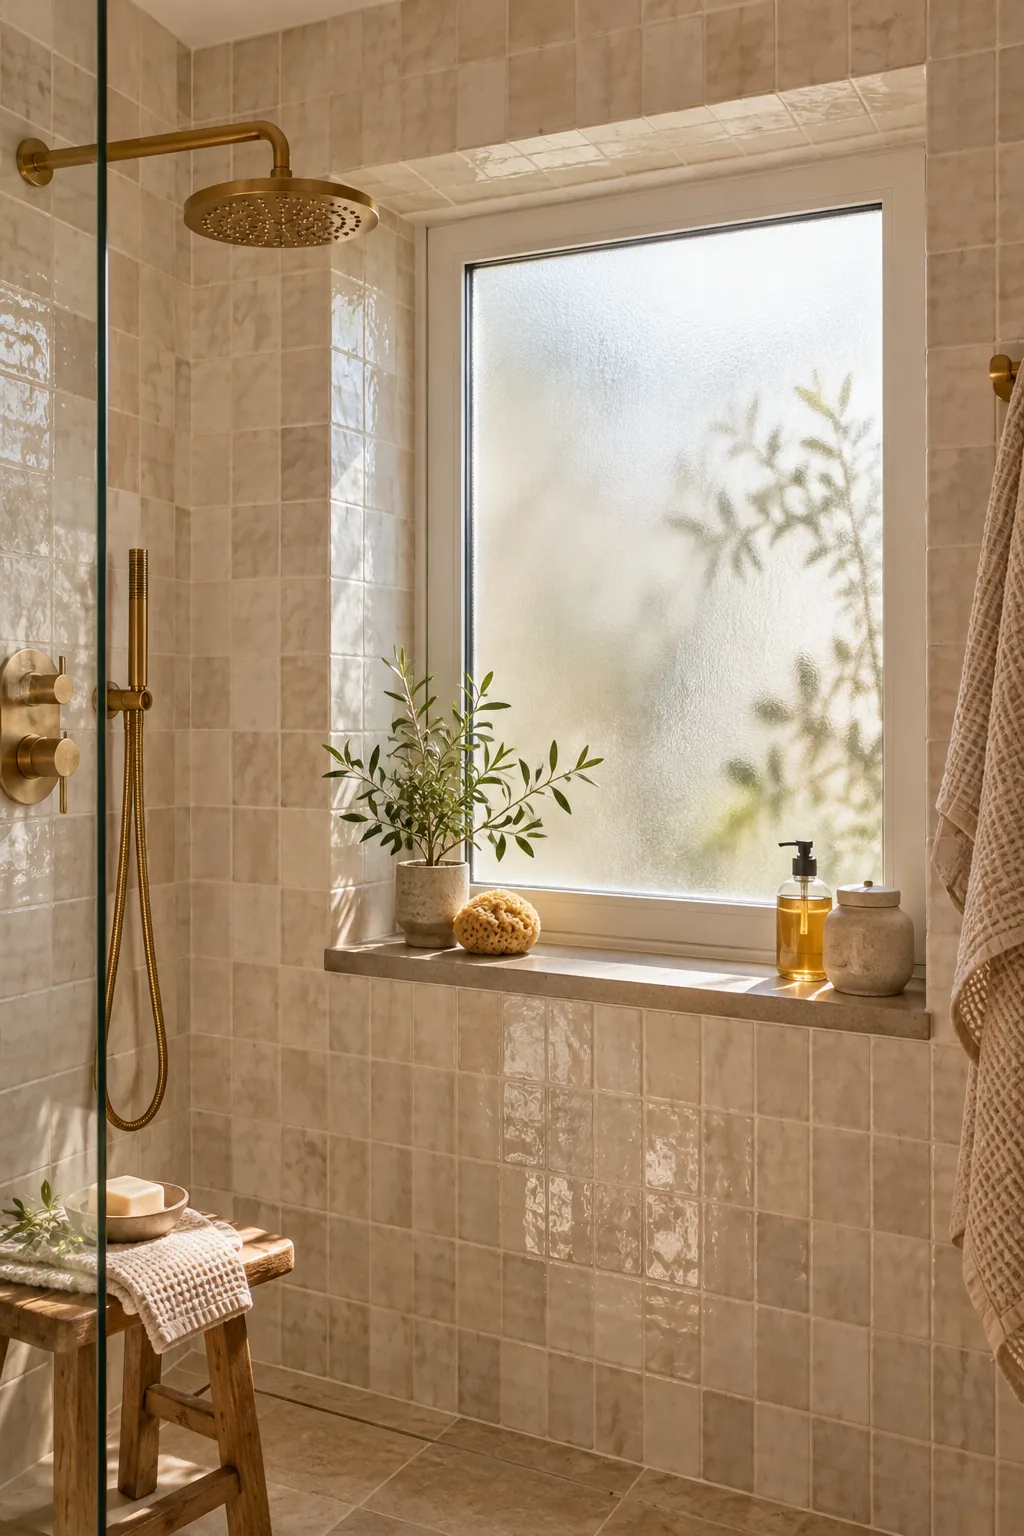
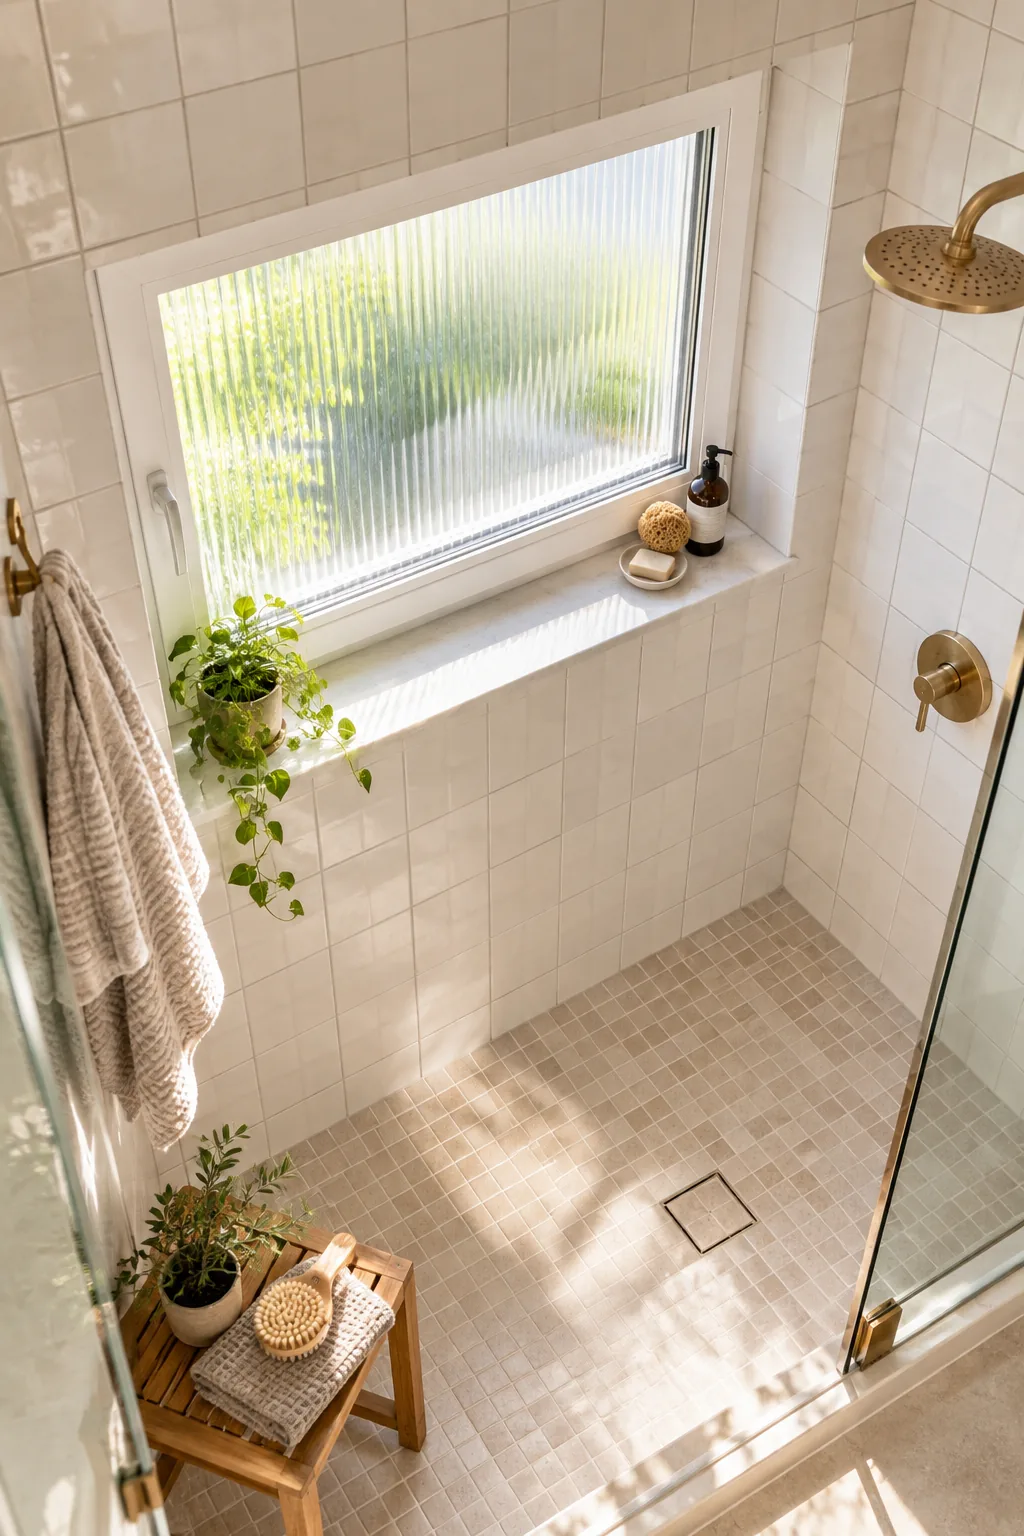
Modern Organic Brass Details: Warm beige zellige tiles pair beautifully with unlacquered brass fixtures for a soft, earthy atmosphere.
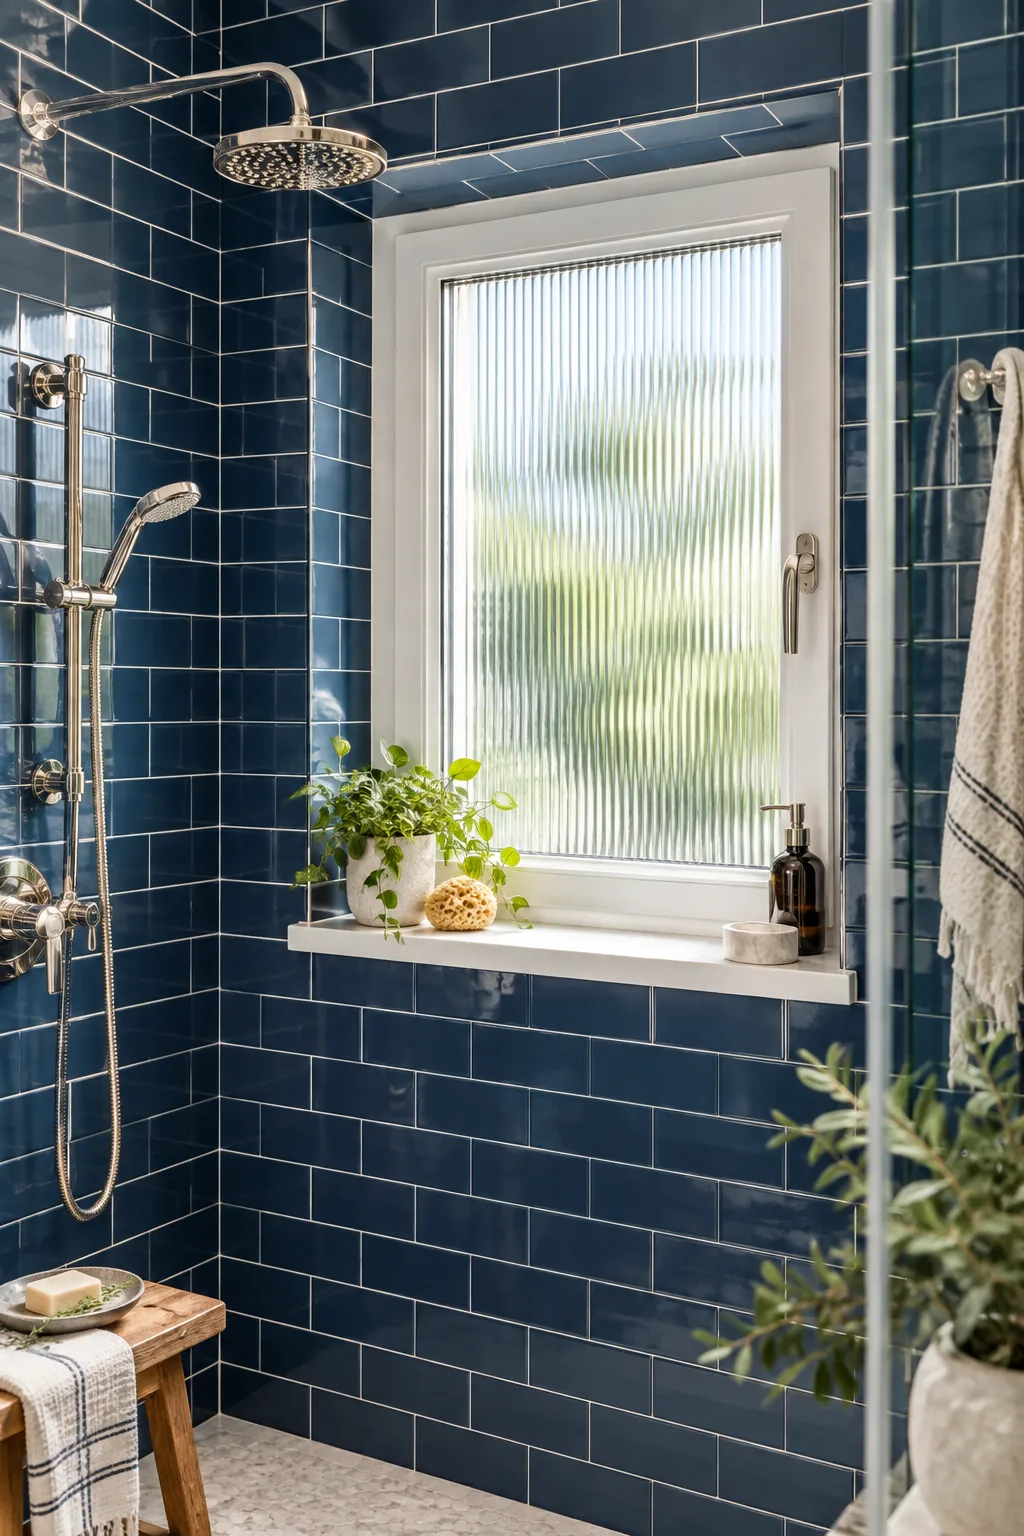
Coastal Crisp Navy Contrast: Deep navy blue subway tiles create a striking contrast against a pure white quartz sill.
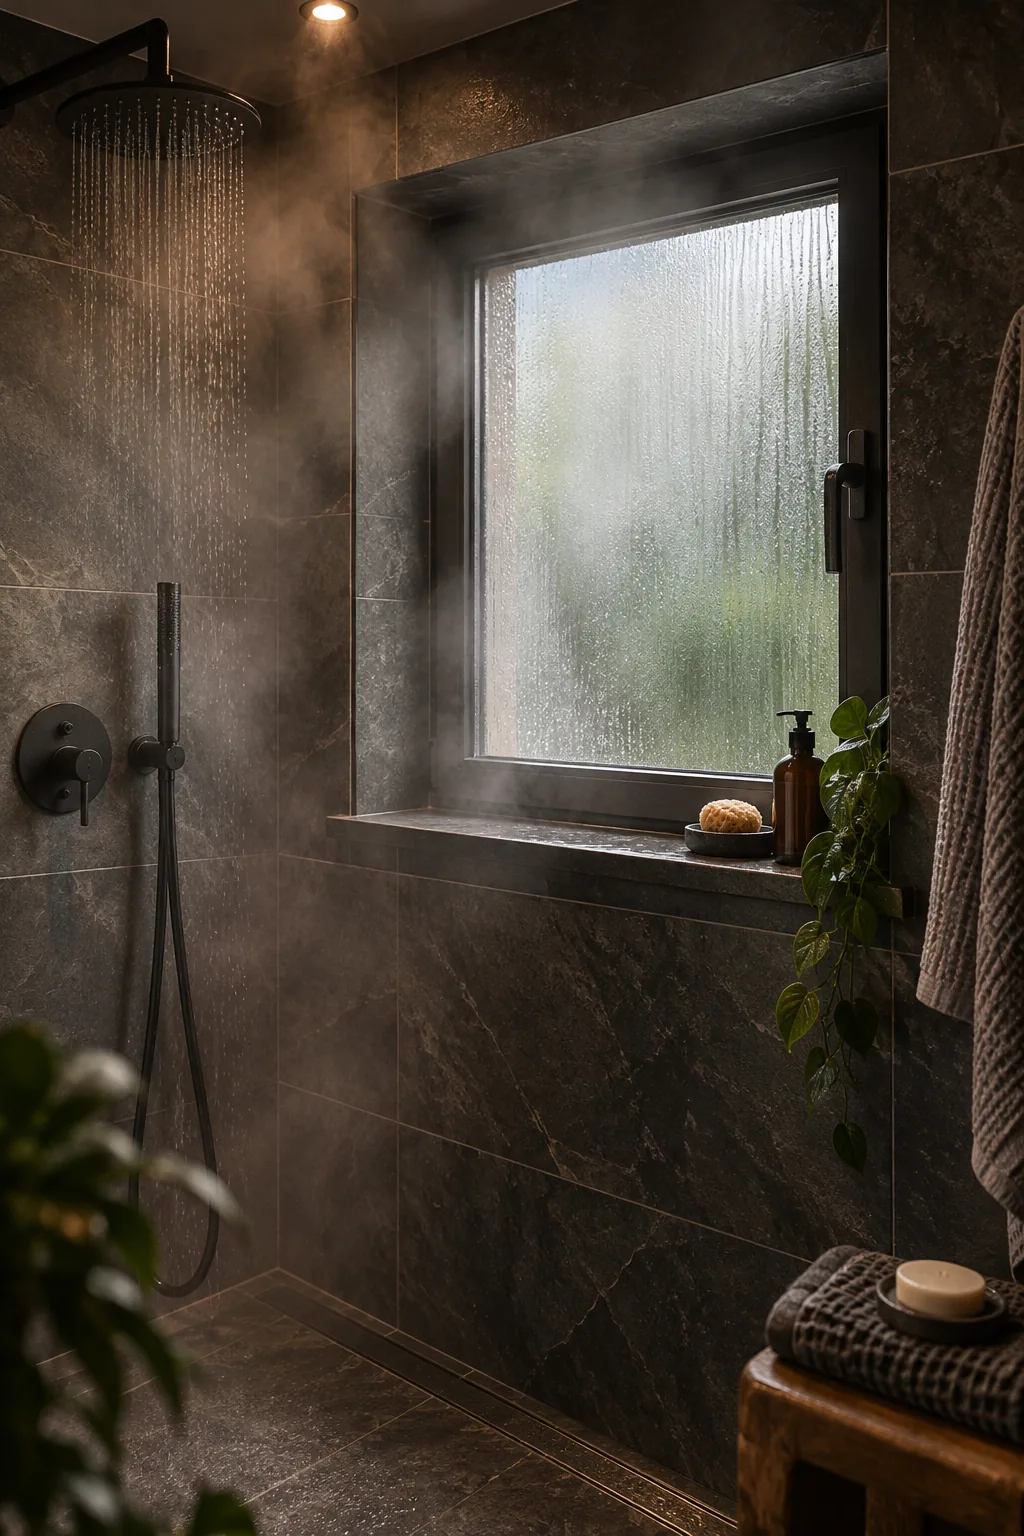
Moody Spa Slate Tones: Large-format charcoal tiles and matte black framing turn this window area into a relaxing, cave-like retreat.
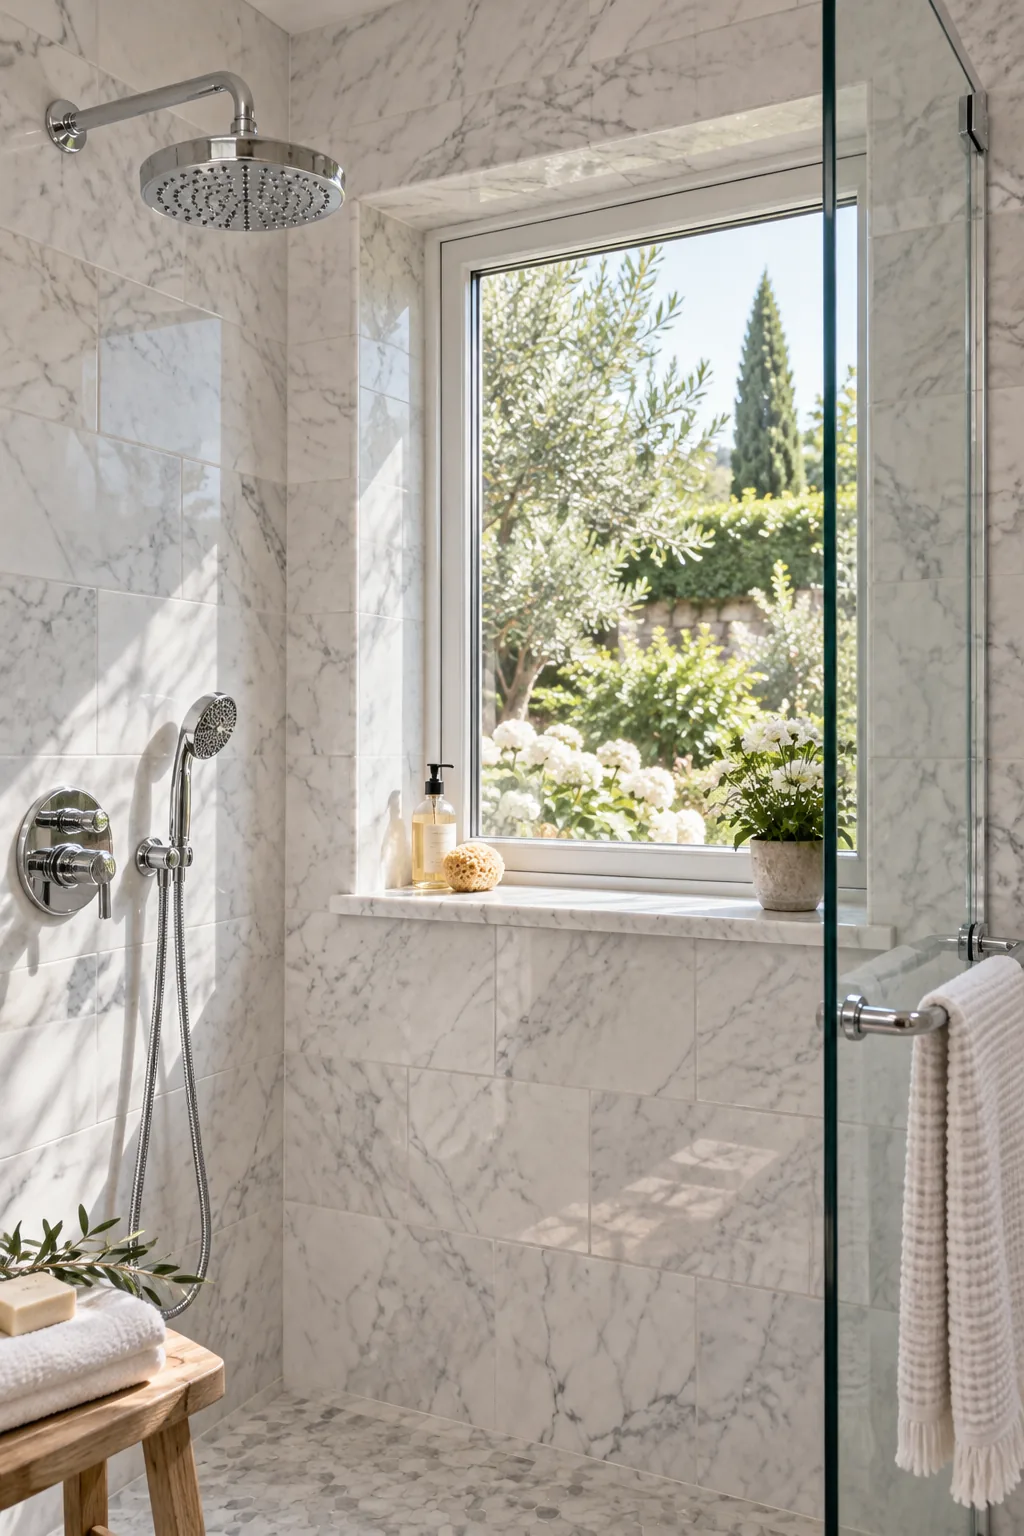
Traditional Marble And Chrome: Polished marble-look quartz provides the timeless elegance of natural stone without the maintenance headaches.
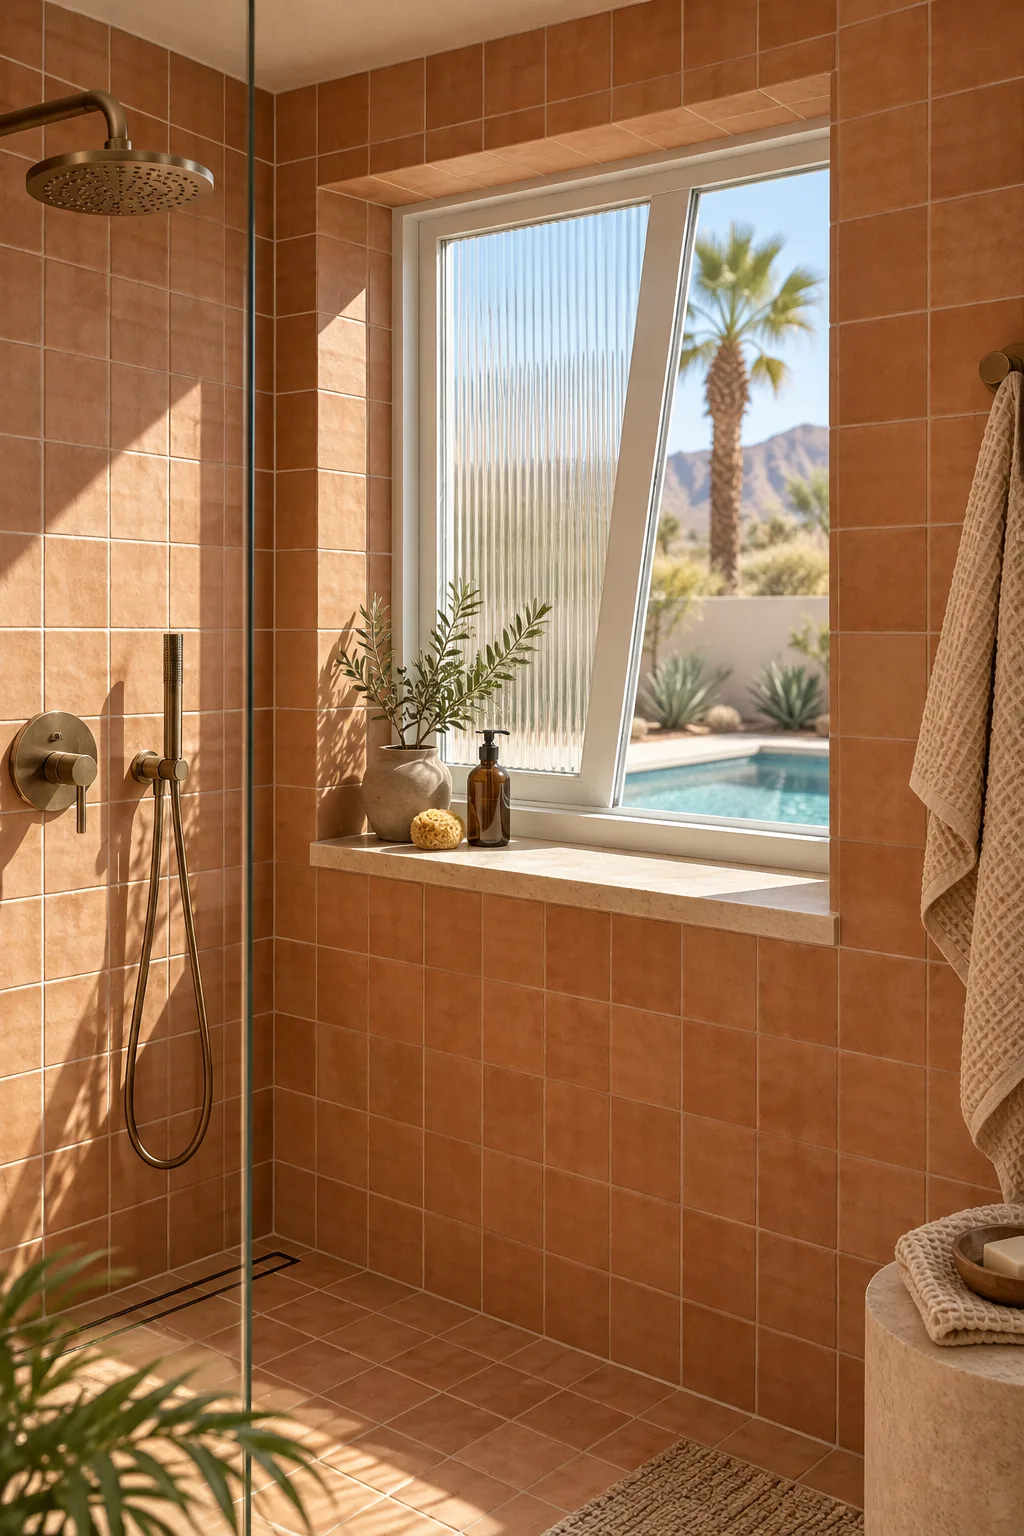
Desert Minimalist Terracotta Warmth: Matte terracotta tiles and a warm sand-colored sill bring sun-baked desert warmth into the shower enclosure.
The Shower Window Build Sheet
Ready to start your project and hand your contractor the exact specifications before framing begins? Print out our complete two-page build sequence to get your materials ordered and your waterproofing steps locked in.
This printable guide covers the exact membrane wrap order, the 2-degree pitch formula, one-piece slab cutting measurements, and your complete glass shopping list.