
Organize Your Garage with the 3-Zone Layout Guide
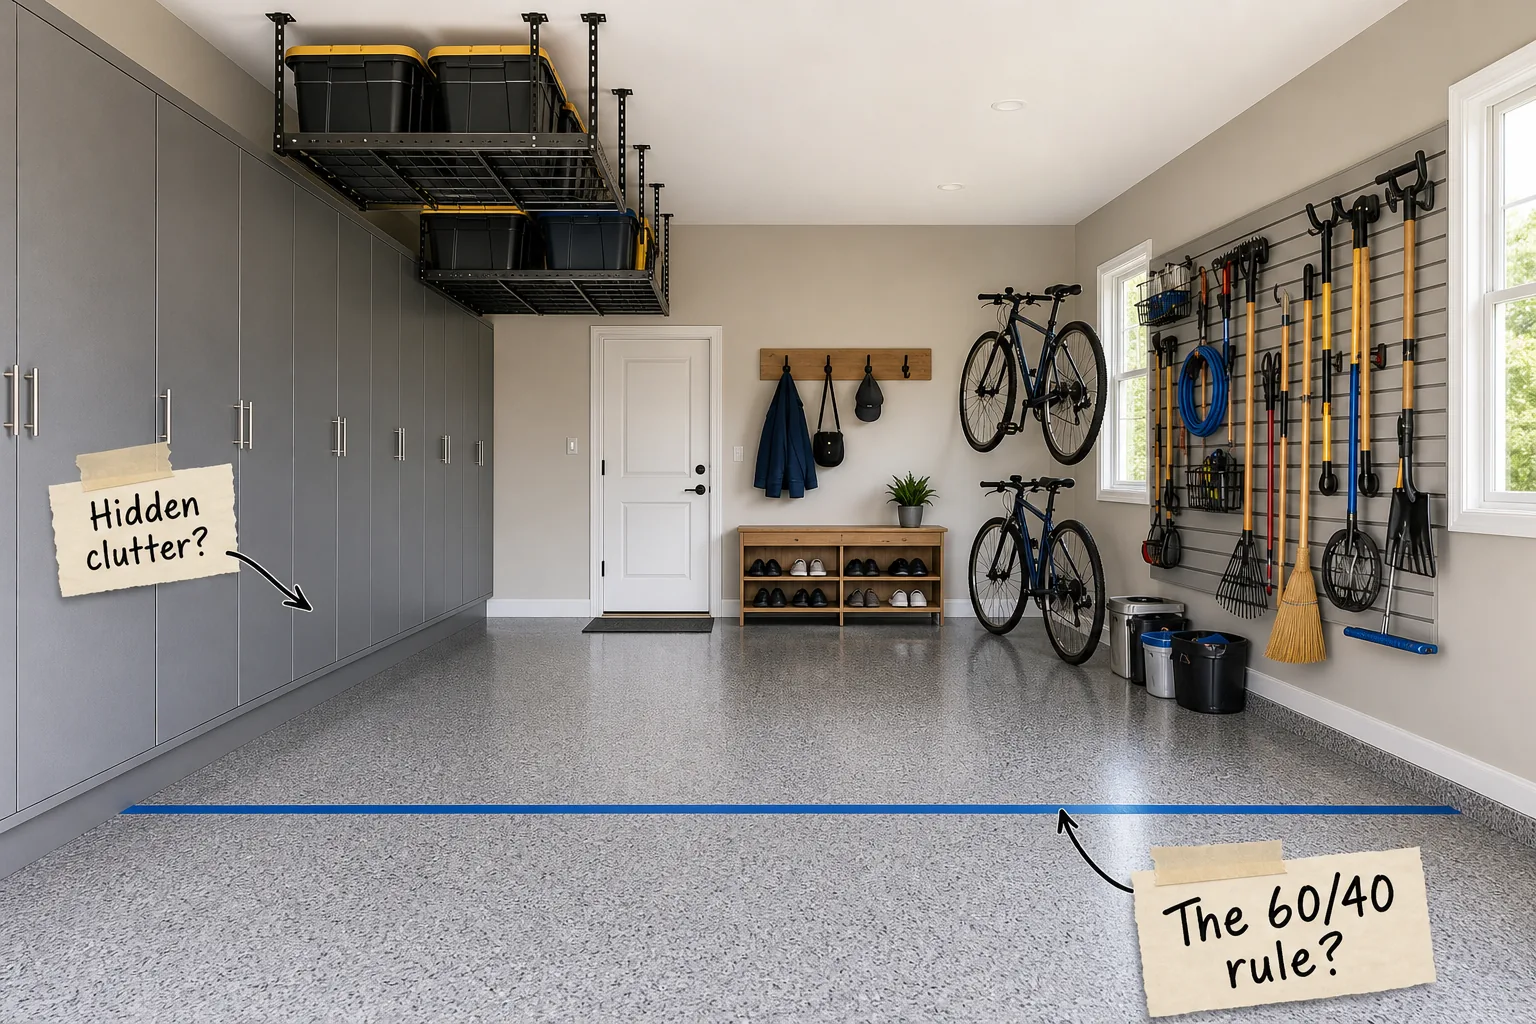
Transform a chaotic two-car garage into a highly functional space with the definitive 3-Zone Garage Layout Guide. You will be able to map out your own garage using the 60/40 division rule and assign your belongings to three specific, easily maintained functional zones.
How the 60/40 Rule Divides the Space
Start by defining the primary function of your space with the 60/40 rule, reserving exactly 60 percent of the total floor width strictly for parking vehicles. This generous allocation guarantees you can safely open car doors without dinging adjacent storage units or tripping.
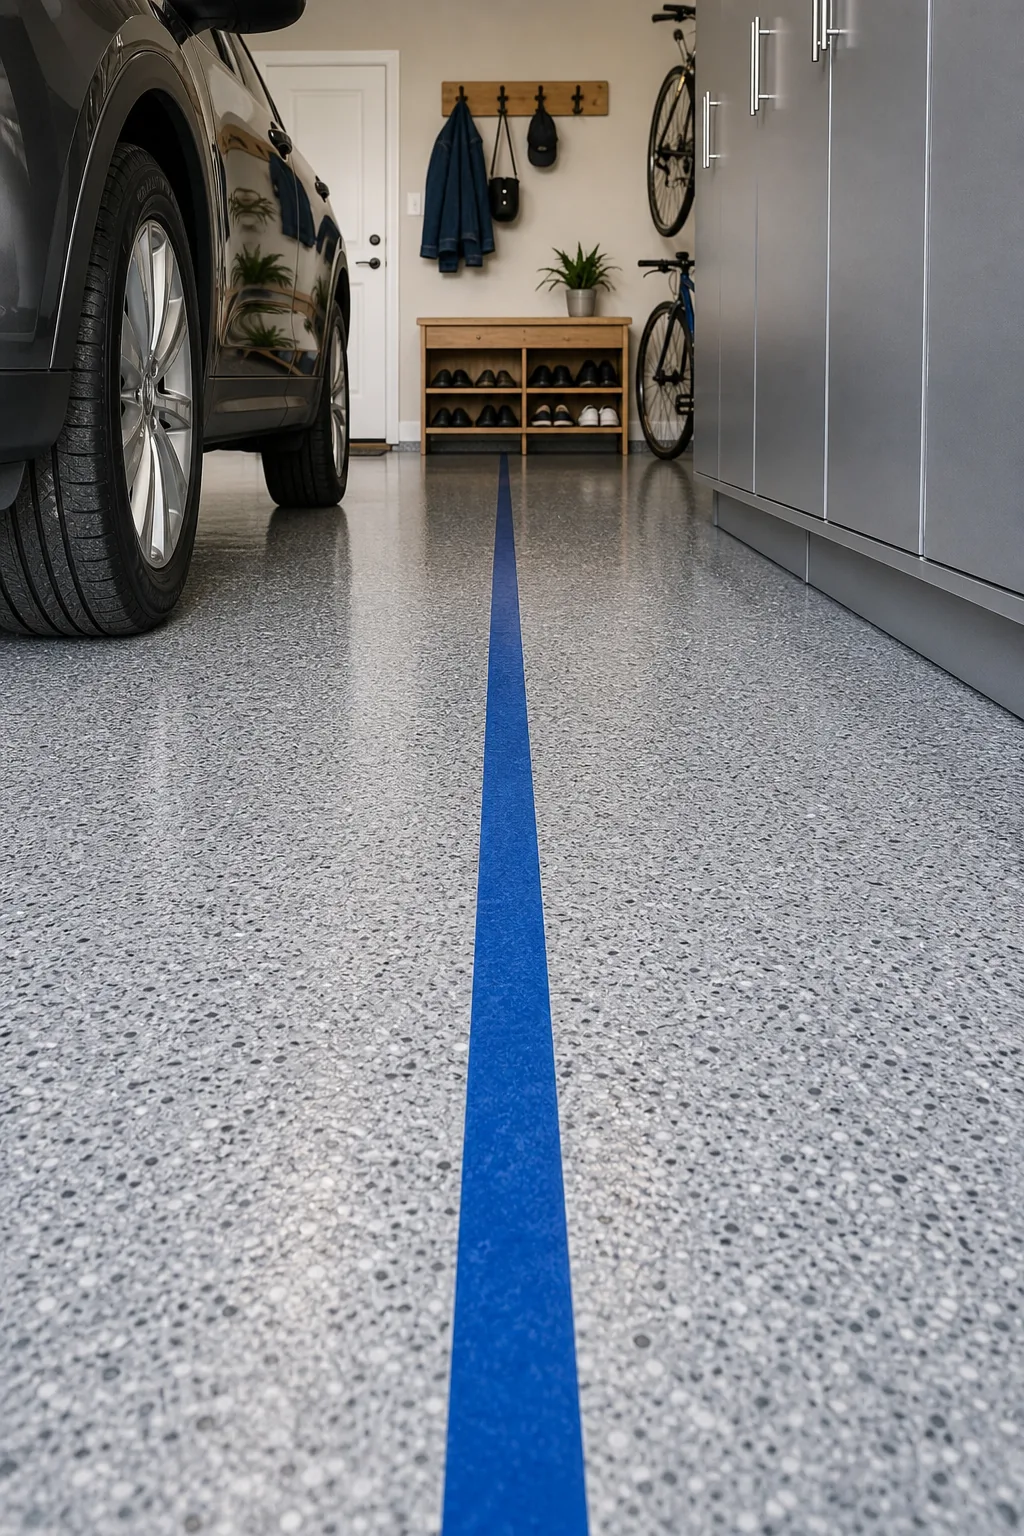
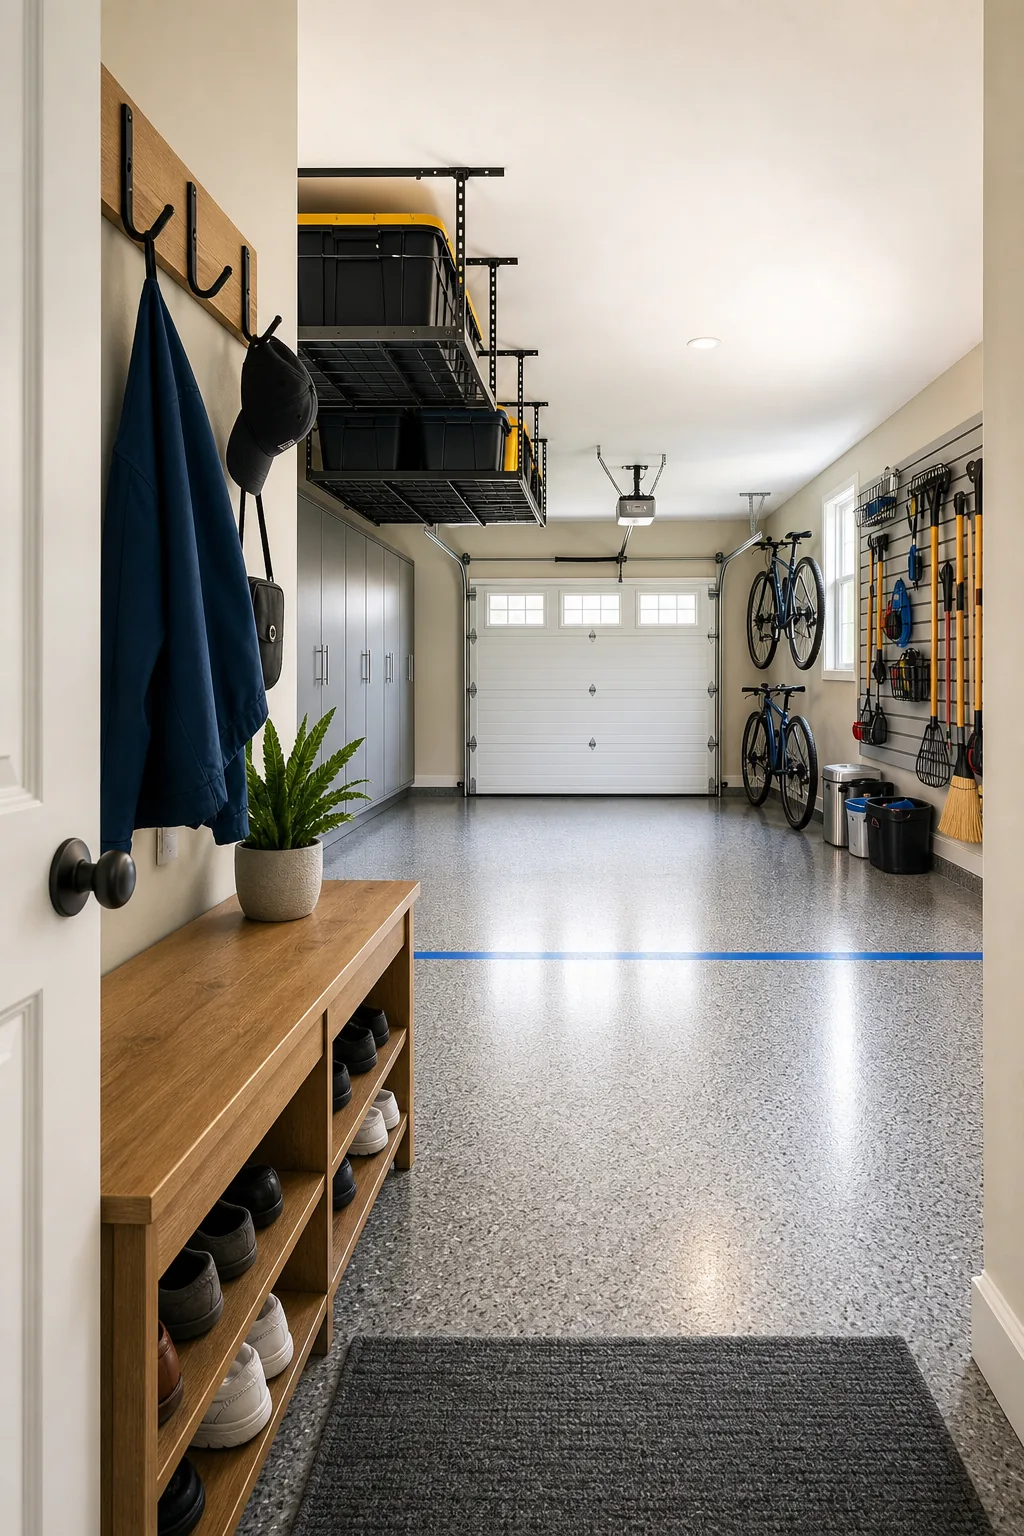
Mark this critical division with a durable blue floor tape to physically protect the parking area from creeping clutter. The remaining 40 percent perimeter is now strictly dedicated to your storage and workspace goals, providing a clear visual boundary for organizing your gear.
Measuring Your Usable Floor Area
Before purchasing any storage furniture, you must calculate the exact square footage available outside the taped vehicle boundary. Measuring this perimeter ensures you maintain safe passage around parked cars while maximizing the utility of your newly defined storage footprint without creating frustrating bottlenecks.
| Total Garage Width | Vehicle Zone (60%) | Storage Perimeter (40%) | Max Cabinet Depth |
|---|---|---|---|
| 20 feet (Compact) | 12.0 feet | 8.0 feet total | 18 inches |
| 22 feet (Standard) | 13.2 feet | 8.8 feet total | 24 inches |
| 24 feet (Large) | 14.4 feet | 9.6 feet total | 24 inches |
| 26 feet (Oversized) | 15.6 feet | 10.4 feet total | 30 inches |
| 28 feet (Extended) | 16.8 feet | 11.2 feet total | 36 inches |
Always keep a minimum of 36 inches of clear walking space between the vehicle bumper and any installed storage units. This essential clearance complies with standard residential fire safety pathways and prevents accidental damage when maneuvering large items past your parked family vehicles.
The Complete 3-Zone Layout Guide
With your 40 percent storage perimeter firmly established, divide that footprint into three distinct functional categories spanning deep concealment, active gear, and daily transitions. This systematic approach ensures every single item has a logical home based entirely on its specific frequency of use.
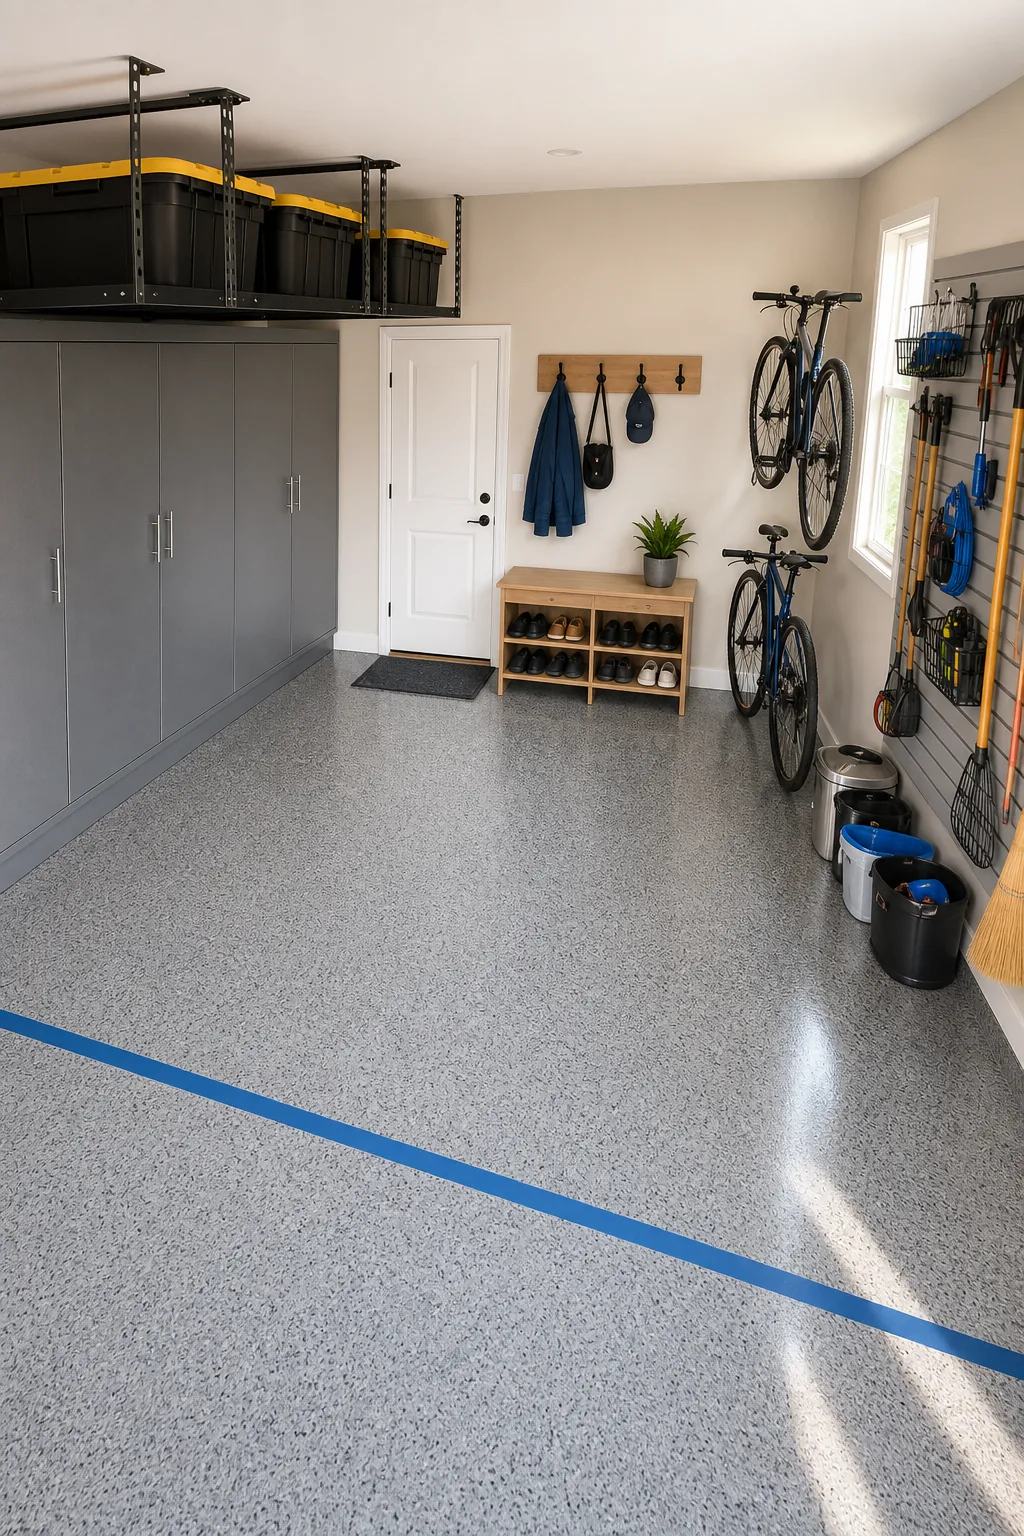
Before you start assigning your gear to these three designated areas, you need to evaluate the physical constraints of your walls. Understanding your structural limitations prevents costly installation mistakes and ensures your new storage system functions flawlessly without blocking essential home utility access.
Mapping Your Wall Obstacles
A successful layout avoids structural conflicts by identifying utility meters, light switches, and concrete foundation lips before you commit to a specific cabinet configuration. Taking the time to map these elements guarantees a seamless installation process without frustrating surprises or sudden design changes.
- Trace the exact dimensions of your electrical breaker panel on the wall.
- Measure the height of the concrete stem wall at the floor base.
- Note the full swing radius of your interior access door and hinges.
- Locate the main water shutoff valve to ensure it remains instantly accessible.
- Mark the path of any exposed conduit or low-hanging plumbing pipes.
Documenting these fixed structural elements ensures you will not accidentally block essential home maintenance access. Maintaining clear pathways to utility shutoffs is a crucial safety requirement when installing tall shelving or heavy permanent cabinetry along the perimeter of your newly organized garage.
Zone 1: Concealing the Clutter
Dedicate your longest uninterrupted wall entirely to Zone 1, utilizing tall closed cabinetry to hide visually noisy items. This area is perfect for concealing paint cans, automotive fluids, and bulk seasonal supplies behind sleek, uniform doors that instantly calm the entire space.
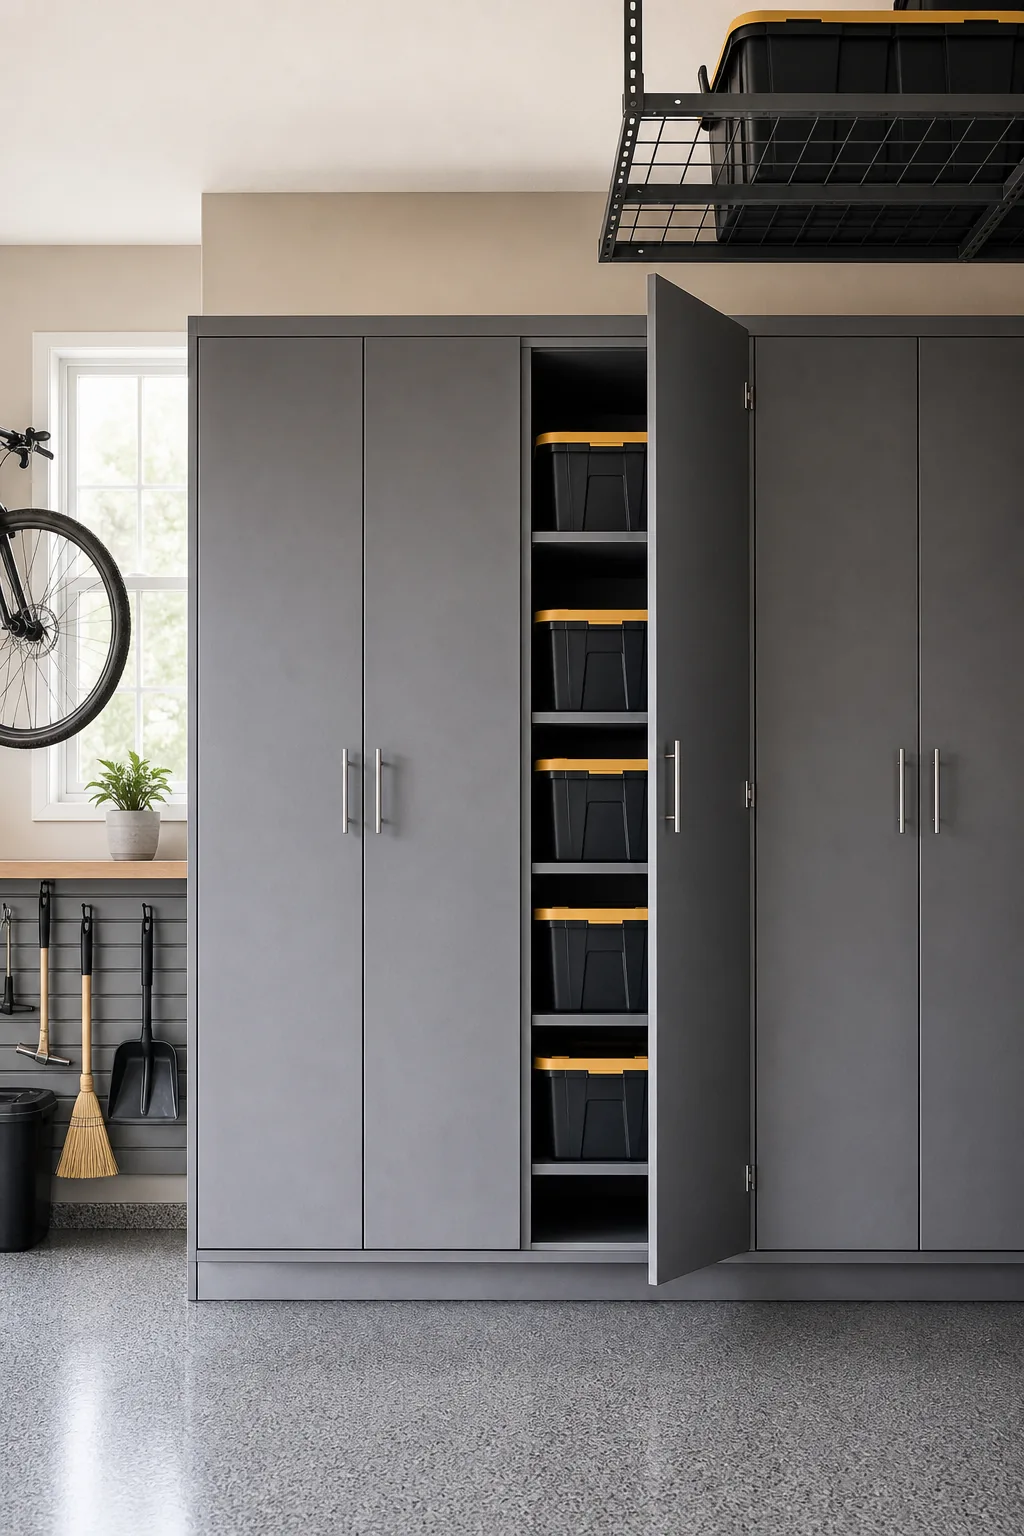
Ensure your chosen cabinets are at least 24 inches deep to easily accommodate standard large plastic storage bins. This critical depth prevents the bins from overhanging the shelves, allowing the cabinet doors to close fully and maintain a perfectly clean visual aesthetic.
Selecting the Right Cabinet Depth
Shallow cabinets will force you to store bulky items sideways, wasting valuable vertical space and creating a disorganized interior. This inefficiency defeats the entire purpose of closed storage, making it incredibly difficult to retrieve items when you actually need them for weekend projects.
Installing Safe Ceiling Racks
Expand Zone 1 upward by utilizing the often-wasted space directly above the garage doors for long-term, infrequently accessed storage. This overhead area is ideal for bulky camping gear, holiday decorations, and memory boxes that you only need to retrieve once a year.
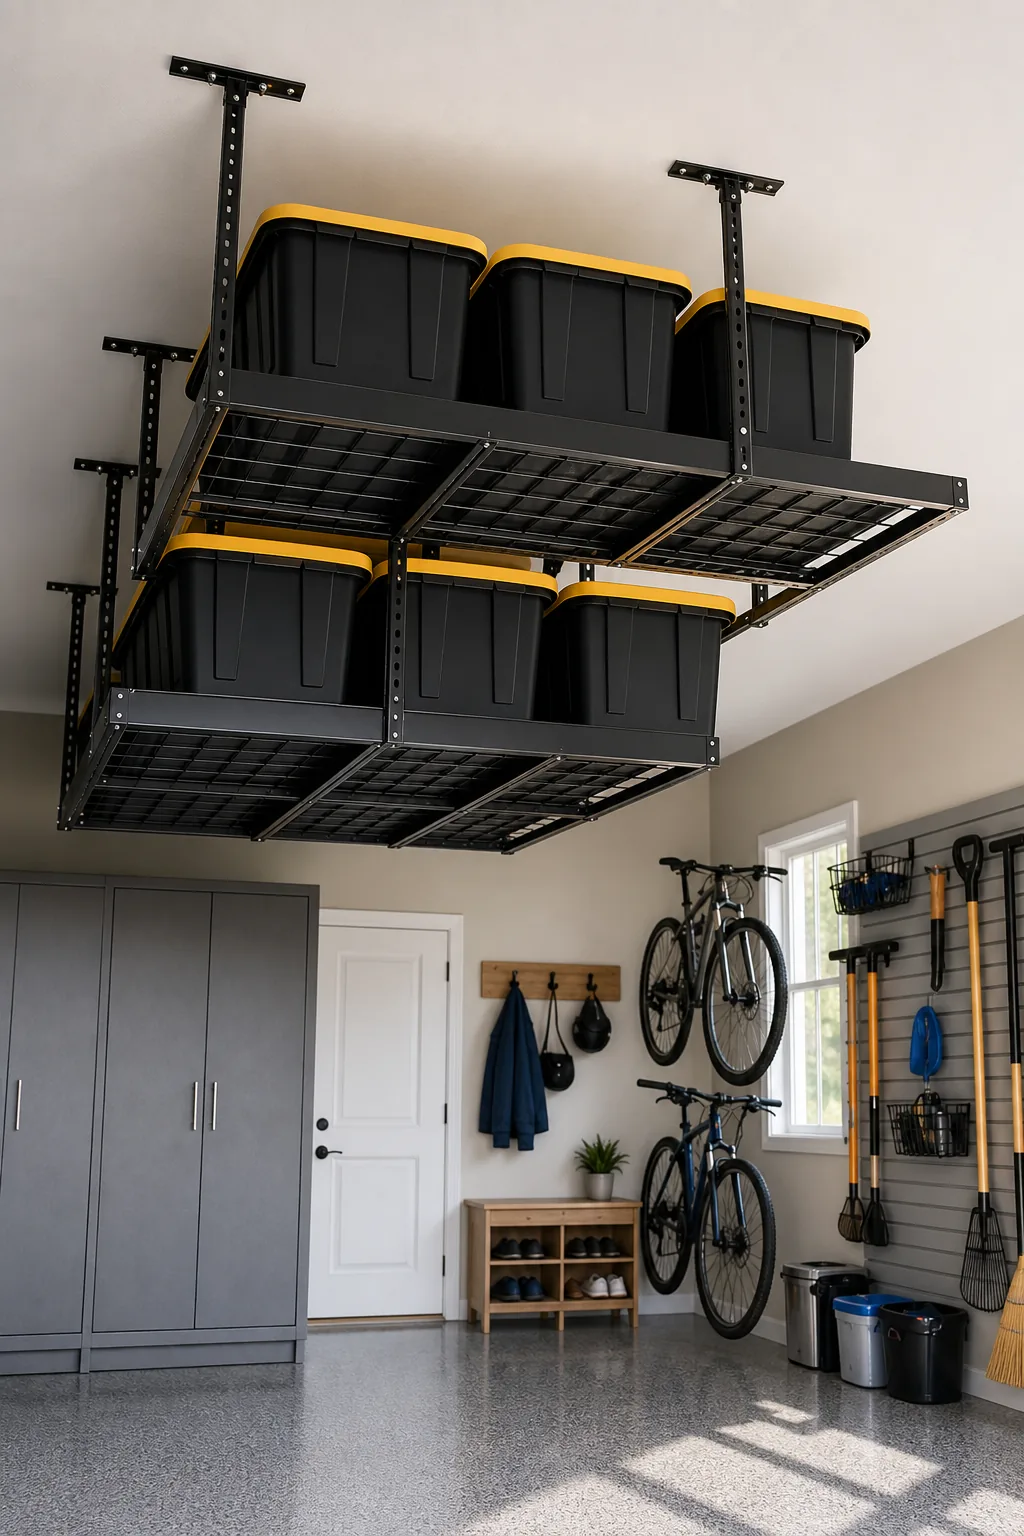
When installing overhead metal racks, maintain a minimum of 18 inches of vertical clearance from the ceiling. This crucial measurement provides enough room to comfortably slide standard 27-gallon plastic totes in and out without scraping the ceiling finish or catching on exposed rafters.
Calculating Overhead Weight Limits
Never guess the load-bearing capacity of your ceiling joists; always verify the structural limits before loading suspended metal racks. Distributing heavy seasonal equipment across multiple structural supports prevents ceiling sagging and ensures your overhead storage remains entirely safe for your family and vehicles.
Zone 2: Building a Slatwall System
Set up Zone 2 on a highly accessible wall near the driveway to house active-use gear like gardening supplies, brooms, and sports equipment. Keeping these items near the garage door ensures they are always ready for immediate outdoor use during the busy summer months.
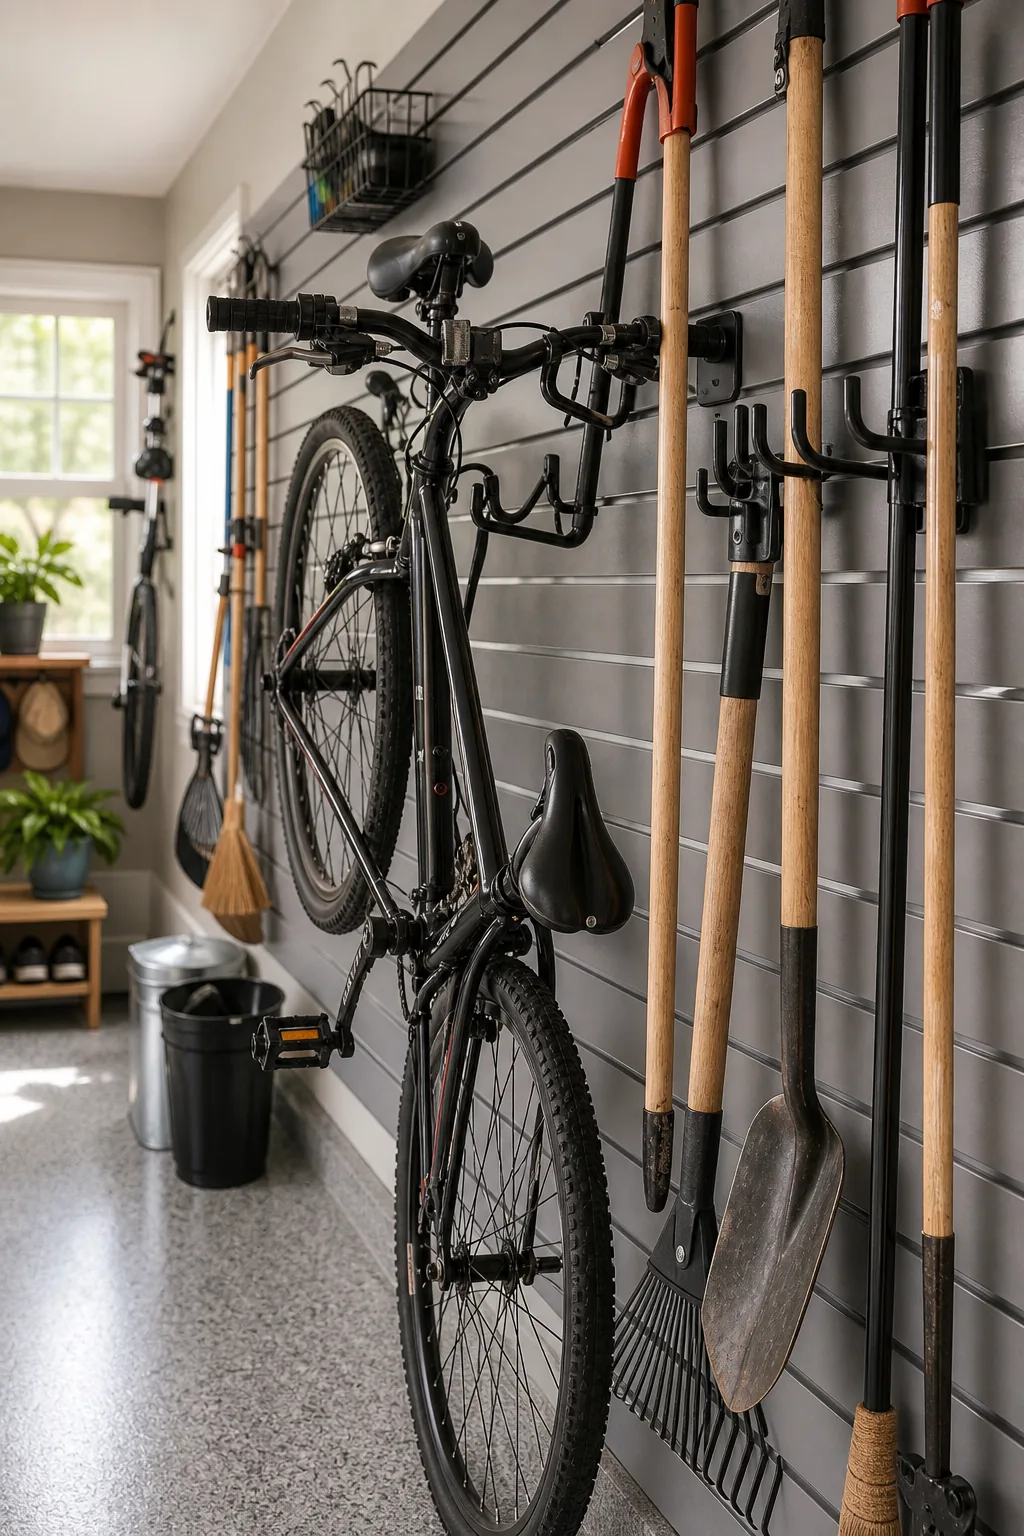
A modular slatwall system keeps these items visible, off the floor, and easily reconfigured as your seasonal outdoor activities change. You can seamlessly swap winter snow shovels for summer pool skimmers by simply rearranging the specialized metal hooks along the horizontal track.
Securing Bicycles Safely
When mounting bicycles to a slatwall, always use specialized rubber-coated hooks designed to cradle the tire rim securely. This protective coating prevents the heavy metal hook from scratching your bike rims or stressing the delicate spokes during long-term storage throughout the winter season.
Spacing and Hanging Heavy Gear
Arrange the slatwall strategically to prevent crowding, leaving at least 12 inches of horizontal clearance between bulky tools. This deliberate spacing ensures you can grab a heavy shovel or rake without accidentally knocking over adjacent gear and causing a frustrating domino effect.
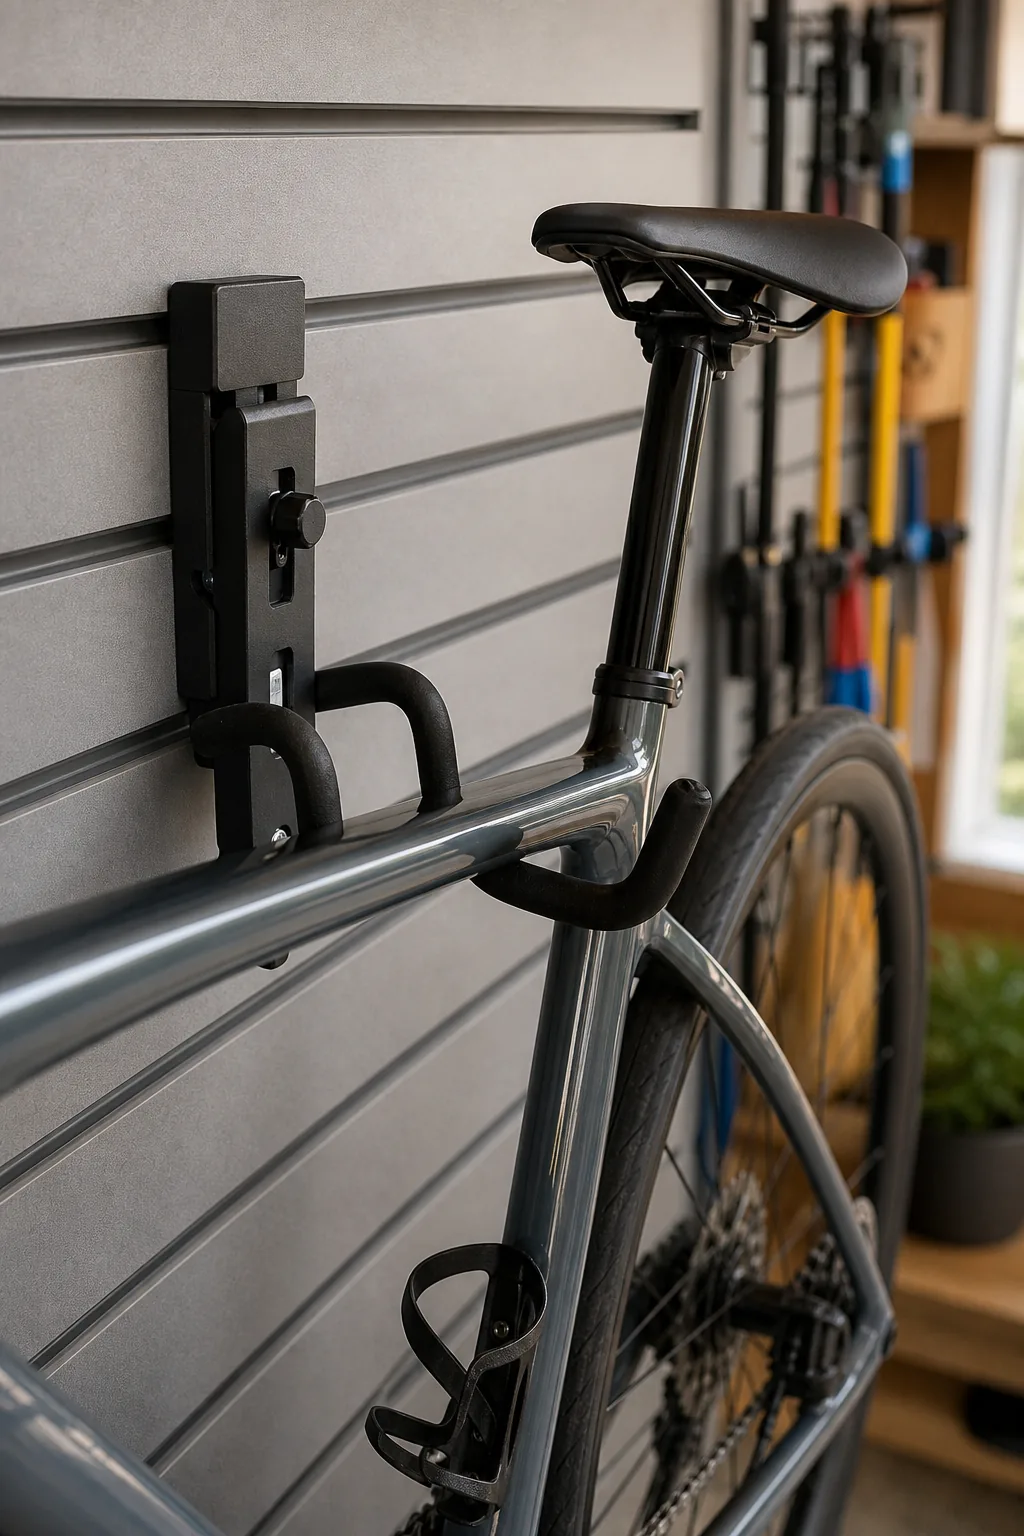
Even the most robust wall systems can fail or become frustrating to use if the layout isn’t planned around the actual weight of your items. Proper weight distribution is essential for maintaining the structural integrity of your track system over many years.
Adjusting Hooks for Seasonal Shifts
Take advantage of your modular track system by performing a quick reorganization at the start of every new season. Moving bulky winter gear to higher hooks while lowering summer sports equipment ensures your most active items remain effortlessly accessible exactly when you need them.
Zone 3: Creating a Daily Drop Zone
Establish Zone 3 immediately next to the interior house door to catch everyday items, muddy shoes, and wet jackets before they cross the threshold. This dedicated transition area acts as a vital barrier against outdoor dirt entering your pristine interior living spaces.
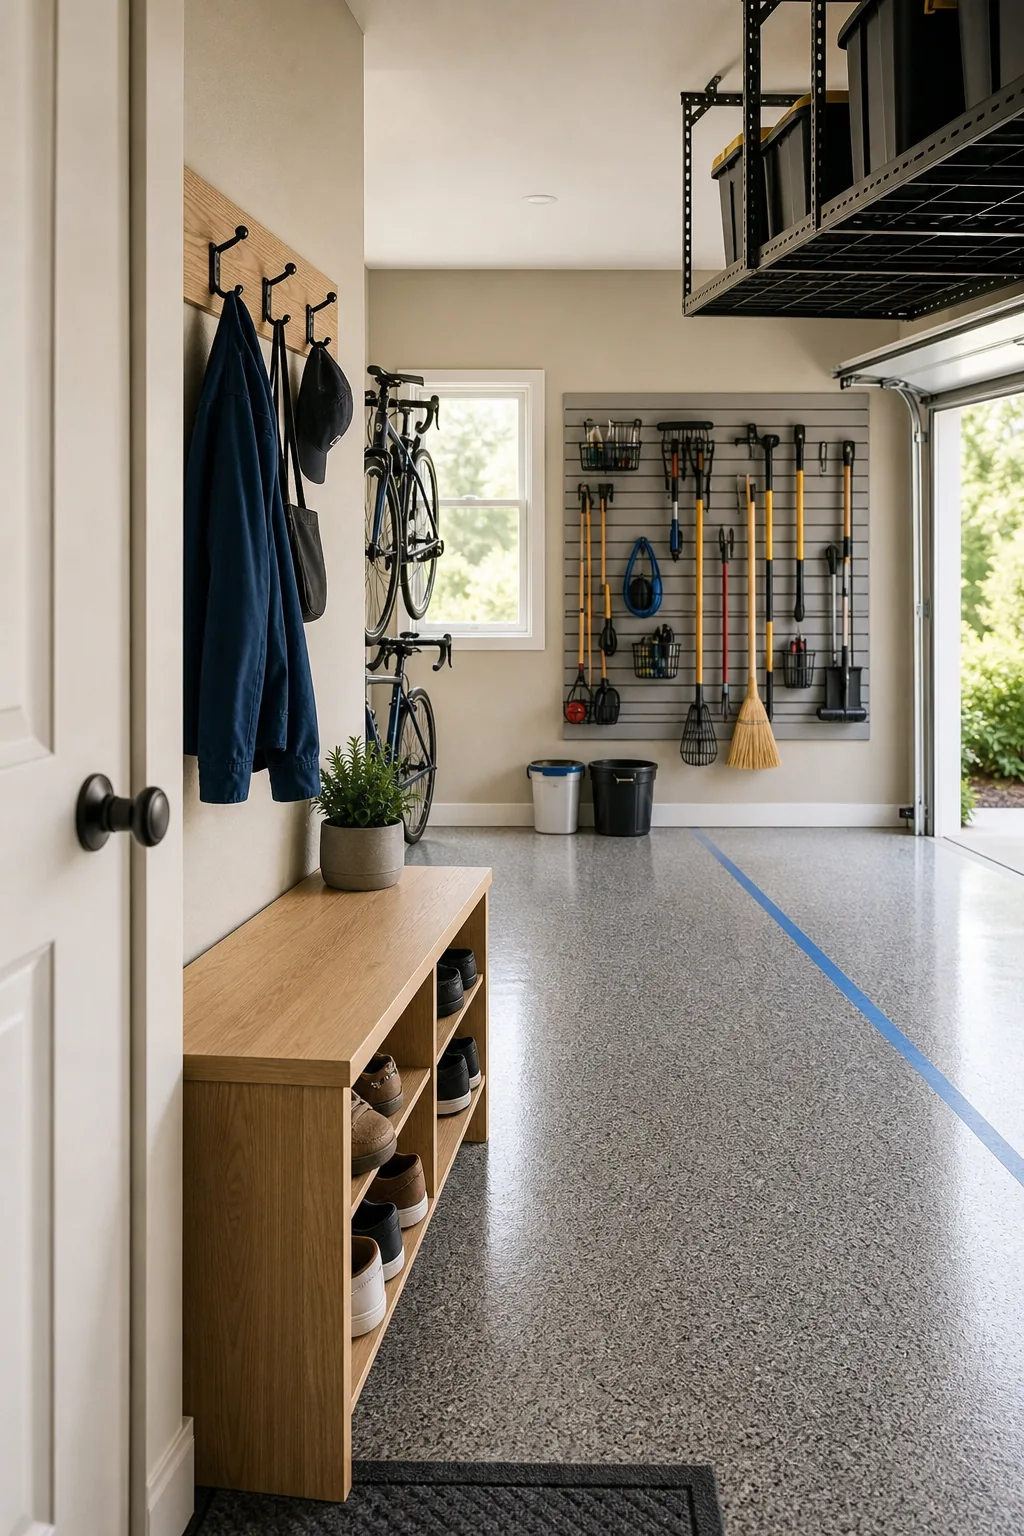
Equip this designated drop zone with a simple bench, shoe cubbies, and sturdy coat hooks. Keep the entire footprint strictly within 4 feet of the door to maximize convenience and ensure your family actually uses the system daily instead of bypassing it entirely.
Managing Transition Clutter
A successful transition space requires strict curation to prevent the bench from overflowing with out-of-season apparel. Limit each family member to two pairs of everyday shoes and one active jacket, rotating items back to bedroom closets as the weather changes to maintain order.
Keeping the Boundaries Clear
Maintain the integrity of your new system by strictly enforcing the taped boundary line and respecting the designated purpose of each carefully planned zone. Consistency is the key to preventing a newly organized garage from reverting to a chaotic catch-all space over time.
If a new item does not fit within its assigned storage area, it must be decluttered or relocated rather than allowed to spill over. Protecting the 60 percent parking space ensures your vehicle always has a safe, easily accessible spot every single day.