
Build a Cedar Planter Privacy Screen with Hidden Anchors
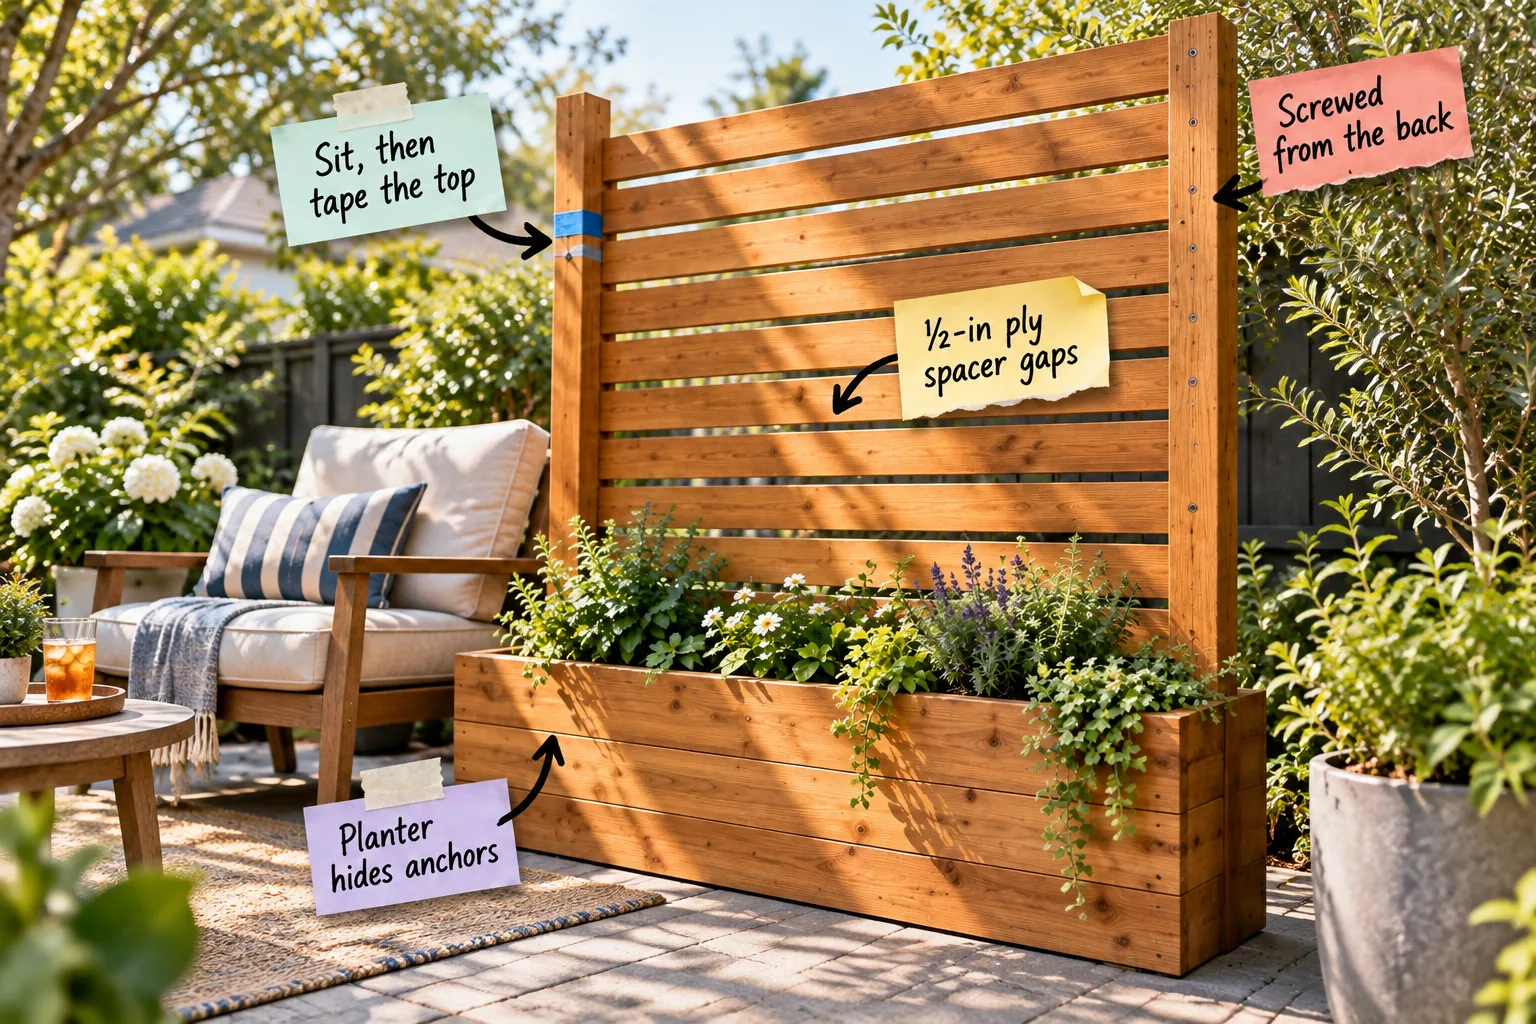
You will be able to measure your custom sightline, choose the right anchors, and use our printable cut list to build a freestanding cedar planter screen. Grab the complete planter-screen build sheet below to hide those ugly post anchors inside a beautiful built-in planter.
Concealing the Anchors Inside the Planter Box
Building a tall privacy wall usually means pouring ugly concrete footings right in the middle of your patio, but this clever design changes everything. The lower third of the cedar box completely houses the heavy-duty post bases, keeping your outdoor living space looking clean.
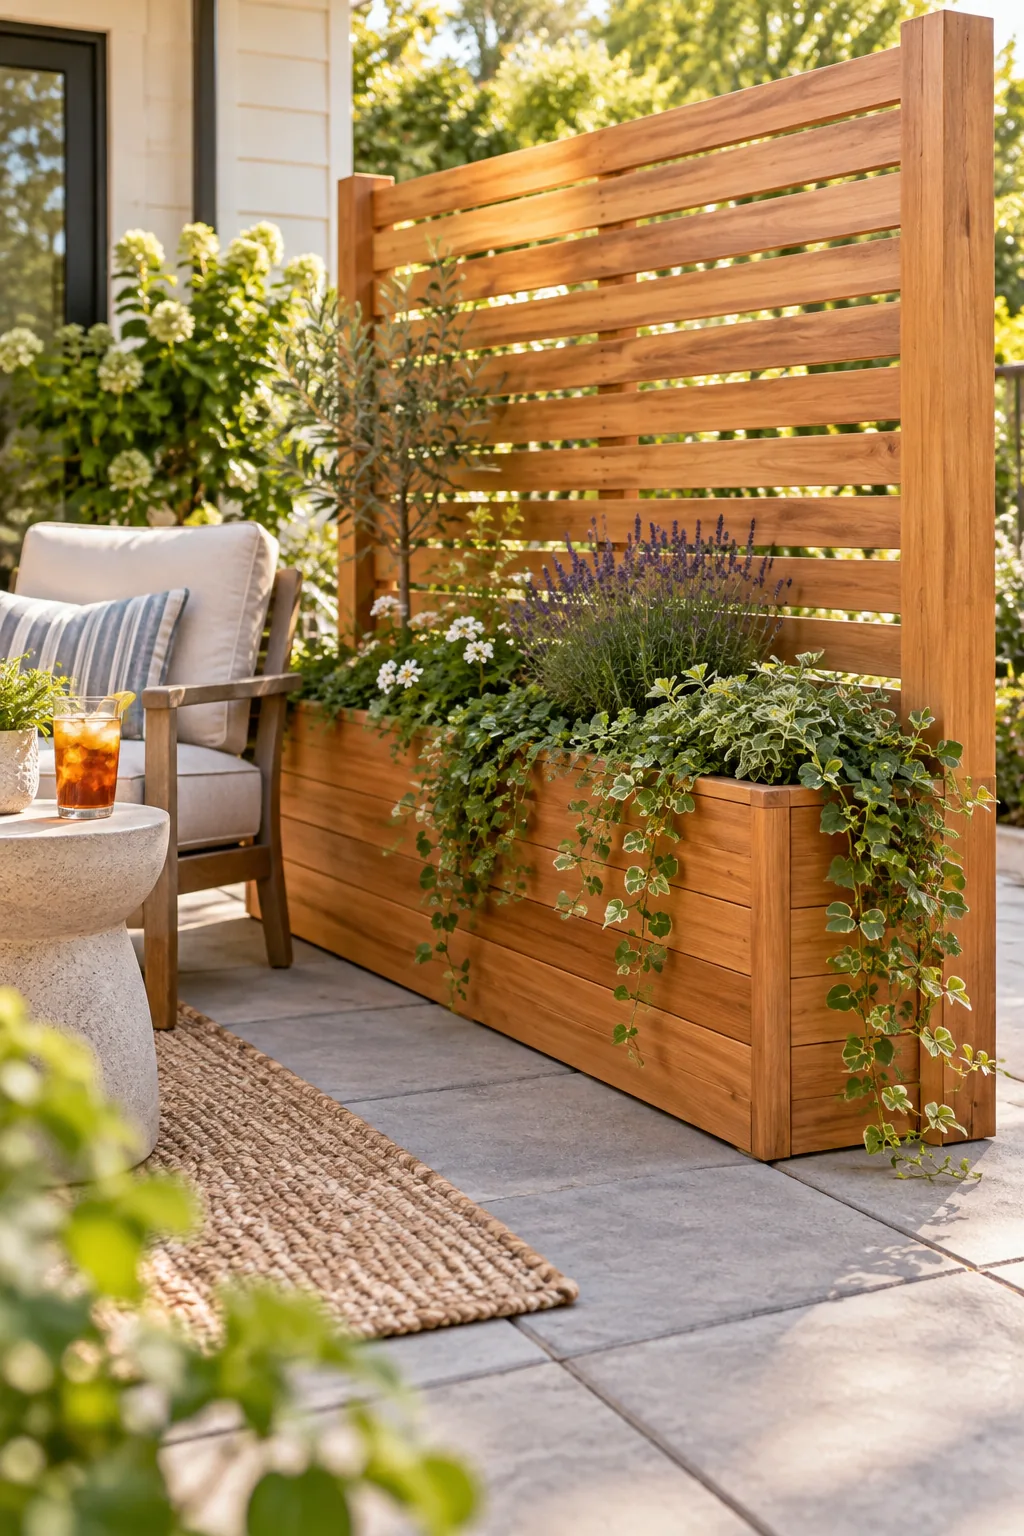
Because the structural metal anchors sit completely hidden behind the cedar boards, your patio surface remains an uninterrupted, beautiful foundation.
Understanding the Wind Load on Tall Screens
A solid six-foot wall catches a massive amount of wind pressure during seasonal storms, which is why the heavy planter base is absolutely critical for long-term structural safety.
Selecting the Best Cedar Grade for Ground Contact
When building a structure that holds damp soil, choosing the right lumber is absolutely critical for long-term durability. You want to select a rot-resistant wood species that can handle constant moisture without decaying after just one season on your patio.
| Lumber Grade | Rot Resistance | Best Application |
|---|---|---|
| Construction Fir | Low | Dry interior framing only |
| Pressure Treated | High | Hidden internal structural supports |
| Clear Cedar | Excellent | Visible slats and planter faces |
| Knotty Cedar | Very Good | Budget-friendly decorative panels |
Investing in quality cedar for the visible portions ensures your privacy screen looks like high-end furniture rather than a basic fence.
Deciding Between Slab and In-Ground Footings
Securing a tall screen requires specific hardware depending on your surface, and I learned this the hard way when my first Austin patio screen nearly blew over. You must identify whether you are bolting post bases directly into an existing concrete patio slab or digging new footings.
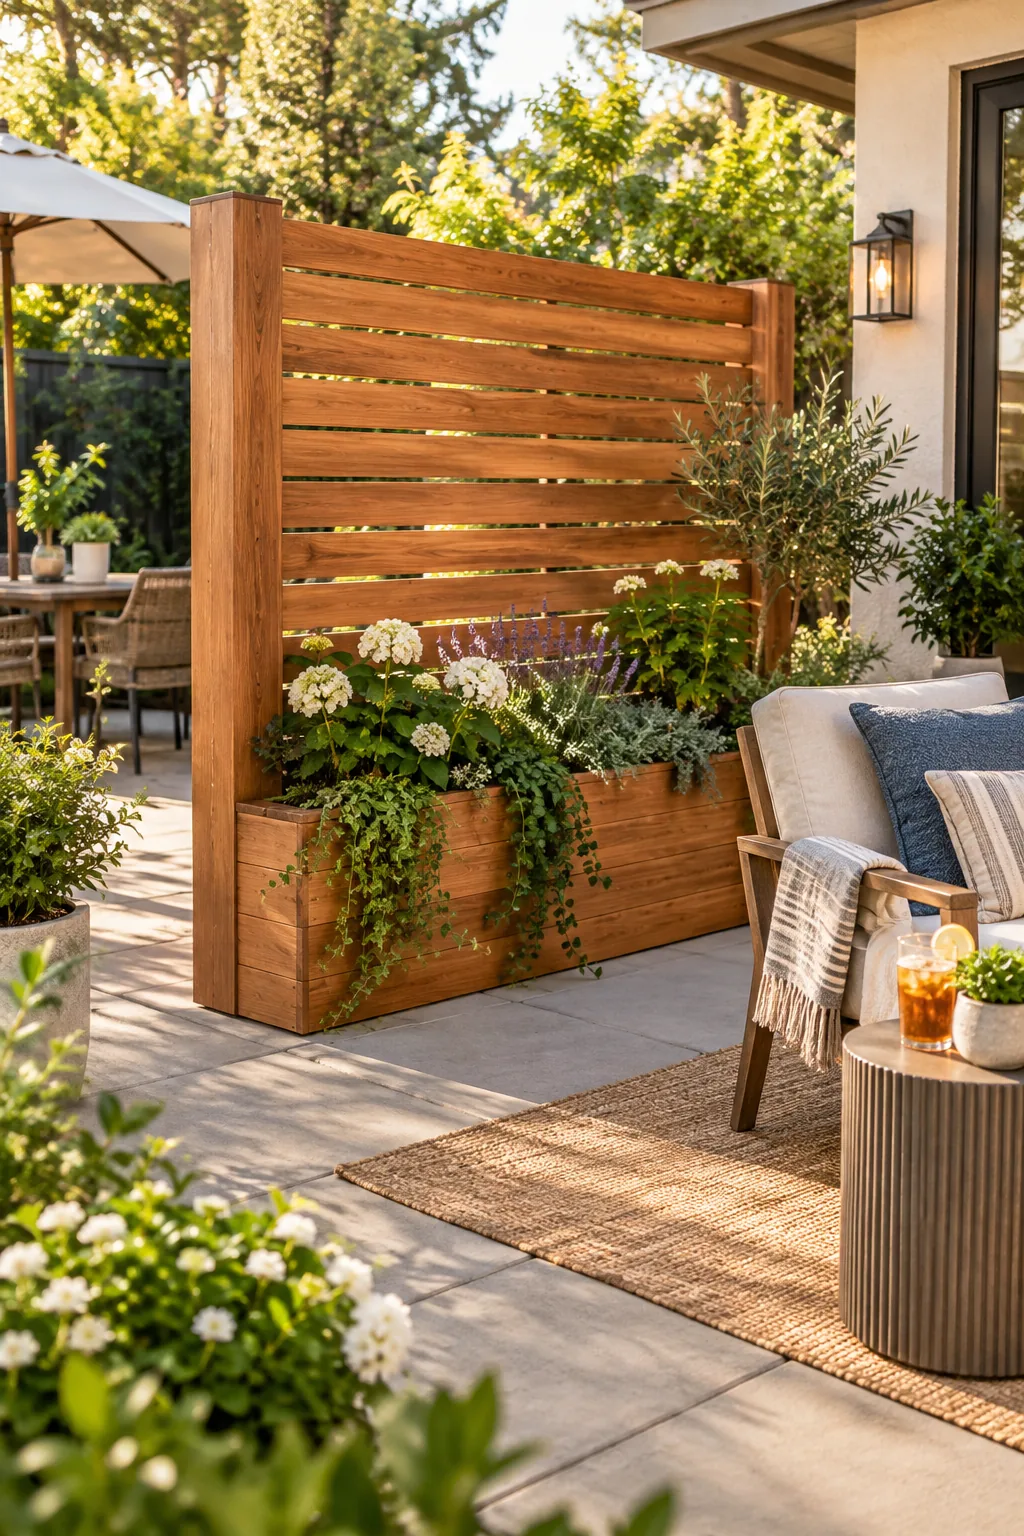
Choosing the wrong fasteners can lead to a dangerously wobbly structure, so always match your hardware to your foundation type before building.
Sizing the Concrete Footings for High Winds
If you are planting your screen in the yard rather than on a slab, you need substantial concrete footings to counter the wind load. Digging holes at least twenty-four inches deep ensures your posts reach below the frost line and provide massive structural stability.
Spacing the Posts Accurately Before Pouring
Using a temporary wooden brace to hold your heavy cedar posts exactly seventy-two inches apart ensures they remain perfectly parallel while the wet concrete cures overnight.
Marking the Perfect Seated Sightline
Instead of guessing how tall your wall needs to be, you can easily find the exact height required to block out the neighbors. Have a friend place a short strip of blue painter’s tape on the left post at your seated sightline height while you lounge.
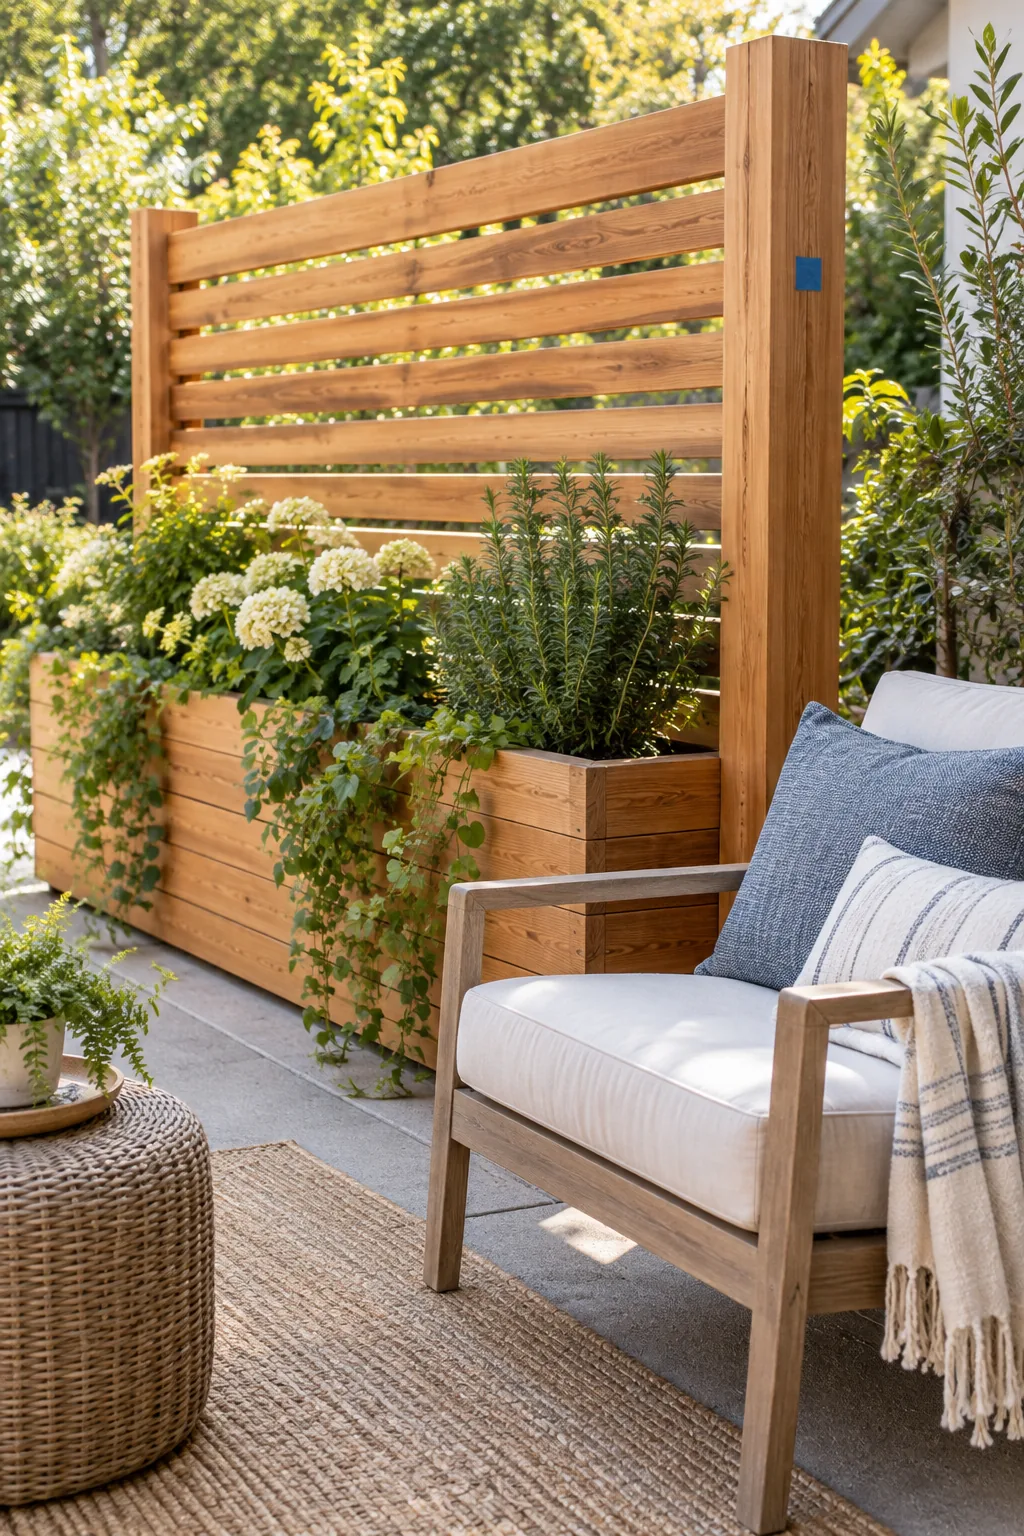
This simple sit-and-measure sequence guarantees you achieve total privacy exactly where you need it without buying unnecessary extra cedar lumber.
- Place your primary lounge chair exactly where it will live on the patio.
- Sit back in your normal, relaxed posture and look toward the neighbor’s yard.
- Have a helper slide a piece of blue tape up the post until it blocks your view.
- Mark that exact spot with a pencil to establish your top slat height.
- Measure from the patio floor to your mark to finalize your custom screen height.
Checking Local Codes for Six-Foot Screens
A freestanding screen reaching six feet tall catches significant wind load, acting like a giant sail during heavy seasonal storms. Always check if your municipality requires an engineer’s review or local permit for structures of this height before you start purchasing expensive materials.
- Check your local homeowner’s association guidelines for maximum allowable fence heights.
- Verify the required setback distances from your property line before digging footings.
- Confirm whether freestanding planter structures are exempt from standard fencing permits.
Taking a few minutes to verify these rules keeps your project completely legal and prevents costly tear-downs later.
Measuring the Patio Slope for Plumb Posts
Most patios slope slightly away from the house to shed rainwater, meaning your posts will not naturally sit perfectly vertical. Using a four-foot level on all sides of your posts while tightening the anchor bolts guarantees your screen stands straight despite the slanted floor.
Achieving Perfect Half-Inch Slat Gaps
Using a standard half-inch plywood scrap as a spacer guarantees perfectly parallel horizontal slats from top to bottom. This specific ½-inch spacer gap allows a comfortable breeze to pass through while maintaining complete visual privacy for your seating area.
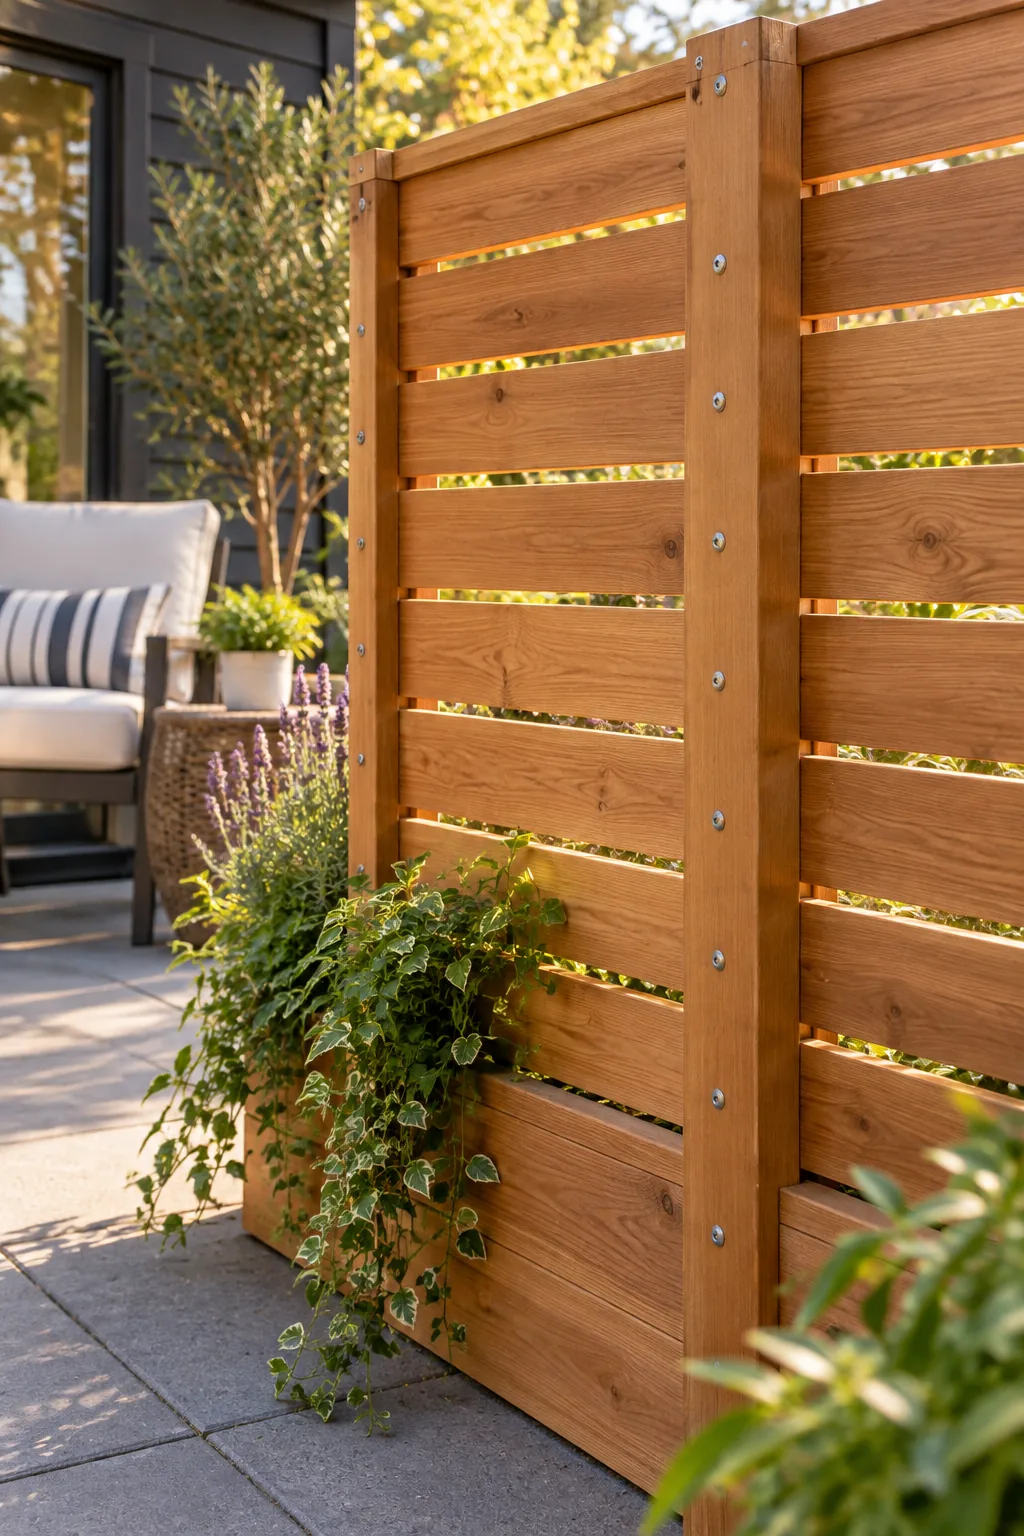
Sliding the spacer block between each new board as you work ensures your finished project looks professionally built rather than thrown together.
Cutting the Slats to Uniform Lengths
Setting up a simple stop block on your miter saw station allows you to cut every single slat to the exact same dimension. This repetitive cutting technique ensures your six-foot screen width remains perfectly consistent without measuring each board individually.
Checking the Diagonal Measurements for Square
Measuring from opposite corners of your planter frame until both diagonal numbers match exactly guarantees your entire base is perfectly square before you attach the tall vertical posts.
Fastening the Slats from the Back
Driving exterior wood screws through a vertical back batten into the slats keeps the front face completely smooth and beautiful. I used this exact hidden-fastener trick on my own deck last summer, and it makes the entire structure look beautifully seamless.
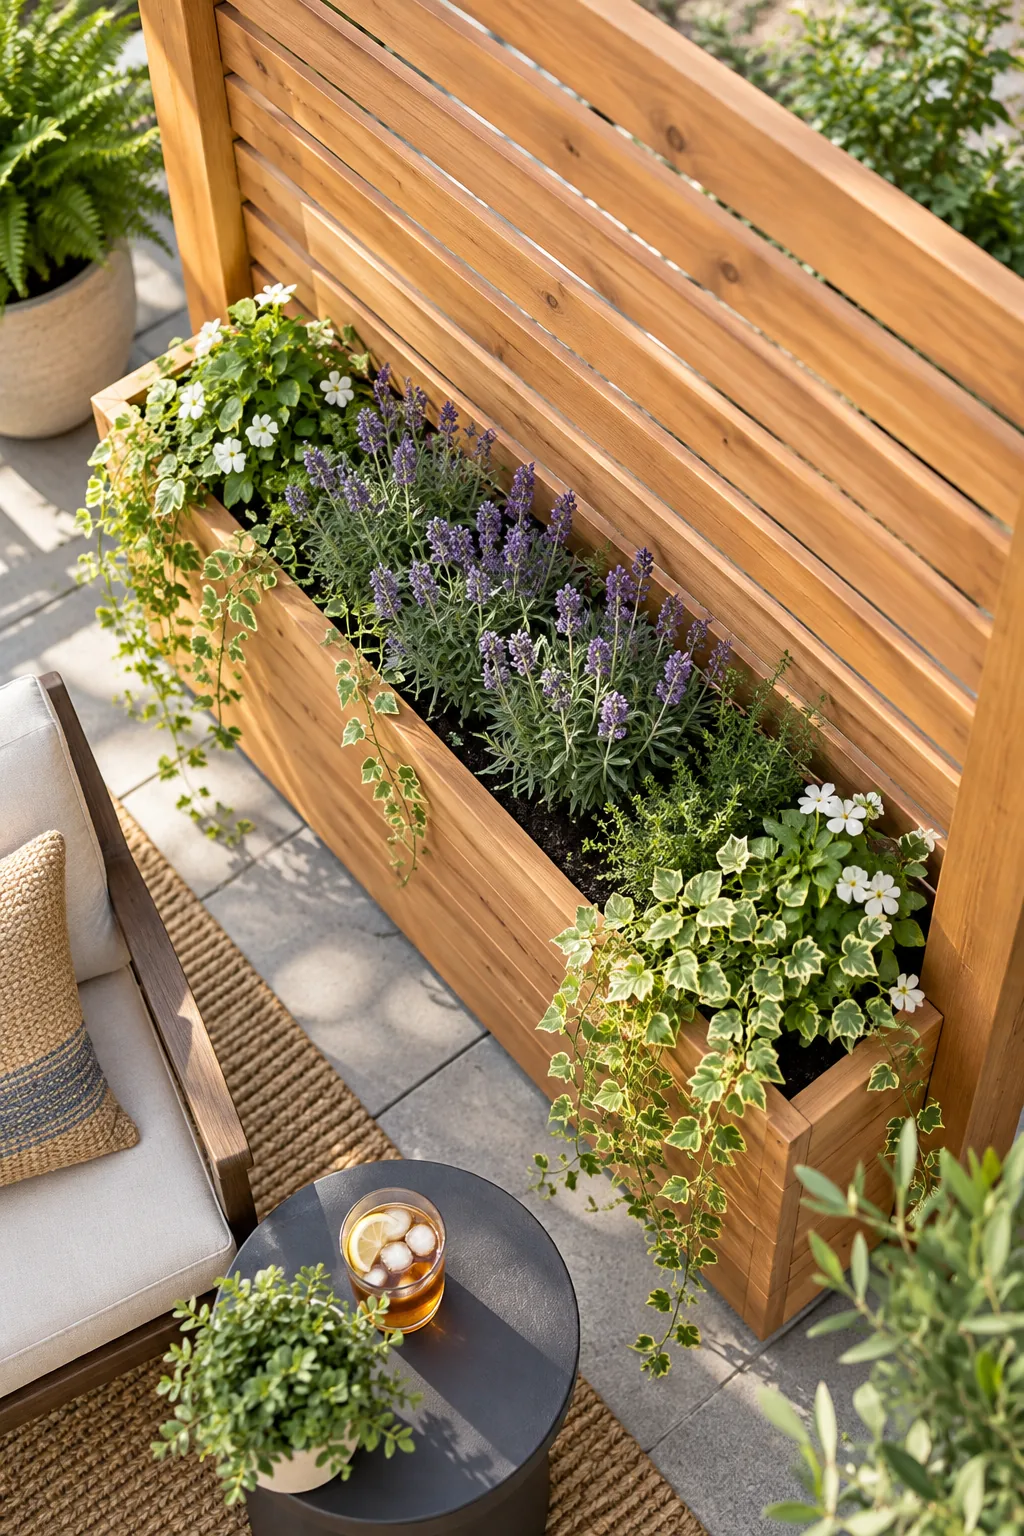
Because the screw heads remain hidden on the back side, your main seating area gets a flawless, fastener-free view.
Applying Wood Glue for Extra Rigidity
Squeezing a small bead of waterproof exterior wood glue behind every slat before driving the screws prevents the boards from rattling or squeaking during heavy patio windstorms.
Choosing Weather-Resistant Exterior Screws
Using standard interior screws on outdoor cedar projects will cause ugly black rust stains to bleed down your beautiful wood within months. Always invest in polymer-coated exterior screws or stainless steel fasteners to keep your planter screen looking pristine through years of rain.
Countersinking Screws for a Flush Finish
Using a specialized countersink drill bit allows every single screw head to sit perfectly flush with the back batten, preventing any sharp metal edges from catching on clothing.
Sealing the Cedar Before Final Assembly
Applying a high-quality UV-blocking penetrating oil before you attach the slats protects the wood from graying in the harsh summer sun. Brushing the sealer onto every cut end prevents moisture from wicking into the grain and causing premature warping.
Installing Drainage Gravel in the Planter Base
Pouring three inches of coarse drainage gravel at the bottom of your cedar box prevents heavy rain from waterlogging the roots of your delicate trailing patio plants.
Adding Weight With Soil and Plants
Filling the cedar box with dense potting soil and trailing plants adds essential ballast to the base of your new structure. This heavy lower mass acts as a powerful anchor, stabilizing the tall frame against strong patio winds.
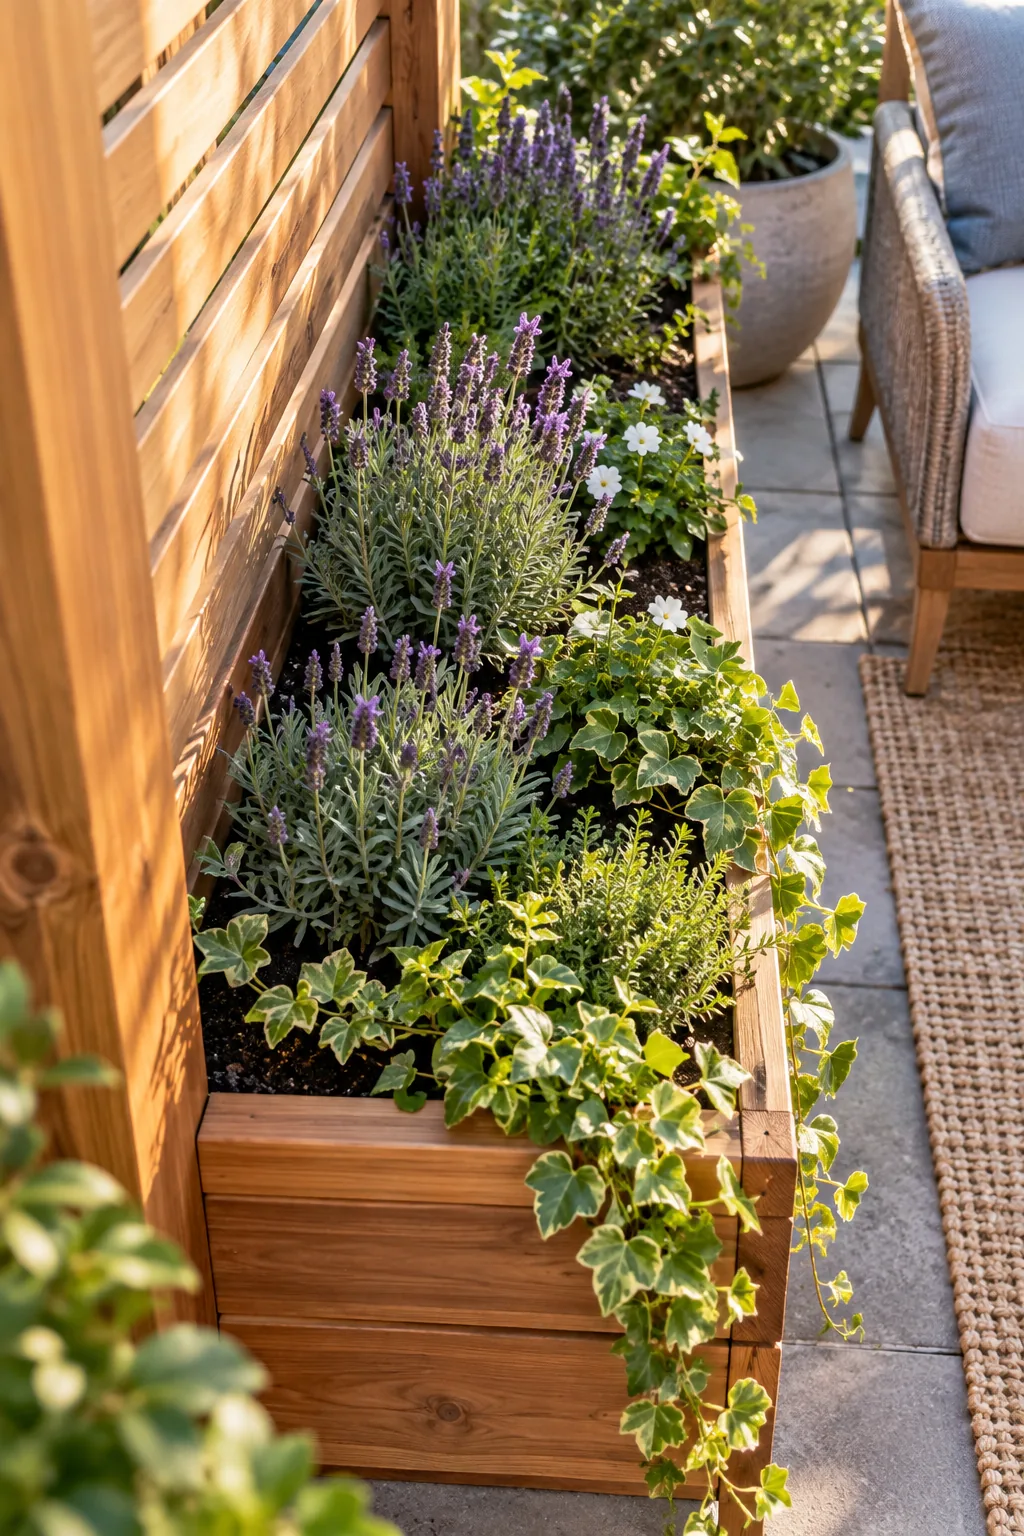
While cedar is naturally rot-resistant, constant direct contact with wet potting soil will eventually weather the boards over the years.
Selecting the Best Trailing Plants for Privacy
Choosing vigorous trailing vines like creeping Jenny or sweet potato vine softens the hard wooden edges of your new planter box. These cascading plants spill beautifully over the sides, completely hiding the internal landscape fabric while adding lush greenery to your patio.
Four Ways to Style Your Planter Screen
Discover how different wood finishes and plant pairings can completely change the look of this privacy screen.
Modern Black Stained Cedar: Matte black stain modernizes the traditional slat design, making green foliage pop brilliantly against the dark wood in a minimalist backyard setting.
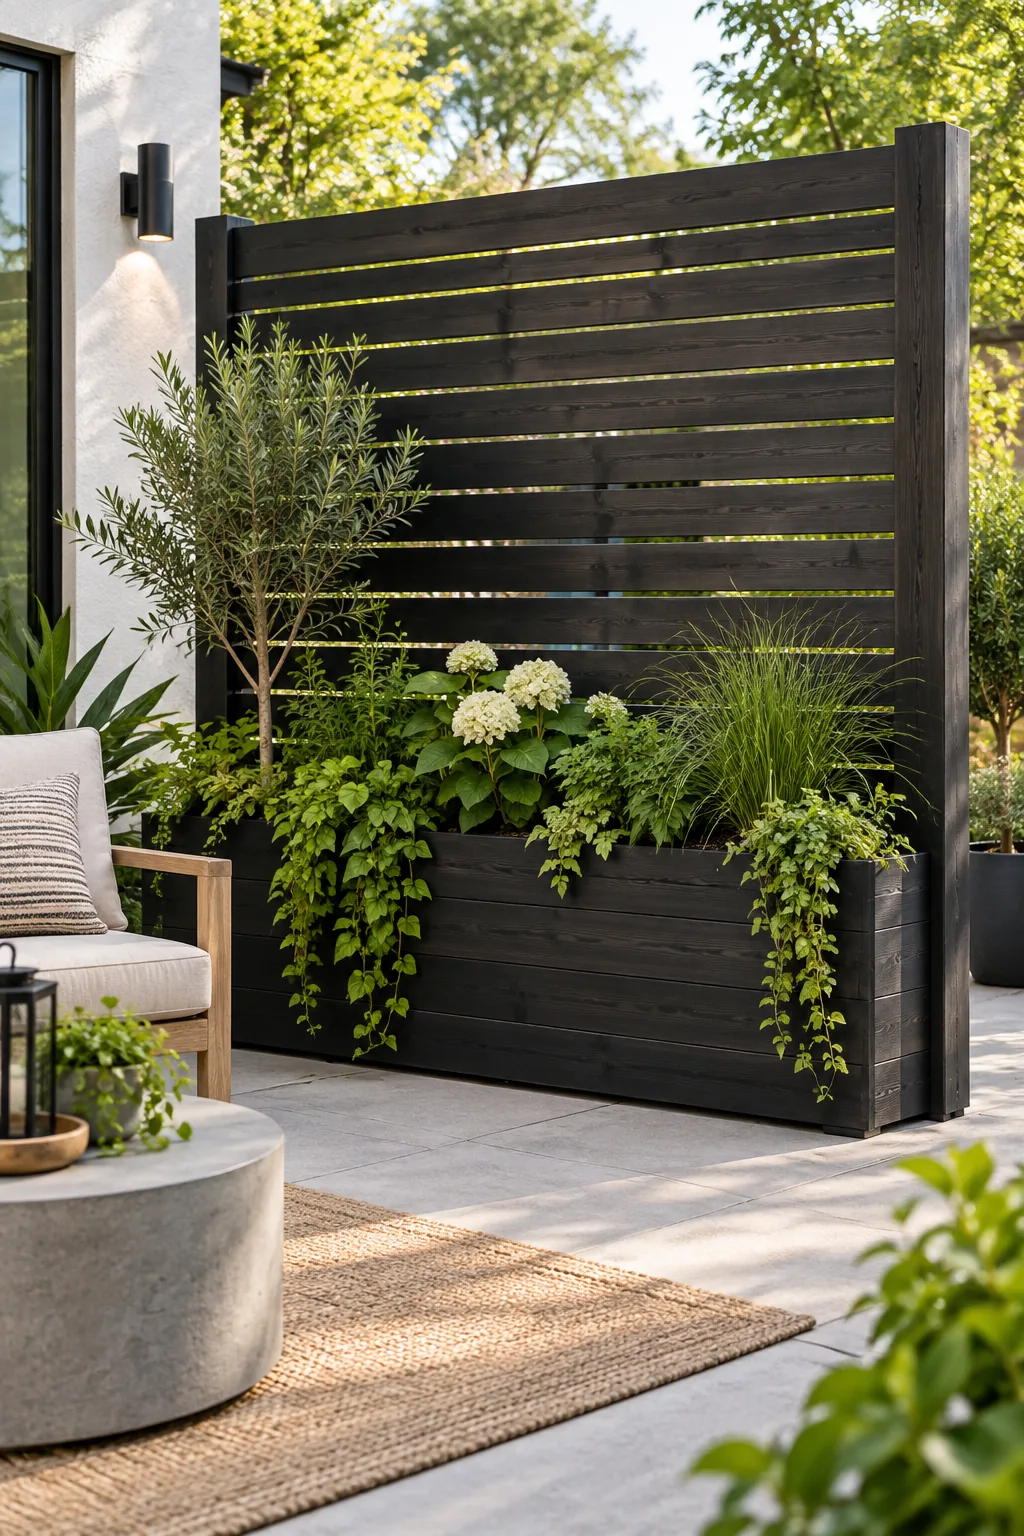
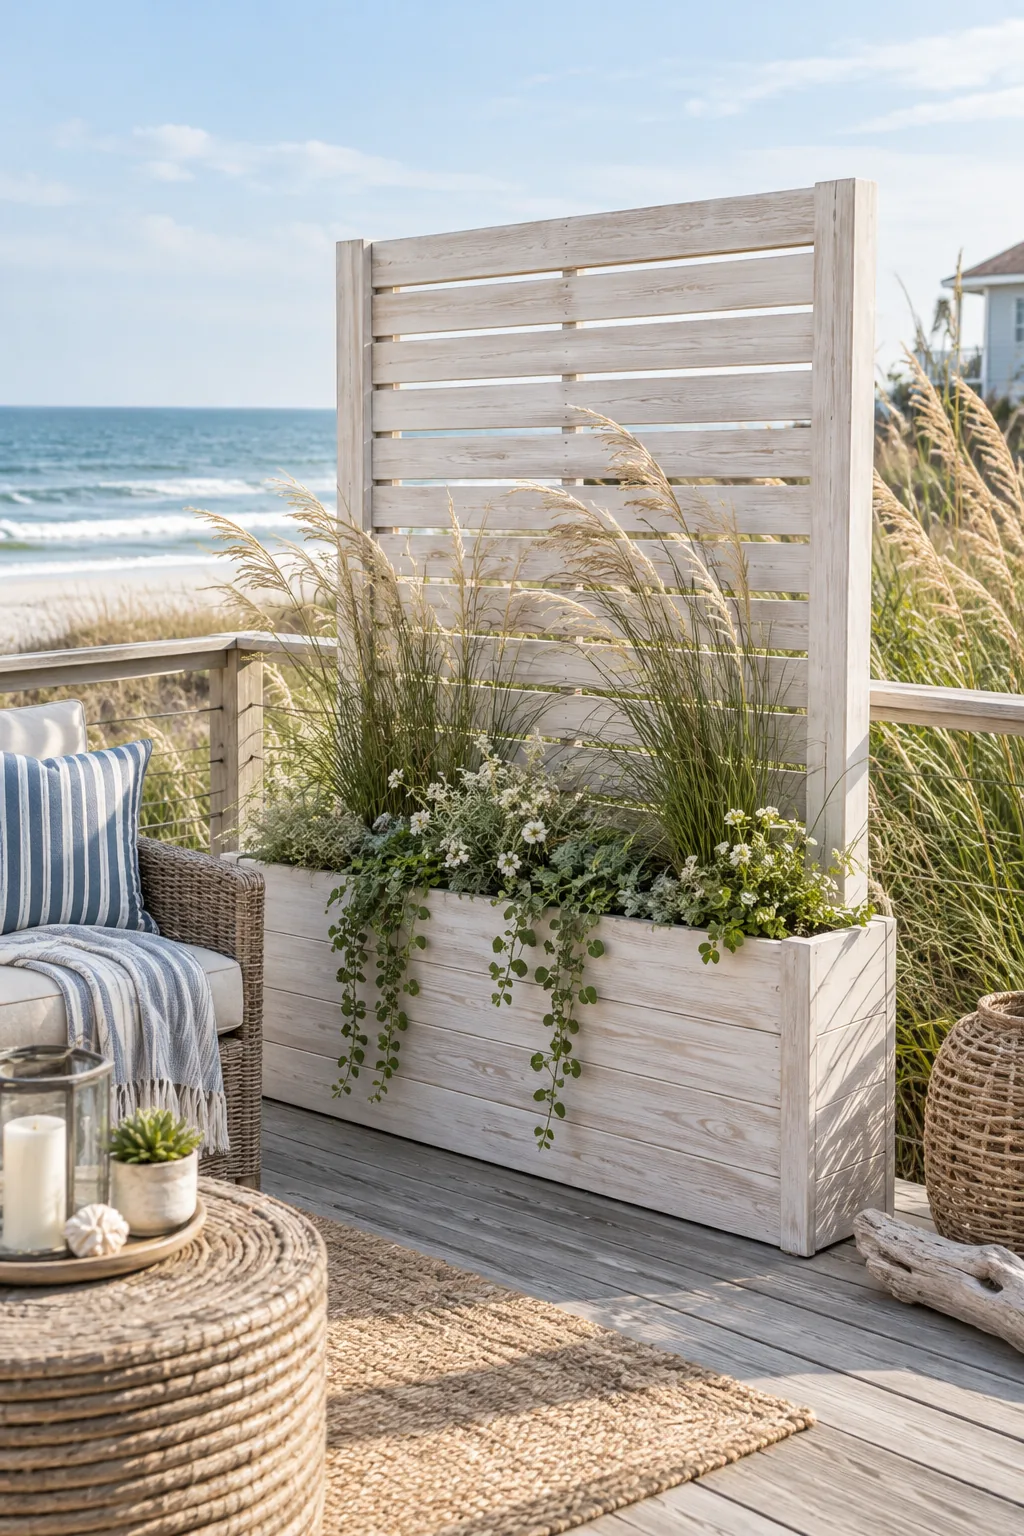
Whitewashed Coastal Deck Screen: A semi-transparent white wash gives this screen a breezy, beach-inspired feel that pairs perfectly with weathered gray decking and tall ornamental grasses.
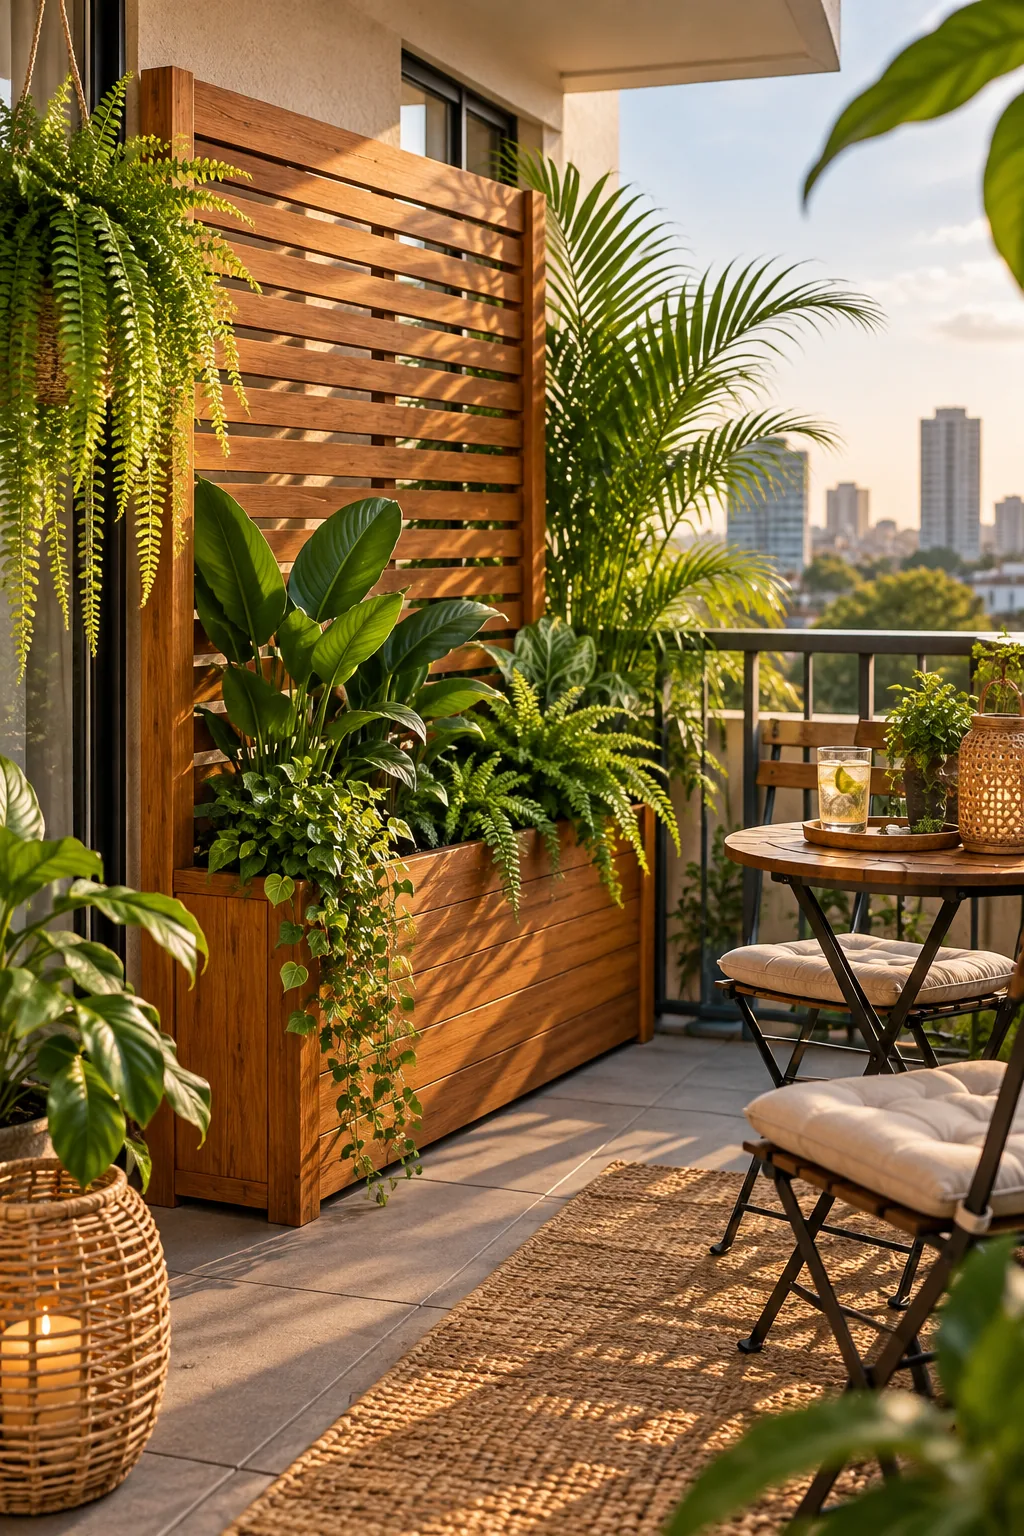
Warm Oiled Teak Balcony: Rich teak oil enhances the natural wood grain, creating a warm, resort-like atmosphere on a compact apartment balcony filled with lush tropical ferns.
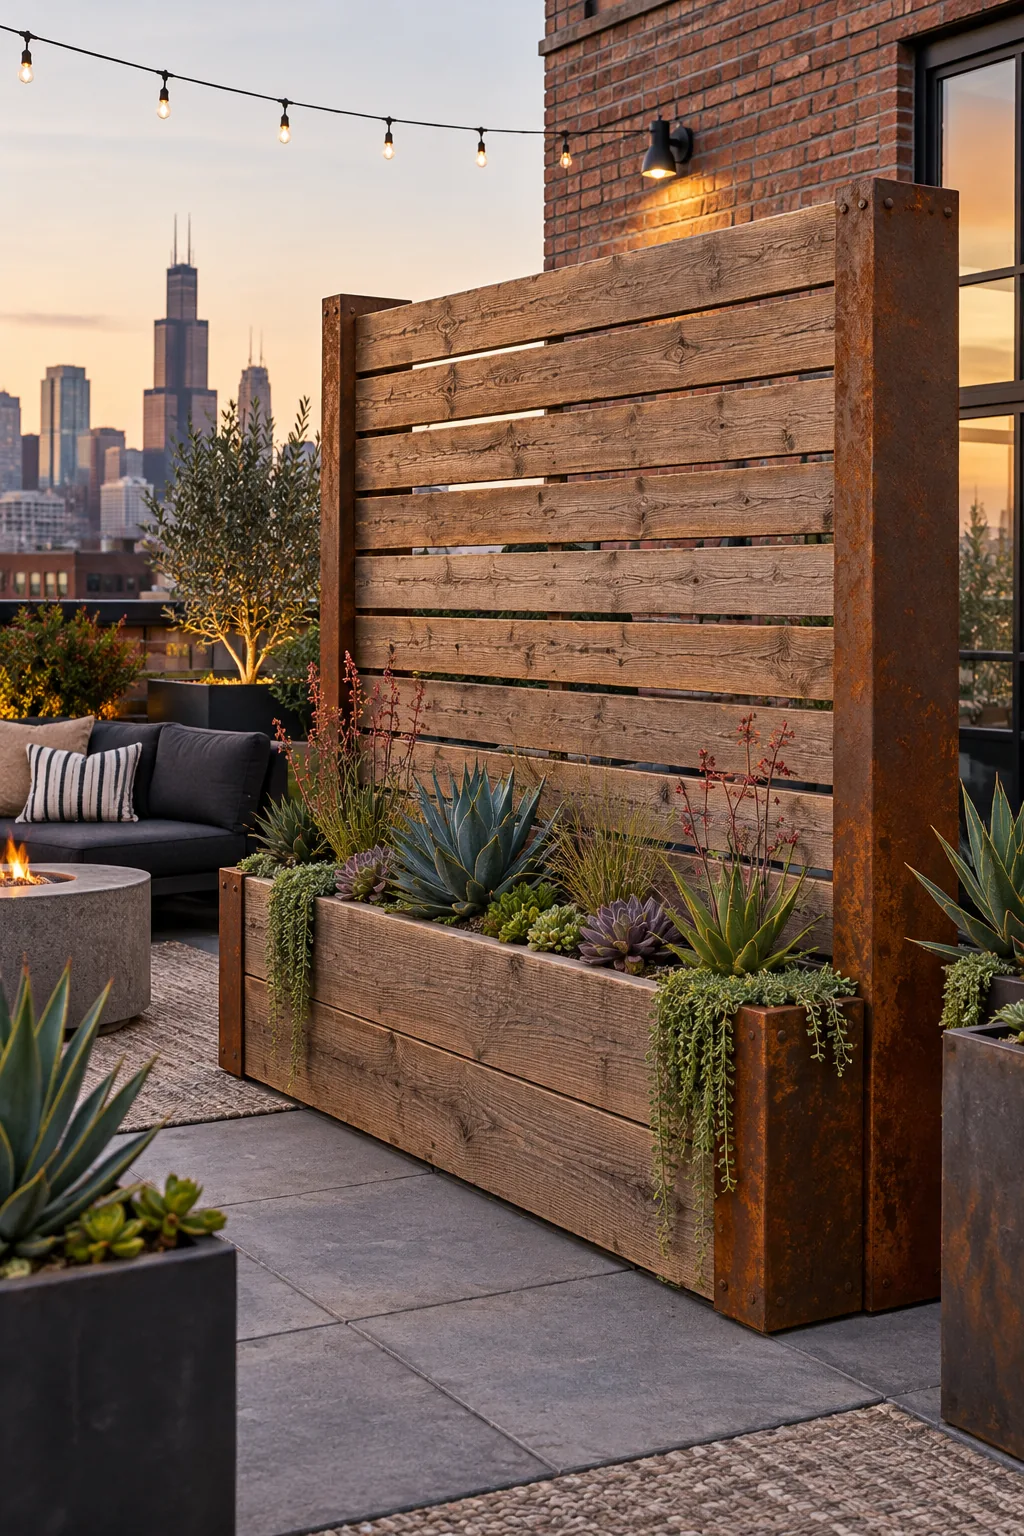
Industrial Cor-Ten and Wood: Mixing rusted steel corner accents with rough-sawn lumber gives this rooftop privacy screen an edgy, urban aesthetic that beautifully complements surrounding brick walls.
Get the Complete Planter-Screen Cut List
Now that you know how the clever hidden base and custom sightline work, you are ready to start building your own patio oasis. Download the printable planter-screen build sheet to get the exact cut list, hardware checklist, and measurement sequence for your project.
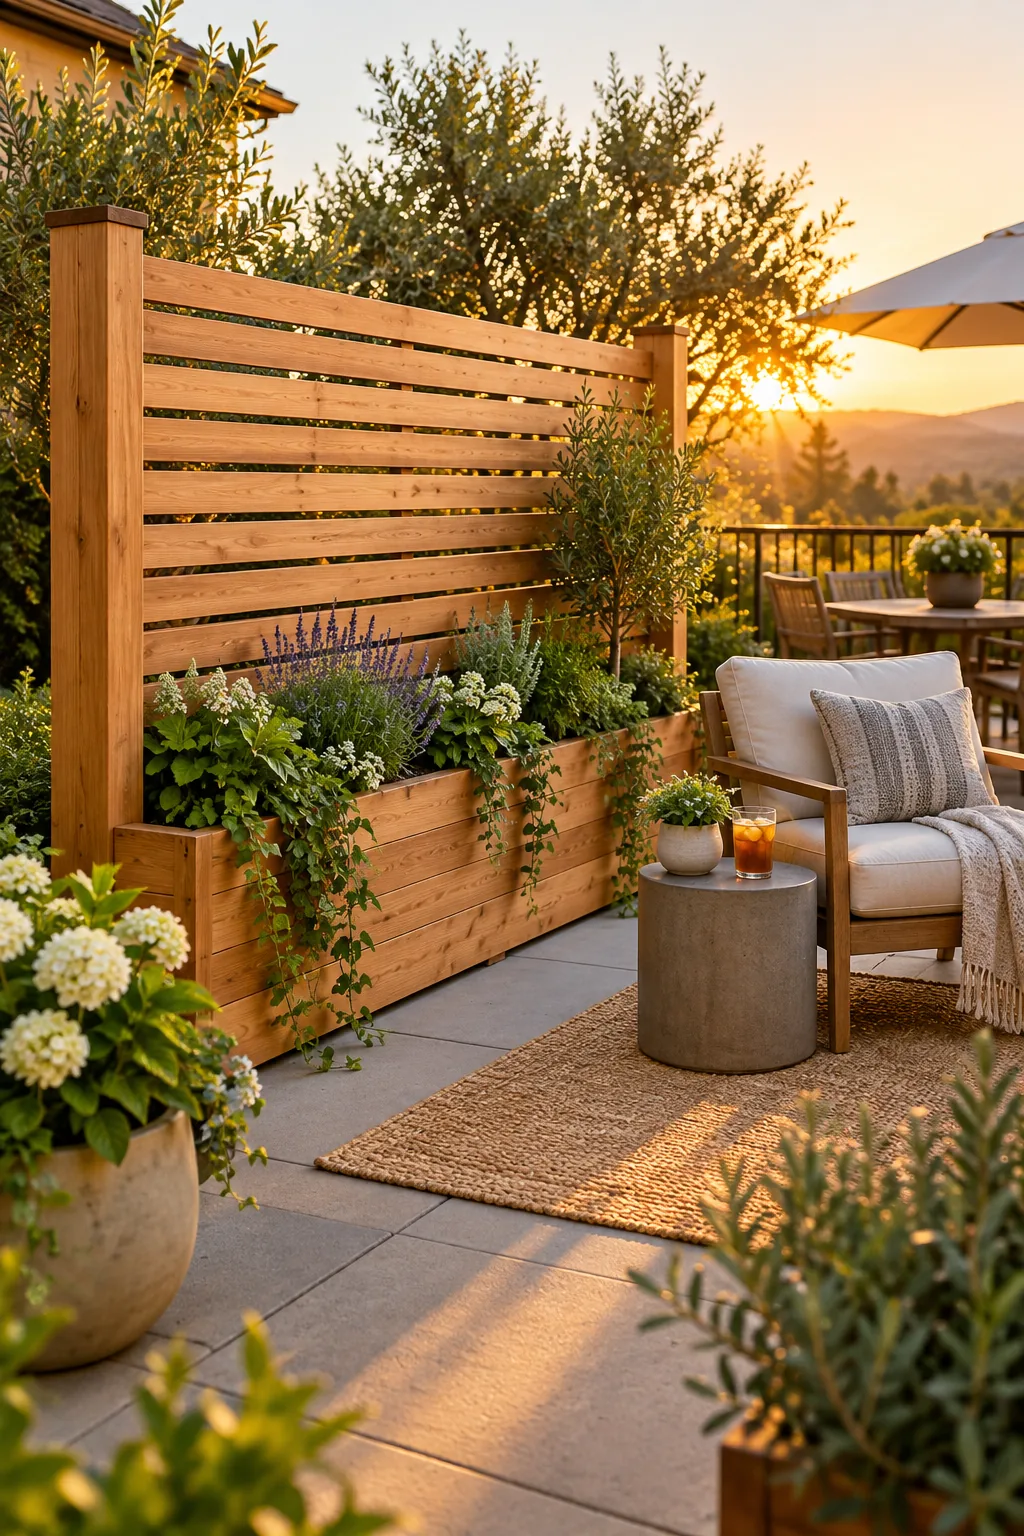
Keep this handy one-page guide on your phone or print it out to make your lumber shopping trip completely stress-free.