
4-Hour Halloween Porch Decor Plan & Shopping List
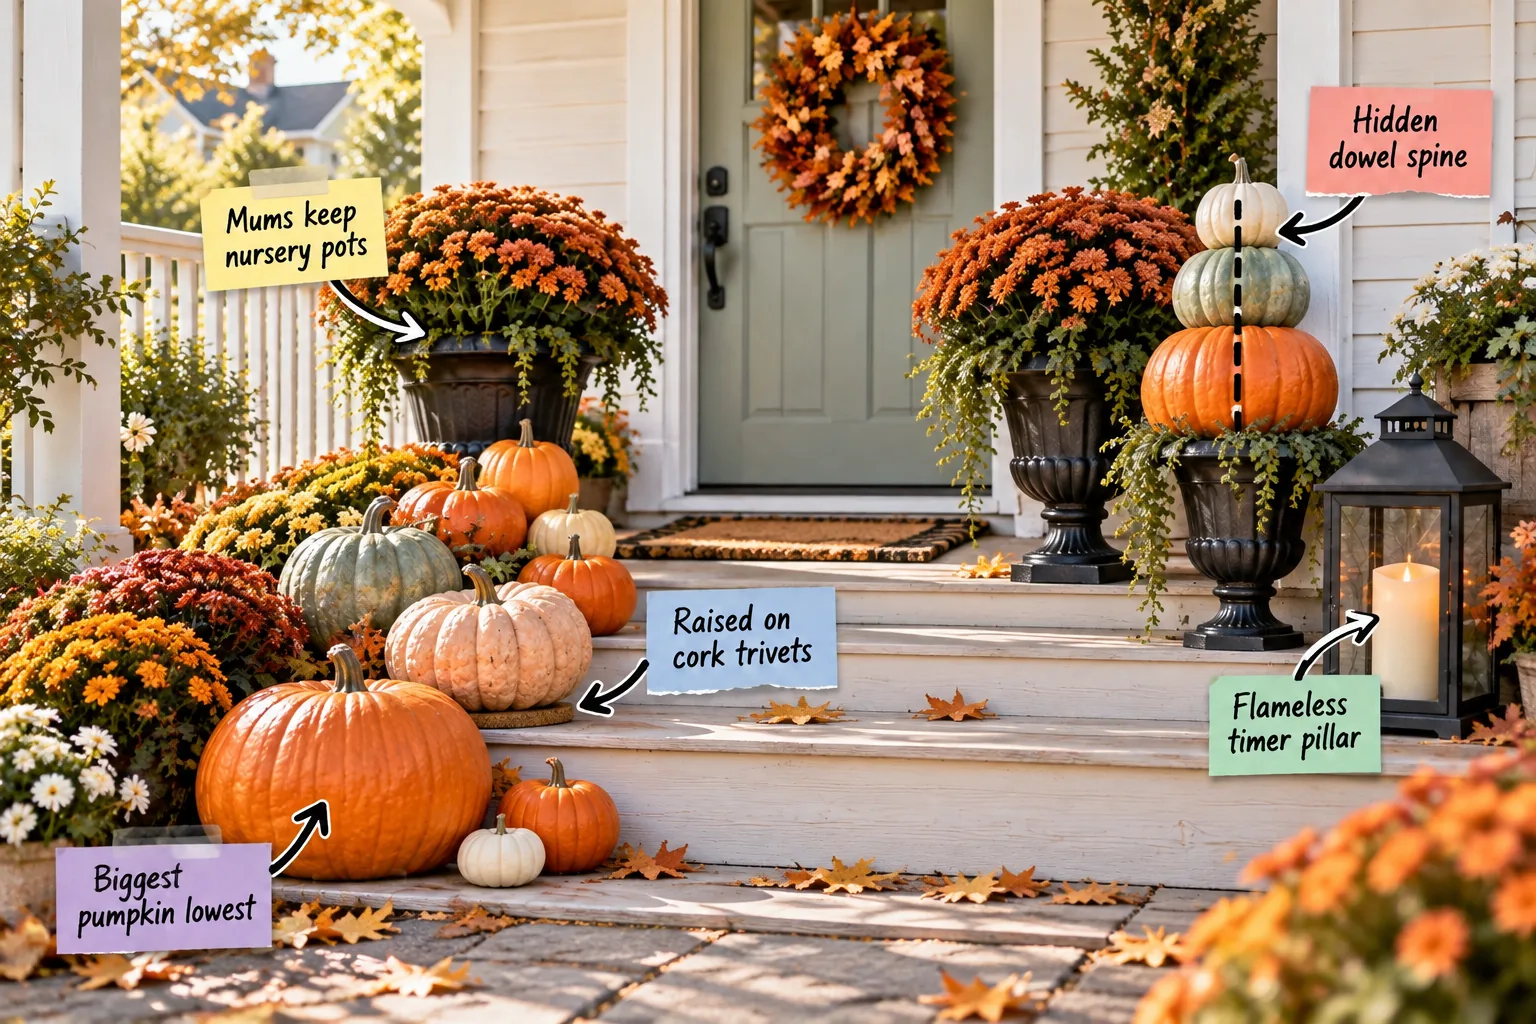
You will be able to shop for the exact quantities needed and style a layered, professional-looking Halloween porch in a single morning using this printable 8 a.m. to 12 p.m. styling sequence and pumpkin-patch shopping list.
Sourcing the Heirloom Pumpkin Mix
I always hit my local Boston farm stand early in the season to grab a balanced mix of colors and sizes, ensuring the final arrangement achieves a natural, gathered aesthetic rather than looking overly uniform.
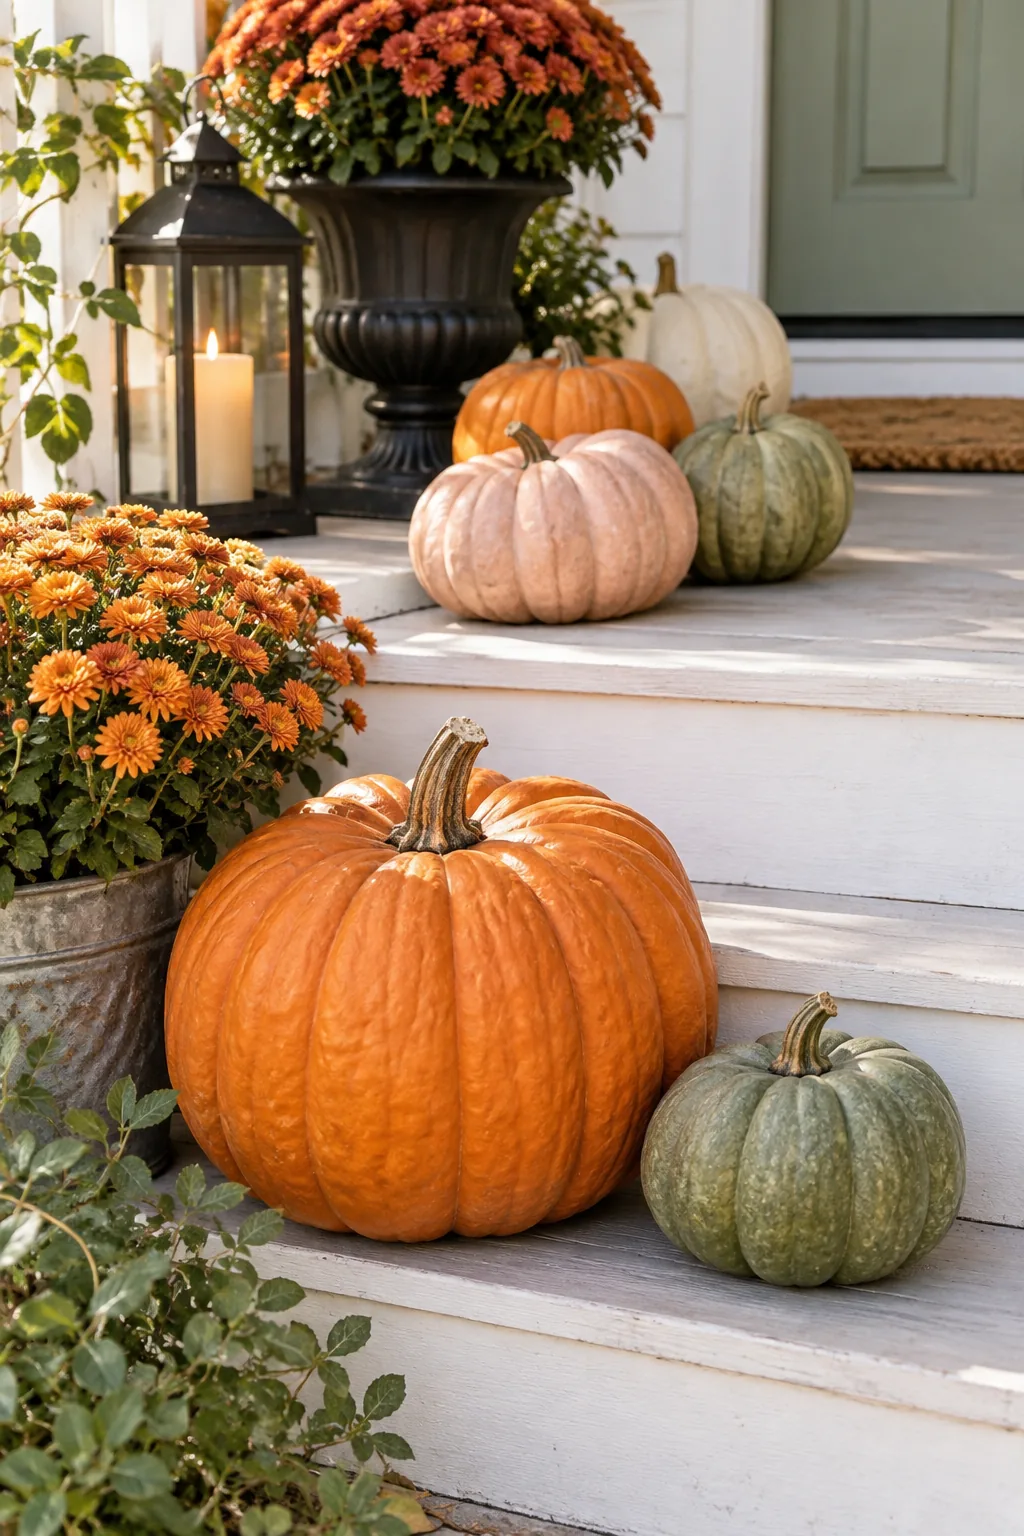
Buy 12 to 15 pumpkins total for a standard three-step porch, prioritizing a highly textural blend of classic ribbed orange, pale porcelain, and muted sage green varieties.
Selecting the Right Mum Colors
While pumpkins provide the structural foundation for your steps, rust-colored mums bridge the visual gap between bright orange gourds and the fading, muted tones of the autumn landscape.
- Rust and bronze: Create a seamless, warm transition with classic orange pumpkins.
- Deep burgundy: Adds necessary dark contrast against pale porcelain and white varieties.
- Golden yellow: Brightens shaded, covered porches that lack direct morning sunlight.
Balancing the Color Palette
Distribute your pale porcelain and sage green pumpkins evenly throughout the orange cascade, ensuring no two unusual colors sit directly next to each other on the same porch step.
Anchoring the Cascade Base
To master the visual weight rule for styling front steps, you must place the single largest orange pumpkin on the lowest tread to firmly ground the entire arrangement.
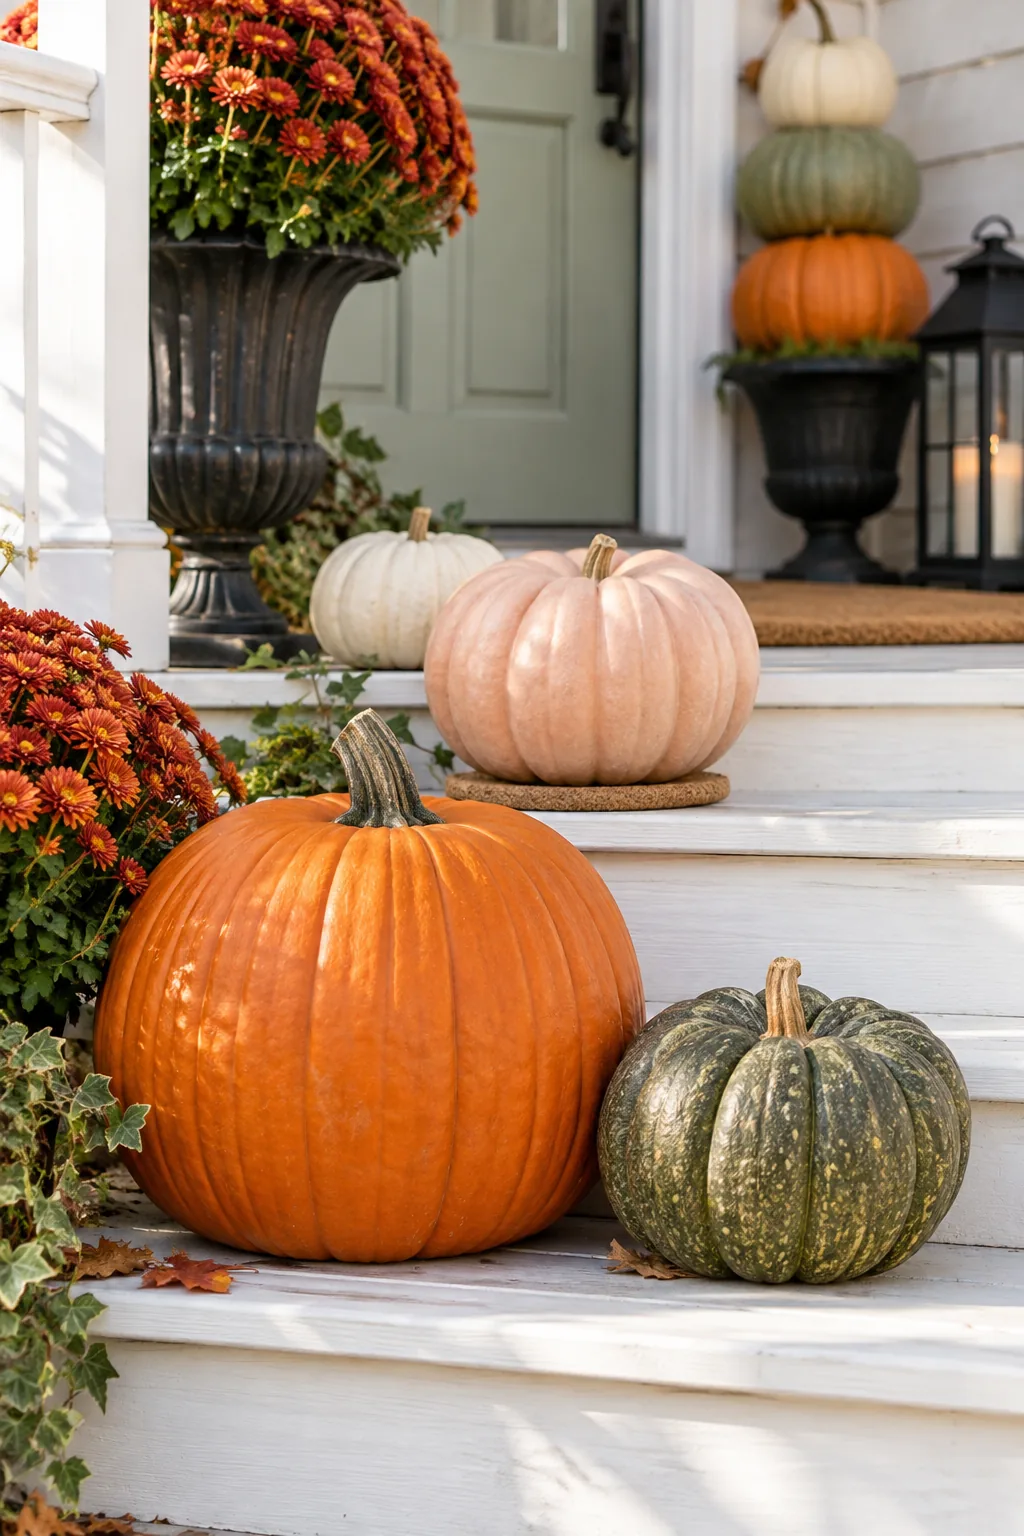
Once your heavy foundation is firmly set, build the cascade upward with progressively smaller gourds so the display naturally draws the eye toward the door without feeling dangerously top-heavy.
Protecting the Porch Steps
After ruining the painted steps of my first apartment, I learned that sitting pumpkins directly on wood or concrete traps moisture, causing rapid, messy rot that stains the porch.
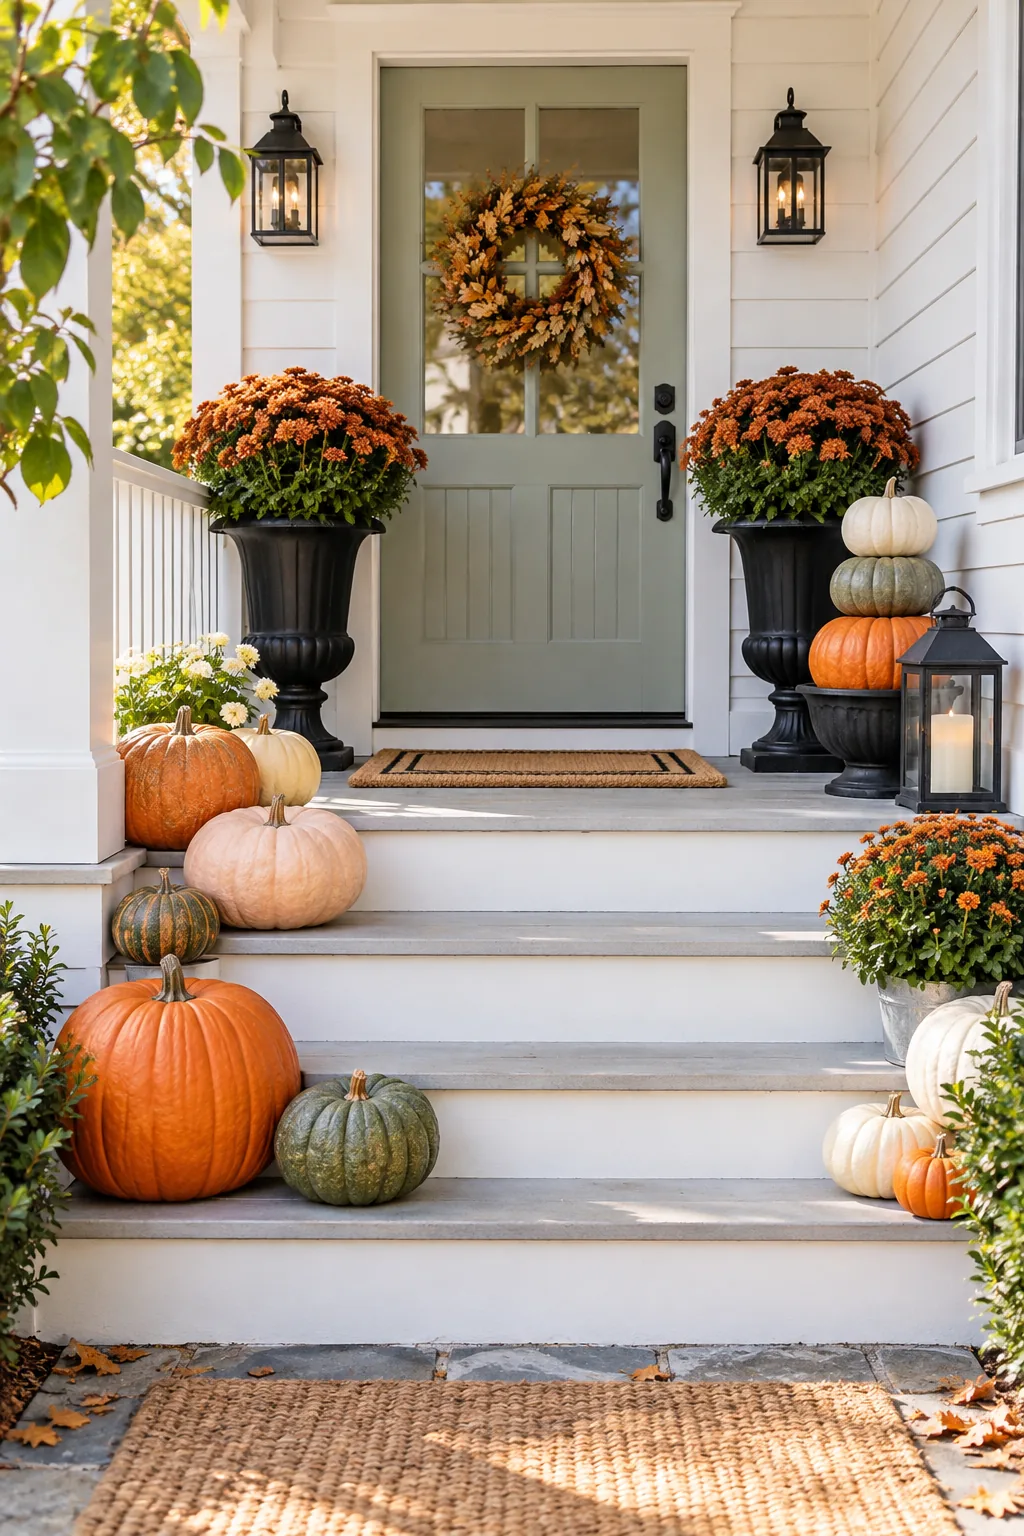
Protect your painted surfaces by placing 6-inch or 8-inch cork kitchen trivets completely hidden under the flat-bottomed pumpkins, providing the necessary airflow to keep the gourds dry.
Spacing the Step Cascade
Achieving an effortless cascade requires highly intentional spacing, leaving enough room for daily foot traffic while maintaining a visually full, abundant arrangement on the secondary side of the stairs.
Prepping the Urn Foundation
Before dropping your nursery pots into the tall black urns, you must ensure the base is properly prepared to handle drainage and support the weight of the mature mums.
- Crushed gravel: Adds heavy ballast to prevent the tall planter from tipping in high winds.
- Empty water bottles: Elevates the nursery pot to the correct height without adding excessive weight.
The Five-Minute Mum Urns
Skip the messy repotting process entirely by dropping rust mums directly into your tall decorative black urns while keeping them securely in their original 10-inch or 12-inch plastic nursery pots.
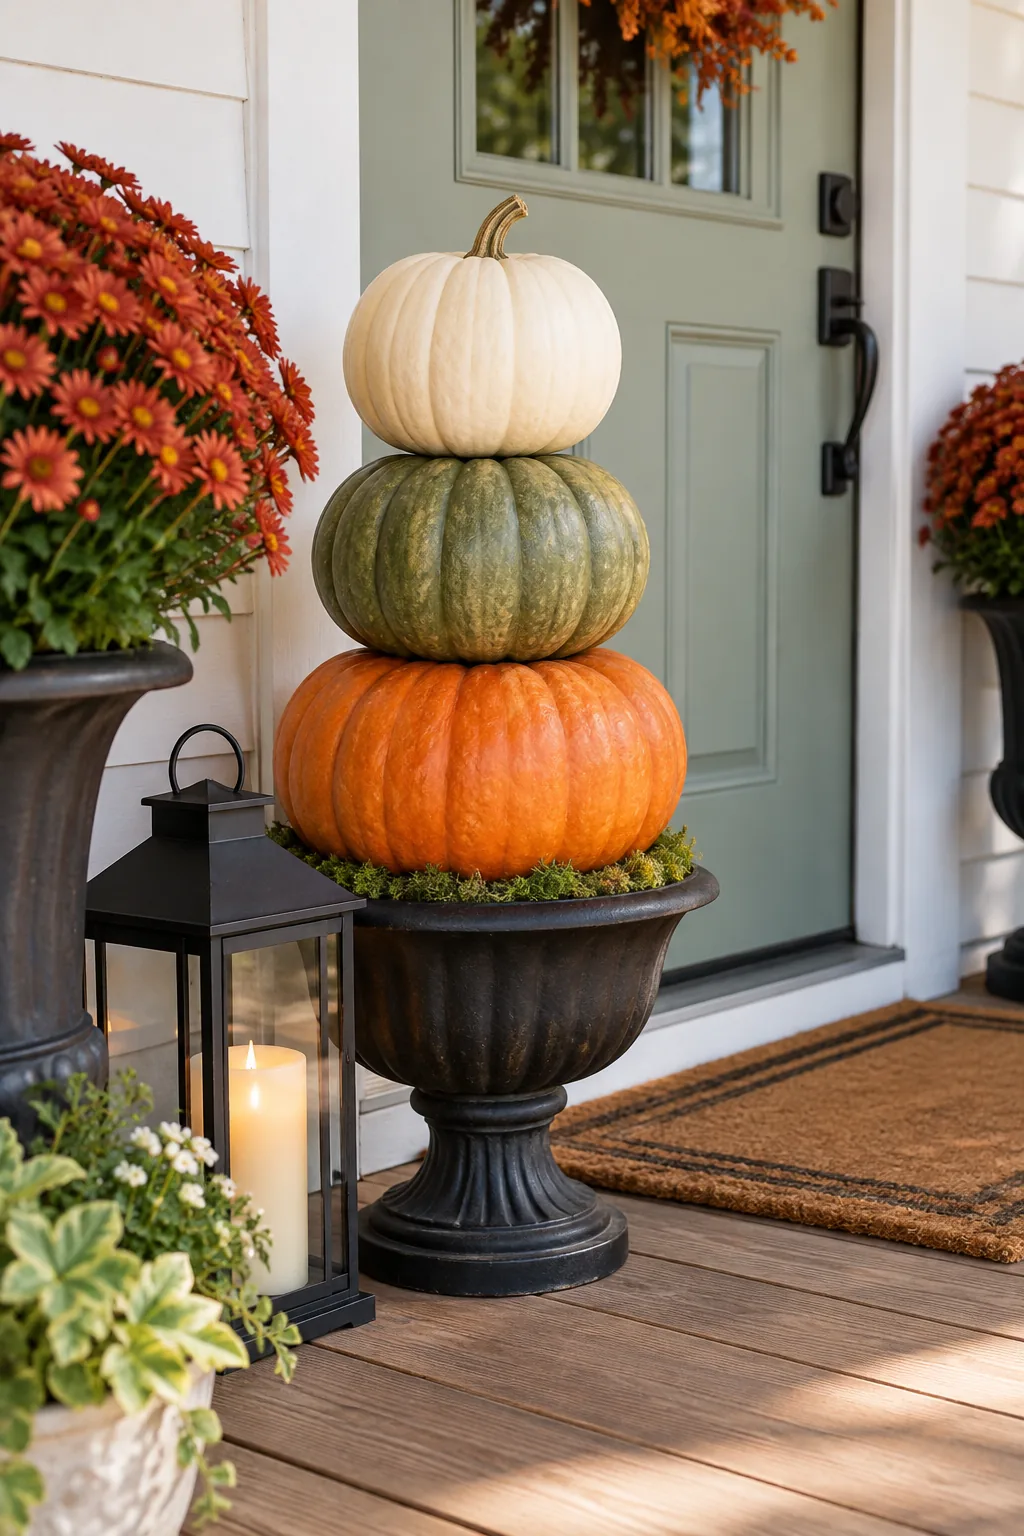
Simply tuck thick green sheet moss tightly around the inner rim to hide the plastic edge, creating a perfectly finished look that also naturally helps retain vital soil moisture.
Evaluating Porch Sunlight
Assess your porch’s daily sun exposure before placing the mums, as intense afternoon heat will scorch the blooms and require you to water the soil daily instead of twice weekly.
Securing the Topiary Structure
Stack three flat-shaped pumpkins on the low black urn, then carefully drive a 3/8-inch wooden dowel straight down through the center of all three to lock the structure together.
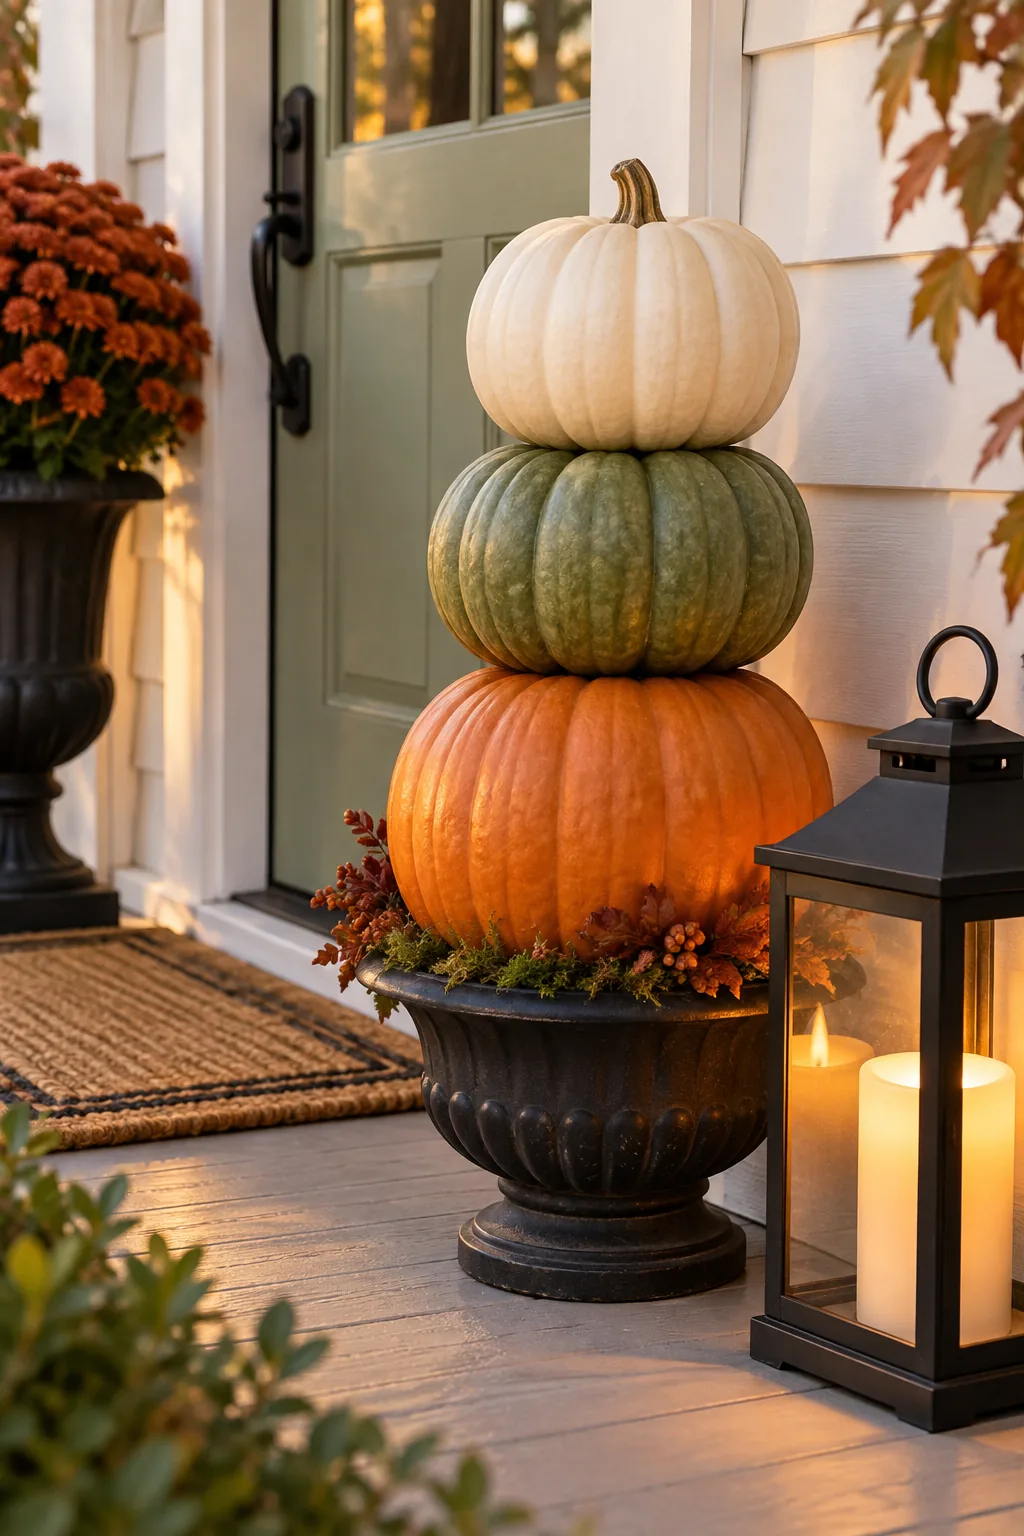
While a tiered stack looks effortless from the street, a few common structural errors can cause the entire display to collapse after a few windy days or minor bumps.
Hiding the Topiary Mechanics
A visible wooden dowel instantly shatters the illusion of an effortless pumpkin stack, so you must carefully conceal the top entry point from visitors approaching your front door.
Selecting the Right Lantern Scale
Choose a lantern that reaches roughly two-thirds the height of your completed pumpkin stack, ensuring it provides substantial visual presence without competing with the primary organic elements.
Adding Safe Evening Glow
I love coming home to my brownstone at dusk, so I balance the visual weight of the steps by placing a heavy, matte-black metal lantern beside the topiary.
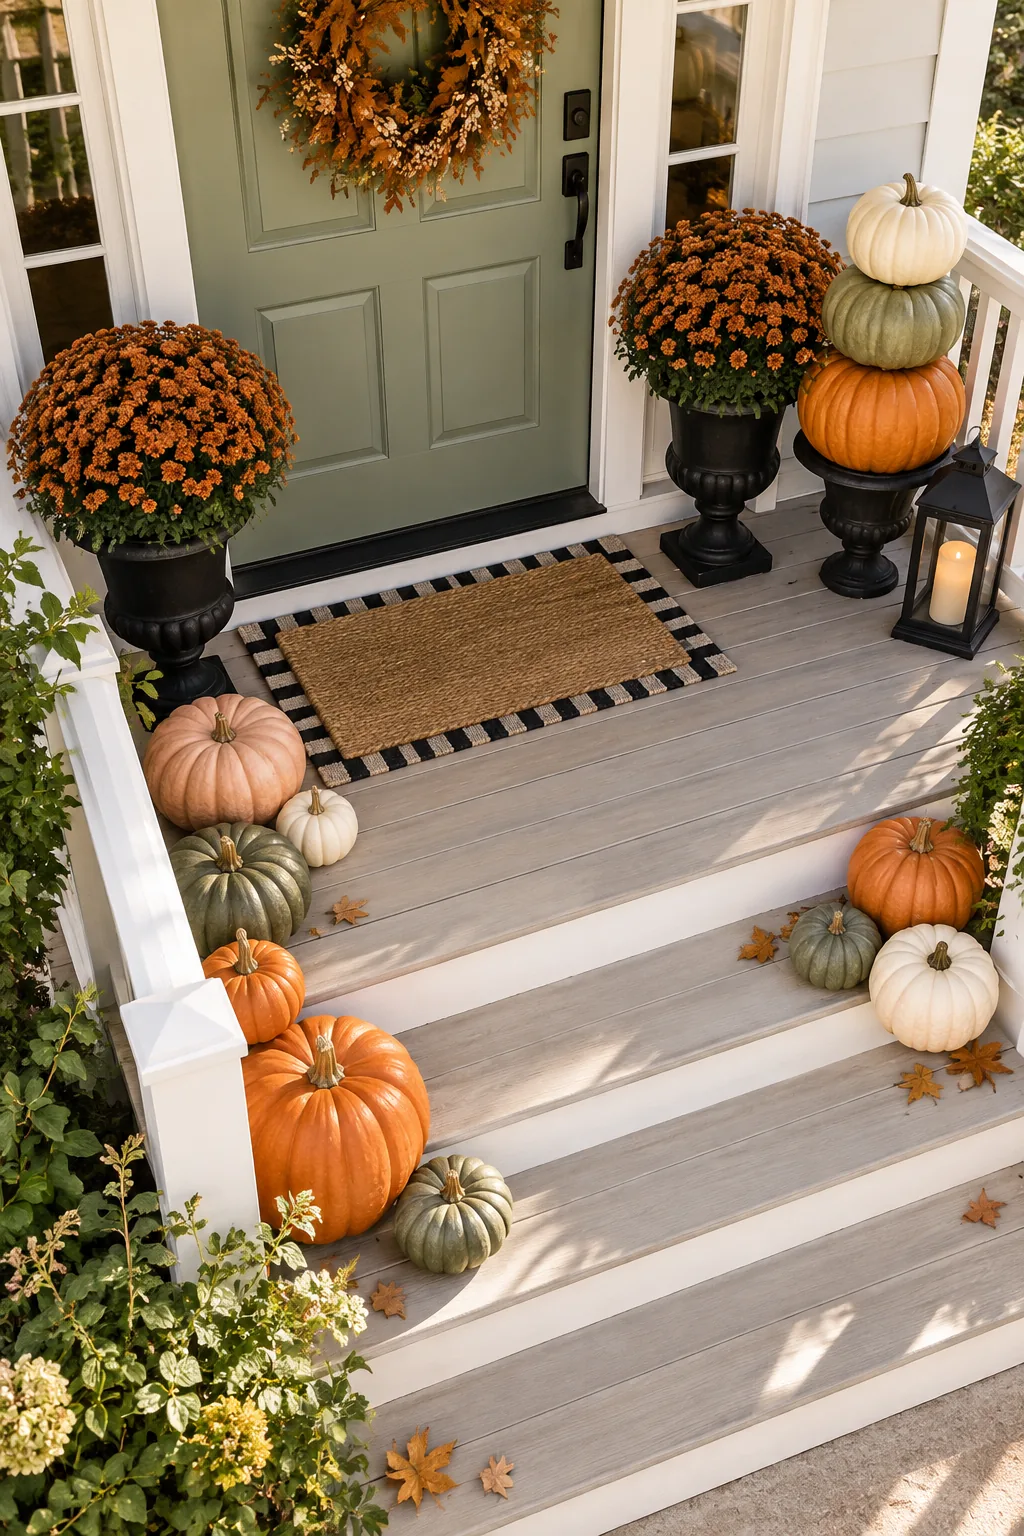
Use a 6-inch flameless LED pillar candle with a built-in 6-hour timer so the porch automatically glows at dusk without requiring daily attention or introducing any fire risk.
Maintaining the Autumn Display
A beautiful, welcoming porch requires a little ongoing attention to survive the fluctuating autumn weather, prevent premature rot, and keep hungry neighborhood pests away from your harvest.
- Water the mums directly at the soil base twice a week to avoid rotting the delicate foliage.
- Spray the pumpkins with a mild water-and-vinegar solution to deter squirrels and insects.
- Inspect the hidden cork trivets weekly to ensure no excess rain moisture is trapped against the wood.
More Front Porch Styling Ideas
Adapt the 4-hour styling method to fit your home's unique exterior with these distinct seasonal palettes.
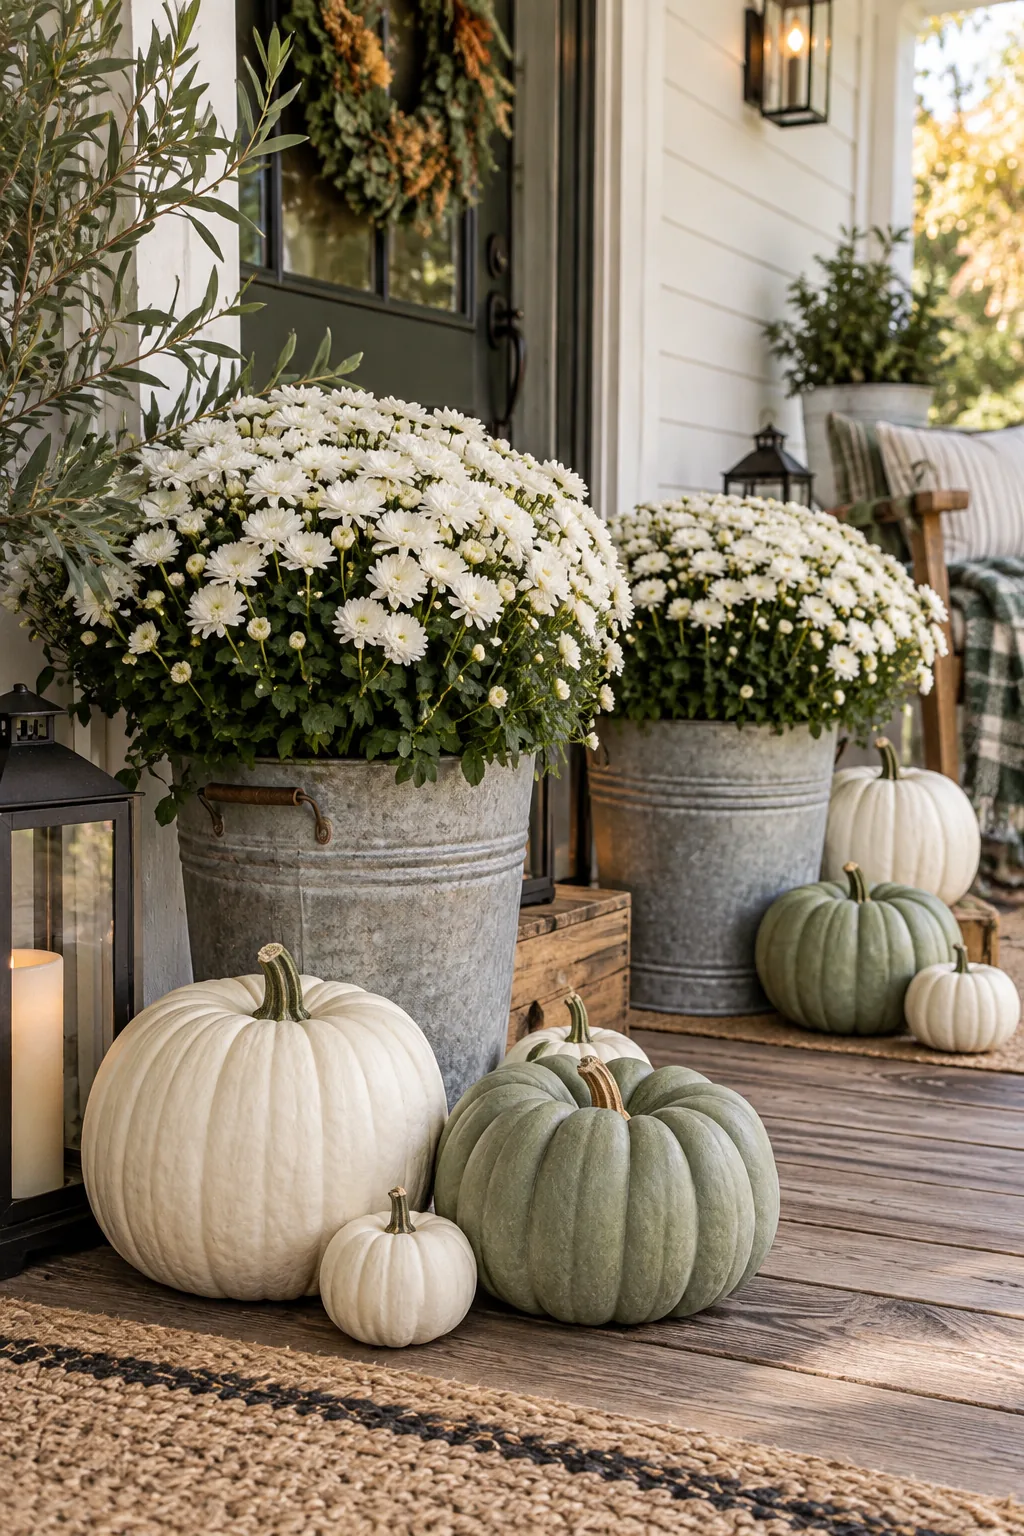
Neutral Farmhouse: Swap bright orange for white and sage pumpkins arranged around galvanized olive buckets.
Moody Gothic: Deep burgundy florals and painted matte-black pumpkins create elegant drama against brick steps.
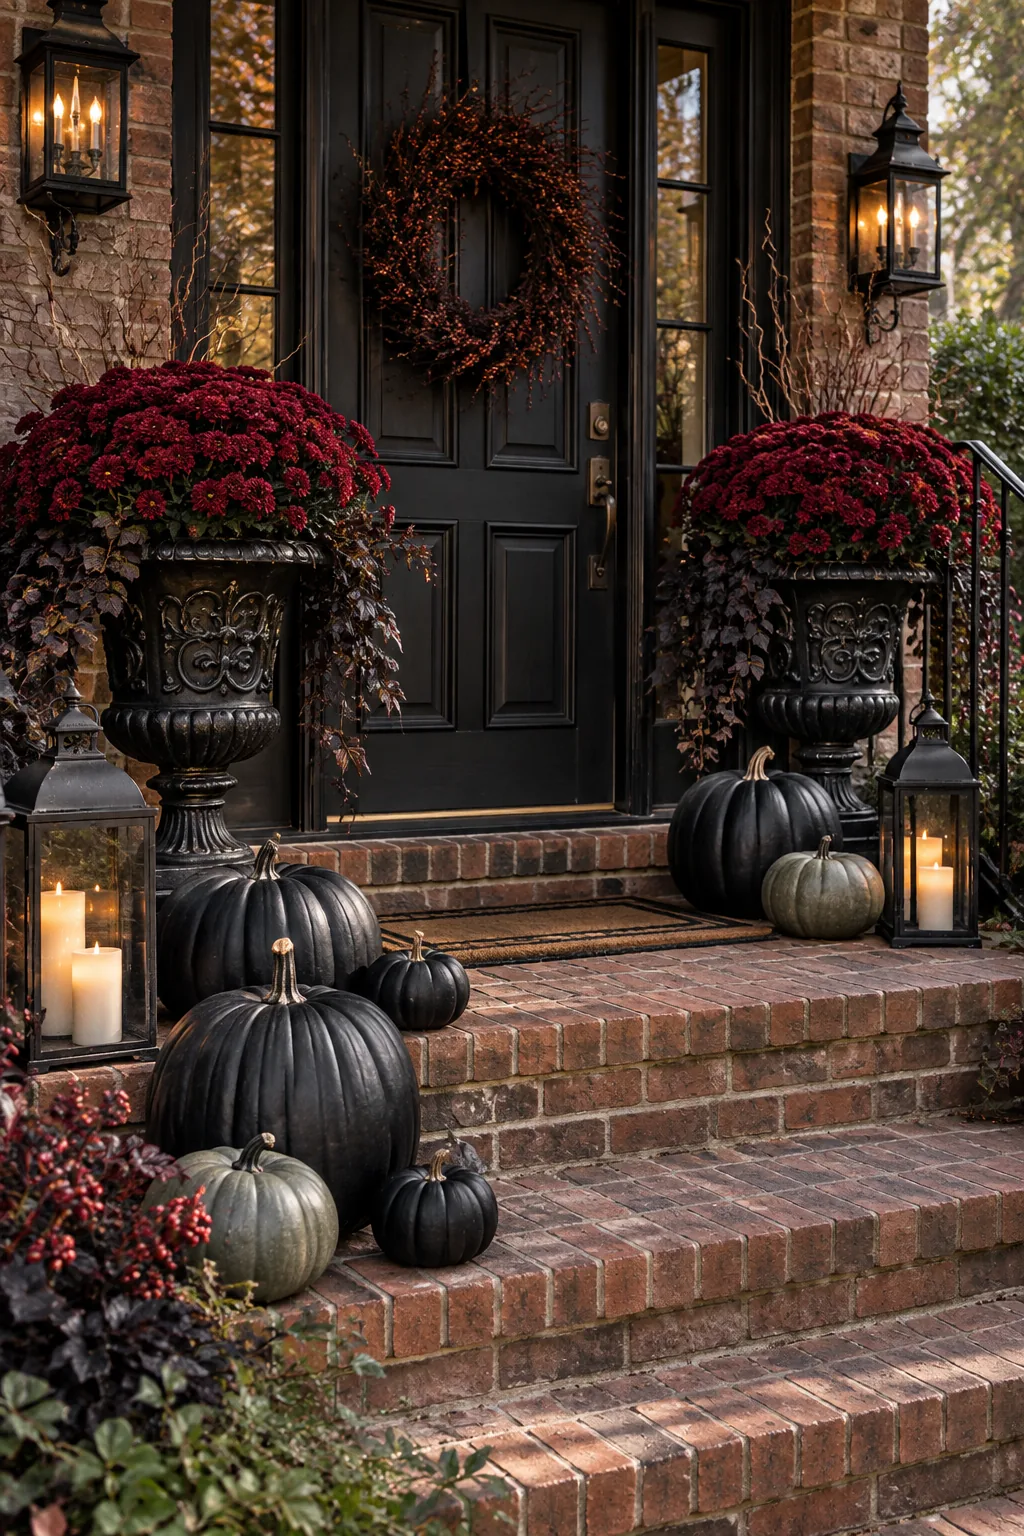
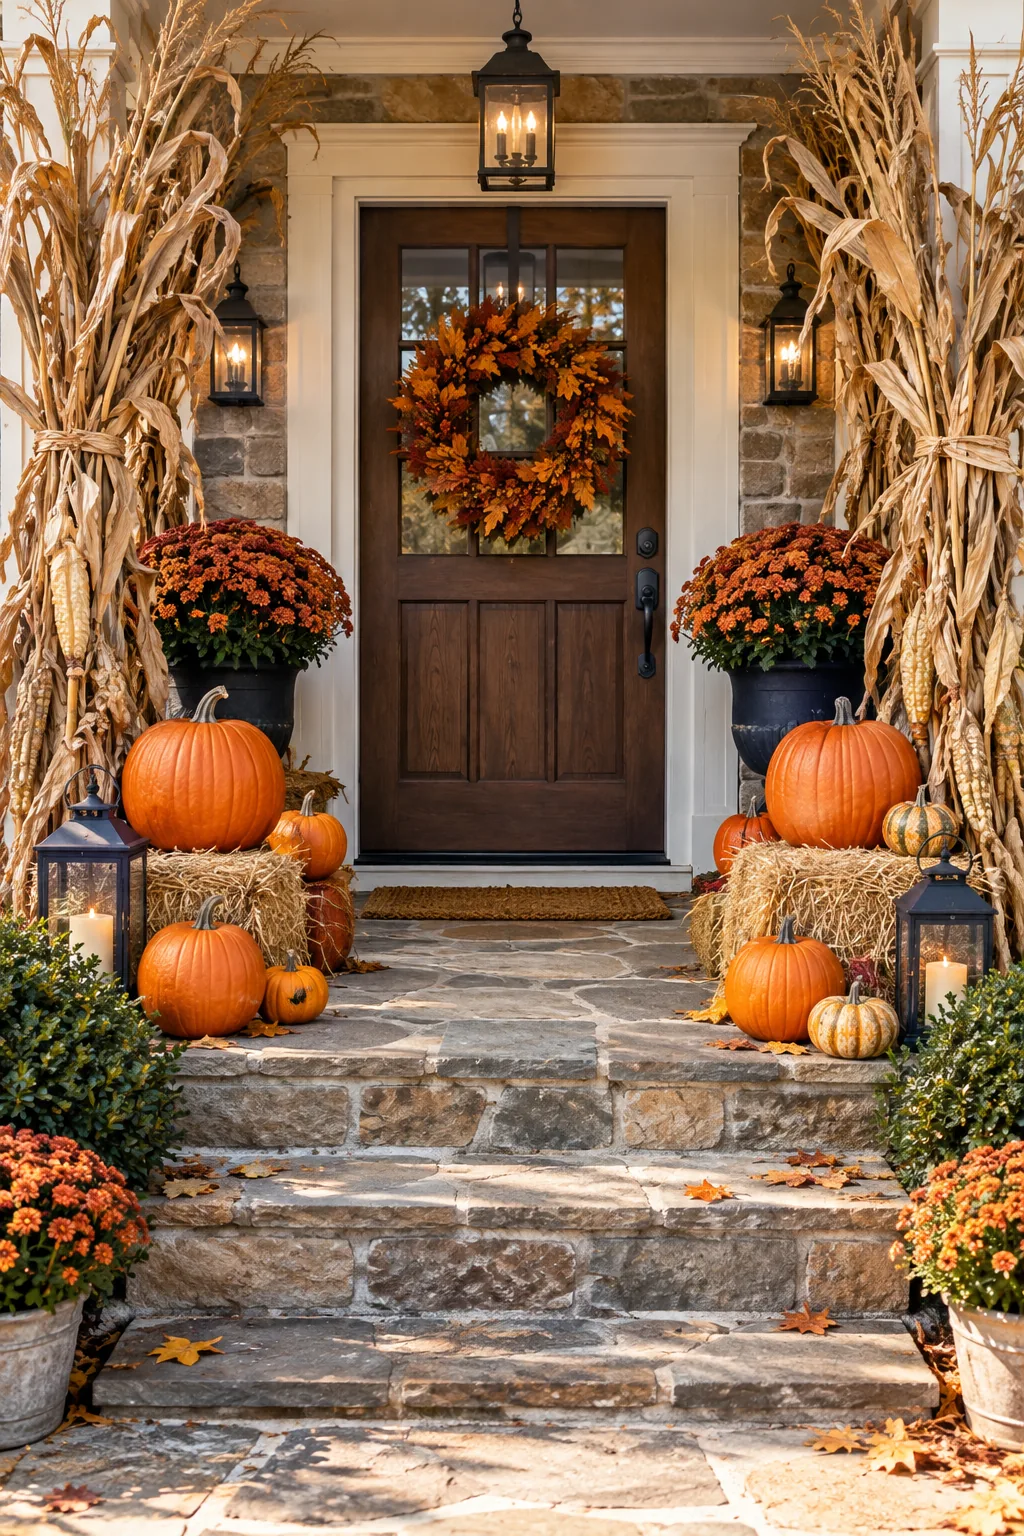
Classic Harvest: Frame the doorway with dried corn stalks and elevate traditional pumpkins on mini hay bales.
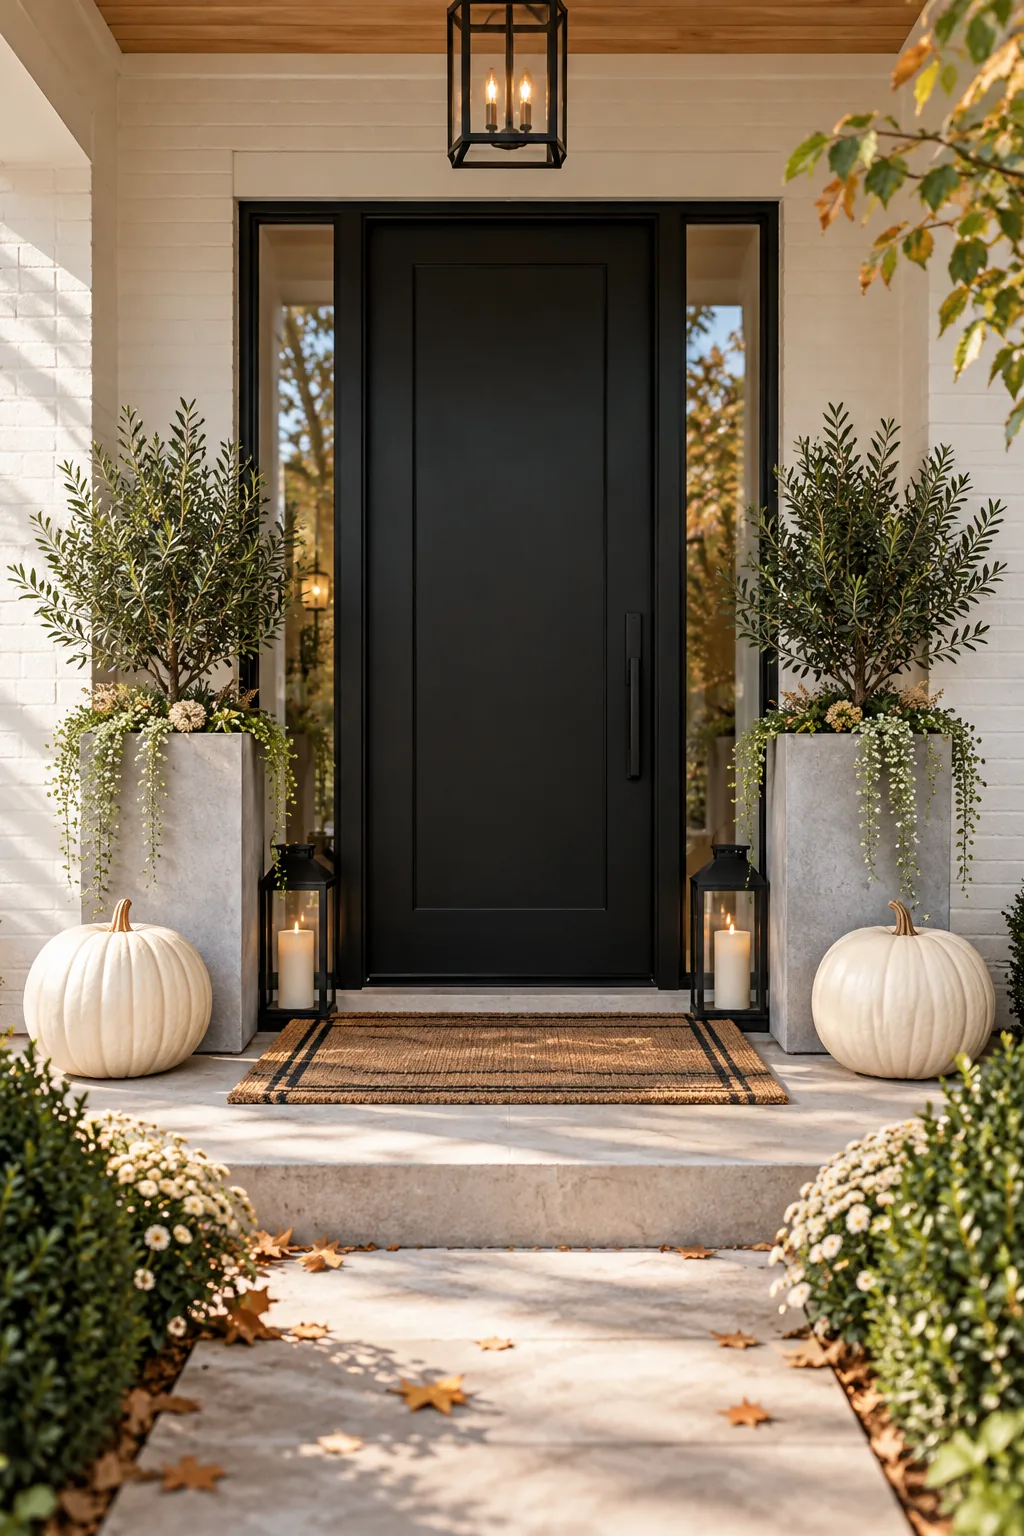
Modern Minimalist: Maintain strict symmetry with identical white pumpkins flanking sleek concrete planters for a contemporary feel.
The 4-Hour Porch Plan & Shopping List
This printable guide outlines the exact shopping list with specific sizes and quantities, alongside the timed 8 a.m. to 12 p.m. styling sequence needed to replicate the complete look.
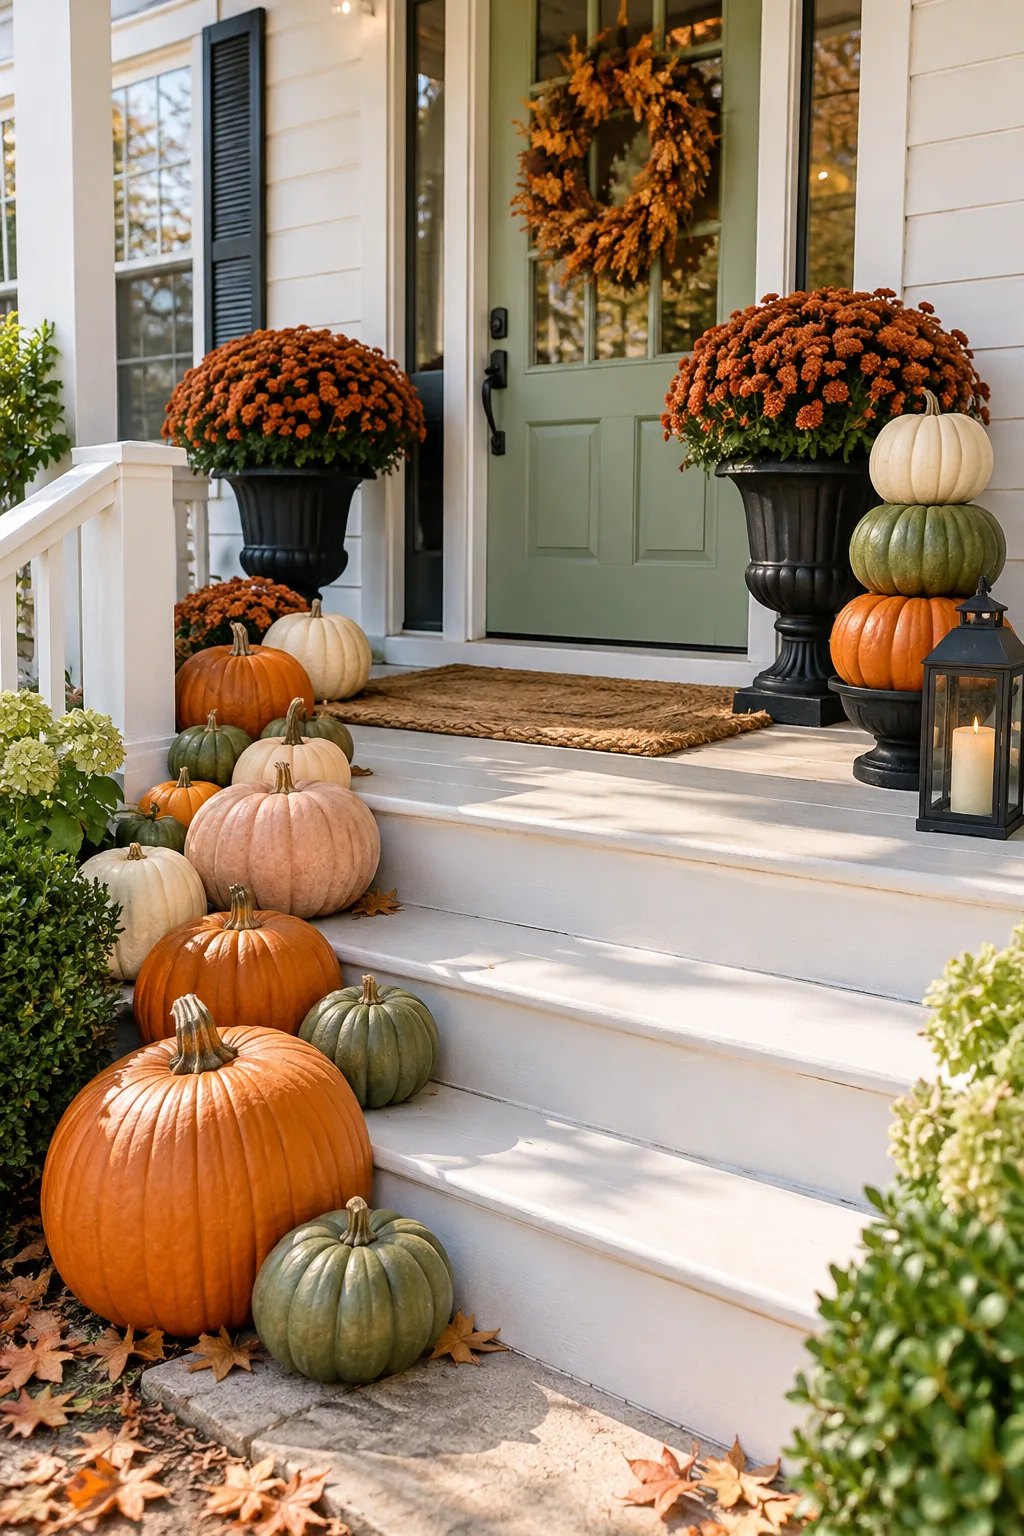
Follow this highly efficient morning timeline and exact supply list to build your layered, professional-looking porch display before lunch, without making multiple frustrating trips to the nursery.
| Time / Supply | Quantity | Specific Details |
|---|---|---|
| 8:00 a.m. | 12-15 | Mixed heirloom pumpkins (flat and round) |
| 9:30 a.m. | 2 | Rust mums in 10-inch nursery pots |
| 10:15 a.m. | 6-8 | Round cork kitchen trivets (6-inch) |
| 11:00 a.m. | 1 | 3/8-inch wooden dowel (36 inches long) |
| 11:45 a.m. | 1 | 6-inch flameless LED pillar candle |