No-Damage Christmas Porch Decor: The Complete Hanging Guide
Transform your home for the holidays with this complete no-damage hanging guide that keeps your exterior trim entirely pristine. You will learn exactly how to securely anchor heavy garlands, wreaths, and outdoor lighting using reliable tension and friction rather than destructive screws.
The No-Damage Hanging Strategy
Our core system relies entirely on compression and friction rather than permanent hardware to safely support up to 40 pounds of dense greenery. This structural approach preserves your expensive exterior paint while delivering a professional, seamless holiday display.
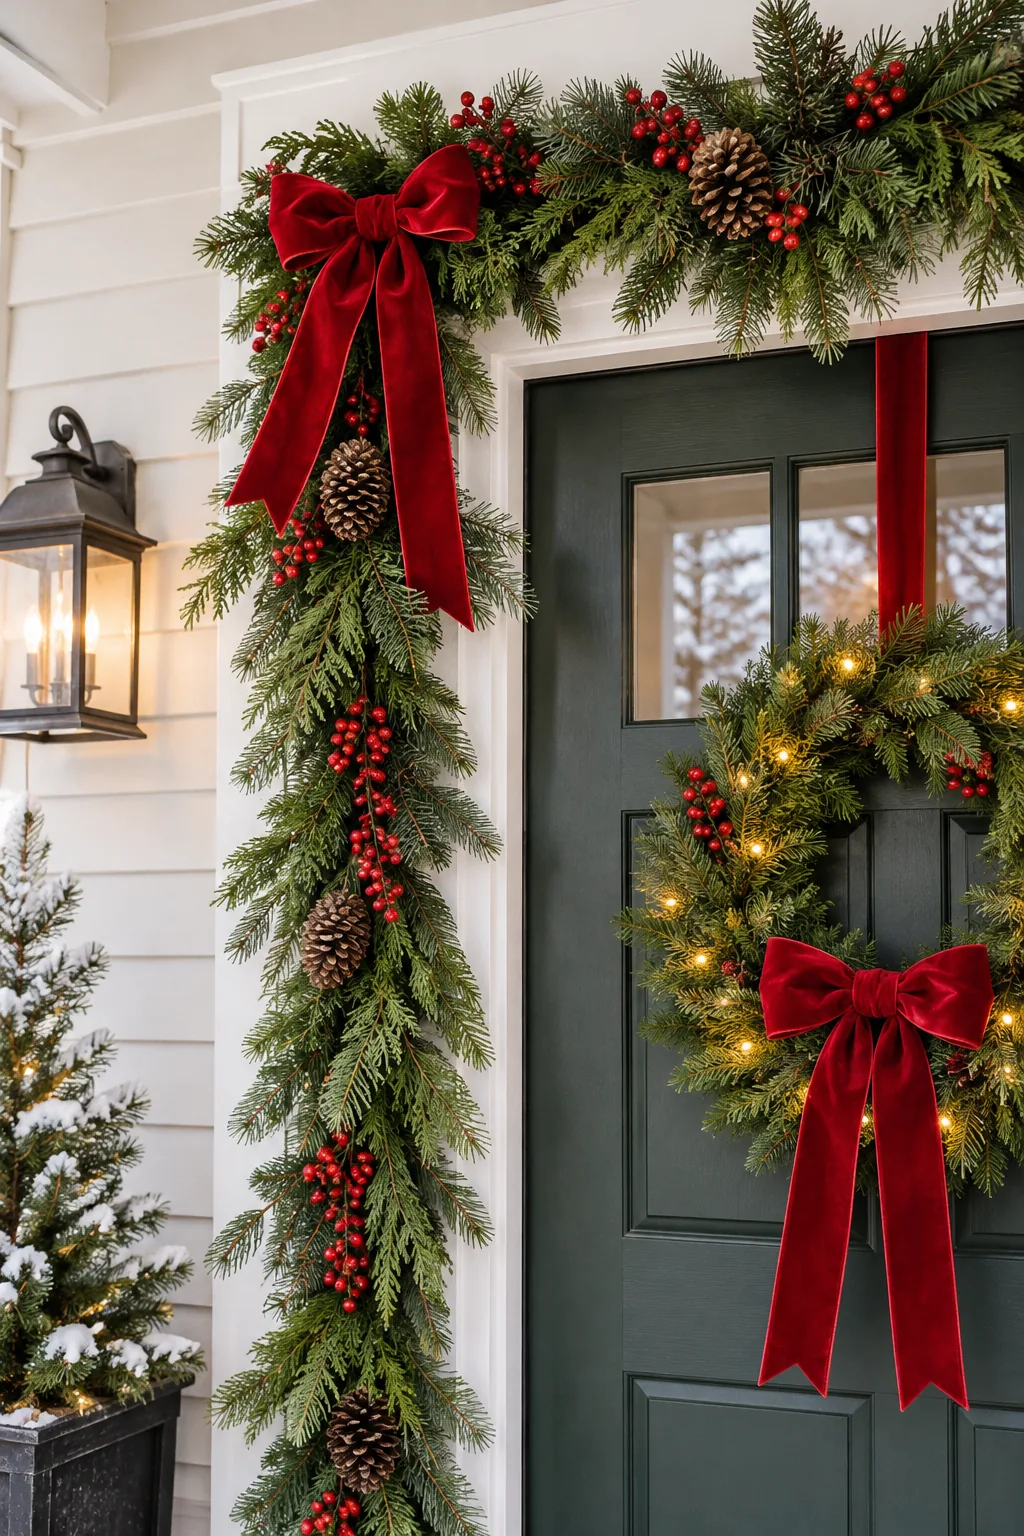
We will move systematically from the top structural anchors down through the lush foliage layers to the heavy planter bases. This top-down assembly ensures every layer remains perfectly supported against strong winter gusts.
Measuring Your Door Frame
Before purchasing any hardware, you must determine the exact interior dimensions of your entryway to ensure a flawless compression fit. Accurate measurements prevent the heavy greenery from slipping down the jambs during temperature fluctuations.
- Measure the top inner width of the door frame.
- Check the depth of the jamb to ensure the rod fits flush.
- Verify the surface is smooth and free of debris.
Record these dimensions carefully, as you will need a rod that extends at least two inches beyond your frame’s resting width. This extra length creates the necessary tension to hold the massive weight of double-layered pine.
Protecting the Door Paint
Before installing any hardware, thoroughly wipe down the door jambs with a gentle degreaser to ensure the rubberized tension rod pads grip securely. Applying a tiny strip of clear silicone tape to the contact points provides an extra layer of protection against accidental scuffing.
Selecting the Best Tension Rod
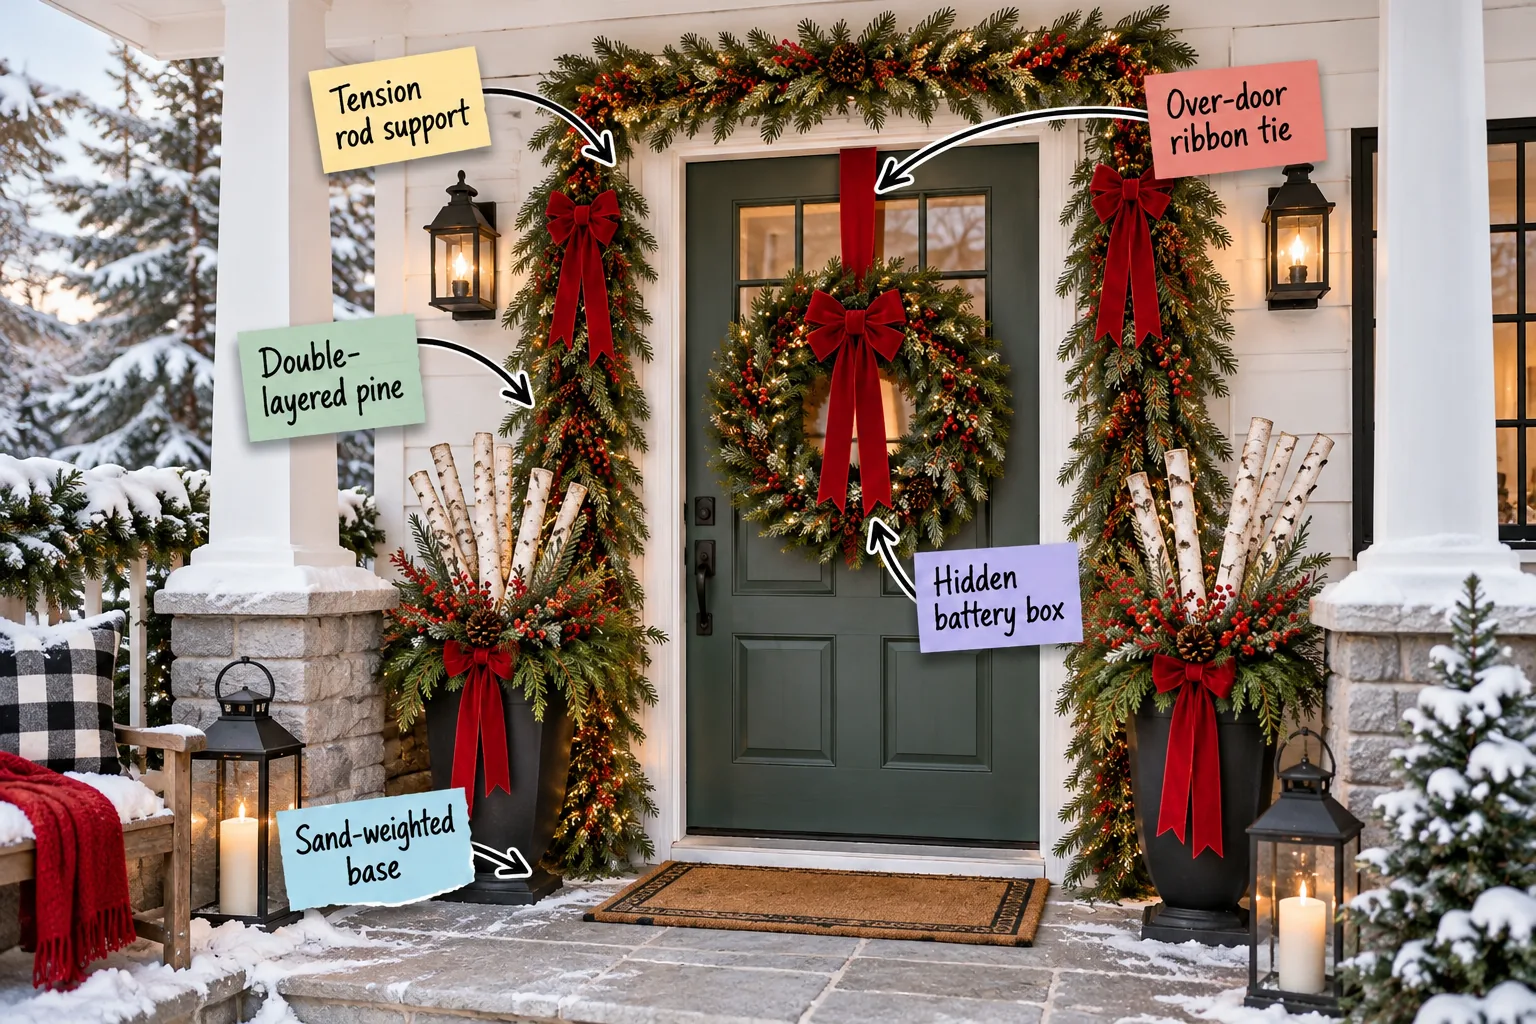
Purchase a heavy-duty, outdoor-rated shower tension rod featuring rubberized end caps to protect your white trim from scratches. The internal spring mechanism must be robust enough to maintain rigid outward pressure even when supporting multiple heavy garlands and integrated battery packs.
Securing the Tension Rod Support
A premium shower tension rod placed snugly inside the top door frame acts as your primary structural anchor for the entire installation. Follow these precise mechanical steps to create a rock-solid foundation for your elaborate holiday display.
- Extend the metal rod until it compresses tightly against the inner frame.
- Space heavy-duty zip ties every 12 inches along the shaft.
- Cinch the primary garland firmly to prevent any lateral slipping.
Once your rod is firmly in place, the way you attach the greenery determines how invisible the mechanics will be.
Testing the Compression Fit
Give the installed tension rod a firm, downward tug with both hands to verify it can genuinely hold the anticipated weight. If the rod slides even a fraction of an inch, extend the internal spring further until the friction lock holds completely rigid.
Choosing the Right Artificial Pine
Select unlit, flexible artificial pine strands with thick wire cores that hold their shape when bent around the door frame. Starting with a high-quality base ensures your final arrangement looks incredibly realistic while providing a sturdy framework for adding delicate ornaments.
Building Double-Layered Pine
Twisting two inexpensive 9-foot artificial pine garlands together creates a premium, thick base that looks incredibly lush and expensive. This technique instantly upgrades basic craft store materials into a custom, designer-quality architectural framing element.
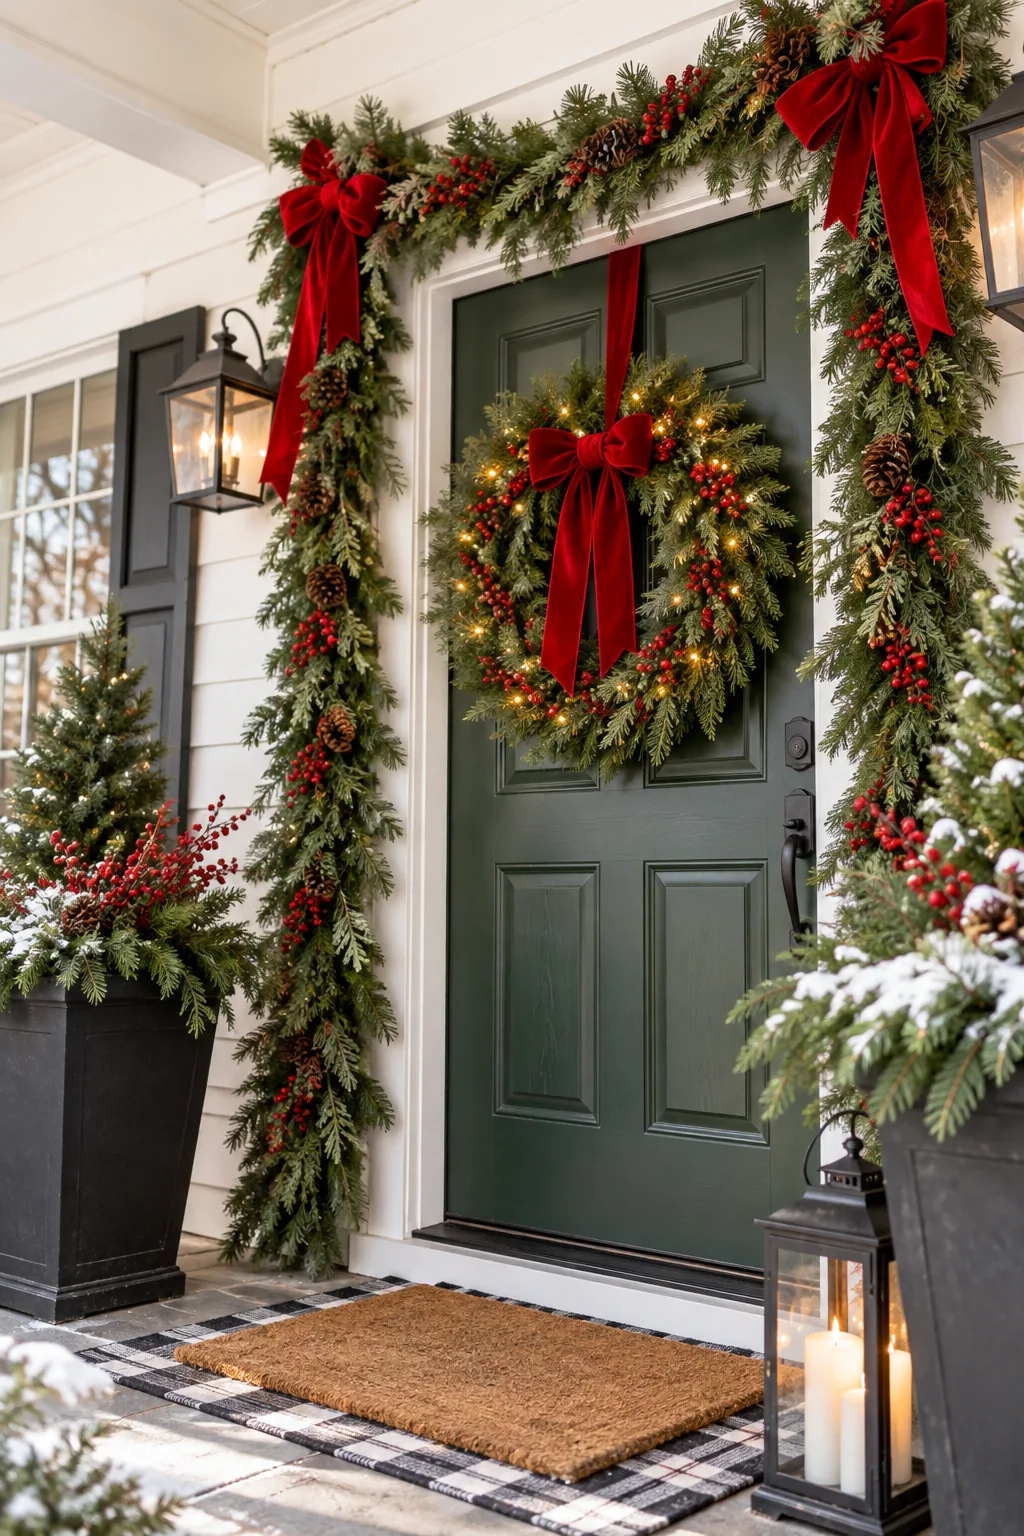
This dense double-layering technique is absolutely crucial because it completely hides the metal tension rod and plastic zip ties from view. The combined volume creates a beautiful shadow line that makes the greenery pop against the white trim.
Fluffing the Garland Branches
Spend at least twenty minutes meticulously pulling every individual pine tip outward and slightly forward to maximize the overall volume. Proper fluffing eliminates sparse gaps, conceals the center wire, and provides a broader surface area for weaving in your decorative velvet ribbons.
Integrating LED String Lights
Weave warm white, outdoor-rated LED string lights deeply into the double-layered pine before hanging the garland on the tension rod. Pre-lighting the greenery on the ground ensures the cords remain completely hidden while providing an even, magical glow across the entire door frame.
Sizing the Wreath for Your Door
Choose a wreath that measures roughly two-thirds the width of your front door to maintain perfect visual proportions from the street. A 24-inch to 30-inch wreath typically hits the sweet spot, leaving enough exposed door color to frame the greenery beautifully.
Attaching Shatterproof Ornaments
Wire oversized, shatterproof ornaments directly to the thickest pine branches using heavy-duty floral wire to prevent them from blowing away in winter storms. Cluster the ornaments in groups of three near the top corners to draw the eye upward and emphasize the architectural height.
The Over-Door Ribbon Tie
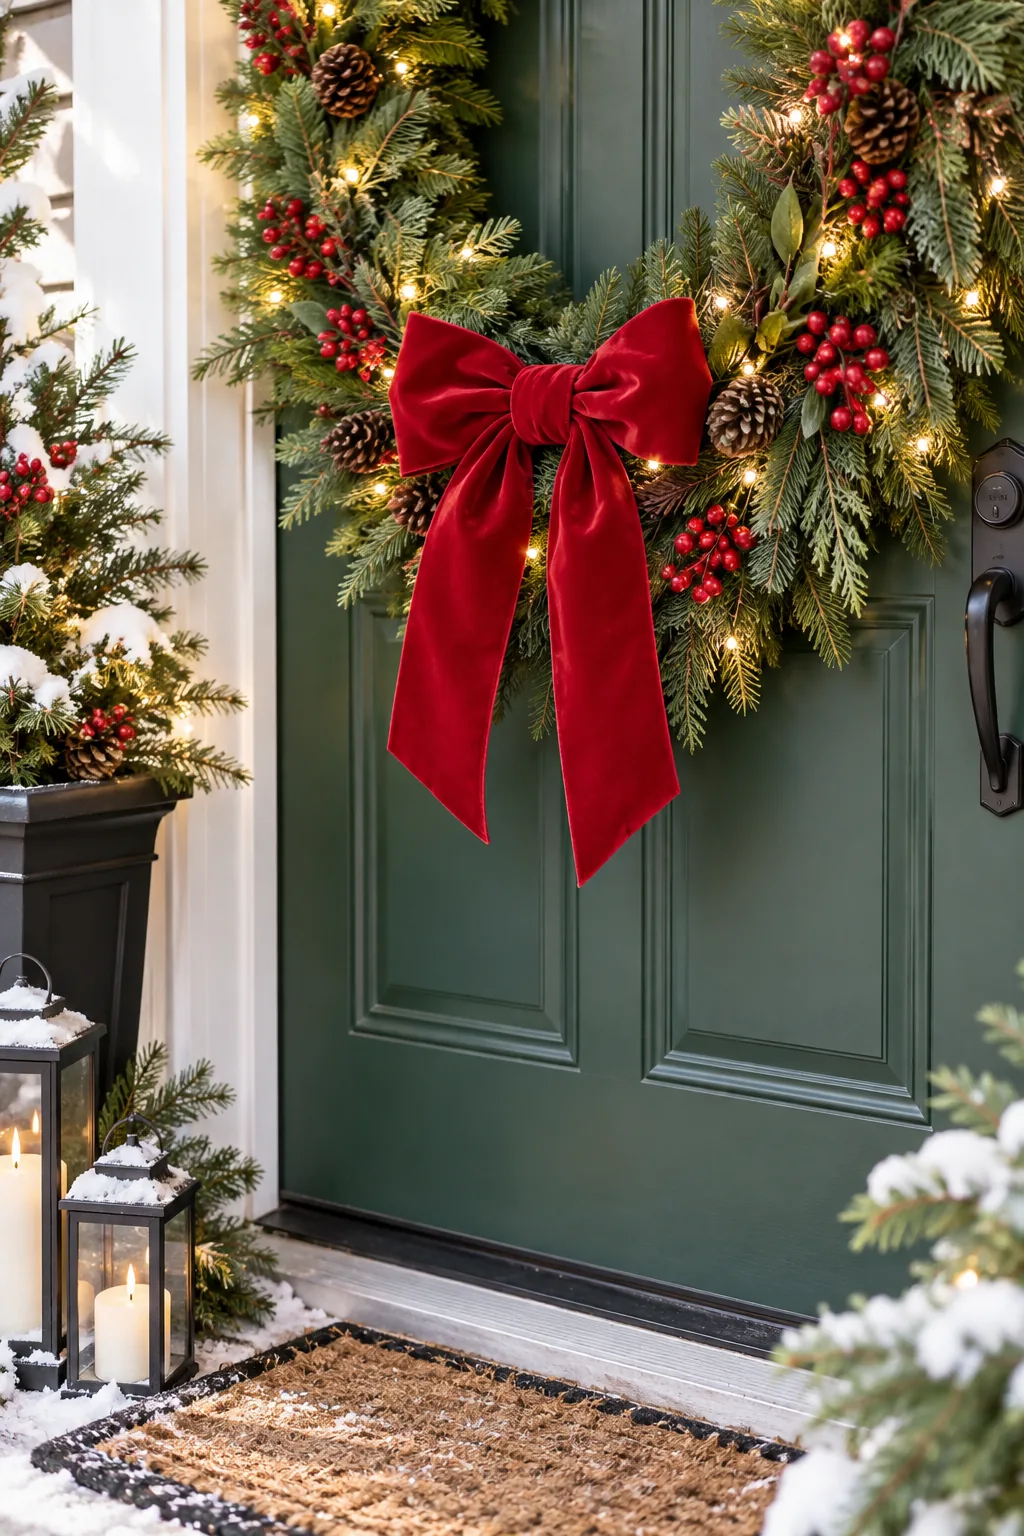
Hang your heavy wreath using a 2.5-inch wide wired velvet ribbon acting as a flat, elegant suspension strap. The flat profile allows the door to close smoothly without catching, eliminating the need for bulky metal over-the-door hooks that scratch the paint.
Run the velvet ribbon tightly over the top of the door and tack it to the unseen upper edge with a heavy-duty adhesive strip. This hidden anchor point keeps the wreath perfectly centered while allowing the ribbon to drape beautifully down the front.
Wiring the Wreath for Stability
Thread a thin piece of green floral wire through the back of the wreath frame and attach it gently to the door knocker or peephole. This secondary anchor prevents the heavy arrangement from swinging wildly and damaging the glass every time you welcome holiday guests.
Concealing the Battery Box
Tuck the waterproof battery box for the LED lights deep into the lower branches to keep it entirely out of sight. A visible plastic power source instantly breaks the magical illusion of your carefully curated natural display.
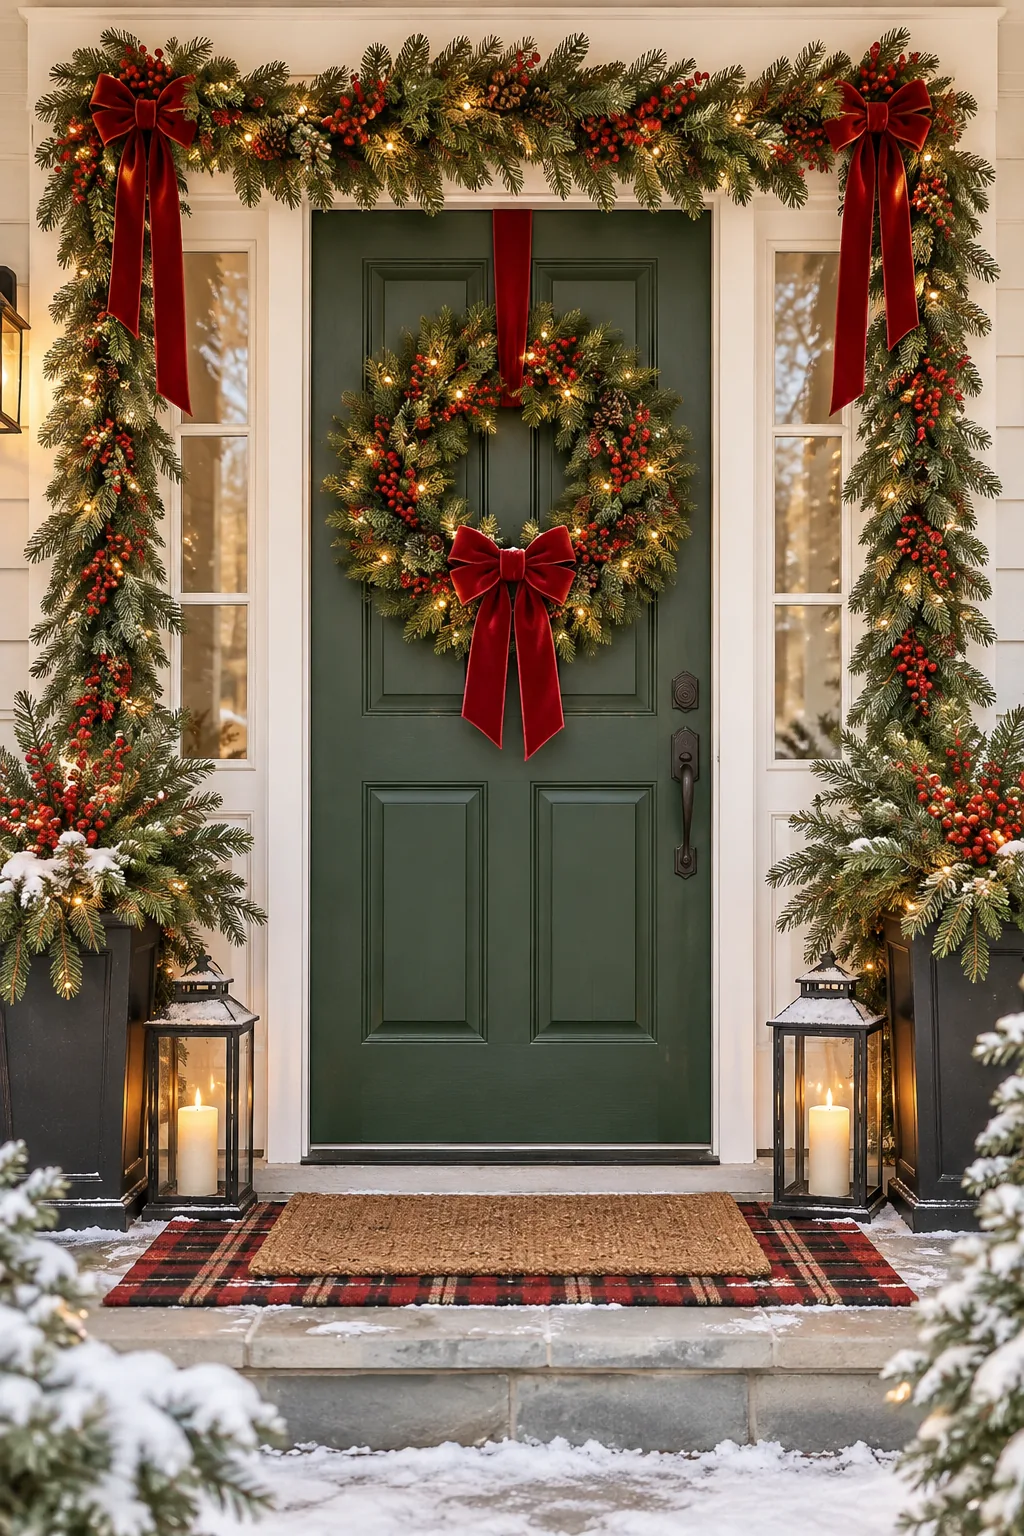
Secure the box tightly to the inner wire frame with floral wire; last year, my unsecured box shattered against the glass when the door swung open, so I never skip this step! Wiring it down also makes changing the batteries much easier mid-season.
Picking the Right Porch Planters
Invest in tall, tapered black planters measuring at least 24 inches high to visually anchor the bottom of the door frame. The dark color provides a striking modern contrast against the bright white trim and rich green foliage of your porch decor.
Balancing the Planter Proportions
Position your heavy black planters exactly four inches away from the door frame to allow clearance for the hinges to operate freely. This precise spacing creates a balanced visual frame without crowding the entryway or crushing your fresh cedar arrangements when visitors arrive.
Creating a Sand-Weighted Base
Fill the bottom third of your tall black planters with exactly 50 pounds of play sand to anchor the entire arrangement. This incredibly heavy foundation prevents your top-heavy decor from tipping over and spilling onto the porch during strong winter storms.
| Planter Height | Sand Required |
|---|---|
| 24 inches | 30 pounds |
| 36 inches | 50 pounds |
Pouring the sand directly into the base also creates a dense, stable medium for wedging in heavy wooden poles and thick branches. Always smooth the surface of the sand so your decorative elements sit perfectly level.
Preparing the Birch Poles
Select kiln-dried white birch poles measuring roughly four feet tall to create striking vertical height that draws the eye upward. Wipe down the bark with a damp cloth to remove any loose debris before inserting them into your freshly leveled sand base.
Styling the Birch Planters
I always wedge my birch poles deeply into the sand, which perfectly survived our fierce Austin winds last season. Before adding the final decorative touches, ensure your heavy planter base is structurally sound and prepared for the season.
Adding Fresh Cedar Accents
Layer generous bundles of fresh cedar branches and bright faux red berries around the base of the birch poles to conceal the sand. The fresh cedar releases a wonderful fragrance every time you step onto the porch, bridging the gap between artificial garlands and natural elements.
Securing the Faux Berries
Push the stiff wire stems of your faux red berry picks deeply into the packed sand base to keep them perfectly upright. Bending the tops slightly outward mimics natural growth patterns and seamlessly connects the vibrant accents to the velvet ribbon on your door.
Weatherproofing Your Porch Decor
Check your tension rod tightness whenever temperatures drop significantly below freezing, as metal contracts in the cold and can loosen the compression fit. Performing this quick maintenance check guarantees your heavy greenery stays safely elevated above the doorway.
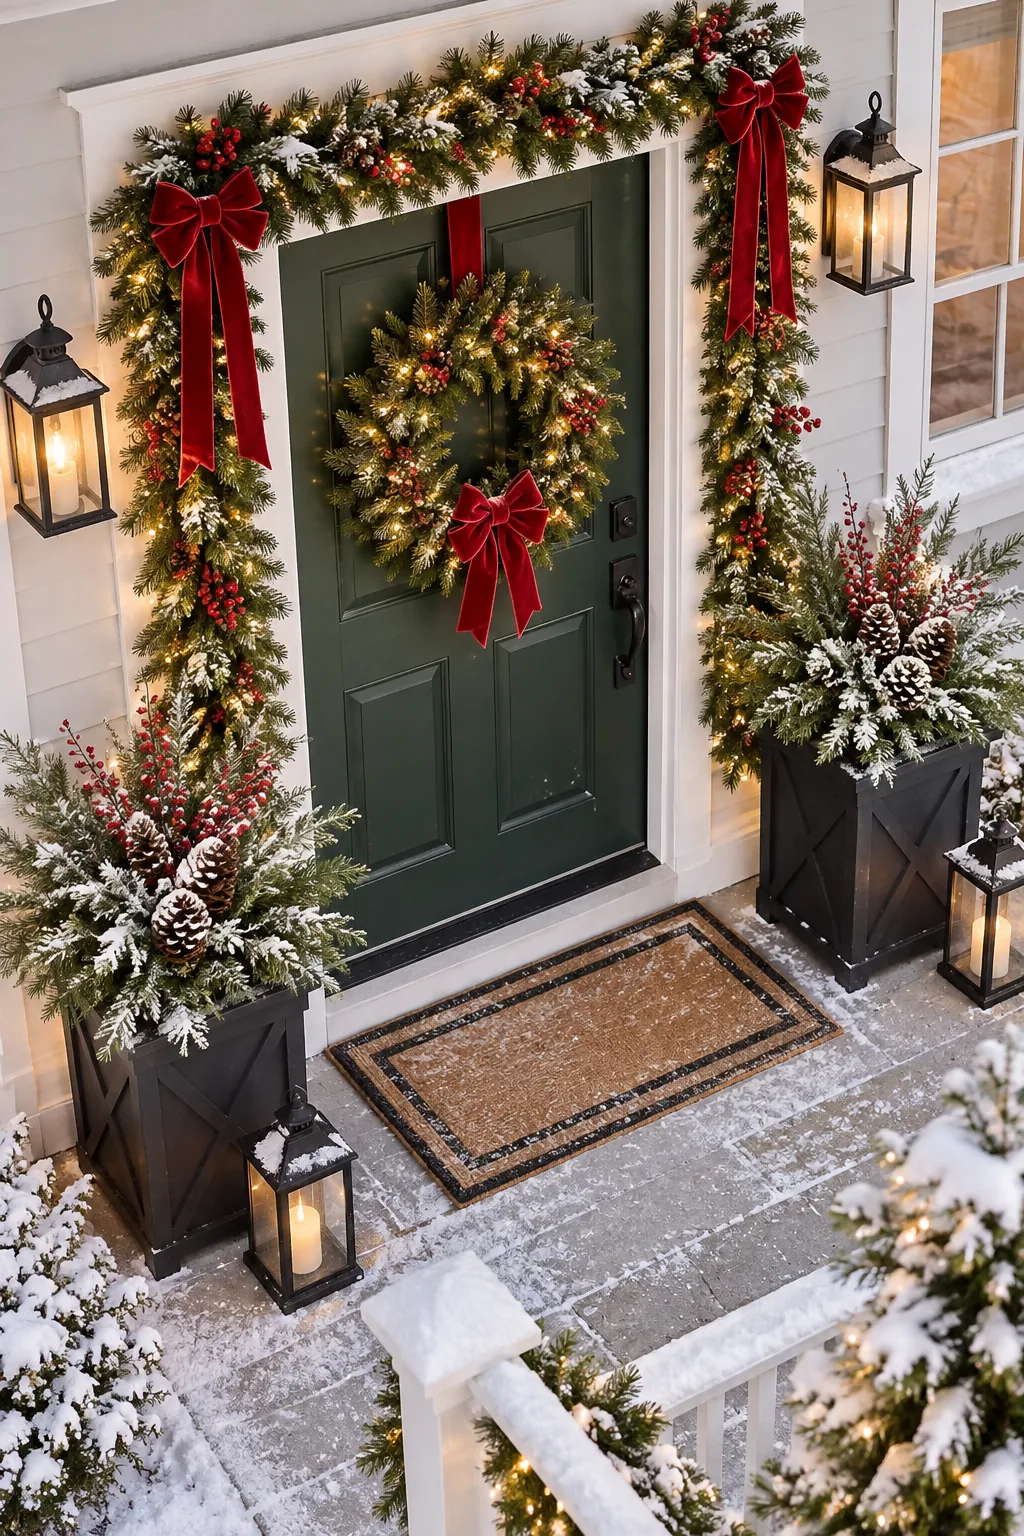
A quick, firm twist of the rod ensures your beautiful no-damage setup survives the entire holiday season without slipping an inch. Your porch will remain a welcoming, festive focal point from the first frost straight through the new year.
More No-Damage Porch Looks
Explore different seasonal styles built on the exact same damage-free mechanics.
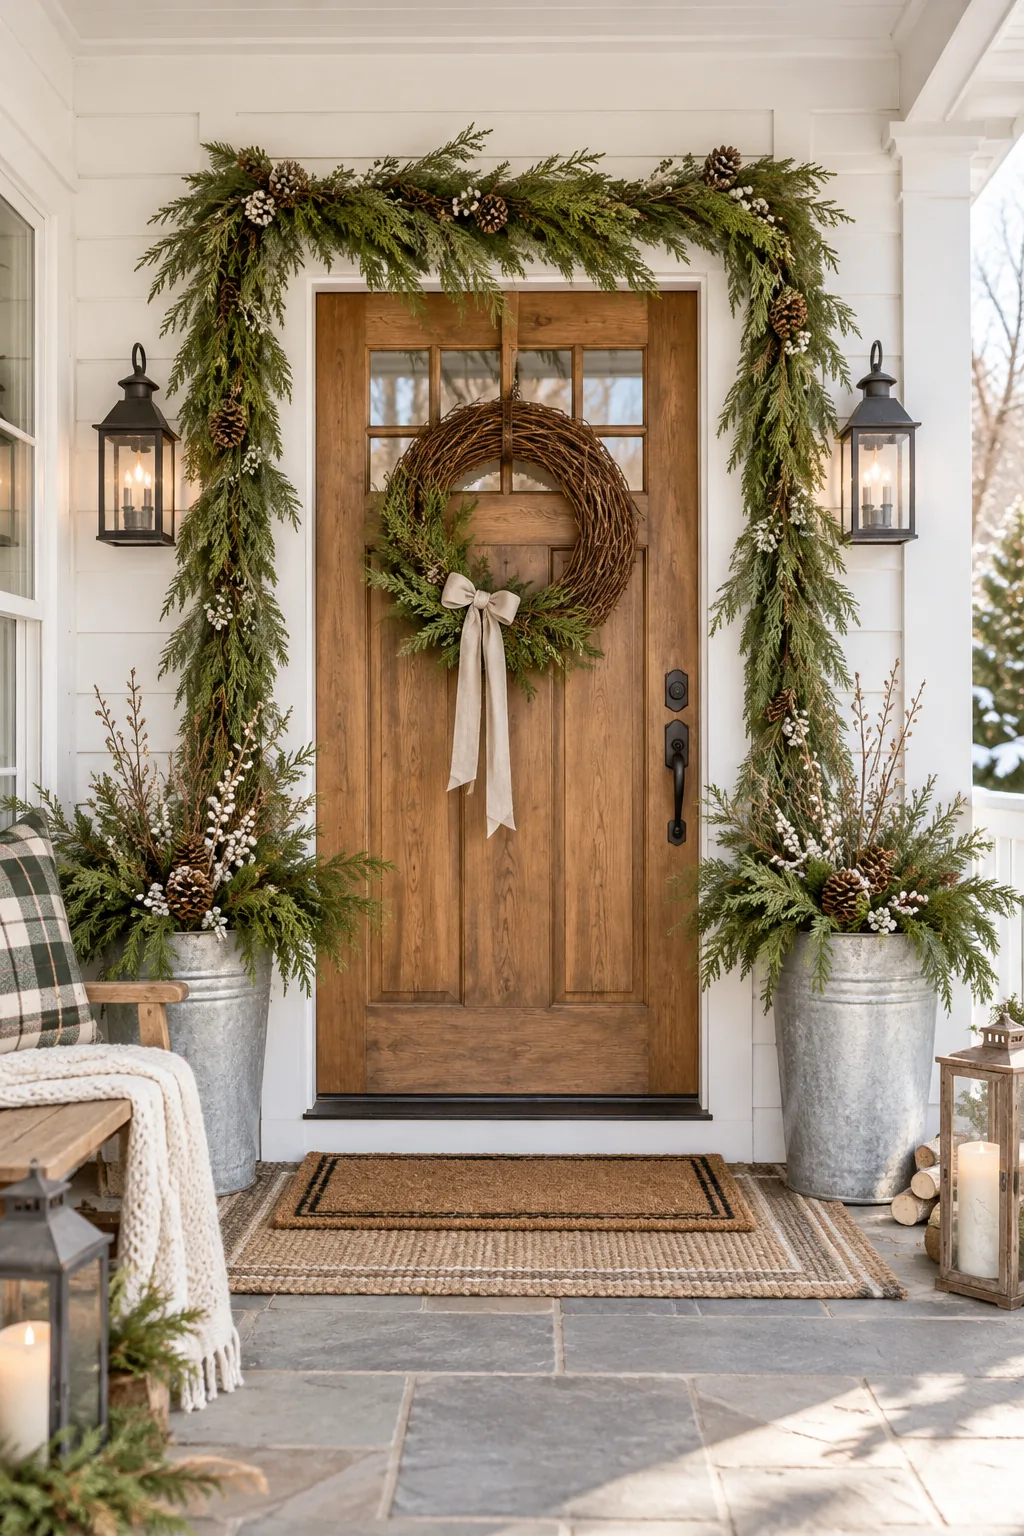
Rustic Farmhouse Cedar: Swap artificial pine for fresh cedar and use galvanized buckets to give the same mechanics a relaxed, countryside feel.
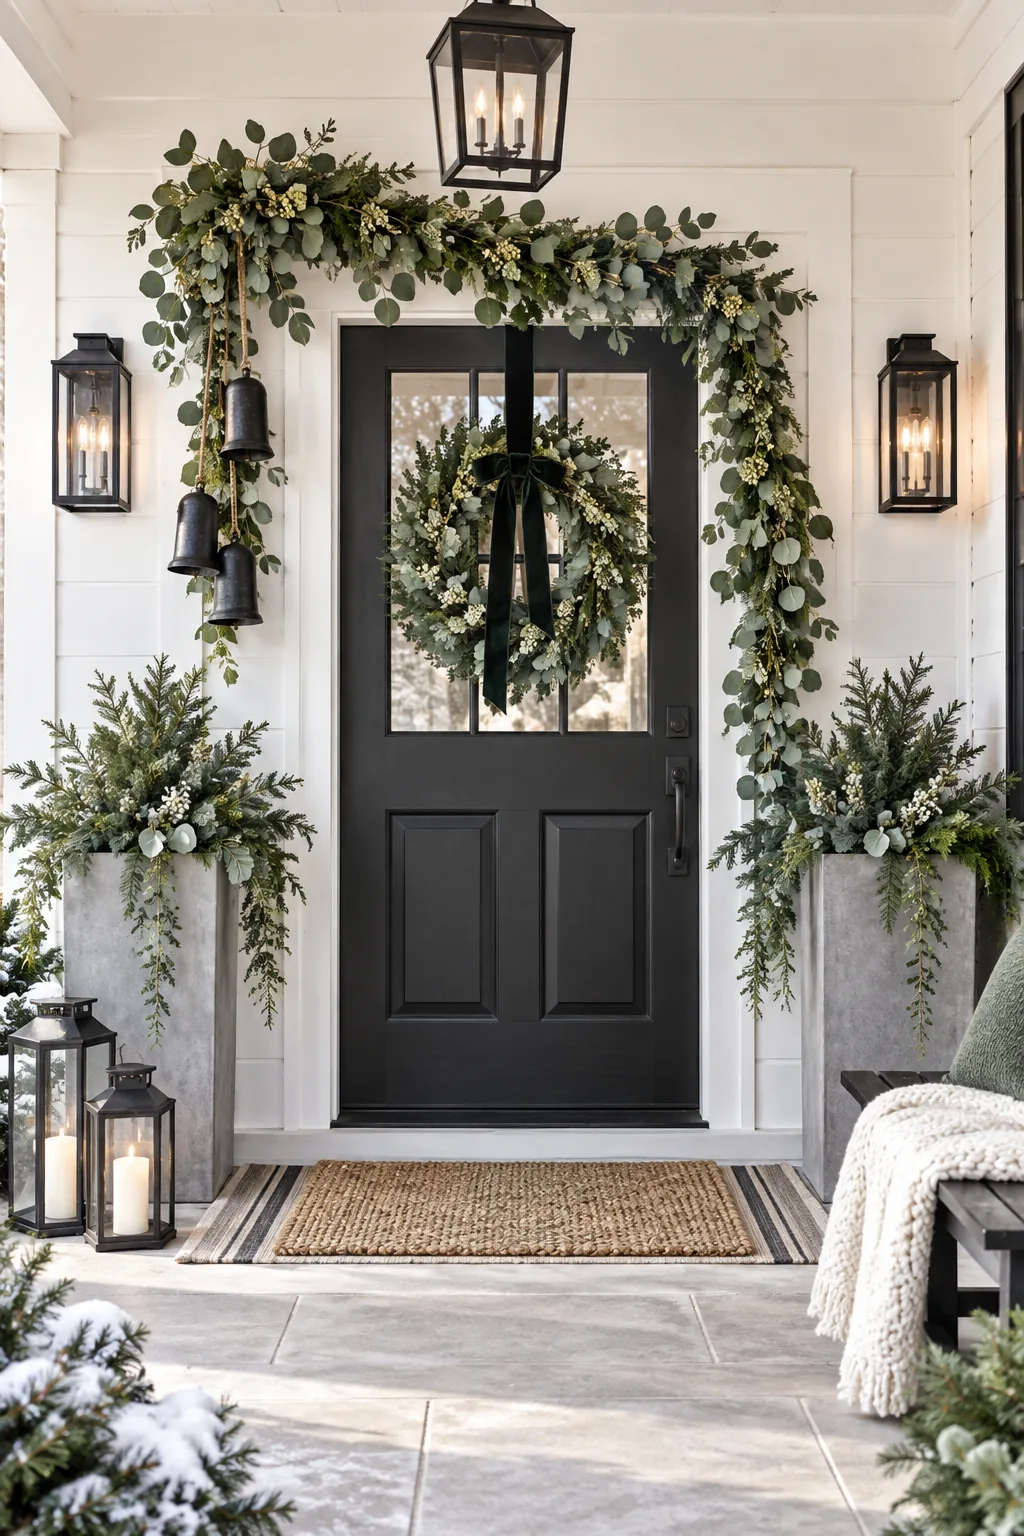
Modern Minimalist Eucalyptus: An asymmetrical draped eucalyptus garland and sleek concrete planters create a striking, contemporary entryway that feels effortlessly chic.
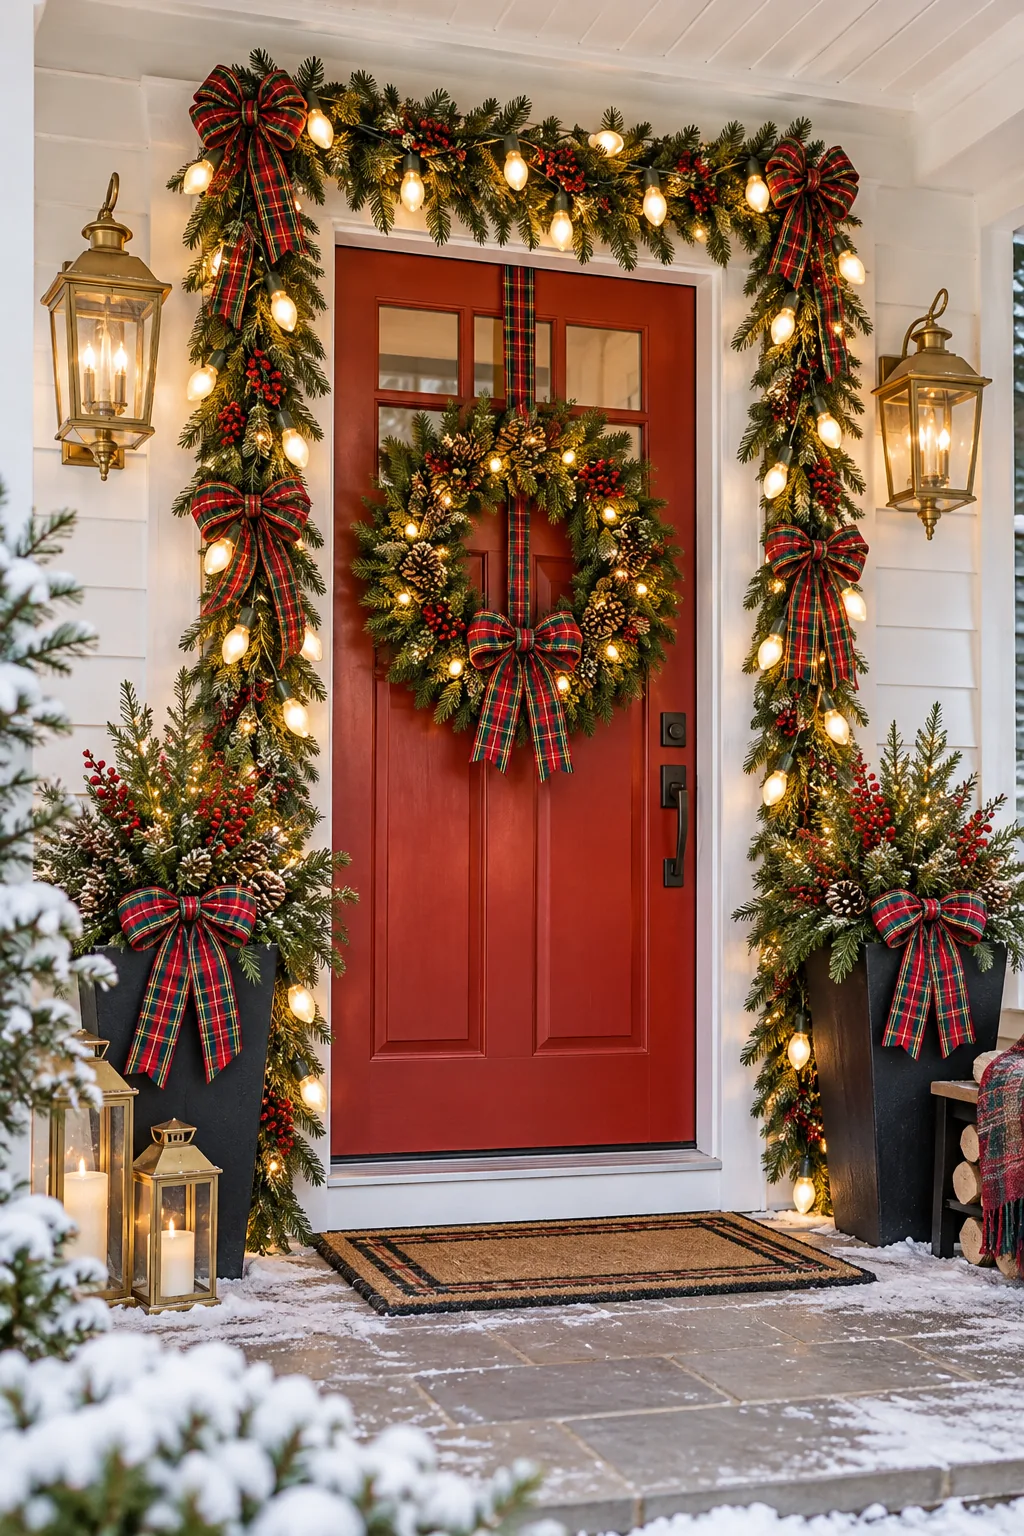
Classic Tartan Plaid: Incorporate traditional tartan ribbon and oversized warm white bulbs to achieve a nostalgic, timeless holiday aesthetic.
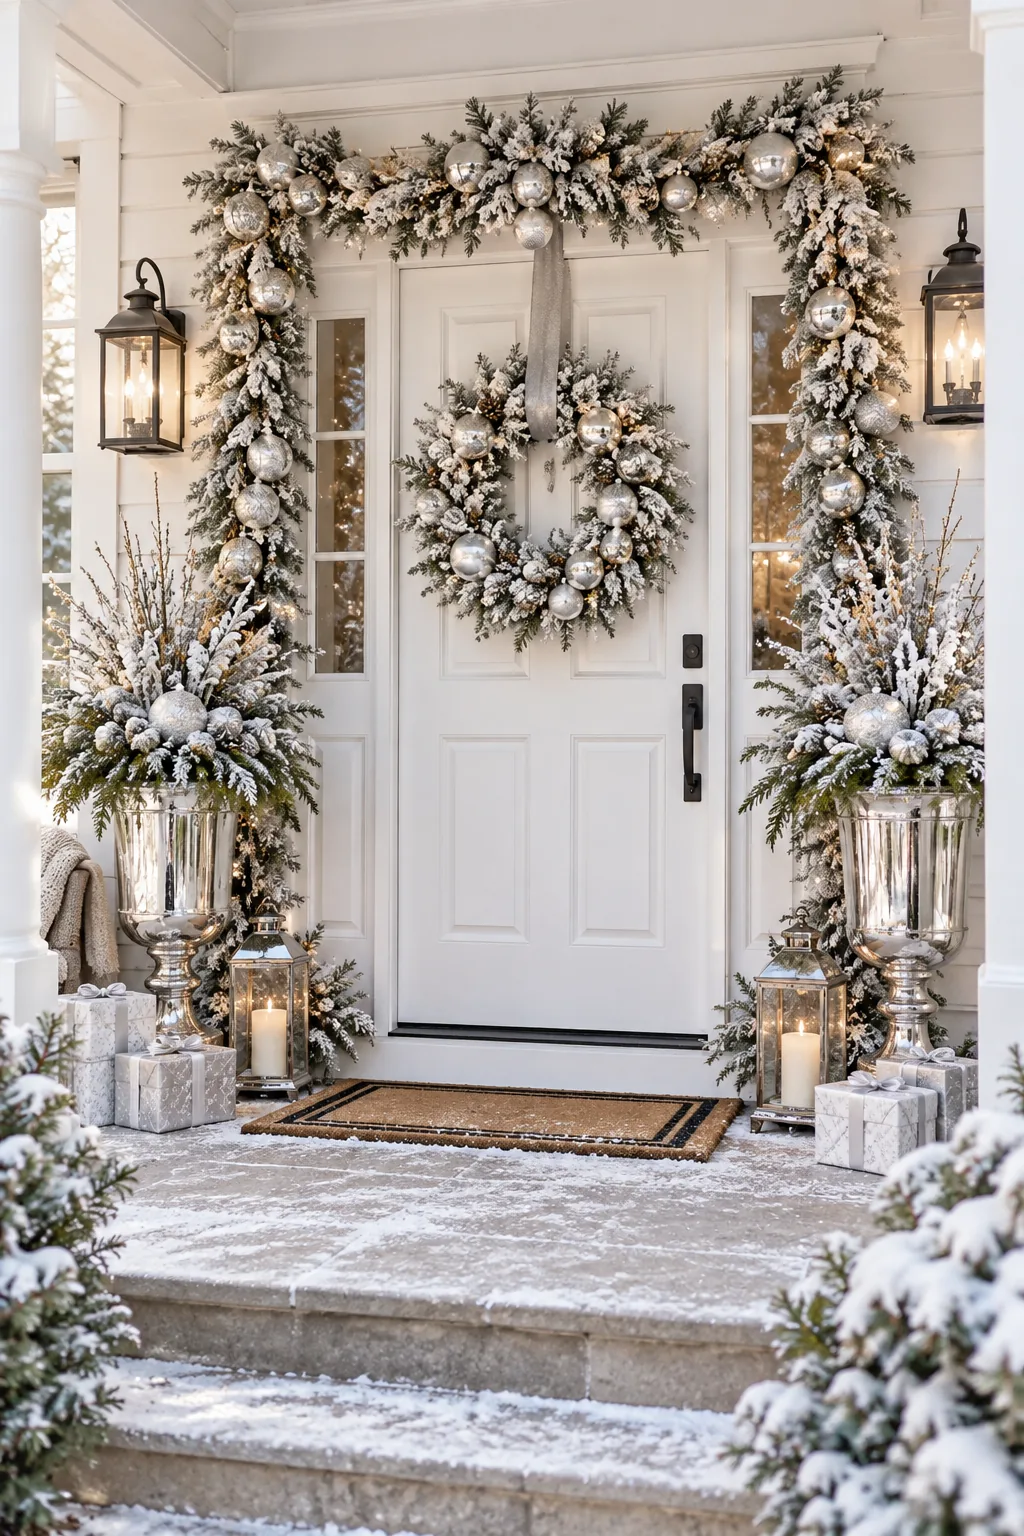
Frosted Silver Metallic: Heavily flocked greenery paired with shatterproof silver ornaments transforms the entryway into a glittering, elegant winter wonderland.