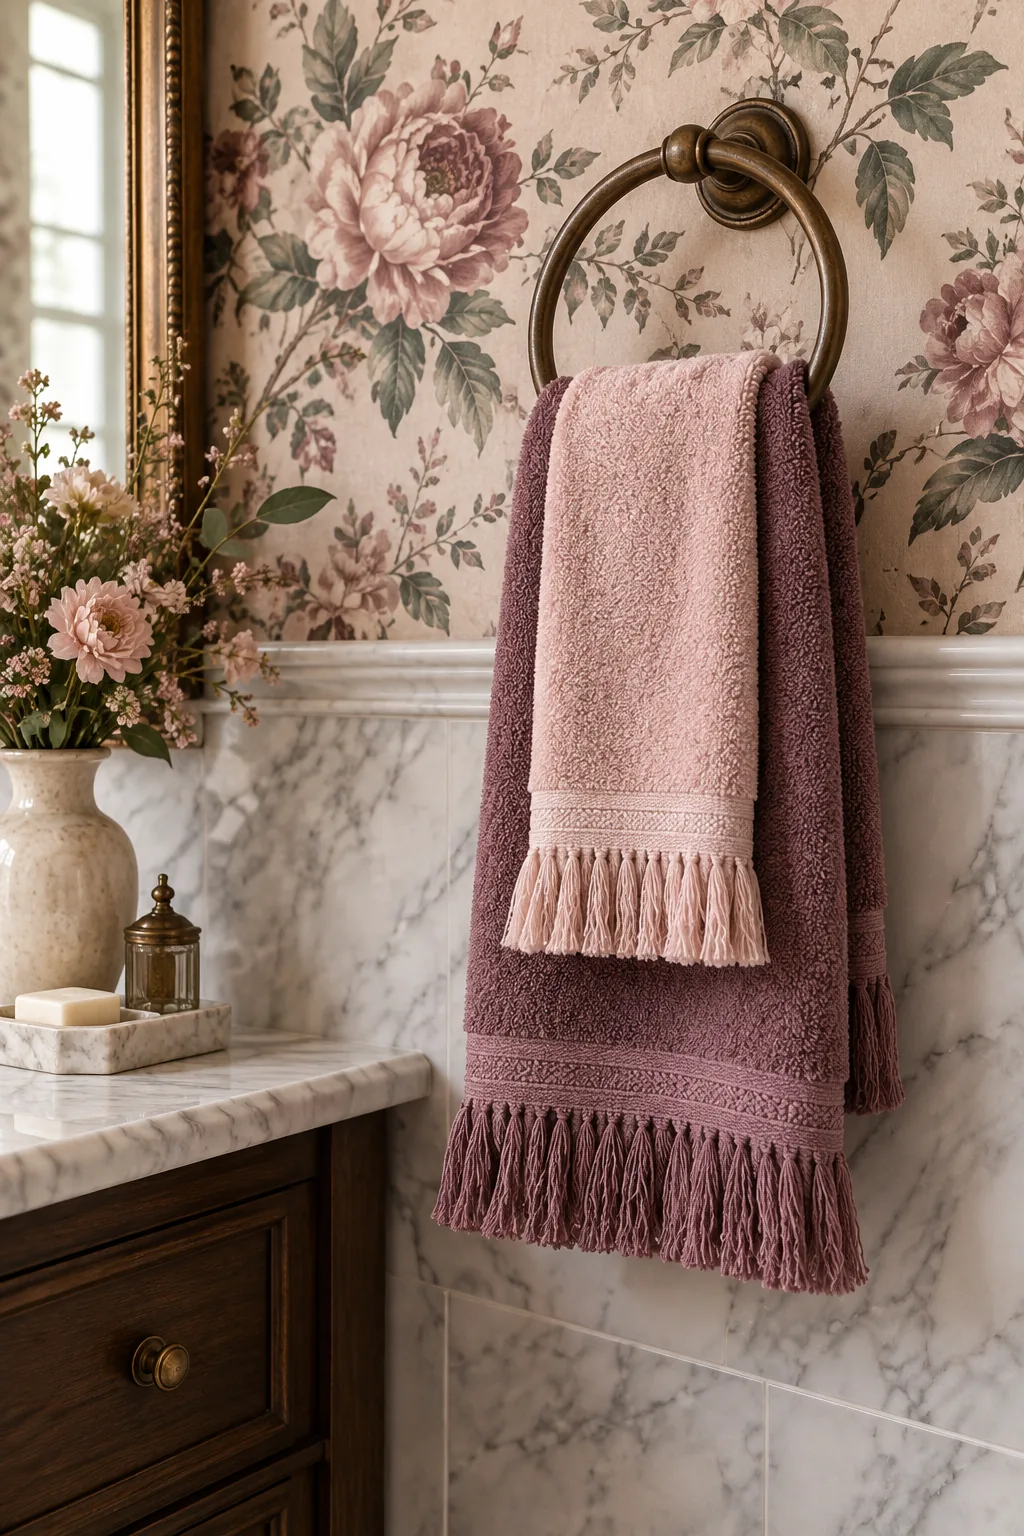
Bathroom Towel Decor: Get the Designer Folding Cheat Sheet
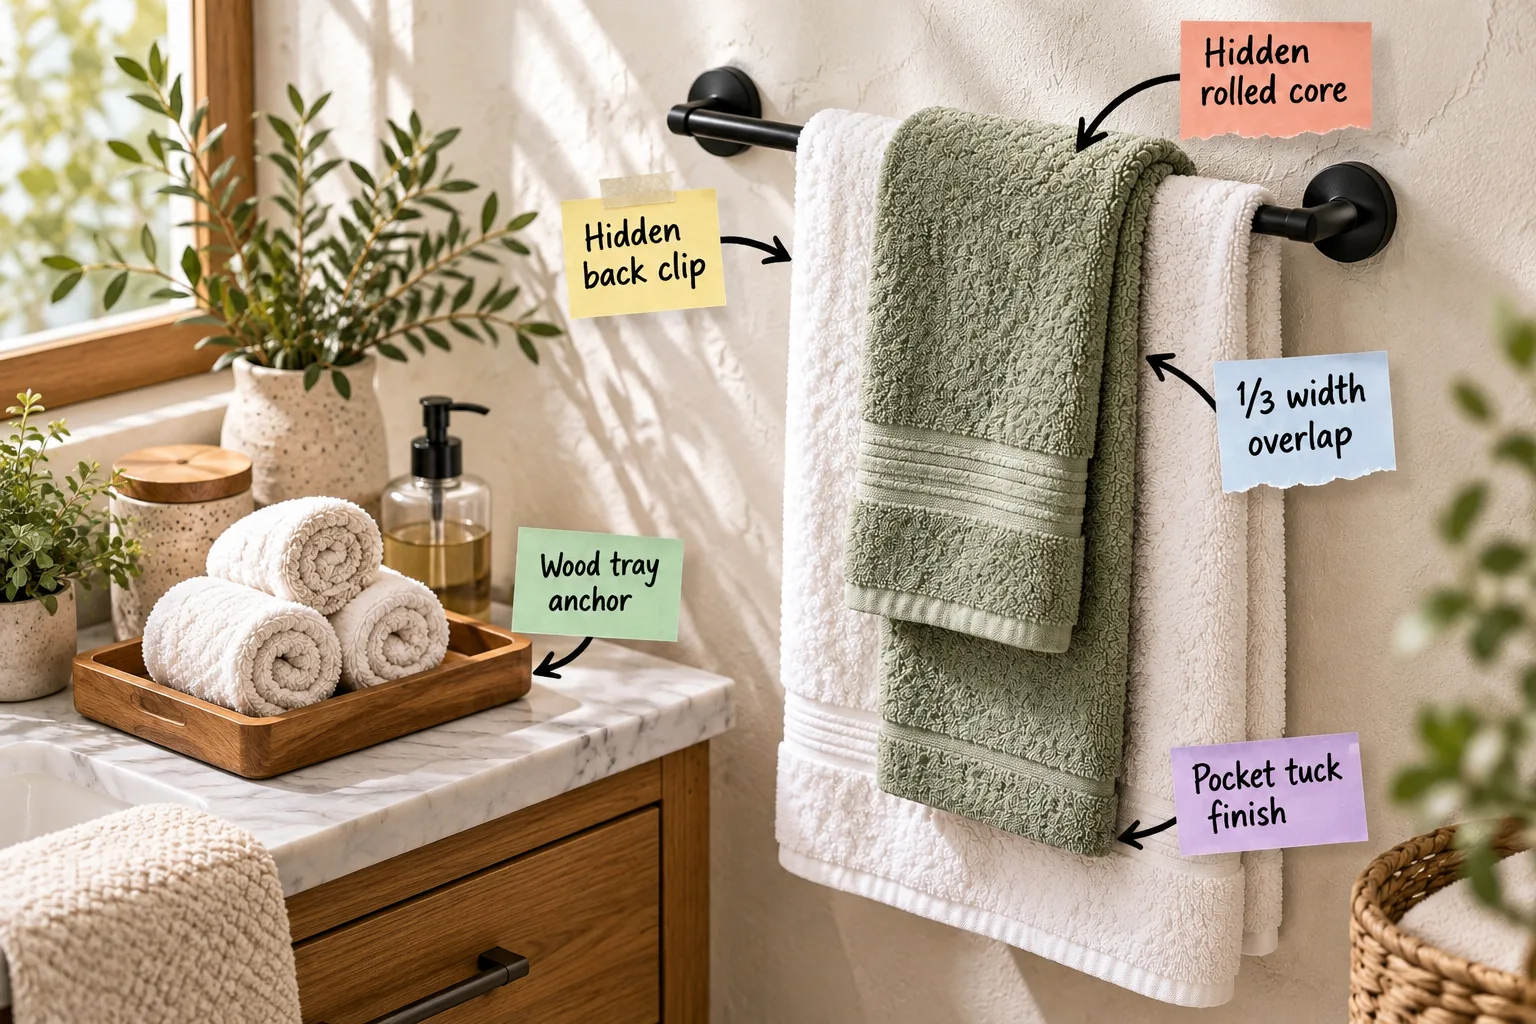
Download our printable step-by-step folding cheat sheet to recreate five luxurious, spa-quality towel displays at home. You will be able to fold and layer your bathroom linens into precise, professional arrangements that stay perfectly in place.
Securing the Base Bath Towel
Start with the foundation on your main wall hardware. A hidden back clip pulls the rear layer of the white bath towel taut, creating about 2 inches of tension that prevents the front face from wrinkling or sliding off the bar.
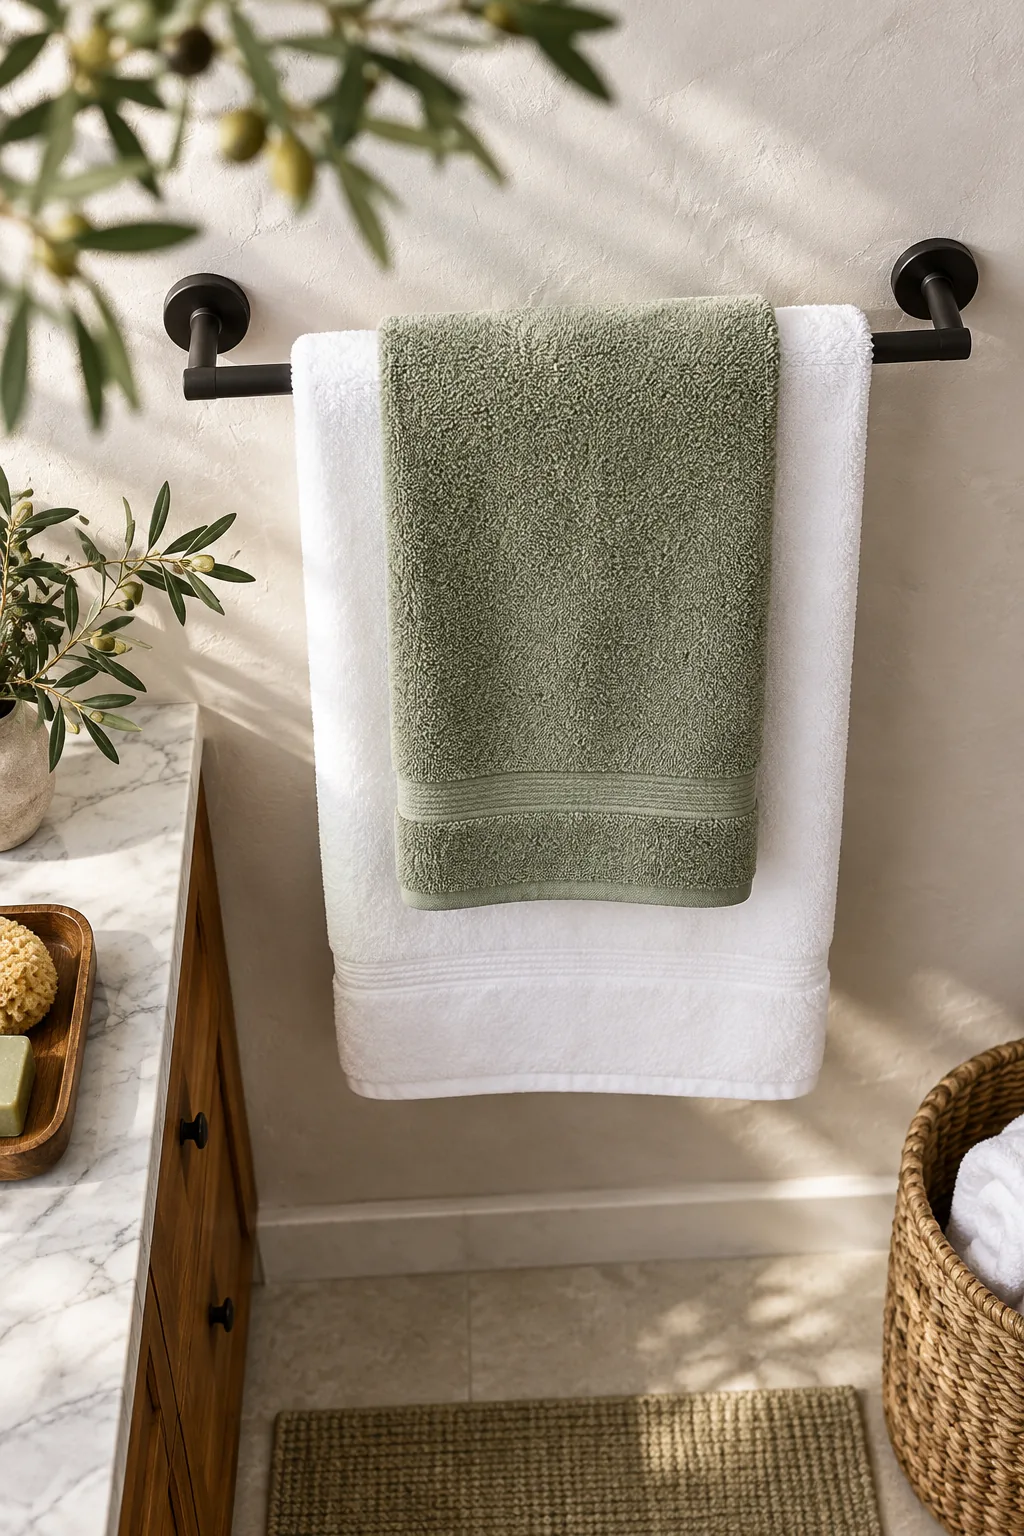
You do not need specialized hotel equipment to achieve this smooth, tailored foundation in your own space. A few simple supplies from your desk drawer can secure heavy terry cloth just as effectively as commercial brass linen grips.
Choosing the Ideal Fabric Weight
For the base layer, select a heavy-weight cotton towel weighing between 600 and 900 grams per square meter. This density provides the necessary structural rigidity to hang perfectly straight, ensuring the fabric does not buckle under the weight of the decorative layers added later.
Washing for Maximum Fluff
Always launder your display linens without liquid fabric softeners, which coat the cotton fibers and flatten the loops. Tumble dry on low heat with three wool dryer balls to naturally separate the terry cloth strands, ensuring maximum volume before you begin the folding process.
Nailing the Layered Proportions
The secret to a balanced display is the 1/3 width overlap. Fold the accent hand towel so it is exactly one-third narrower than the base bath towel, leaving an equal margin of white terry cloth exposed on both the left and right sides.
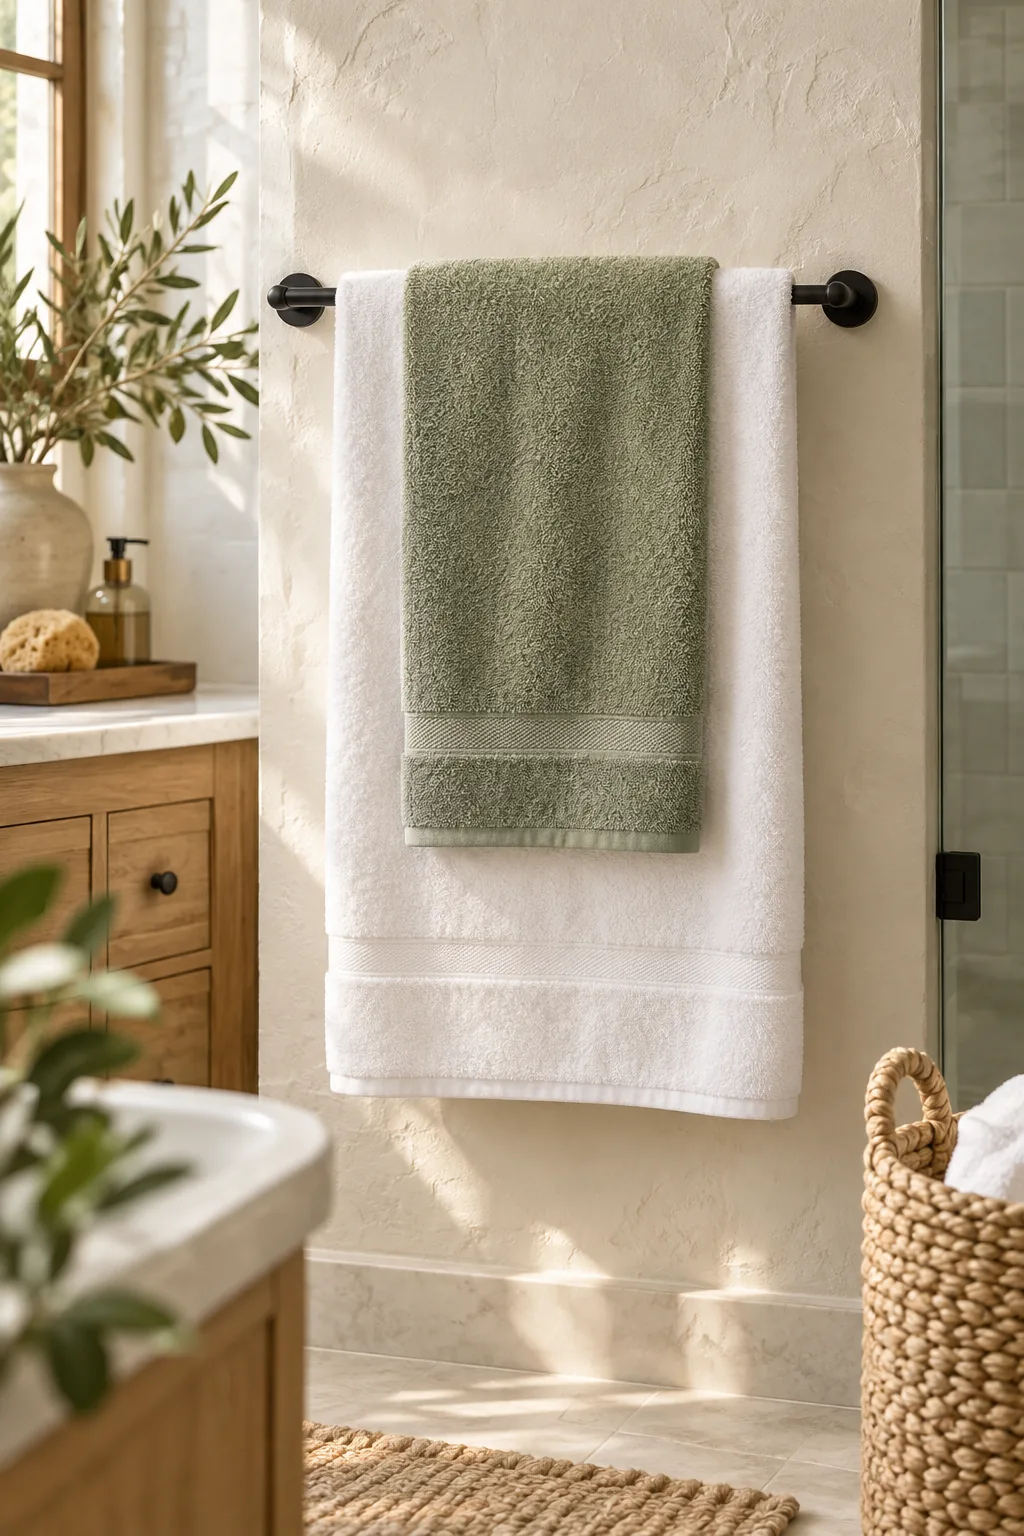
Achieving this perfect symmetry requires knowing the exact dimensions of your linens before making the first crease. Use these standard measurements to calculate your target exposed margins for a flawless, tailored presentation that looks professionally styled every single time.
| Linen Type | Standard Width | Target Fold Width | Exposed Margin |
|---|---|---|---|
| Standard Bath Towel | 27 inches | 9 inches | Base layer |
| Oversized Bath Sheet | 35 inches | 11.5 inches | Base layer |
| Standard Hand Towel | 16 inches | 6 inches | 1.5 inches per side |
| Large Hand Towel | 18 inches | 7.5 inches | 2 inches per side |
Selecting Complementary Colors
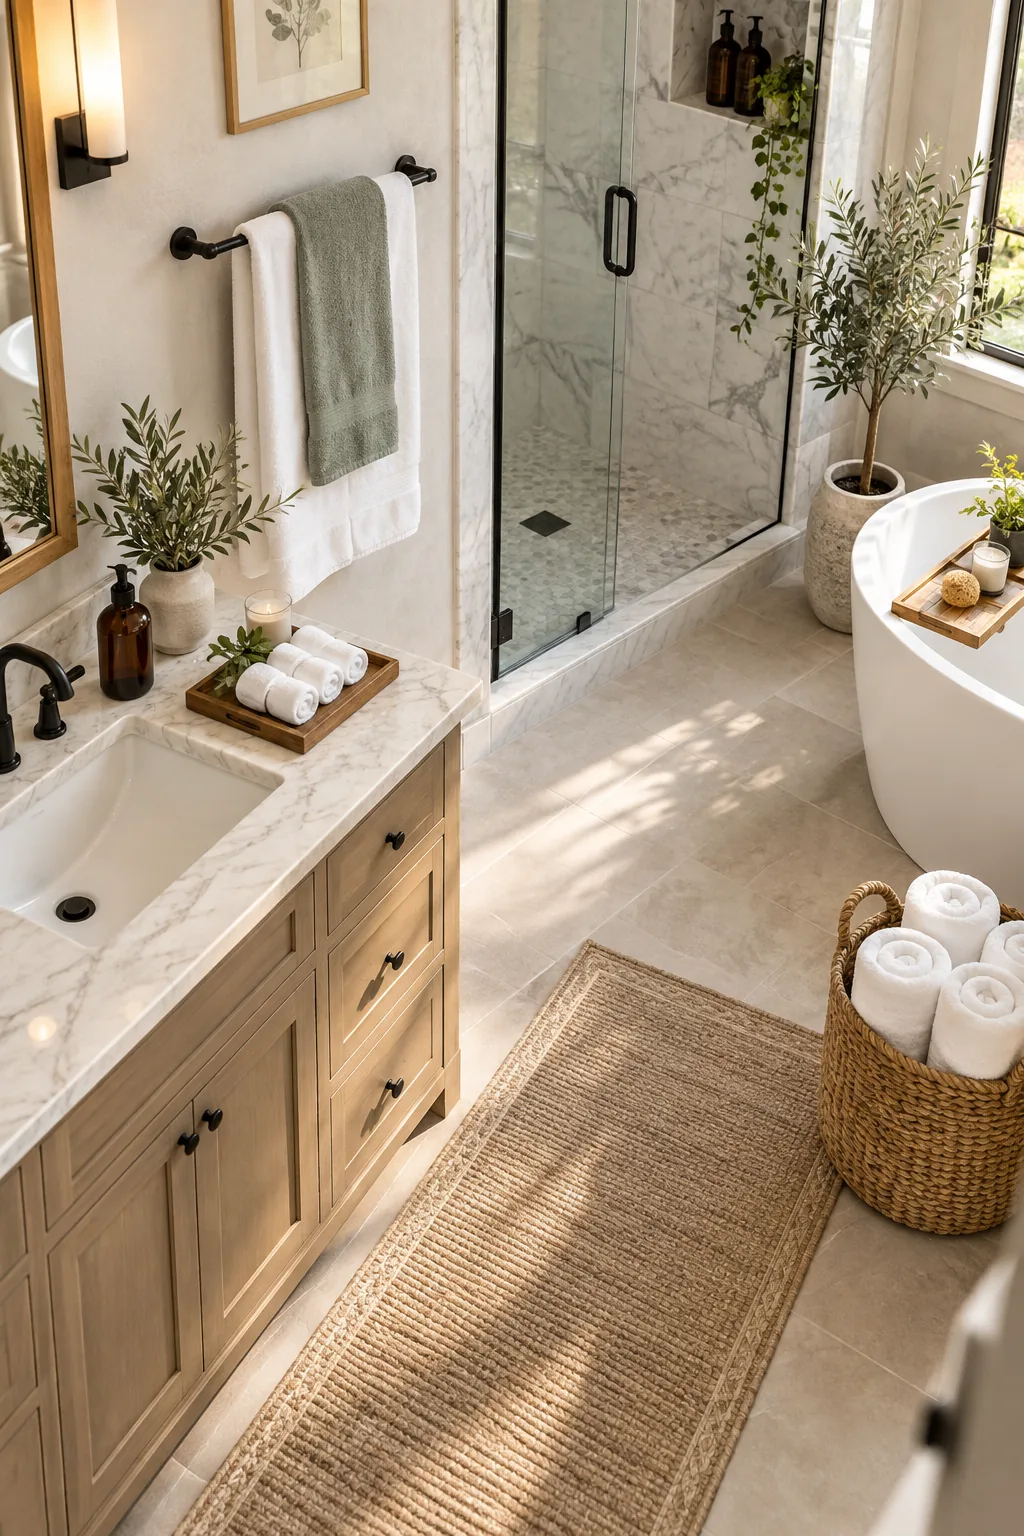
When designing your layered stack, pair a crisp white foundational towel with a muted, earthy accent color like sage green or warm clay. This high-contrast approach highlights the precise architectural folds while maintaining a calming, nature-inspired palette that suits nearly any modern bathroom design.
Building Volume at the Fold
Towels often look flat and lifeless when simply draped over a bar. Insert a tightly rolled washcloth directly into the top crease of the sage green hand towel to act as a hidden rolled core, giving the fold a plush, rounded arc.
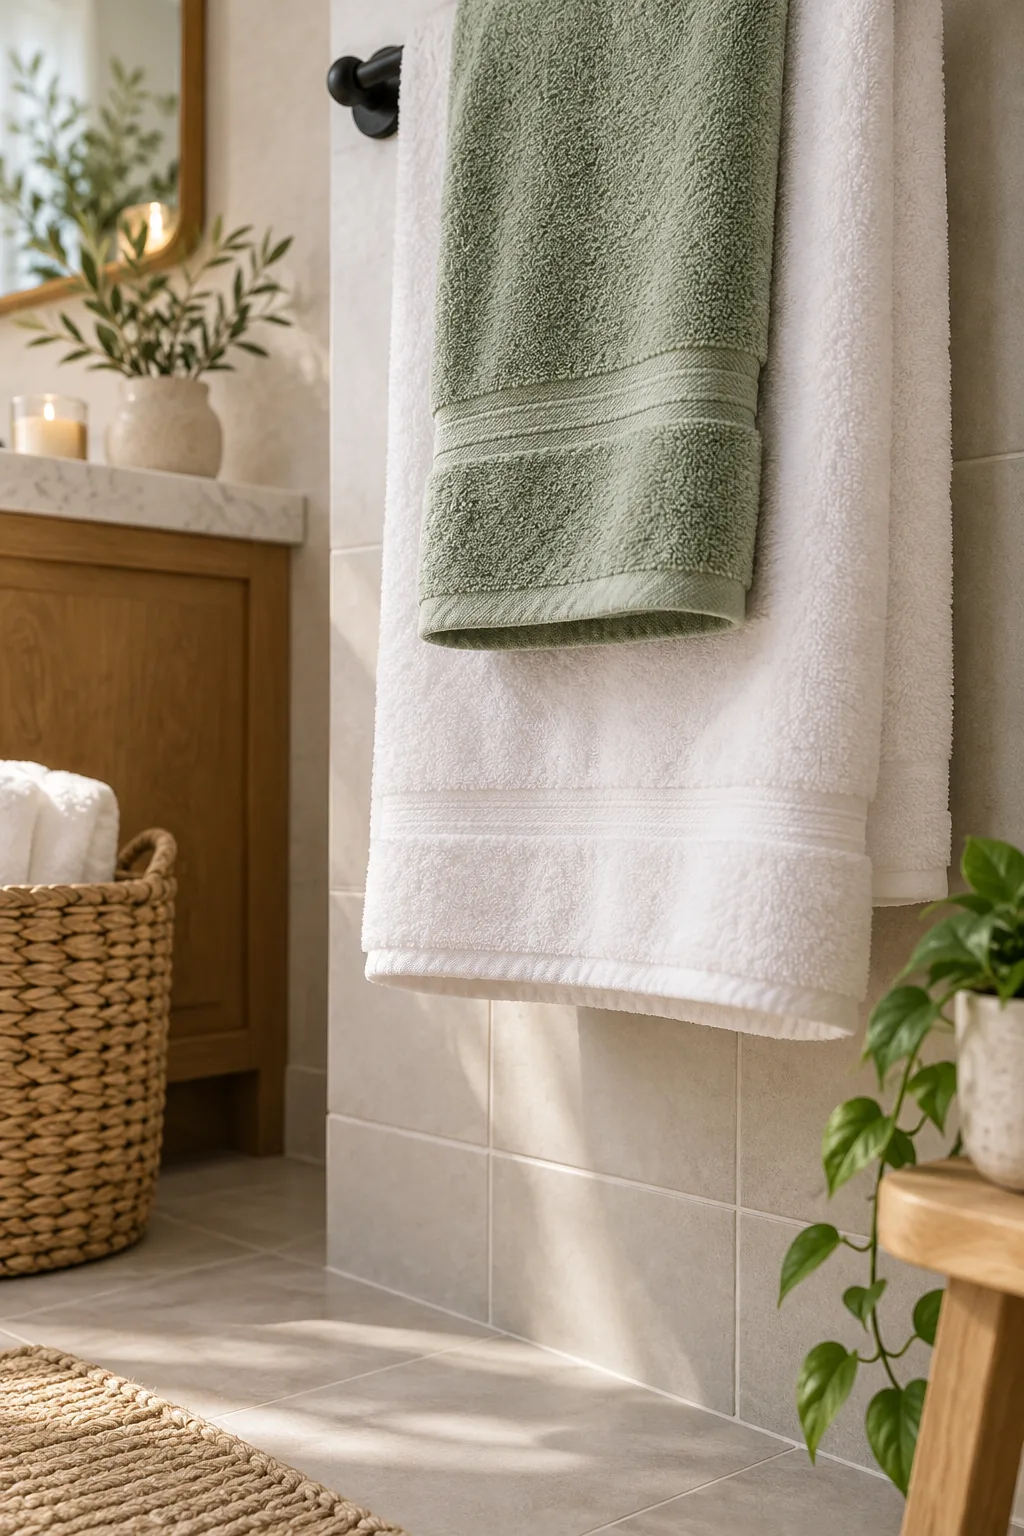
In my own Boston brownstone, this one structural trick completely transformed my guest bath from flat to five-star. The hidden support lifts the fabric away from the wall, allowing the woven loops to catch the ambient light and appear significantly thicker.
Mastering the Fold Crease
To achieve razor-sharp edges on your accent layers, press along the vertical folds with the flat palm of your hand before hanging. Applying firm, even pressure sets the cotton fibers into a strong memory crease, preventing the sides from bowing outward over time.
Creating a Tailored Bottom Edge
Loose, uneven hems instantly ruin the illusion of a luxury spa. Use a pocket tuck finish by folding the bottom 3 inches of the hanging towel up and tucking it securely into the back layer, creating a crisp, seamless edge.
Securing this lower edge ensures your display remains pristine even when the bathroom gets humid or heavily trafficked. A clean horizontal line draws the eye upward, reinforcing the neatness of the layered proportions and geometric symmetry established on the bar above.
Aligning Hems Perfectly
When arranging multiple towels on a double bar, use a standard measuring tape to ensure every bottom hem hangs exactly 18 inches above the floor. Consistent vertical alignment creates a unified visual horizon, making the entire bathroom feel instantly more organized and intentionally designed.
Grounding the Vanity Display
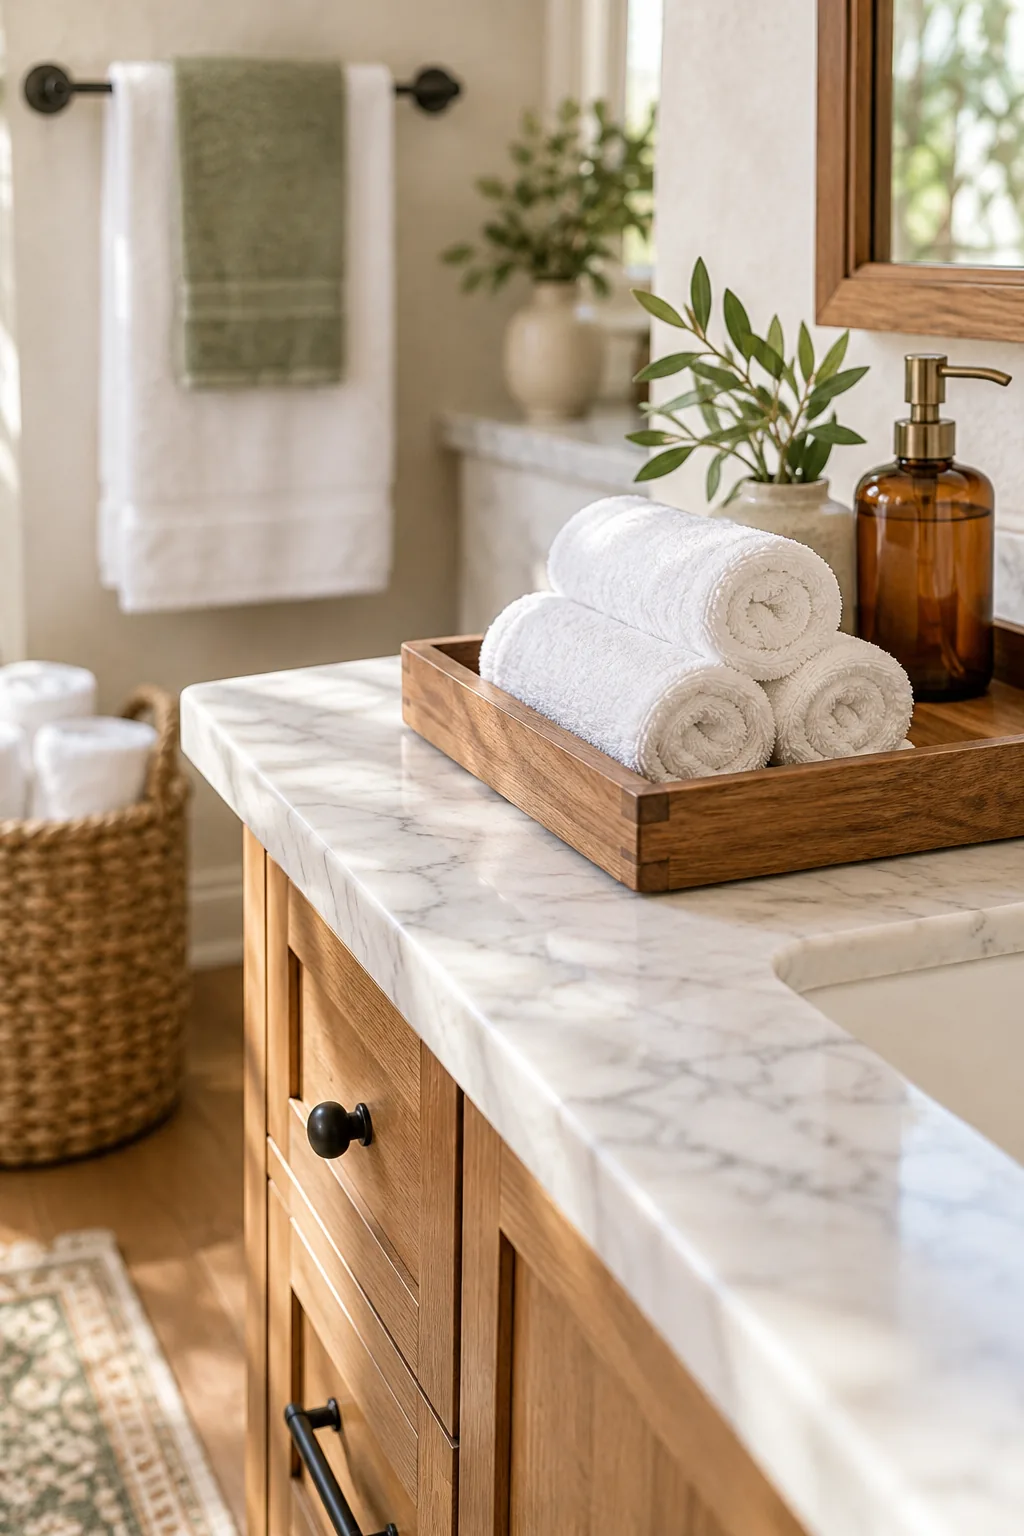
Extend the spa aesthetic to the sink by rolling three matching washcloths. Use a wood tray anchor to hold the rolls tightly together; the rigid sides prevent unravelling while the natural wood adds warmth to cold porcelain surfaces.
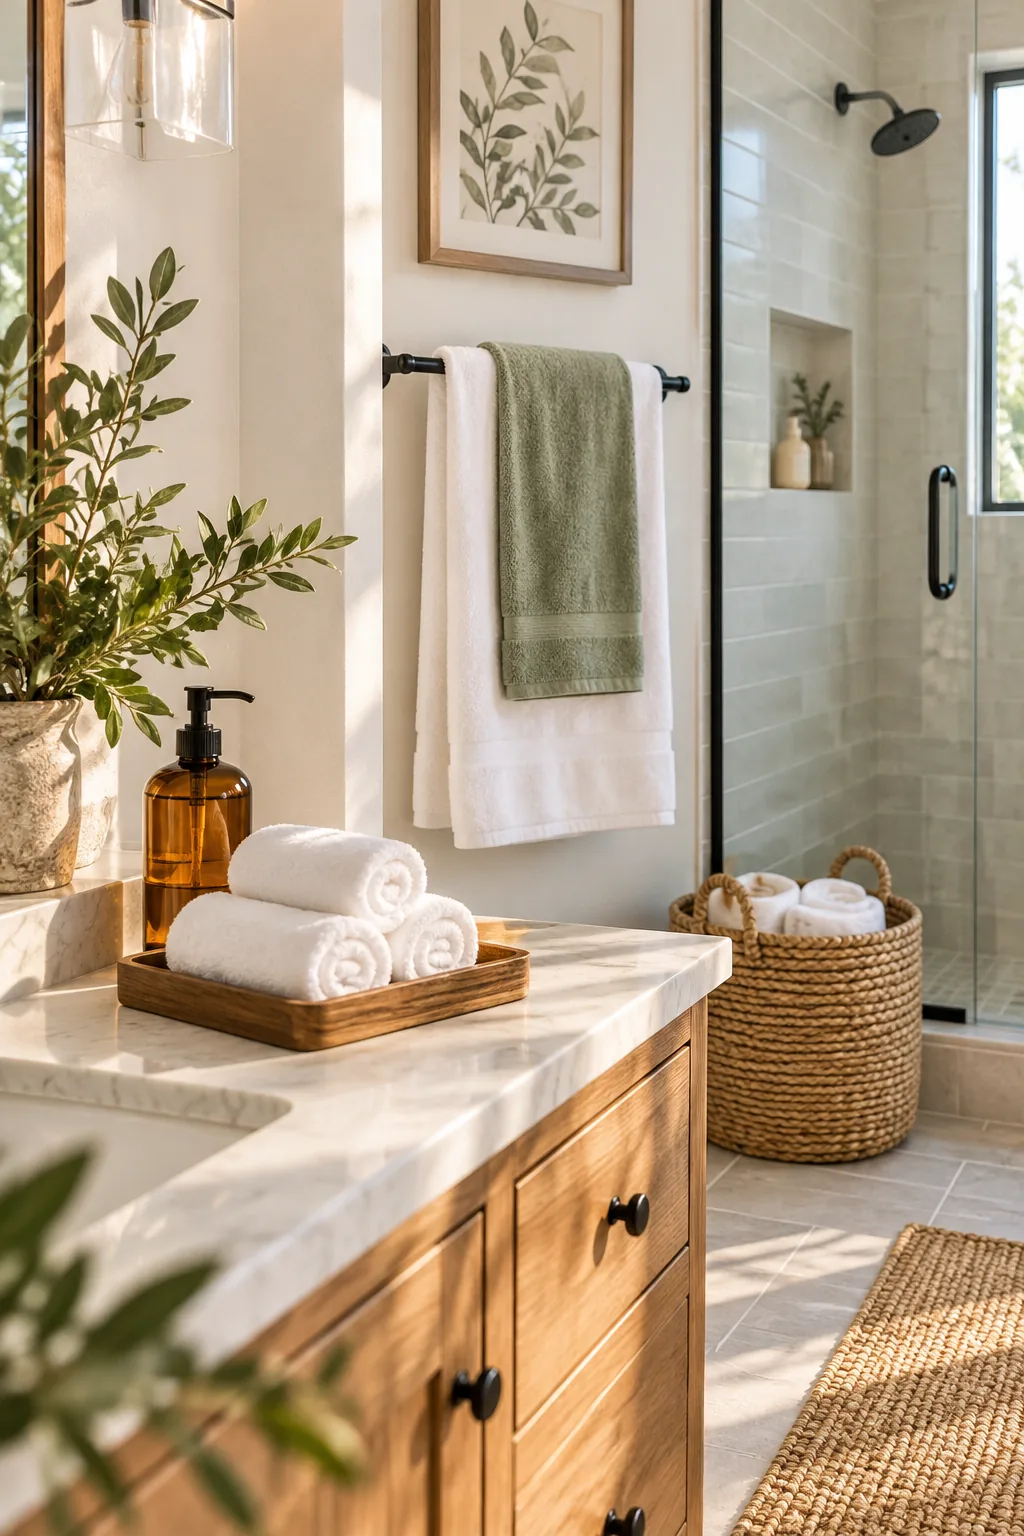
Small countertop linens require firm boundaries to look intentional rather than cluttered. Without a physical frame, these delicate rolls easily unravel, lose their uniform cylindrical shape, or absorb stray water splashes from the nearby basin during your busy daily routines.
Refreshing the Vanity Tray
Swap out your rolled washcloths every two days to maintain a pristine, hygienic environment around the sink. Because these smaller pieces absorb ambient moisture from handwashing, frequent rotation prevents mildew while ensuring your countertop arrangement always looks crisp, bright, and welcoming.
Spacing Your Wall Hardware
If you are installing new fixtures to accommodate these layered displays, mount your primary towel bar exactly 48 inches above the finished floor. This optimal height provides ample clearance for the pocket tuck finish while keeping the luxurious folded details directly at eye level.
Adapting for Towel Rings
Translate these bar techniques to smaller hardware by adjusting your initial folds. Fold hand towels into vertical thirds before draping them through a ring, and use a hidden safety pin at the back to maintain the 1/3 width proportion without slipping.
- Lay the hand towel flat and fold the left third toward the center.
- Fold the right third over the top to create a narrow vertical column.
- Thread the top half through the hardware ring until the ends align.
- Secure the back layer to the front layer with a small brass safety pin.
Selecting the Right Basket Shape
When shopping for floor storage, choose a cylindrical woven basket rather than a rectangular bin. The curved interior walls naturally support the rounded shape of your vertically rolled towels, preventing the outer layers from flattening out or losing their tight, uniform tension over time.
Styling Basket Storage
For floor baskets, utilize the spa roll technique to maximize capacity. Stand the rolled bath towels vertically so the spiral edges face upward, allowing you to fit up to five large towels in a standard 14-inch woven basket while keeping them accessible.
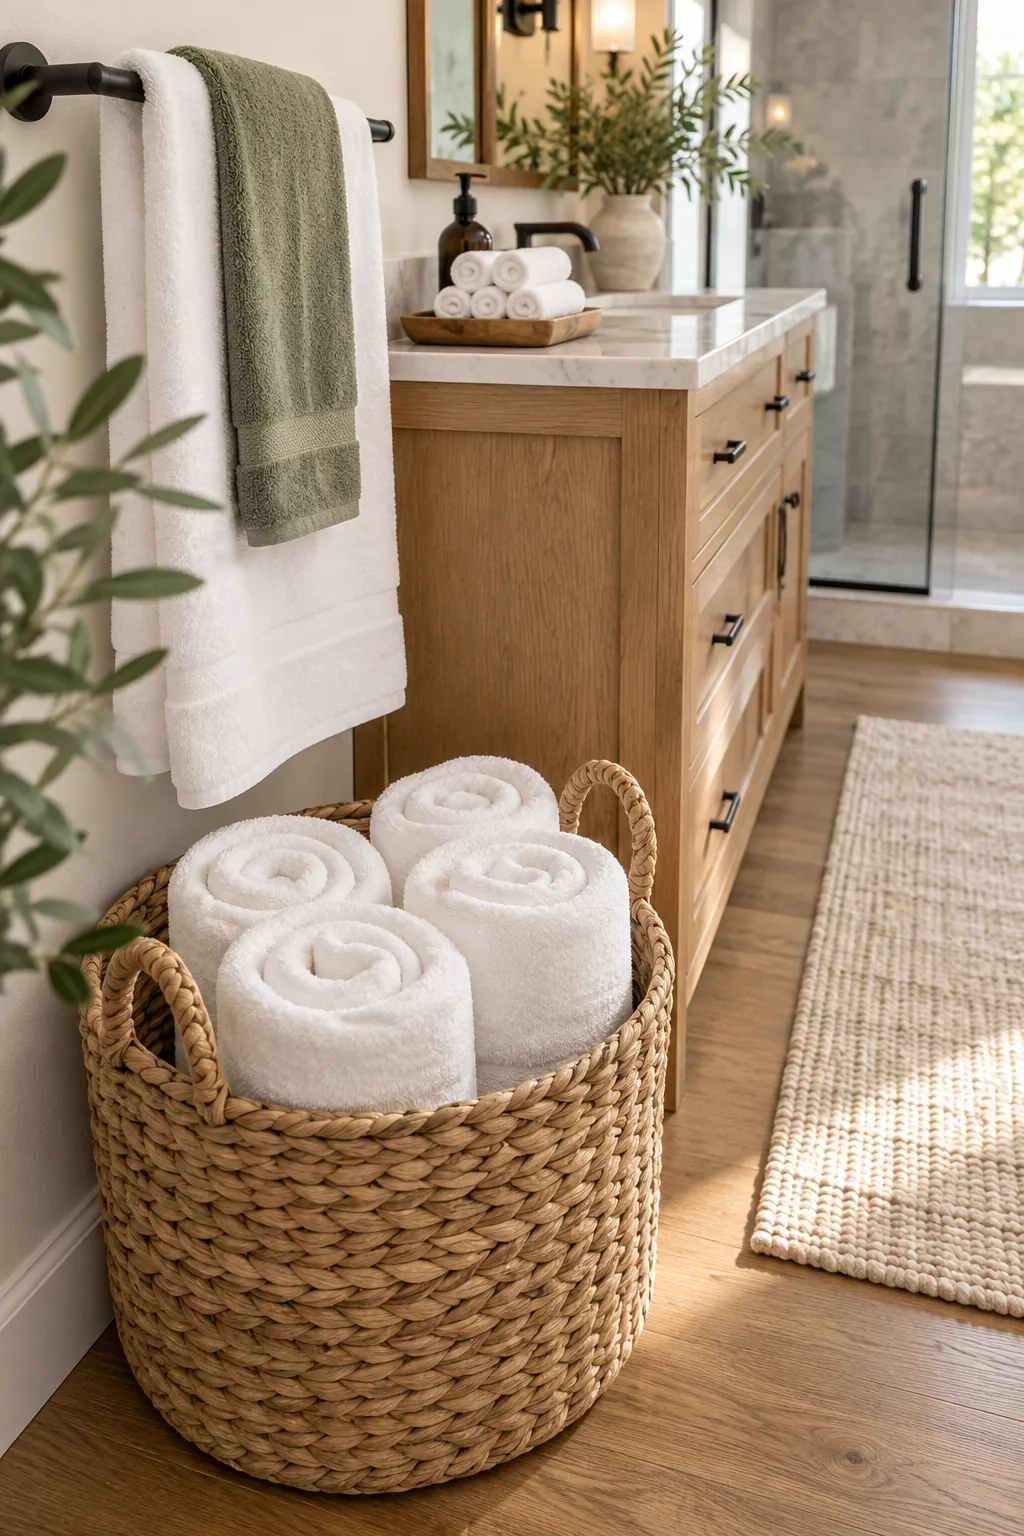
I keep a woven basket next to my clawfoot tub, and standing the rolls vertically means I never knock the whole stack over when grabbing one. This upright orientation instantly highlights the plush texture of the tightly coiled edges.
Maintaining the Folded Displays
To keep your decorative towels looking fresh between deep cleans, lightly mist the fabric with a linen spray once a week. This simple maintenance step revitalizes the cotton fibers, restores the rounded volume at the creases, and infuses the room with a calming scent.
Ironing for Perfection
If your linens still show stubborn wrinkles after drying, run a warm iron exclusively over the front-facing panels before assembling your layers. This extra two-minute step mimics the crisp, starched appearance of high-end hotel displays without requiring harsh chemical treatments.
Your Printable Folding Cheat Sheet
Ready to upgrade your entire bathroom? Download the complete step-by-step folding cheat sheet to master all 5 designer displays, including the layered bar, towel ring, floor basket, vanity tray, and classic spa roll.
Having a physical reference guide makes your weekend resetting incredibly fast and completely foolproof. Print the document on heavy cardstock and tape it inside your linen closet door to ensure every fresh stack matches perfectly week after week.
4 Ways to Style Your Towel Displays
Find the perfect styling inspiration for your specific bathroom aesthetic.
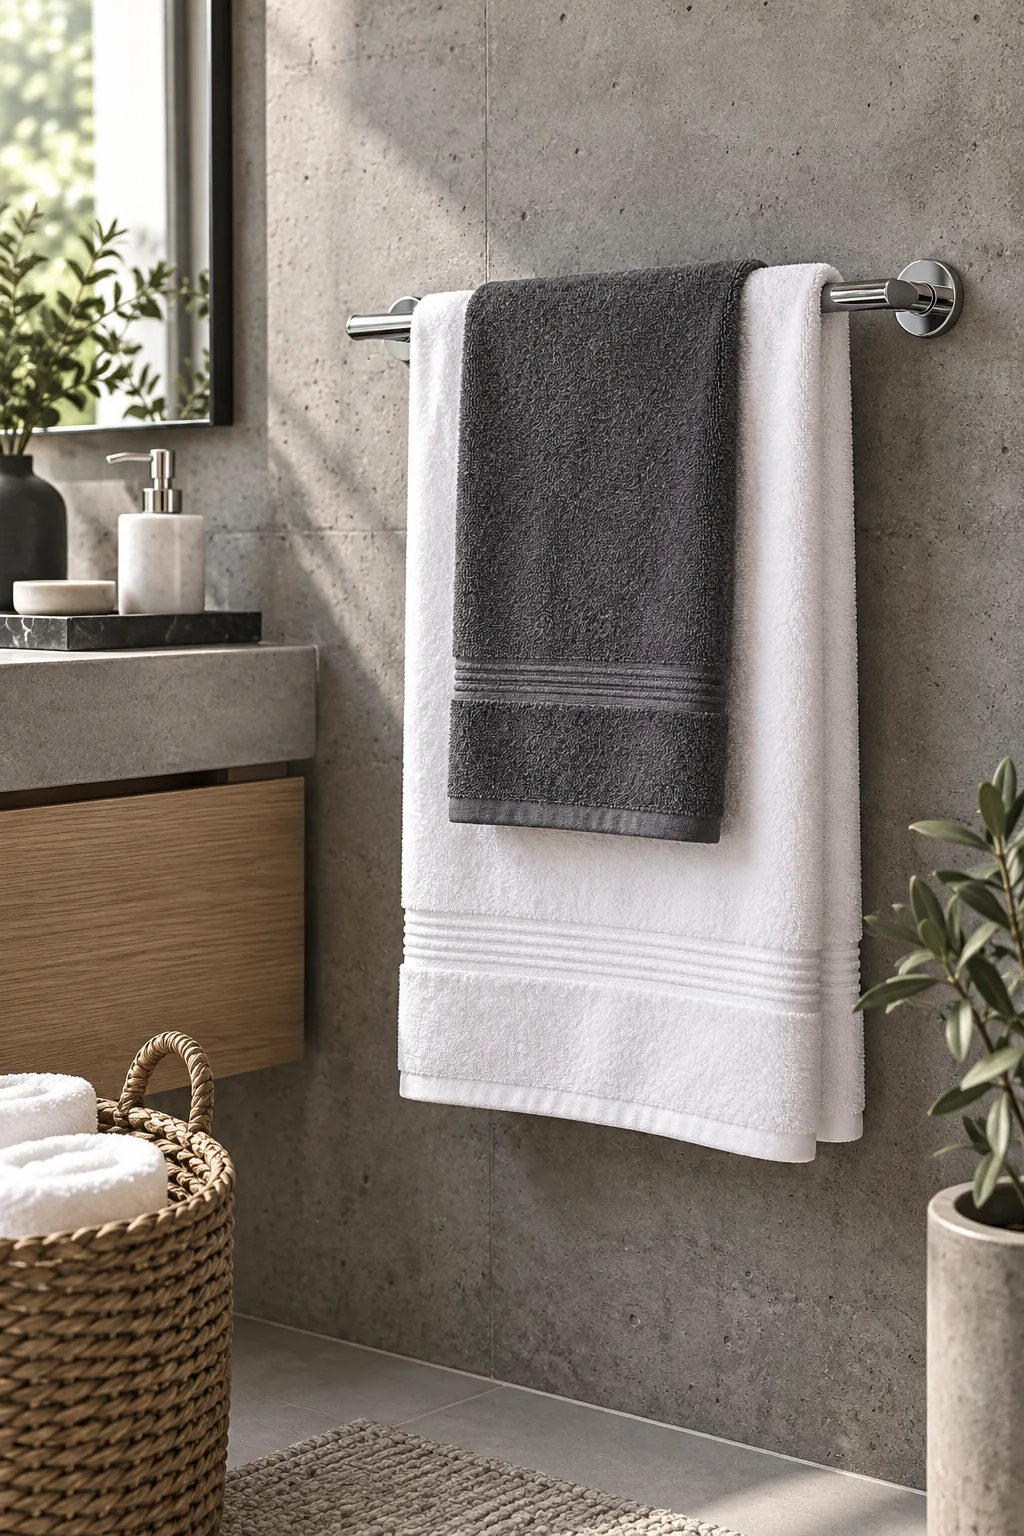
Minimalist Monochrome: High-contrast charcoal and white linens bring sharp, modern definition to an industrial concrete bathroom.
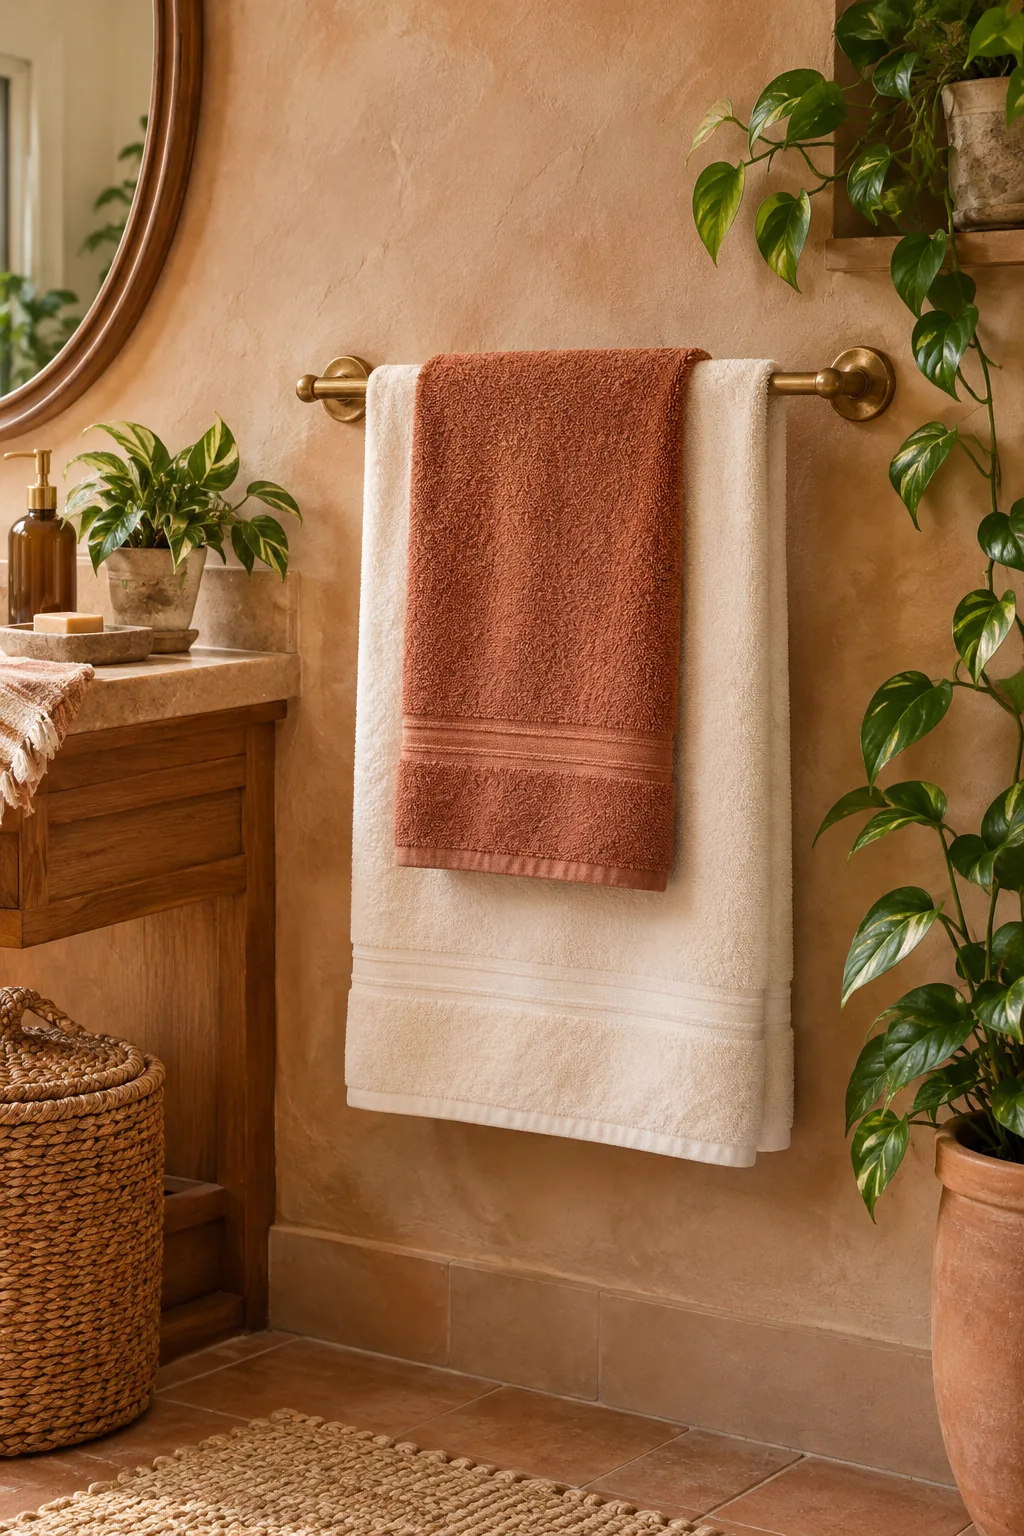
Warm Earth Tones: Rich terracotta layers paired with unlacquered brass hardware instantly warm up neutral plaster walls.
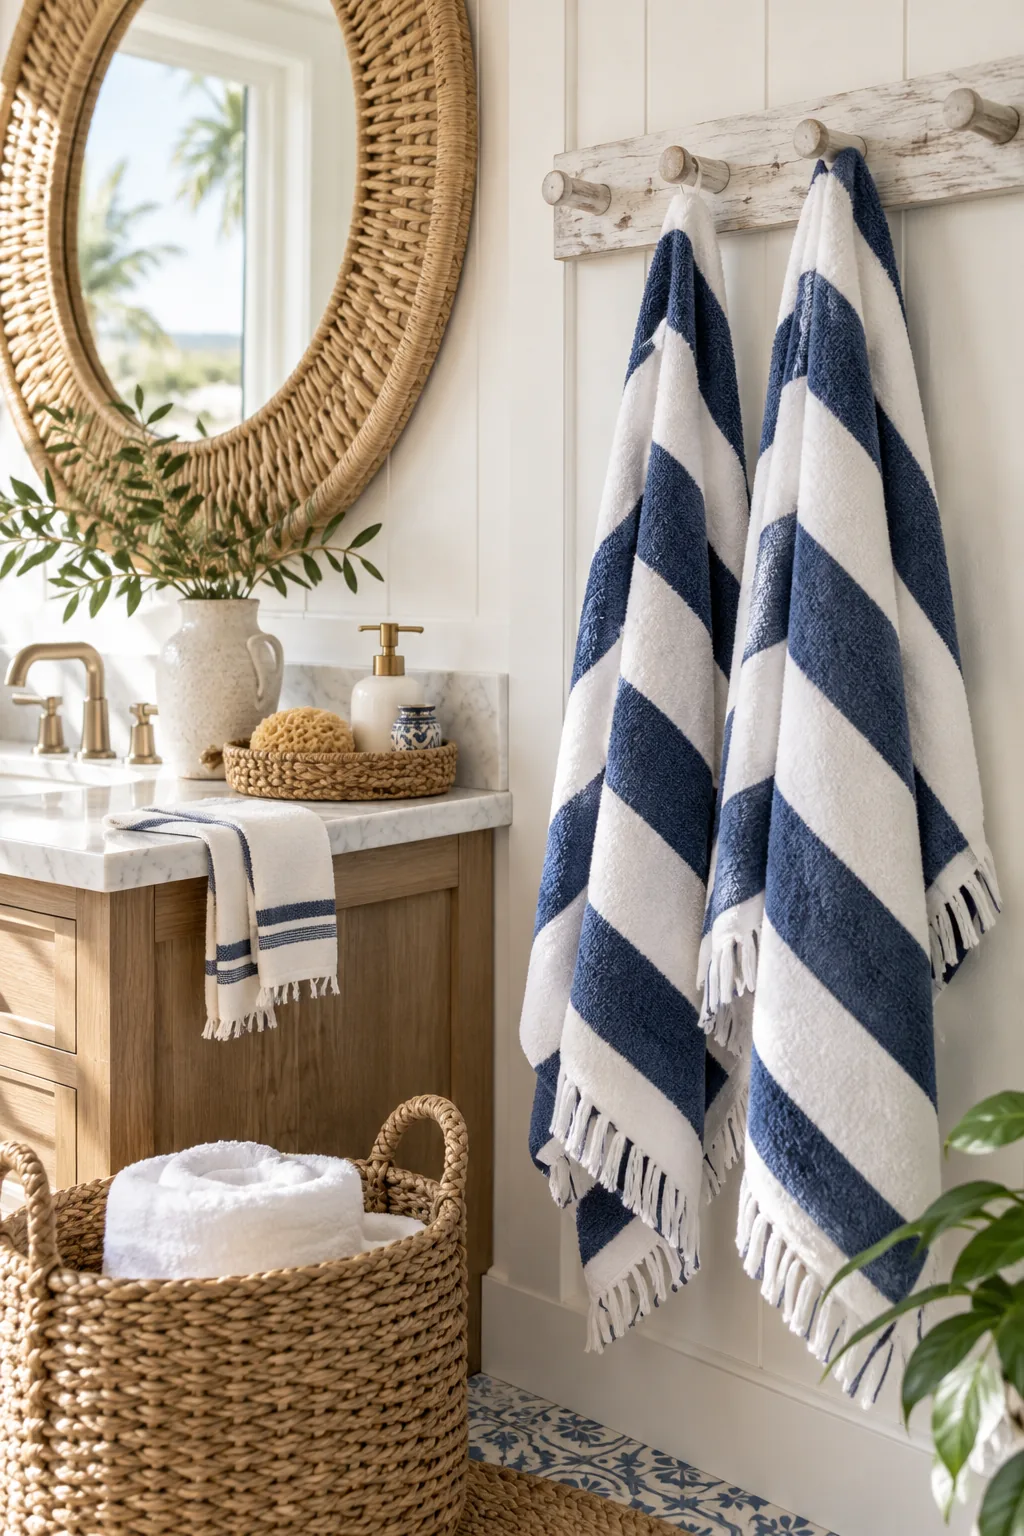
Coastal Blue: Classic navy stripes and whitewashed wood pegs create a relaxed, beach-inspired atmosphere without feeling themed.
Vintage Romantic: Soft fringed edges and muted plum tones add delicate, vintage-inspired texture against classic floral wallpaper.