
Small Japanese Garden Layout Plan for a Calming Yard
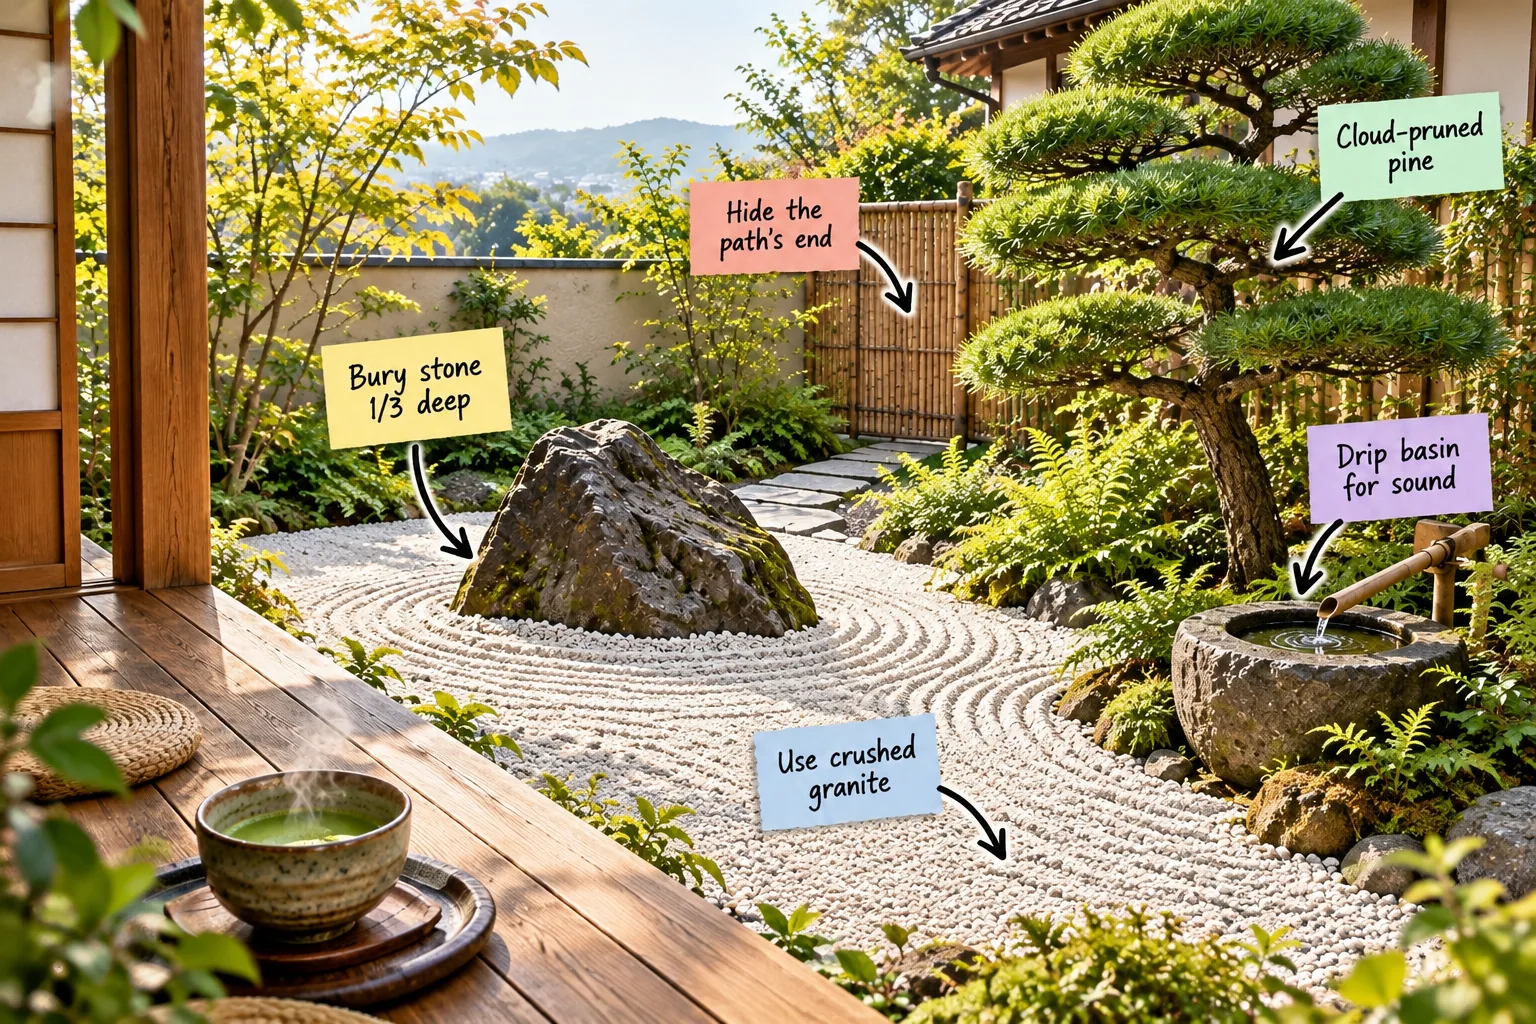
Transform your small yard into a serene retreat with our printable Japanese garden layout plan and plant placement grid. You will be able to map out and install a balanced, traditional courtyard garden specifically designed for your calming morning tea.
Frame the View from the Porch
Establish the wooden deck or engawa 15 to 18 inches above the ground to create the ideal seated viewing angle. When I built my own tea porch here in Austin, hitting that exact height completely transformed how the garden felt from my cushion.
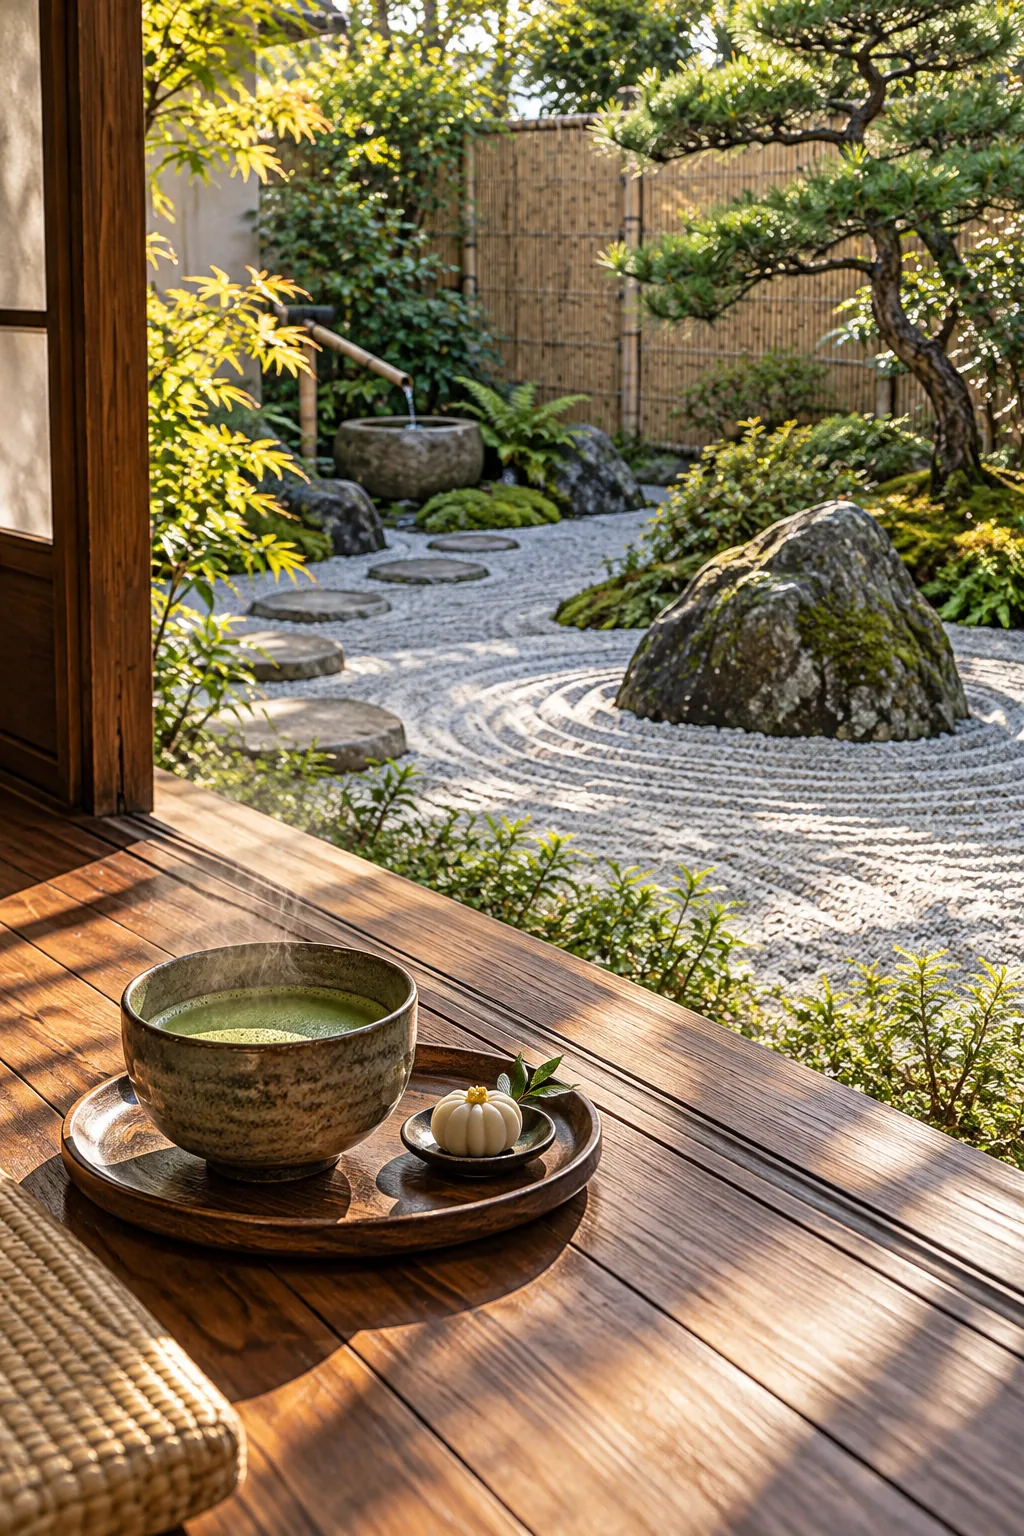
This elevated architectural edge ensures the landscape is experienced exactly as intended, anchoring your perspective and establishing a strong boundary before you even step outside into the raked stone.
Select the Right Wood for the Engawa
Choose a weather-resistant decking material that naturally silvers over time to blend with the traditional aesthetic. I highly recommend comparing local cedar against modified woods to find the best balance of longevity and authentic texture for your specific climate zone.
| Wood Type | Lifespan | Maintenance | Weathering Color |
|---|---|---|---|
| Western Red Cedar | 15-20 years | Yearly sealing | Soft silvery gray |
| Thermally Modified Ash | 25+ years | Minimal oiling | Deep charcoal gray |
| White Oak | 10-15 years | Frequent sealing | Light weathered tan |
| Hinoki Cypress | 20-30 years | Traditional oiling | Rich silver patina |
Determine the Ideal Porch Depth
Build the viewing platform to a minimum depth of 36 to 42 inches to comfortably accommodate a traditional tea cushion and small table. This specific dimension prevents you from feeling cramped against the house siding while keeping the structure proportional to a small yard.
Grade the Soil for Proper Drainage
Slope the bare dirt away from your house foundation at a strict drop of 1 inch per 4 feet before adding any landscaping layers. Proper grading prevents heavy rainwater from pooling under the wooden deck and rotting the structural support posts.
Install a Heavy-Duty Weed Barrier
Roll out a commercial-grade, non-woven landscape fabric across the entire graded dirt area, overlapping the seams by at least 6 inches. Pin the fabric down every 3 feet with landscape staples to ensure it stays perfectly flat when you dump the heavy stone.
Lay the Crushed Granite Foundation
Spread a 2- to 3-inch layer of 1/4-inch crushed white granite directly over the secured landscape fabric. The angular edges of crushed stone lock together tightly, holding deep raked patterns far better than smooth river rock ever could.
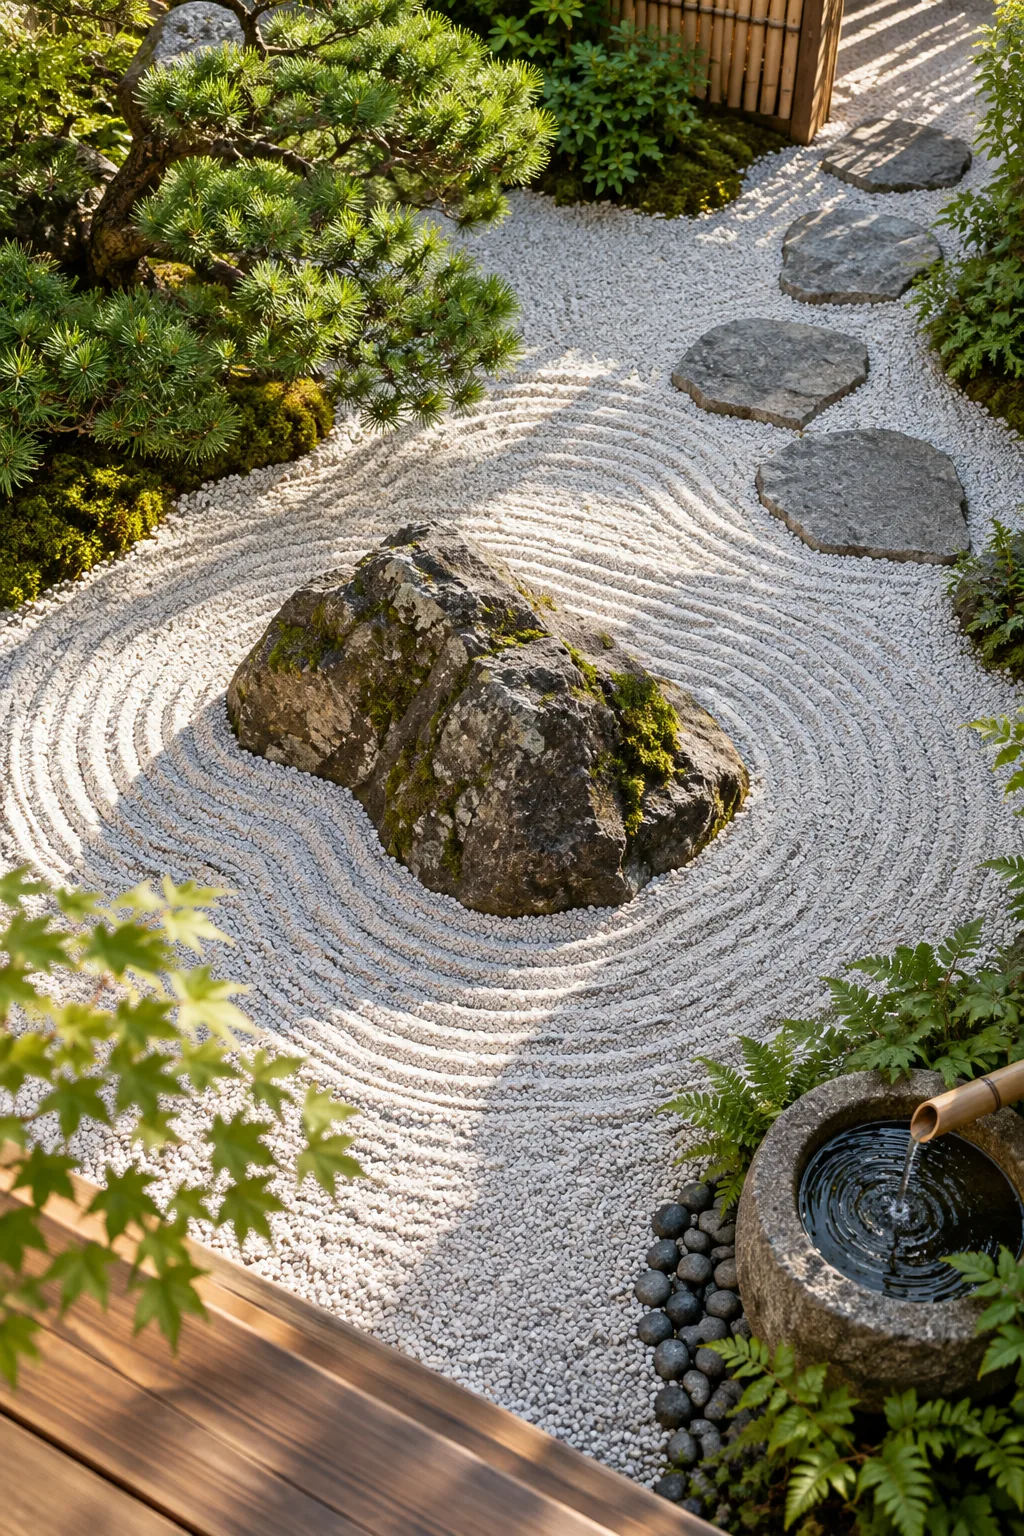
Selecting the right ground cover is absolutely crucial for creating a low-maintenance dry landscape that keeps its clean, meditative lines week after week.
Choose the Perfect Anchor Stone
Source a dark, heavily textured boulder that features a distinct vertical grain and a naturally flat base. The contrast between a rugged, dark anchor rock and the bright white crushed granite provides the essential visual tension required in traditional dry landscape design.
Anchor the Main Stone Deeply
Bury the base of your largest, most asymmetrical rock so exactly one-third of its mass is underground. I learned this the hard way when my first shallow-placed stone shifted after a heavy Texas downpour, completely ruining the raked gravel lines.
This traditional installation technique prevents settling over time and tricks the eye into seeing a natural, ancient outcropping rather than a recently placed boulder.
Rake the Granite for Water Illusions
Pull a specialized wide-toothed wooden rake through the crushed granite to simulate the continuous ripple of flowing water. Always rake in long, unbroken parallel lines around the buried anchor stones to create the illusion of a stream parting around a mountain island.
Select the Bamboo Spout Material
Purchase a synthetic or resin-cast bamboo water spout if your garden receives intense, direct afternoon sunlight. While natural bamboo looks incredibly authentic, it will inevitably split and crack within a single season if exposed to constant UV rays and fluctuating humidity.
Position the Drip Basin for Sound
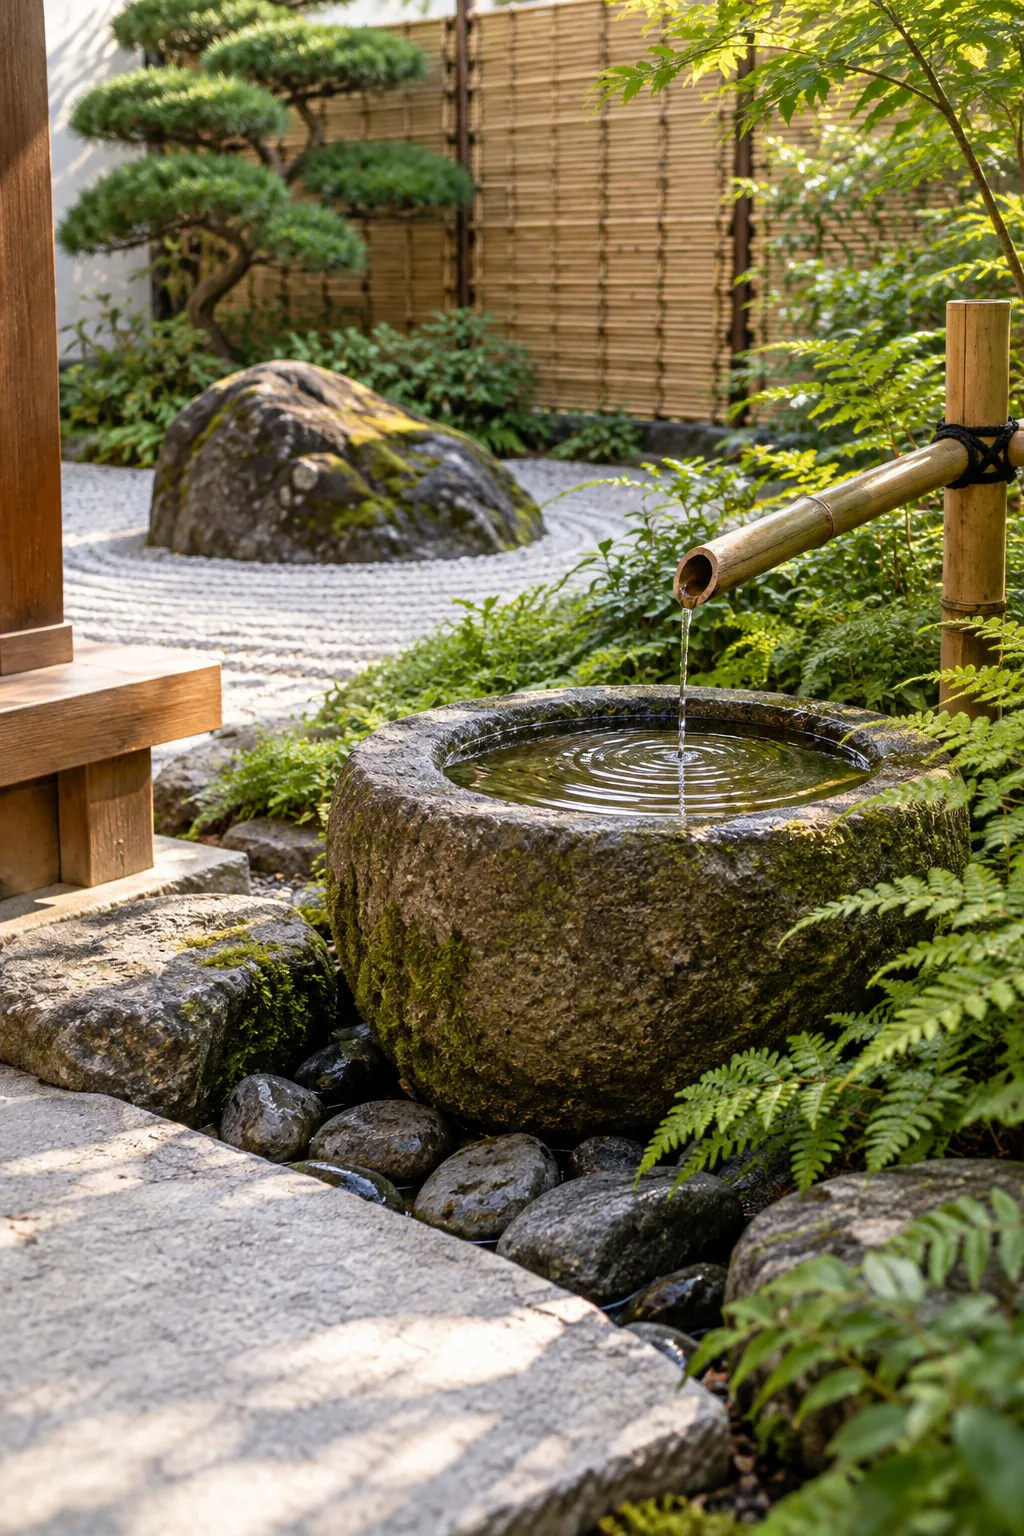
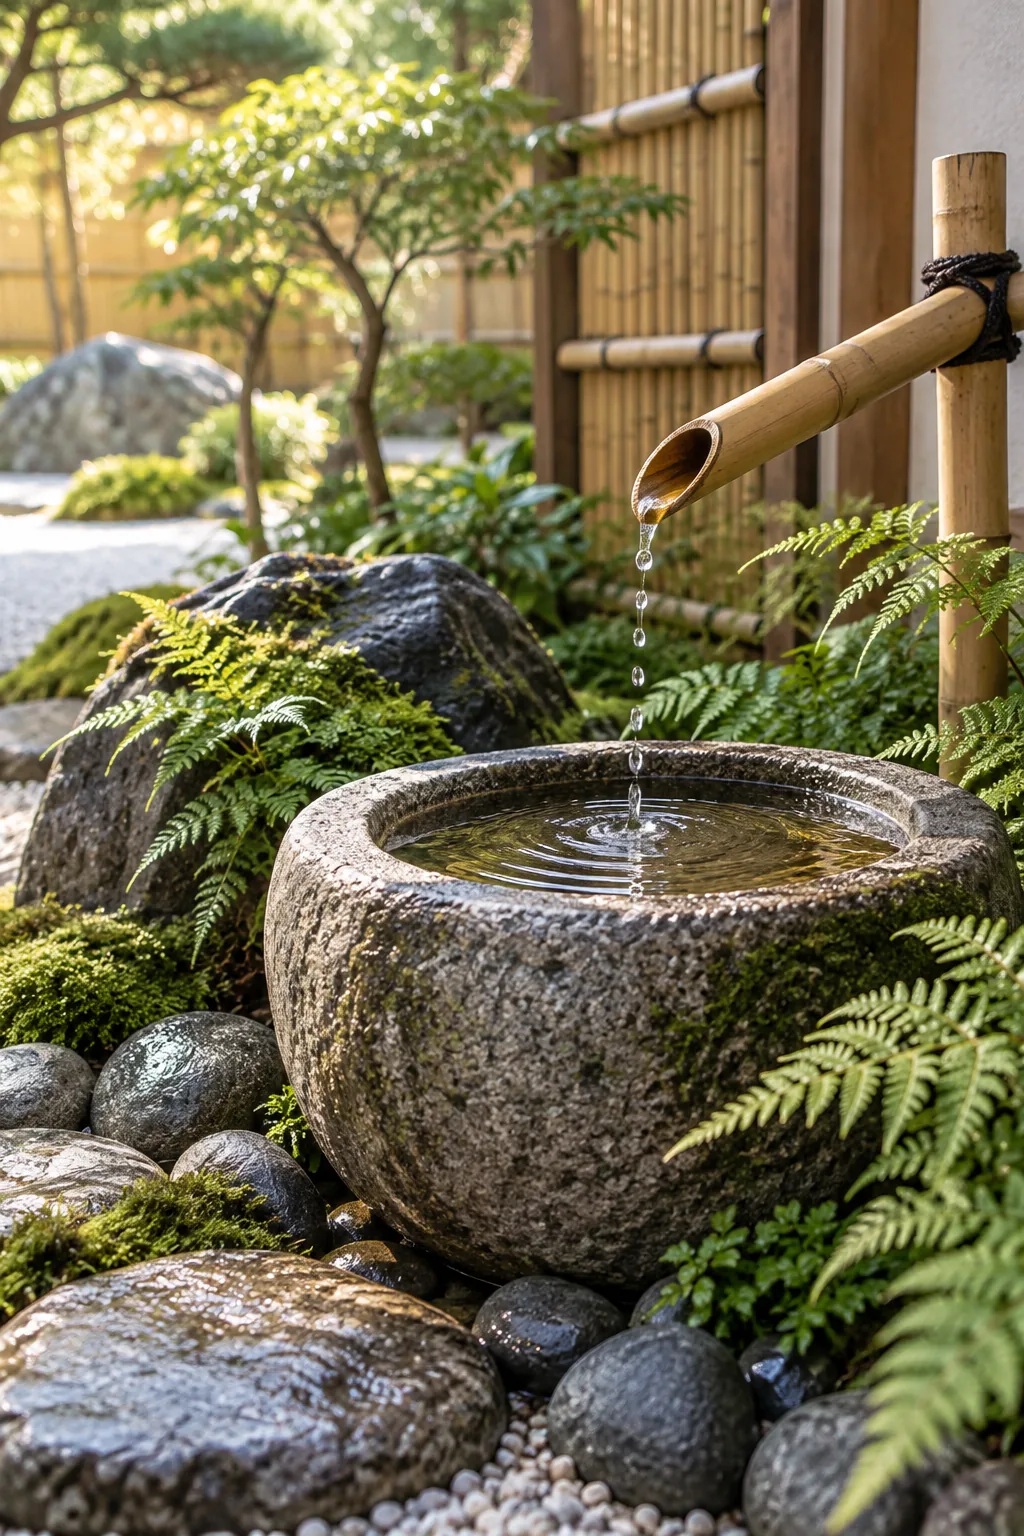
Place a low stone tsukubai basin within 10 feet of the seating area and adjust the bamboo spout for a 4- to 6-inch drop. I love opening my back door in the morning just to hear that gentle, rhythmic splash echoing off the porch.
Keeping the water feature close to your primary seating maximizes the acoustic resonance, effectively masking neighborhood traffic noise with a calming, constant focal point.
Cultivate Moss Around the Basin
Pack a living moss slurry into the damp crevices around the base of the water feature to soften the hard stone edges. The constant micro-humidity generated by the splashing water provides the exact environment needed for sheet moss to thrive in a dry yard.
Feature a Cloud-Pruned Pine
Plant a meticulously shaped evergreen tree to serve as the garden’s primary vertical focal point. You want to maintain three to five distinct foliage pads to create visual balance through the intentional negative space between the sculpted branches.
Pruning for structural openness rather than dense growth allows dappled morning sunlight to reach the delicate moss and bright granite below.
Prune the Pine for Negative Space
Pinch back the new green growth, or candles, by exactly half their length every spring to maintain the tight cloud shapes. This careful annual maintenance prevents the foliage pads from merging together and destroying the tree’s carefully cultivated architectural silhouette.
Support the Pine’s Root System
Dig the planting hole twice as wide as the nursery root ball, but keep the depth exactly the same to prevent trunk rot. Amending the backfill soil with a 30 percent mix of pumice ensures the rapid drainage that sculpted evergreens require.
Source the Stepping Stones
Select flat, irregular flagstones that measure at least 18 to 24 inches across to provide a safe, comfortable walking surface. Stones smaller than this require too much concentrated balance, which distracts from the meditative experience of moving through the garden space.
Space the Stepping Stones Correctly
Set the center of each stepping stone exactly 22 to 24 inches apart to match a comfortable, unhurried walking stride. Bury the stones into the granite foundation until they sit just 1 inch above the raked surface, preventing any tripping hazards.
Obscure the Path’s End
Install a 6-foot woven bamboo screen to hide exactly where the stepping stone path terminates. Adding a simple curved screen to my own narrow side yard instantly made the tiny, confined space feel like a sprawling, mysterious estate.
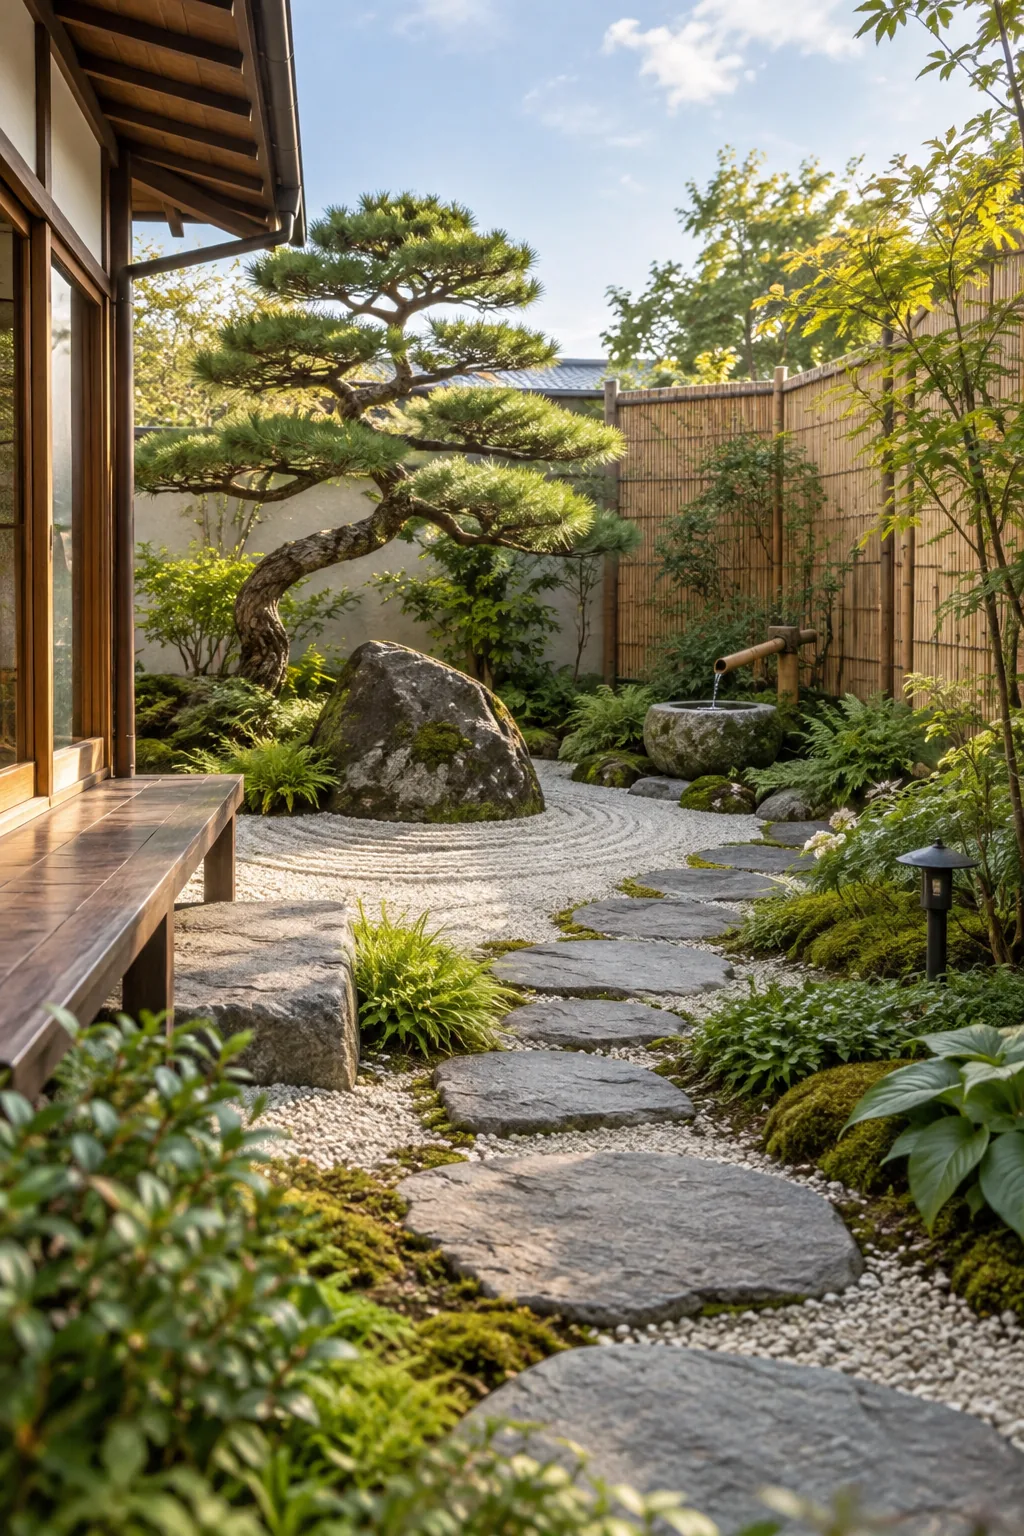
This foundational technique, called miegakure or hide-and-reveal, forces the imagination to extend the landscape well beyond its actual physical boundaries.
Install the Bamboo Screen Securely
Drive pressure-treated wooden support posts 24 inches into the ground before attaching the lightweight bamboo paneling. Concealing these sturdy structural posts behind the woven screen ensures the barrier remains perfectly upright during strong seasonal winds without compromising the traditional aesthetic.
Balance the Asymmetrical Layout
Arrange your primary stone, the pine tree, and the water basin to form a scalene triangle with three unequal sides. To let the design breathe and establish this classic asymmetry, follow a specific placement sequence when mapping your yard.
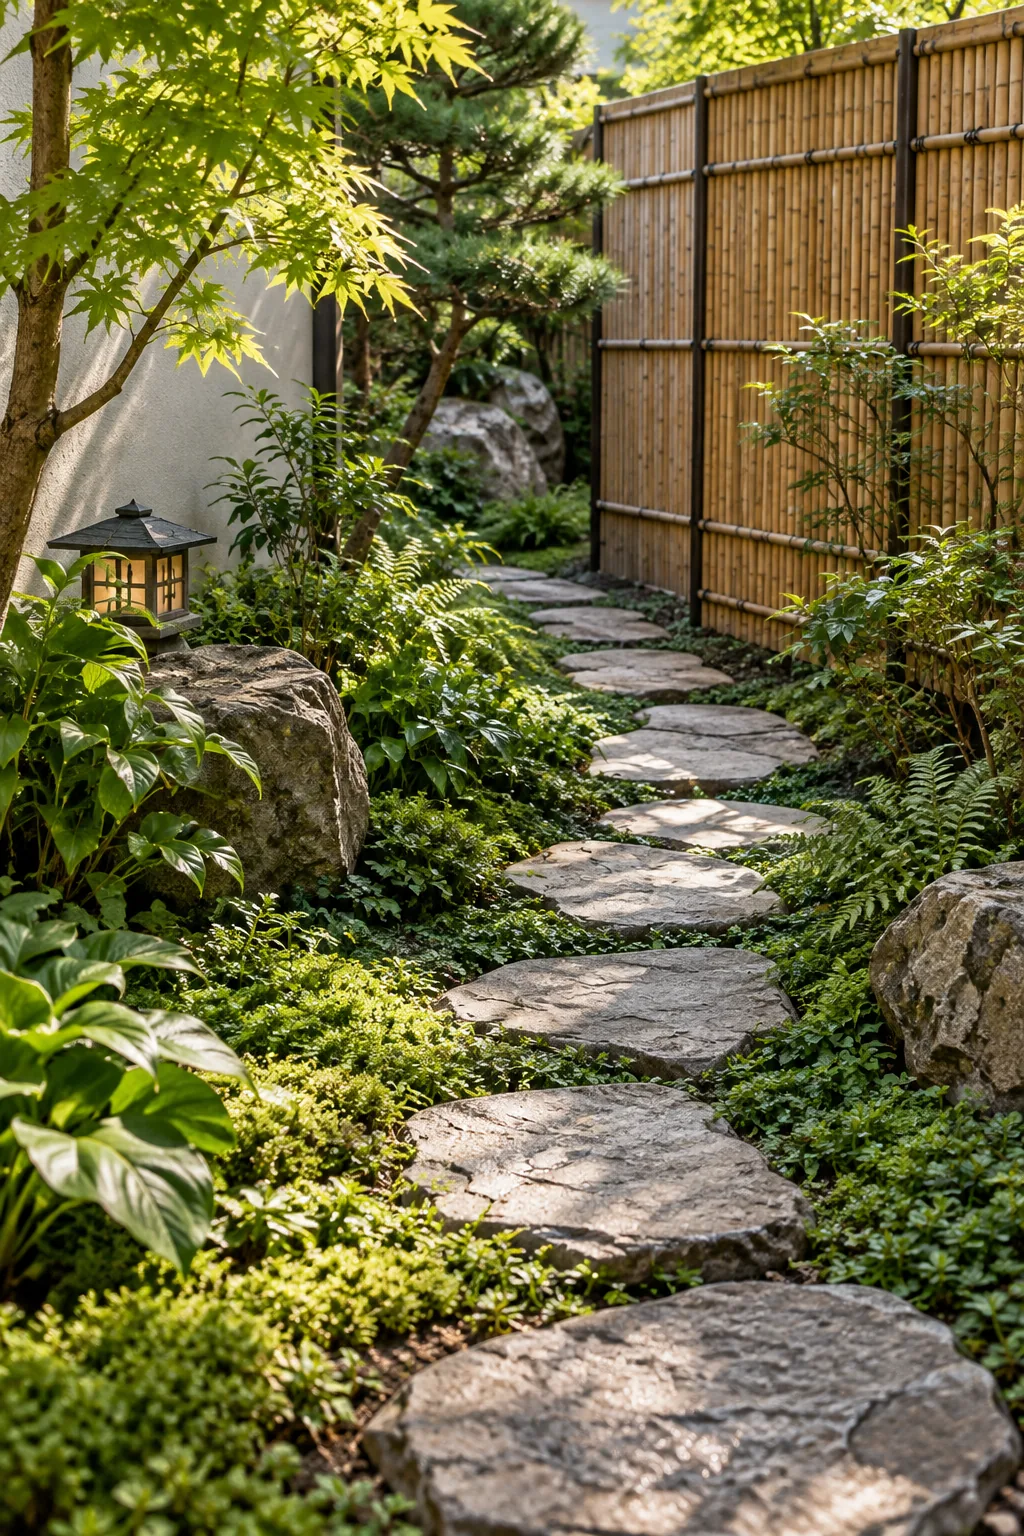
- Place your heaviest anchor stone first to establish the primary visual weight.
- Position the pine tree across the yard to create the longest side of the triangle.
- Tuck the water basin closer to the porch, maintaining at least 3 feet of empty raked granite between all major elements.
Maintain the Raked Patterns
Dedicate ten minutes every weekend to pulling the wooden rake through the crushed granite to clear fallen leaves and reset the lines. This routine maintenance is traditionally considered a meditative practice rather than a chore, helping you connect with the garden.
Refresh the Granite Annually
Top dress the entire dry landscape with a fresh half-inch layer of crushed white stone every spring to restore its brilliant brightness. Over time, airborne dust naturally dulls the original stark white contrast, making the garden look tired and flat.
5 Ways to Adapt Your Zen Garden
Explore these distinct variations to match your home's architecture and local climate.
Modern Minimalist Zen: Swap traditional bamboo for sleek concrete walls while keeping the classic raked gravel foundation.
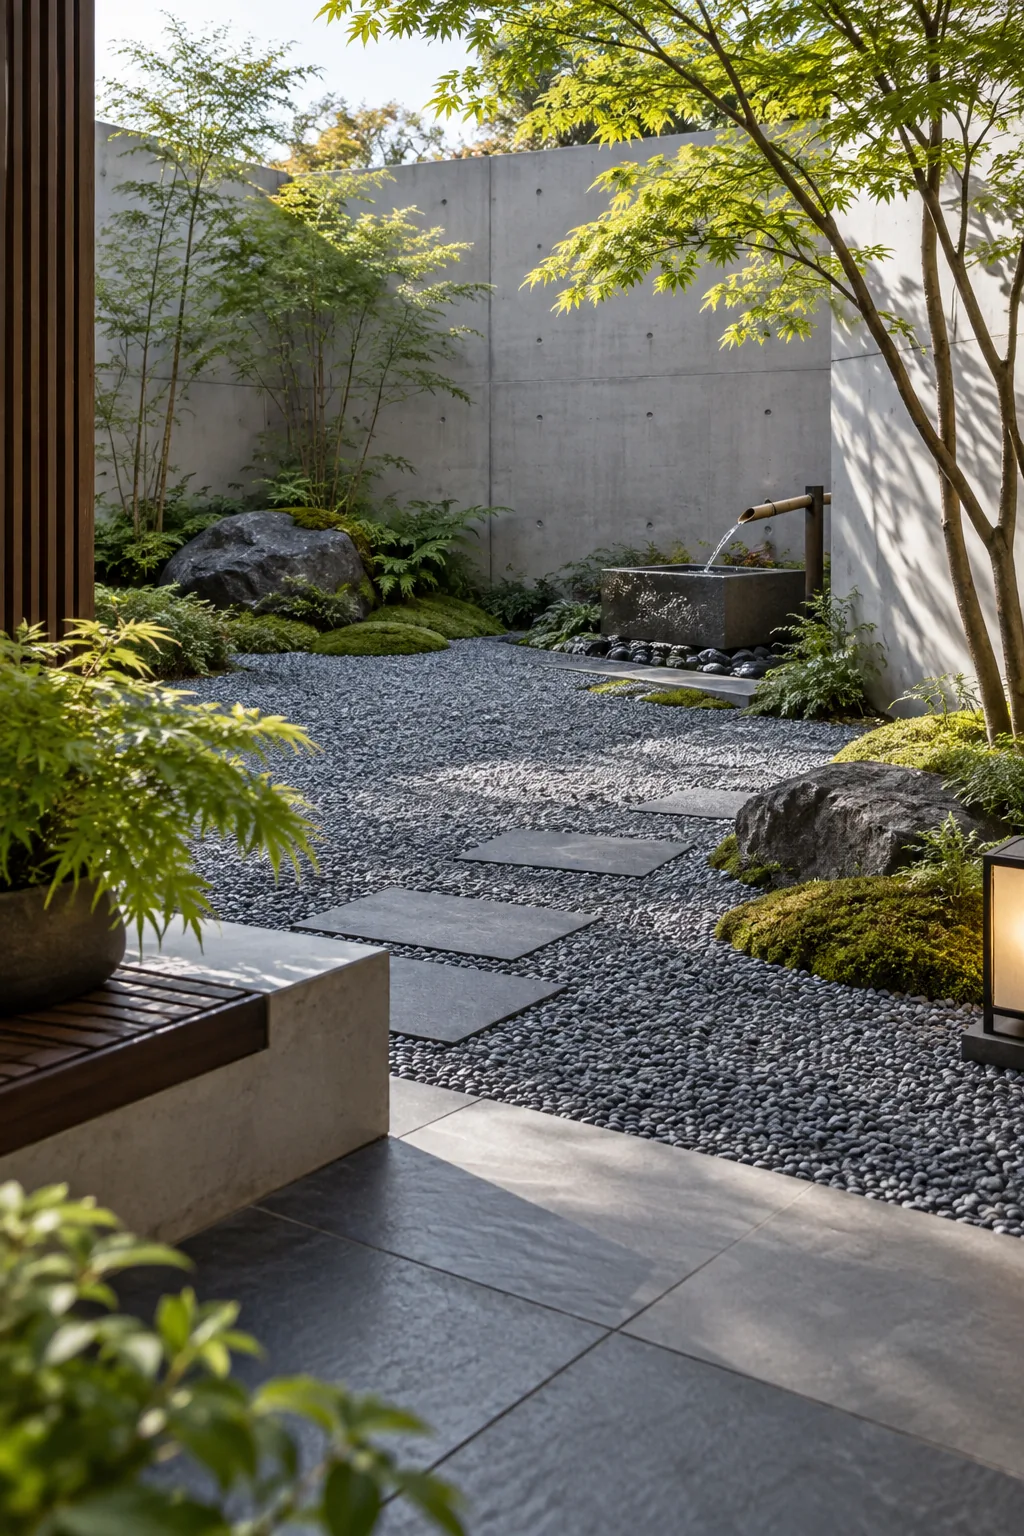
Shaded Woodland Retreat: Rely on heavy moss and shade-loving ferns if your yard lacks the direct sunlight needed for pines.
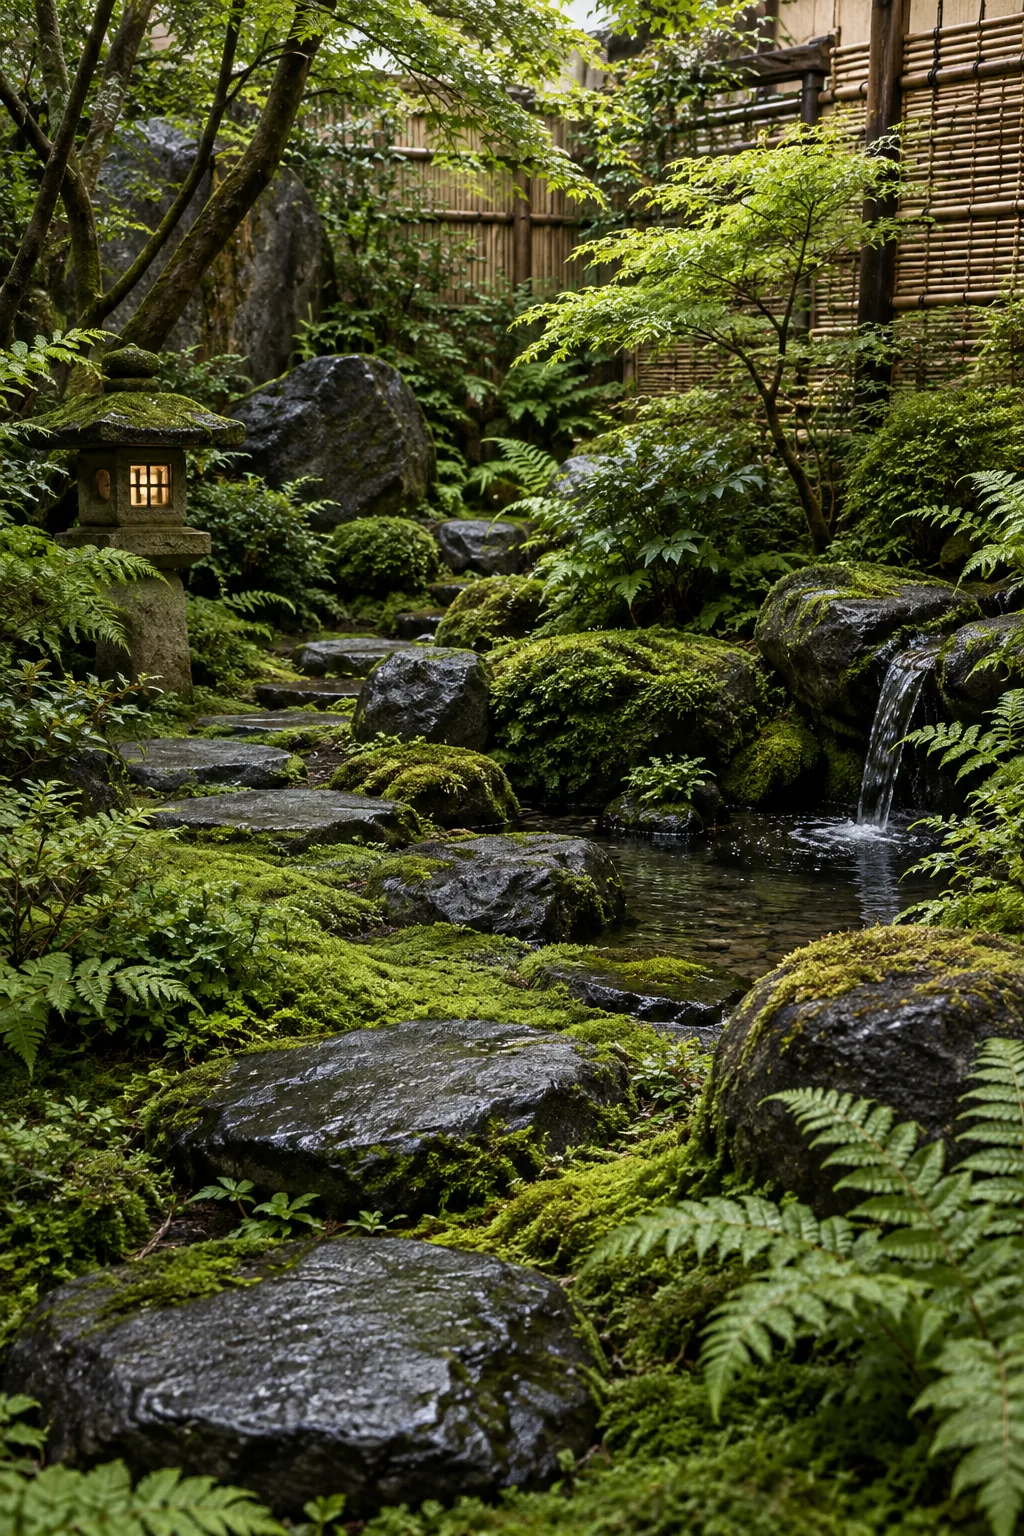
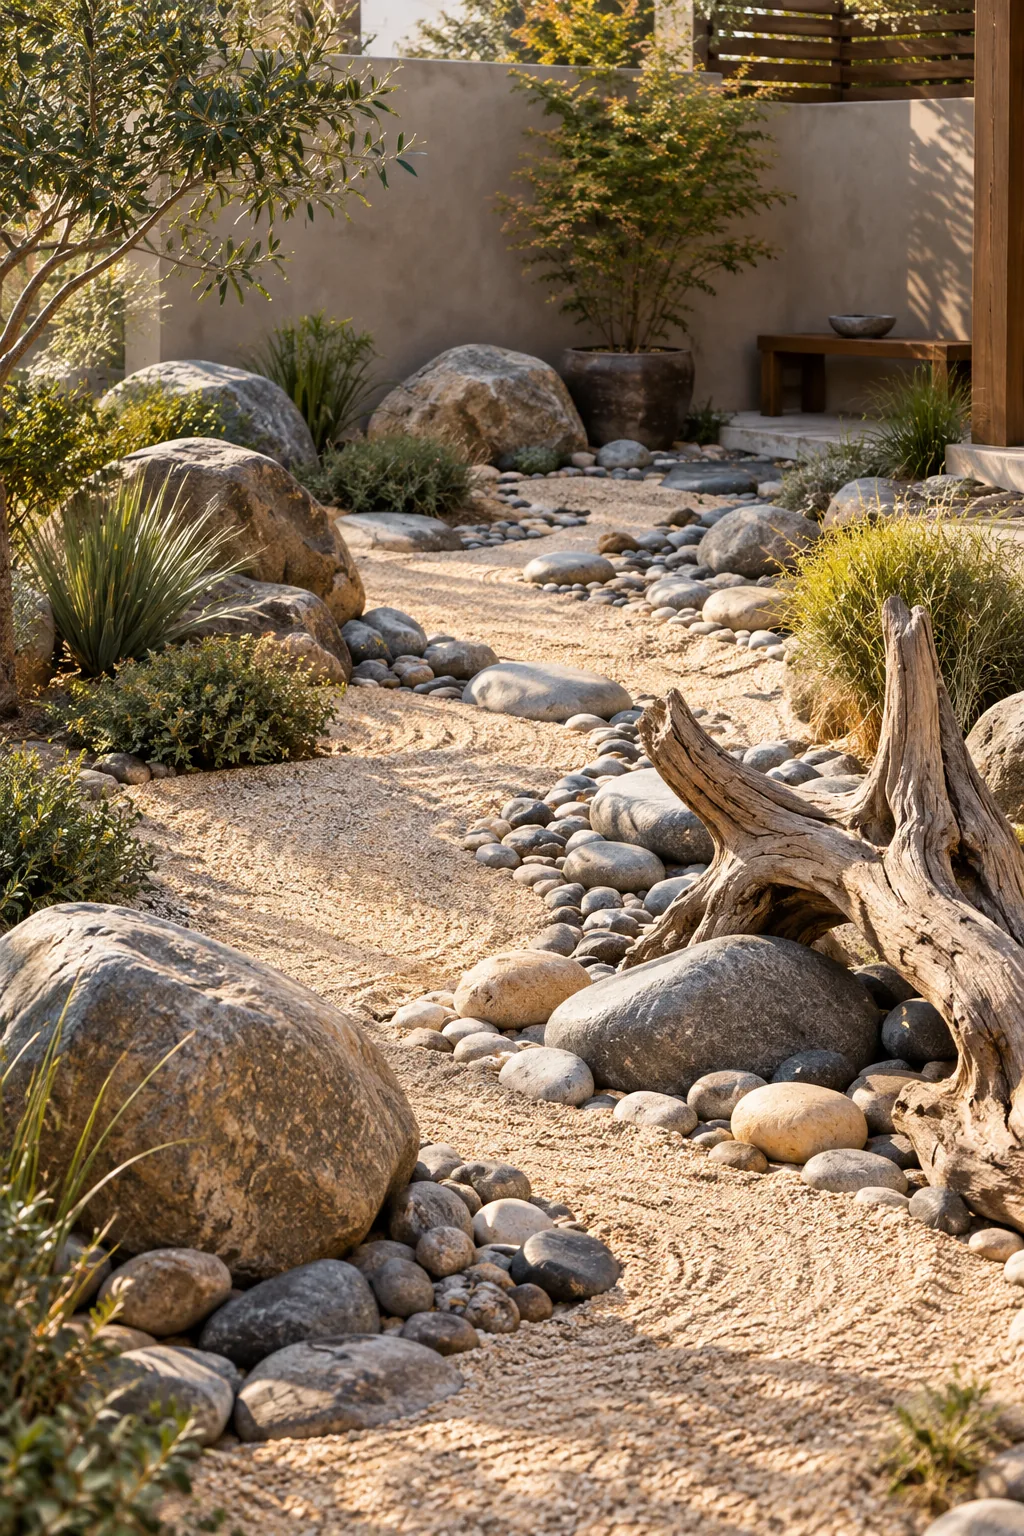
Dry Riverbed Concept: Use varying sizes of smooth river stones to simulate flowing water without needing a plumbing system.
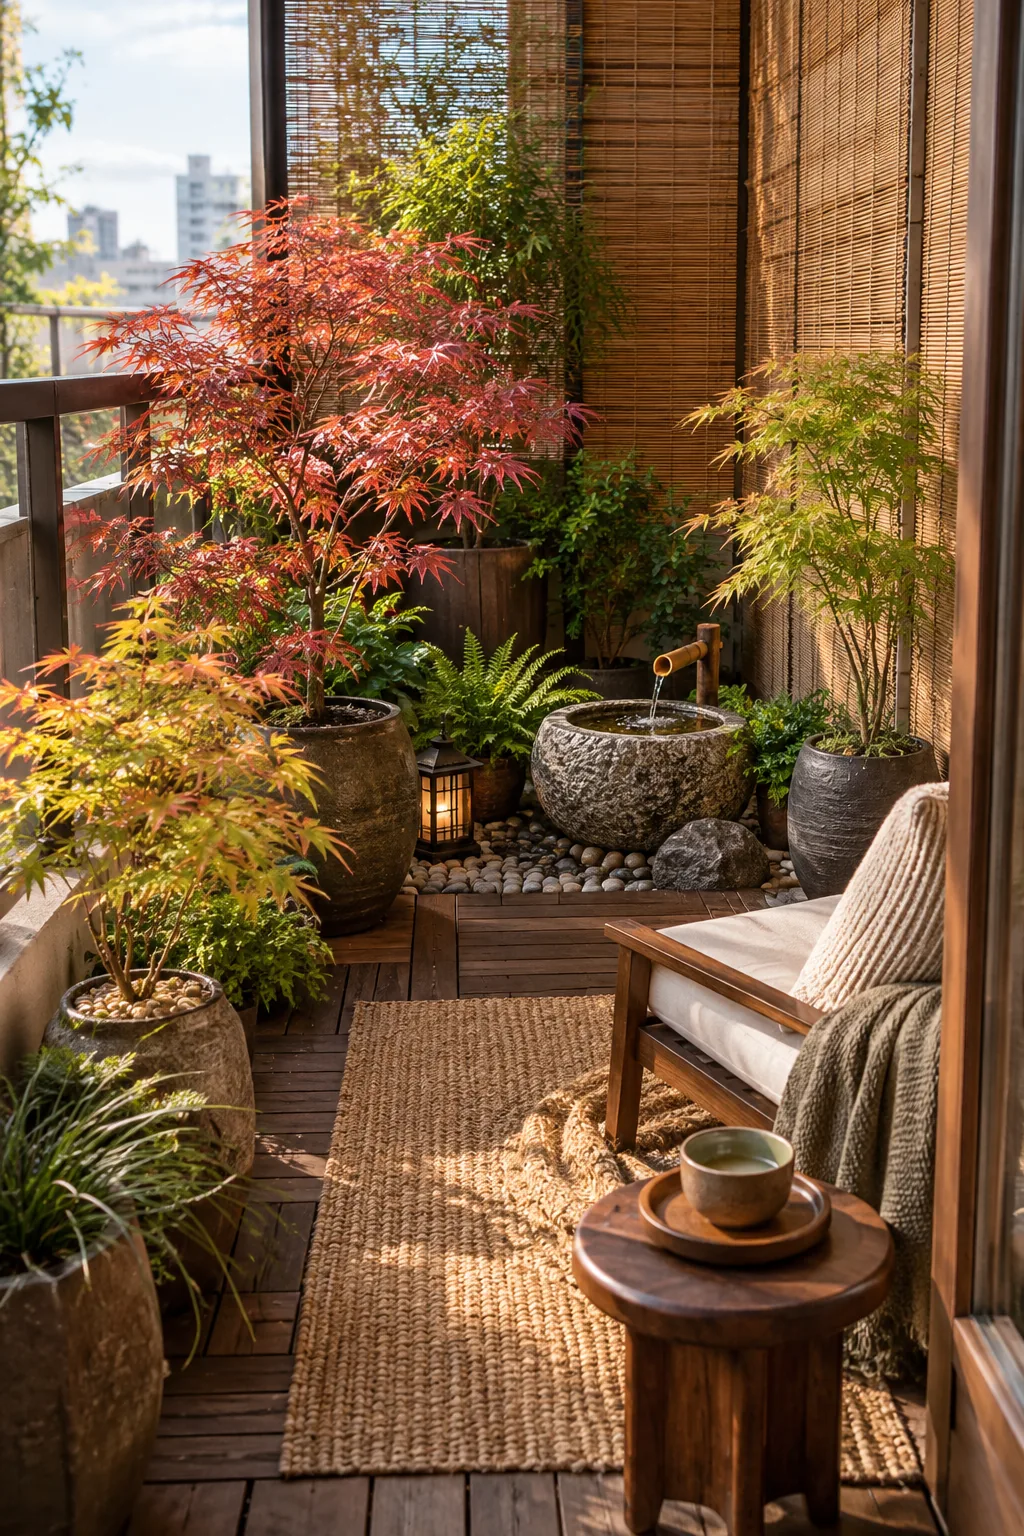
Enclosed Balcony Garden: Adapt the layout for an apartment balcony by utilizing shallow gravel trays and potted dwarf maples.
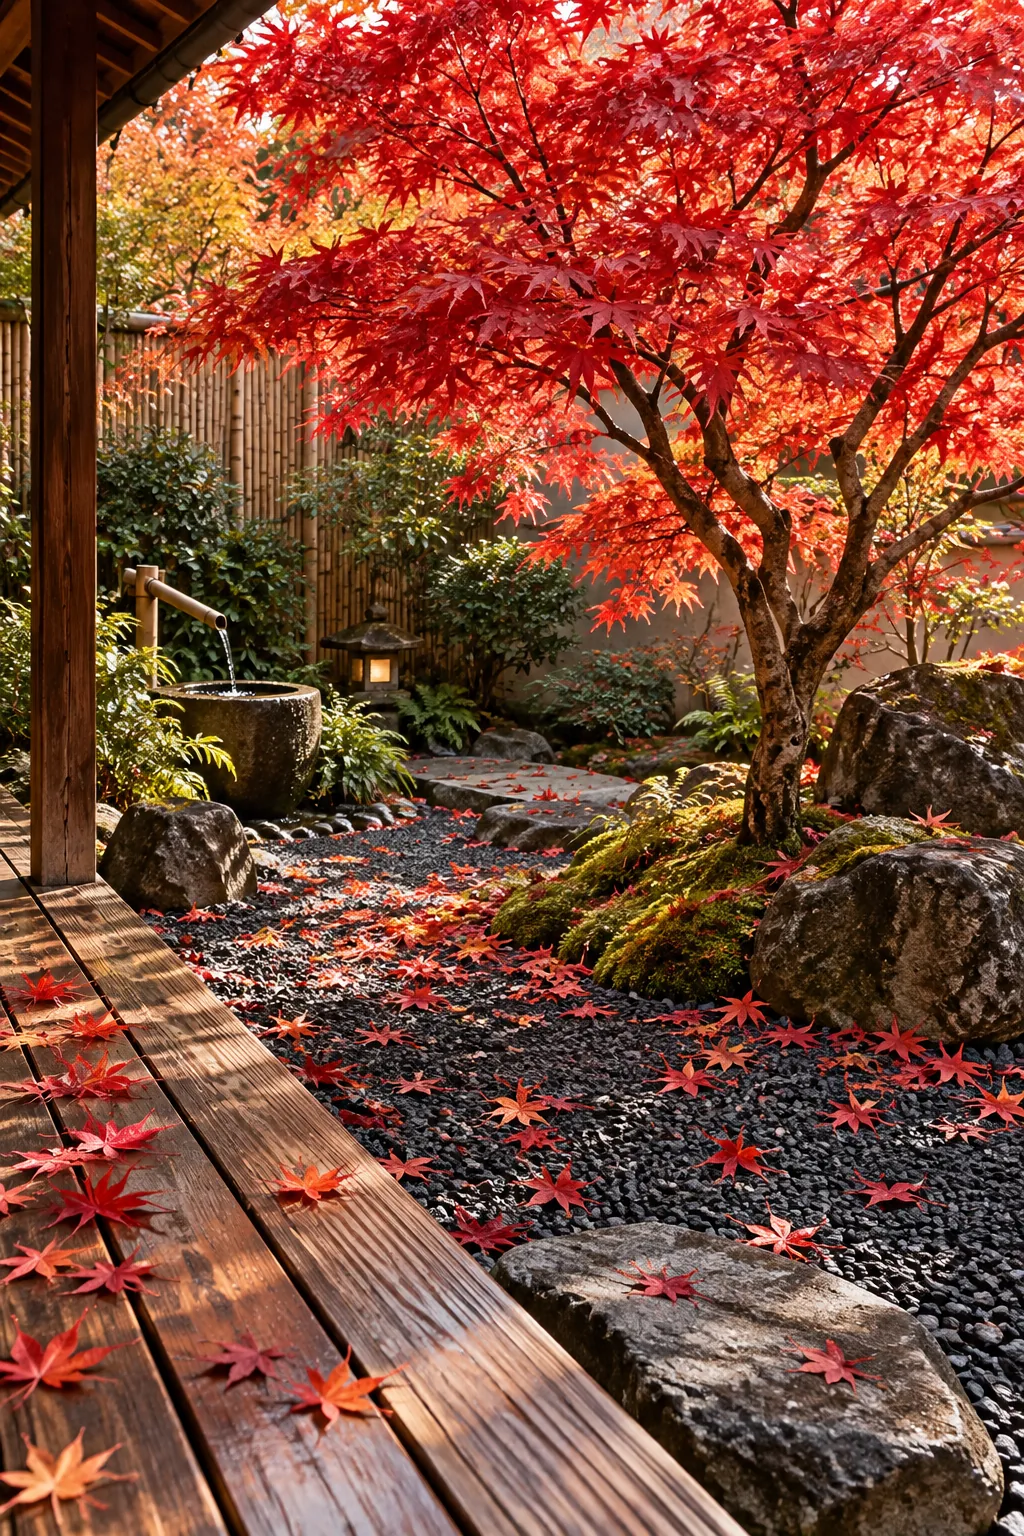
Autumn Maple Focus: Center the design around a Japanese maple for a dramatic, fiery color shift during the fall season.
Download the Small Yard Layout Plan
Grab the printable layout plan and plant placement grid to map out these traditional elements accurately in your own space. The digital download includes a handy 1-foot grid overlay, making it incredibly simple to scale the design to your yard.
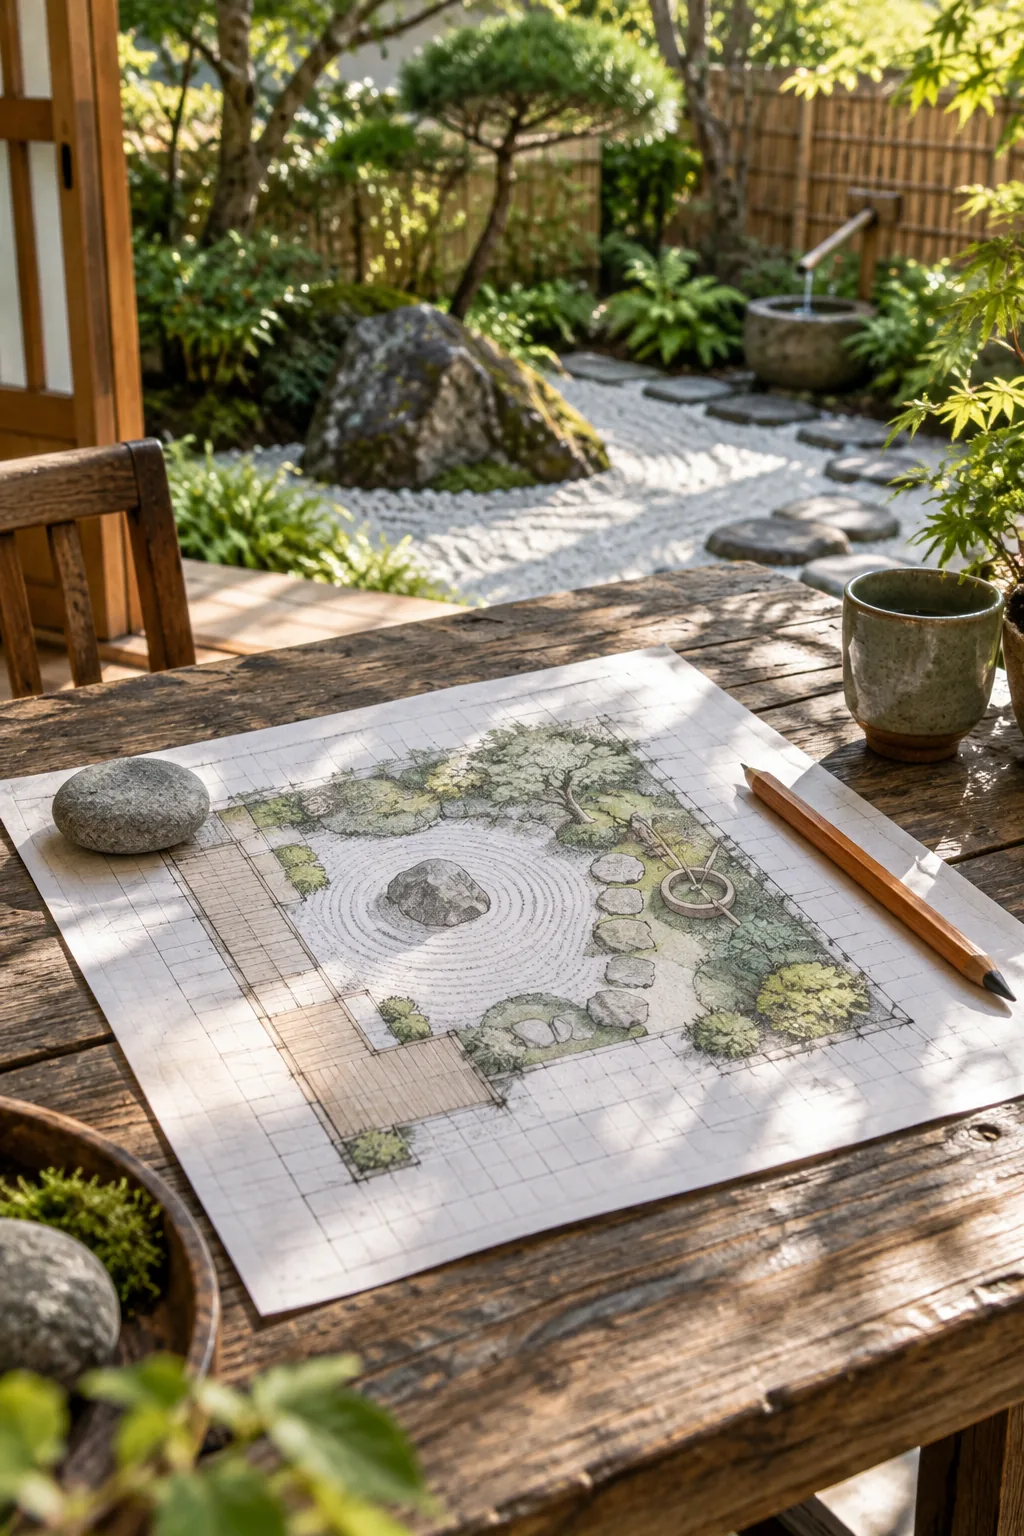
Before transferring this specific layout out to your yard, prepare your physical site properly to ensure the new plants and features thrive.