
Dining Table Lighting Rules: The Complete Measuring Guide
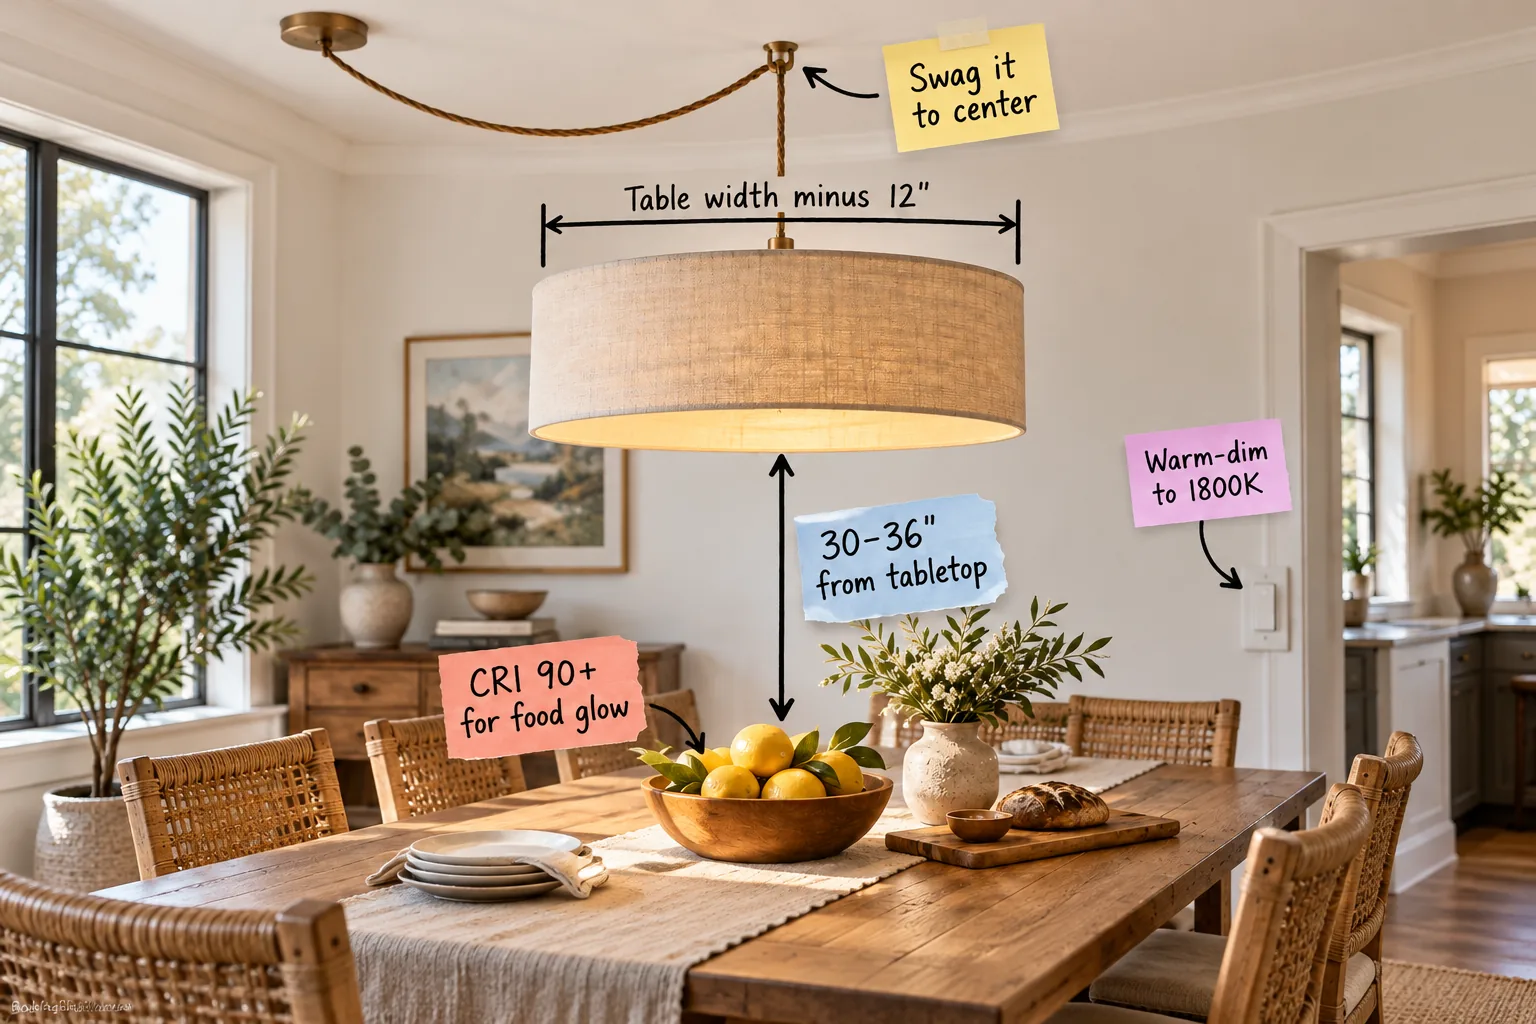
Getting your dining room lighting perfectly scaled and positioned requires a precise mathematical approach, moving outside-in from sizing the fixture to placing it, hanging it, and finally lighting it. You will be able to calculate the exact fixture width, drop height, and bulb specifications for your specific table using our printable Dining Pendant Measuring Sheet.
Sizing Your Dining Pendant
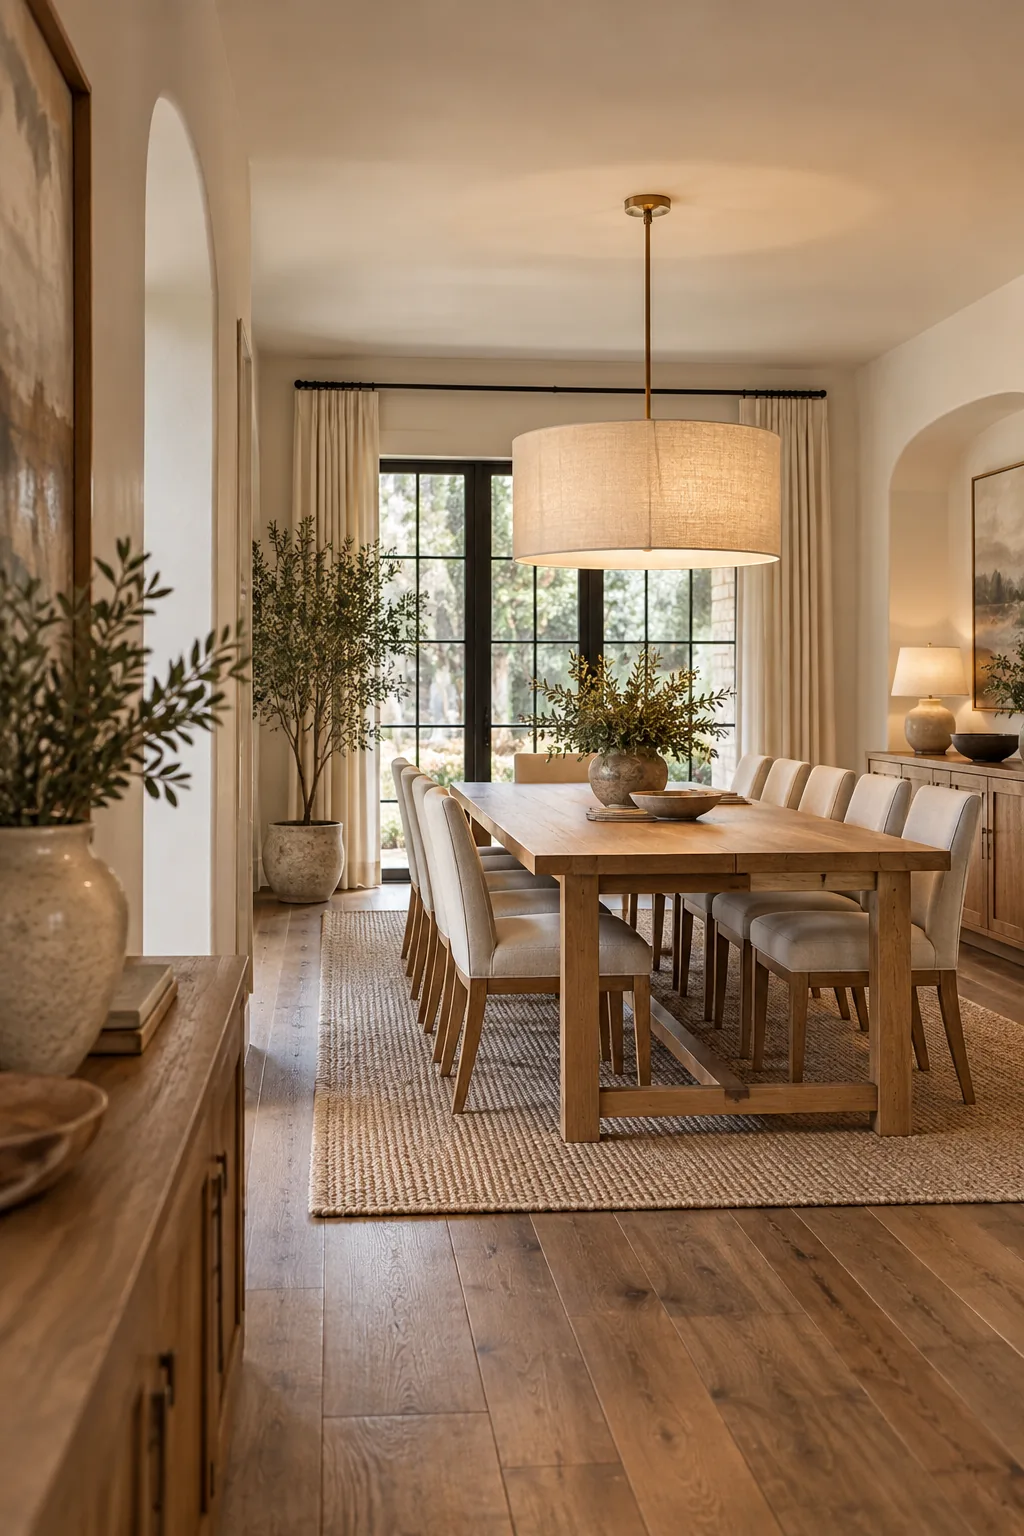
Calculating the ideal fixture width begins by establishing a strict proportional relationship between your room’s architecture and the primary eating surface. Determine your baseline dimension by taking your total table width and subtracting exactly 12 inches from that horizontal measurement.
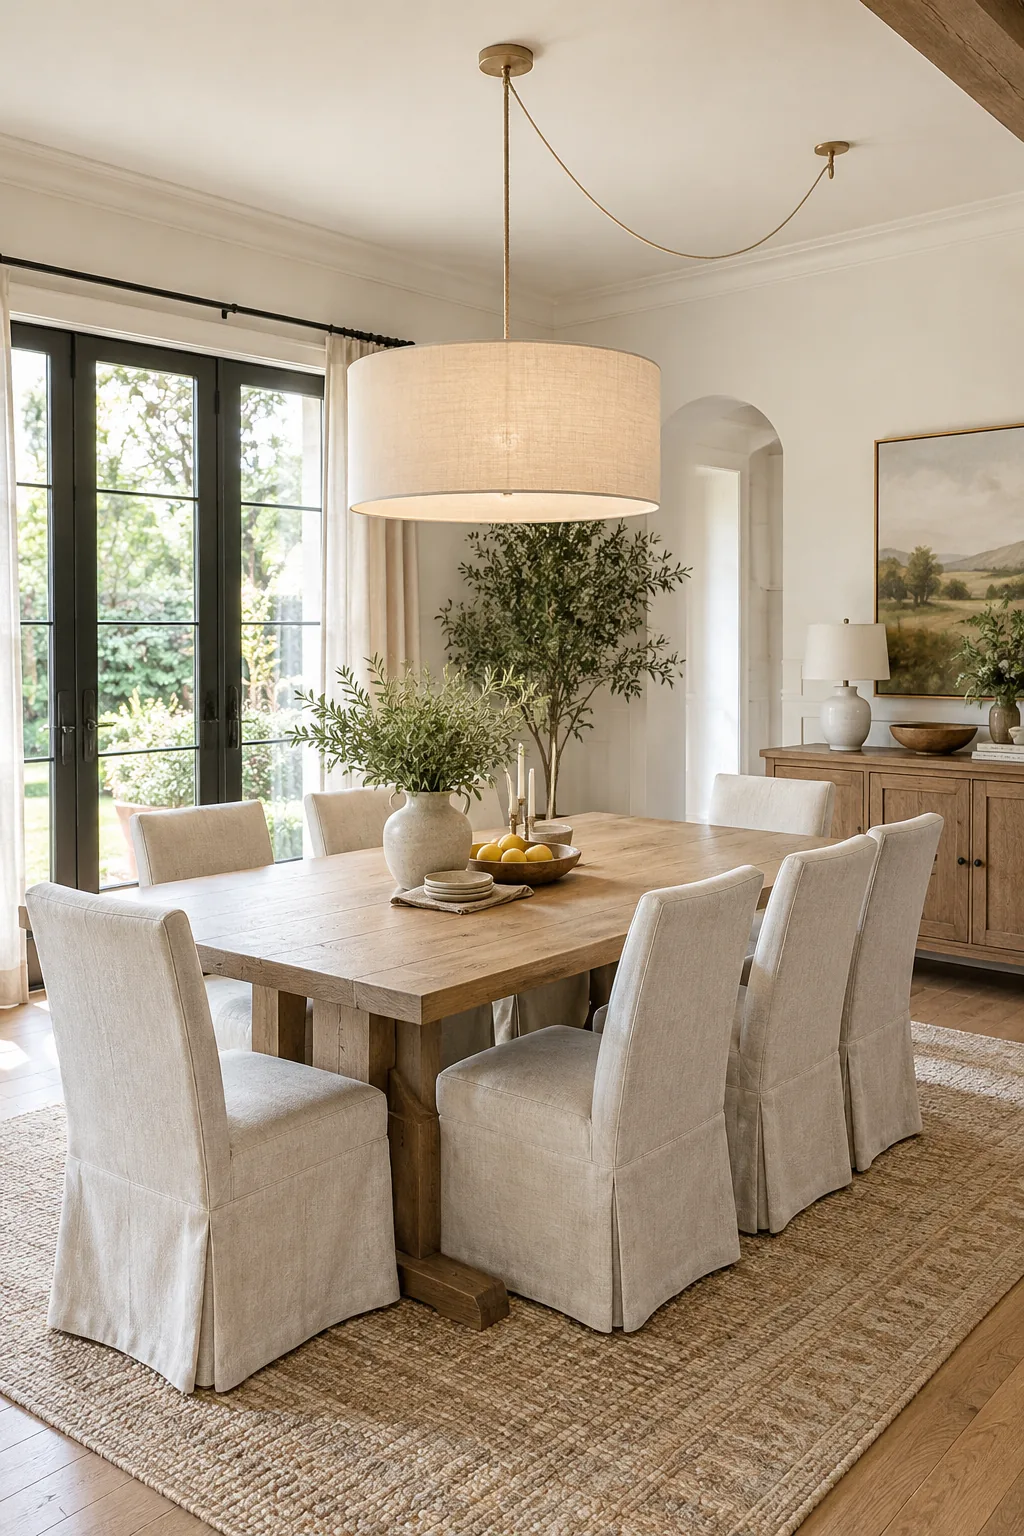
This table width minus 12″ formula guarantees roughly 6 inches of negative space on each side, offering ample physical breathing room around the perimeter. Maintaining this dedicated clearance zone also keeps the visual weight of the fixture from completely overpowering your delicate tableware.
Balancing Visual Weight
Beyond the strict mathematical width, you must also consider the visual density of the material you select for your overhead fixture. A heavy, opaque metal dome will feel significantly larger and more imposing than an airy, open-weave rattan pendant of the exact same physical diameter.
Factoring in Table Shape
The geometry of your dining table should directly influence the overall silhouette of the lighting fixture you choose to install above it. Mirroring a long rectangular table with a linear suspension light reinforces the room’s primary axis, while a classic round table naturally demands a perfectly spherical or drum-shaped pendant to mirror its curves.
Centering With a Swag Hook
When your ceiling junction box sits awkwardly off-center, you must mechanically pull the light into the proper position to restore symmetry to your dining space. Relying on a heavy-duty swag hook provides a structural anchor that gracefully redirects the electrical cord without requiring invasive drywall repairs.
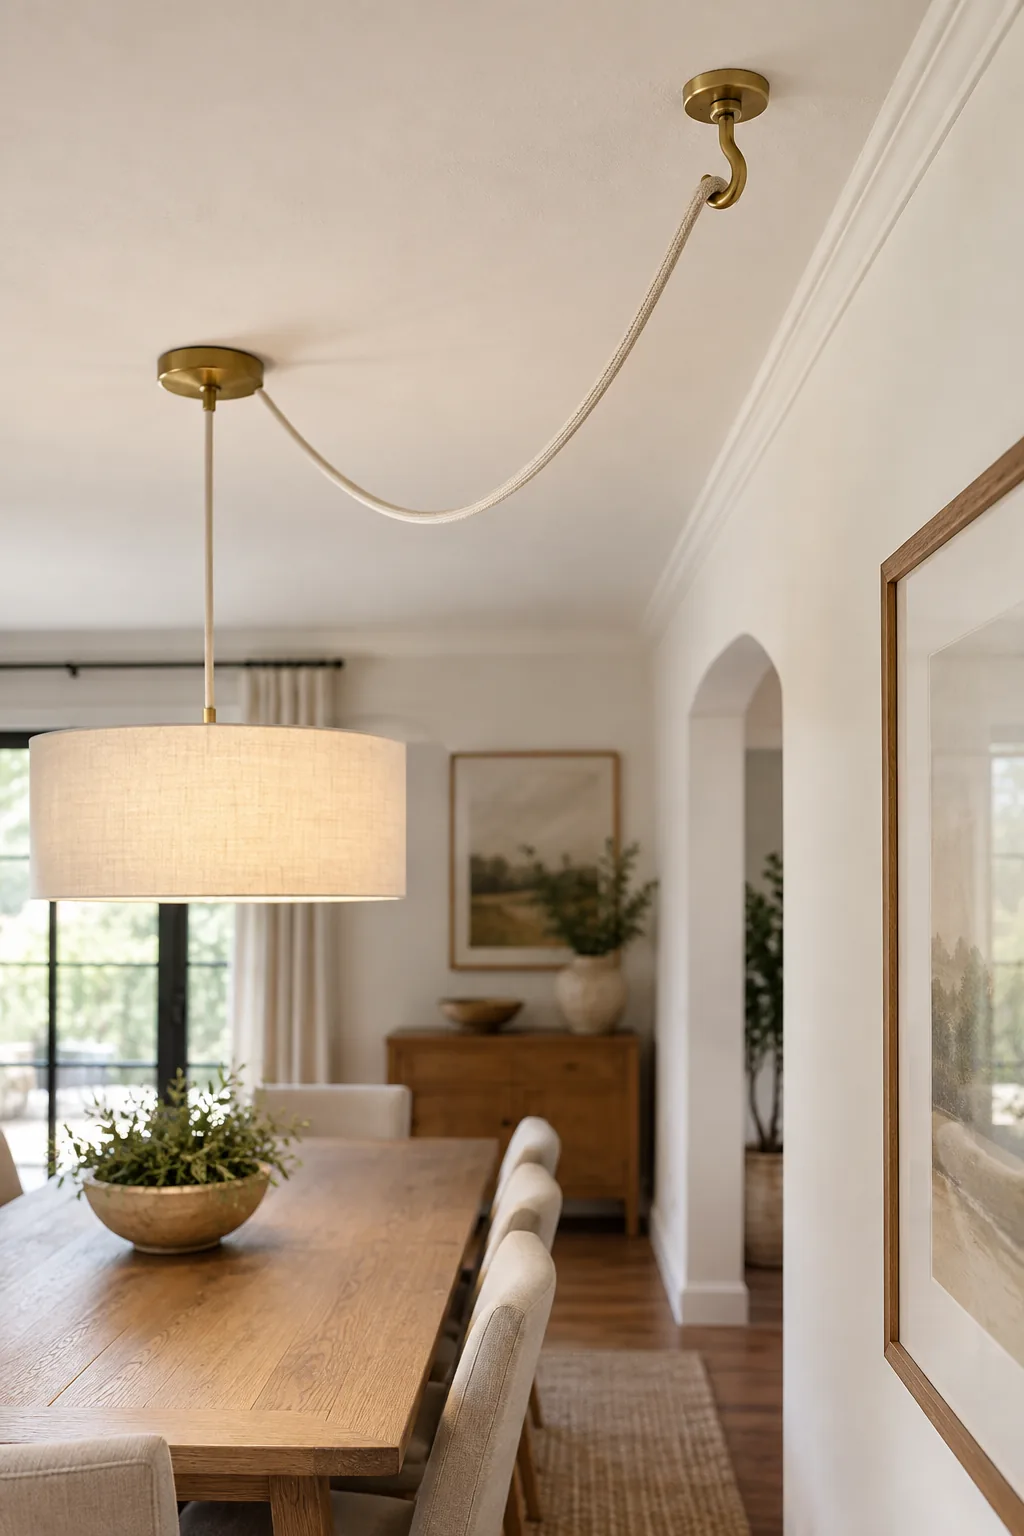
In my own dining room, the original builder placed the junction box nearly two feet from the table center, so I used this exact sequence to securely swag it to center.
- Locate the exact center point of your dining table using a reliable laser measure and mark the corresponding ceiling spot with painter’s tape.
- Drive a solid brass swag hook directly into a solid ceiling joist at that center mark to ensure maximum structural support.
- Drape the fabric-wrapped electrical cord from the off-center canopy directly over to the newly installed brass hook.
- Adjust the drape tension carefully to ensure the pendant shade hangs perfectly plumb and parallel to the floor surface.
Selecting the Right Cord
Because the swagging technique leaves a significant portion of the electrical wire exposed, the cord itself becomes a prominent design element rather than just a functional necessity. Upgrading to a premium fabric-wrapped cord or a segmented brass downrod instantly elevates the installation from a quick fix to an intentional, highly polished architectural detail.
The Standard Hanging Height
Establishing the correct vertical drop is crucial for creating an intimate atmosphere, as the fixture must sit low enough to ground the space without obstructing views. Hang the pendant so the bottom rim of the shade rests exactly 30 to 36″ from tabletop.
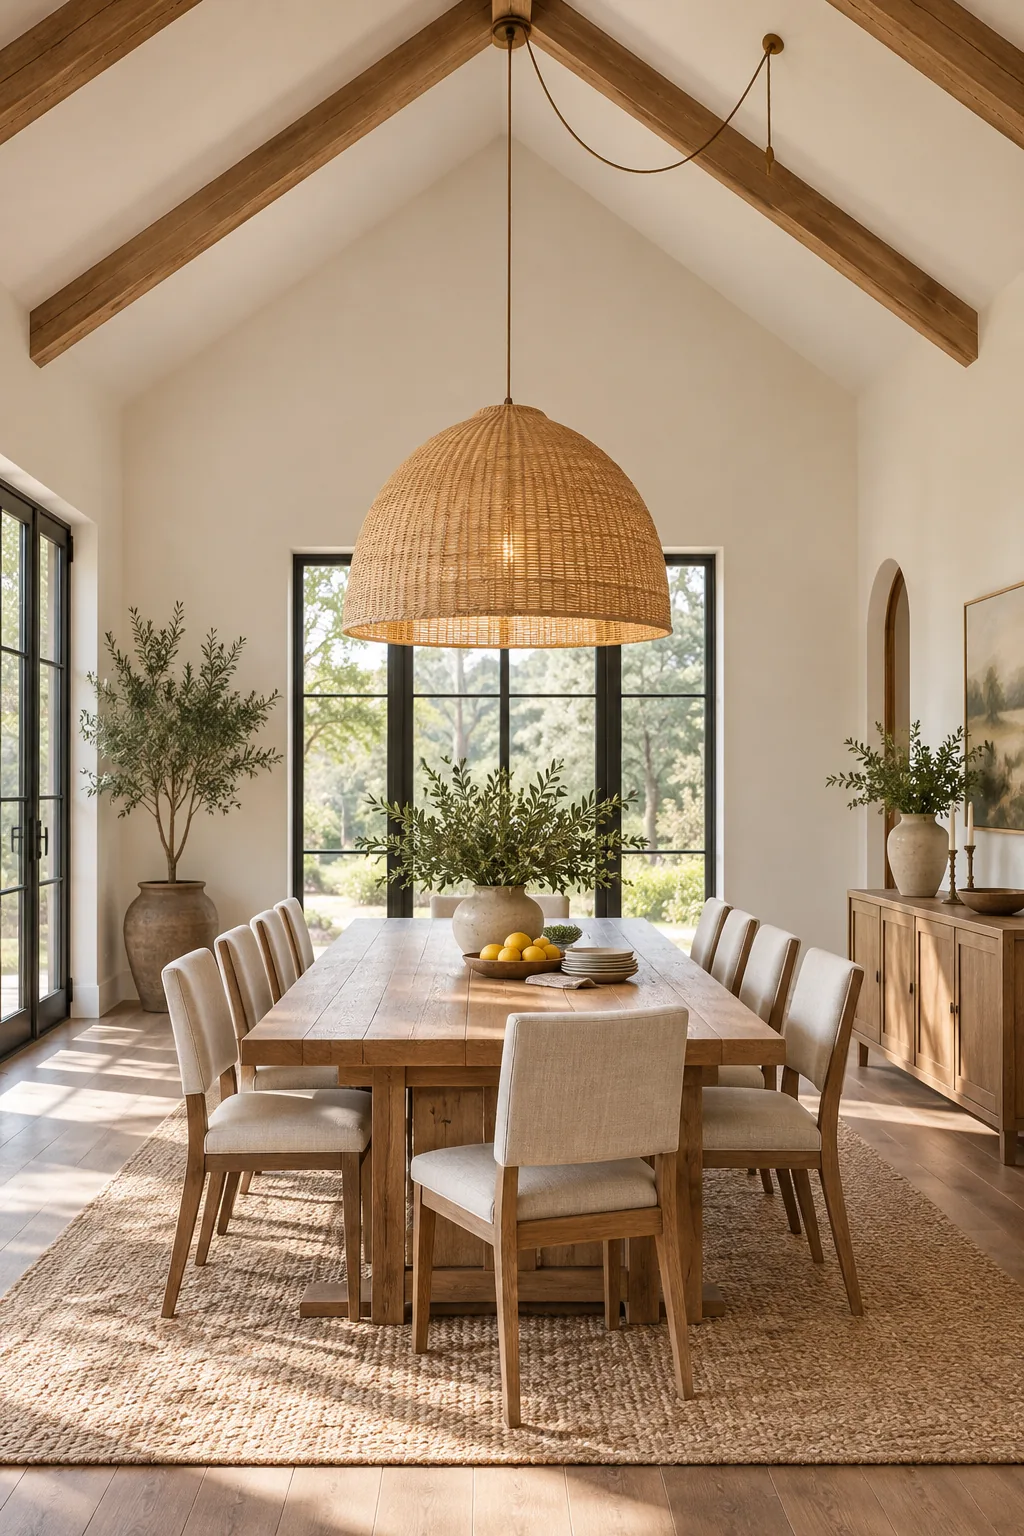
I always sit in every single chair during the installation process to verify the glare is completely hidden from view. Getting the drop height wrong is the most common lighting error I encounter, but avoiding these frequent missteps will ensure your dining room feels welcoming rather than institutional.
Adjusting for Tall Ceilings
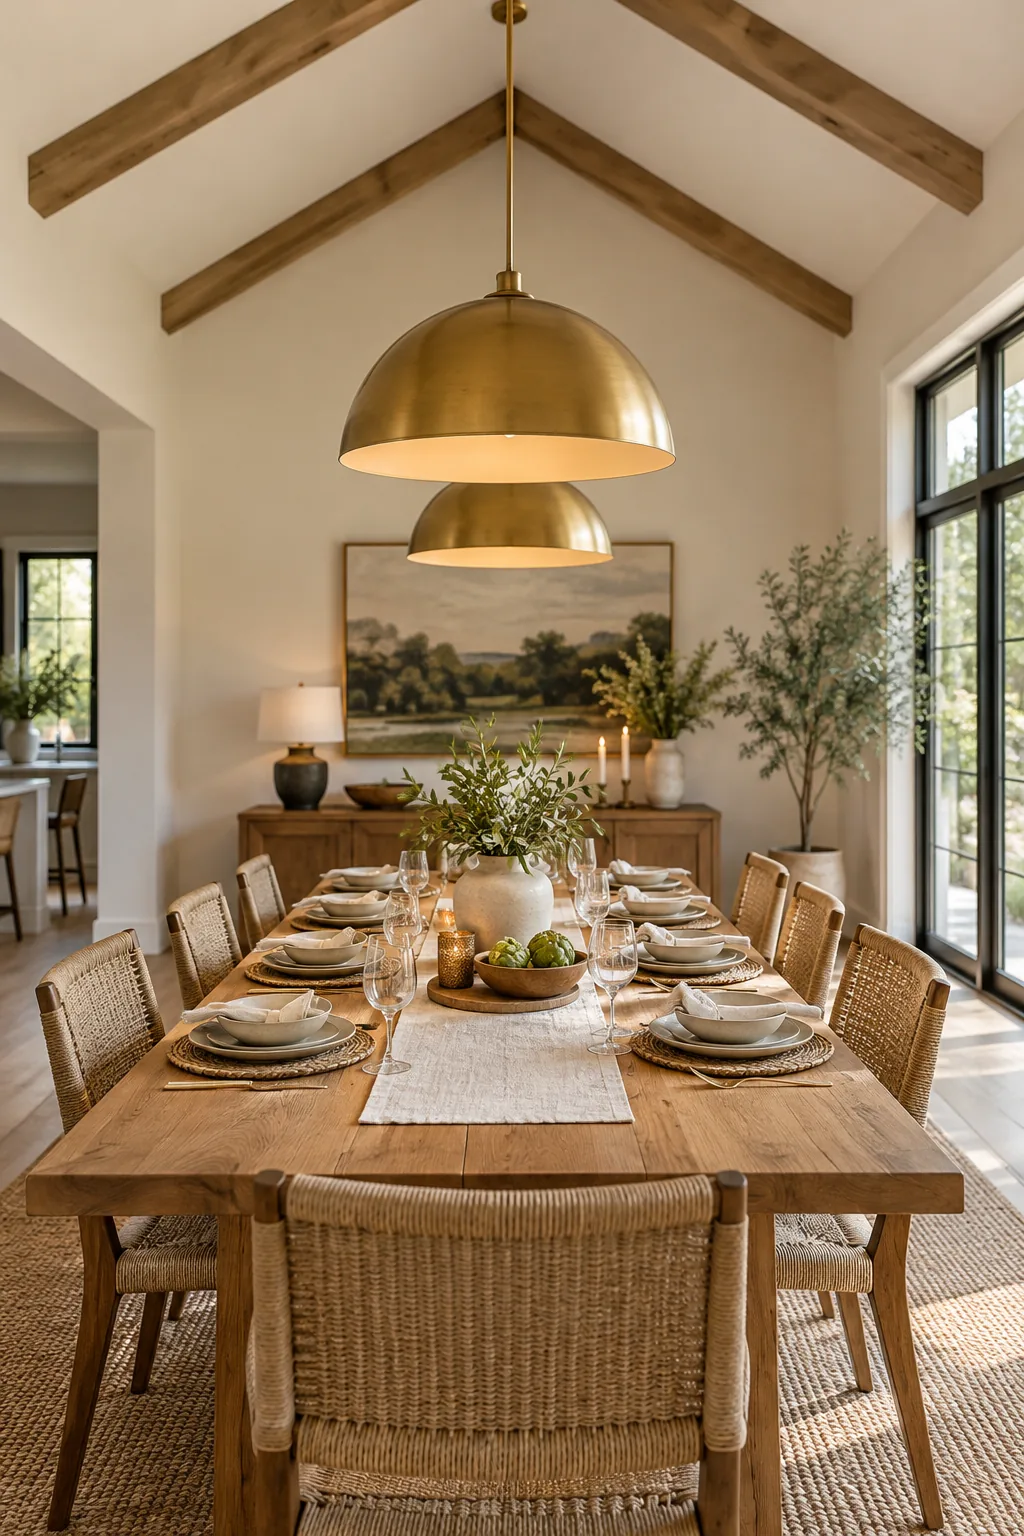
If your dining room features architecture with ceilings higher than the standard 8 feet, you must modify the baseline drop rule to maintain appropriate visual proportions. Failing to scale the drop height leaves the pendant looking disconnected and entirely lost within the upper volume of the room.
| Ceiling Height | Additional Drop Required | Total Height Above Table | Recommended Fixture Style |
| 8 Feet (Standard) | 0 Inches added | 30 to 36 Inches | Standard Drum Pendant |
| 9 Feet Vaulted | Add 3 Inches | 33 to 39 Inches | Elongated Brass Dome |
| 10 Feet Vaulted | Add 6 Inches | 36 to 42 Inches | Tiered Linear Chandelier |
| 11+ Feet Vaulted | Add 9+ Inches | 39 to 45 Inches | Large Sculptural Lantern |
Simply add exactly 3 inches of hanging height for every additional foot of ceiling height above eight feet to keep the geometry perfectly balanced.
Calculating this proportionate vertical addition ensures the fixture commands the space while still casting a functional, concentrated pool of ambient light directly onto your dining surface.
Spacing Multiple Pendants
Longer rectangular tables designed for six or eight guests require multiple fixtures to provide adequate illumination across the entire eating surface. Creating multiple intersecting pools of light eliminates unflattering dark shadows at the far ends of the board.
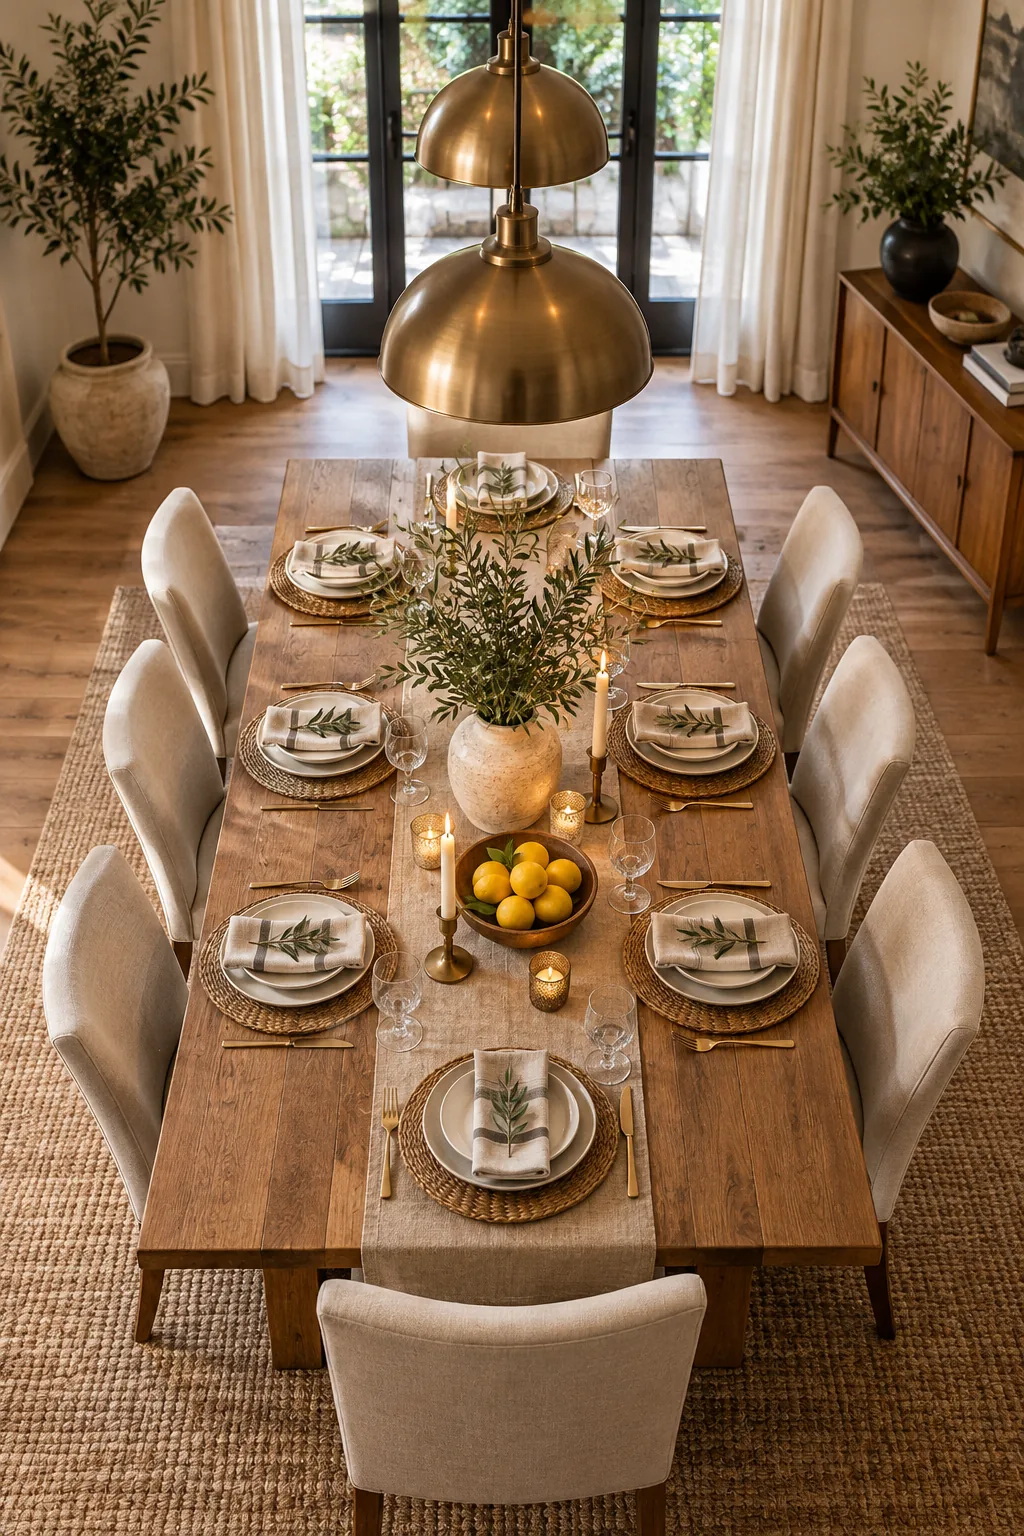
Space twin or triple pendants evenly, keeping them exactly 24 to 30 inches apart from center to center. You must simultaneously ensure the outermost edges of the shades still maintain that critical 6-inch clearance from the table ends to protect guests.
Designing for Round Tables
When illuminating a circular dining table, a single, central fixture is almost always the most effective and visually pleasing choice. The diameter of the round pendant should ideally measure between one-half and three-quarters the total diameter of the table surface below it to maintain proper scale.
Choosing High-CRI Bulbs
Selecting the correct technical specifications for your LED bulbs is just as critical as the physical dimensions of the fixture itself. You must prioritize the Color Rendering Index to ensure your culinary efforts are displayed exactly as intended.
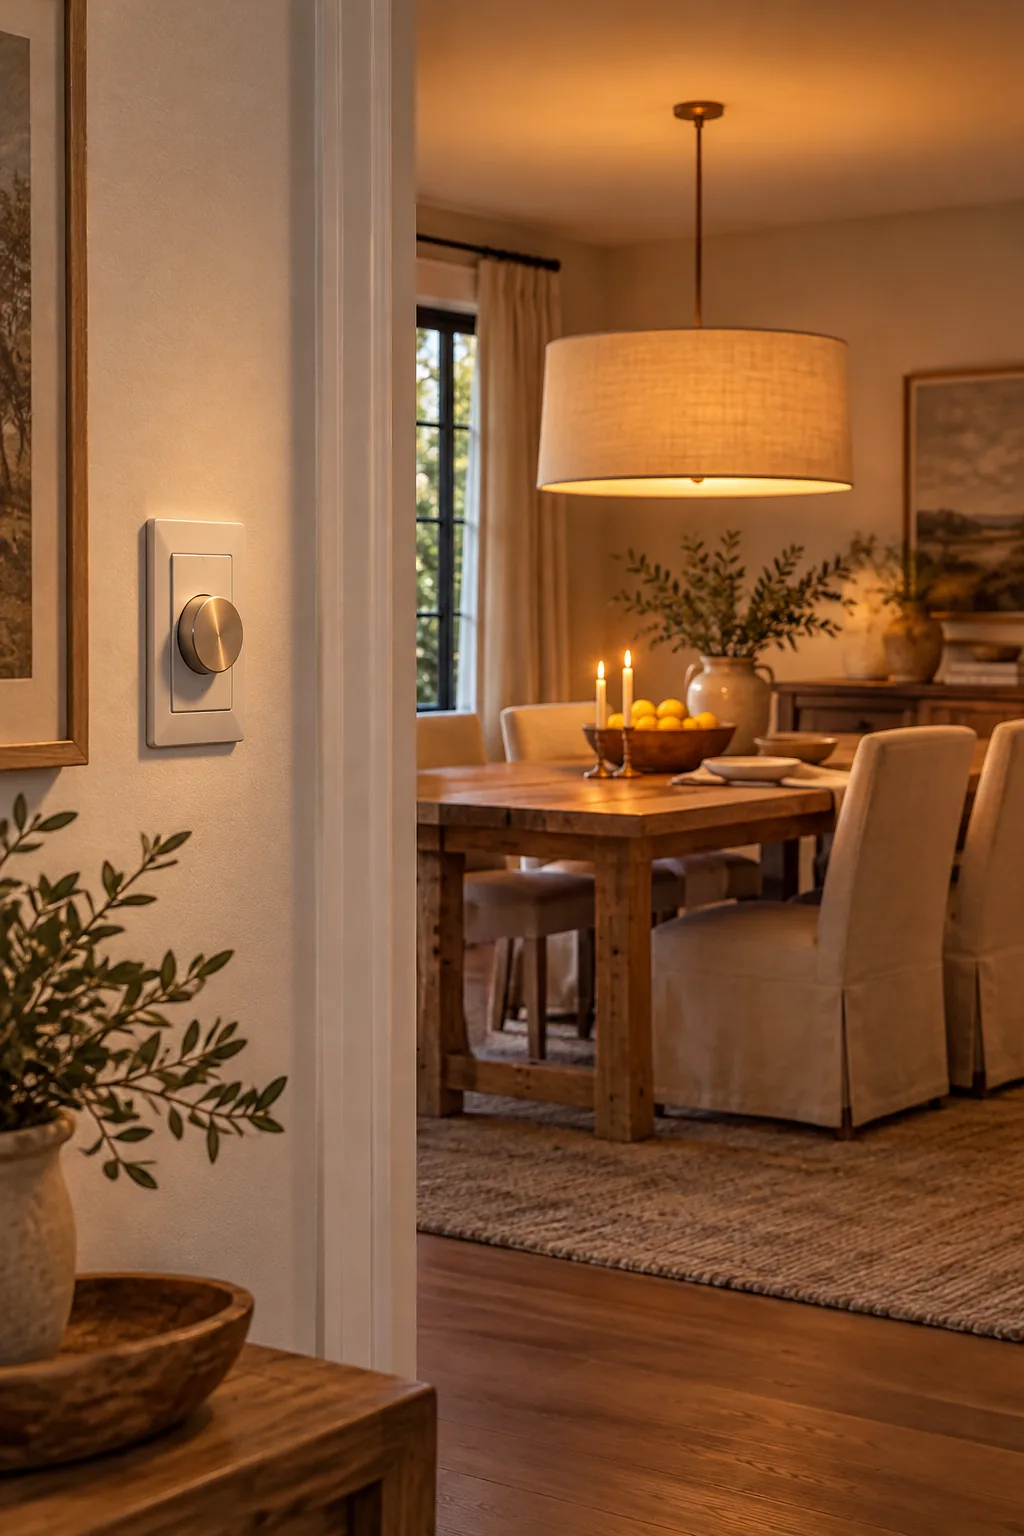
Specifying CRI 90+ for food glow perfectly replicates the flattering, rich output of traditional incandescent bulbs while remaining highly energy efficient. This high color accuracy prevents skin tones from looking washed out and keeps warm wood table finishes looking incredibly rich and dimensional.
Managing Glare Control
The physical profile of the bulb must completely hide within the pendant shade so guests never experience harsh, direct eye-level glare. Choosing a compact A19 or a sleek globe bulb ensures the bright light source remains tucked safely above the bottom rim, preserving the comfortable dining atmosphere.
Layering With Dimmers
Install a high-quality wall dimmer switch paired with advanced warm-dim LED technology so the color temperature shifts dynamically as you lower the overall brightness. This essential layering technique gently shifts the environmental energy from vibrant and active to soft and relaxed.
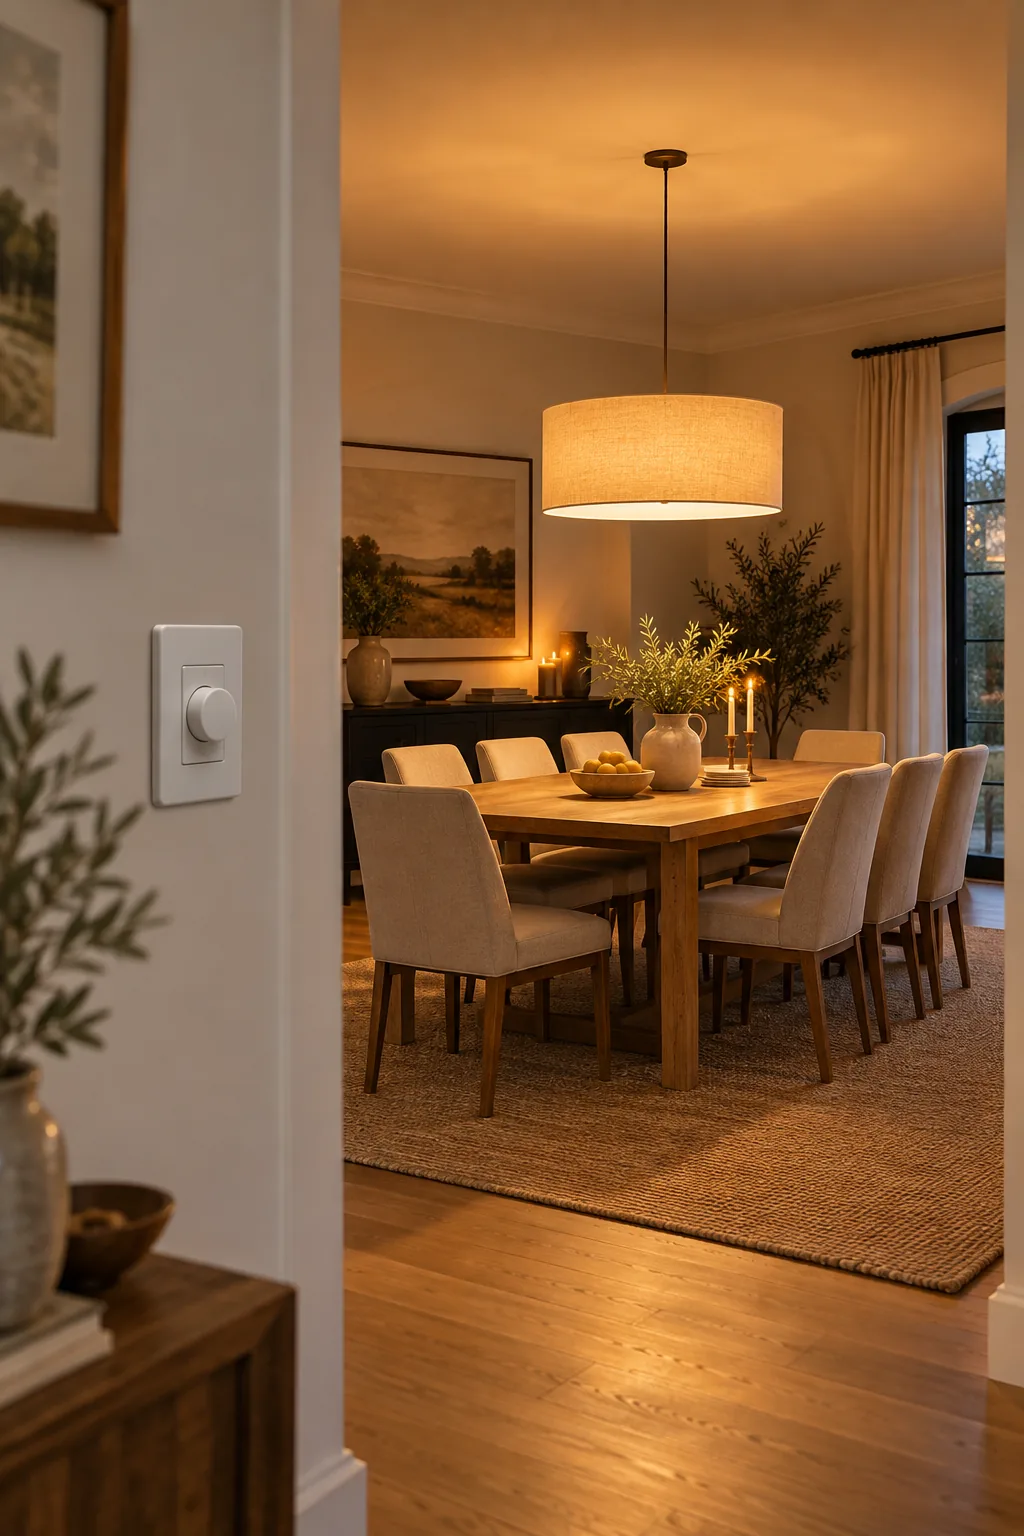
I use this exact setup in my own home to transition from a crisp 2700K during afternoon homework sessions down to a cozy warm-dim to 1800K for late-night dinner parties. Controlling this ambient glow ensures the dining room always feels appropriately moody and inviting.
Smart Lighting Integration
Upgrading your traditional wall switch to a smart dimmer allows you to program specific lighting scenes for different dining occasions. Setting an automated schedule ensures your dining room pendants turn on to a welcoming, pre-set brightness level just before you serve dinner, creating an effortless transition.
Dining Lighting Looks to Copy
Explore how these precise measurements translate across four completely different dining room styles.
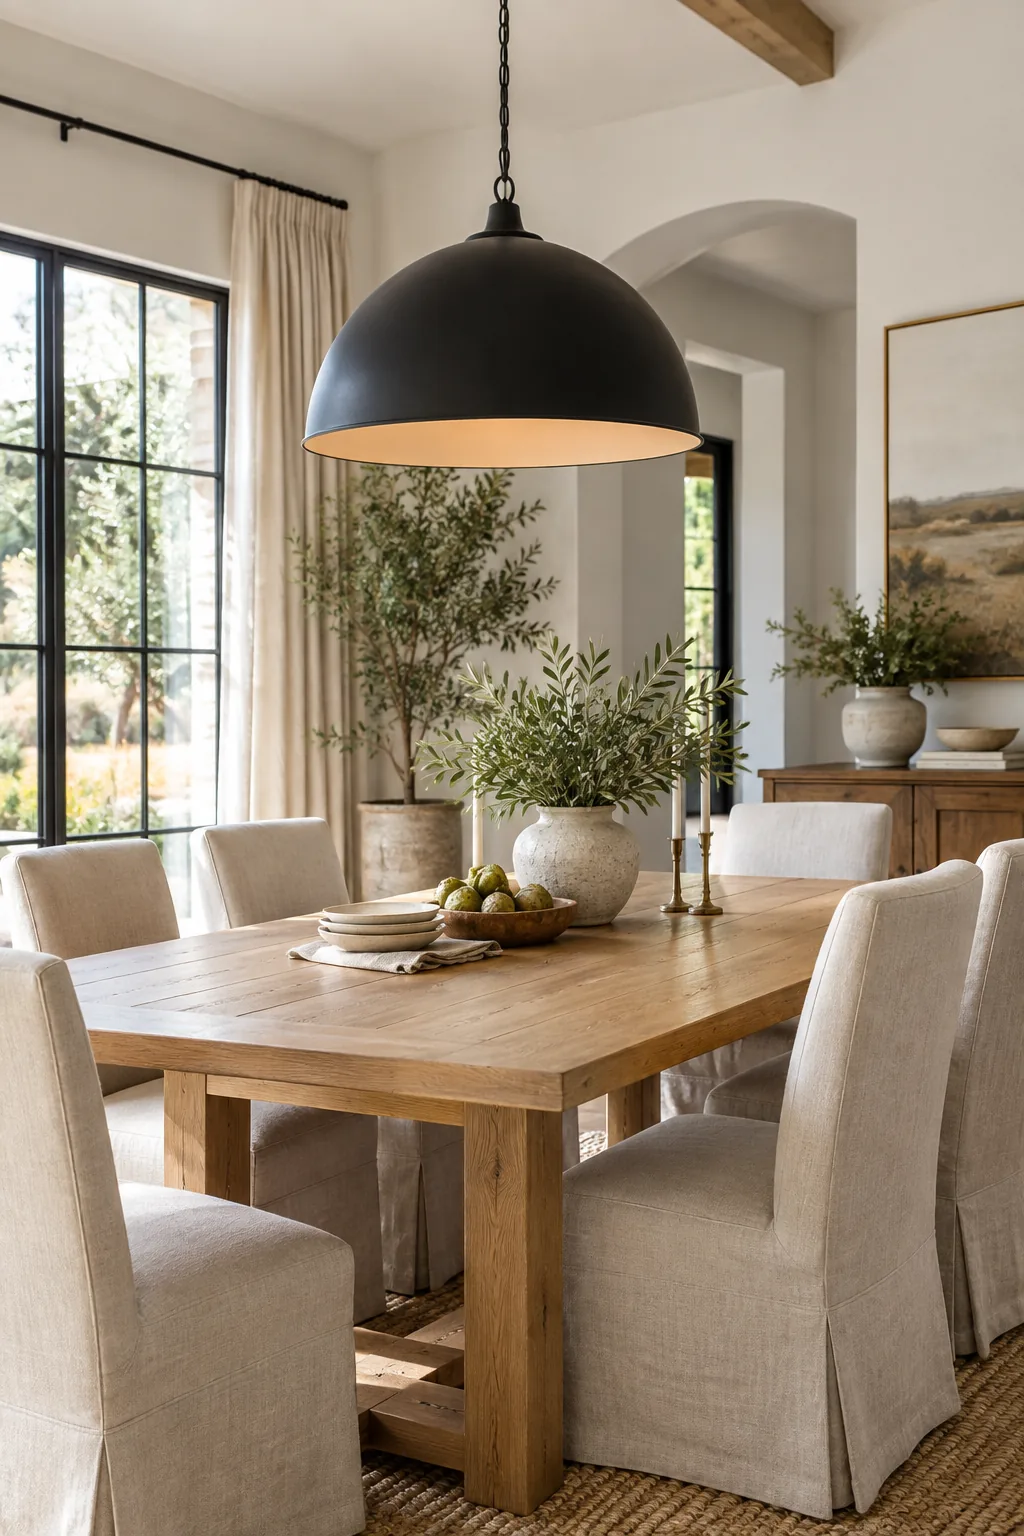
Modern Farmhouse Contrast: Anchor a light oak table with a matte black metal dome pendant for a crisp, high-contrast focal point.
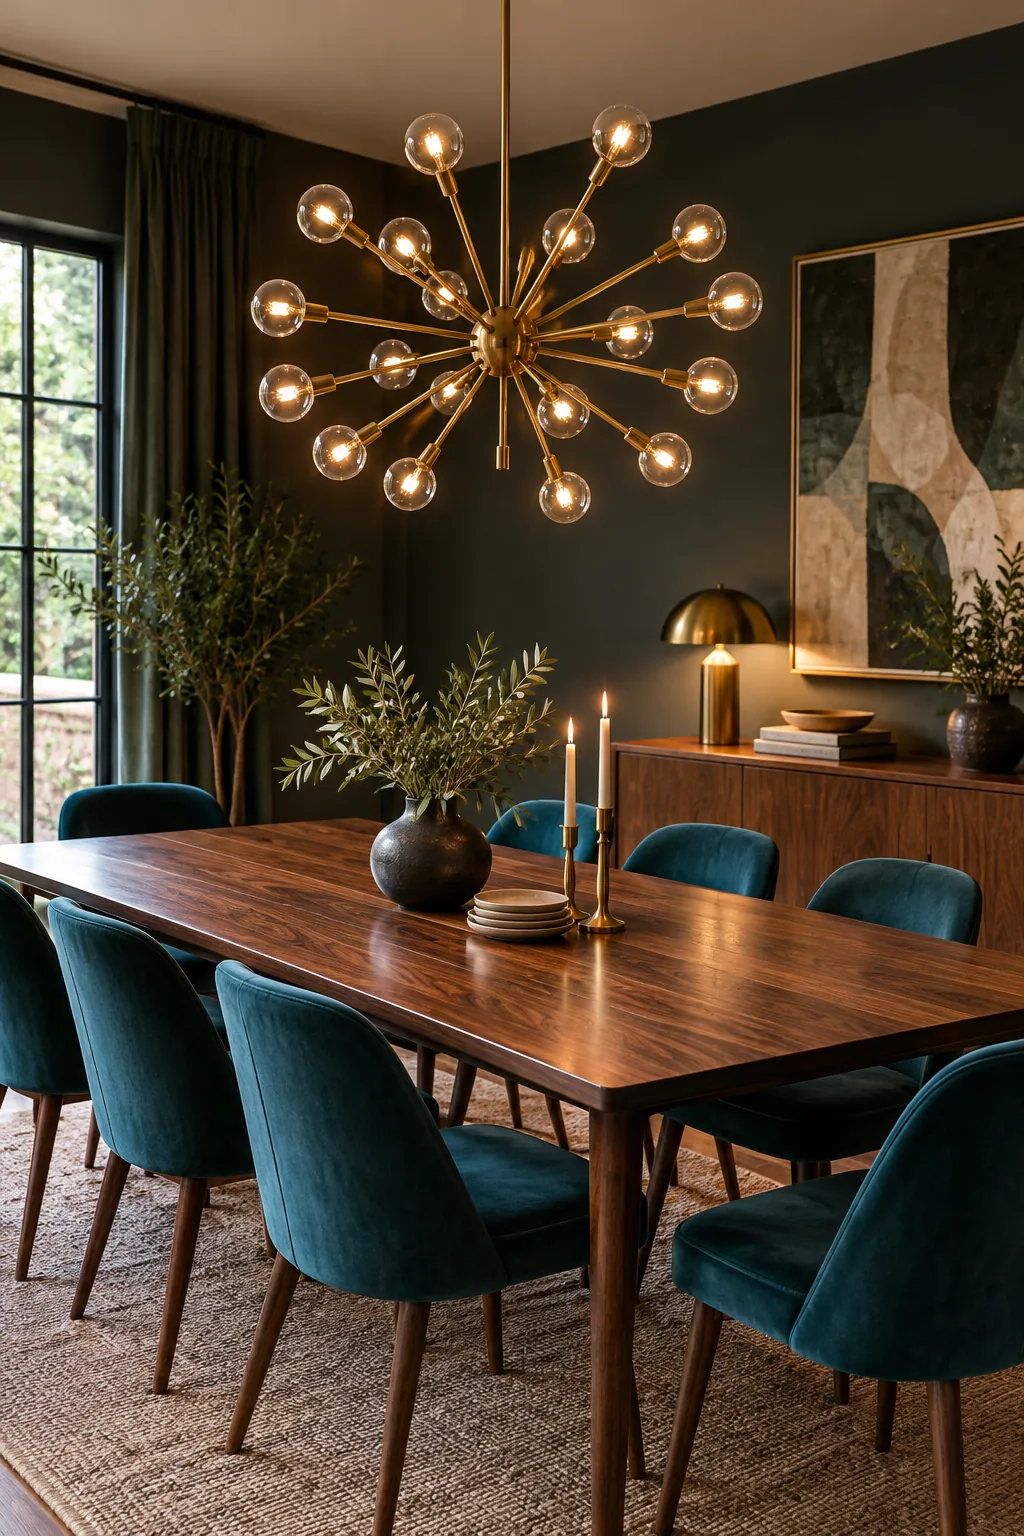
Mid-Century Brass Glamour: Spread light across a long walnut table using a multi-arm brass sputnik chandelier paired with rich teal velvet.
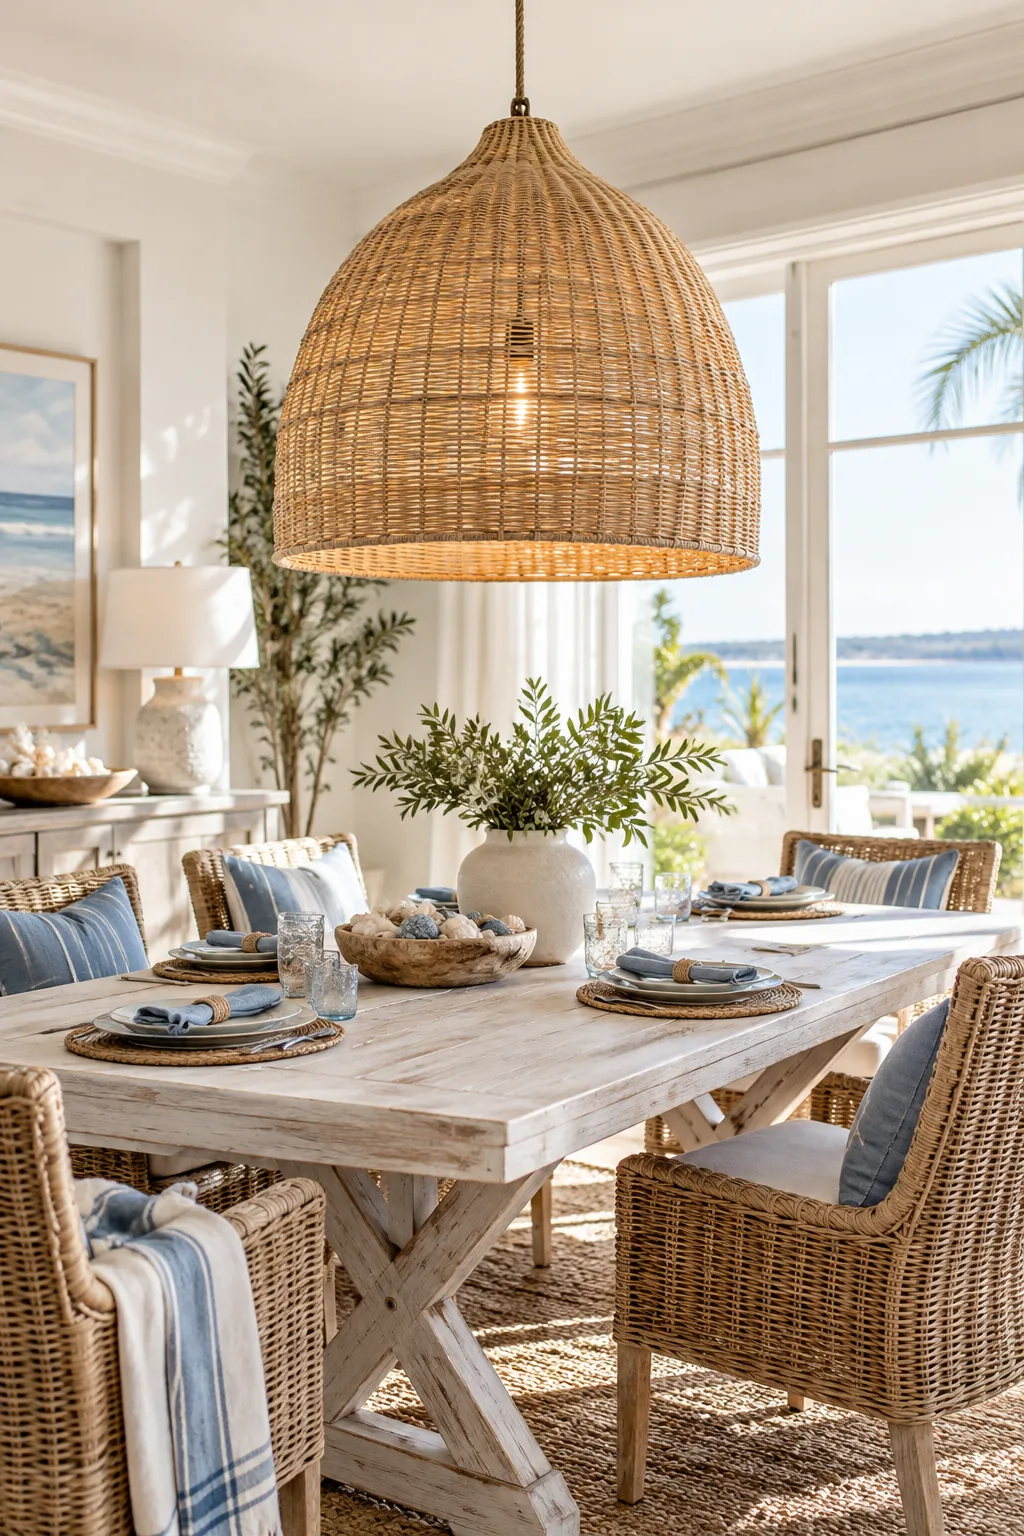
Coastal Woven Textures: Bring warmth to a breezy whitewashed dining space with an oversized woven rattan basket pendant.
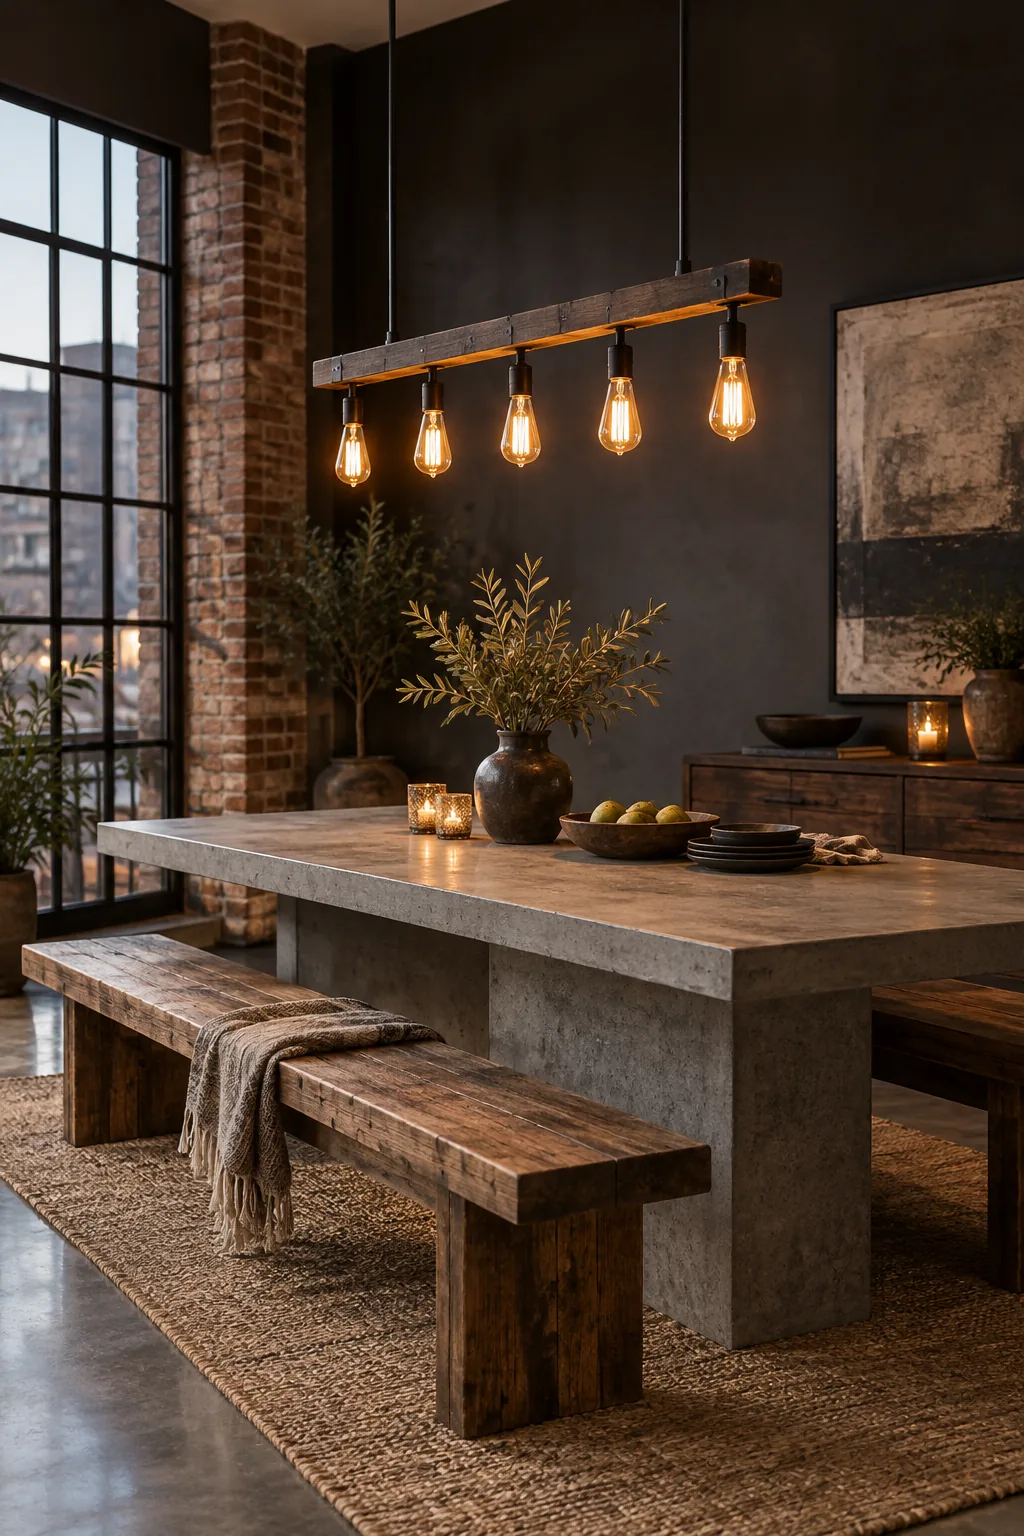
Industrial Linear Exposed: Match the scale of a heavy concrete table with a linear exposed-bulb fixture suspended by dark metal hardware.
Your Printable Measuring Sheet
Executing a flawless lighting installation requires having all your dimensions, spacing rules, and technical specifications organized in one easily accessible document. Download the complete Dining Pendant Measuring Sheet to get the sizing formulas, multi-pendant spacing guides, and the exact bulb spec checklist.
Before you schedule your professional installation, run through this quick verification process to ensure every measurement is perfectly tailored to your specific room. Providing clear, documented dimensions to your installation professional guarantees the final result matches your original design vision perfectly.