Above Ground Pool Deck Plans: How to Fake a Built-in Look
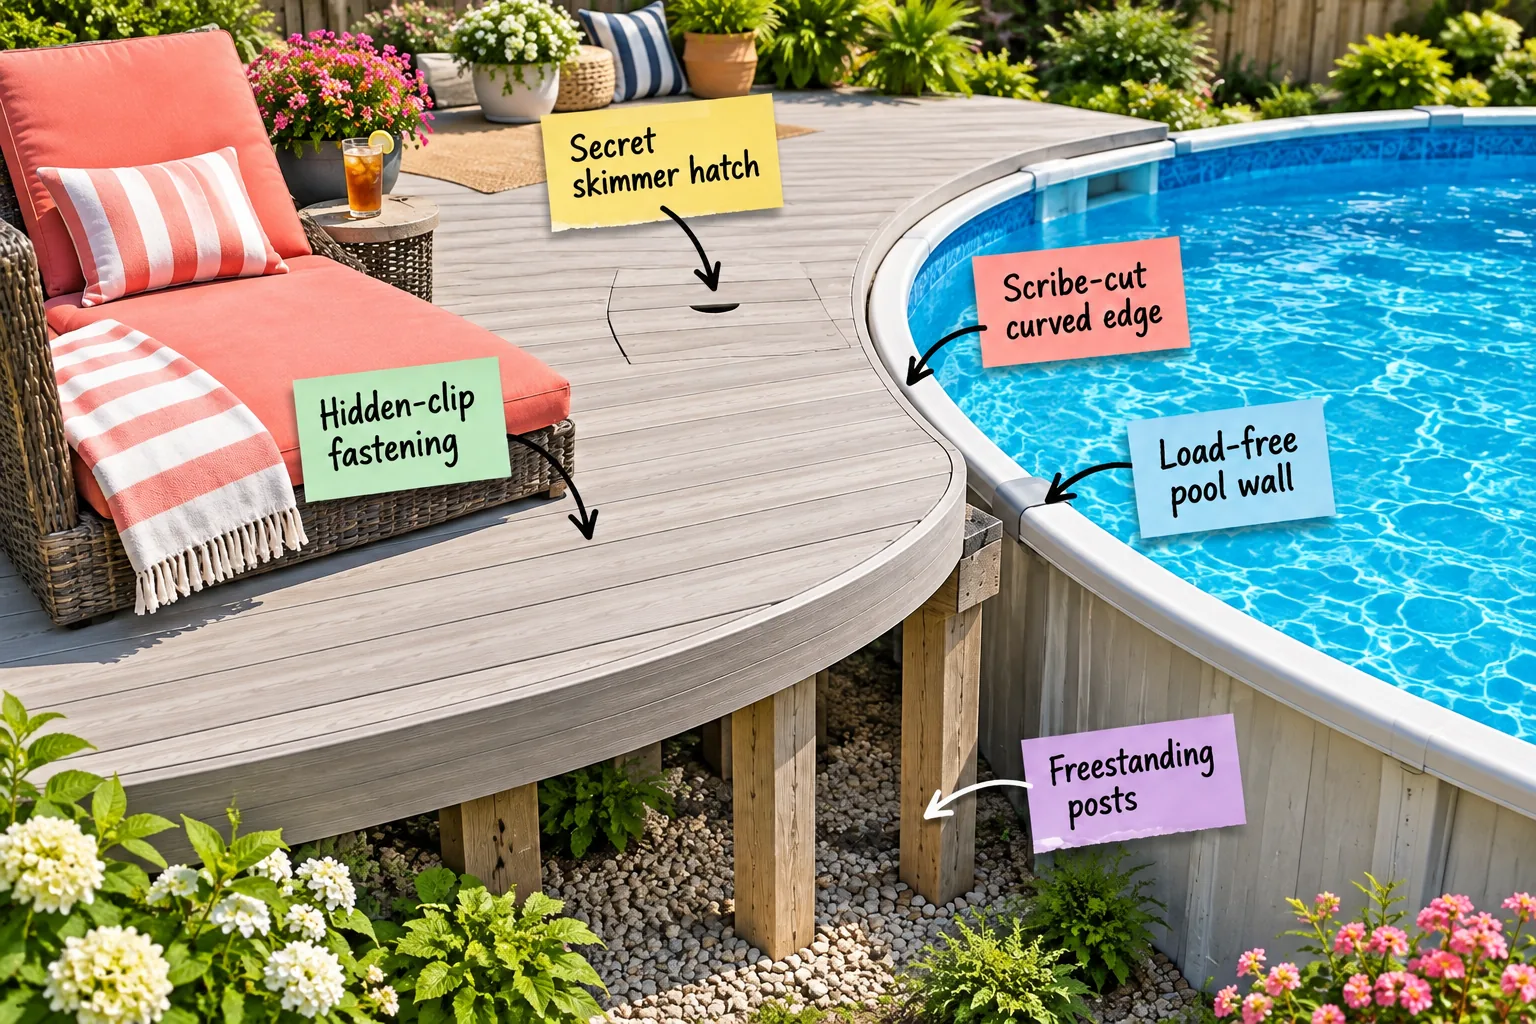
Grab your printable two-page Above-Ground Pool Deck Layout & Cut Sheet below to finally build that freestanding, custom-fitted half-moon deck that perfectly hugs your pool. You will learn the exact post spacing, framing elevations, and curve-scribe techniques the pros use to fake a seamless built-in look.
Freestanding Foundation Setup
The most critical rule of this build is that your new deck must operate as a completely independent structure to protect the pool walls from water weight and active swimmers. You must set your support posts 2 to 3 inches clear of the pool wall to ensure total structural isolation.
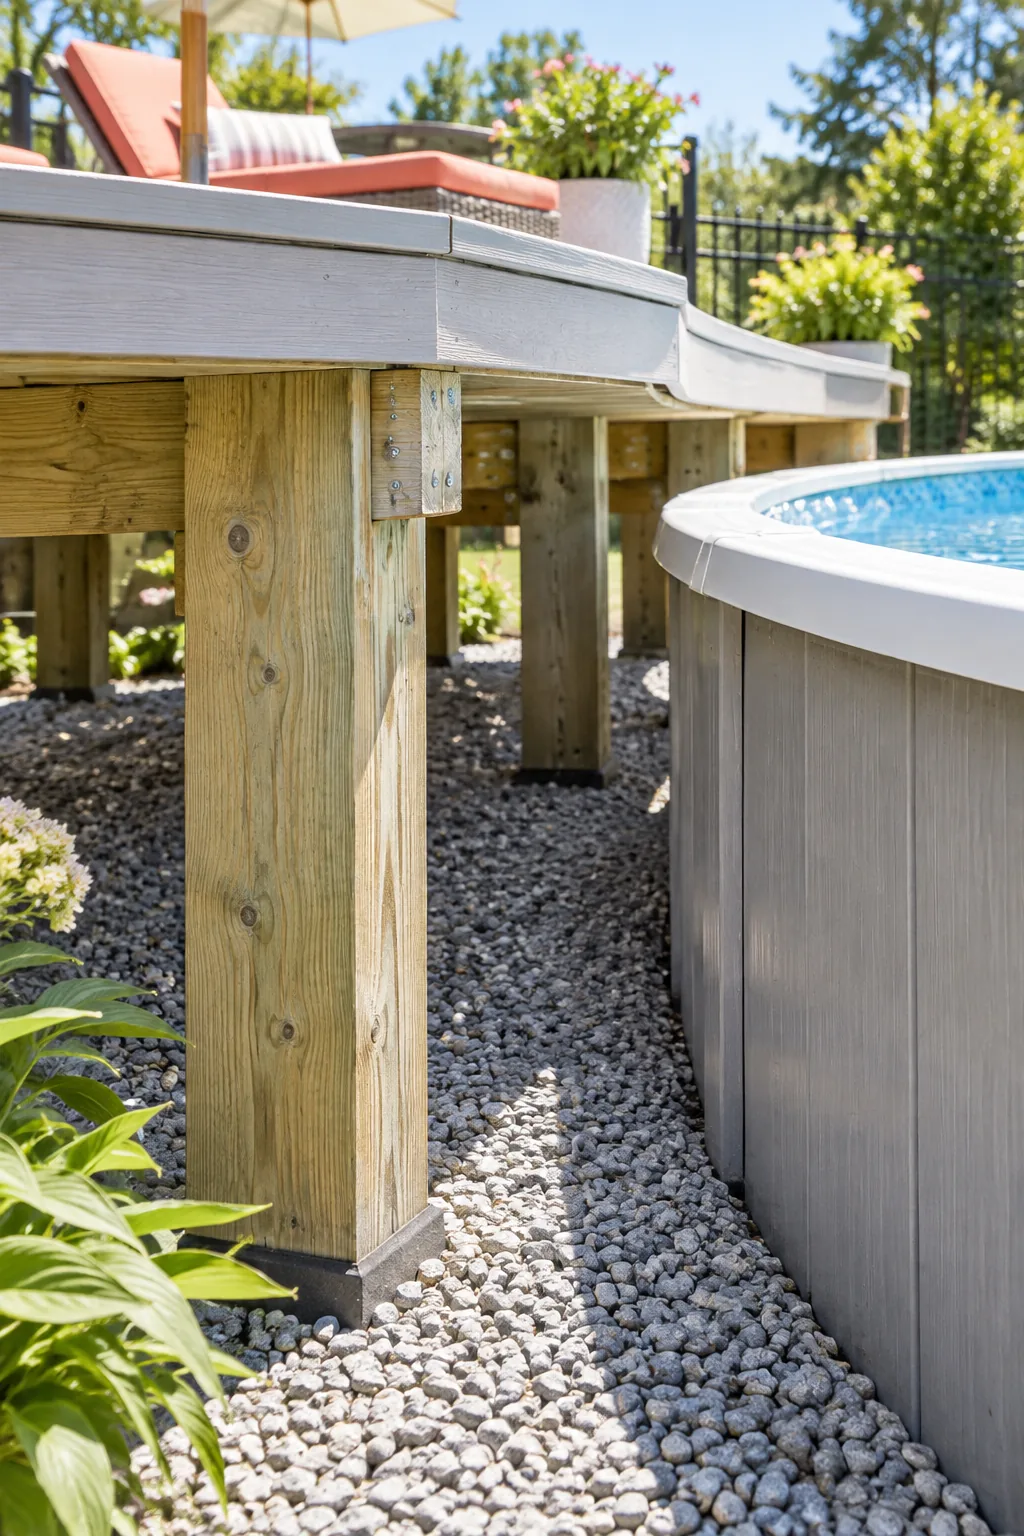
Keeping the concrete footings entirely outside the pool’s original over-dig zone guarantees the long-term structural stability of your new deck foundation.
Load-Free Pool Clearance
A visible shadow gap between the finished deck edge and the pool’s top rail is non-negotiable for protecting the liner from friction wear. I always recommend maintaining a 1/2-inch to 3/4-inch clearance gap so the pool wall carries absolutely zero weight when the deck is fully loaded.
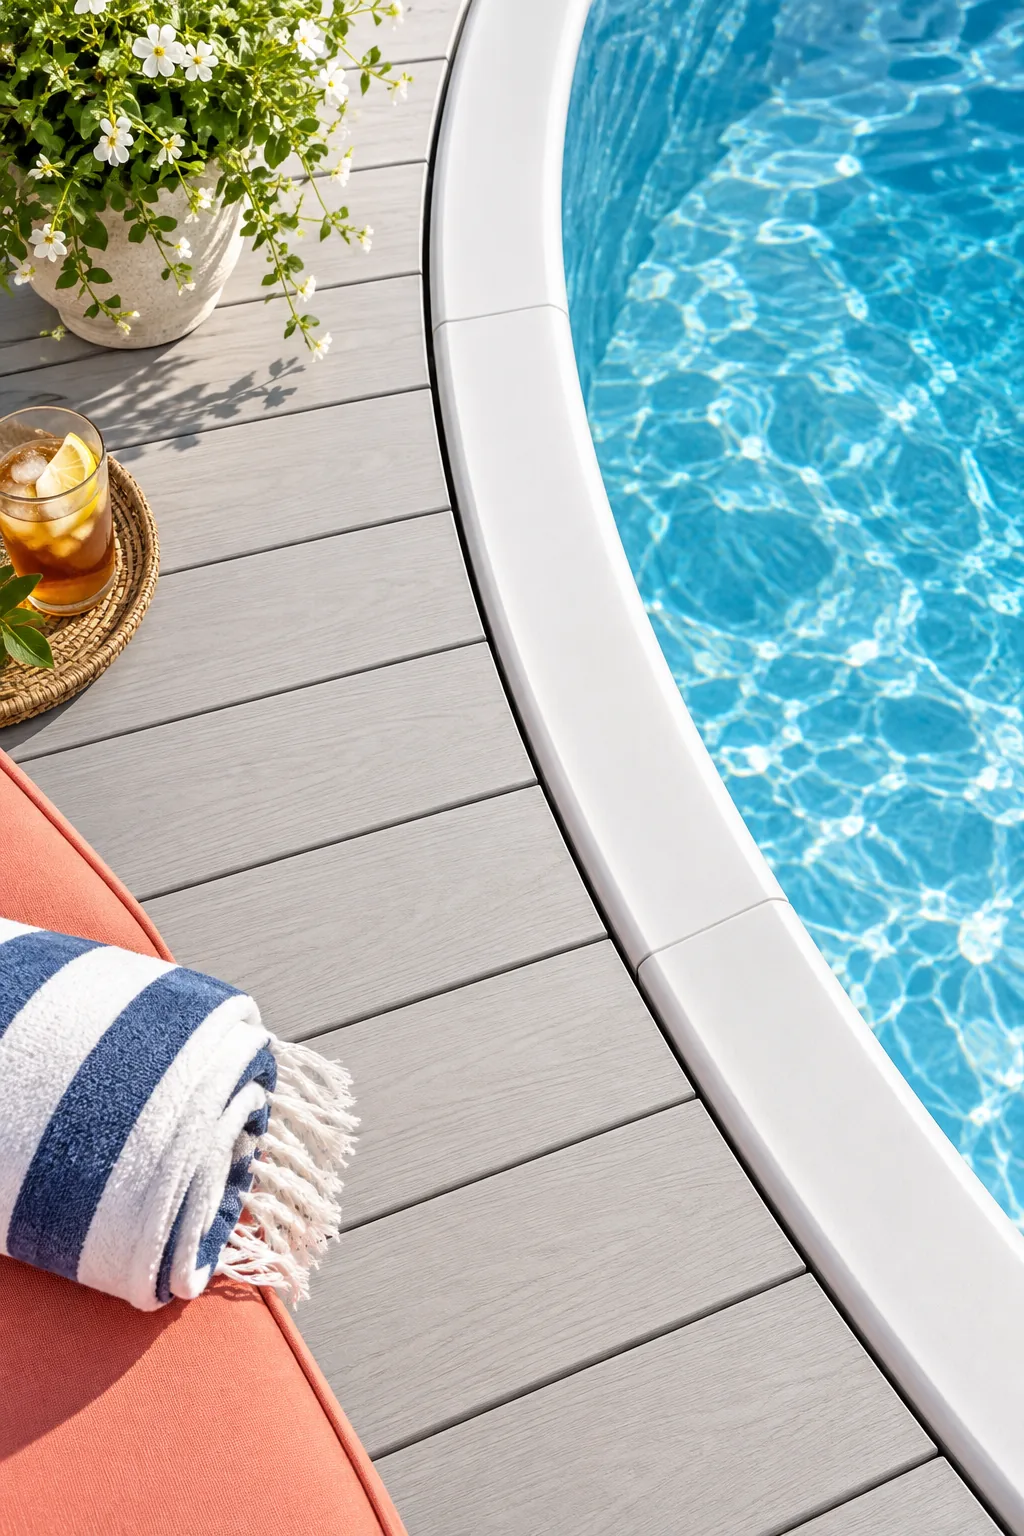
Leaving this precise expansion gap also allows the pool walls to naturally flex outward when filled with water, preventing the metal top rail from buckling against your rigid wooden frame.
The Deck Layout & Cut Sheet
Before you mark your post locations using the printable Layout & Cut Sheet, which details the exact deck height and setback requirements, you must verify your site conditions.
Completing these checks ensures your foundation aligns perfectly with the pool’s geometry, preventing costly framing adjustments once the heavy support posts are set in concrete.
Setting the Flush Deck Height
To calculate the framing elevation so the final surface sits perfectly flush with the pool rim, you must subtract the exact 1-inch decking thickness from your top rail measurement. When I built my own backyard deck, forgetting to account for the joist tape thickness almost threw my entire flush transition off by a quarter inch!
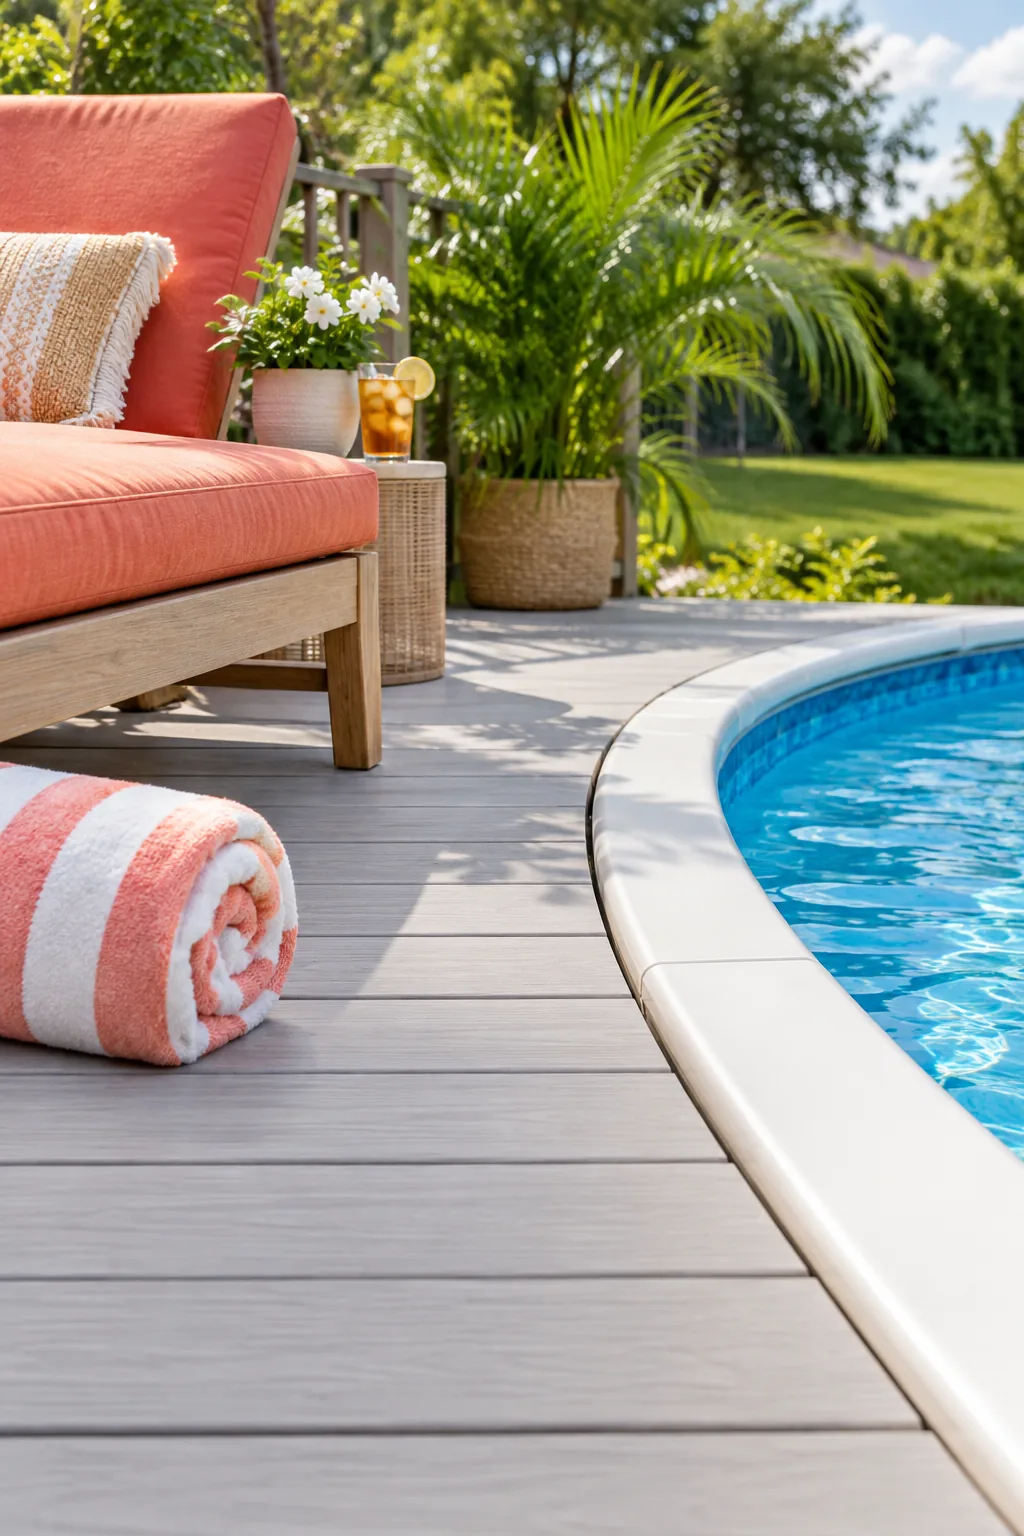
Always measure down from the highest point of the pool rail, marking this reference line on every support post with a laser level before cutting them to their final height.
Hidden-Clip Fastening System
Achieving a premium, screw-free surface that mimics indoor flooring requires securing your boards from below using specialized hidden edge clips. These standard clips automatically create a 3/16-inch board gap, ensuring proper water drainage and preventing puddles near the pool edge.
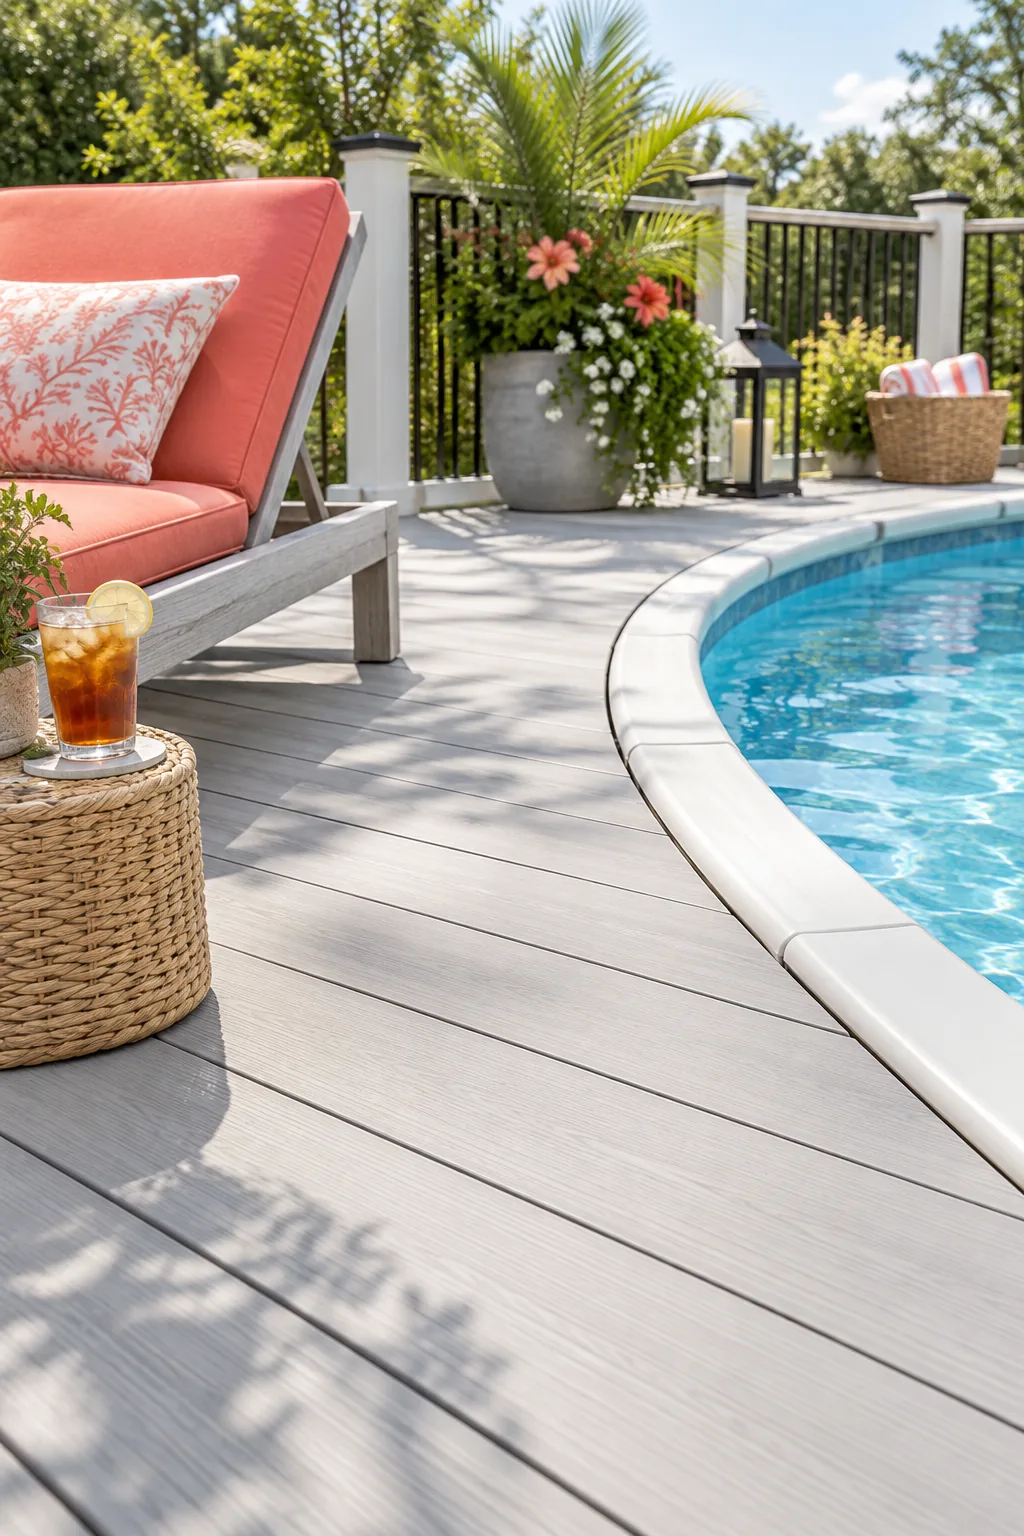
Because the clips lock right into the grooved edges of the boards, they also allow the decking to expand and contract naturally during extreme summer temperature swings without warping.
Scribe-Cut Curved Edge
To trace the pool’s exact radius onto the board ends, run a wooden spacer-block along the top rail with a pencil held tight against the opposite side. Cutting the boards with a jigsaw after they are temporarily fastened yields the tightest, most accurate curved arc.
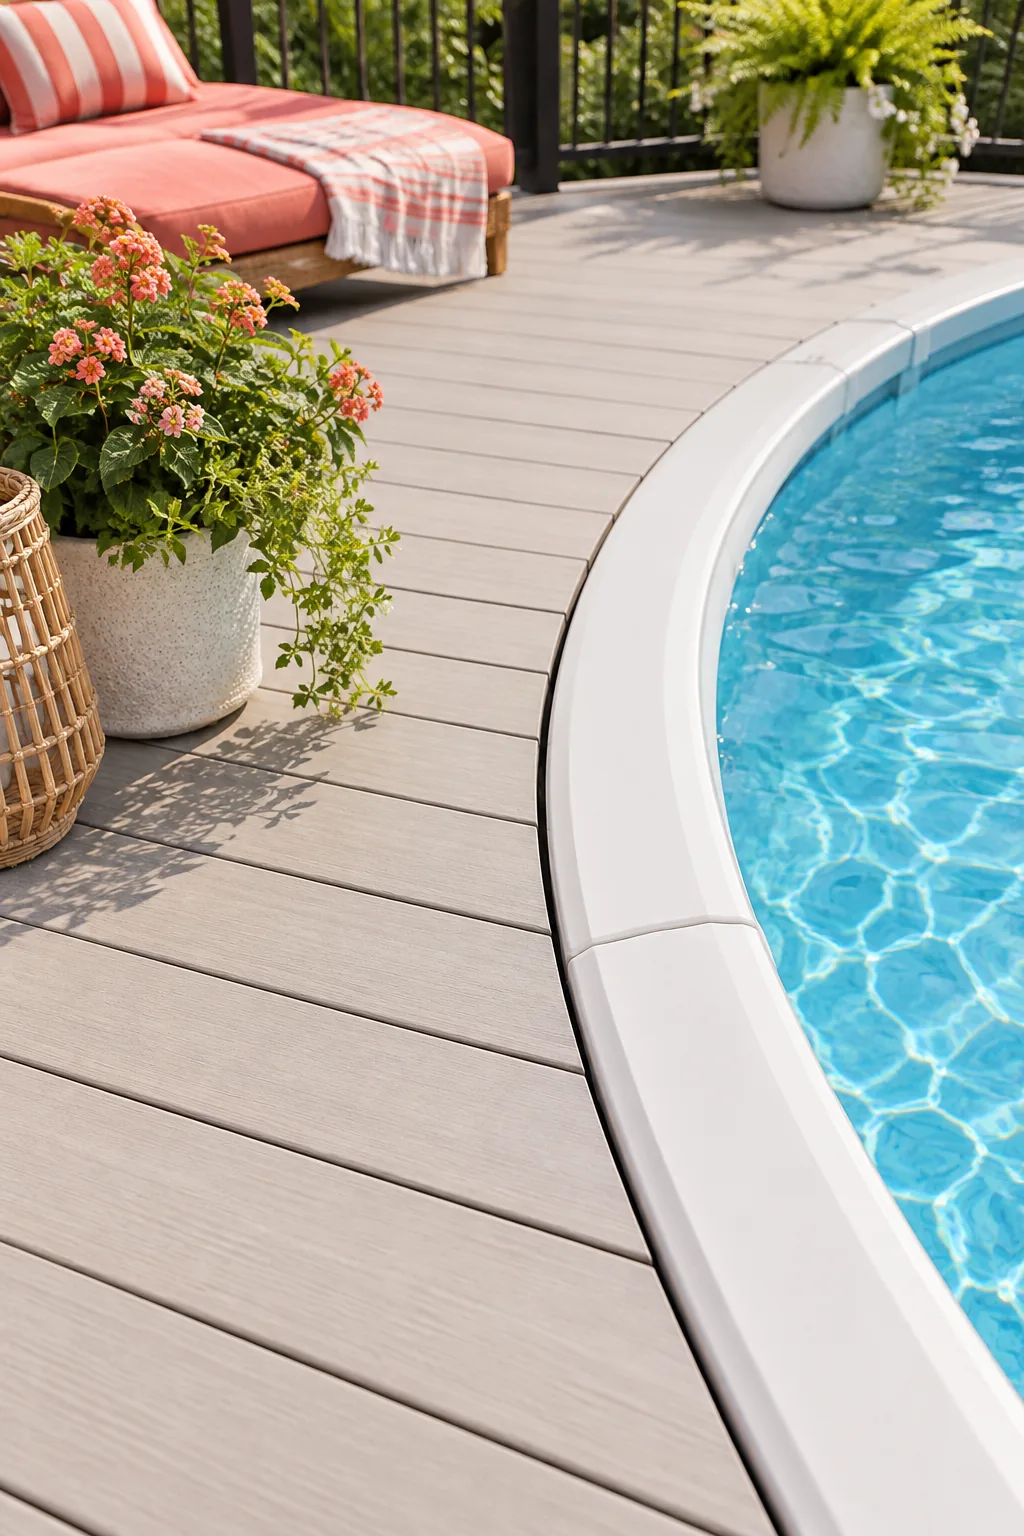
Once the curve is cut, use a router with a round-over bit to smooth the freshly cut ends, matching the factory finish and preventing splinters near bare feet.
Skimmer Hatch Framing
Beneath the decking, you must construct a reinforced framing sequence to safely support the edges of a removable access panel over the skimmer zone. Building a double-blocked joist frame prevents the short deck boards from sagging when someone steps directly on the hidden hatch.
- Install double joists on both sides of the skimmer plumbing for maximum rigidity.
- Add perpendicular blocking to create a perfectly square frame around the access zone.
- Mount support cleats exactly one inch below the joist tops to catch the panel.
This robust substructure ensures the hatch remains completely stable under foot traffic while keeping the delicate pool equipment easily accessible for daily maintenance.
The Secret Skimmer Hatch
Construct the lift-out deck panel by securing short board segments to a discrete backing frame, leaving a subtle finger notch for easy lifting. I spent an extra hour aligning my hatch cuts perfectly with the surrounding board seams, and it was entirely worth it to keep the access point completely camouflaged.
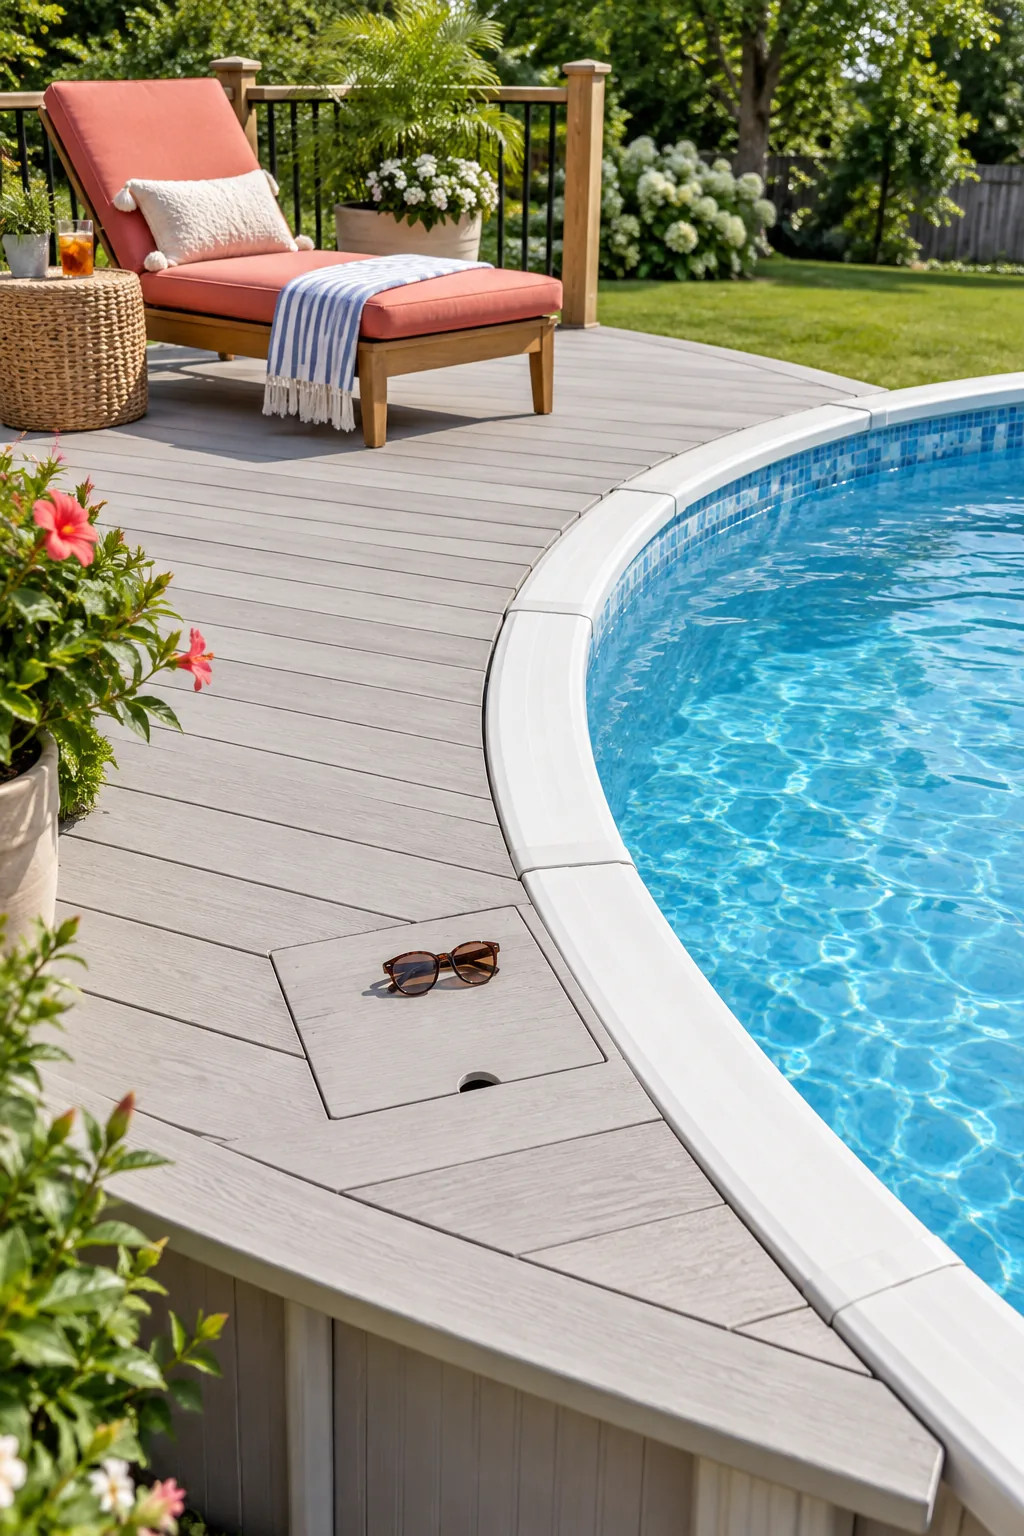
A perfectly hidden hatch looks incredibly professional, but it still needs to function smoothly during peak pool season when the materials inevitably swell.
5 Ways to Style Your Built-In Pool Deck
Once your custom deck is built, choose a finishing style that turns your above-ground pool into a true backyard destination.
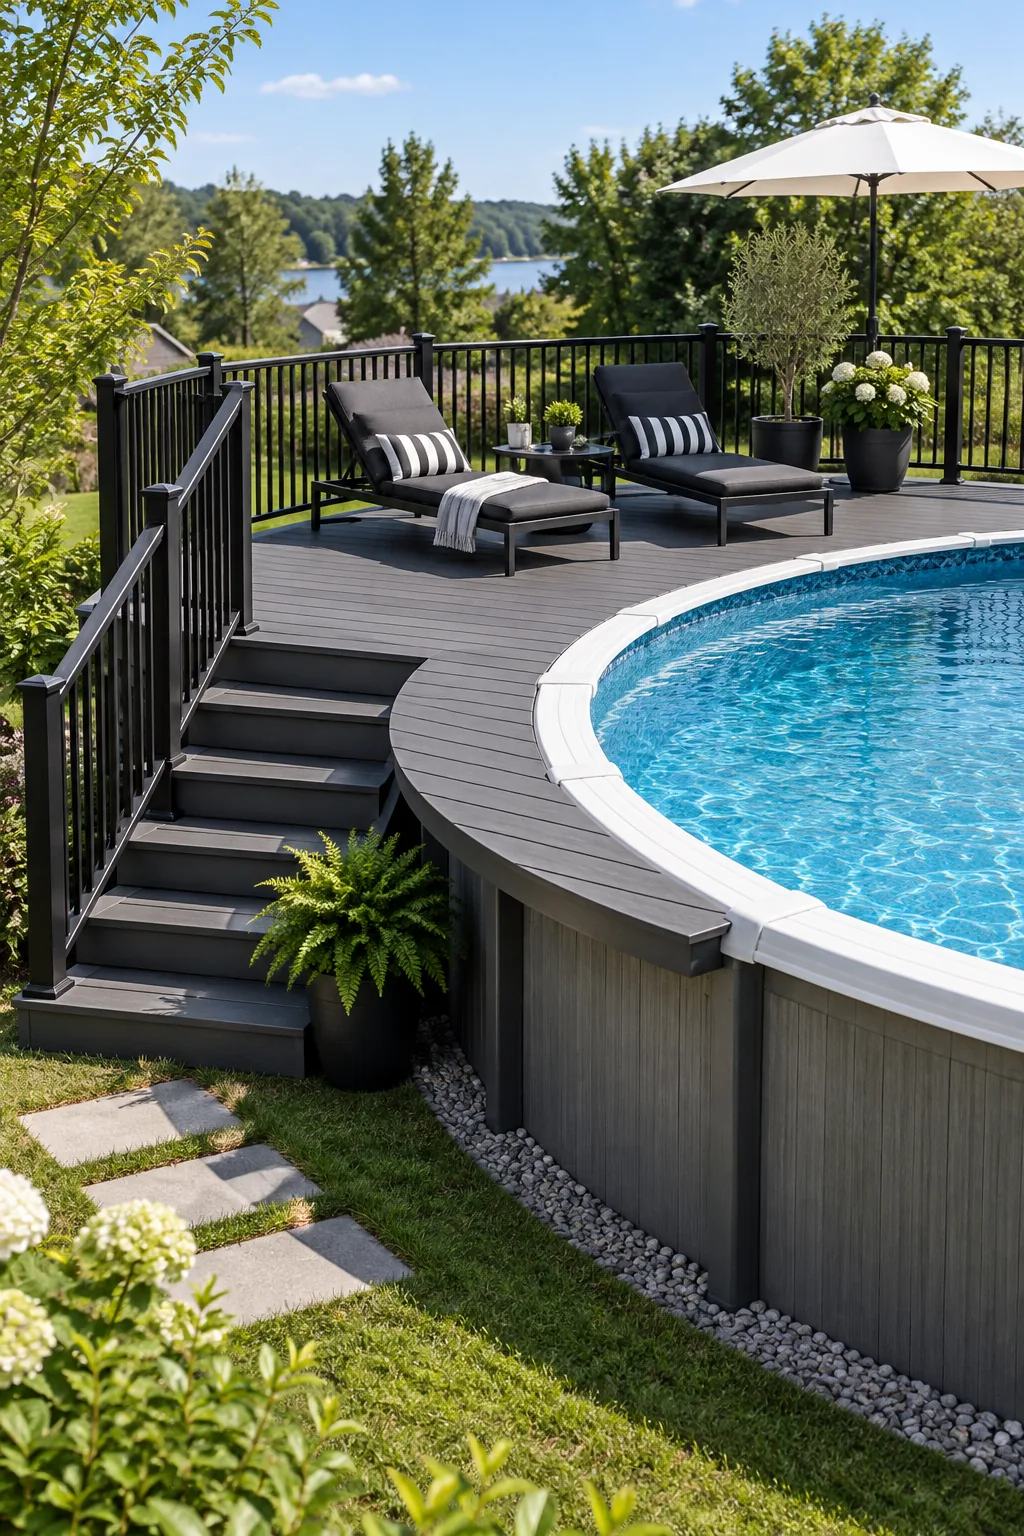
Modern Monochrome: Sleek charcoal boards and black metal accents give this pool deck a sharp, contemporary edge.
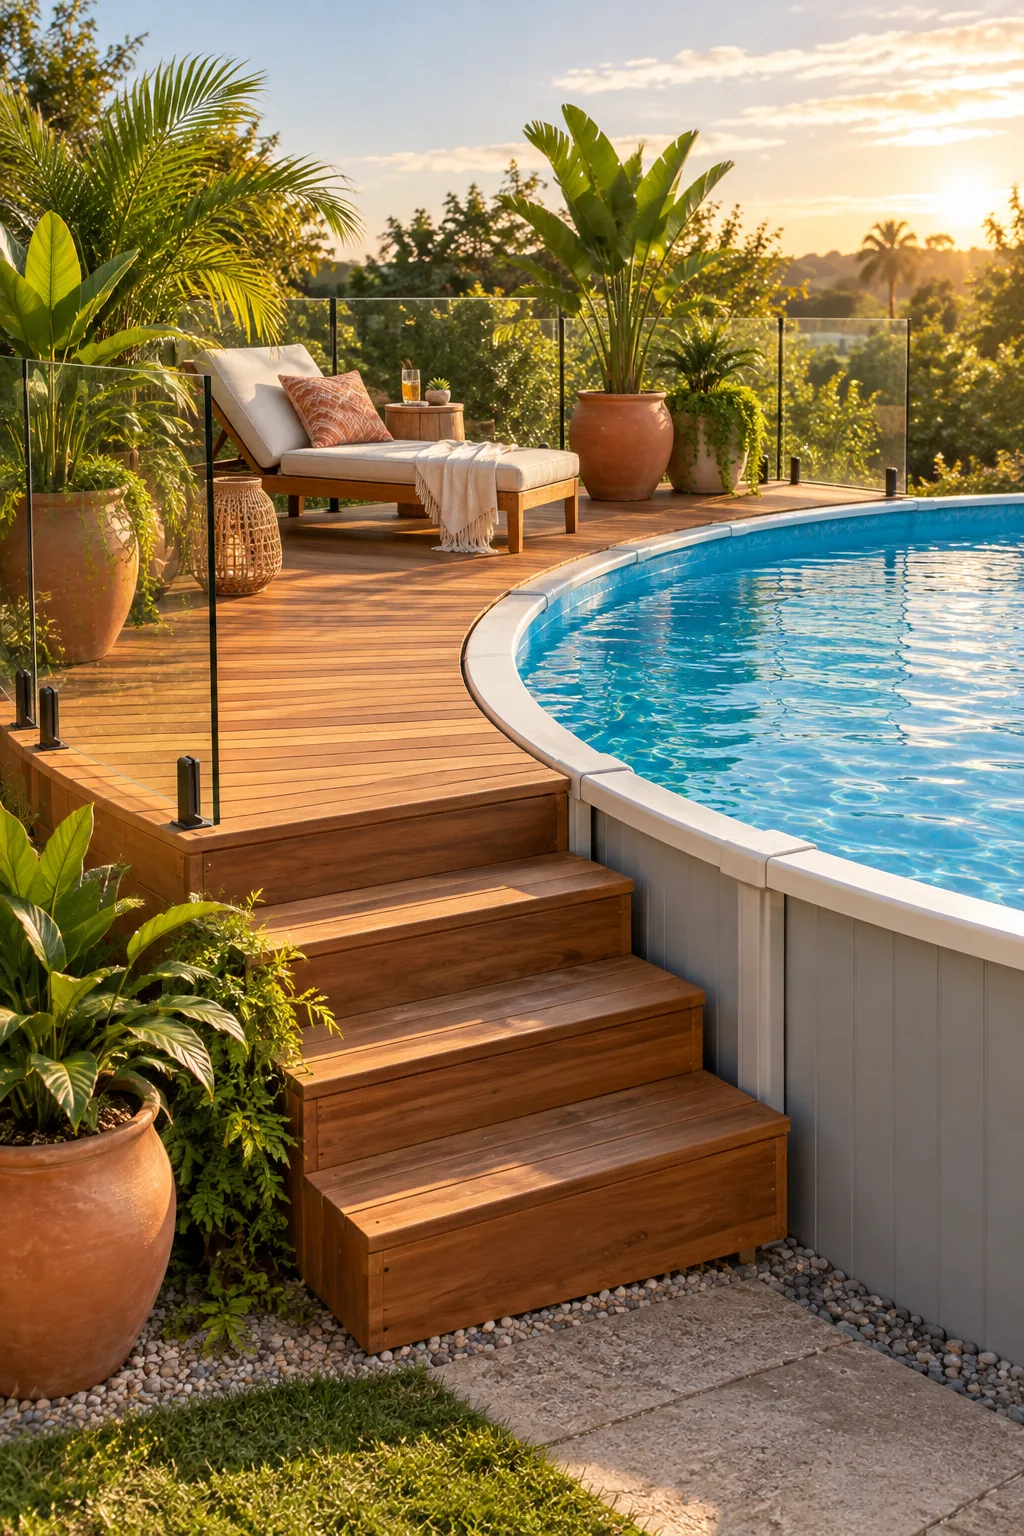
Warm Cedar Wrap: Rich natural timber and frameless glass balustrades transform a basic pool into a lush tropical oasis.
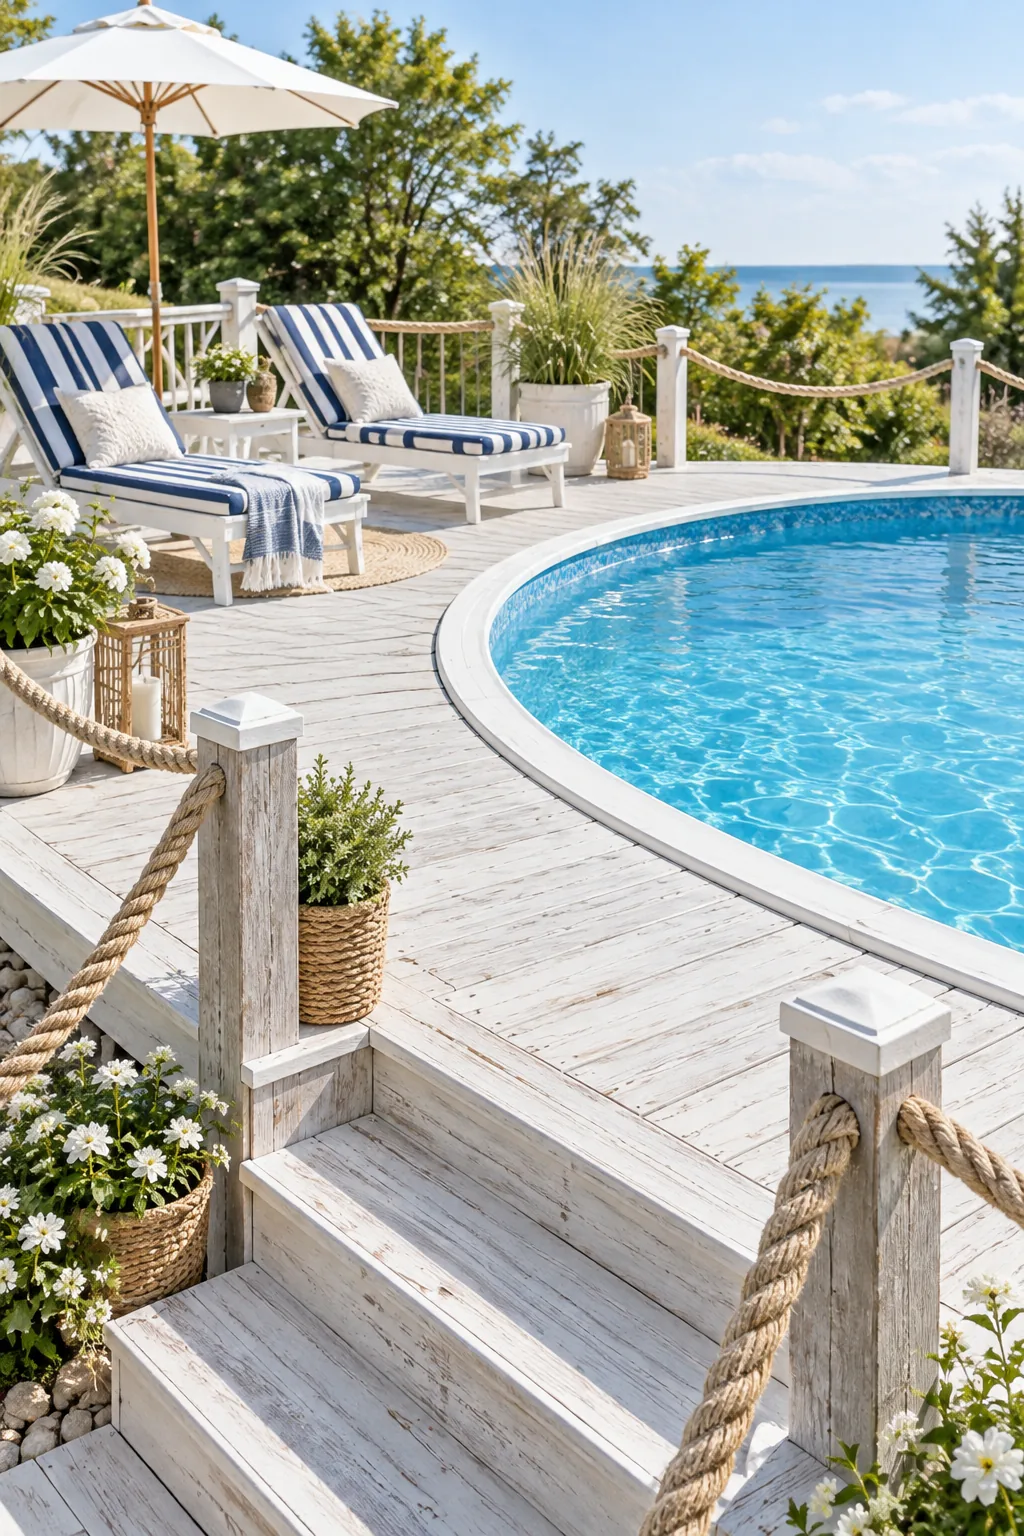
Coastal Whitewash: Distressed white decking and navy blue stripes create a breezy, beach-inspired retreat right in your backyard.
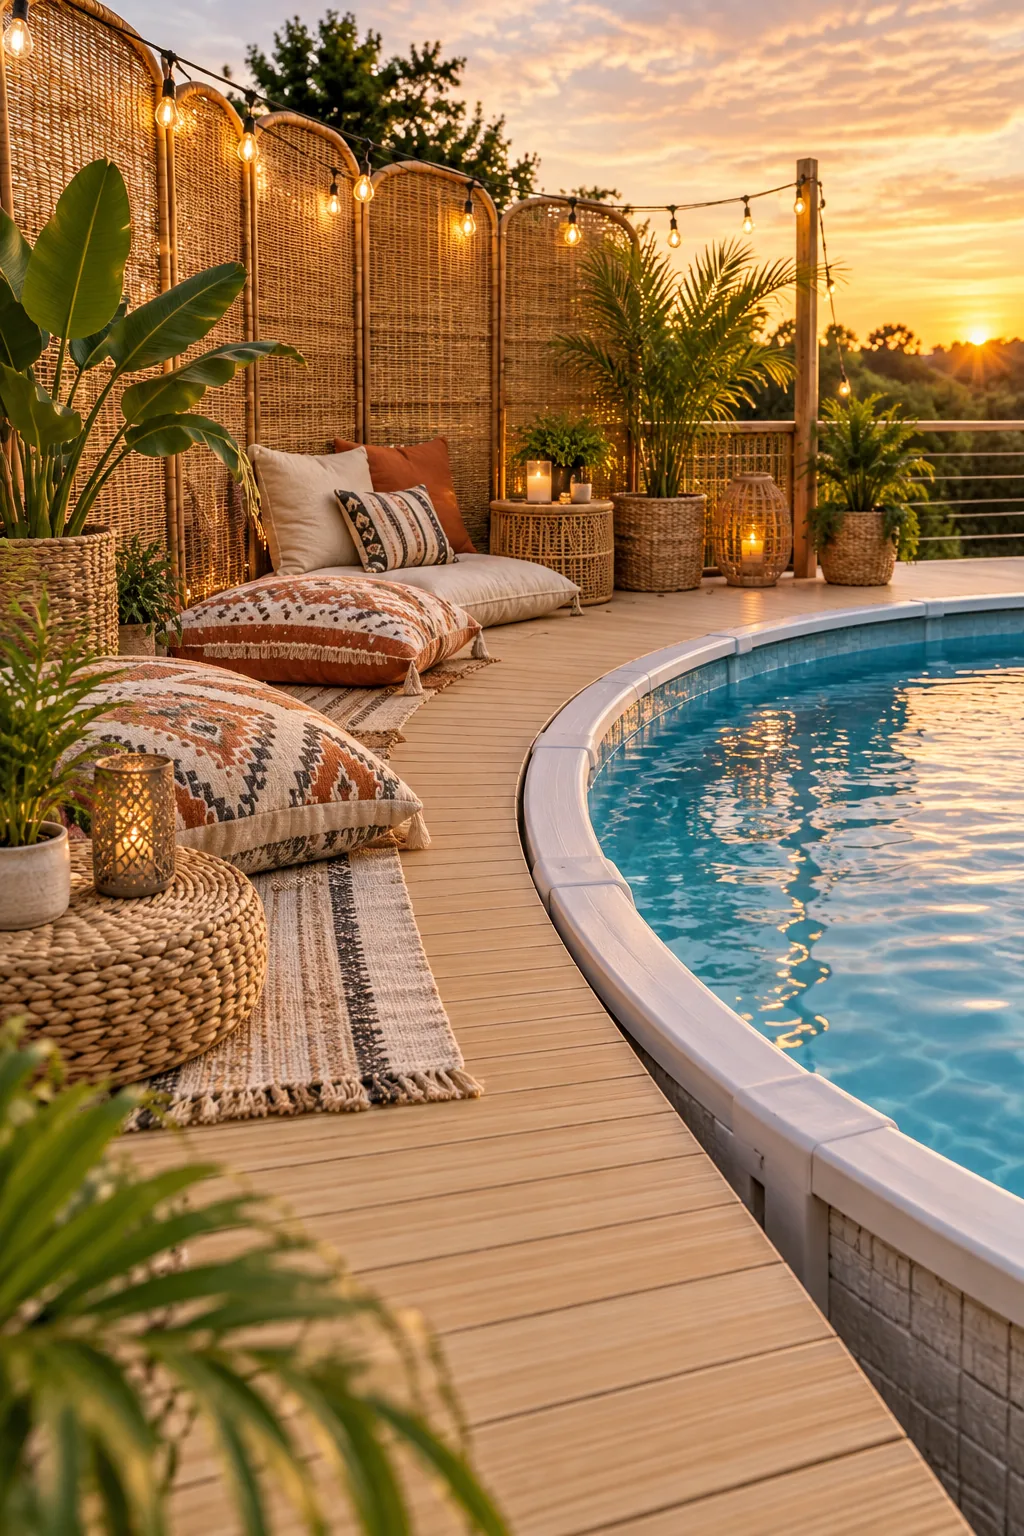
Boho Bamboo: Light bamboo-toned boards and woven rattan privacy screens provide a relaxed, bohemian atmosphere for lounging.
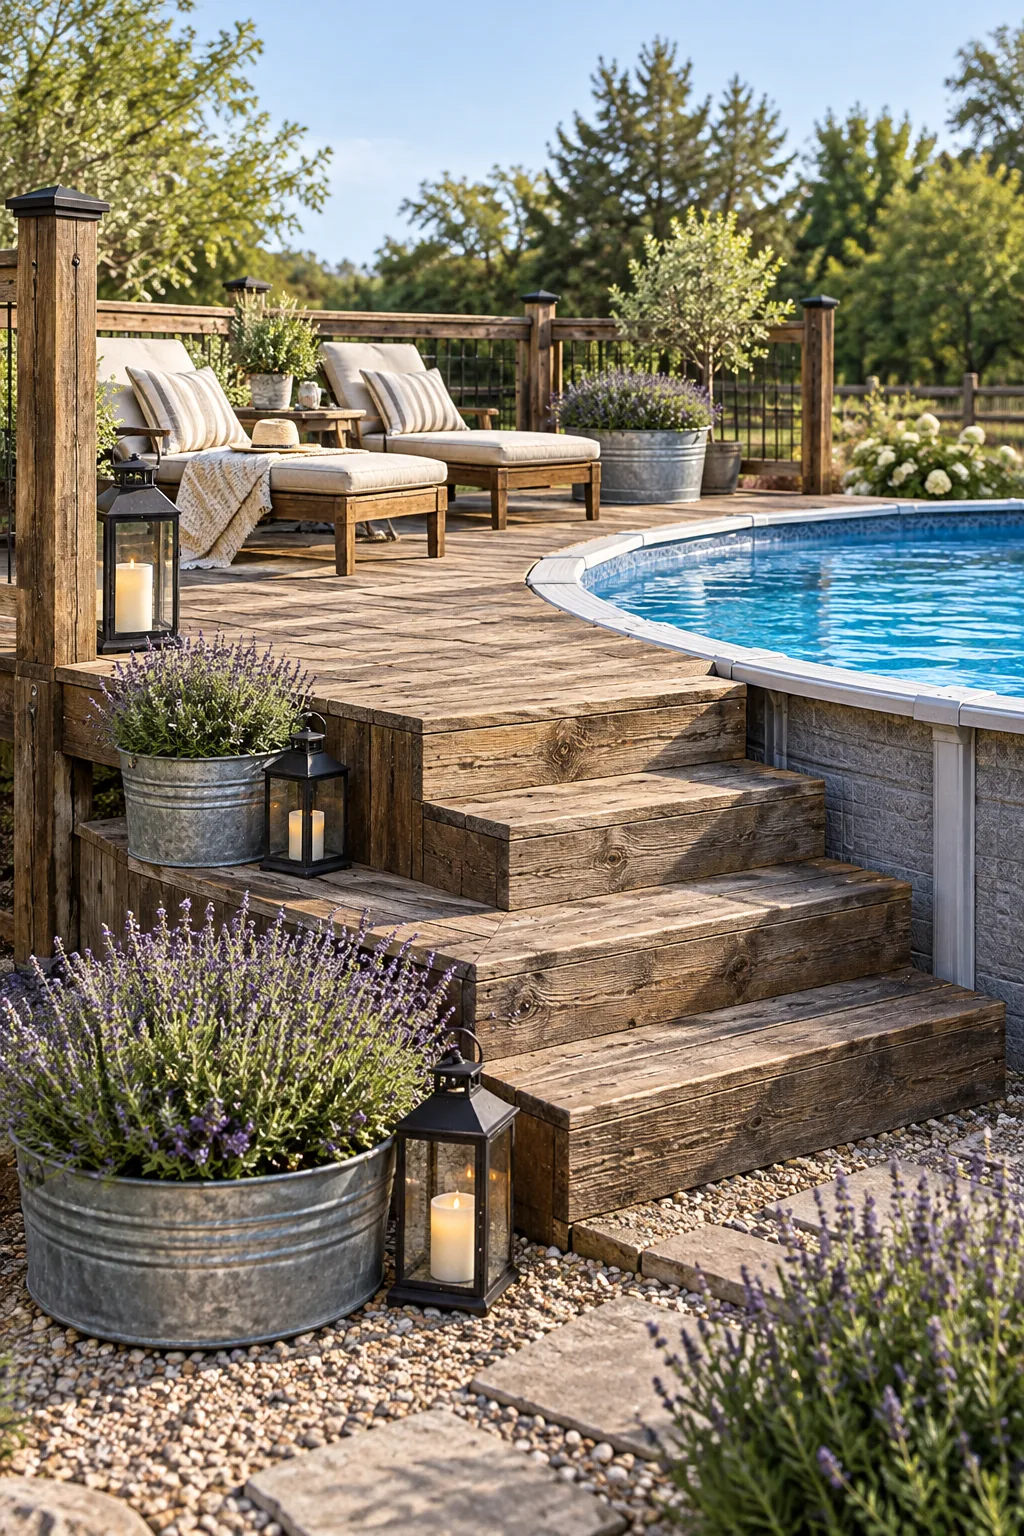
Rustic Farmhouse: Weathered brown timber and galvanized steel planters bring cozy, rustic farmhouse charm to the poolside.