
Walk-in Shower Rough-in Sheet: Dimensions for a Flawless Build
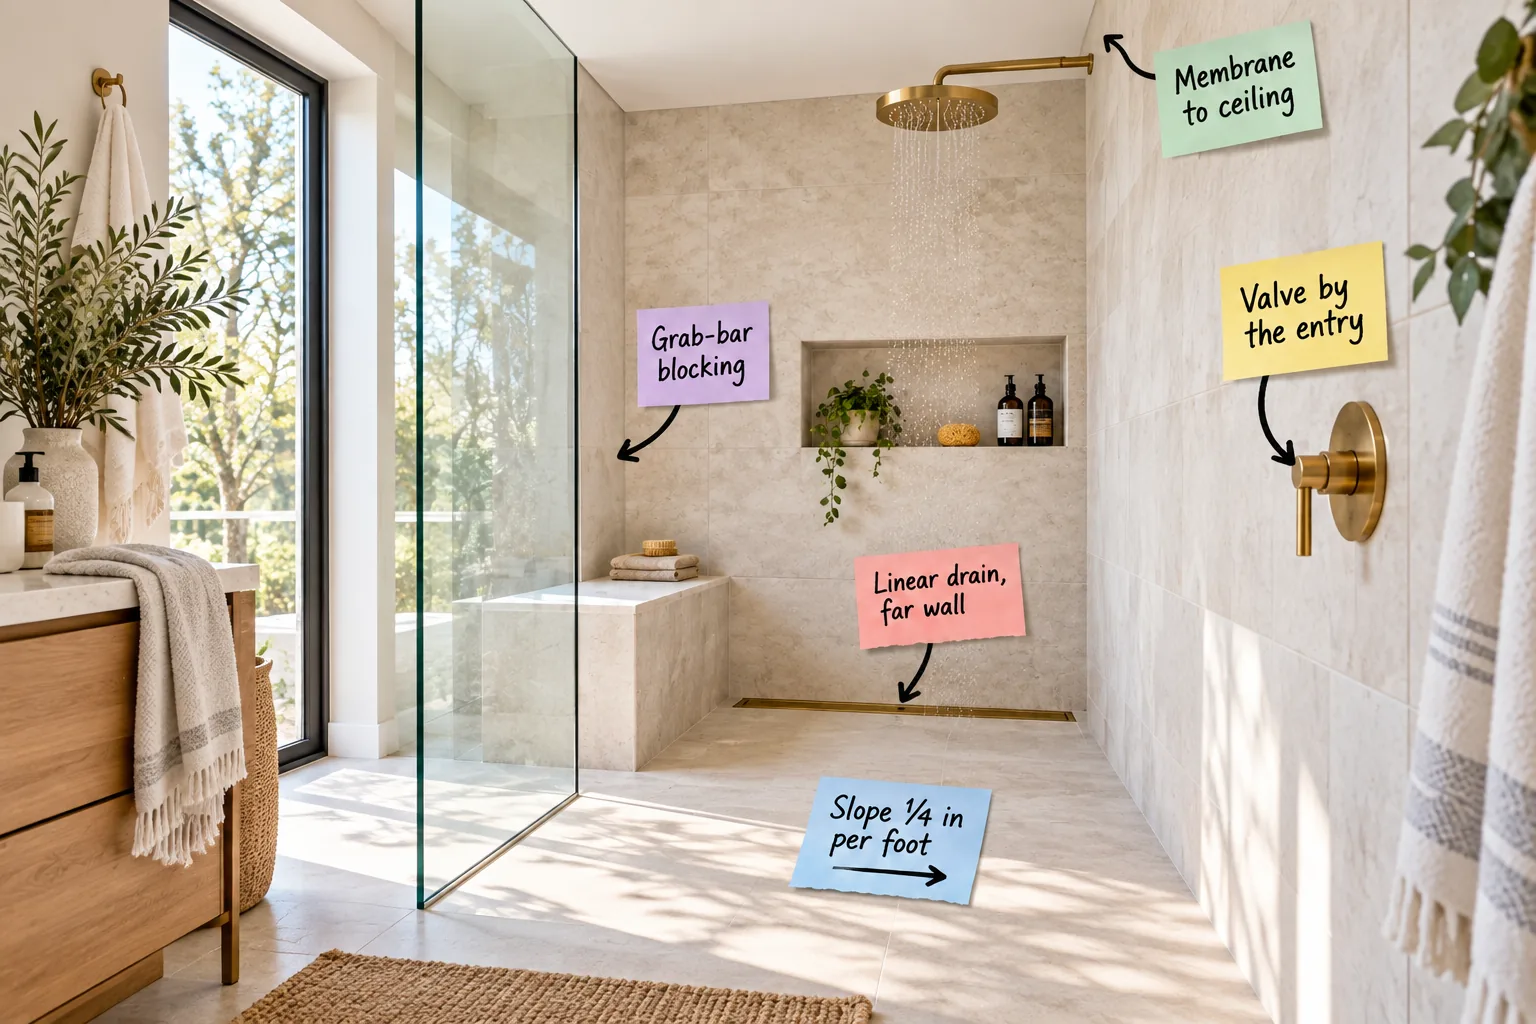
Planning a curbless bathroom remodel requires precise math, but you can confidently print this Walk-In Shower Rough-In Sheet to hand your contractor exact valve placements, drain positions, and slope measurements before the walls close.
Planning a Curbless Entry
Start building your foundation by continuing the main bathroom floor tile directly into the shower area for a seamless transition. Running continuous material removes the physical barrier of a traditional marble curb, instantly modernizing the entire space.
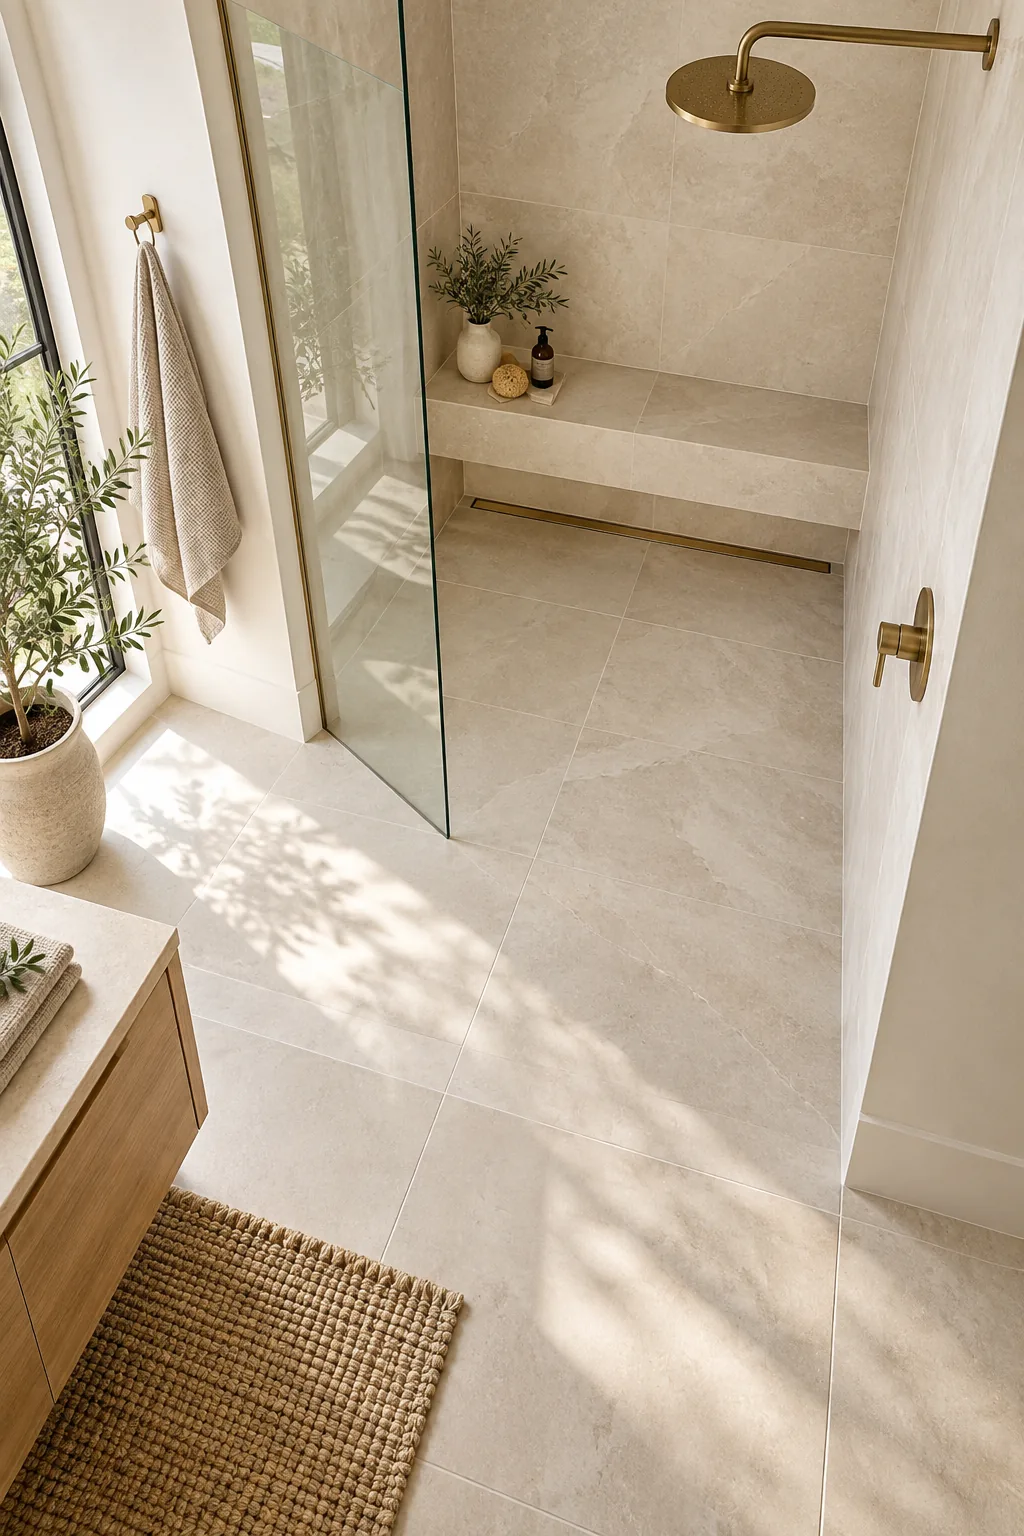
Because a curbless design removes the physical step, your framing crew must physically drop the subfloor between 1.5 and 2 inches. This structural modification creates the necessary depth to build up the slope without creating a trip hazard.
Dropping the Subfloor Correctly
Achieving that flush entry requires specific structural adjustments depending on your existing floor joists. Your contractor will typically choose one of three approved methods to safely lower the shower pan area.
| Modification Method | Best Application | Subfloor Drop |
|---|---|---|
| Recessed Joists | New construction | 2 inches |
| Sistered Joists | Remodels with deep joists | 1.5 to 2 inches |
| Engineered Pan | Shallow joist systems | 1.25 inches |
Always verify that your local building code permits joist modifications before finalizing your curbless plans. Consulting a structural engineer ensures your dropped floor remains rigid enough to prevent the new tile from cracking under weight.
Supporting the Joist Modifications
When you cut into structural framing, adding solid blocking between the altered joists restores the floor’s original load-bearing strength. Spacing these rigid blocks every 16 inches guarantees your large-format floor tiles will never shift or pop loose over time.
Pushing the Drain to the Far Wall
Moving the water collection point to the back wall completely changes how you can design the floor. Installing a linear drain along the far wall allows the entire shower pan to pitch in one single direction, accommodating massive stone slabs.
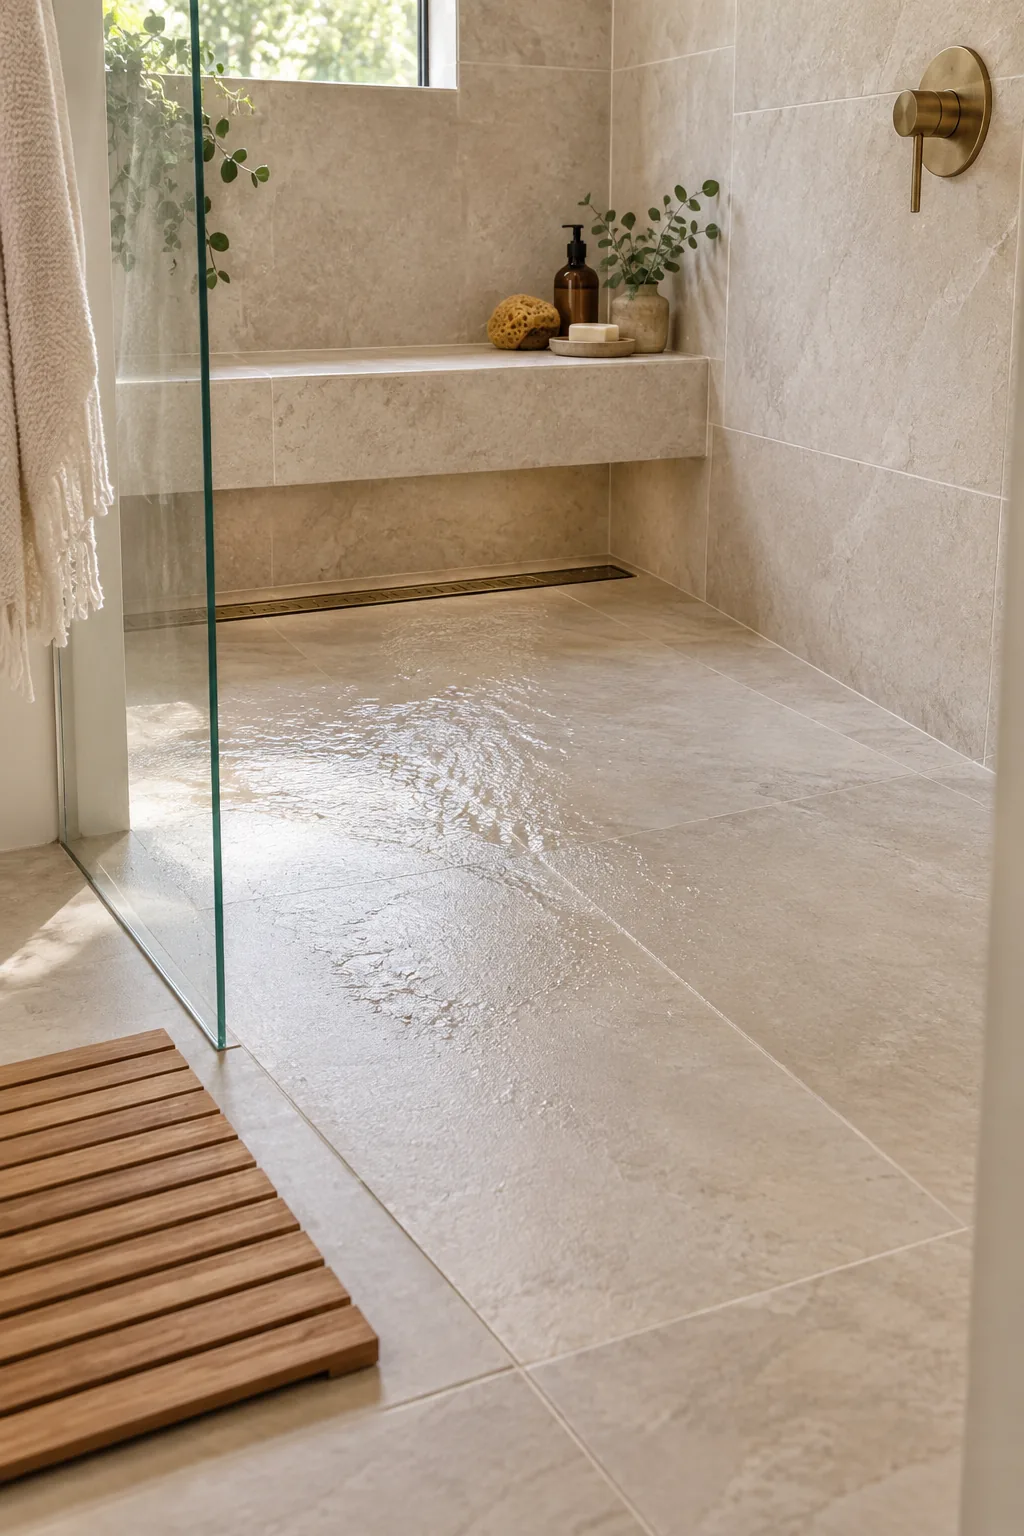
In my recent Denver loft project, pushing the drain back let us run massive 24-inch stone tiles right up to the wall. You completely avoid diagonal cuts while enjoying a much cleaner, unbroken visual line.
Avoiding Diagonal Envelope Cuts
Center drains force installers to slice beautiful tiles into triangular envelope cuts so the floor can slope inward from four sides. A single-plane slope eliminates these distracting grout lines, making the shower floor significantly easier to clean and maintain.
Pitching the Floor for Drainage
Keeping water flowing toward that back wall requires strict adherence to plumbing geometry. The industry standard mandates a precise 1/4 inch per foot slope to ensure gravity pulls moisture efficiently into the trough.
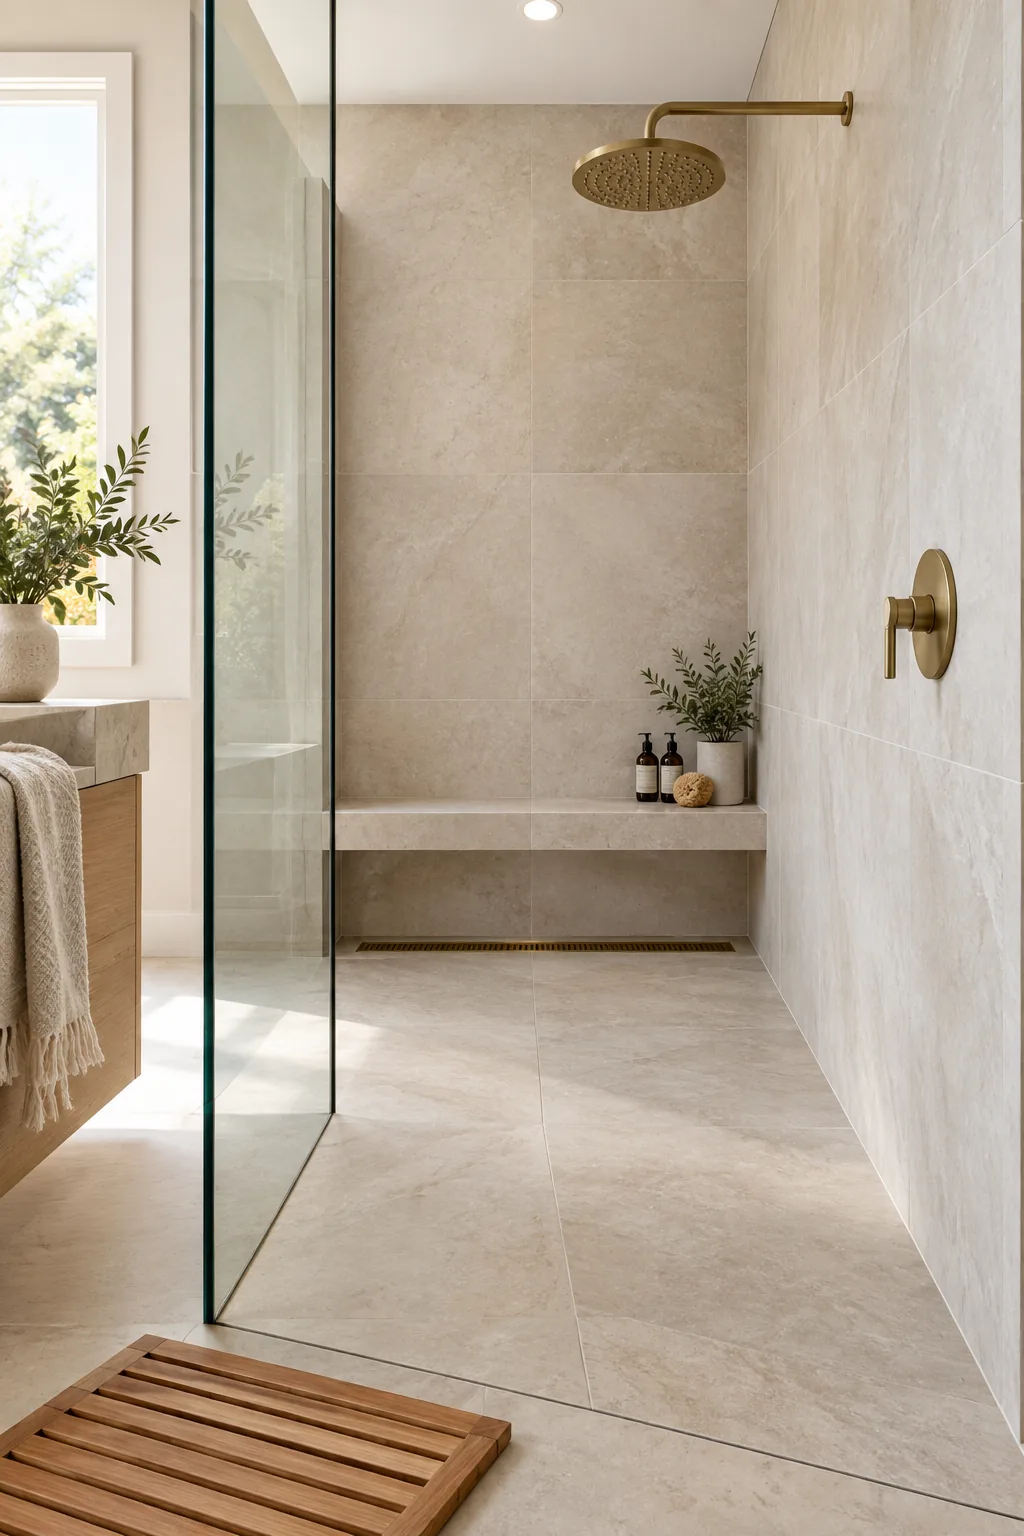
I once had to tear out a beautiful client shower because the original builder only pitched it 1/8 inch per foot. Proper pitch guarantees every drop of water safely flows away from your dry bathroom floor.
Verifying the Slope Before Tile
You must check the mud bed or foam pan before a single piece of tile gets installed. Use a standard torpedo level to confirm the pitch follows a strict downward trajectory toward the linear drain.
- Place your level horizontally across the entry threshold to ensure it sits perfectly flat.
- Turn the level perpendicular to the drain and read the bubble placement.
- Confirm exactly 1/4 inch of fall for every 12 inches of shower depth.
Catching a flat spot during the rough-in stage takes ten minutes to fix with extra mortar. Waiting until the tile cures means destroying the entire shower floor to correct the drainage issue.
Extending the Waterproof Membrane
Moisture protection must adapt to the heavy vapor loads generated by an open shower system. Running the waterproof membrane to the ceiling becomes essential when installing a rain head, completely sealing the framing elements against ambient humidity.
My own master bath taught me that steam rises rapidly and penetrates unprotected upper drywall. Extending the waterproofing membrane completely prevents moisture from migrating through the paint and rotting the framing behind the walls.
Wrapping the Shower Niche
Built-in shampoo niches create vulnerable puncture points in your wall’s moisture barrier. Coating the entire niche box with a liquid waterproofing membrane ensures water bouncing off bottles cannot seep into the stud cavity.
Managing Steam With Proper Ventilation
Even with ceiling-height waterproofing, an open shower allows steam to drift freely throughout the entire bathroom. Sizing your exhaust fan to exchange the room’s air volume at least eight times per hour prevents long-term humidity damage.
Placing the Valve at the Entrance
Offsetting the mixing valve to the side wall near the entry adds incredible daily luxury and practicality. This strategic placement allows you to adjust the temperature from outside the spray zone, keeping your arm perfectly dry while the system warms up.
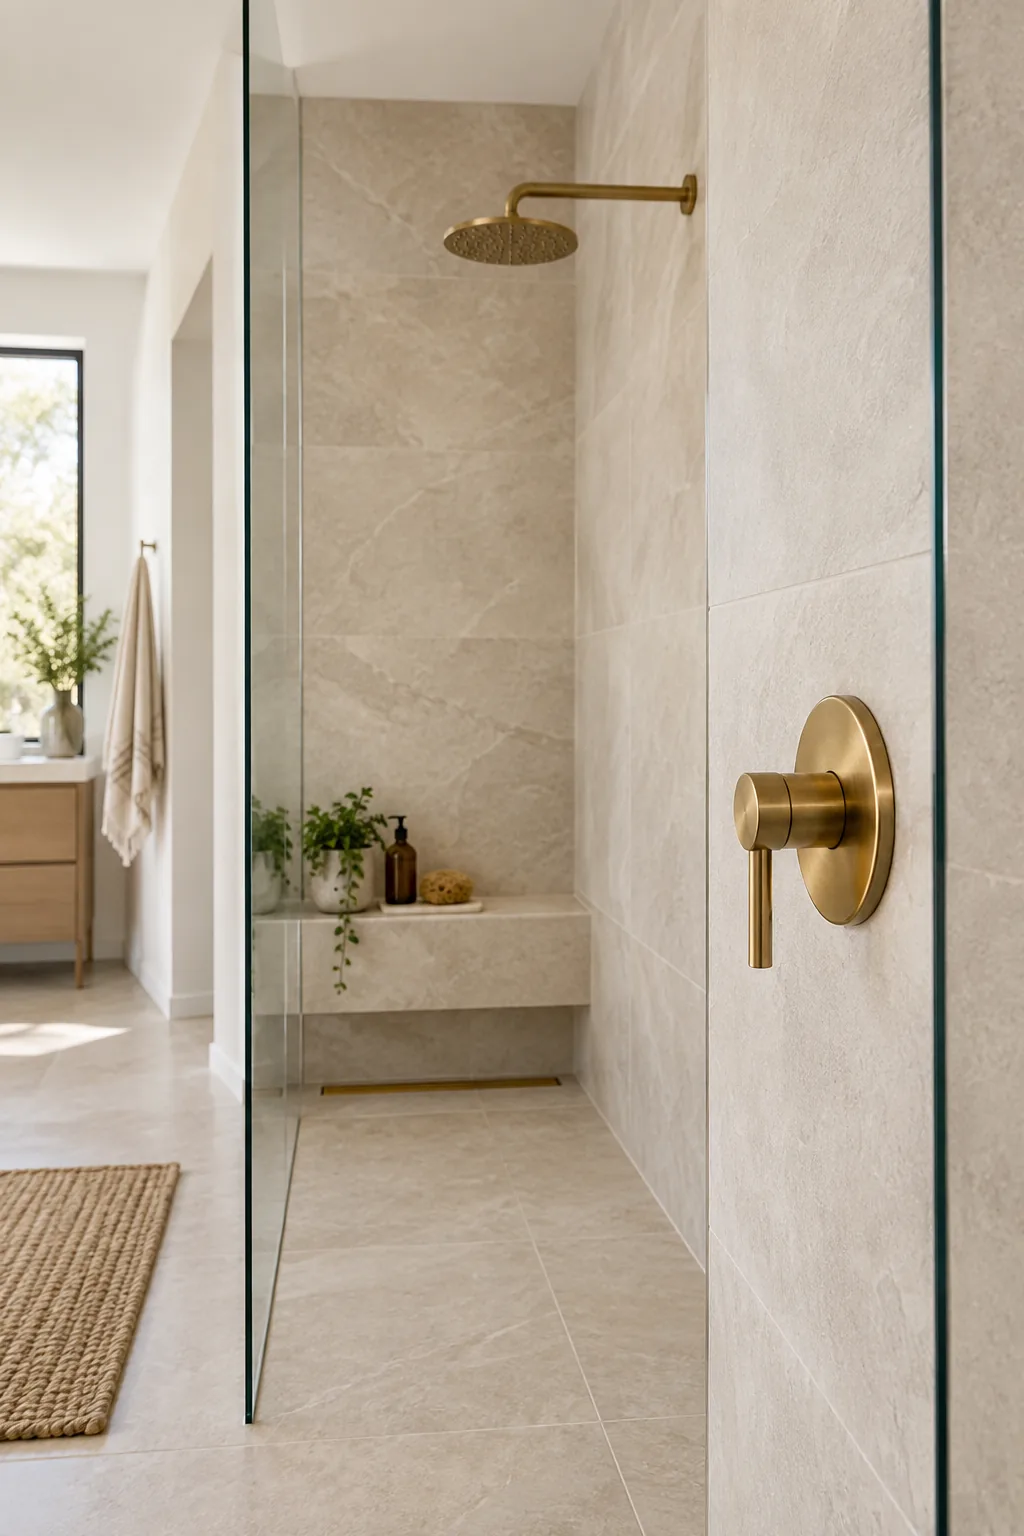
To make this offset setup work seamlessly, the valve needs to sit at a comfortable height for a standing adult. Coordinate the exact placement with your plumber before the framing inspection.
Routing the Plumbing Lines
Moving the valve away from the showerhead requires running additional PEX or copper lines through the wall studs. Ensure your plumber secures these extended pipes with acoustic clamps to prevent rattling noises when the water pressure fluctuates.
Installing Hidden Wood Blocking
Planning for future accessibility requires action before the cement board and tile go up. Instruct your contractor to install solid 2×8 or 2×10 wood blocking between the studs near the bench and entry to create structural anchor points.
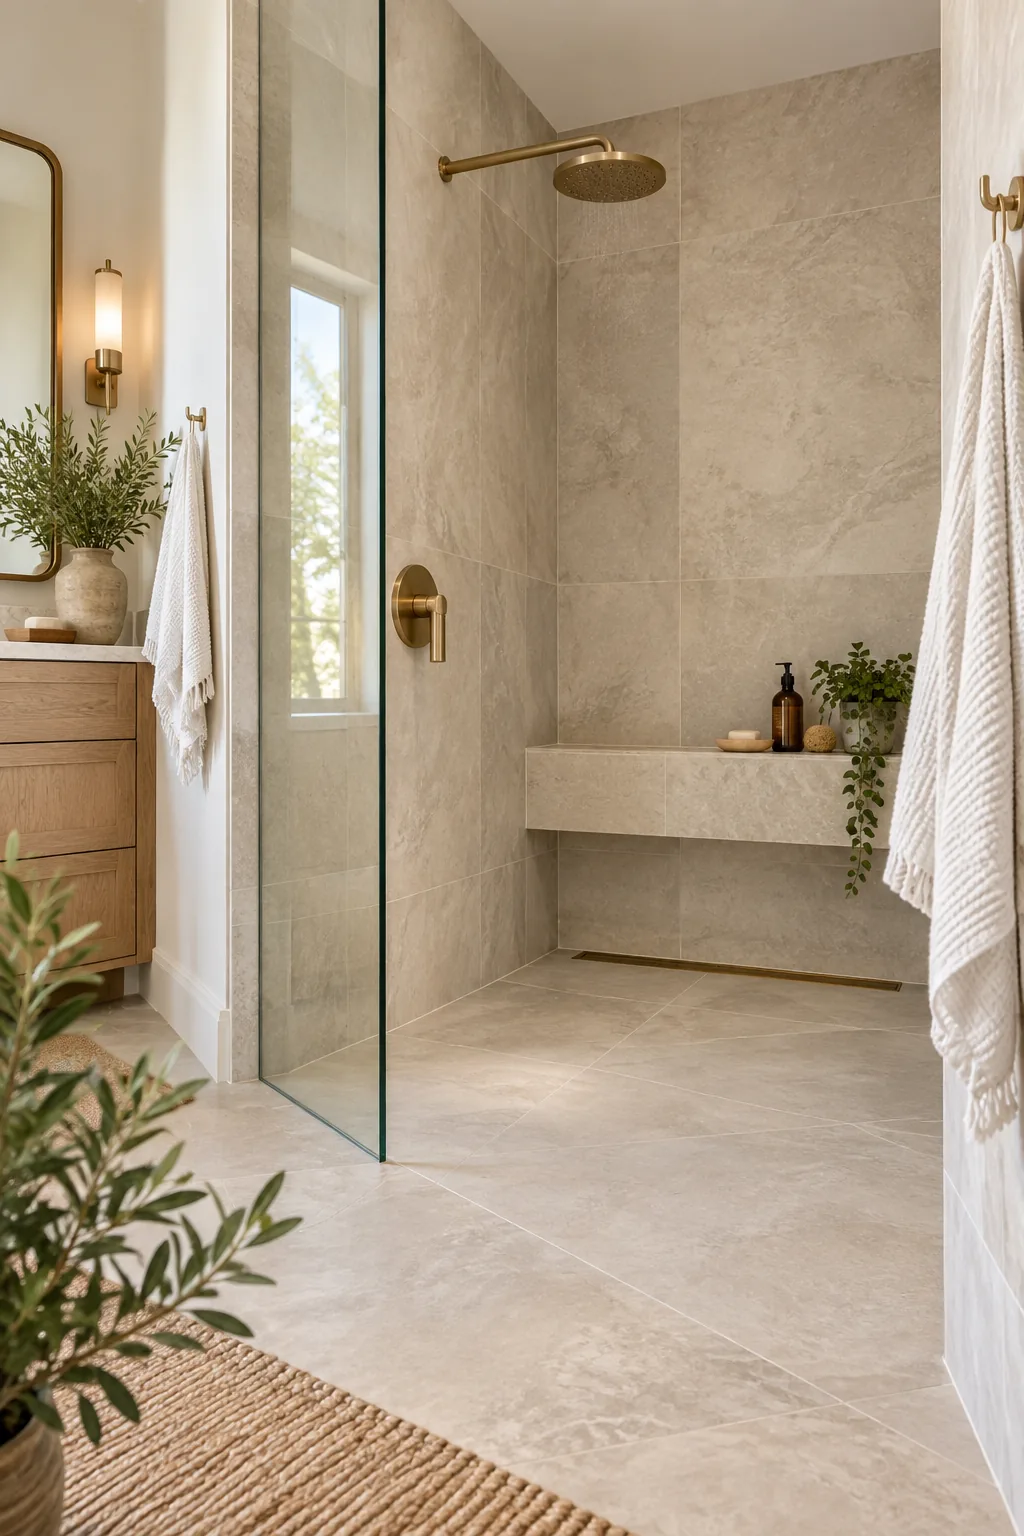
This hidden reinforcement provides a structurally secure base for future safety bars. Adding solid wood backing now costs almost nothing but saves thousands in tear-out costs if you ever need to upgrade the shower’s accessibility.
Anchoring the Built-In Bench
A floating shower bench requires heavy-duty steel brackets bolted directly into the structural framing. Verify that your builder installs doubled wall studs at the bench location to support the combined weight of the stone seat and the user.
Sizing the Fixed Glass Panel
Keeping splashing contained without a door relies entirely on the dimensions of your fixed glass partition. The right panel width depends heavily on your specific water pressure and the angle of your primary showerhead.
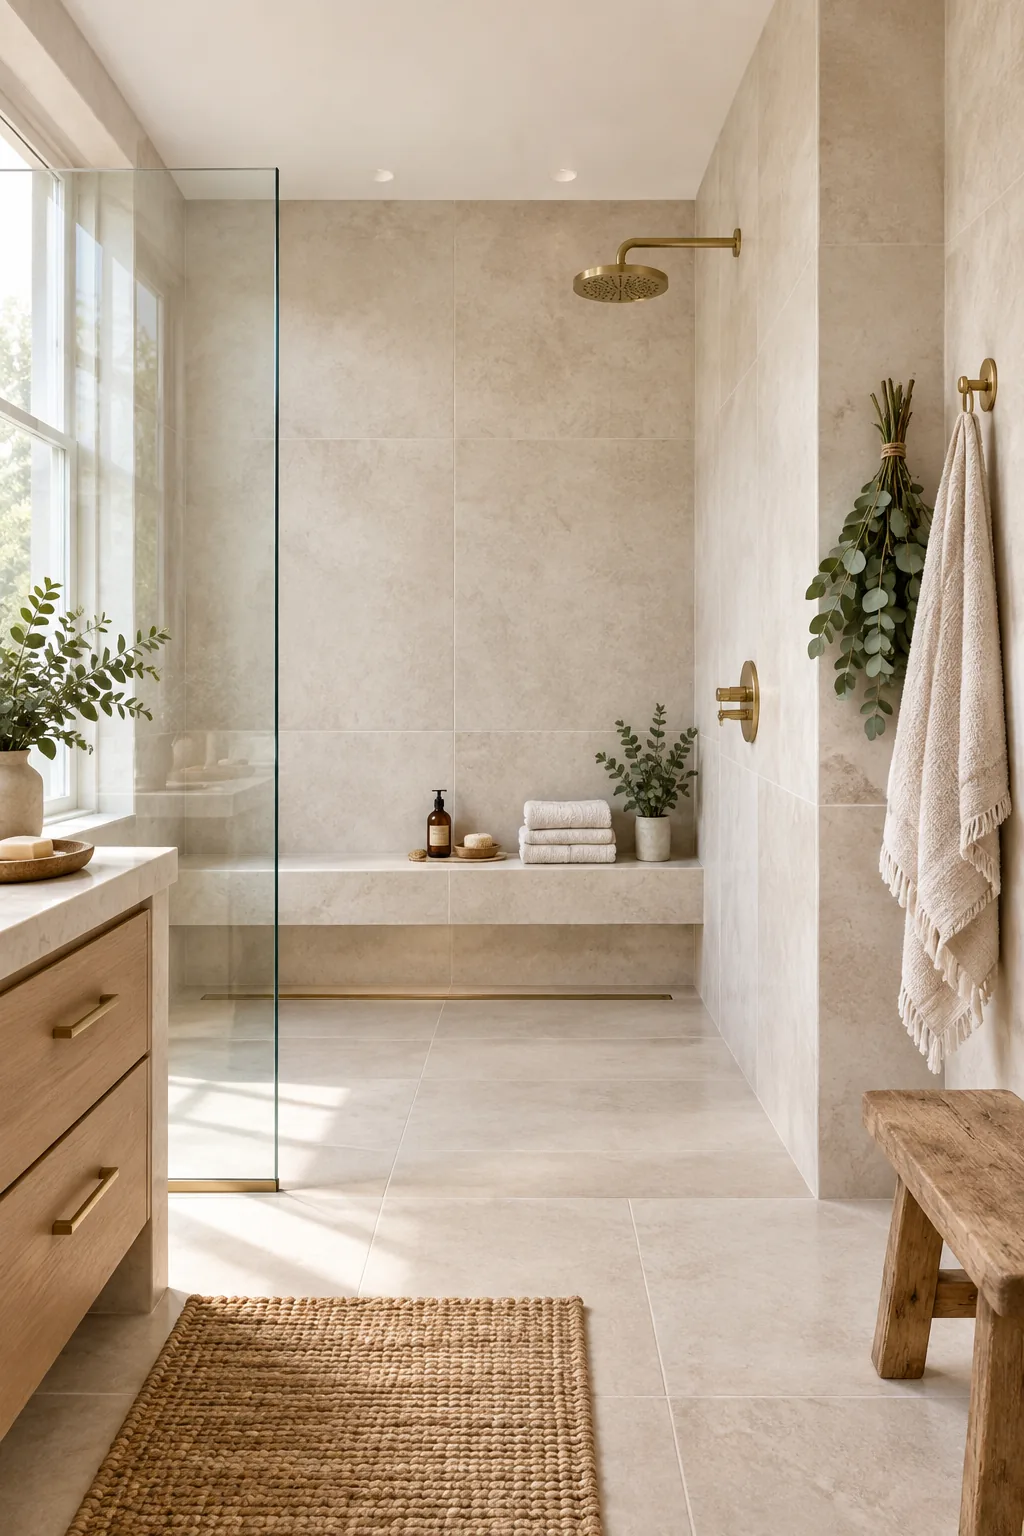
- Plan for a minimum glass width of 36 inches in standard setups.
- Extend the panel to 48 inches if using high-pressure body sprays.
- Leave at least a 28-inch open walkway for comfortable daily entry.
Ordering the glass slightly taller than standard door height helps trap ambient heat inside the wet zone. A minimum height of 80 inches maintains a warm showering experience despite the open entryway.
Choosing the Right Glass Thickness
Frameless fixed panels require substantial structural rigidity to stand safely without metal borders. Specifying 1/2-inch thick tempered architectural glass prevents the heavy panel from flexing or vibrating when accidentally bumped.
Defining the Splash Zone
Water naturally rebounds off your body and the floor, creating a predictable splash radius. Keep all non-waterproof materials, electrical outlets, and fabric window treatments at least 36 inches away from the open end of the glass panel.
Coordinating the Tile Layout
Aligning your floor and wall grout lines requires meticulous planning before the thinset is mixed. Starting the layout from the linear drain ensures you never end up with tiny, awkward tile slivers at the highly visible entry threshold.
Sealing the Grout Lines
Even with perfect slope and waterproofing, porous cement grout absorbs ambient moisture and body oils. Applying a high-quality penetrating sealer immediately after the grout cures locks out stains and keeps your seamless floor looking pristine.
Walk-In Shower Material Pairings
Explore how these same layout rules adapt to completely different design styles.
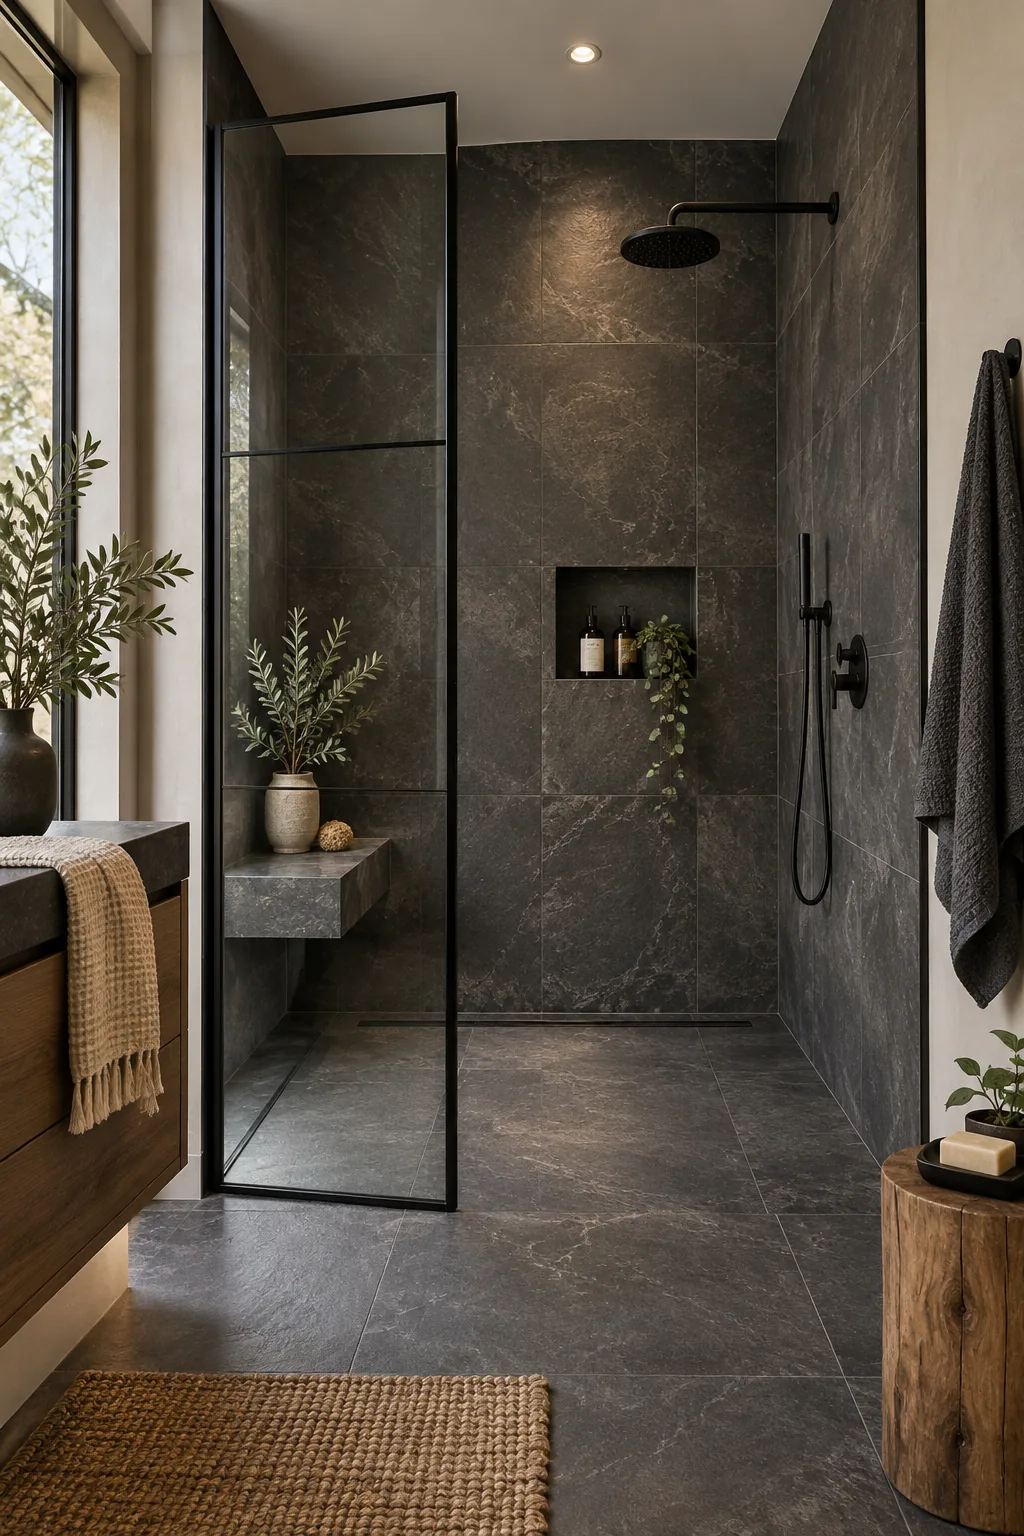
Moody Charcoal and Black: Dark slate tiles paired with matte black hardware create a striking, high-contrast industrial retreat.
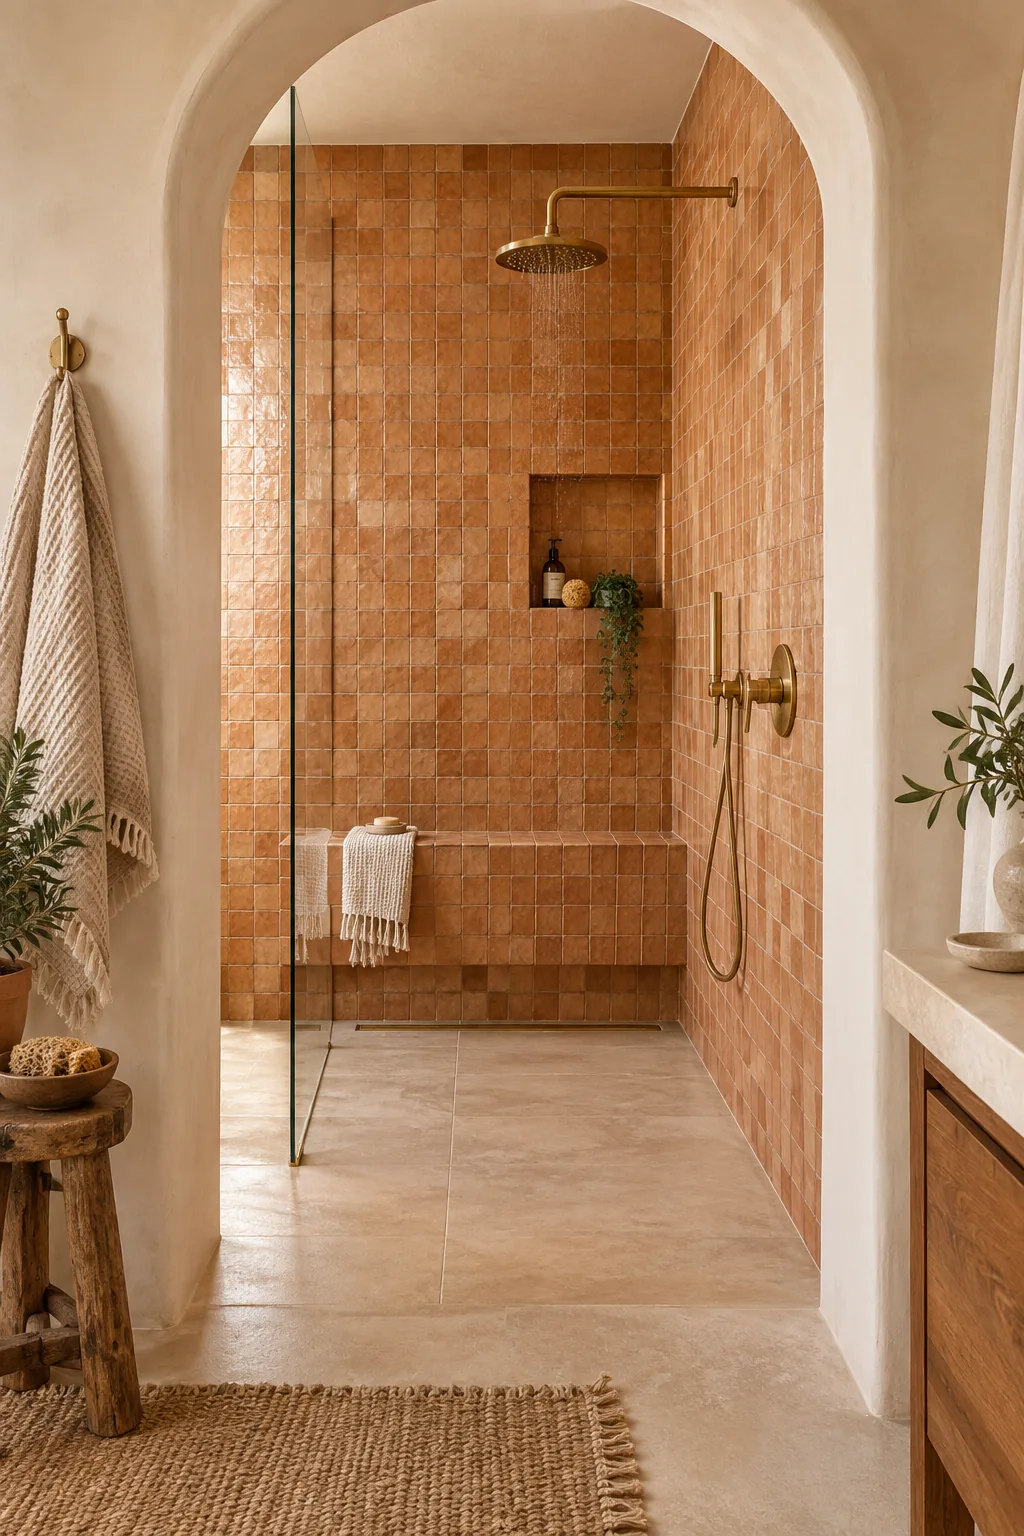
Warm Terracotta and Brass: Textured zellige tiles and living brass finishes bring an earthy, sun-baked warmth to the space.
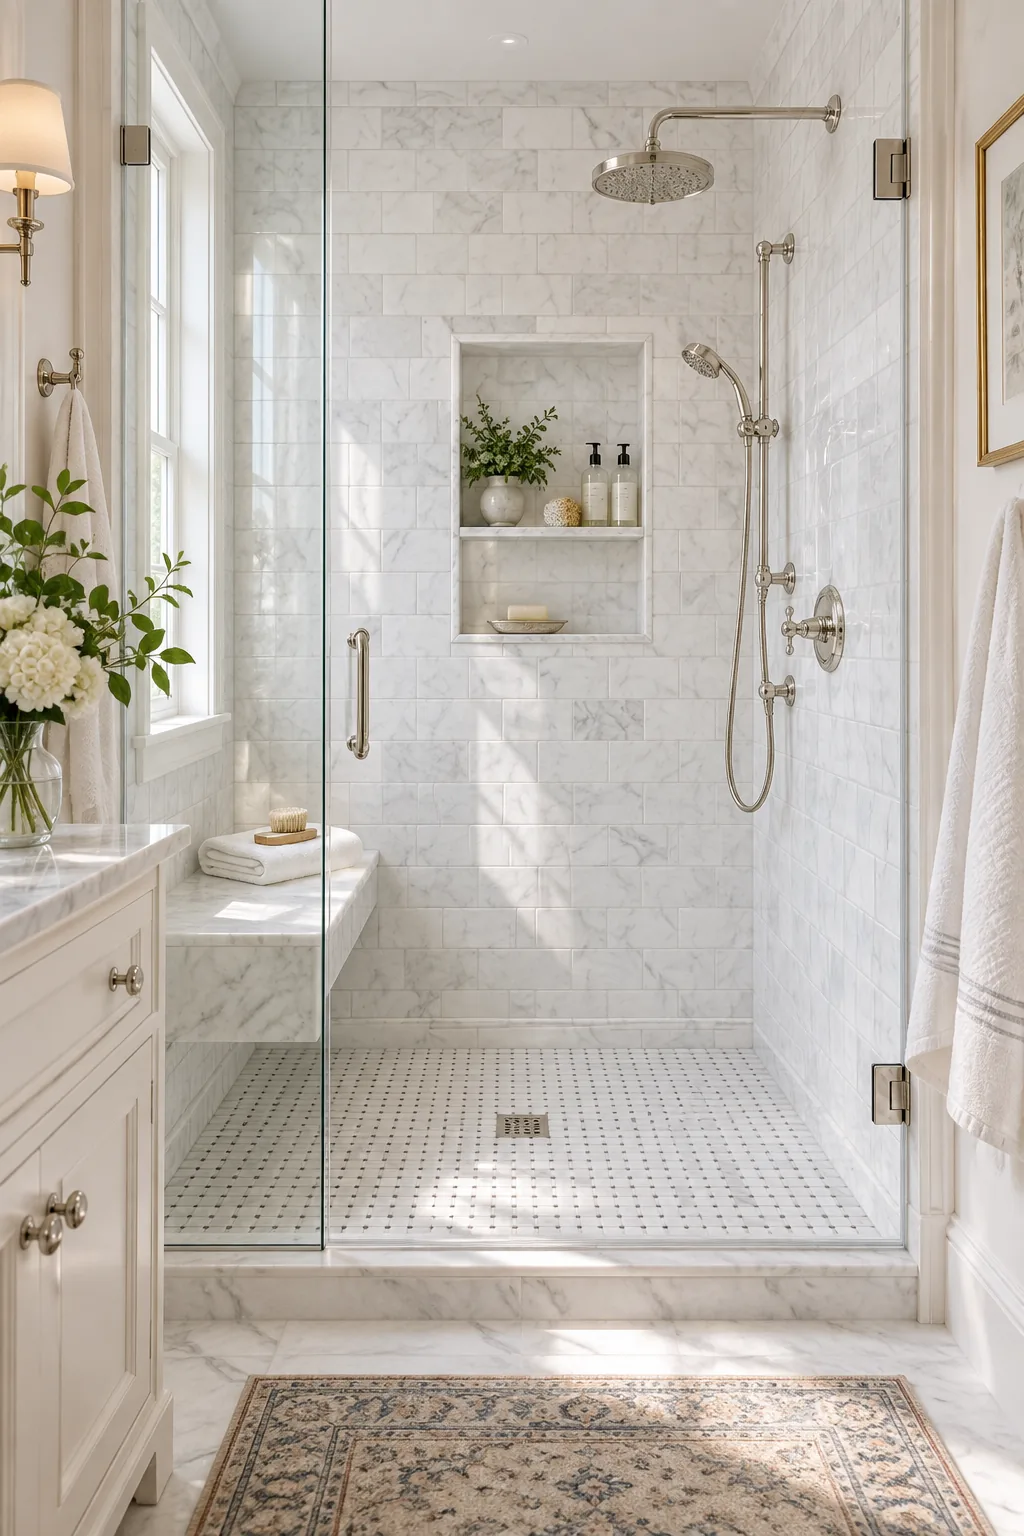
Crisp Marble and Nickel: Polished nickel shines against timeless white marble subway tile for a bright, elegant morning routine.
The Walk-In Shower Rough-In Sheet
Consolidating all these measurements into one clear specification document prevents costly framing and plumbing rework. Handing this single checklist to your contractor guarantees the exact layout, preventing any misinterpretations of your design intent.
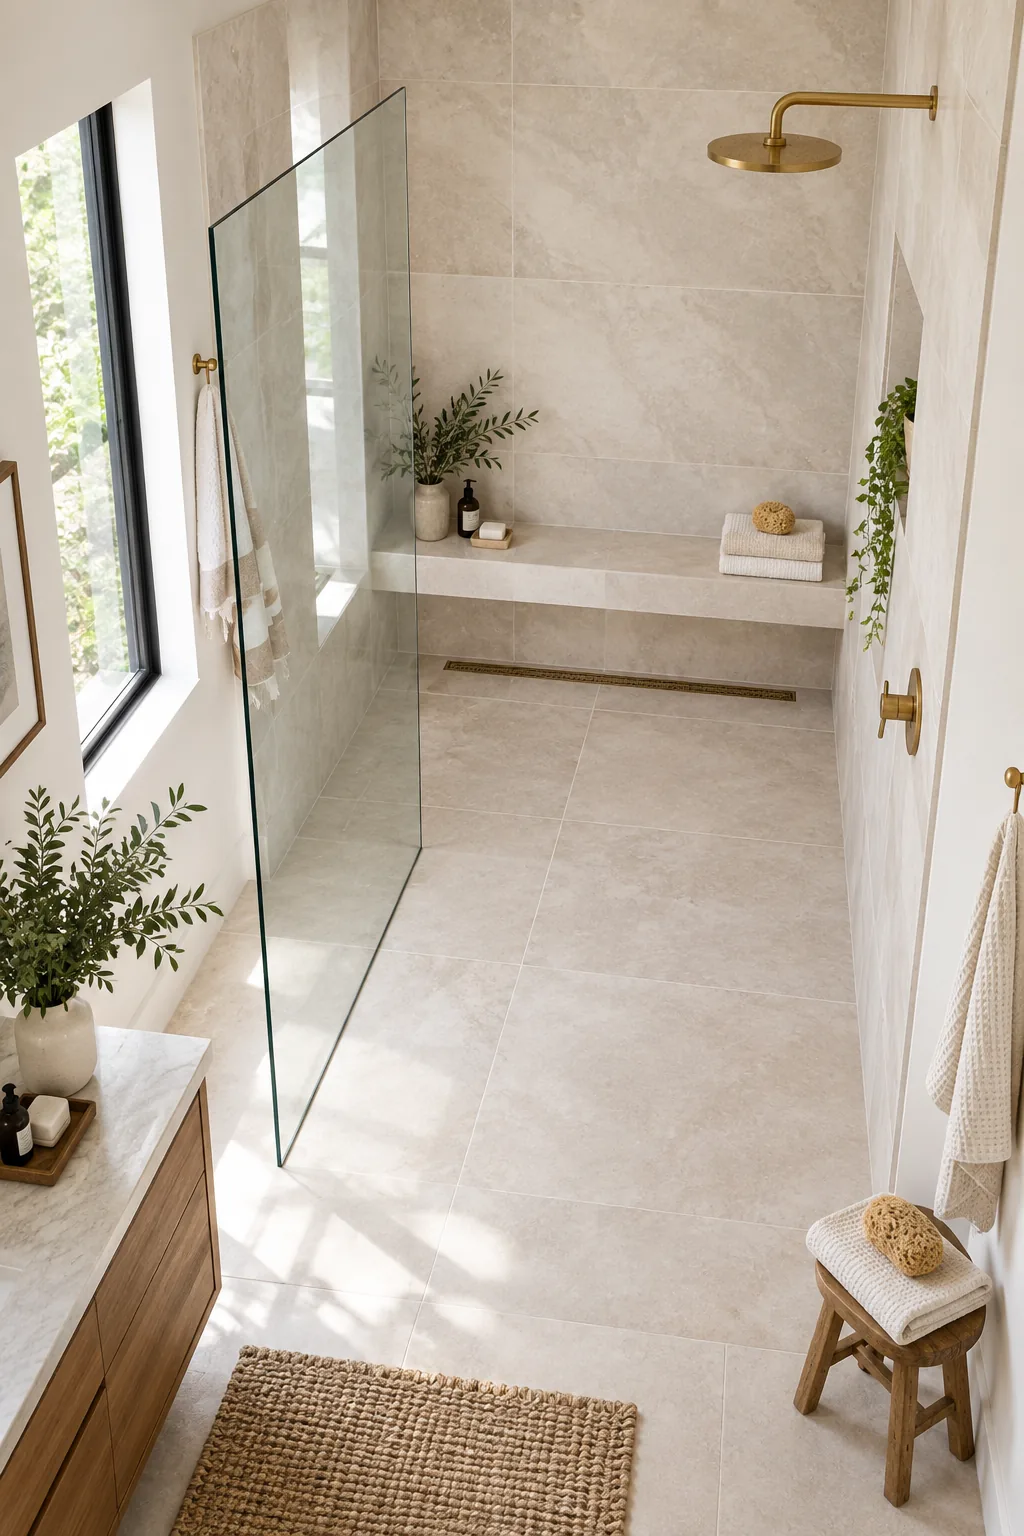
Before the cement board goes up and the waterproofing begins, I always walk through the framing with my builder to verify these four hidden details. Use this printable sheet to guide your own pre-drywall walkthrough.