
Mailbox Landscaping Plan: The Curb-Friendly Planting Layout
Transform your curb with this resilient mailbox landscaping plan, including our downloadable top-down layout, complete plant list, and seasonal swap schedule. You will be able to map out, plant, and maintain a postal-compliant mailbox garden that thrives all year.
Meeting Postal Height Requirements
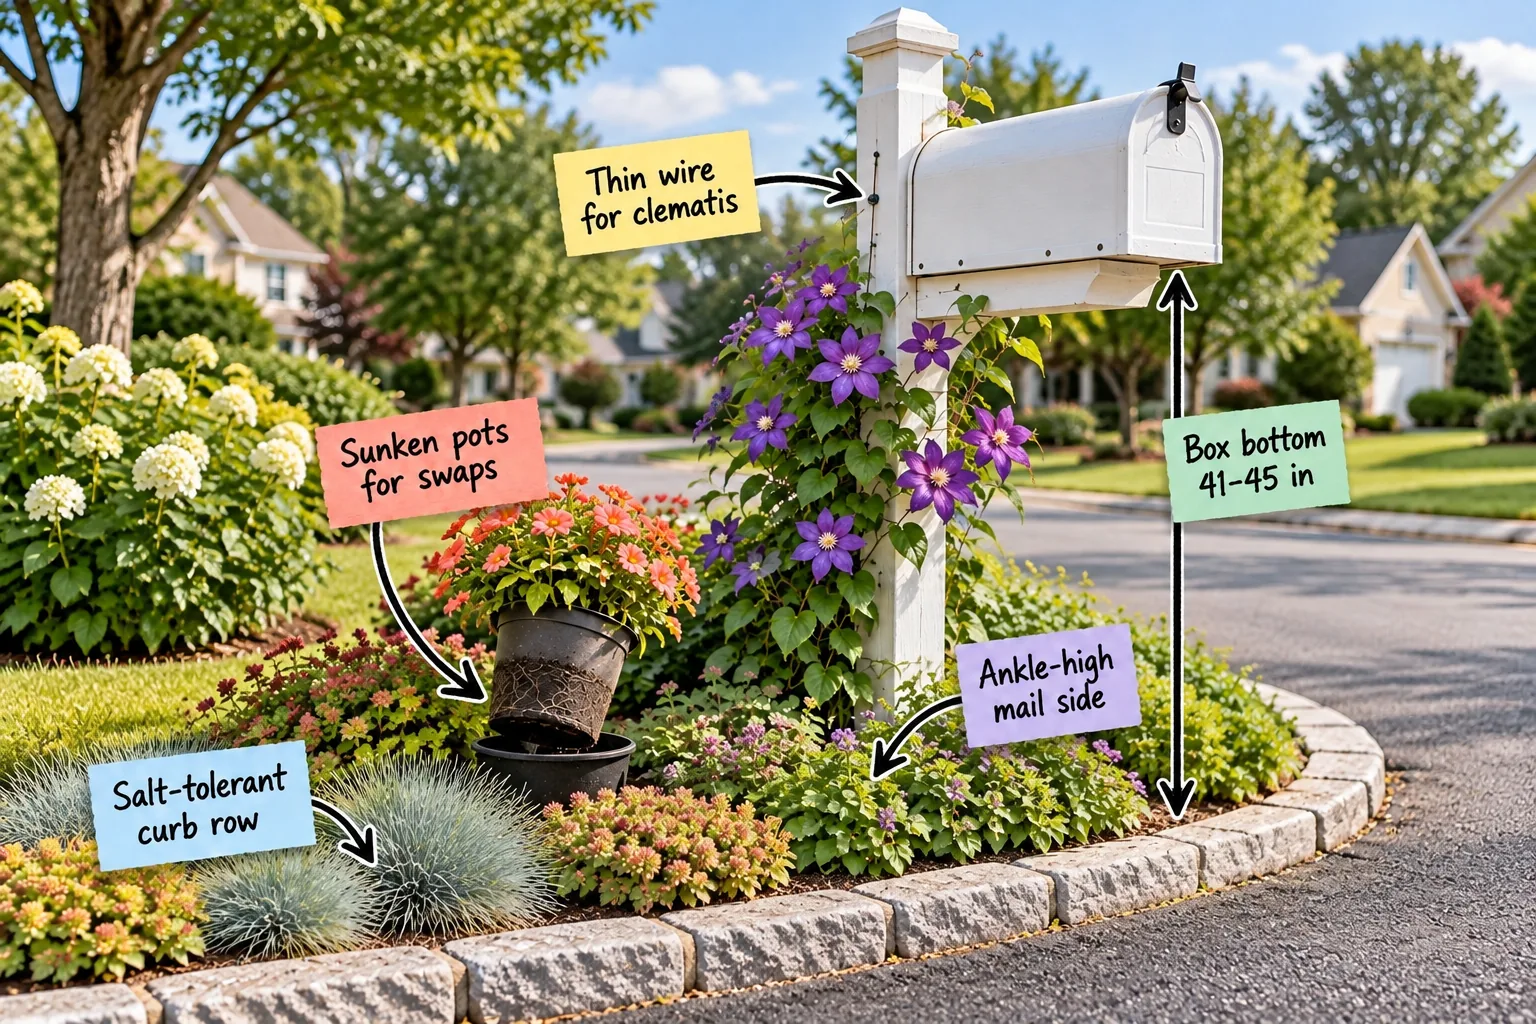
When I first tackled my own Austin curb, I accidentally buried the post too deep and had to dig it completely out to meet regulations. Ensure your setup complies by verifying the bottom of the mailbox sits exactly 41 to 45 inches above the road surface.
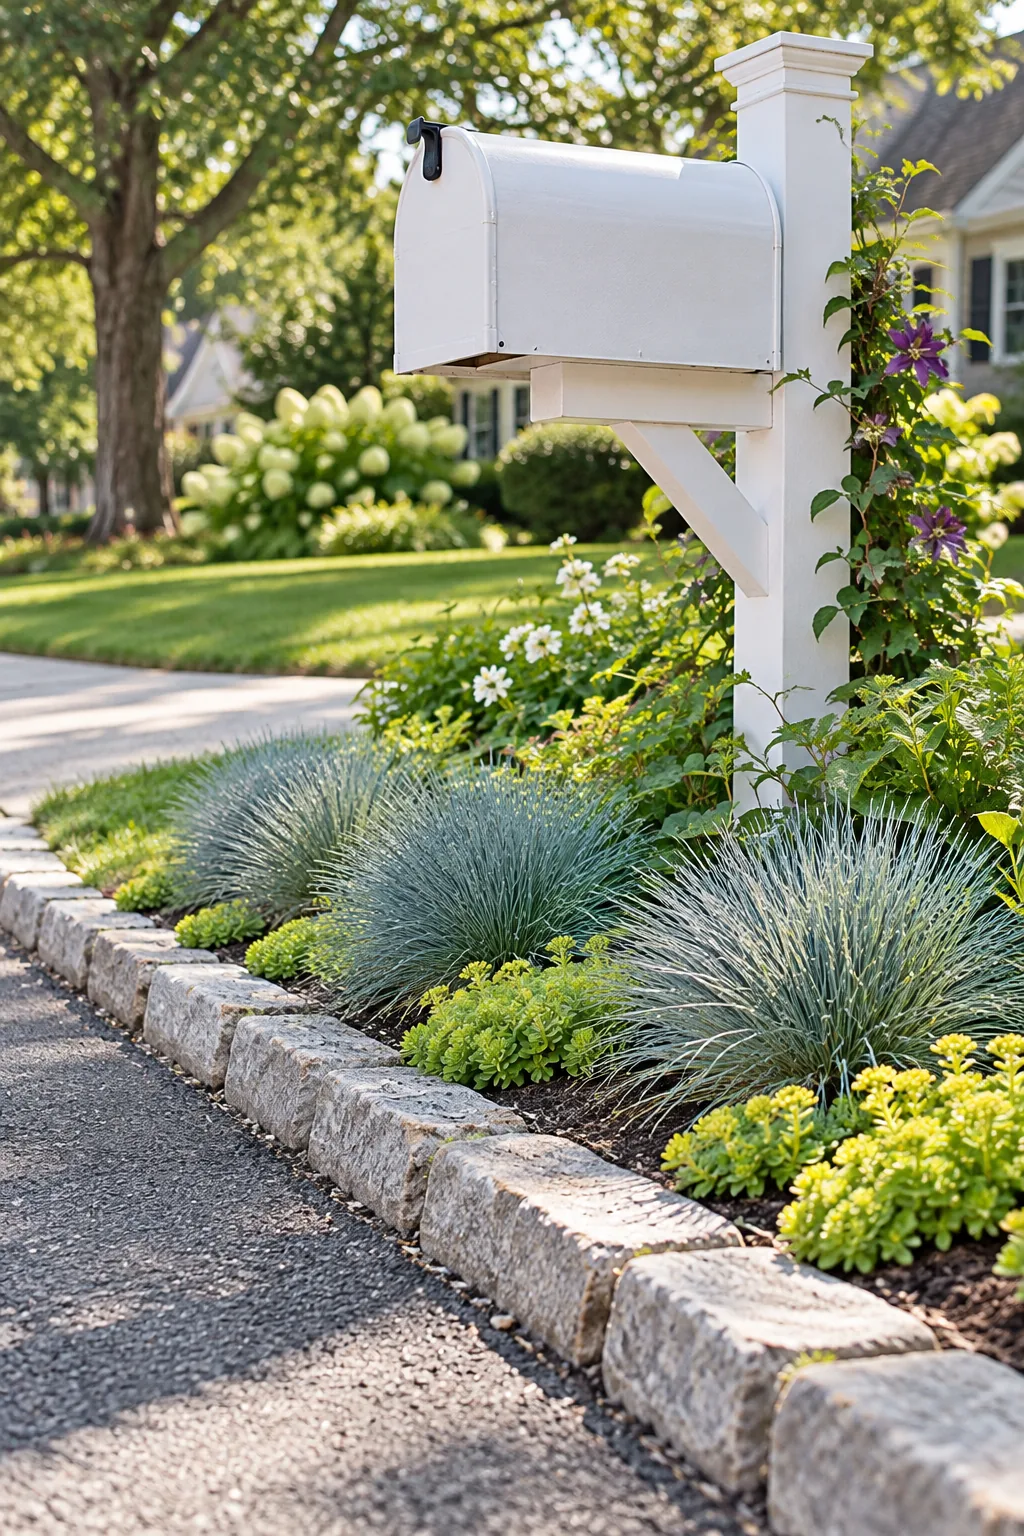
Before digging your new planting bed, verify these three basic placement rules to ensure your mail delivery remains uninterrupted.
Checking Utility Lines Before Digging
The area directly beneath your parkway often hides shallow utility cables, internet lines, or municipal water pipes that can be easily severed by a shovel. Always call your local utility locator service at least 48 hours before digging to have them mark the exact underground paths.
- Call 811 at least 48 hours before breaking ground.
- Hand-dig carefully within 18 inches of any painted utility mark.
- Check for buried sprinkler lines near the street edge.
Establishing the Bed Diameter
A well-proportioned mailbox bed needs enough surface area to support layered plantings without spilling over the curb and into the street. I recommend marking a 36-inch to 48-inch diameter circle using marking paint and a string tied directly to the base of the post.
| Post Location | Recommended Bed Shape | Minimum Width |
|---|---|---|
| Next to driveway | Half-circle or kidney | 36 inches |
| Centered on lawn | Full circle | 48 inches |
| Narrow parkway | Oval or rectangle | 24 inches |
Using a string tied to the post base ensures a perfectly symmetrical layout before you begin removing the surrounding turf.
Removing the Existing Turf
Grass growing directly against the post causes string-trimmer damage and competes with your new perennials for essential water and nutrients. Use a sharp half-moon edger to slice the sod into manageable squares, then peel it back to expose the bare topsoil underneath.
Edging the Perimeter
Creating a defined physical barrier keeps lawn grass from creeping back into your freshly amended garden bed over the summer. Install a border of cobblestones, steel edging, or a deep V-trench to maintain a crisp, low-maintenance separation between the lawn and the plantings.
Planting the Salt-Tolerant Curb Row
The edge closest to the asphalt absorbs brutal radiant heat, and my first batch of delicate annuals fried within a single week. Plant a hardy border of blue fescue and low-growing sedum spaced 12 inches apart to survive this harsh microclimate.
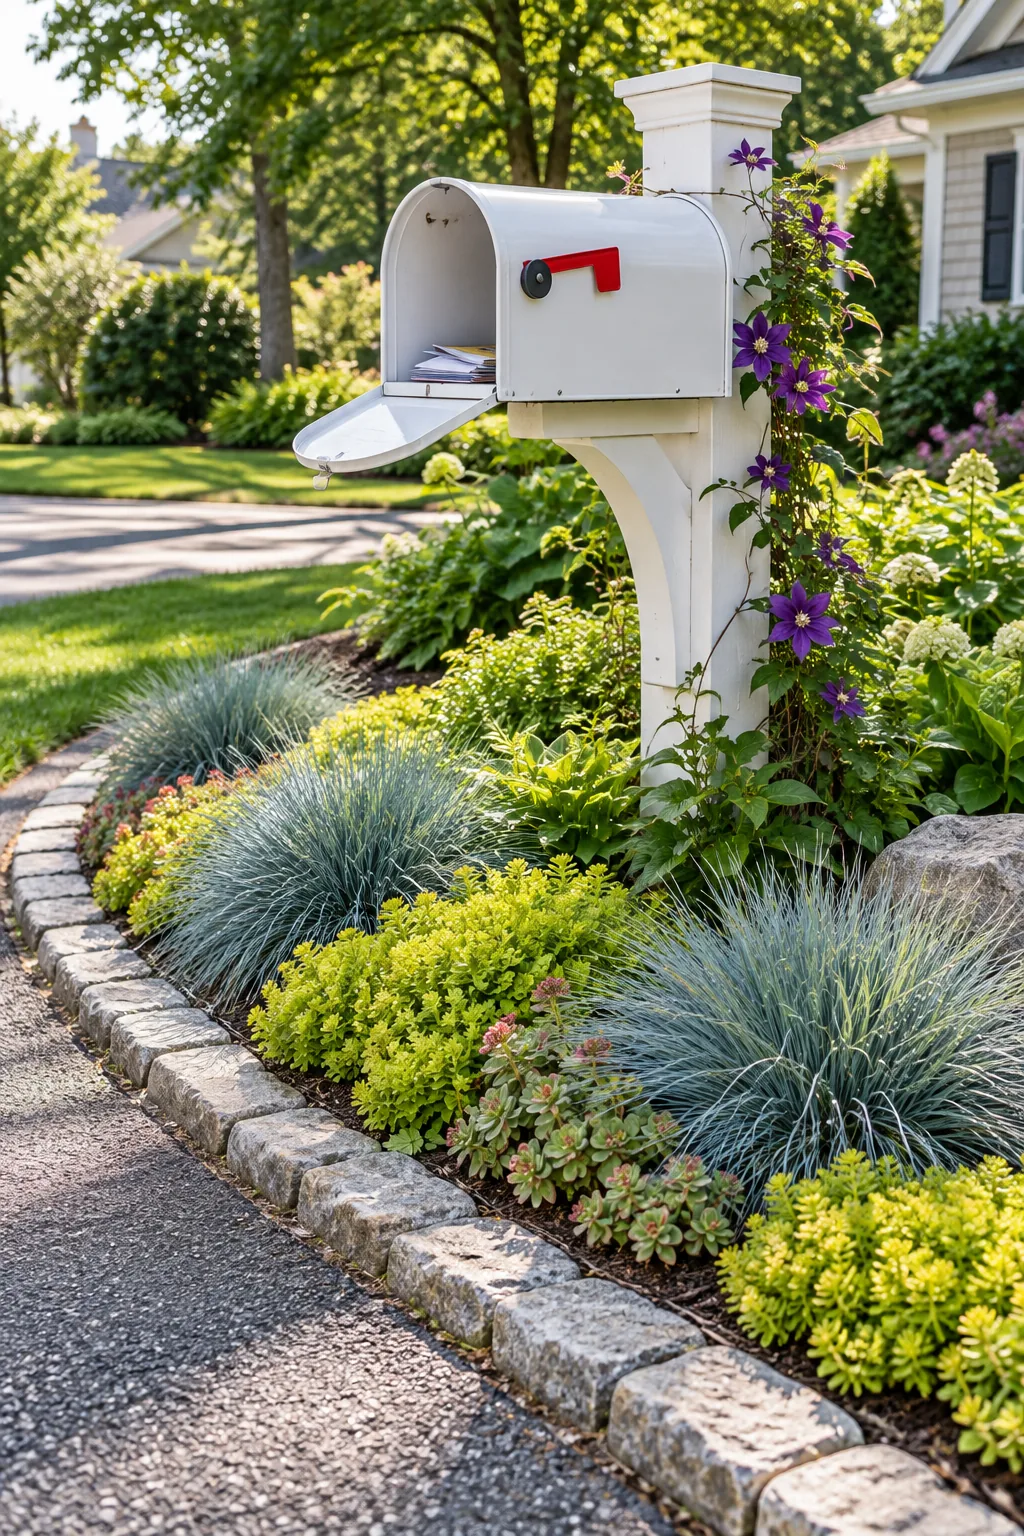
These tough, drought-resistant varieties establish deep root systems that easily shrug off both intense summer baking and corrosive winter road salt.
Amending the Roadside Soil
Parkway soil is notoriously compacted, often filled with gravel, road runoff, and leftover construction debris from street repairs. Dig down at least 6 to 8 inches and mix in equal parts organic compost and expanded shale to instantly improve drainage and root aeration.
Keeping the Mail Side Ankle-High
I once planted tall sage right in front, and our carrier understandably left a polite note about the blocked door. Maintain clear access by planting only creeping groundcovers directly below the mailbox door to keep the daily approach completely unobstructed.
These ankle-high plants prevent overgrowth from interfering with the door swing or obscuring your reflective house numbers from passing vehicles.
Selecting Drought-Resistant Groundcovers
The area immediately under the box receives less direct rainfall due to the overhang of the metal housing. Choose rugged, low-water spreading plants like creeping thyme or Angelina sedum that thrive in dry shade and rarely require supplemental summer watering.
Spacing Plants for Proper Airflow
Dense planting looks incredible on day one but encourages fungal diseases as the foliage matures and traps ambient humidity. Position your middle-tier perennials at least 18 inches apart from the center post to guarantee adequate airflow through the entire garden bed.
Rigging Thin Wire for Clematis
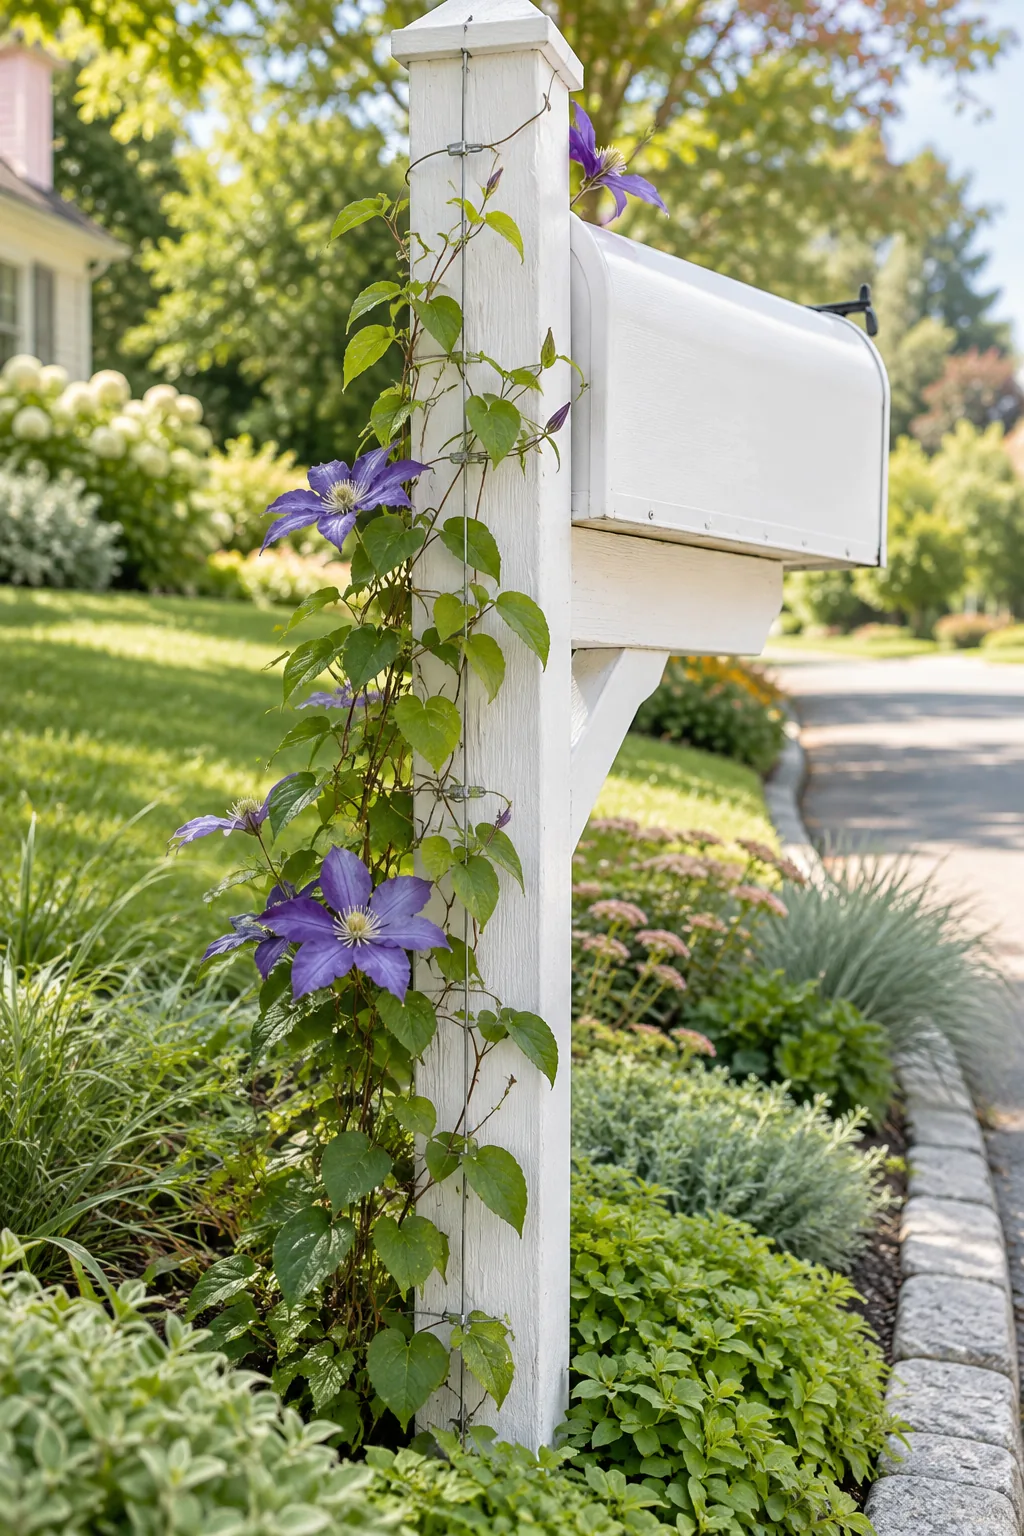
Vines need a structure to climb, but thick wooden trellises can easily overwhelm a standard 4×4 postal support. Staple thin galvanized wire strands vertically up the back of the post to give the clematis leaf stalks a subtle, secure place to curl.
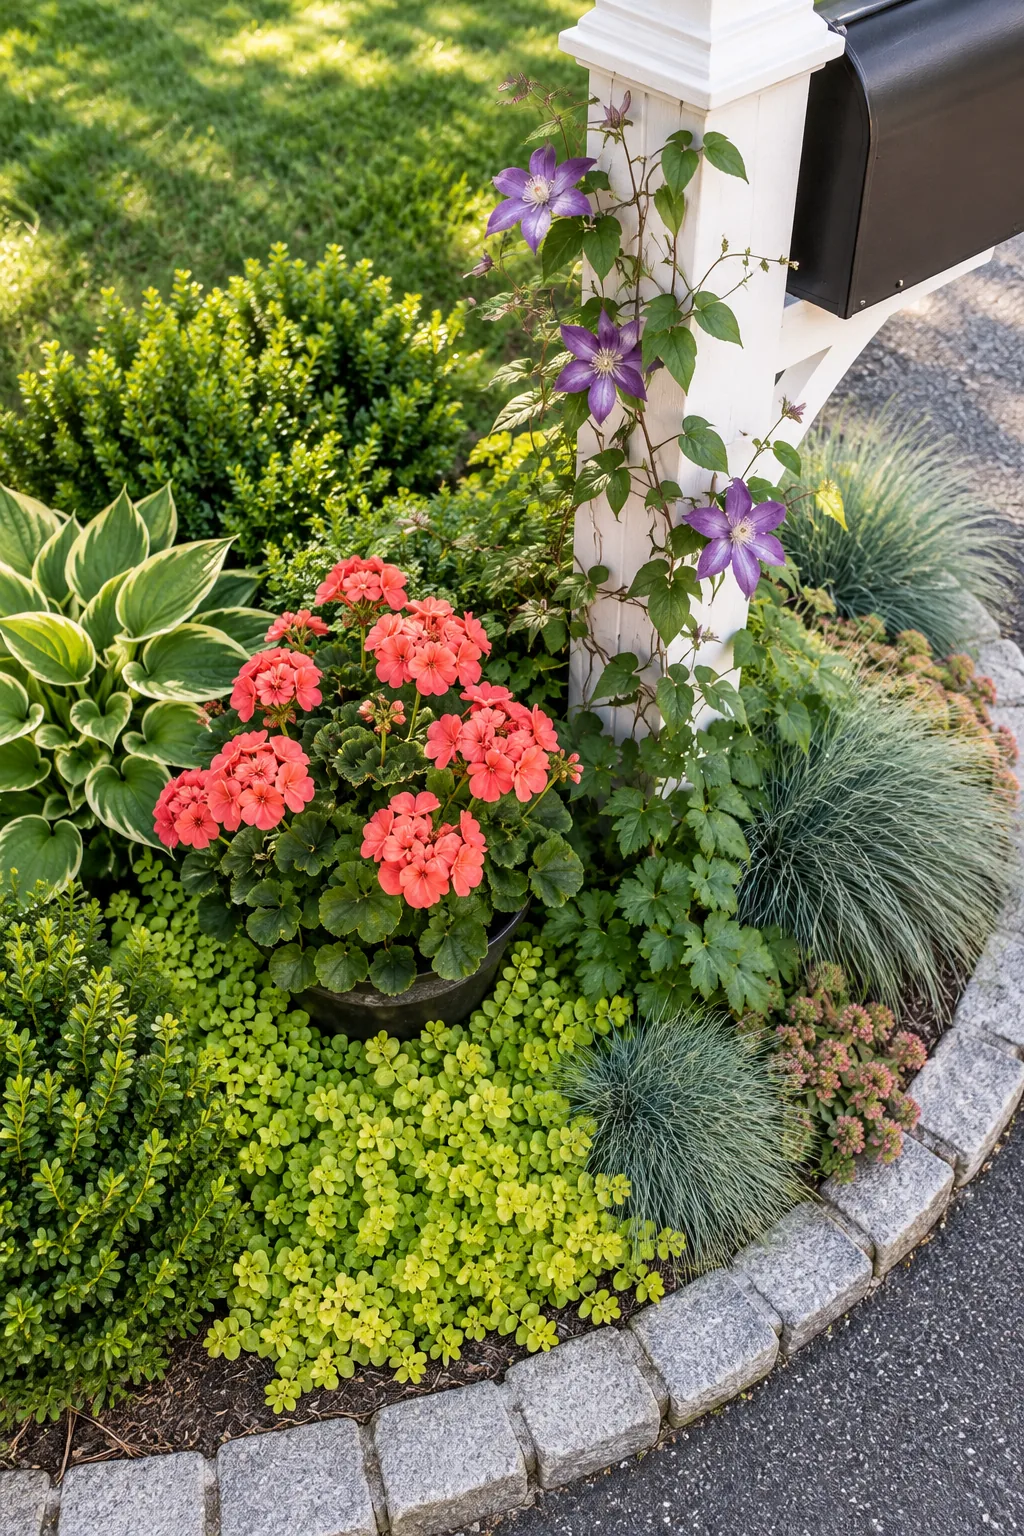
Moisture trapped by climbing foliage can quickly degrade untreated hardware and ruin your curb appeal. Always choose weather-resistant fasteners to protect your painted wood from long-term water damage.
Training Vines Up the Post
Clematis and other lightweight climbers will not naturally find the vertical wire on their own during the first few weeks of growth. Gently tie the new green shoots to the lowest wire using soft plant ties until they establish a firm, independent grip.
Pruning for Mail Carrier Visibility
Vigorous vines can quickly wrap around the flag or drape over the front door if left completely unchecked during the spring growing season. Trim back the side shoots every month to ensure the red flag remains highly visible to your approaching mail carrier.
Sinking Pots for Seasonal Swaps
Keep the display vibrant year-round without constantly digging up the soil and disturbing your permanent perennial roots. Sink an empty plastic pot sleeve flush with the mulch line, allowing you to instantly drop in a fresh 8-inch nursery pot whenever the seasons change.
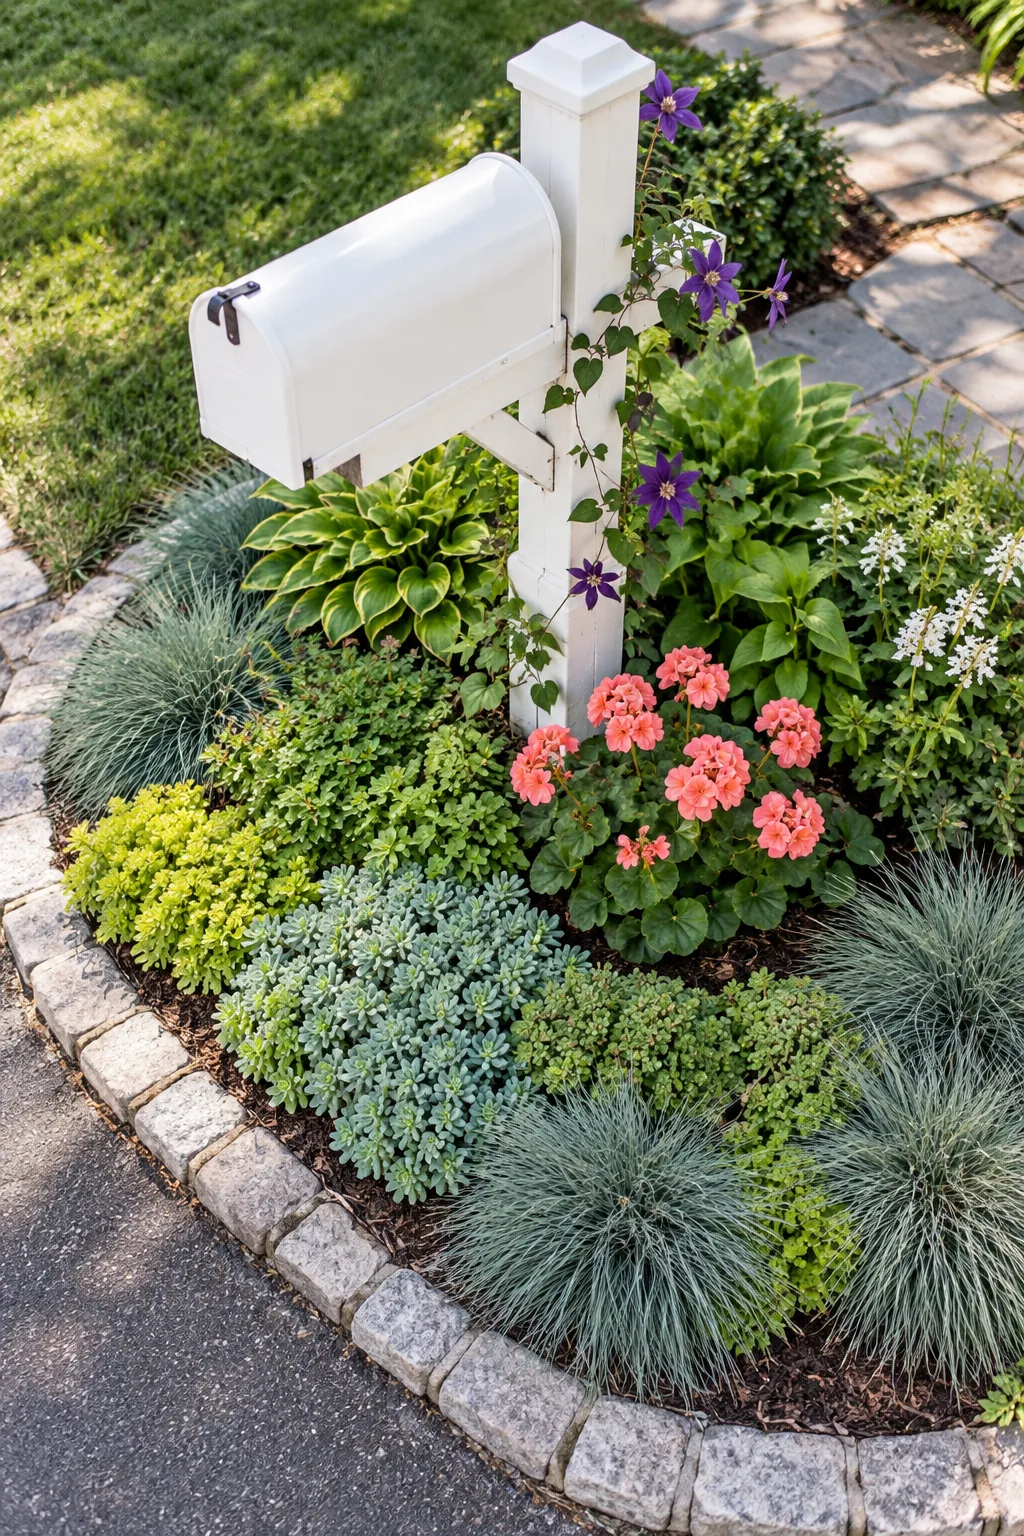
This straightforward technique prevents the surrounding dirt from caving in, making your seasonal color updates completely mess-free and incredibly fast.
Managing Drainage for Sunken Sleeves
Dropping a new pot into a solid plastic sleeve can create a waterlogged environment if heavy rain cannot easily escape. Cut three large drainage holes in the bottom of your sunken sleeve and add a 1-inch layer of gravel before inserting the seasonal pot.
Choosing High-Impact Seasonal Blooms
The sunken pot trick works best when you select vibrant, contrasting flowers that visually pop against the green perennial base. Rotate bright coral impatiens in the summer, hardy yellow mums in the fall, and ornamental kale during the colder, darker winter months.
Selecting the Right Mulch
Bare soil dries out rapidly near the hot street and invites aggressive weeds to take over your carefully planned layout. Apply a 2-inch layer of shredded hardwood mulch to retain essential moisture and keep the root zones cool during the peak of summer.
Watering the Microclimate
The isolated location of a curbside garden means it rarely benefits from your main lawn sprinkler system. Hand-water the new plants deeply twice a week for the first month, ensuring the moisture penetrates down to the lowest root zones to establish true drought tolerance.
Protecting Against Pests
Soft new growth near the street often attracts hungry rabbits and neighborhood pets exploring the parkway. Sprinkle a natural, scent-based repellent around the perimeter every few weeks to gently deter animals from snacking on your fresh clematis vines and tender groundcovers.
5 Ways to Style Your Mailbox Bed
Find the perfect plant palette and hardscaping combination to match your home's exterior.
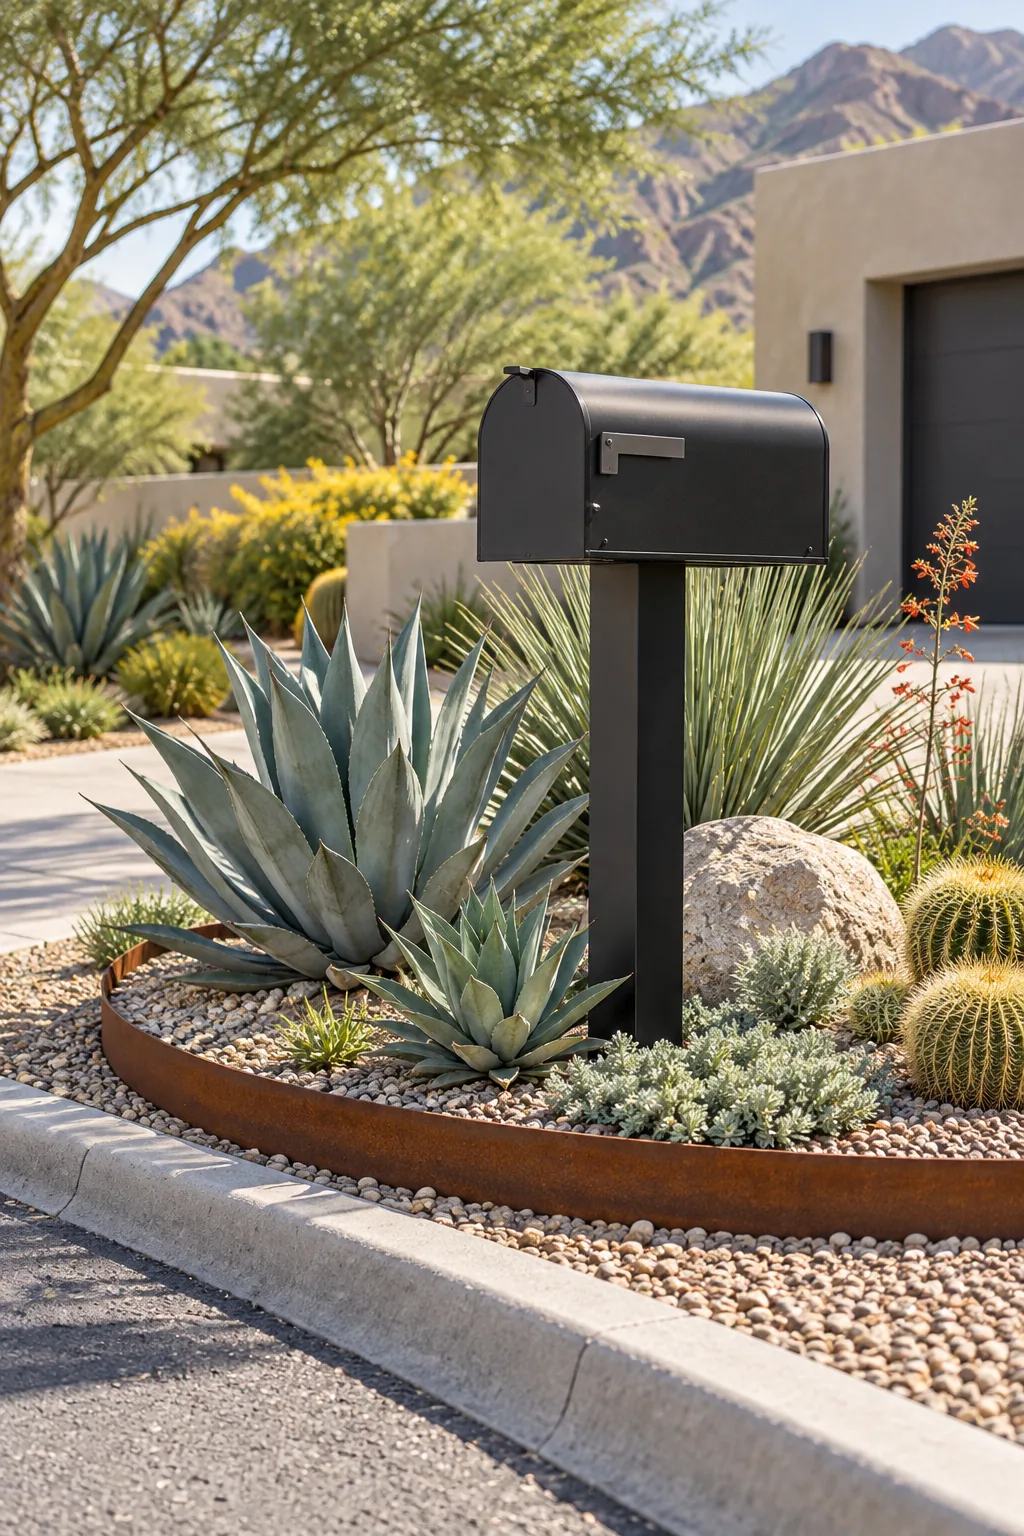
Modern Desert: Structural agave and crushed gravel create a striking, low-maintenance look that thrives in full sun.
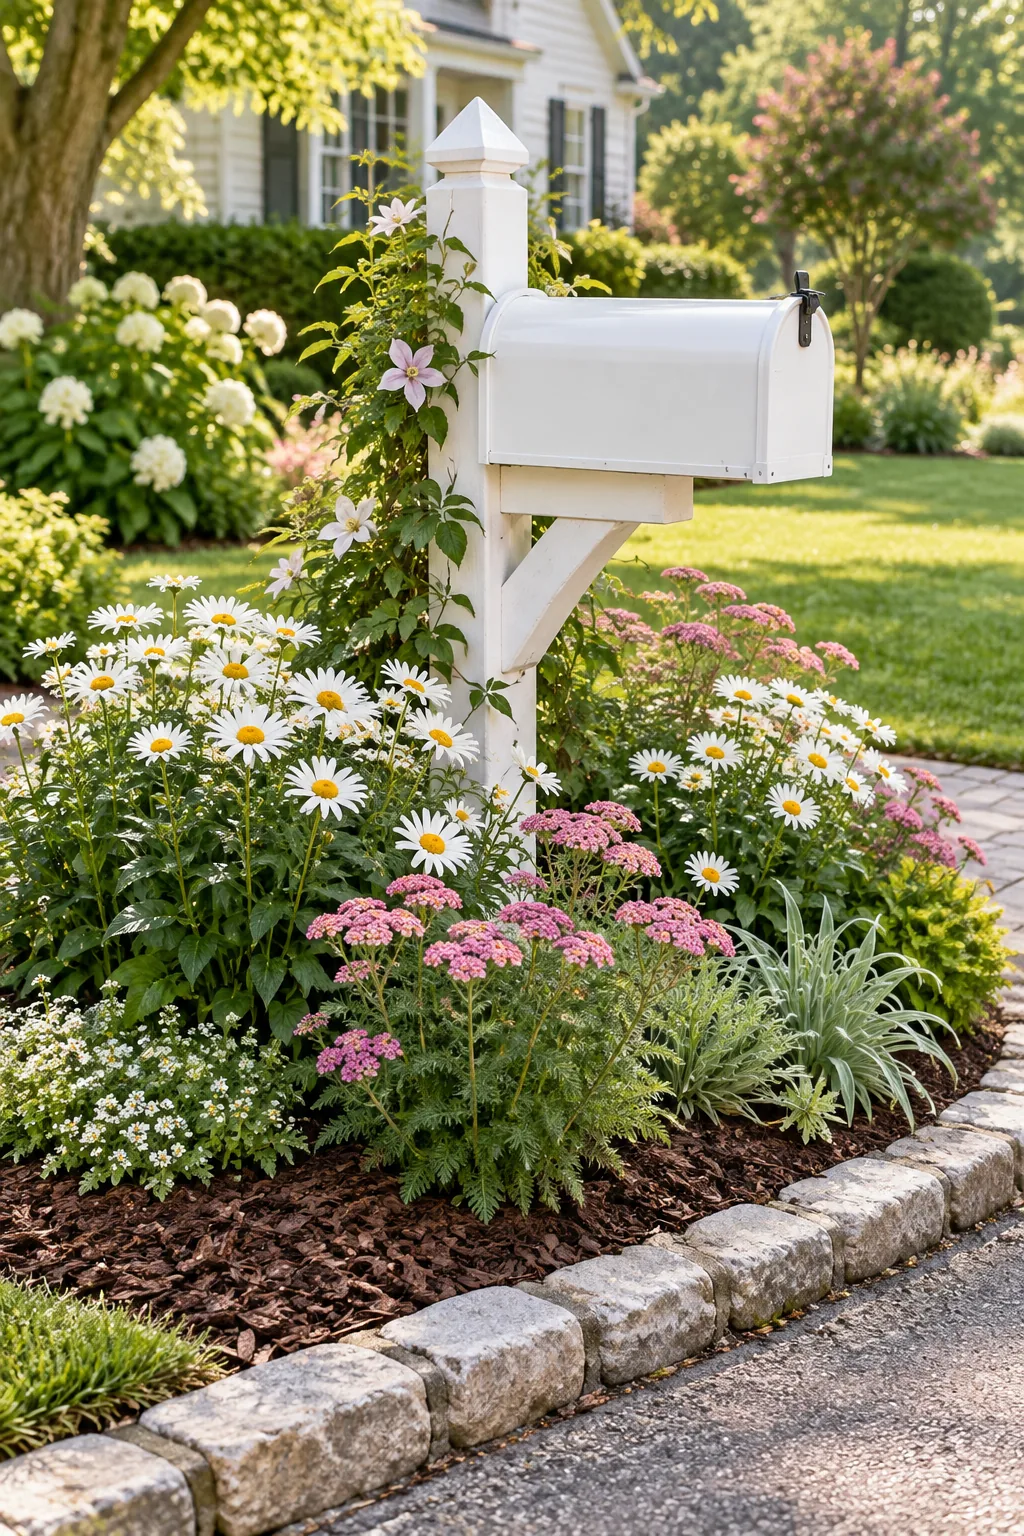
Cottage Garden: Abundant daisies and yarrow spill softly over the edges for a relaxed, welcoming entrance.
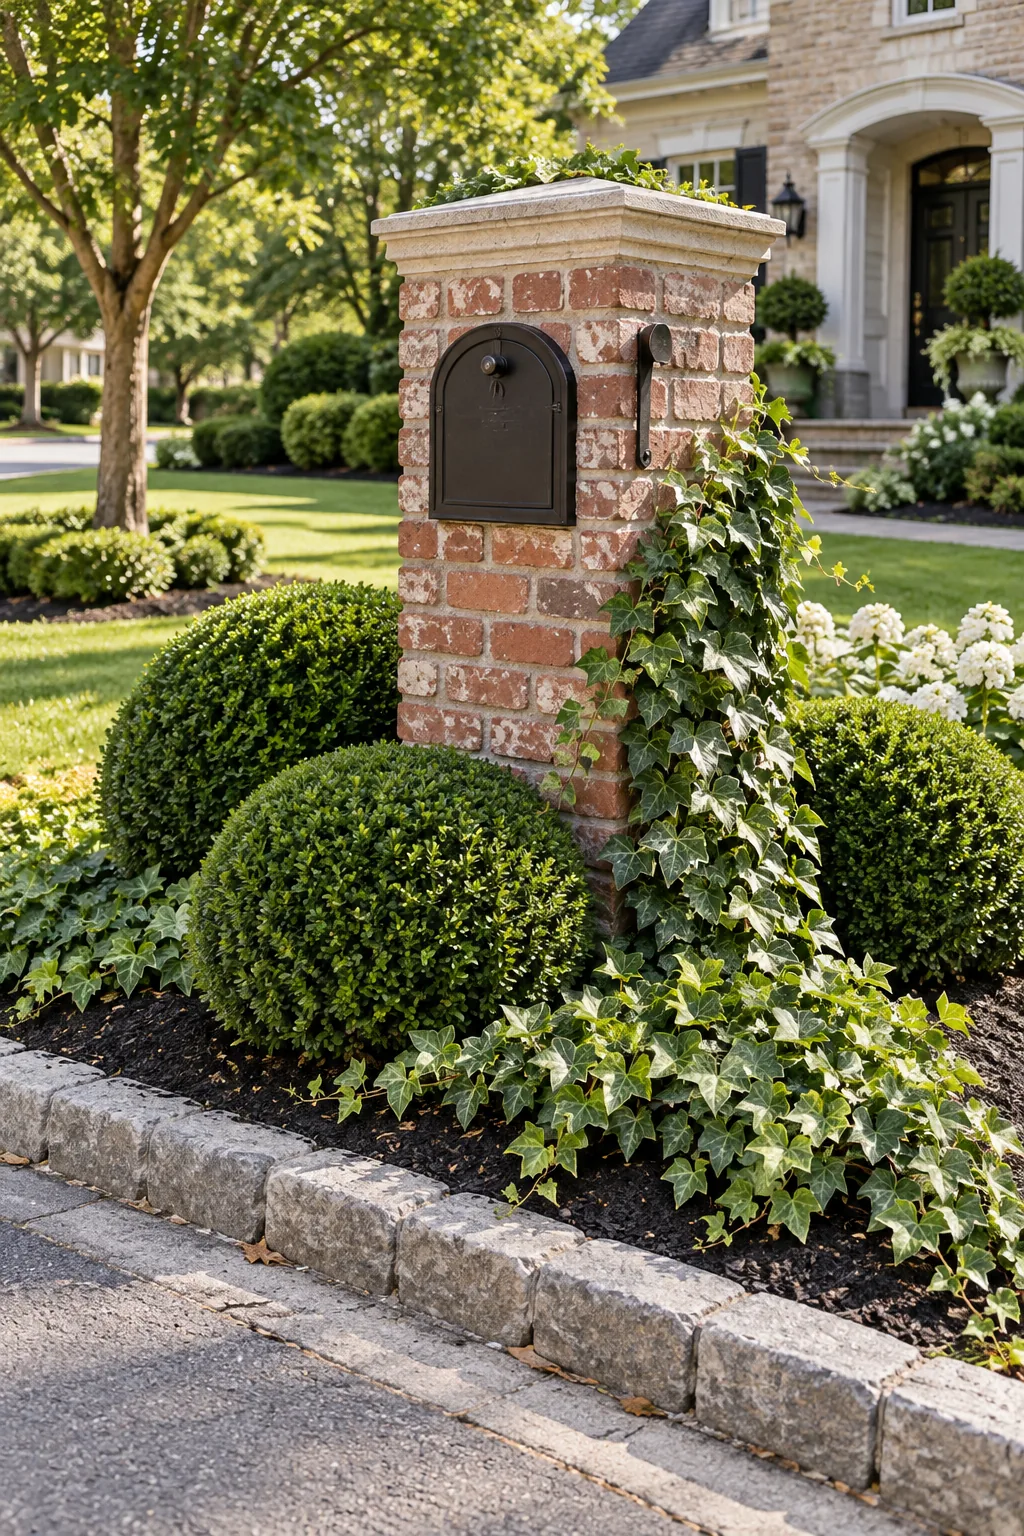
Formal Classic: Tightly clipped boxwoods and a sturdy brick pillar offer timeless elegance and year-round structure.
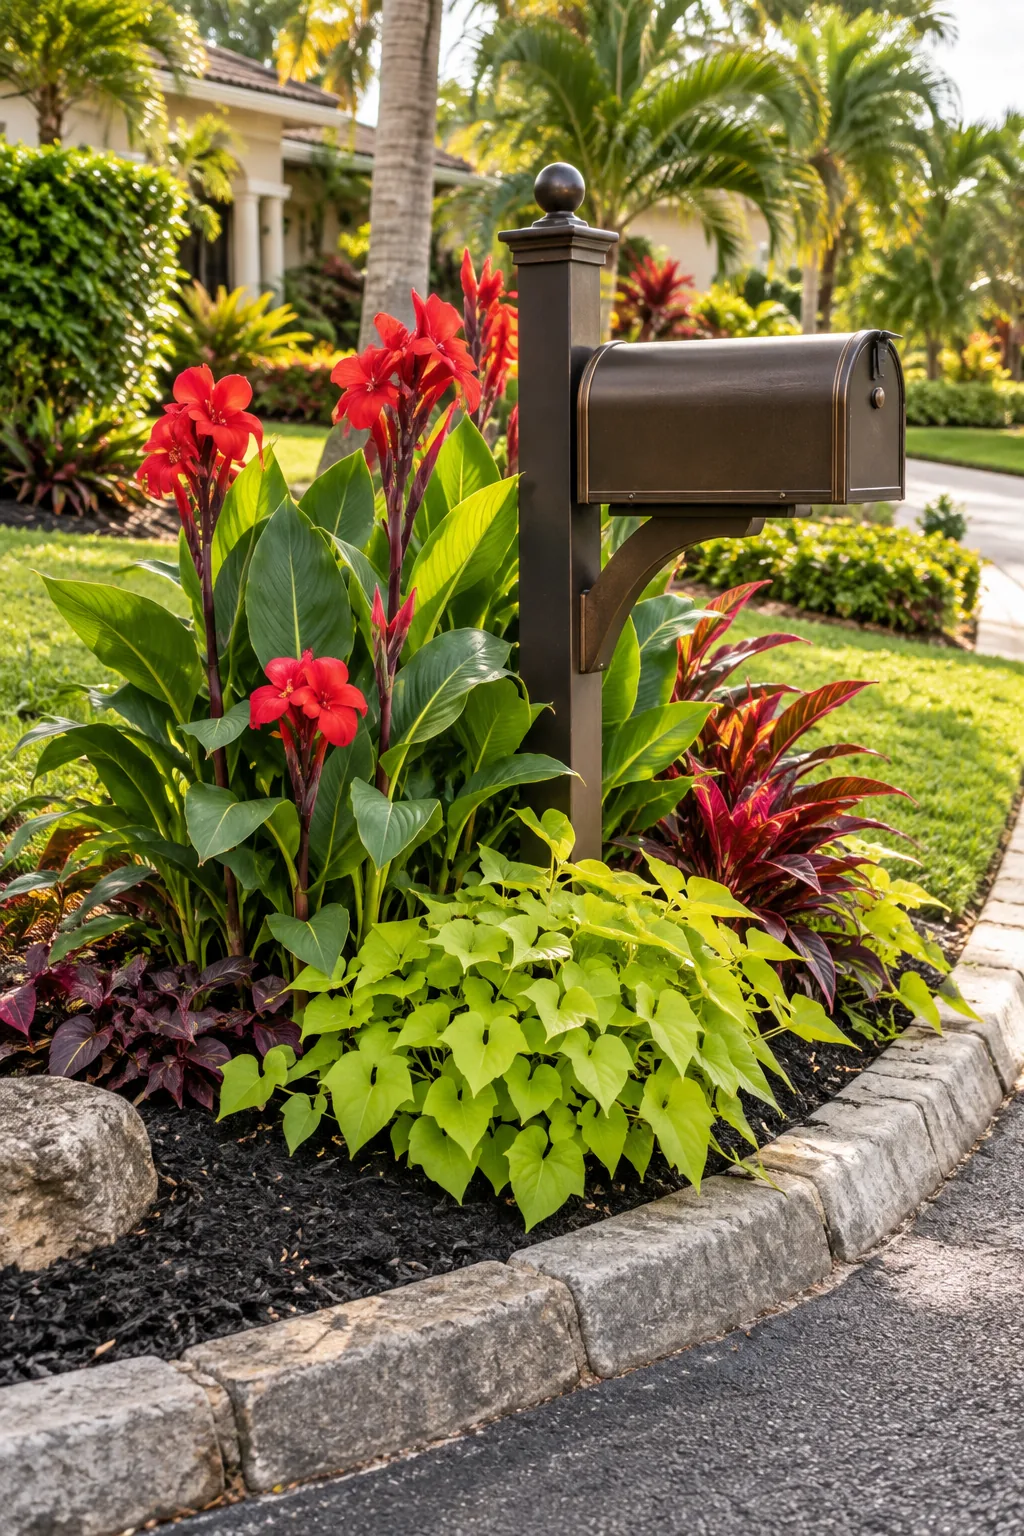
Tropical Brights: Bold canna lilies and neon sweet potato vines deliver maximum color impact during hot summers.
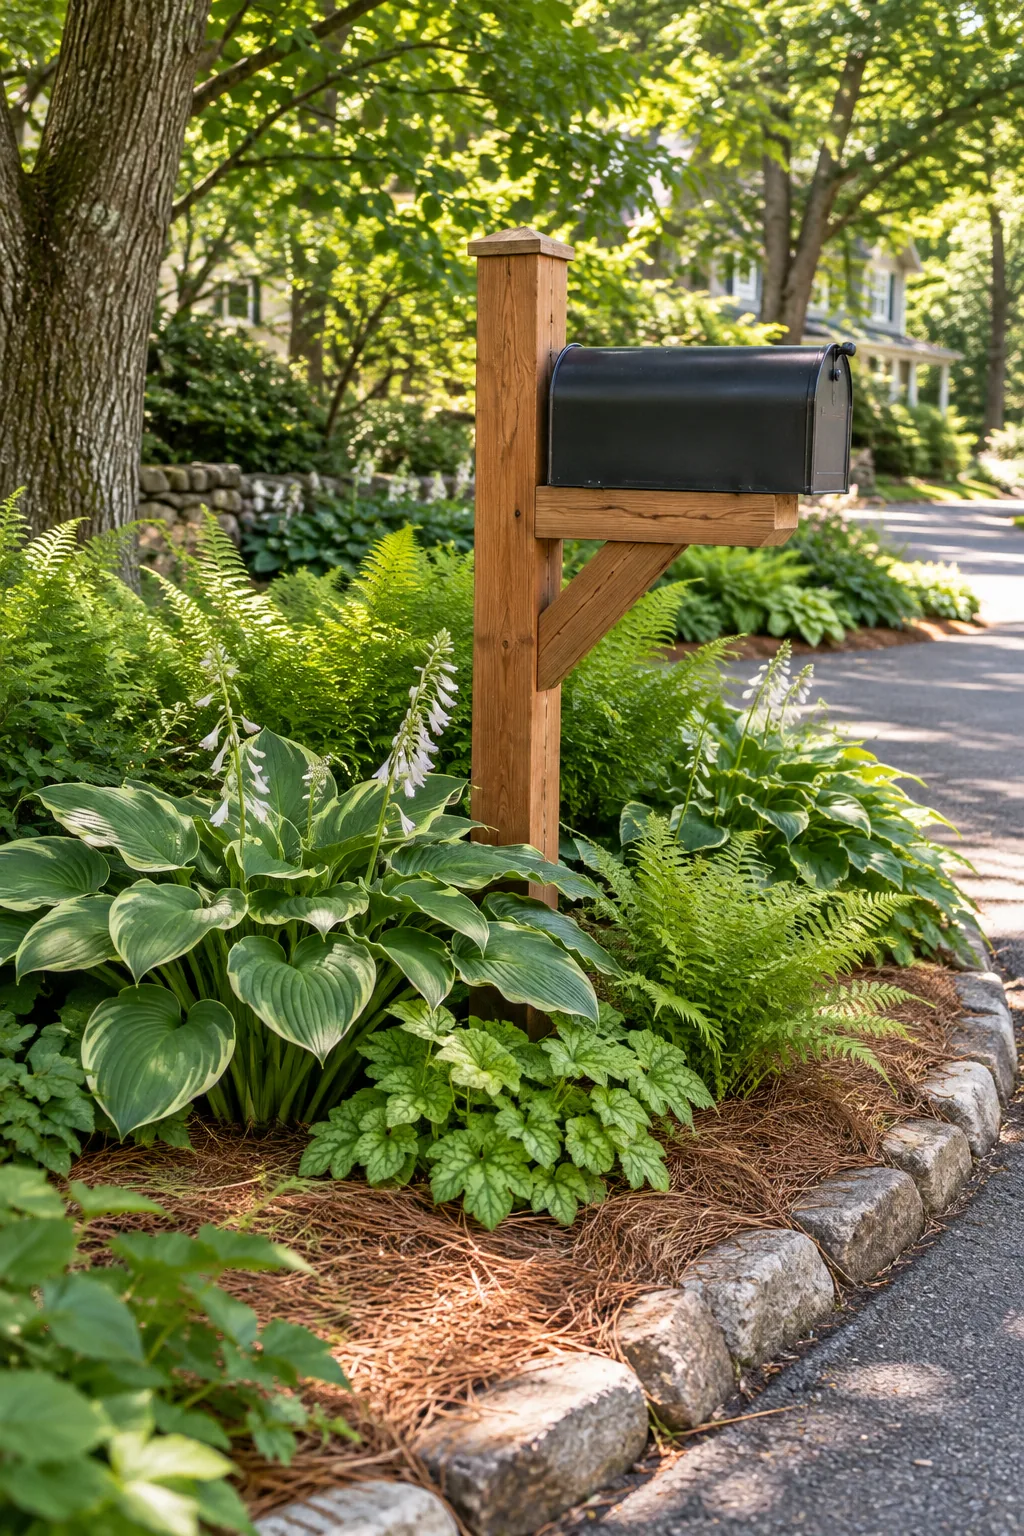
Woodland Shade: Lush hostas and delicate ferns thrive under mature street trees where sunlight is scarce.
The Mailbox Bed Planting Plan
Using a mapped layout saved me hours of second-guessing at the garden center when I overhauled my front yard. Bring the entire design together with our comprehensive one-page printable guide, which includes the top-down bed layout and exact spacing in inches.
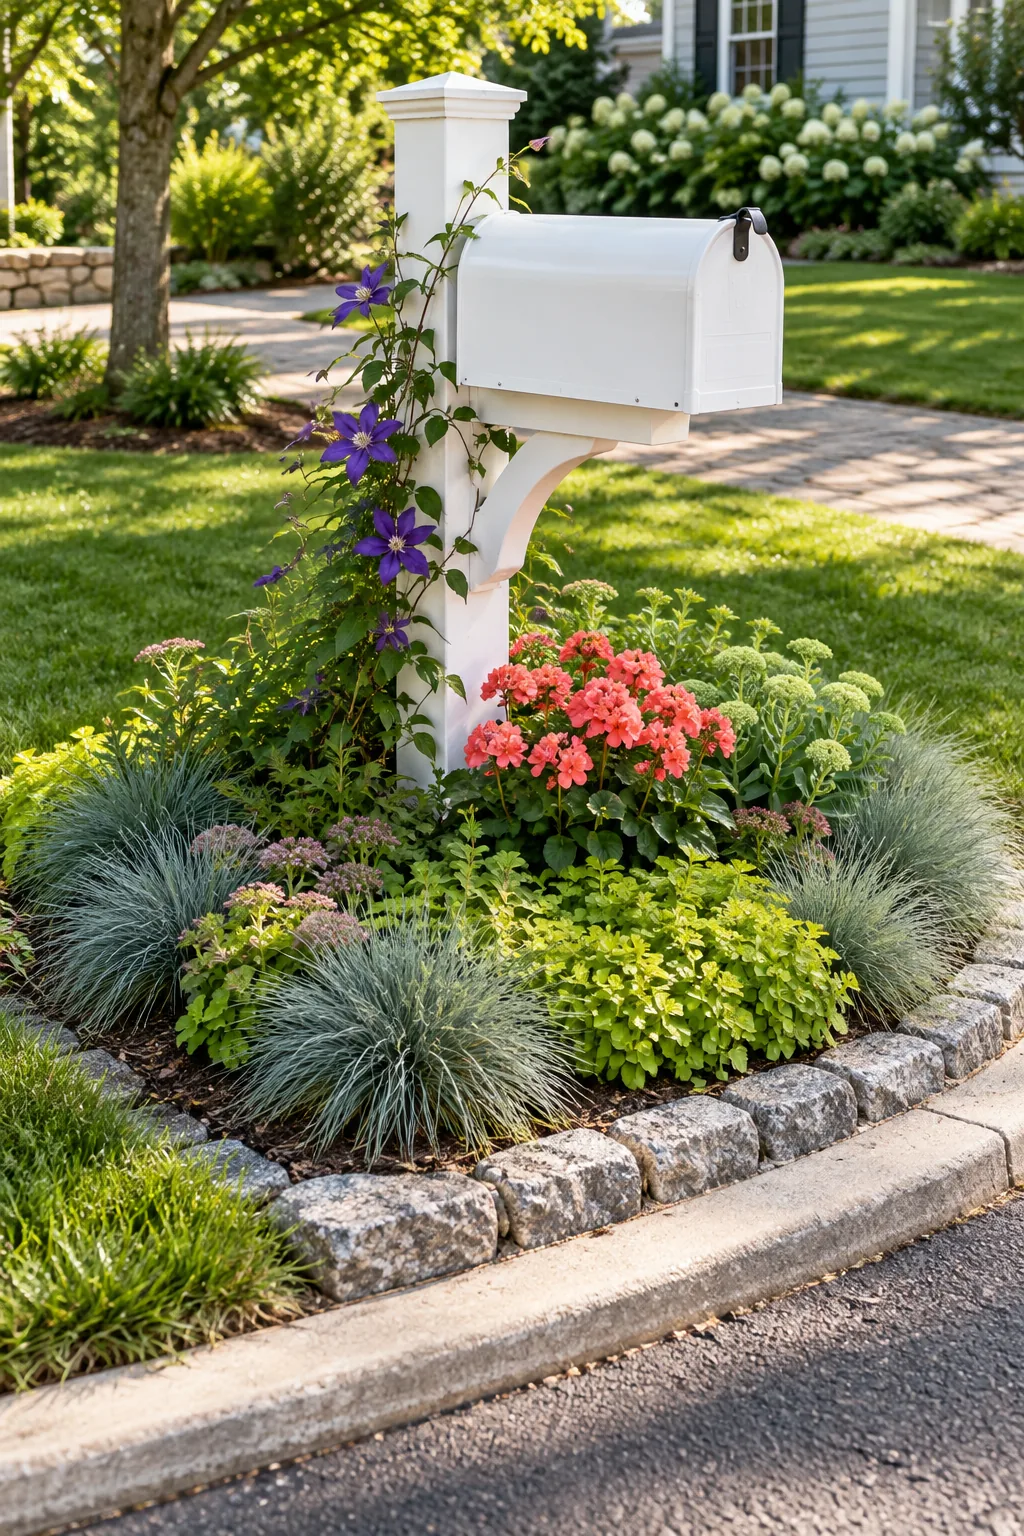
Download the complete curbside plant list, sorted by height zone, alongside the month-by-month swap schedule for your sunken pots to easily upgrade your curb appeal.