Front Yard Flower Bed Pro Planting Secrets & Layout Plan
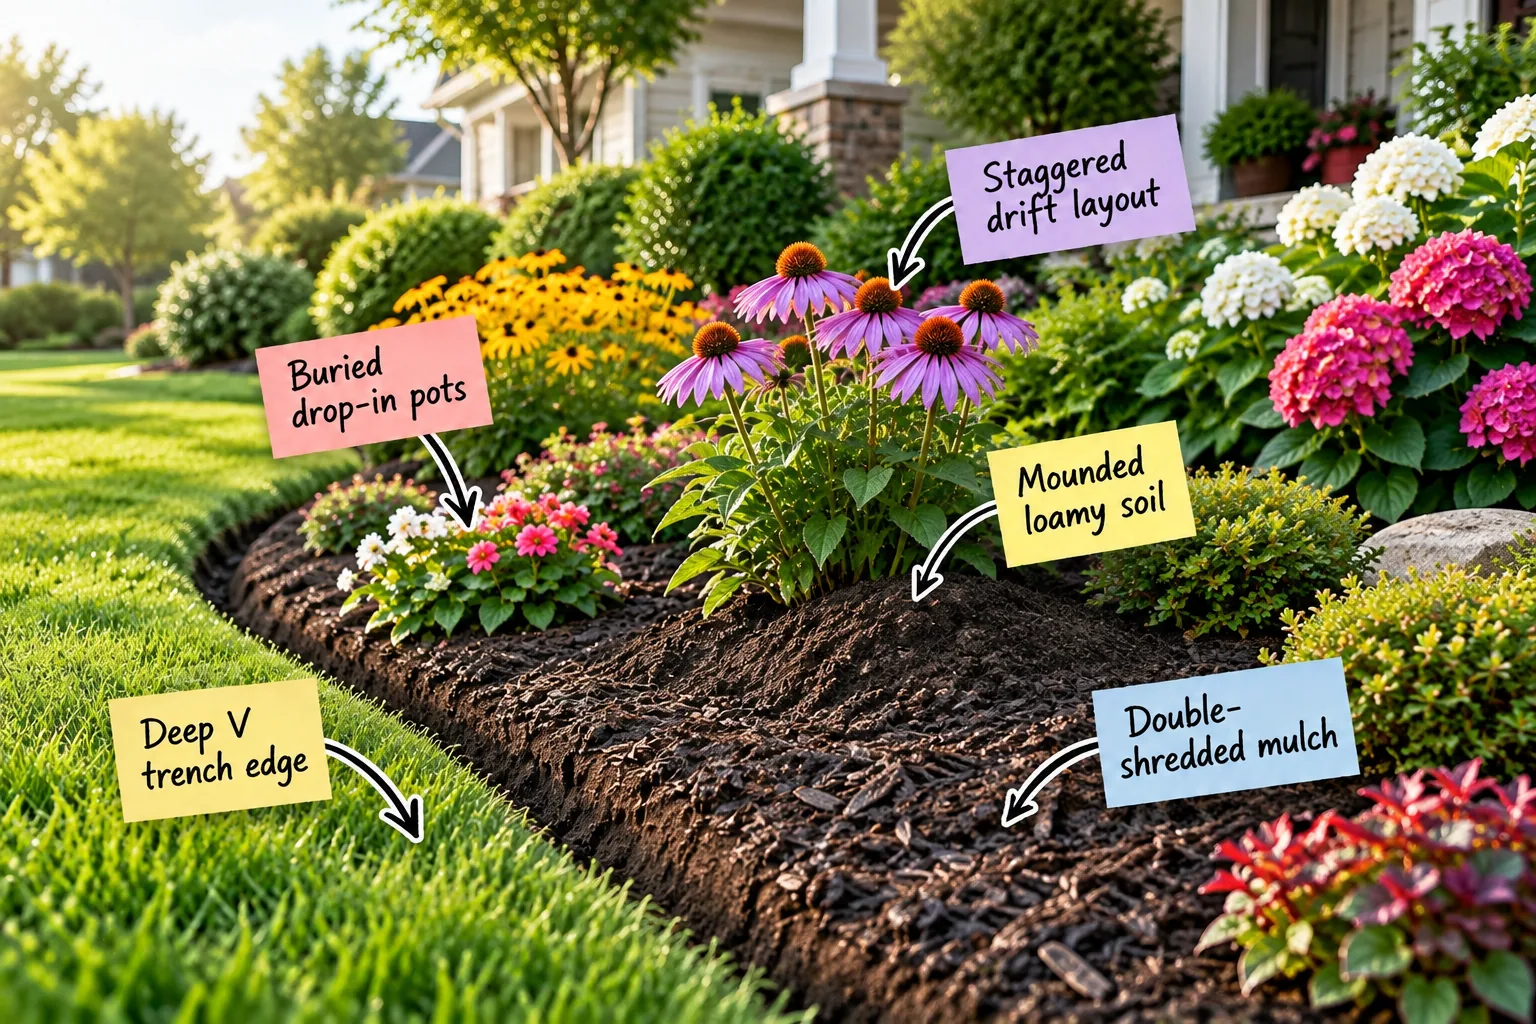
You will be able to dig a professional trench edge, arrange plants in natural drifts, and use our printable drift layout template and bloom succession chart to map out your entire flower bed. Download the template to recreate this professionally styled, lush landscape right at home.
Digging the Deep V Trench Edge
I used to battle grass runners constantly at my Austin home until I learned to cut a 4-to-6-inch deep V-shaped trench using a half-moon edger. The straight vertical side faces the grass to stop roots, while the angled side slopes gently into the bed to hold the mulch securely.
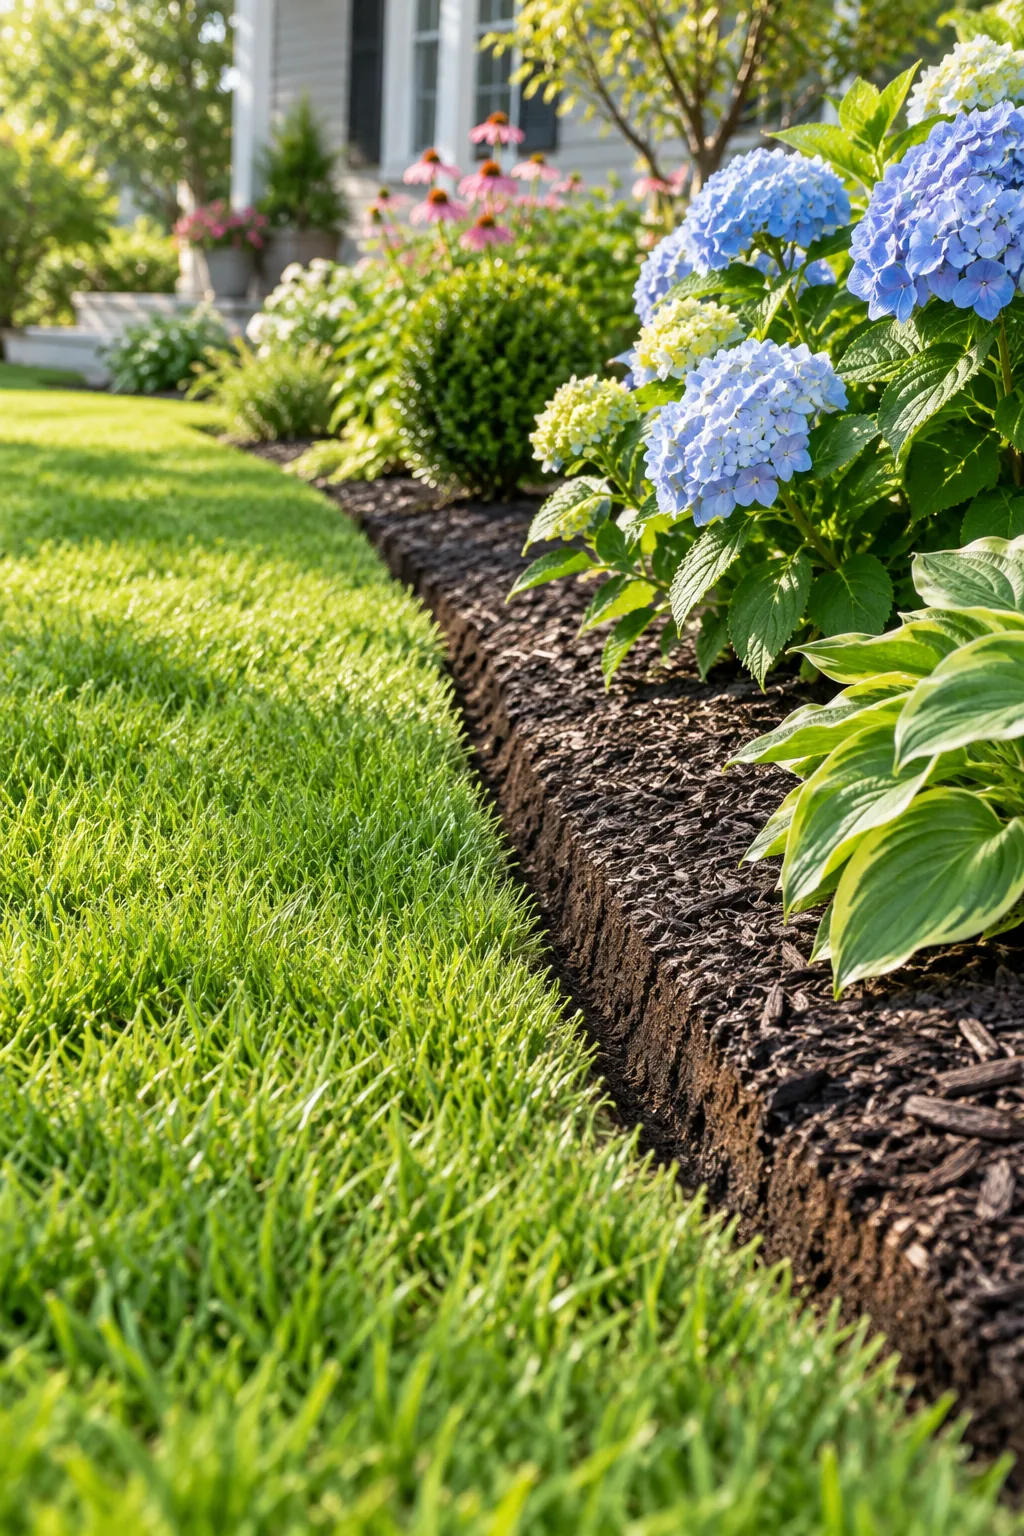
Creating this physical barrier is the most effective way to separate the lawn from the bed without relying on plastic borders. The sheer vertical dirt wall stops horizontal grass growth dead in its tracks, forcing runners to turn back toward the lawn.
- Mark your boundary line using a flexible garden hose or marking paint to establish a smooth, sweeping curve.
- Drive the half-moon edger straight down into the turf to create the 90-degree vertical wall facing the grass.
- Slice into the garden bed side at a 45-degree angle to meet the bottom of your vertical cut.
- Remove the wedge of soil and turf, tossing it into the compost bin to leave a clean, empty trench.
Selecting the Right Edging Tools
Achieving that perfectly straight, crisp lawn separation requires a dedicated half-moon edger rather than a standard garden spade. The flat, semi-circular blade allows you to apply direct downward pressure with your boot, cleanly slicing through thick turf roots without twisting or tearing the grass.
- Choose an edger with a wide top flange so your boot has a solid, comfortable platform to push against.
- Keep a flat file in your garden bag to sharpen the blade edge at the start of every spring season.
- Use a long-handled model that reaches your chest to maximize leverage and minimize lower back strain during long runs.
- Keep a pair of manual grass shears handy to snip any stubborn runners that escape the main blade cut.
Prepping the Native Base Layer
Before bringing in fresh topsoil to build your mound, aggressively loosen the existing native dirt at the bottom of the bed using a sturdy digging fork. Breaking up this compacted hardpan layer ensures water freely drains away, preventing your elevated bed from turning into a soggy bathtub.
Maintaining the Crisp Line
Elevating the center of your garden bed 6 to 8 inches above the lawn grade dramatically improves drainage for deep root systems while making the plants look much fuller from the street. This mounded loamy soil profile also naturally directs excess rainwater down into the trench.
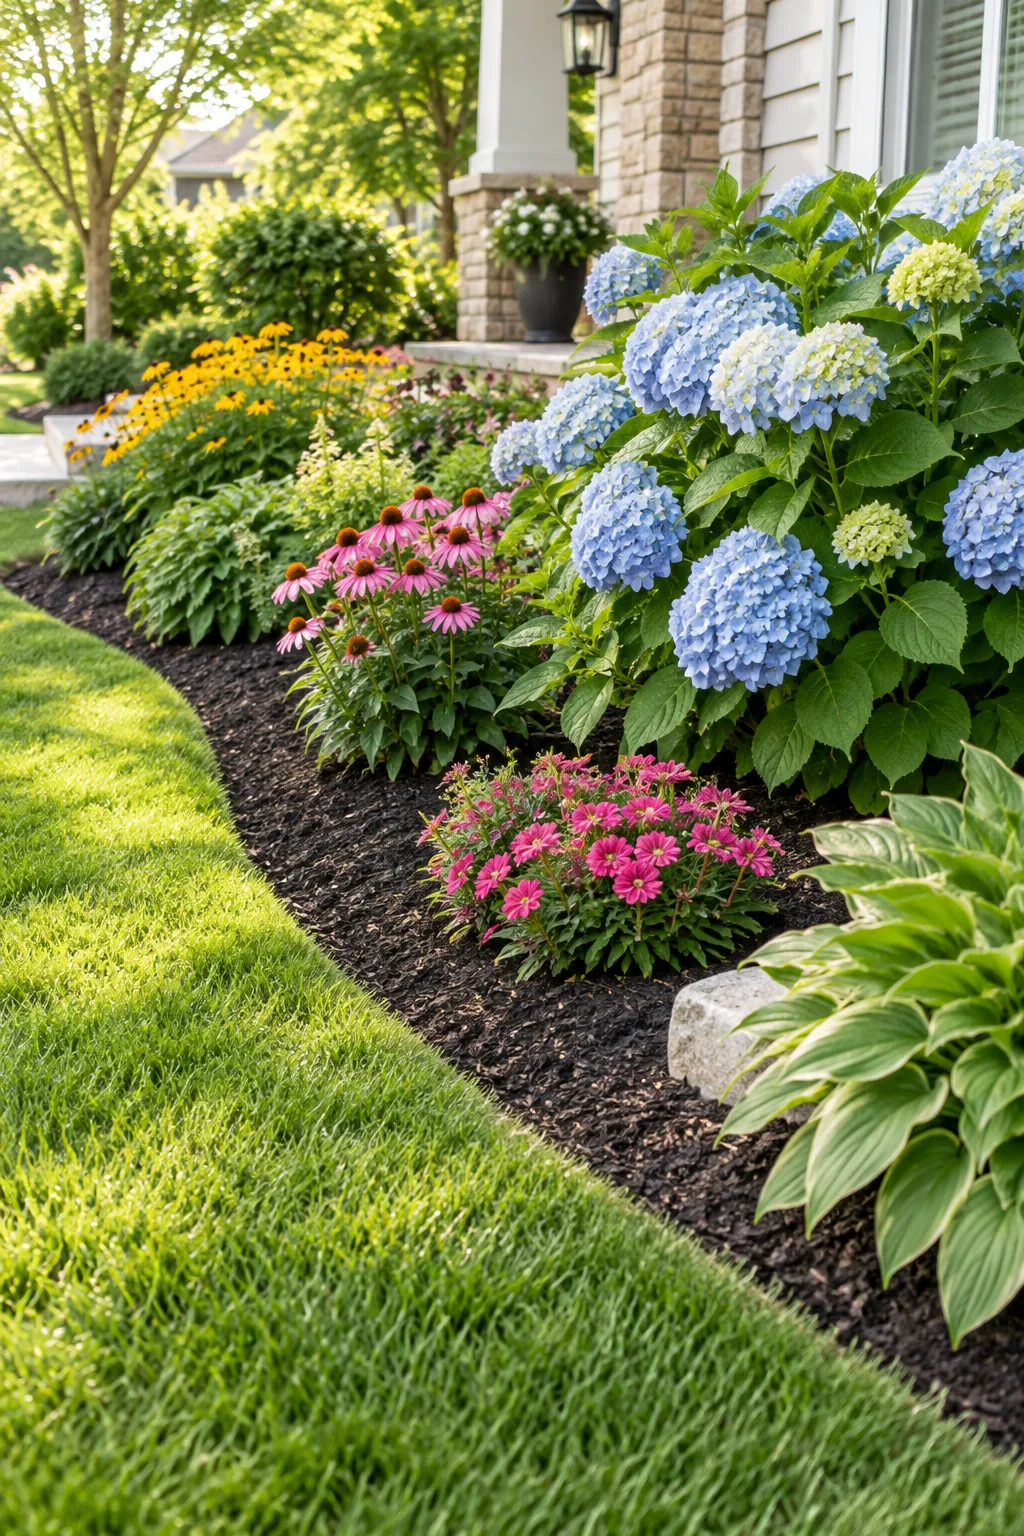
Keeping that sharp separation between the lawn and the mounded soil requires regular attention during the peak growing season, but the right trimming technique makes it incredibly quick.
Building Mounded Loamy Soil
Raise the center of your planting area using a 60/40 mix of topsoil and compost to establish a rich, fertile foundation. This elevated earth creates the perfect environment for healthy, vigorous root growth before you even begin thinking about placing your new perennials.
| Soil Component | Ratio | Primary Benefit | Application Method |
|---|---|---|---|
| Screened Topsoil | 60% | Provides structural stability | Till into native base |
| Mushroom Compost | 20% | Adds immediate nutrients | Blend evenly throughout |
| Pine Bark Fines | 10% | Improves aeration | Mix into upper layers |
| Worm Castings | 10% | Boosts microbial life | Concentrate near root zones |
Applying Double-Shredded Mulch
Spread exactly 2 to 3 inches of dark, double-shredded hardwood mulch over the bare soil to suppress weeds, keeping it at least 2 inches away from plant stems to prevent crown rot. The fine shreds interlock beautifully, staying firmly in place even on the sloping sides of your mounded bed.
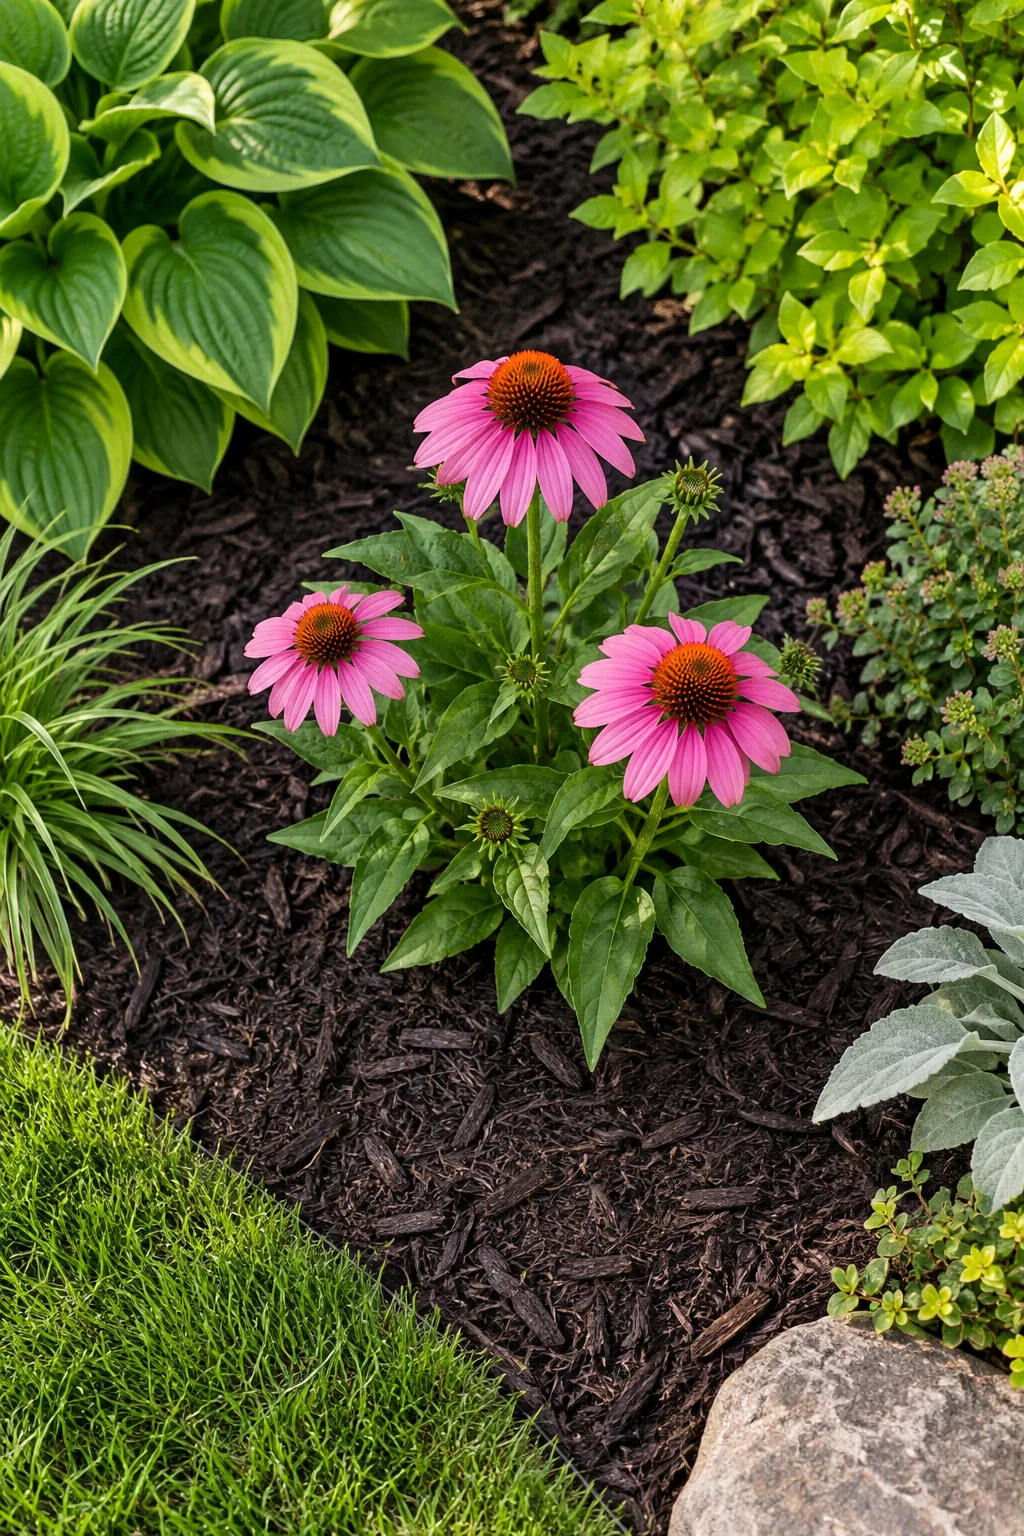
Applying the mulch layer immediately after planting locks in precious soil moisture and protects tender new roots from extreme temperature fluctuations. This dark organic blanket also provides a stunning high-contrast background that makes your bright green foliage pop instantly.
Calculating Your Mulch Volume
Figuring out exactly how much double-shredded hardwood to buy prevents you from running short halfway through the project. One cubic yard of bulk mulch perfectly covers a 100-square-foot garden bed at the recommended 3-inch depth, which equals roughly 14 standard bags from the home center.
Understanding Sun Exposure
Before finalizing your staggered drift layout, monitor the front yard for a full day to map exactly how many hours of direct sunlight the bed receives. Most blooming perennials require at least six hours of unobstructed afternoon sun to produce a continuous, vibrant floral display.
Arranging a Staggered Drift Layout
When I first started gardening, I planted in stiff rows, but now I always arrange identical flowers in odd-numbered triangular groupings of three, five, or seven. Space perennials like coneflowers 18 to 24 inches apart on center so they grow together into a seamless, natural drift.
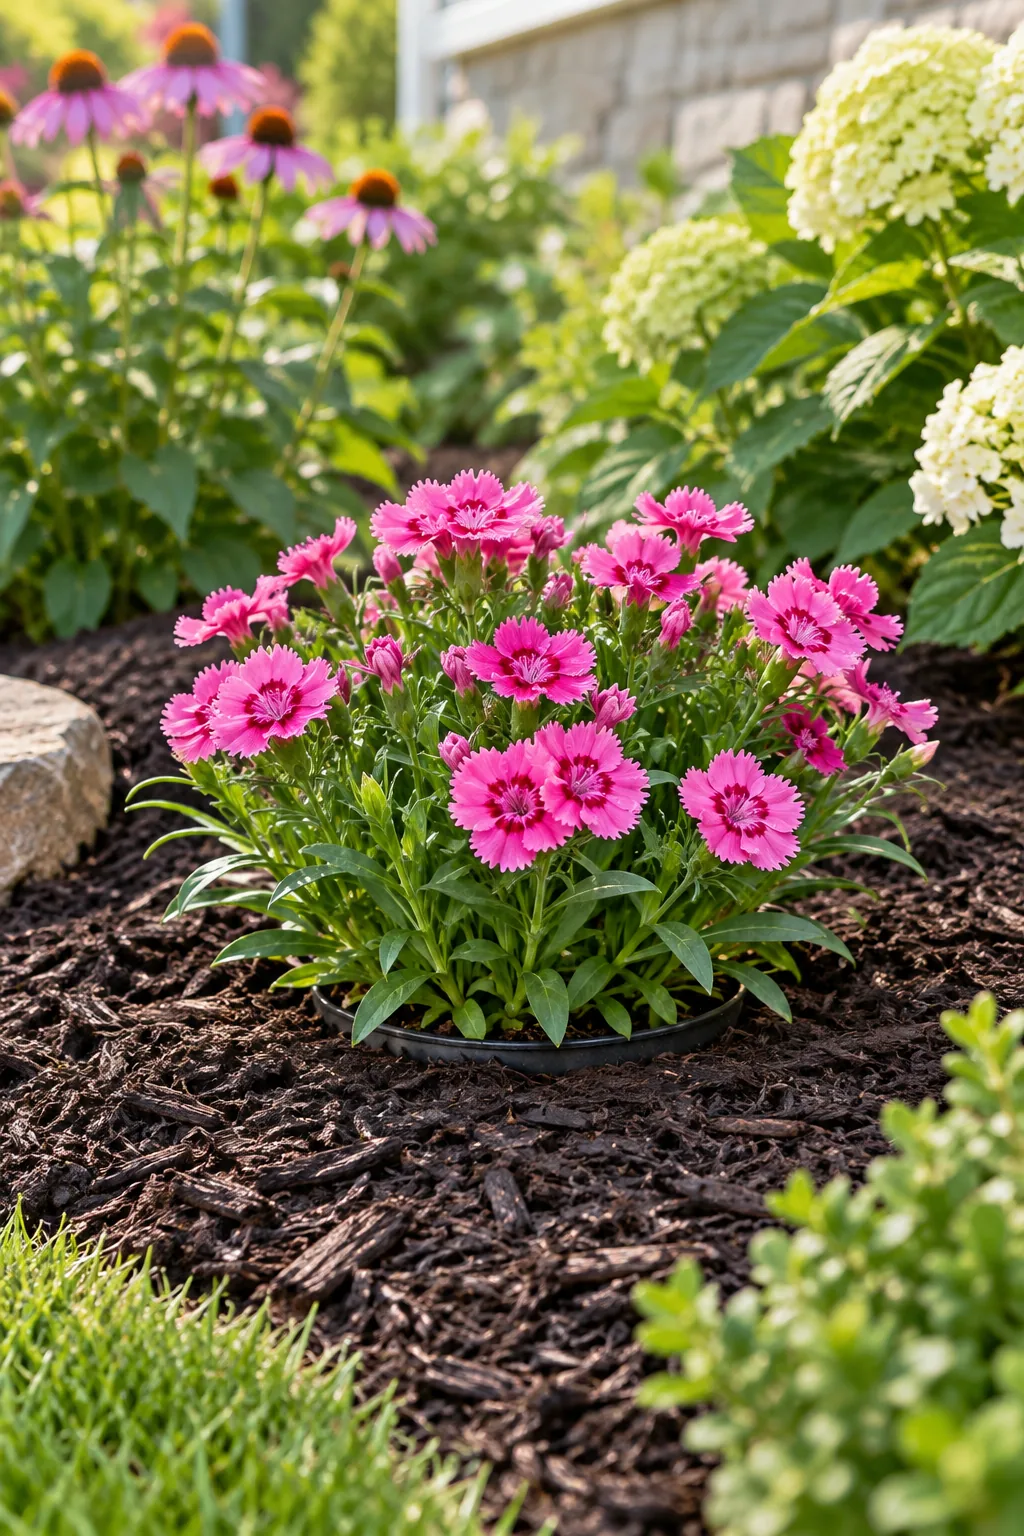
Planting in these staggered clusters mimics how seeds naturally fall and germinate in the wild, completely eliminating the artificial look of straight nursery lines. The overlapping foliage eventually shades out bare soil, drastically reducing your weekend weeding chores.
Spacing for Mature Growth
Resist the temptation to cram young nursery plants tightly together for immediate impact, as they will quickly choke each other out. Always reference the mature spread listed on the plant tag and measure from the exact center of one root ball to the next.
Sourcing Healthy Nursery Stock
When heading to the garden center, always inspect the root systems of potential perennials by gently sliding the plant out of its pot. Select compact, densely branched specimens with firm white roots and tight, unopened buds rather than the largest, fully blooming plants on the rack.
Hiding Buried Drop-In Pots
Sink empty 8-inch plastic nursery pots perfectly flush with the soil line to hold easily swappable seasonal plants. Drop vibrant blooming flowers still in their original grower pots directly inside these hidden containers for instant, mess-free color swaps without disturbing the surrounding roots.
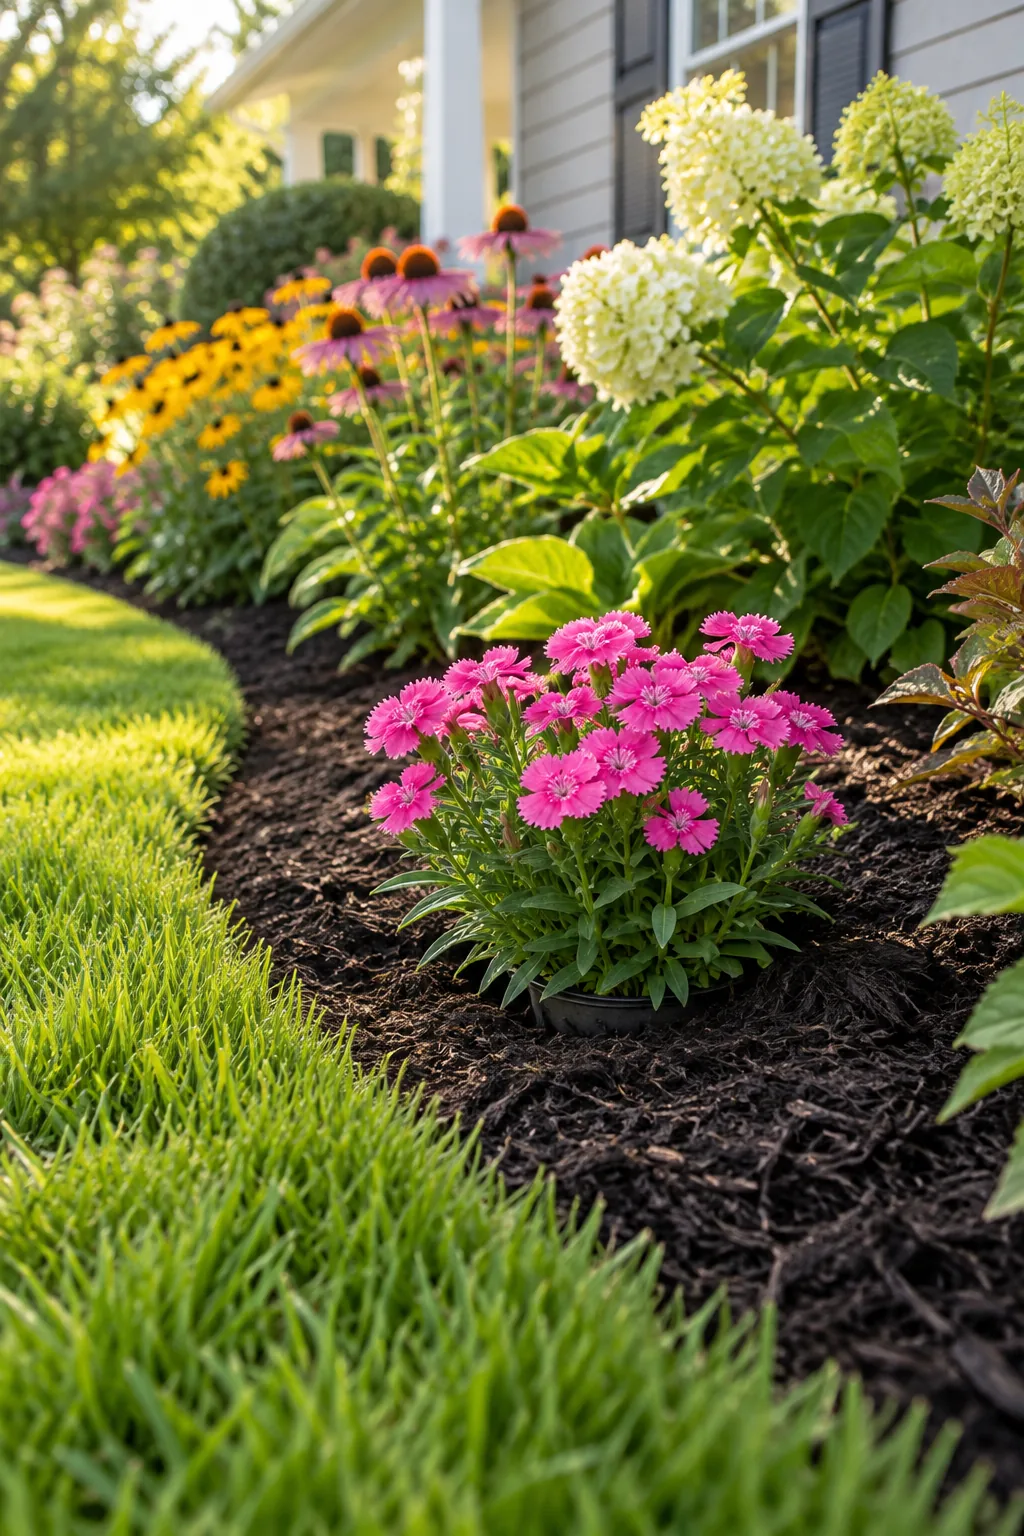
This simple container trick allows you to instantly refresh tired sections of the garden right before hosting a party without digging a single hole. You simply lift out the faded plant and drop a fresh, blooming replacement right into the waiting sleeve.
Swapping Seasonal Color
Rotating out your drop-in plants four times a year keeps the front yard looking fresh and intentional, even as the perennial background goes completely dormant. Use pansies in early spring, zinnias in the summer heat, garden mums in fall, and ornamental cabbage for winter interest.
Feeding the Seasonal Drops
Because your drop-in seasonal flowers are confined to their buried plastic nursery pots, they cannot reach the surrounding mounded loamy soil for nutrients. Apply a liquid bloom-boosting fertilizer every two weeks to keep these heavy feeders pushing out fresh color all season long.
Planning Bloom Succession
Select perennials with overlapping bloom times so your front bed is never entirely green at any point in the year. Pair early-summer hydrangeas with mid-summer coneflowers and late-summer black-eyed Susans to guarantee continuous visual interest from the first spring thaw until the first hard frost.
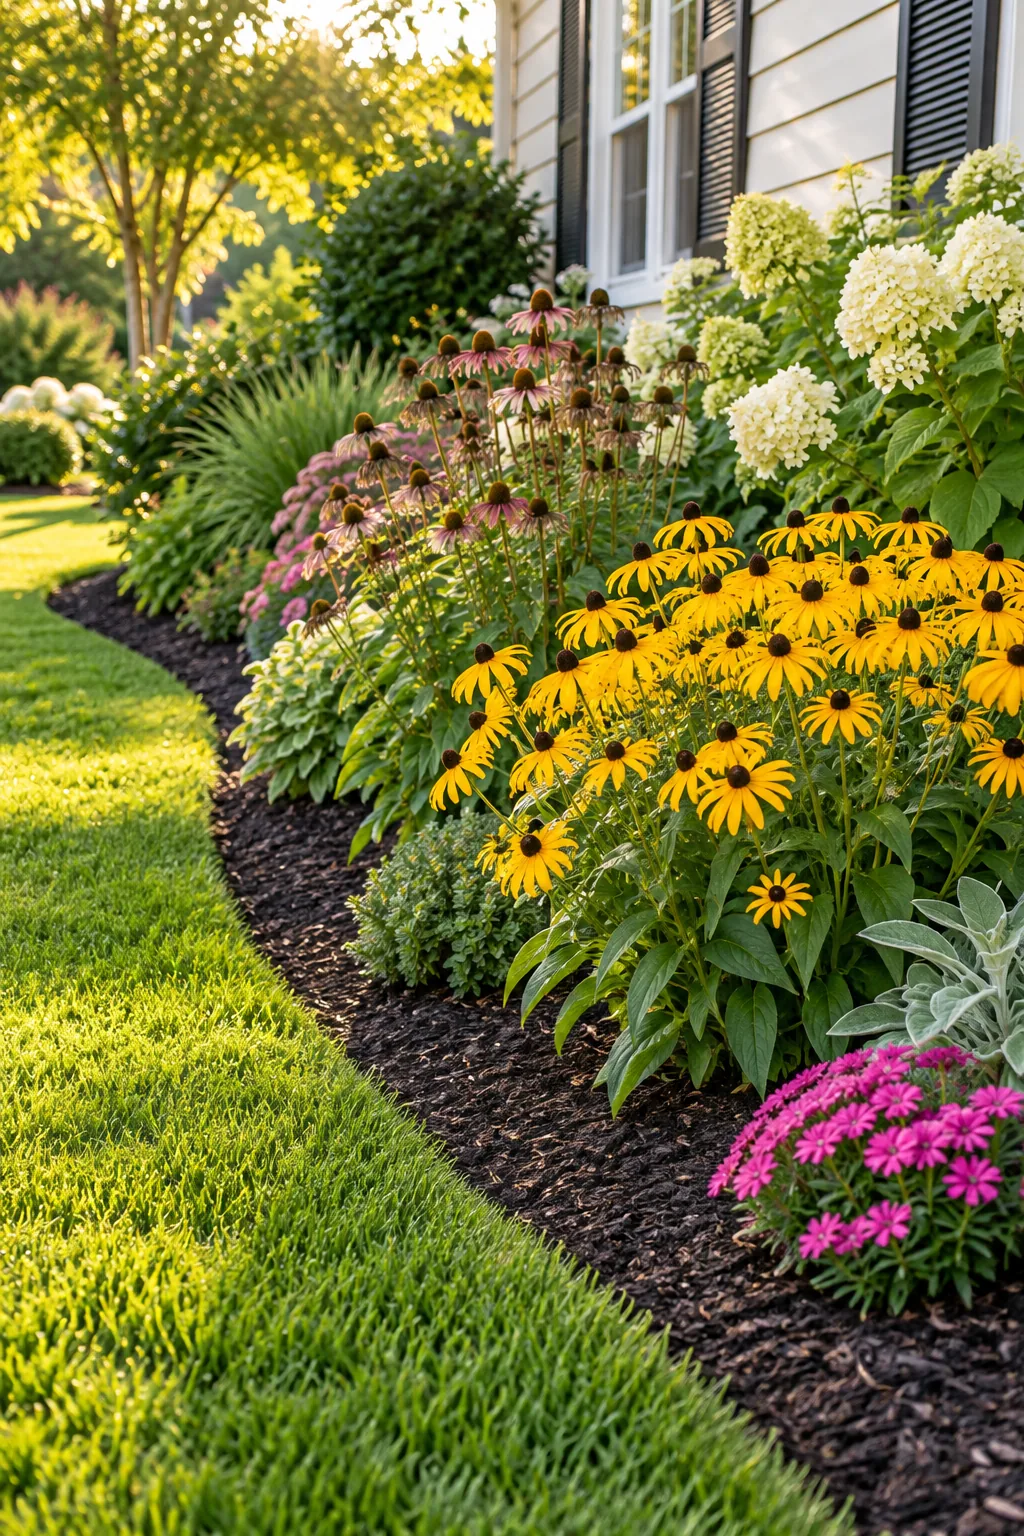
Mapping out exactly when each species hits peak bloom prevents the common mistake of buying a cart full of flowers that all look great in May but leave the garden completely barren by August. A well-planned succession ensures a dynamic, ever-changing display.
Dividing Overcrowded Drifts
After three or four growing seasons, those perfectly spaced perennial groupings will naturally expand and begin competing for water and airflow. Dig up the entire clump in early spring, split the root mass into thirds with a sharp spade, and replant to instantly rejuvenate the drift.
Winterizing the Trench Edge
When the first hard frost puts the garden to sleep, take ten minutes to walk the perimeter by clearing fallen leaves out of the deep V trench. Keeping this drainage channel completely empty prevents winter snowmelt from pooling against the dormant perennial crowns.
Watering the New Installation
Newly planted perennials require deep, infrequent watering to encourage their roots to stretch downward into the rich topsoil mixture. Run a soaker hose beneath the mulch layer for 45 minutes twice a week to keep the foliage dry and drastically reduce the risk of fungal diseases.
Download the Printable Layout Plan
Grab our downloadable PDF template featuring a pre-measured 10×4 foot staggered drift layout and use the built-in grid spacing to easily scale the design for longer property lines. This comprehensive guide removes all the guesswork from spacing and species selection.
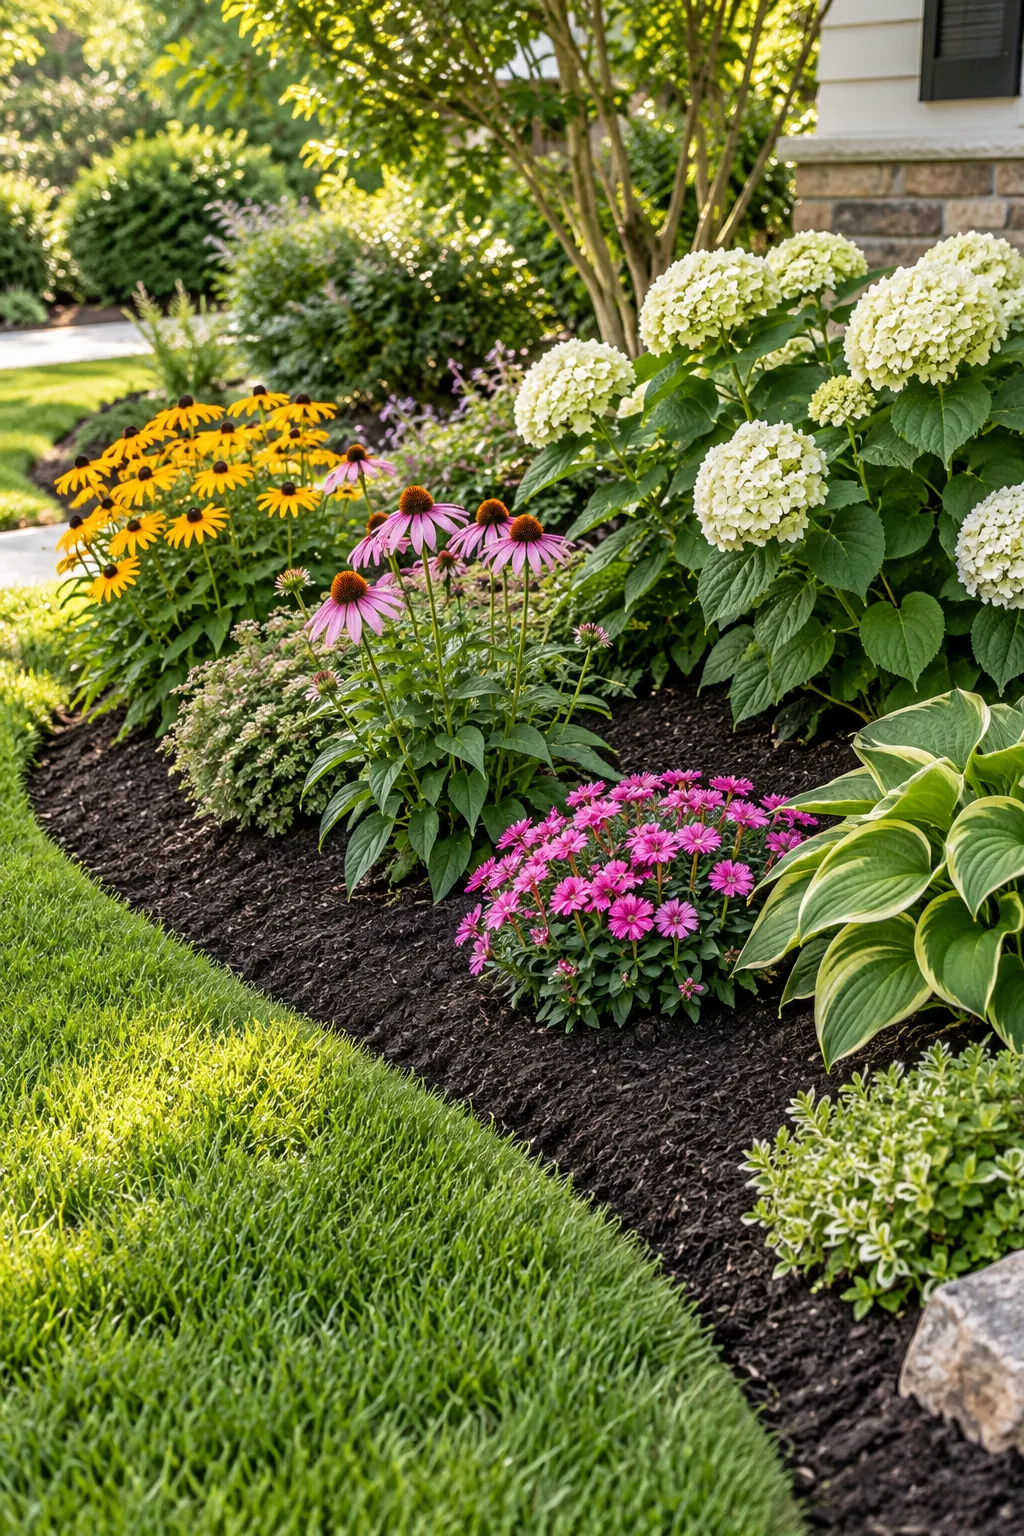
Take the included month-by-month bloom succession chart and plant list directly to your local nursery to gather exactly what you need for a stunning front yard transformation.
More Front Yard Flower Bed Styles
Adapt the drift layout and trench edge techniques to fit your home's unique exterior style.
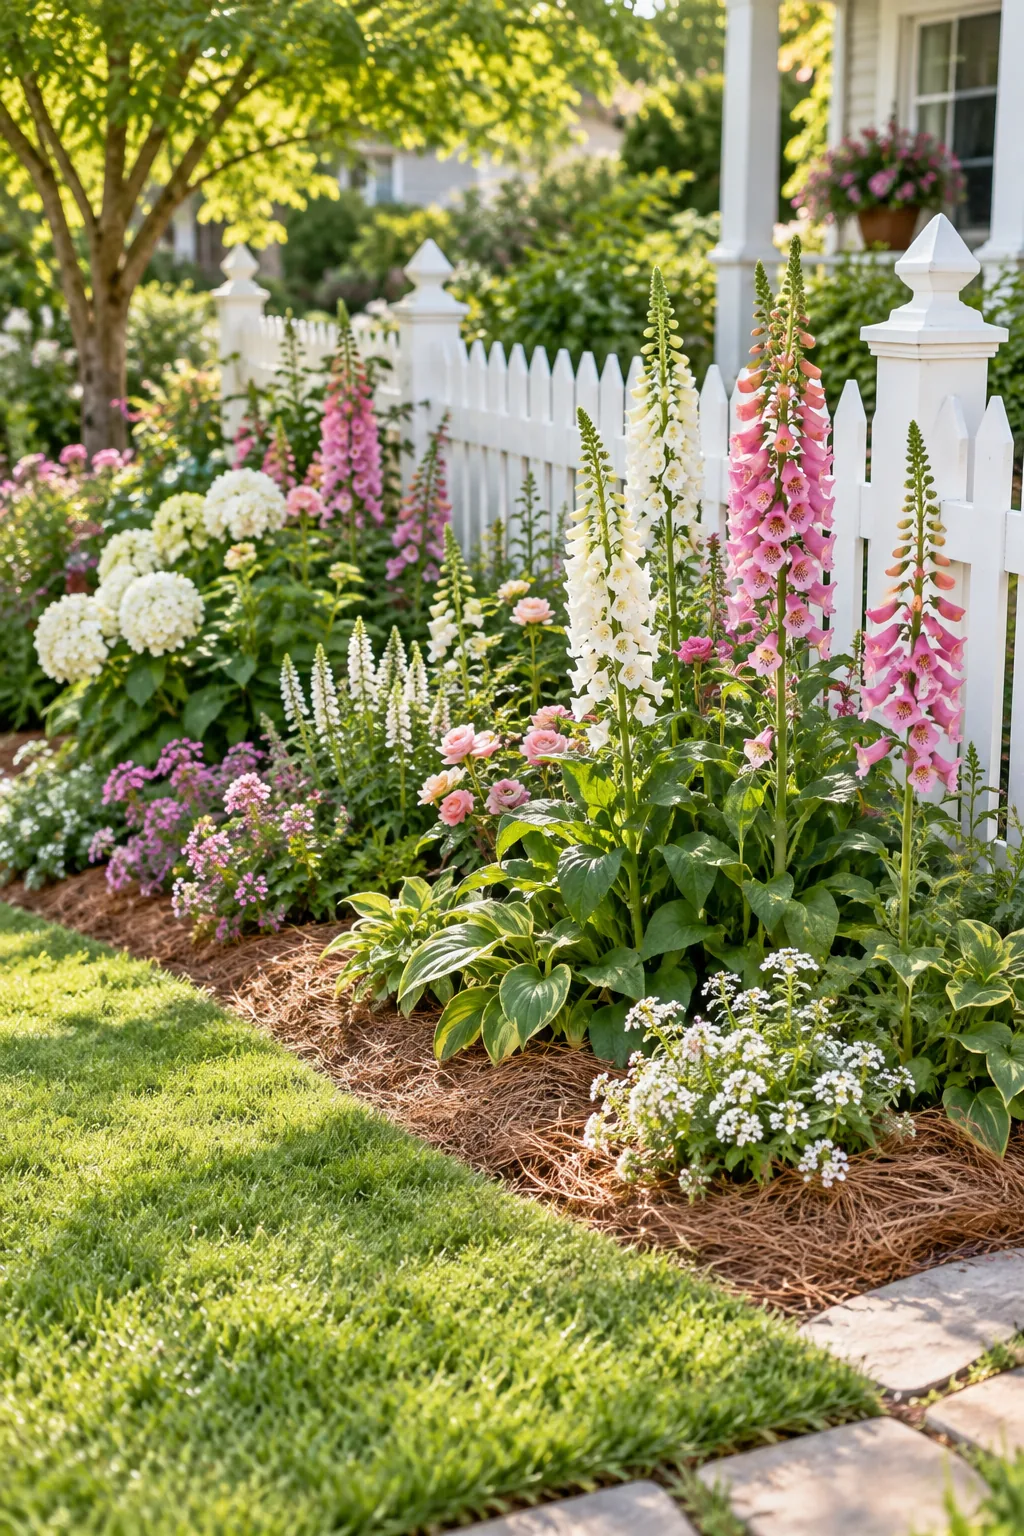
Cottage Garden Style: Soft pastels and informal spilling edges create a welcoming, relaxed atmosphere in this classic cottage garden.
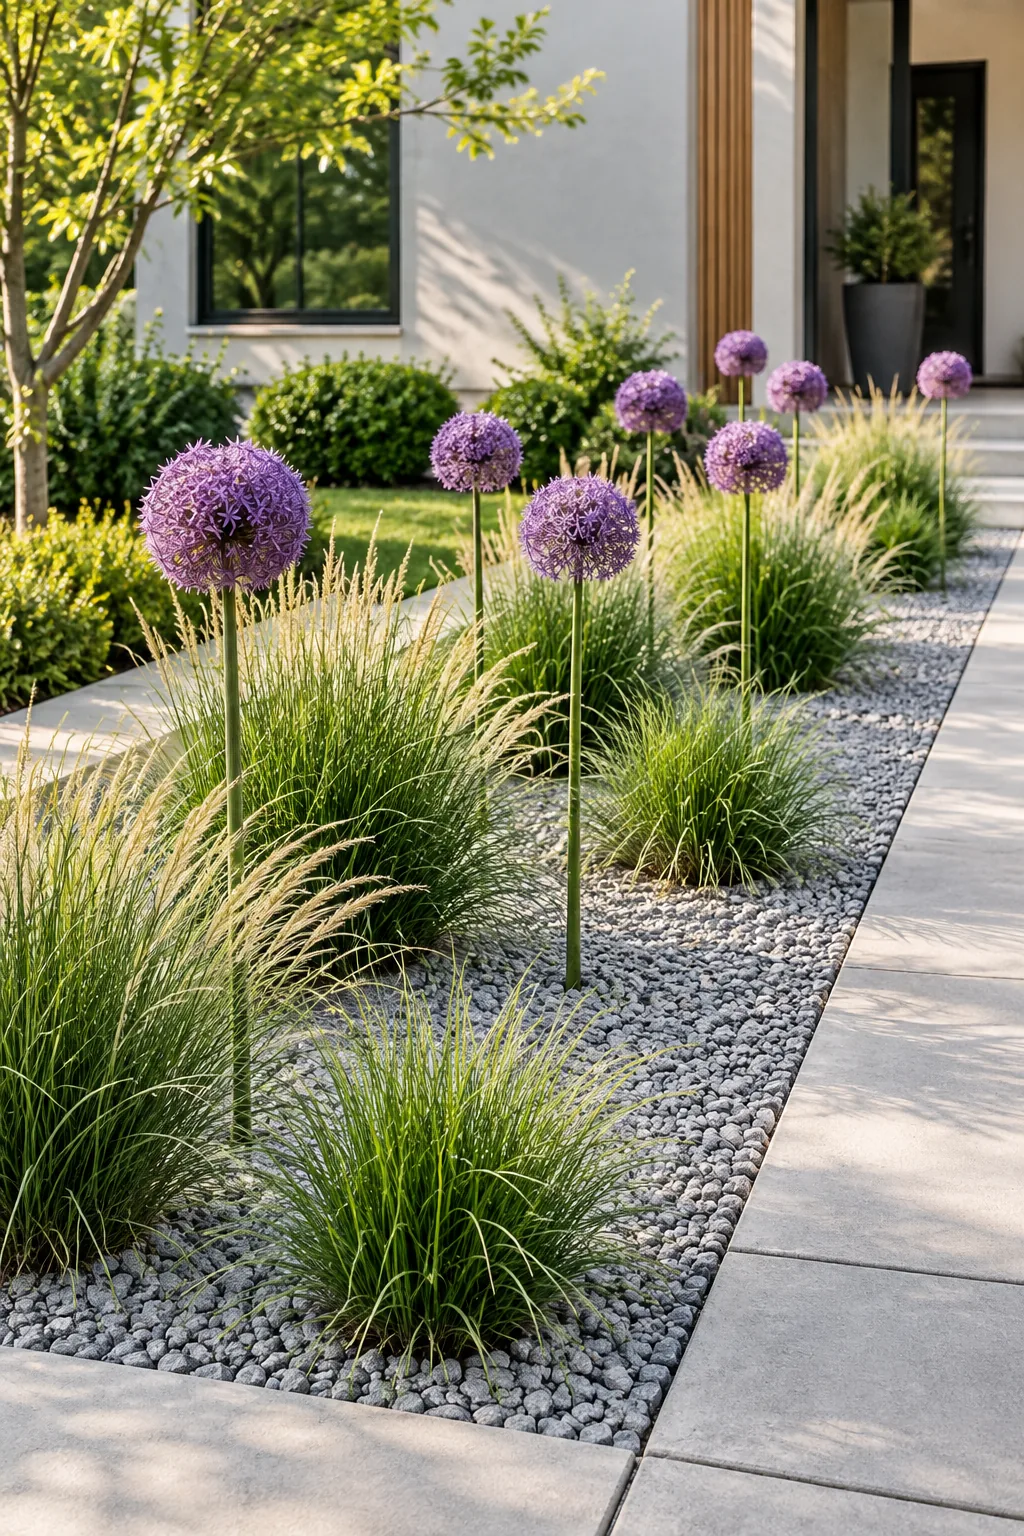
Modern Minimalist Bed: Architectural grasses and a geometric layout paired with gray gravel mulch offer a sleek, low-maintenance aesthetic.
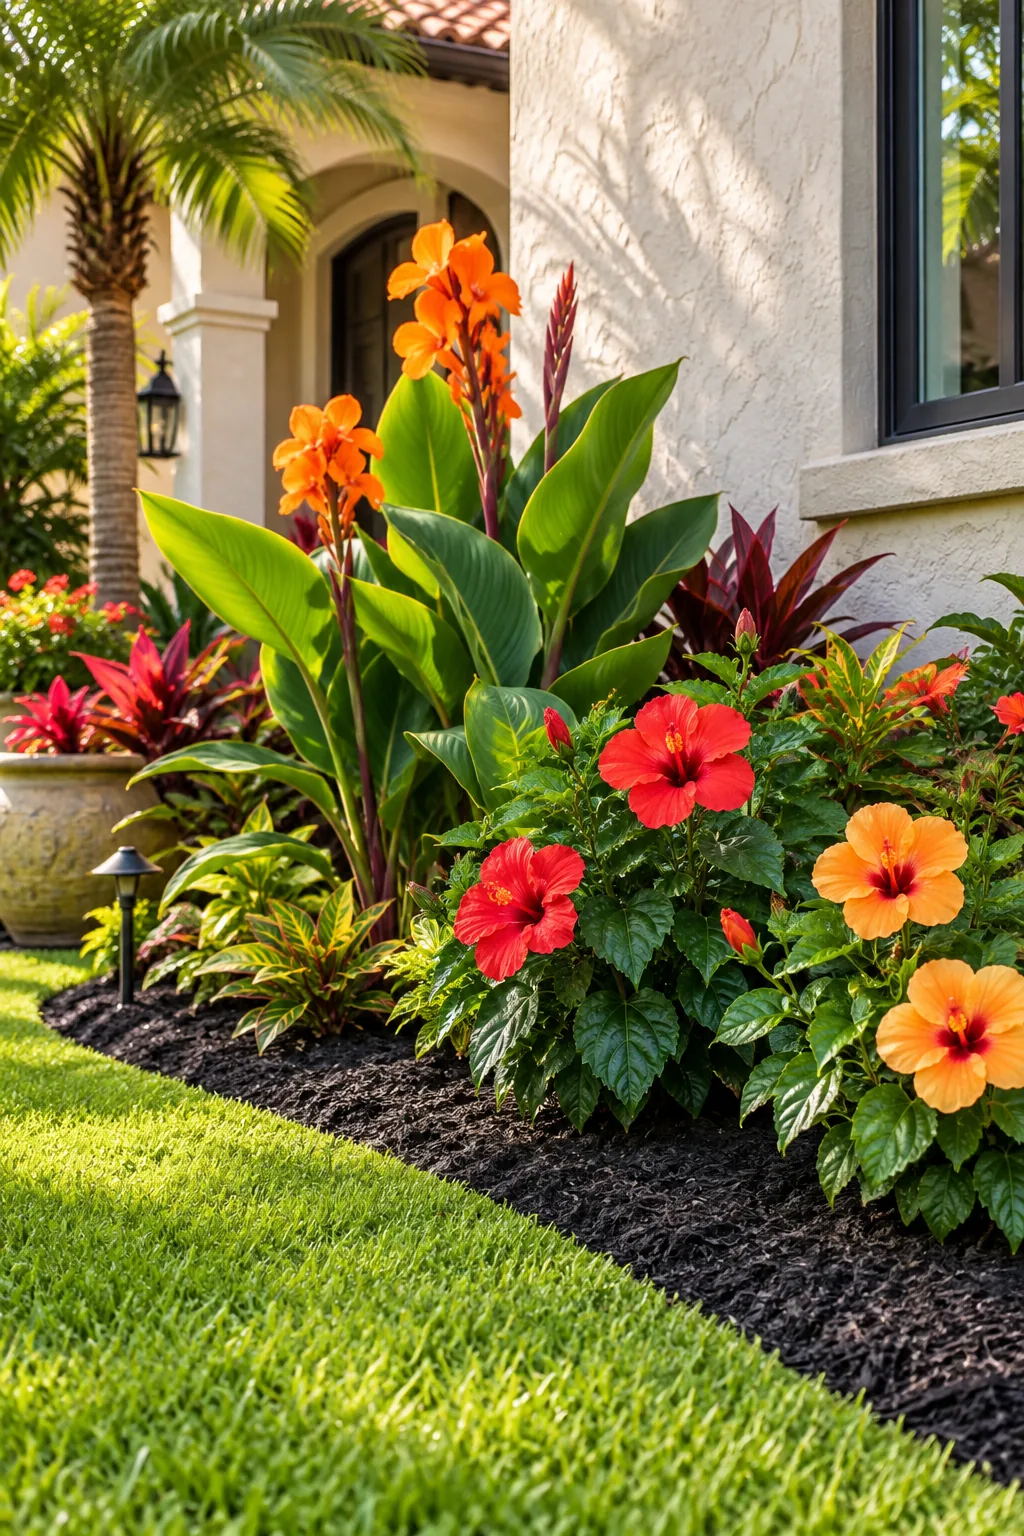
Tropical Front Yard: Oversized foliage and bold, vibrant colors instantly transform a standard foundation bed into a lush tropical retreat.