
Shed Interior Walls: Plywood Sheet Count & Shadow-Gap Guide
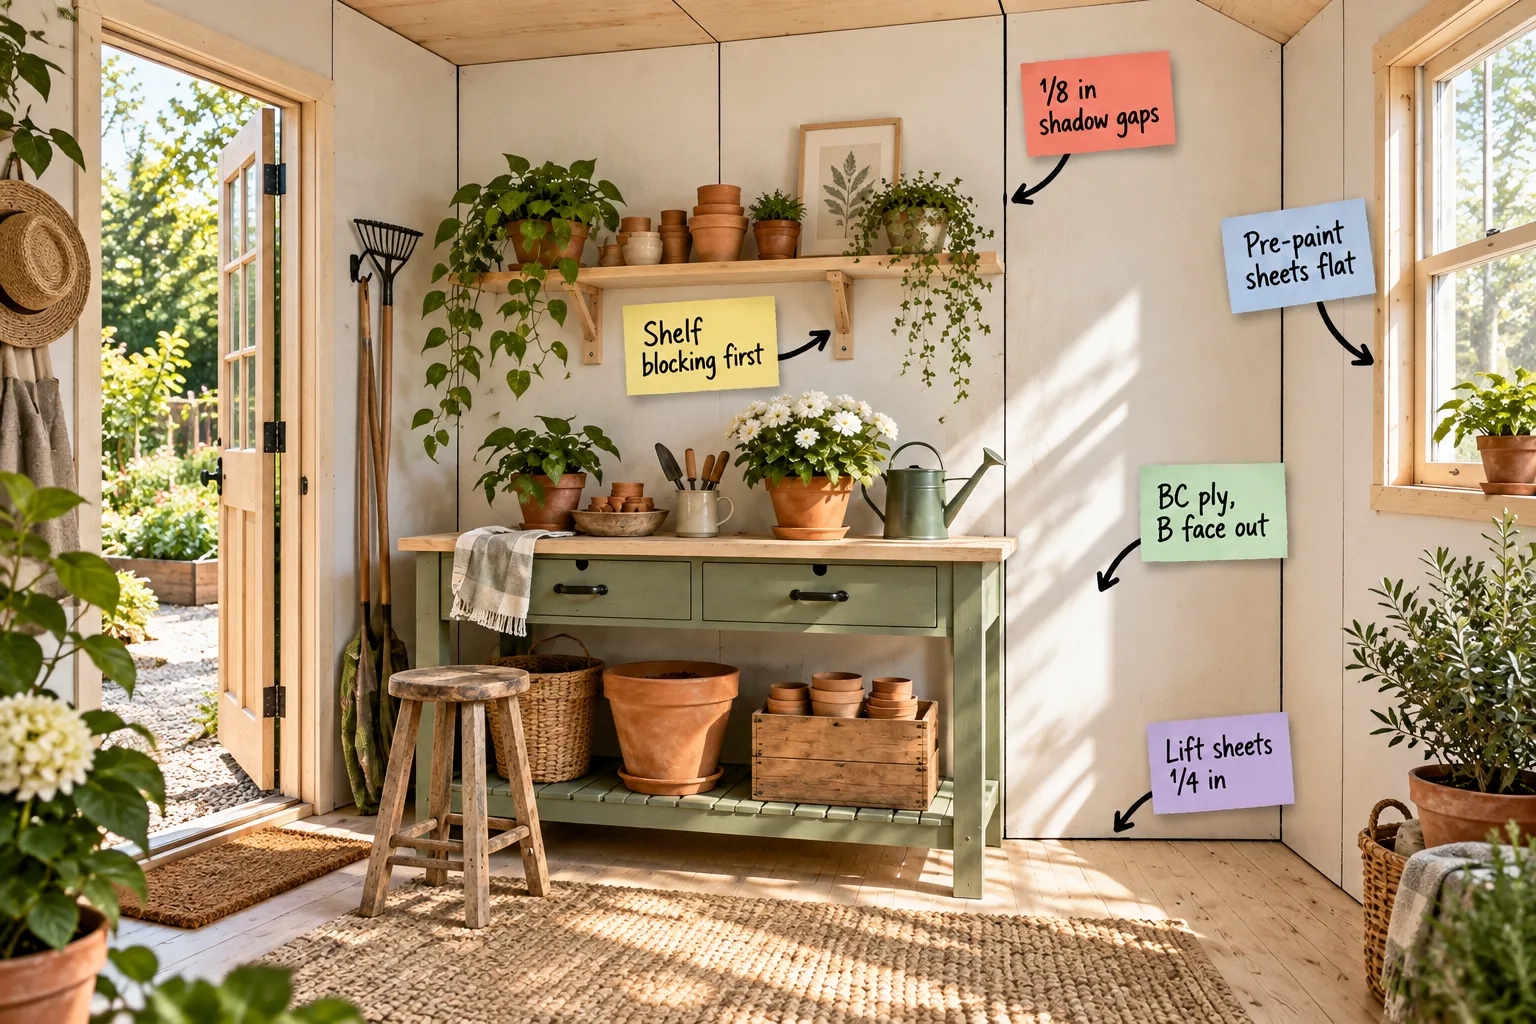
Grab our printable Shed Plywood Lining Chart to calculate your exact sheet count, precise cut list, and optimal screw spacing. You will be able to install beautifully spaced, fully paintable wood-paneled shed walls that look wonderfully professional, function perfectly for heavy garden storage, and completely transform your basic backyard outbuilding into an inspiring workspace.
Why Plywood Outperforms Drywall in Sheds
When I built my first Austin garden studio, I quickly learned that plywood is the absolute ultimate choice for unheated outbuildings because it withstands brutal seasonal temperature swings without ever cracking. The natural flexibility of solid wood handles intense humidity changes that would instantly destroy standard taped drywall joints during unpredictable summer weather.
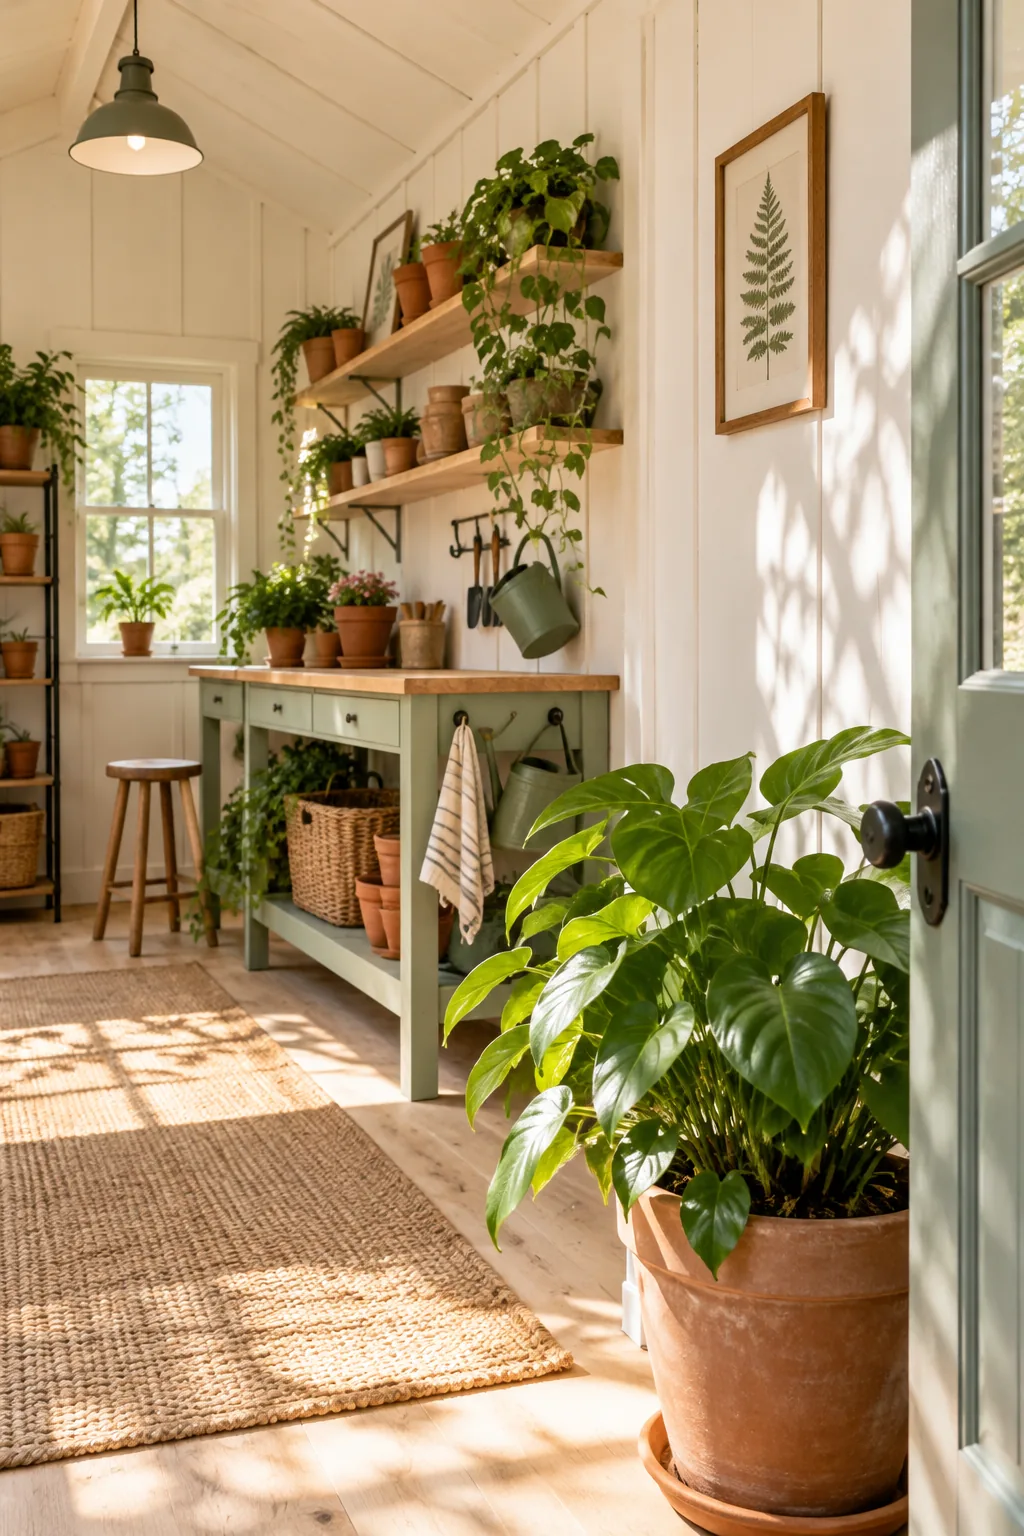
Unlike fragile gypsum board that crumbles under pressure, a continuous solid wood surface allows you to creatively hang heavy garden tools absolutely anywhere without endlessly searching for a hidden stud. This incredible structural freedom transforms your entire shed into a highly adaptable, incredibly robust organizational masterpiece that evolves with your changing seasonal needs.
Get Your Plywood Sheet Count and Cut List
I used to waste hours guessing my lumber needs, but downloading our printable sizing chart provides the exact plywood sheet count and cut list for standard 8×10, 10×12, and 12×16 sheds. This vital document completely eliminates expensive material waste, prevents frustrating mid-project hardware store runs, and keeps your entire renovation budget perfectly on track.
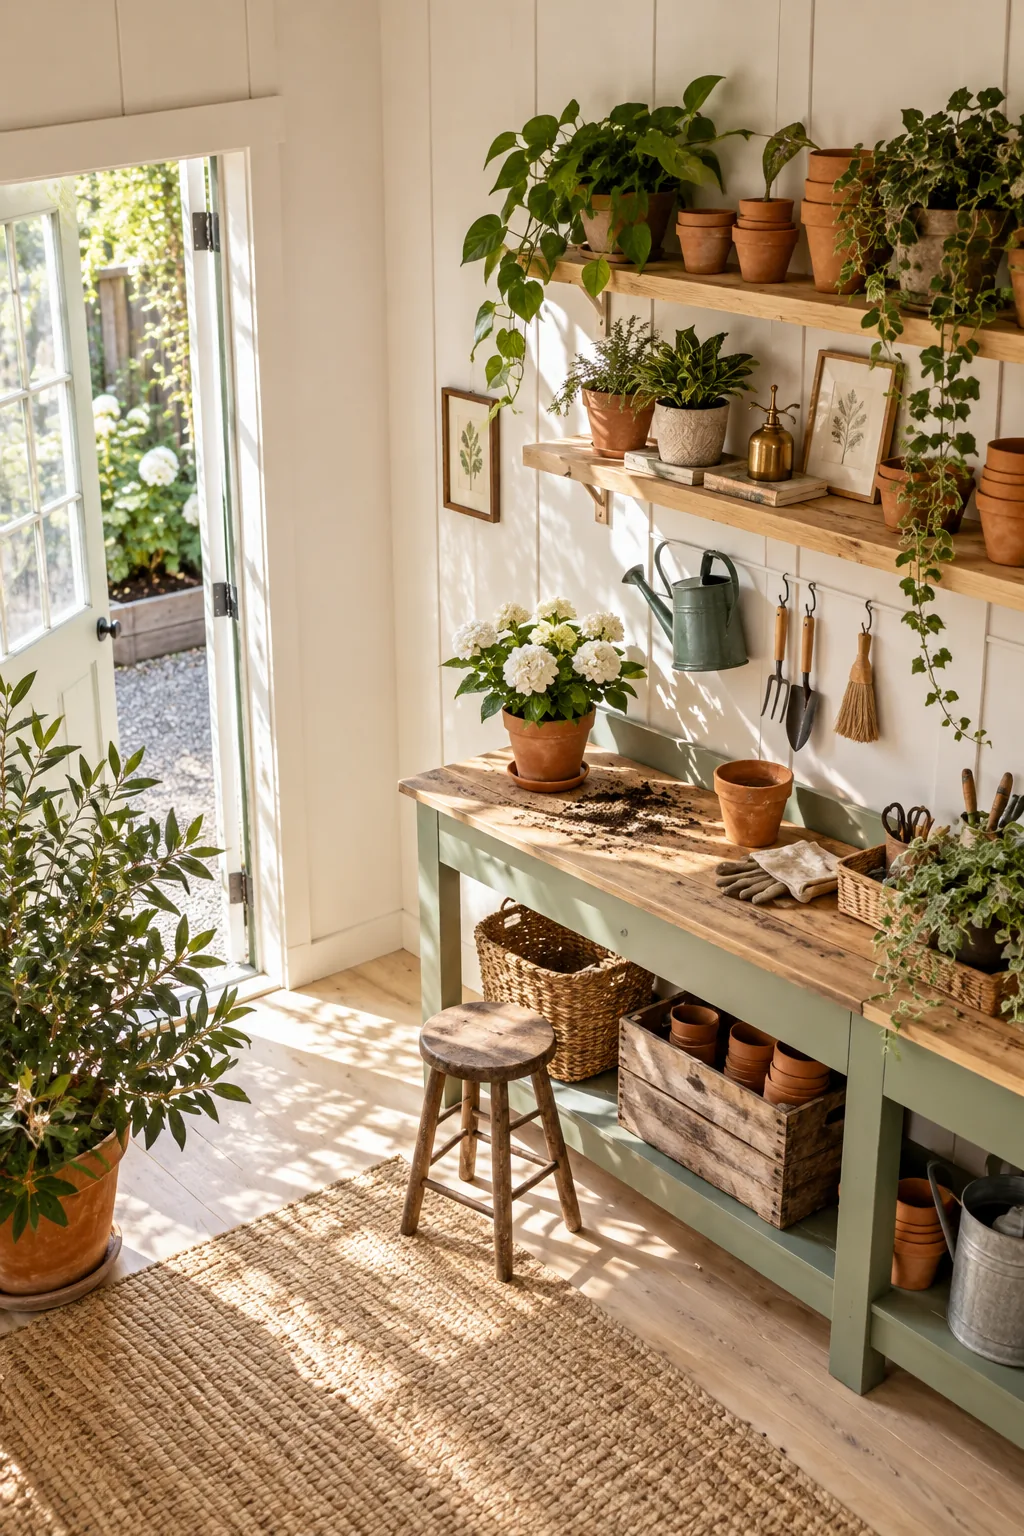
Before heading out to purchase your fresh lumber, download the comprehensive sizing chart and physically verify these specific framing details inside your current shed. Taking five minutes to confirm these crucial dimensions ensures your new custom wall panels will fit together absolutely flawlessly and prevents heartbreaking measurement errors during the final installation phase.
Choosing the Right Panels: BC Ply, B Face Out
Always select high-quality BC-grade plywood for your interior walls to perfectly balance affordable project costs with a beautifully smooth finish. Installing these sturdy panels with the smooth B-face facing outward guarantees a remarkably clean, residential-quality surface that takes modern interior paint absolutely beautifully and reflects gorgeous natural light throughout the entire shed interior.
Plan Your Electrical Outlet Cutouts
Before permanently attaching any plywood to the wall framing, carefully measure and mark all of your required electrical boxes. Using a precise template ensures your jigsaw cuts are perfectly sized, preventing ugly oversized gaps around your essential power outlets, heavy equipment plug-ins, and convenient light switches located near the primary entrance doors.
- Standard 120V receptacles for battery chargers and small hand tools.
- Heavy-duty 240V outlets for powerful woodworking equipment or space heaters.
- Dedicated lighting switches placed conveniently right next to the main door.
- Exterior GFCI outlet feeds that require interior wall pass-through routing.
Taking the time to route your wiring and verify every single receptacle location guarantees your modern garden shed remains fully functional. You will never have to awkwardly cut into a beautifully finished, freshly painted wall just because you accidentally forgot exactly where the crucial power lines were hidden behind the solid wood panels.
Install Shelf Blocking Before the Walls Go Up
Before you even think about hanging the very first panel, strategically install horizontal 2×4 blocking securely between your vertical wall studs. Placing this hidden structural support exactly where your future potting bench or heavy pine shelves will eventually go ensures maximum long-term structural strength and completely prevents terrifying wall failures down the road.
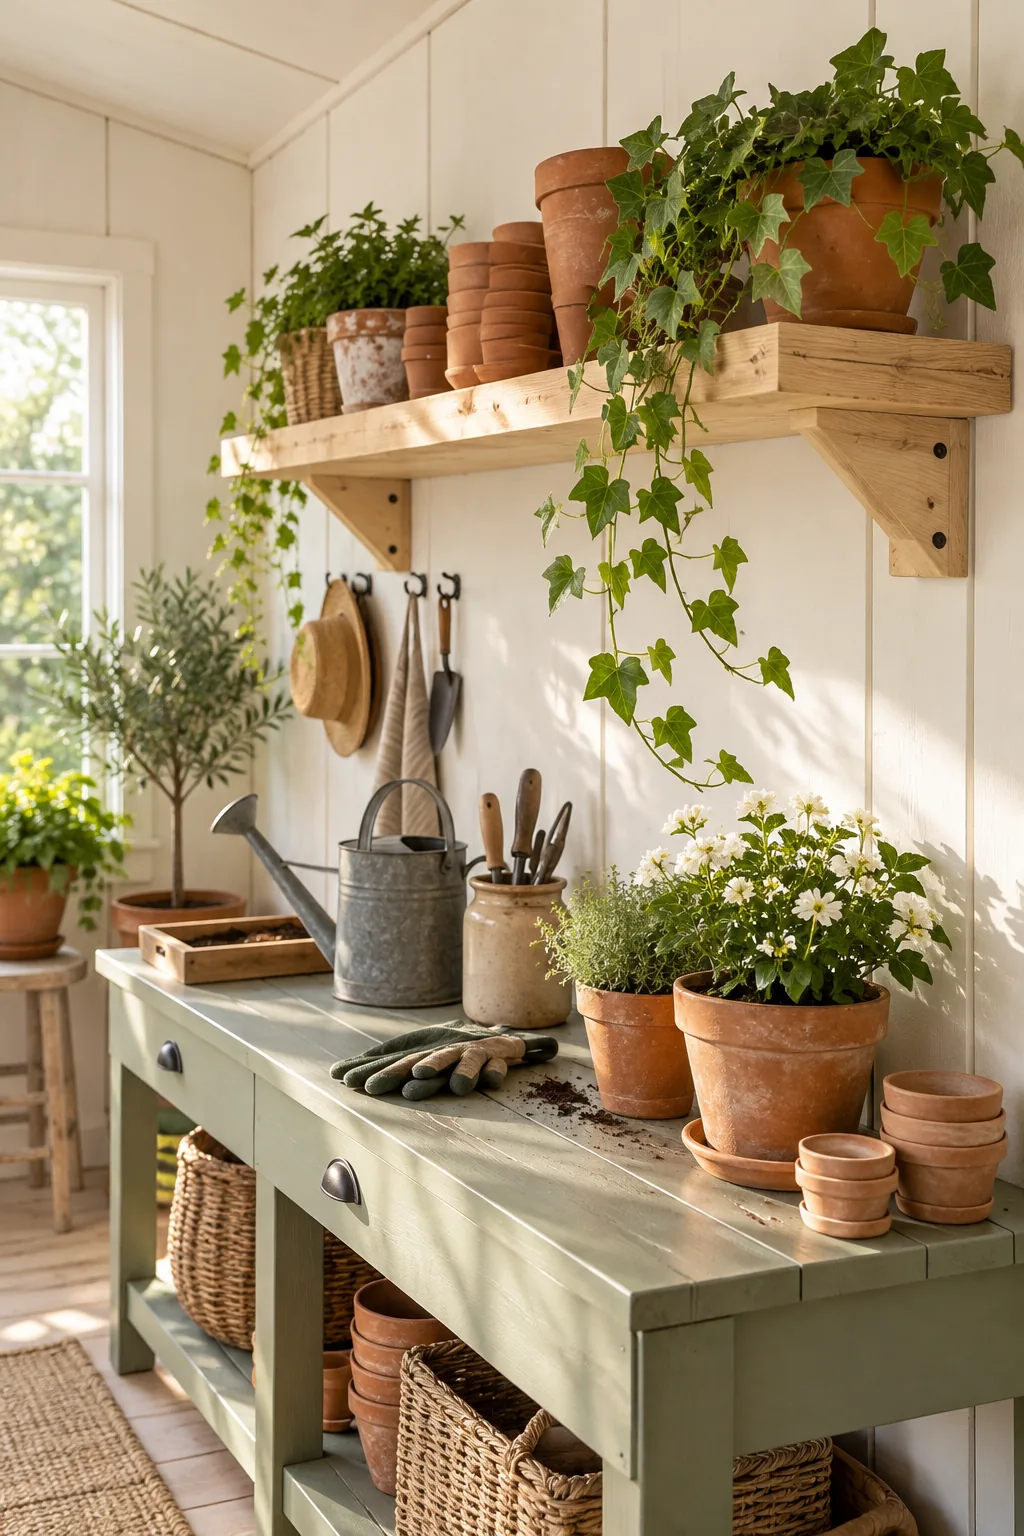
Mapping out your functional storage zones early allows you to heavily reinforce the specific wall areas that will carry the absolute heaviest burdens. Securing these critical structural additions now guarantees your most heavily loaded storage displays will remain perfectly level, incredibly safe, and completely stable for decades of daily gardening use without pulling away.
Drive Screws Flush for a Seamless Look
Securing your thick plywood panels requires driving high-quality wood screws perfectly flush with the smooth B-face surface. Sinking the fastener heads just deep enough prevents them from catching on your tools while avoiding tearing the delicate top veneer, creating ugly splinters, or leaving deep structural divots that require endless hours of messy wood filling.
| Panel Thickness | Screw Length | Edge Spacing | Field Spacing |
|---|---|---|---|
| 3/8-inch plywood | 1 5/8 inches | Every 6 inches | Every 12 inches |
| 1/2-inch plywood | 2 inches | Every 6 inches | Every 12 inches |
| 5/8-inch plywood | 2 1/2 inches | Every 4 inches | Every 8 inches |
| 3/4-inch plywood | 3 inches | Every 4 inches | Every 8 inches |
Following this exact fastening schedule guarantees your interior walls will never warp, bow, or aggressively pull away from the hidden structural studs. Using the correct hardware ensures your beautiful modern shadow gaps remain perfectly parallel and structurally sound through decades of extreme seasonal temperature changes and heavy daily organizational use inside the active shed.
Pre-Paint Sheets Flat for a Clean Finish
Whenever I tackle a new shed lining project, I always set up sturdy sawhorses and completely pre-paint the sheets flat before bringing them inside. Coating the broad faces and delicate edges horizontally effectively prevents frustrating paint drips, ensures a remarkably flawless application, and saves your back from hours of uncomfortable vertical brushing.
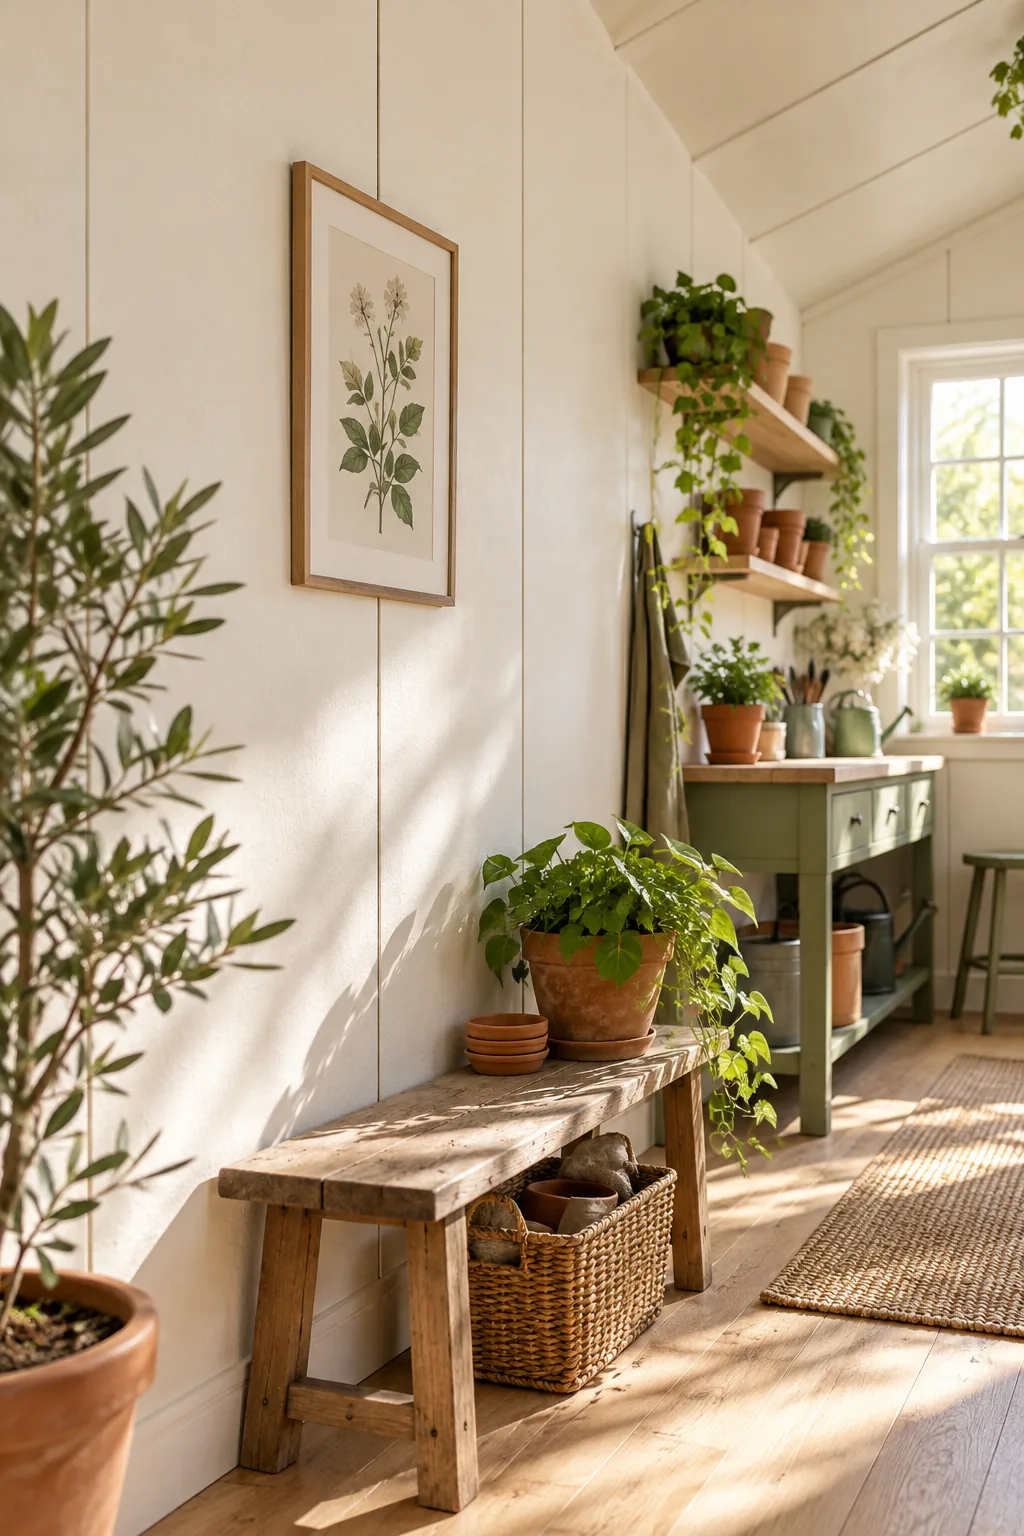
This brilliant flat-painting technique guarantees the raw wood hiding inside your future vertical seams is completely sealed against creeping environmental moisture. Taking the time to properly cure each protective layer horizontally creates a surprisingly tough, furniture-quality finish that easily resists nasty tool scuffs and completely eliminates the terrible labor of painting tight corners later.
Lift Sheets 1/4 Inch Off the Floor
Skipping this incredibly small floor gap is the absolute most common way DIYers accidentally ruin a brand-new shed interior, as trapped water quickly destroys the baseplate. Maintaining this critical breathing room allows unexpected water spills to evaporate harmlessly into the air instead of aggressively soaking up into your beautiful fresh wood panels.
I learned the hard way that you must protect your newly painted walls from seasonal floor moisture by lifting the bottom edge of every single sheet. Always use temporary 1/4-inch spacers resting flatly on the floor planks while you precisely drive the anchoring screws to maintain a perfectly consistent protective gap across the room.
Leave 1/8-Inch Shadow Gaps Between Panels
Instead of vainly trying to hide the vertical seams with messy wood filler, create deliberate 1/8-inch shadow gaps between each individual panel. This strikingly modern architectural detail looks highly intentional, adds beautiful visual texture, and gives the solid wood necessary room for completely natural structural expansion during wild seasonal weather changes and high humidity.
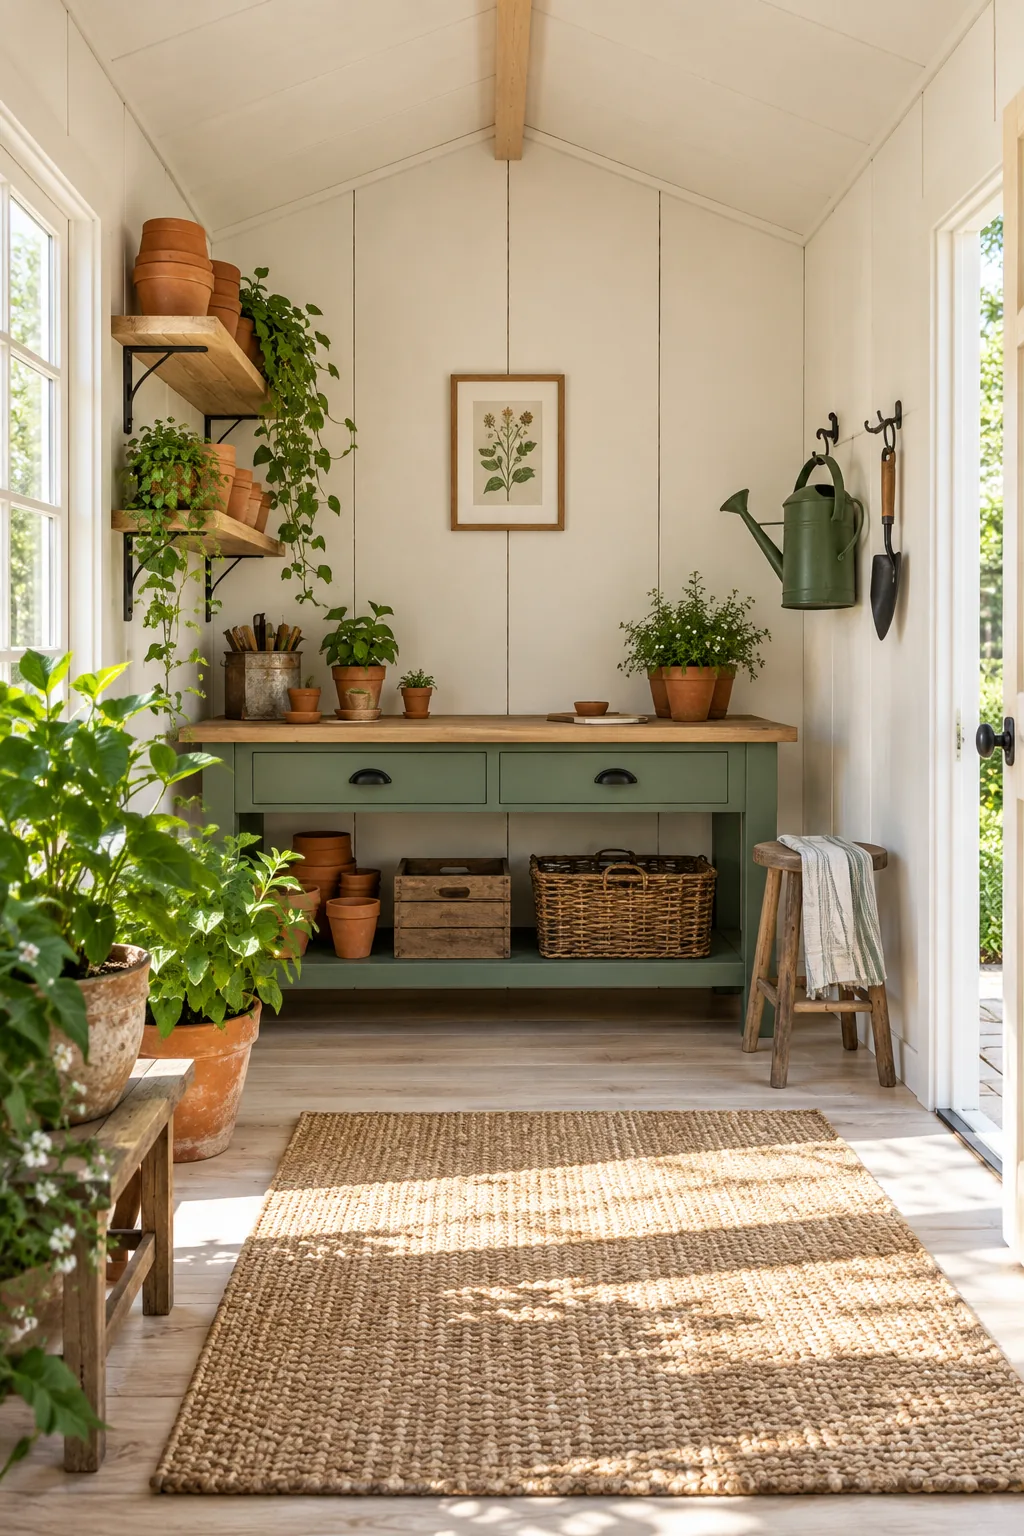
Using a simple metal spacer during installation guarantees these elegant dark lines remain perfectly parallel from the ceiling all the way down to the floor. Embracing this visible separation completely prevents the terrible buckling that inevitably occurs when tightly jammed wood panels aggressively swell against each other during extremely humid summer afternoons.
More Ways to Style Plywood Shed Walls
Once your walls are up, the continuous wood surface adapts easily to any workspace aesthetic.
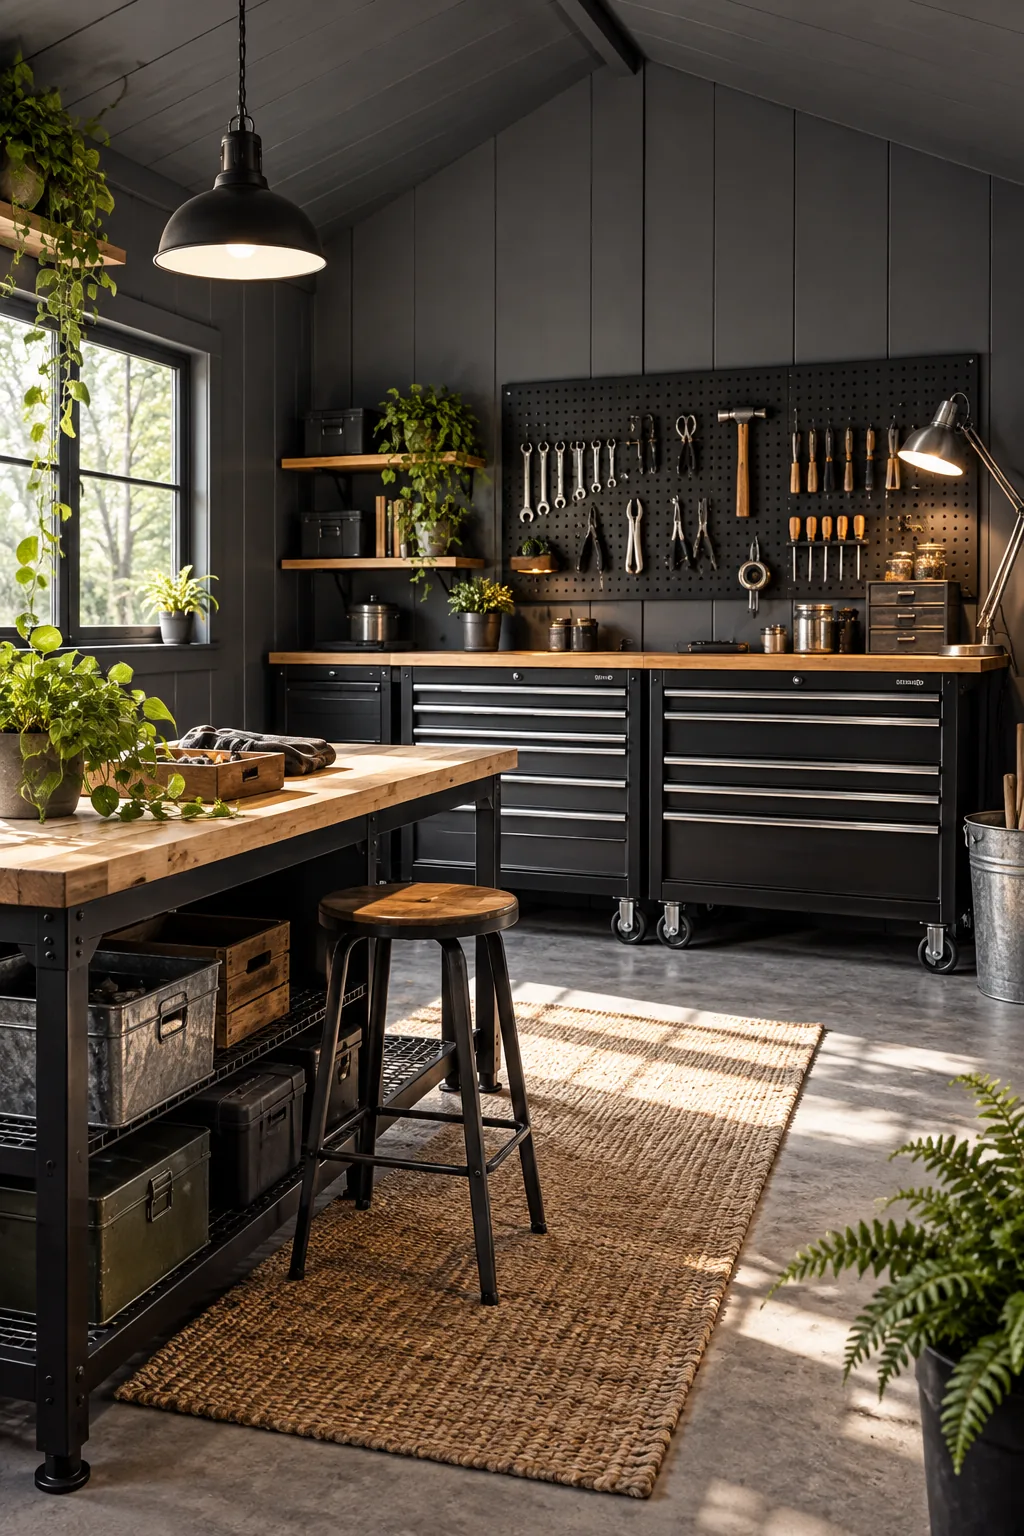
Moody slate grey workshop: Dark painted plywood hides scuffs perfectly while providing a rugged backdrop for heavy-duty metal tool storage.
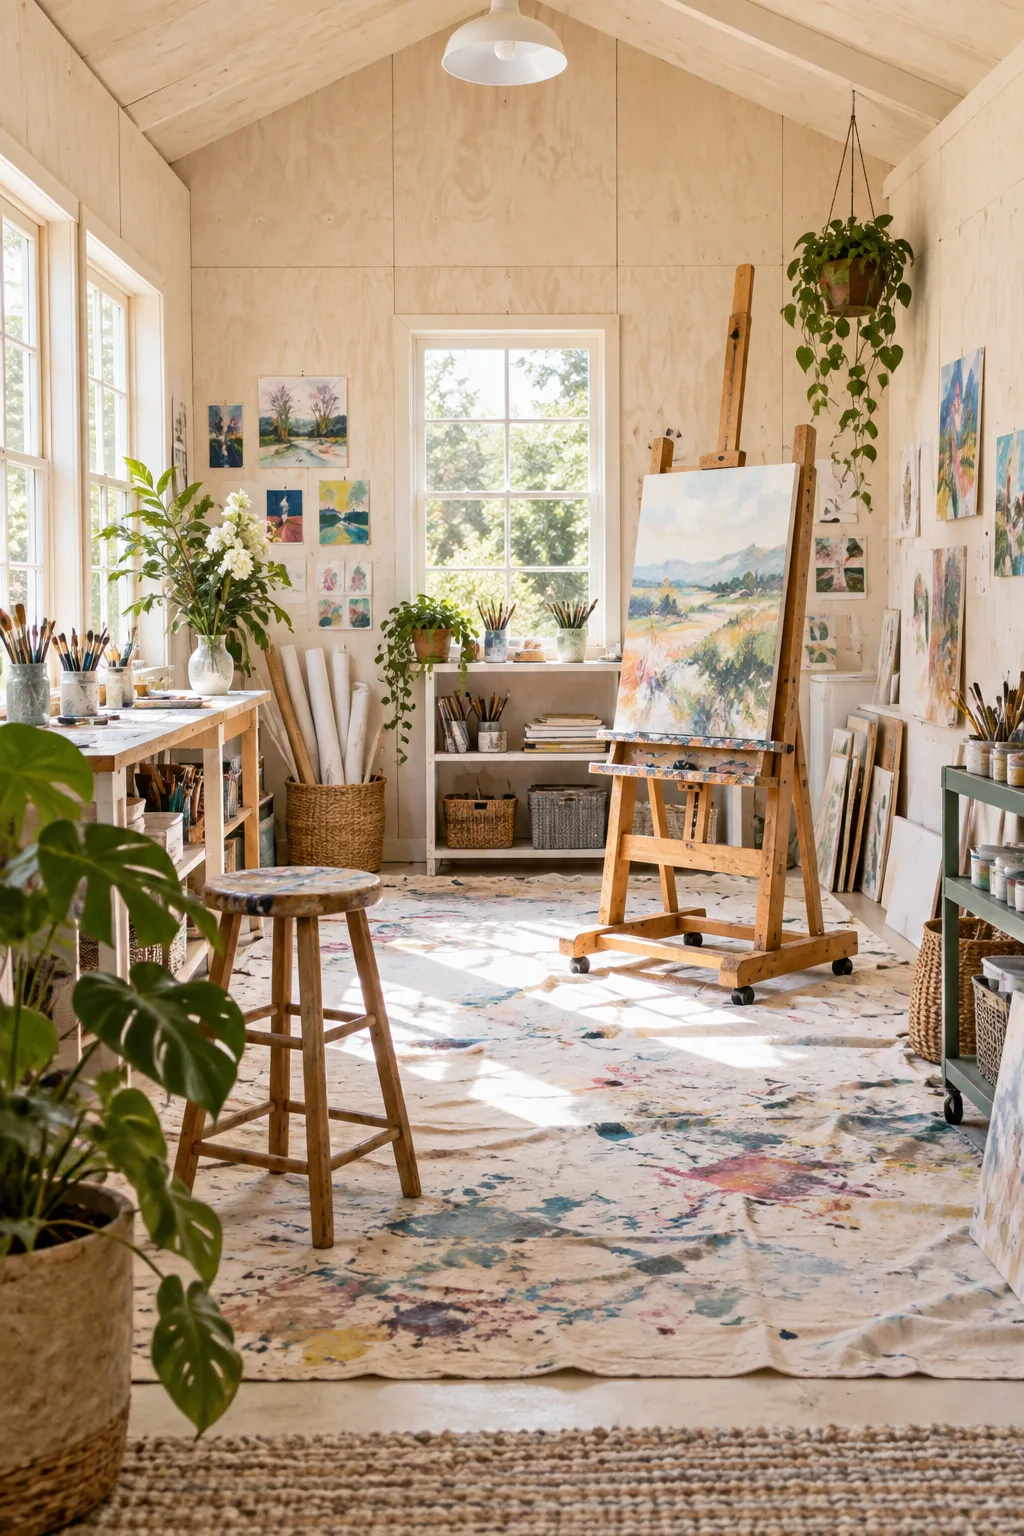
Whitewashed creative art studio: A thin whitewash lets the natural birch grain show through, keeping the studio bright and inspiring.
Natural clear-coated pine retreat: Sealing the plywood with a clear coat celebrates the raw wood aesthetic, creating a warm, cabin-like atmosphere.
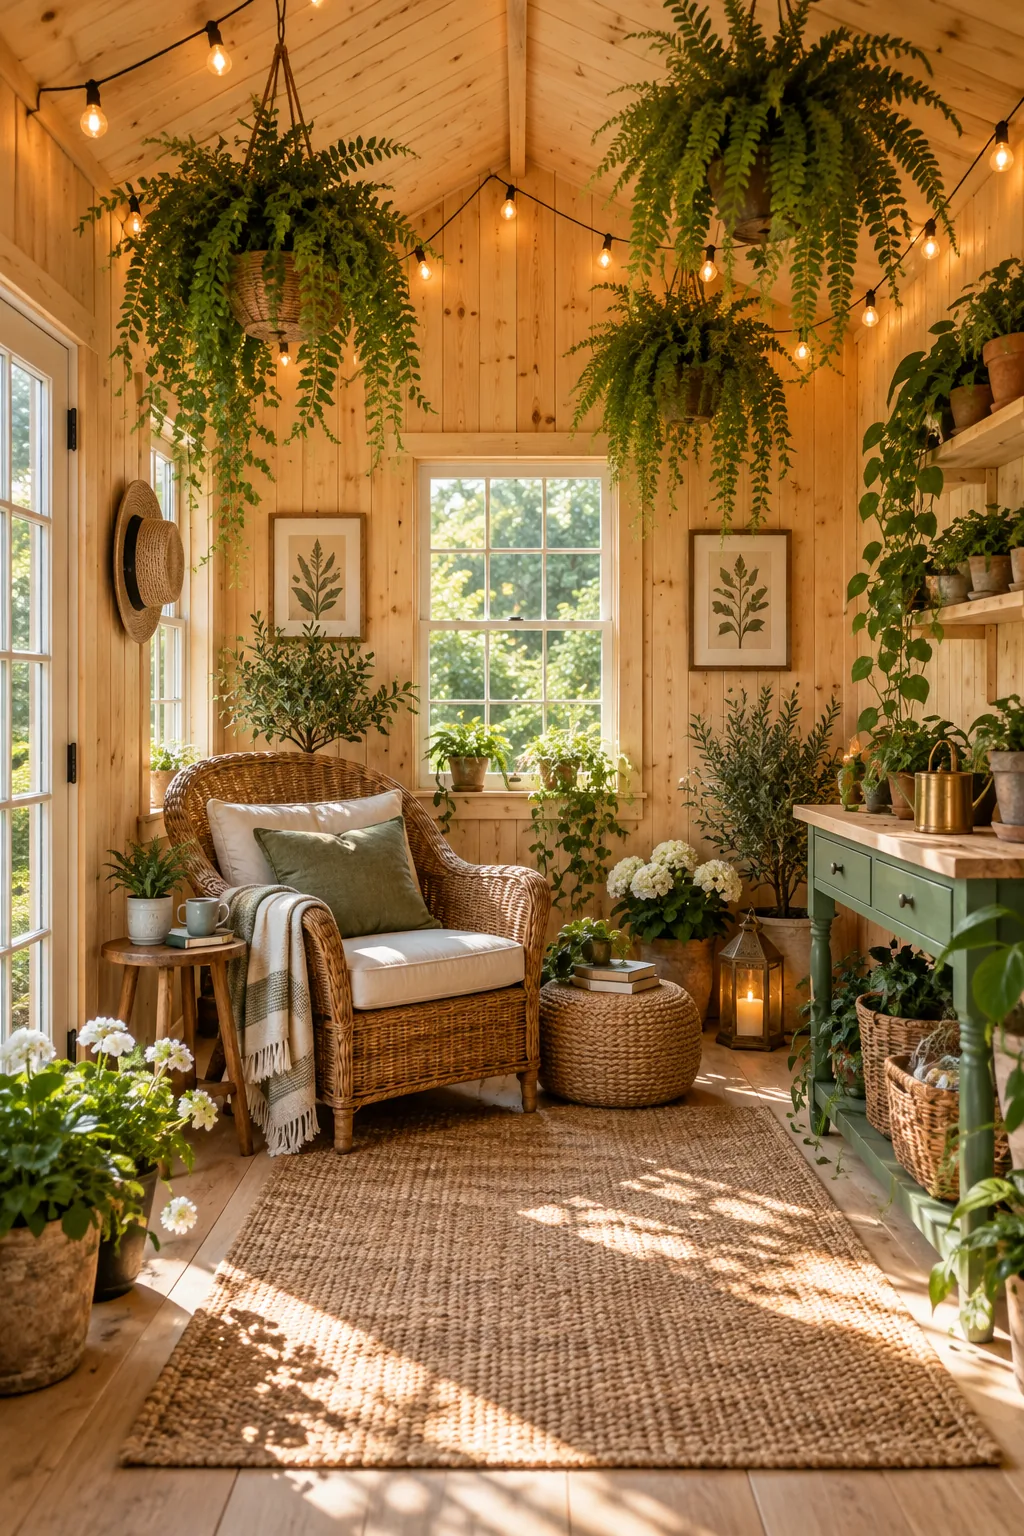
Hanging Gear Directly on the Plywood
With your gorgeous new walls fully lined and securely fastened, the entire physical shed instantly becomes a highly functional, fully customizable storage system. You can confidently drive heavy screws directly into the beautiful warm-white painted plywood to mount absolutely anything your gardening heart desires without ever worrying about finding a hidden structural stud.
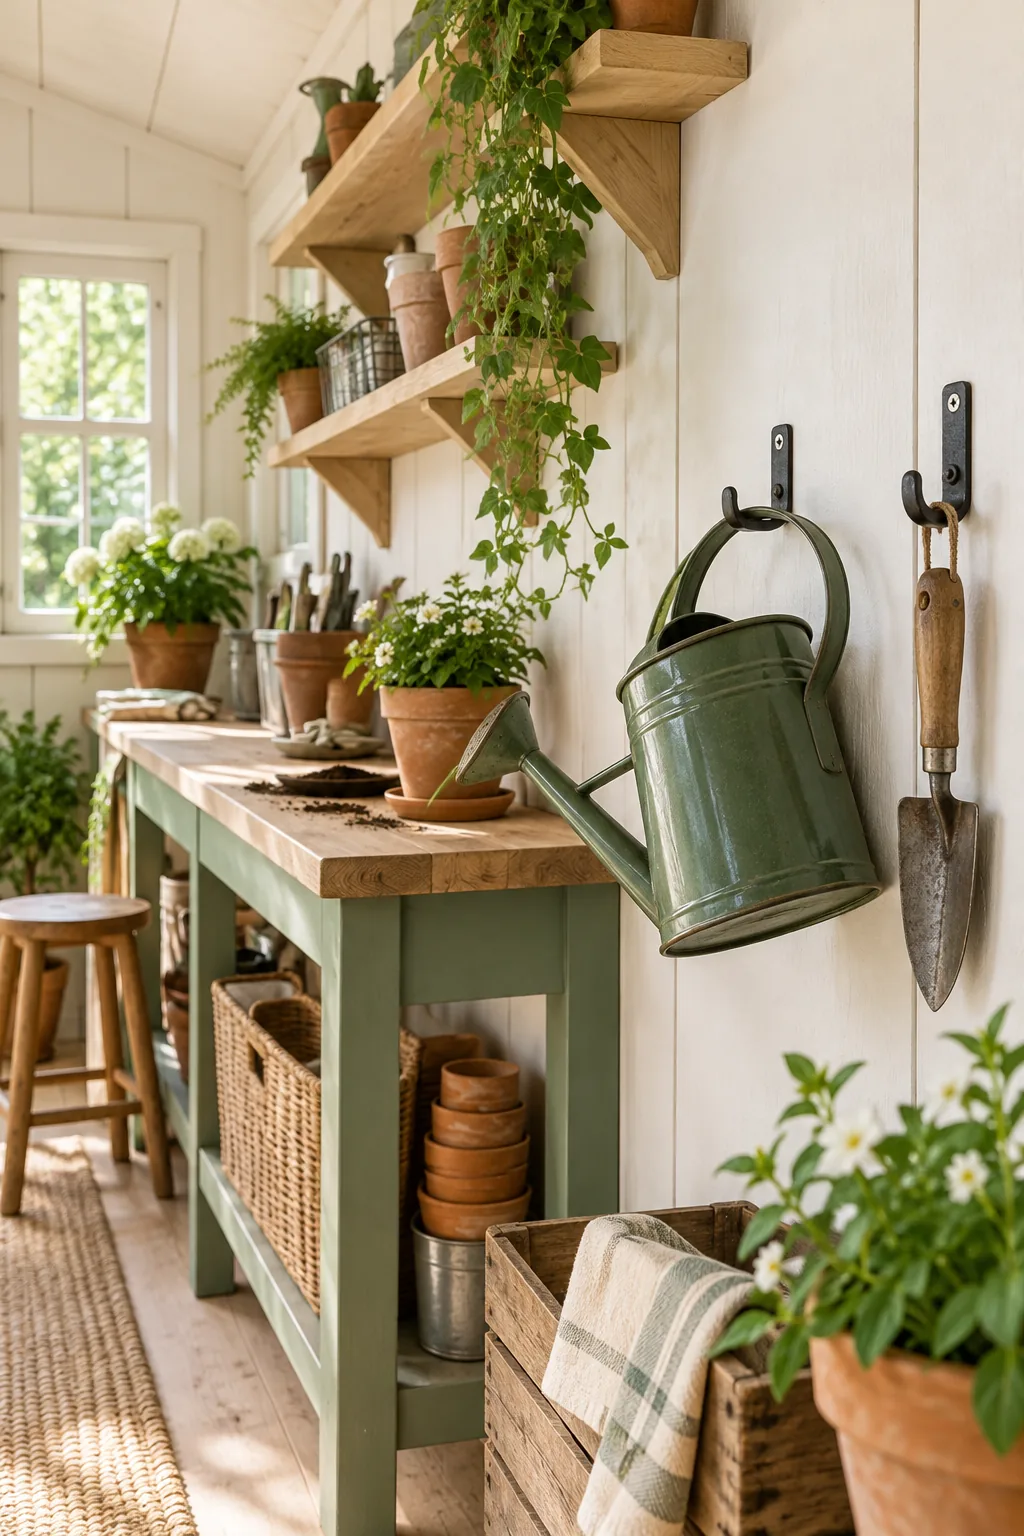
This incredible newfound freedom means your heavy terracotta pots, thick pine shelves, and bulky landscaping equipment can go exactly where you actually need them. Your beautifully paneled space is now perfectly equipped to handle years of heavy use while remaining a genuinely inspiring creative sanctuary that makes every single gardening task an absolute joy.