
Small Front Yard Landscaping: The Exact Measurement Guide
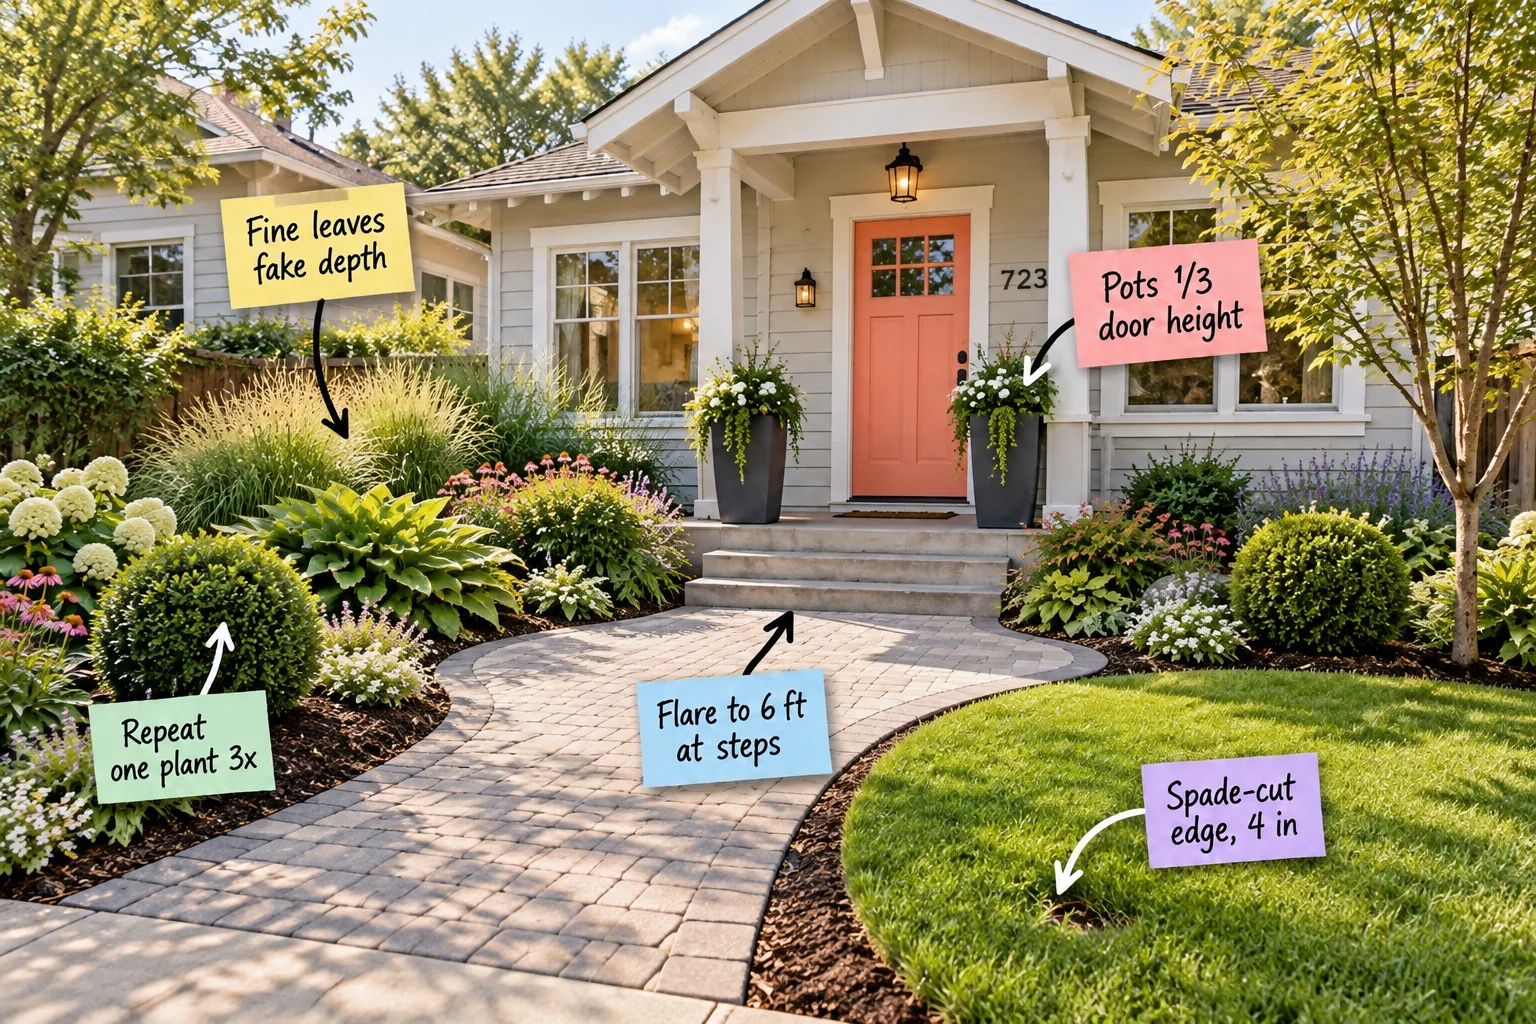
Stop guessing how to scale your compact property and print our Small Front Yard Measurement Sheet to get your proportions right the first time. You will be able to mark exact dimensions for your walkways, edges, and plant spacing using this printable cheat sheet.
Your Small Front Yard Measurement Sheet
Stop guessing how wide to make your path or how deep to dig your beds because the measurement sheet provides every exact dimension you need for a 20-foot lot. It includes path widths, foundation bed depths, edge trenches, and planter ratios.
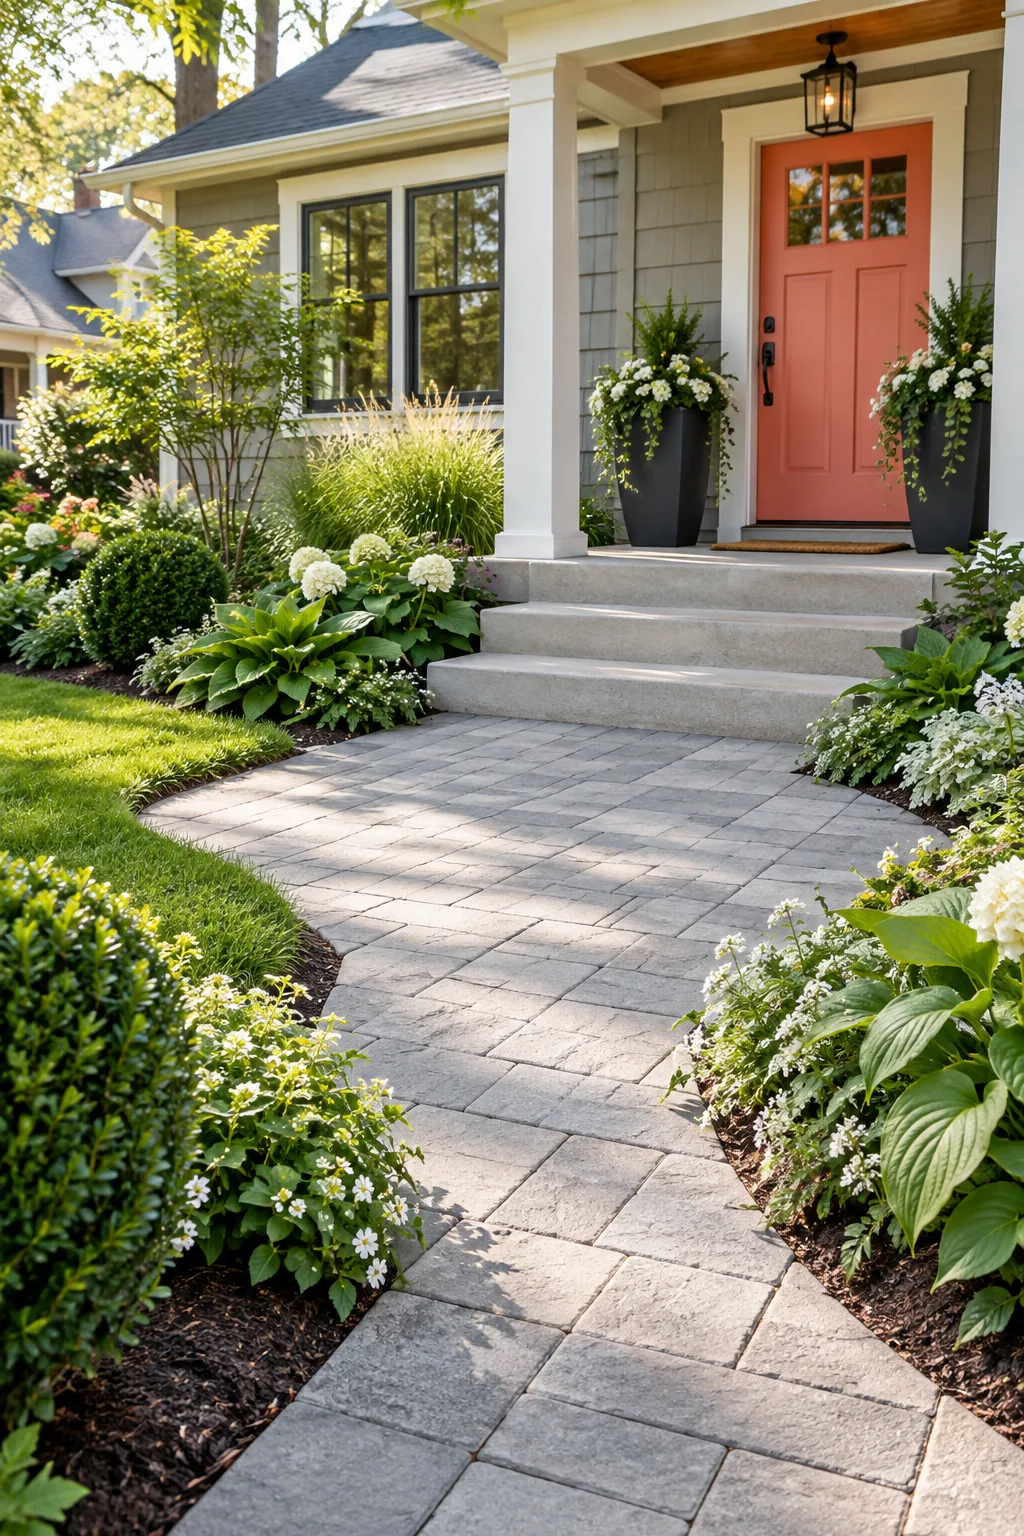
Before you start digging, print the sheet and gather a few basic layout tools to mark your exact boundaries.
Visualizing the Layout
Taking the time to map out your hardscape and planting zones on the grass saves you from costly mistakes later. Walk through the painted outlines to ensure your new pathways flow naturally toward the front door.
Flaring the Walkway at the Steps
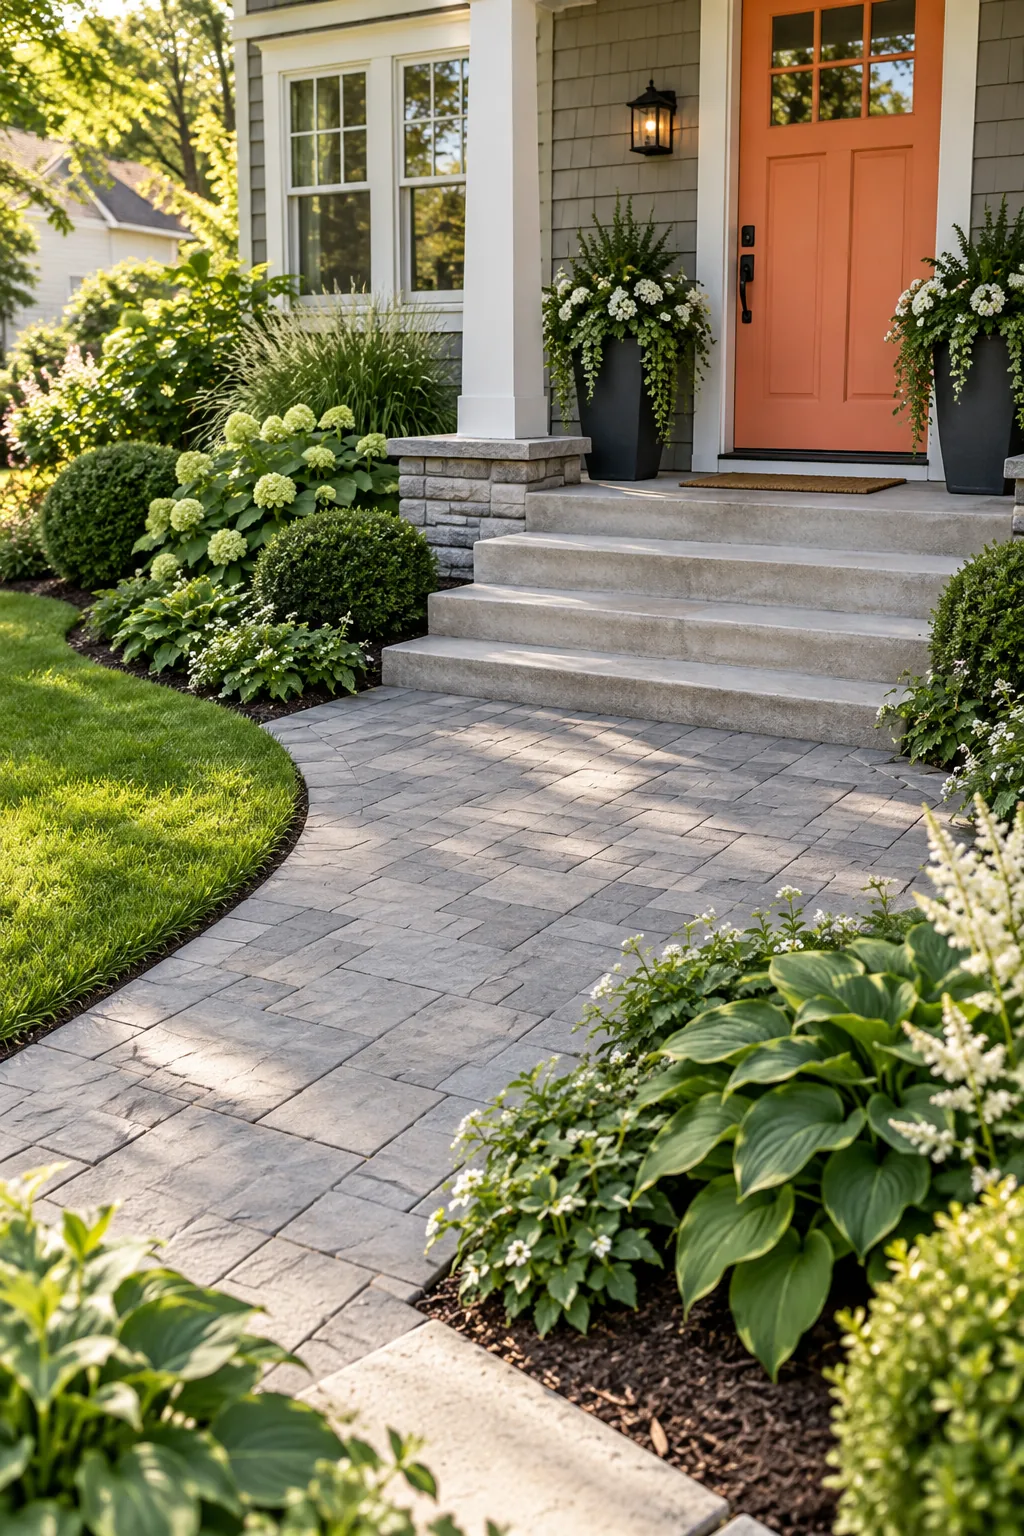
A narrow path makes a compact yard feel even smaller, so widen your paver walkway as it approaches the house. Create a generous landing that flares to exactly 6 feet wide at the bottom of the front steps.
Choosing the Right Paver Material
Safety is just as important as aesthetics when designing your primary entry path for daily use. Choose a textured concrete paver or natural flagstone with a rough surface to provide reliable traction during heavy rain.
Sweeping Polymeric Sand
Locking your new landing in place prevents weeds from sprouting between the joints and ruining the clean look. Sweep polymeric sand into the gaps and mist it lightly with a hose to create a durable, flexible bond.
Defining the Lawn with a Spade-Cut Edge
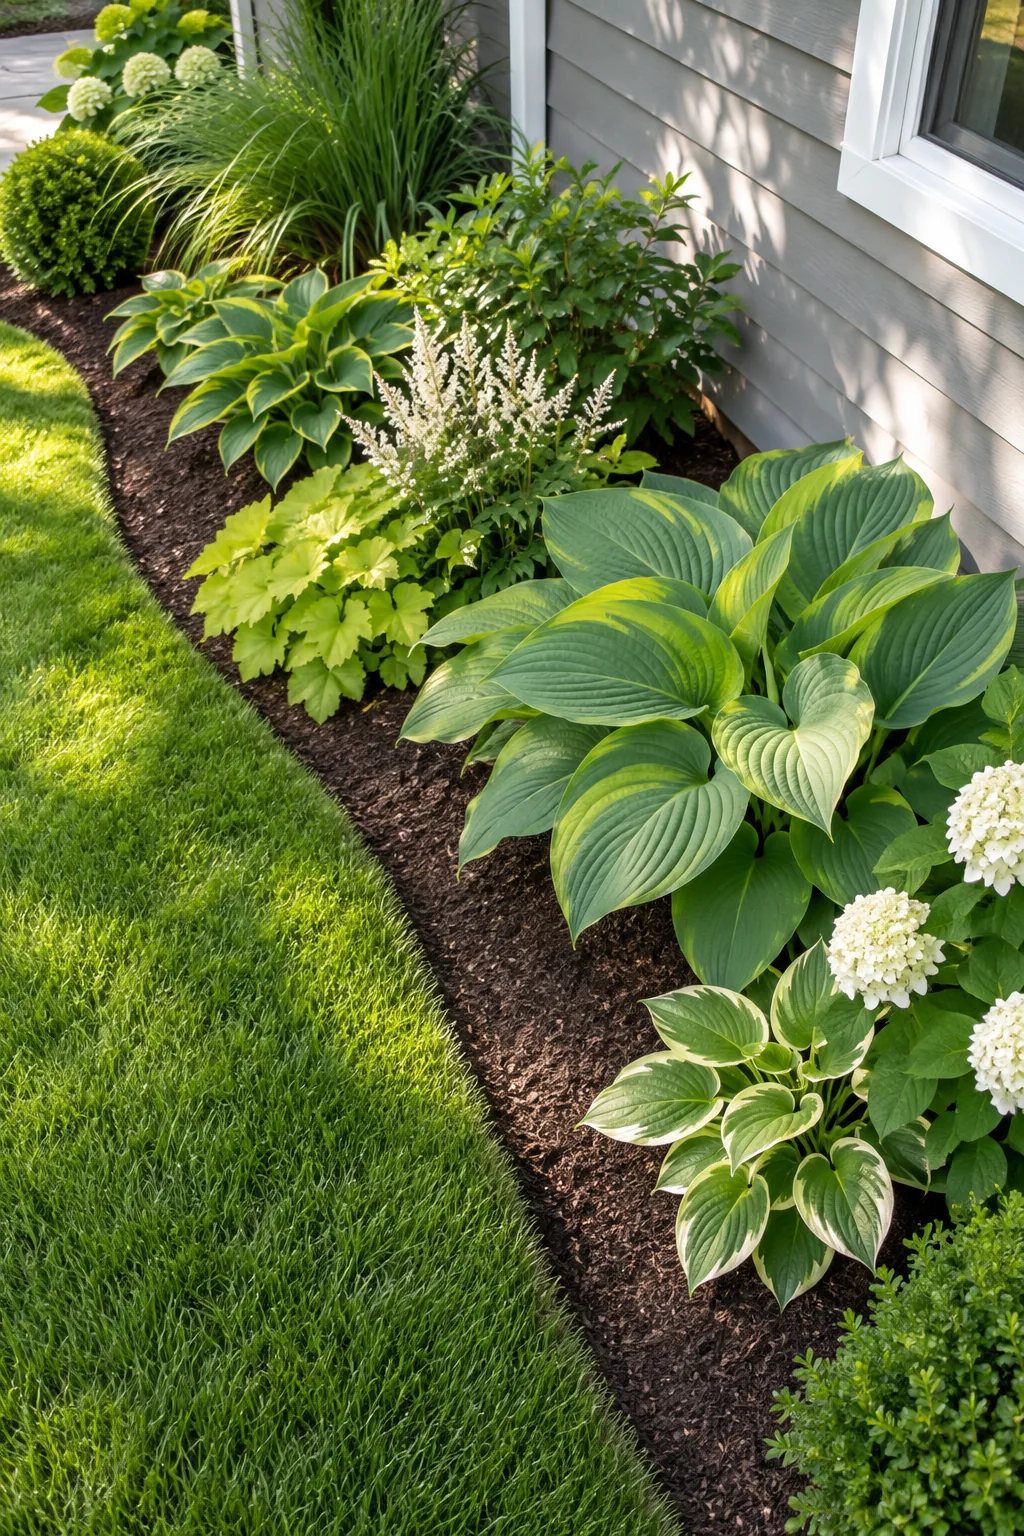
Skip the plastic edging and create a crisp, professional boundary by hand to hold mulch in place and stop grass runners. Dig a 4-inch deep spade-cut trench between the lawn and the foundation bed.
Selecting a Durable Edging Tool
A standard garden shovel will not give you the sharp, vertical wall required for a neat landscape boundary. Invest in a carbon-steel half-moon edger with a wide foot tread to slice cleanly through tough turf roots.
Maintaining the Clean Trench Line
A natural soil edge requires a quick touch-up at the start of every growing season to keep it looking sharp. Run your edger along the boundary every spring to redefine the depth and remove stray grass runners.
Carving Deep Foundation Beds
Tiny beds hugged tight against the house highlight a small lot’s limitations, so pull the front curve out at least 6 to 8 feet from the exterior wall. When I finally expanded my own Austin bungalow’s tiny two-foot beds, the whole yard instantly felt twice as large.
Layering Plants for Maximum Impact
With a deeper bed, you finally have the square footage to create a lush, tiered landscape design that draws the eye upward. Place your tallest structural shrubs at the back, followed by a middle layer of perennials, and finish with a creeping groundcover.
Testing Soil Drainage
Deep beds often collect water near the foundation if the grading is not properly sloped away from the house. Dig a small test hole and fill it with water to ensure it drains completely within an hour before installing sensitive root systems.
Spacing Plants by Mature Width
Use the spacing column on your measurement sheet to position plants based on their final mature width, not their current nursery pot size. Always measure from the center of the root ball to the house siding to ensure proper airflow.
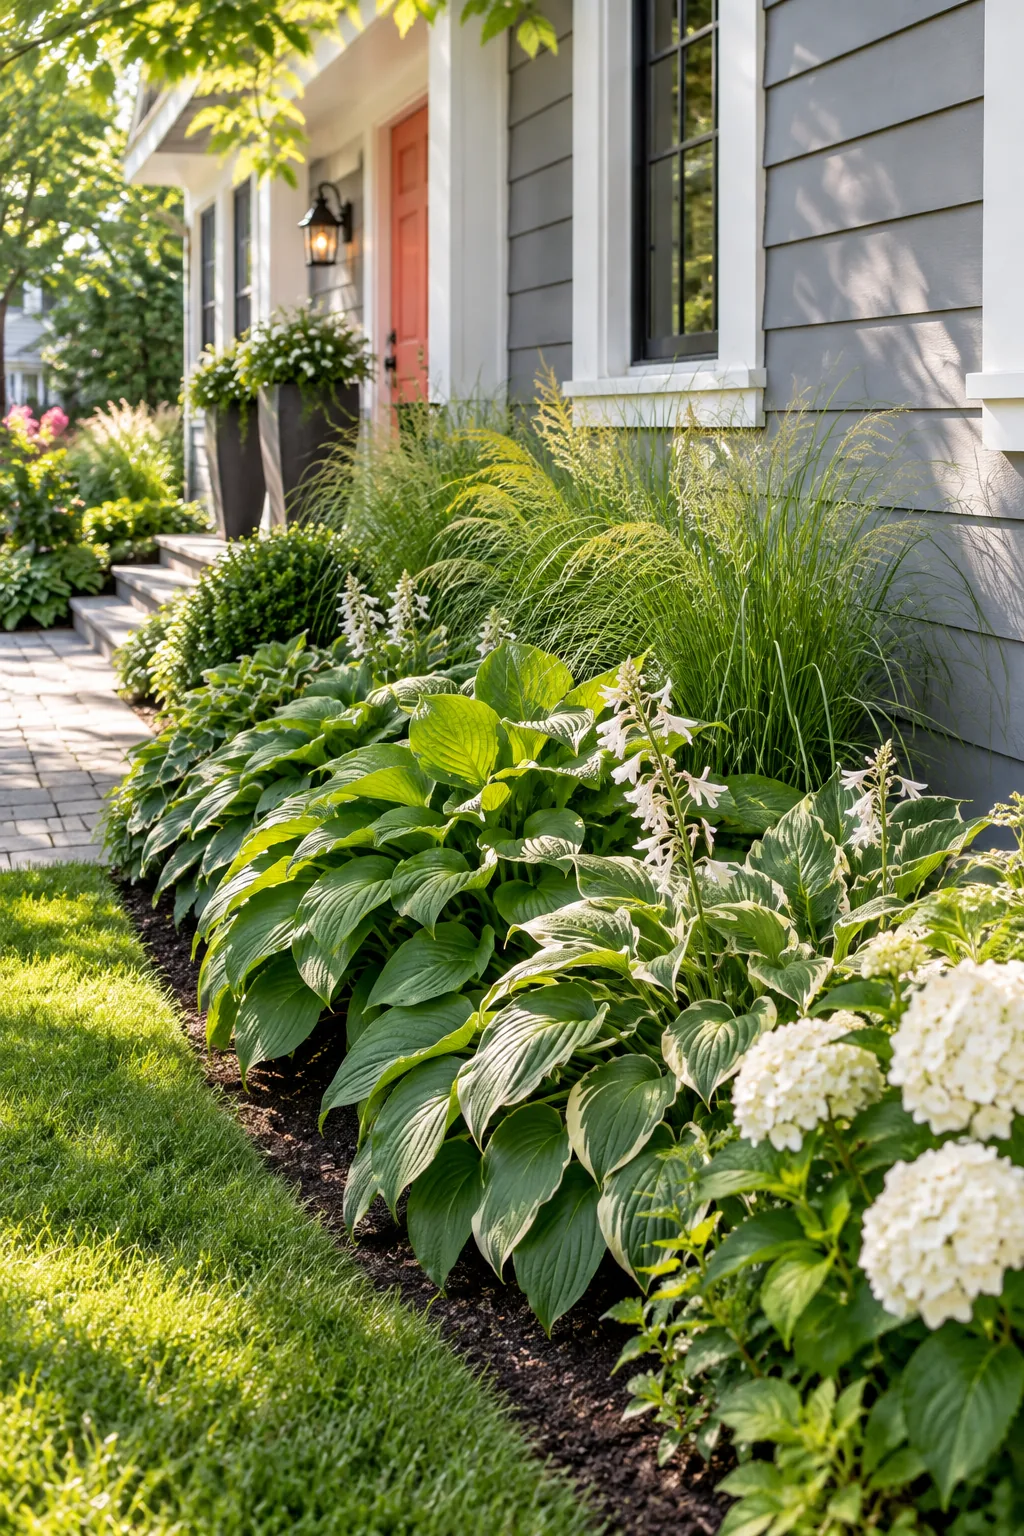
It is tempting to pack small plants tightly for immediate impact, but ignoring mature dimensions causes long-term structural damage.
Amending the Planting Holes
Giving your new shrubs a strong start requires more than just dropping them into the native dirt. Mix a generous scoop of rich compost into the backfill soil to encourage the roots to spread outward into their designated spacing.
Faking Depth with Fine-Textured Foliage
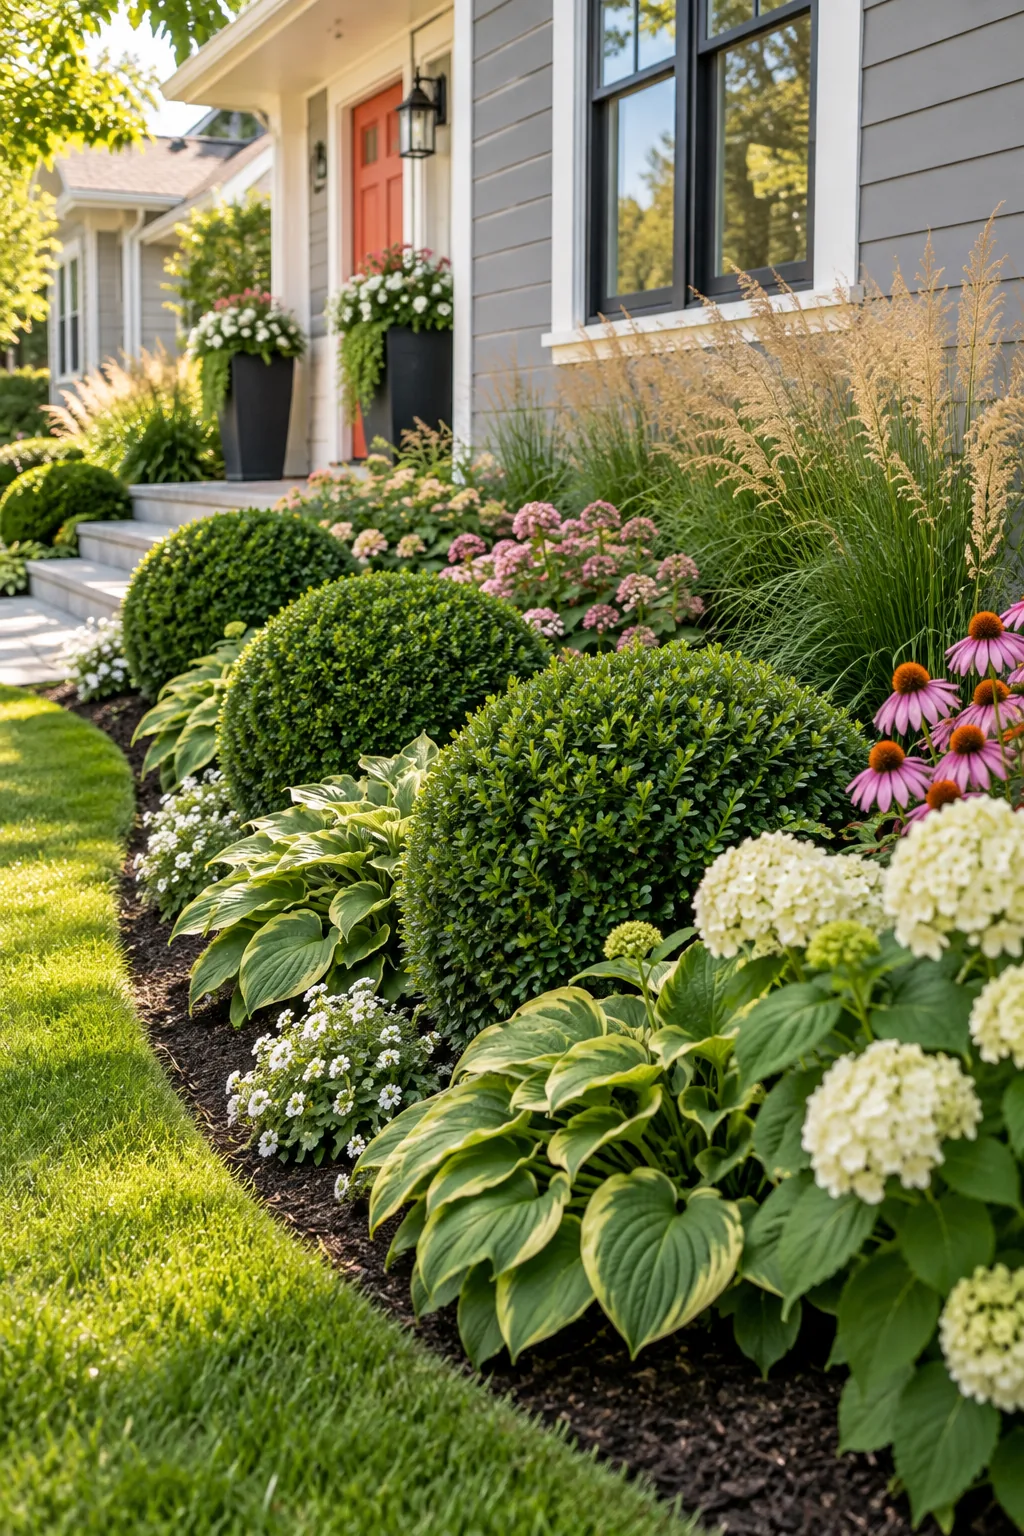
Visual tricks can make a shallow foundation bed feel expansive, so plant feathery, fine-textured ornamental grasses at the back of the bed against the house. These fine leaves recede visually to fake extra depth behind bold, broad-leaved plants.
Choosing the Right Ornamental Grasses
Not all grasses behave well in a compact front yard setting, so stick to clumping varieties rather than aggressive spreaders. Dwarf fountain grass or blue oat grass provide excellent texture without overtaking your carefully measured foundation beds.
Contrasting Foliage Colors
Pairing different leaf shades amplifies the illusion of depth in a limited space. Position bright chartreuse hostas in the foreground to pop against the darker, moody greens of your background ornamental grasses.
Anchoring the Layout with Repeated Shrubs
A small yard easily looks chaotic if you use too many different species, so bring order to the design by choosing one structural evergreen. Plant a rounded boxwood and repeat it three times across the front yard to unify the space.
Pruning for a Consistent Shape
Keeping your structural evergreens uniform is the secret to a polished, professional-looking landscape design. Use sharp bypass shears to lightly shape your three boxwoods twice a year, ensuring they maintain identical heights and perfectly rounded profiles.
Feeding Your Evergreens
Repeated shrubs only look cohesive if they all grow at the same vigorous rate. Apply a slow-release granular evergreen fertilizer in early spring to ensure your structural plants push out identical, healthy flushes of green growth.
5 Small Yard Styles to Inspire Your Layout
Use the same underlying measurements to build any of these distinct landscape styles.
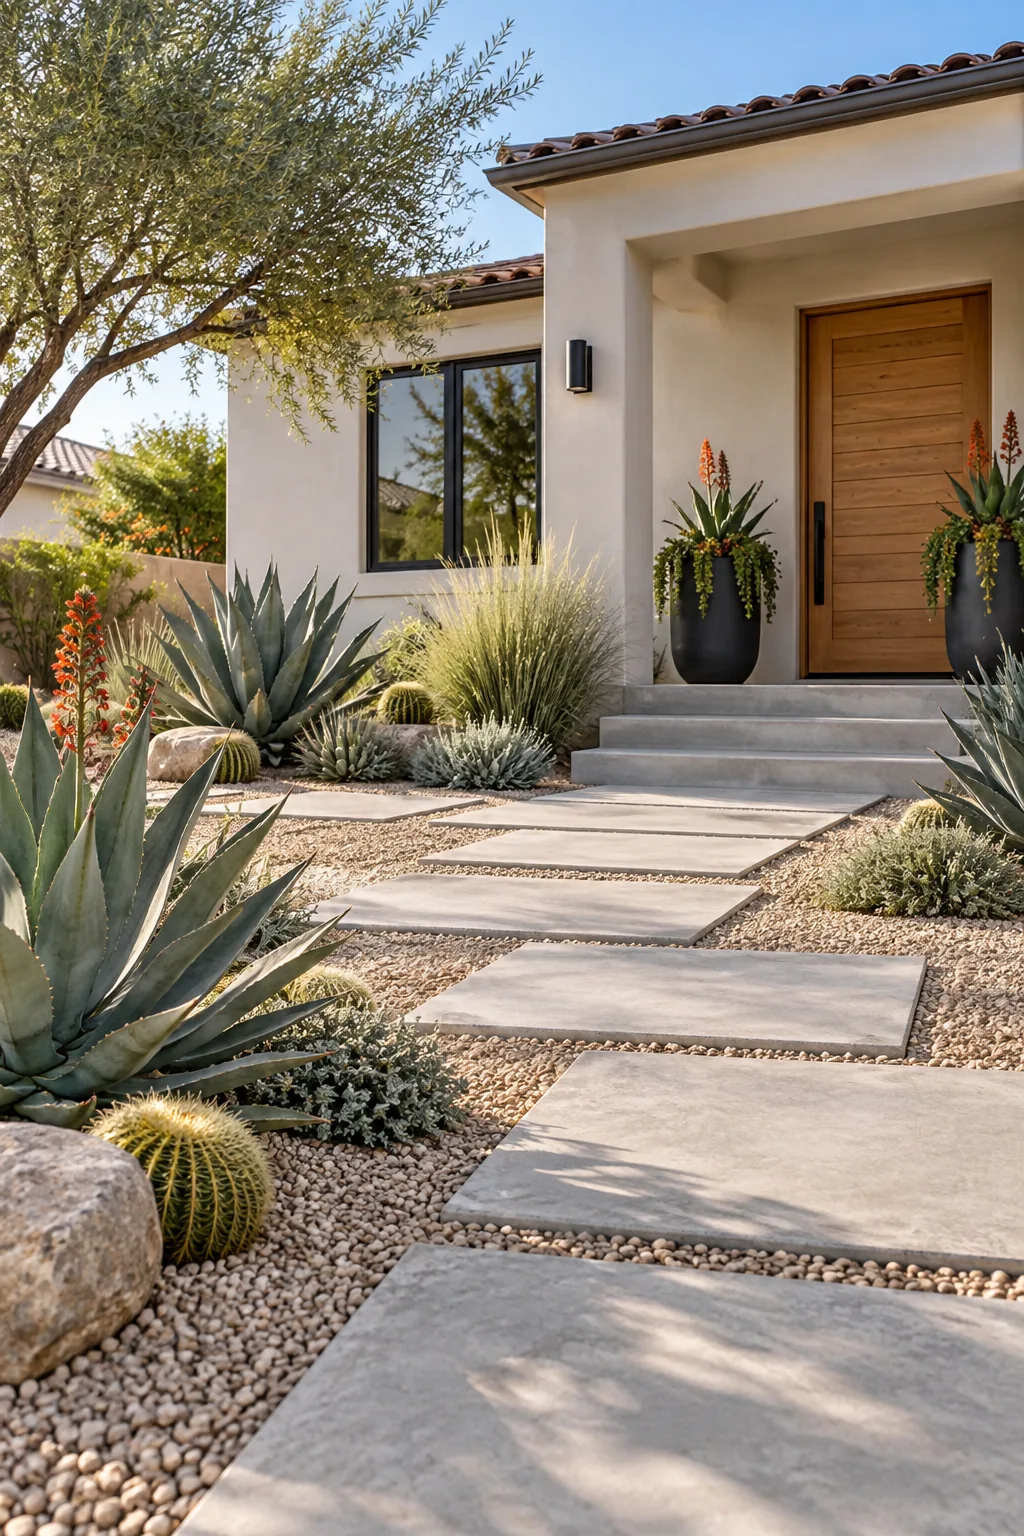
Modern Desert Gravel Garden: Swap thirsty turf for crushed gravel and architectural agaves to achieve a striking, low-water modern aesthetic.
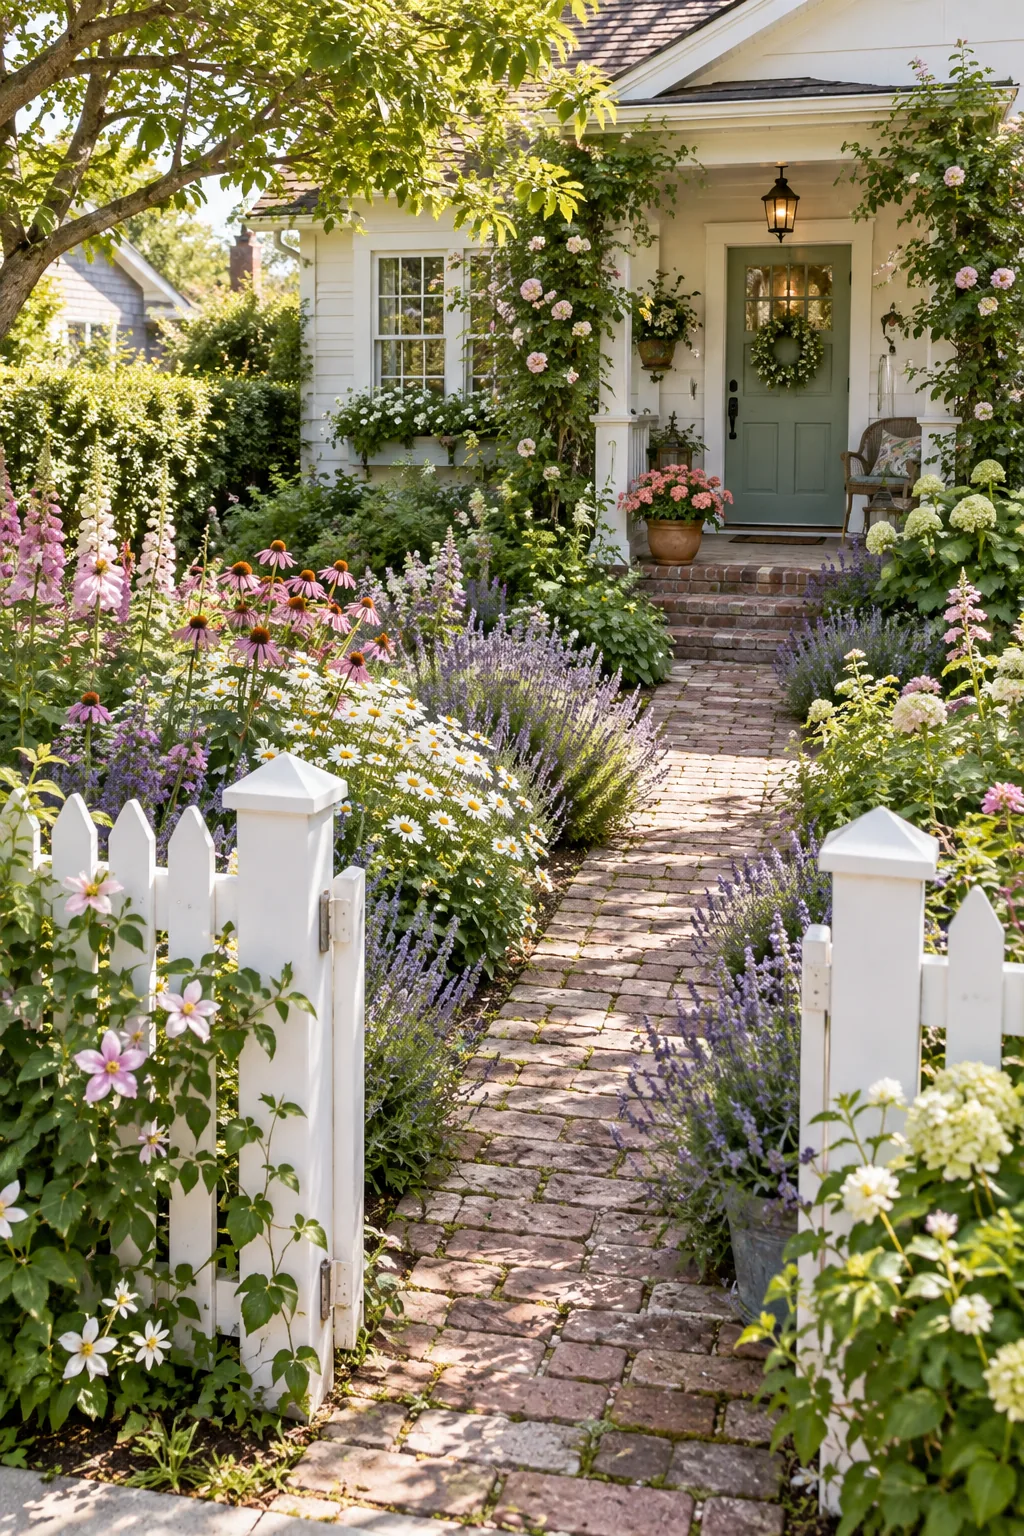
Cottage Core Picket Fence: Enclose the yard with a low picket fence to let colorful wildflowers spill charmingly over the boundaries.
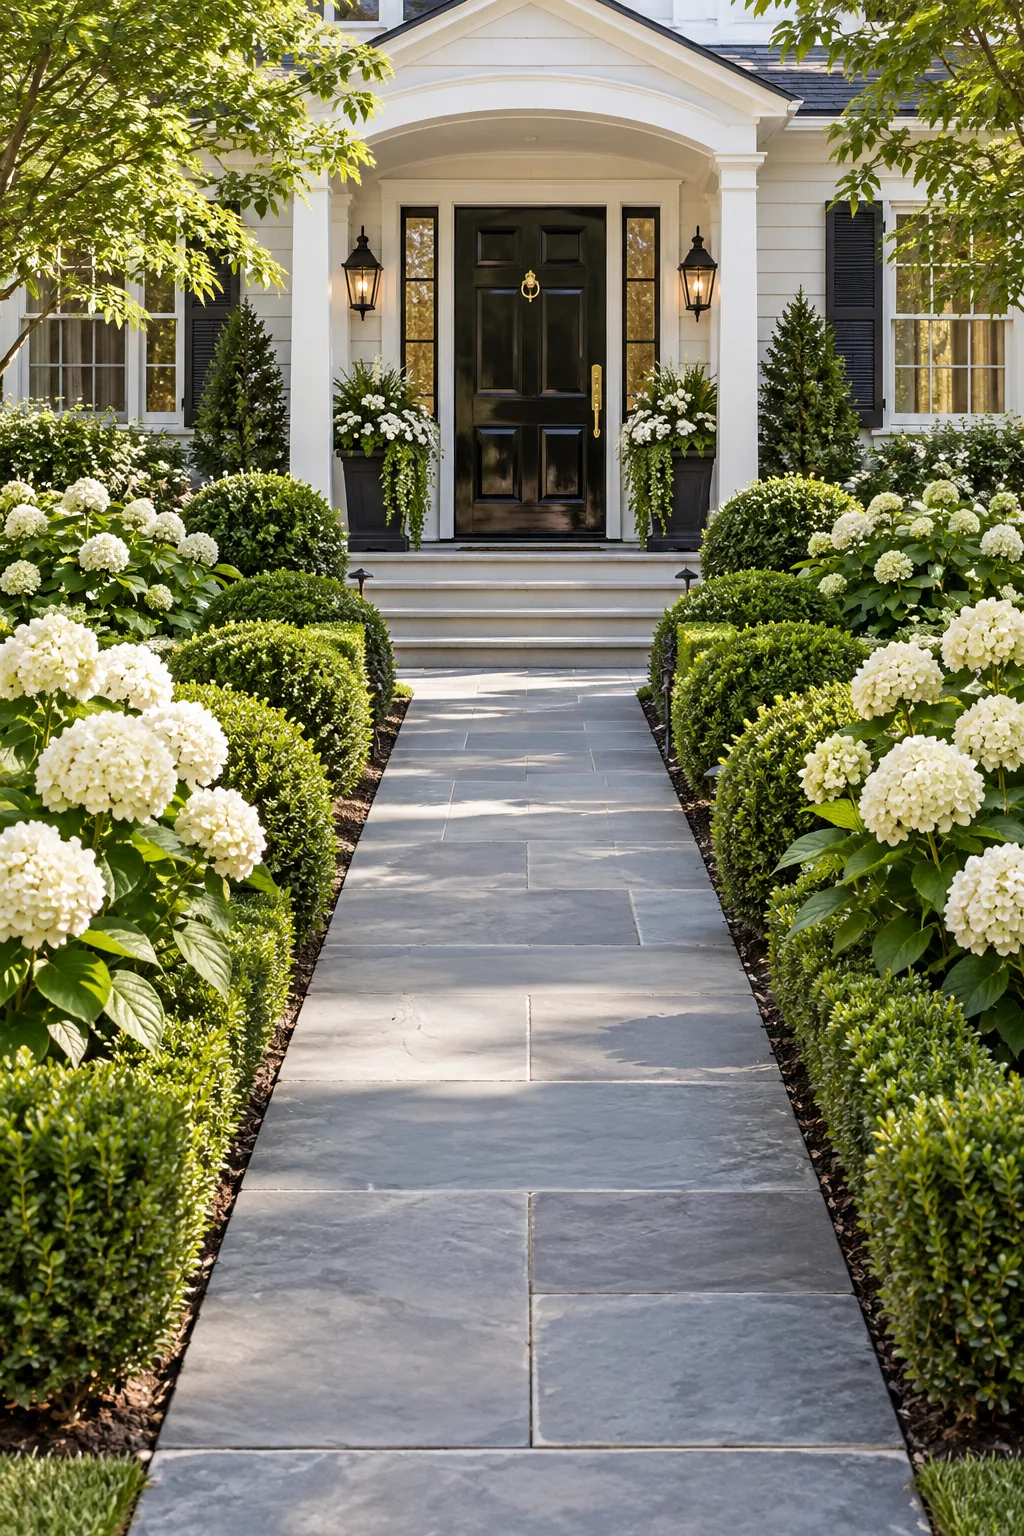
Formal Classic Symmetrical Yard: Rely on strict symmetry and a restricted green-and-white color palette to make a tiny lot feel grand.
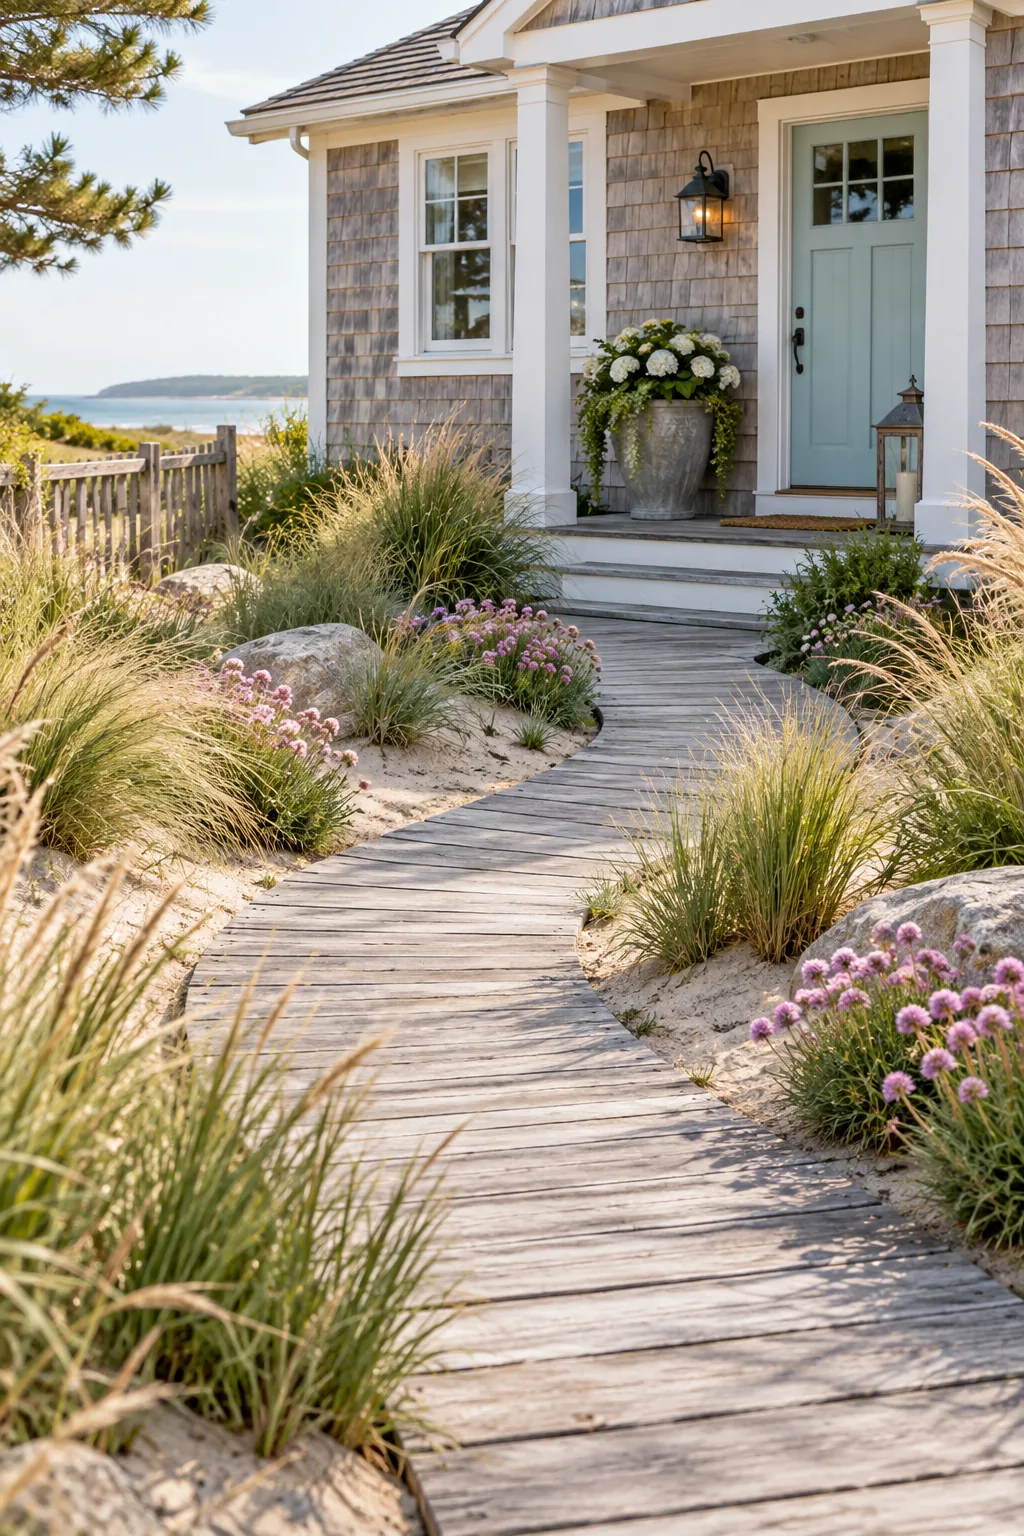
Coastal Cool Boardwalk Path: Use a weathered wooden boardwalk instead of traditional pavers to instantly establish a relaxed beachside atmosphere.
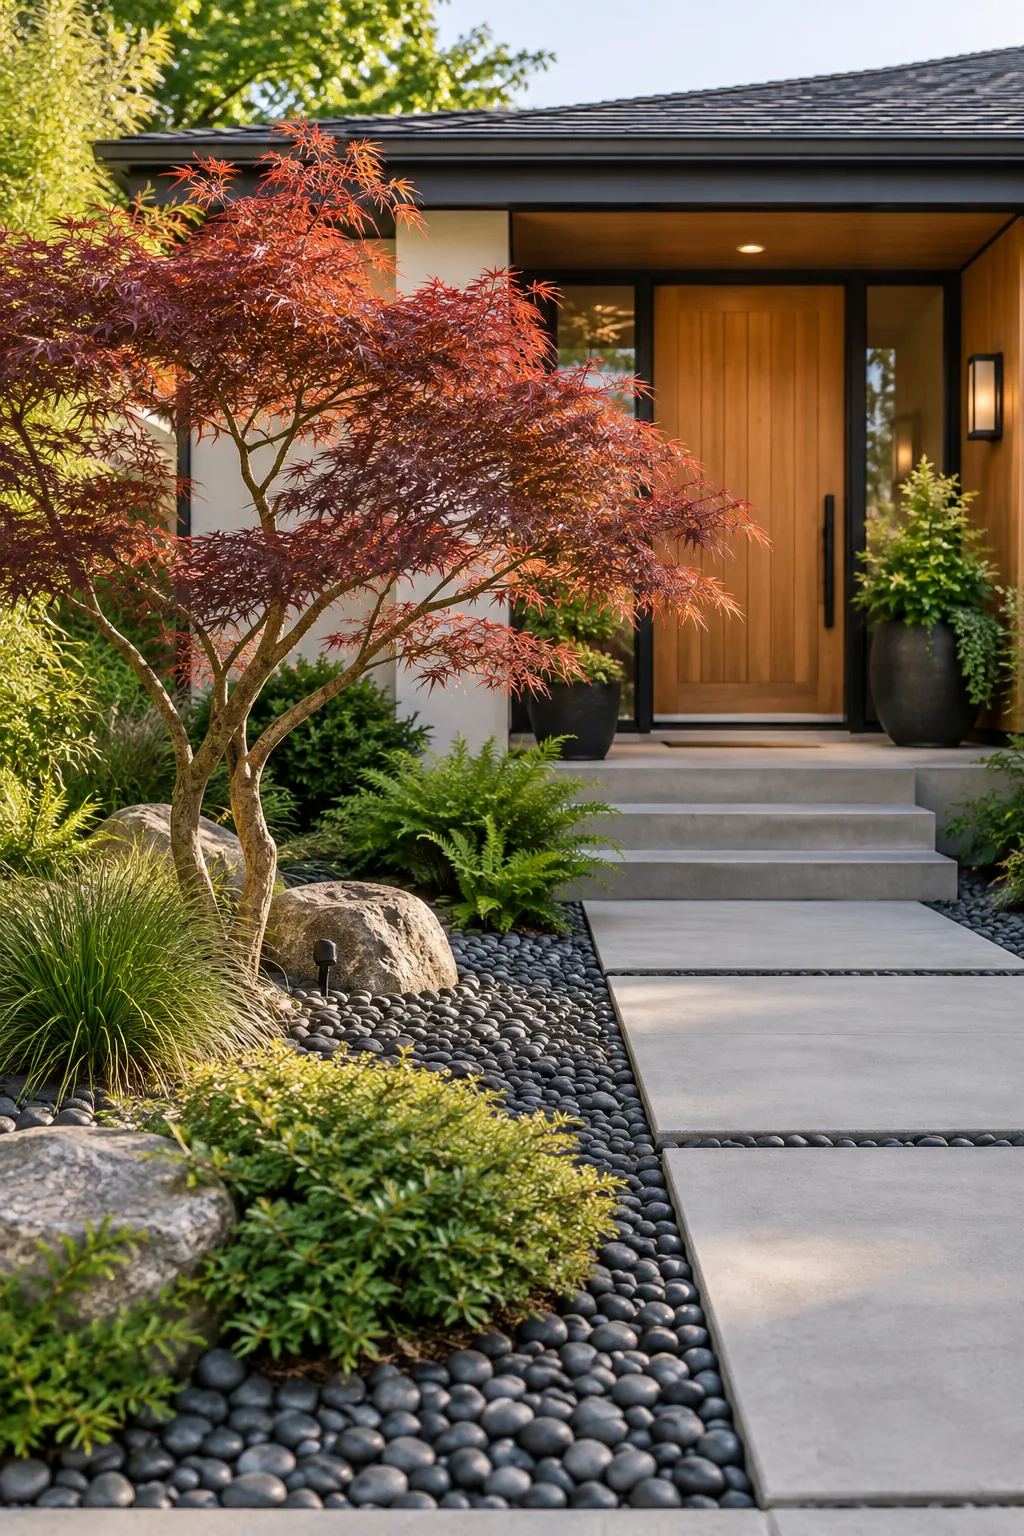
Minimalist Zen River Rock: Let one sculptural tree serve as the sole focal point against a calming bed of smooth river rock.
Sizing Planters for the Front Door
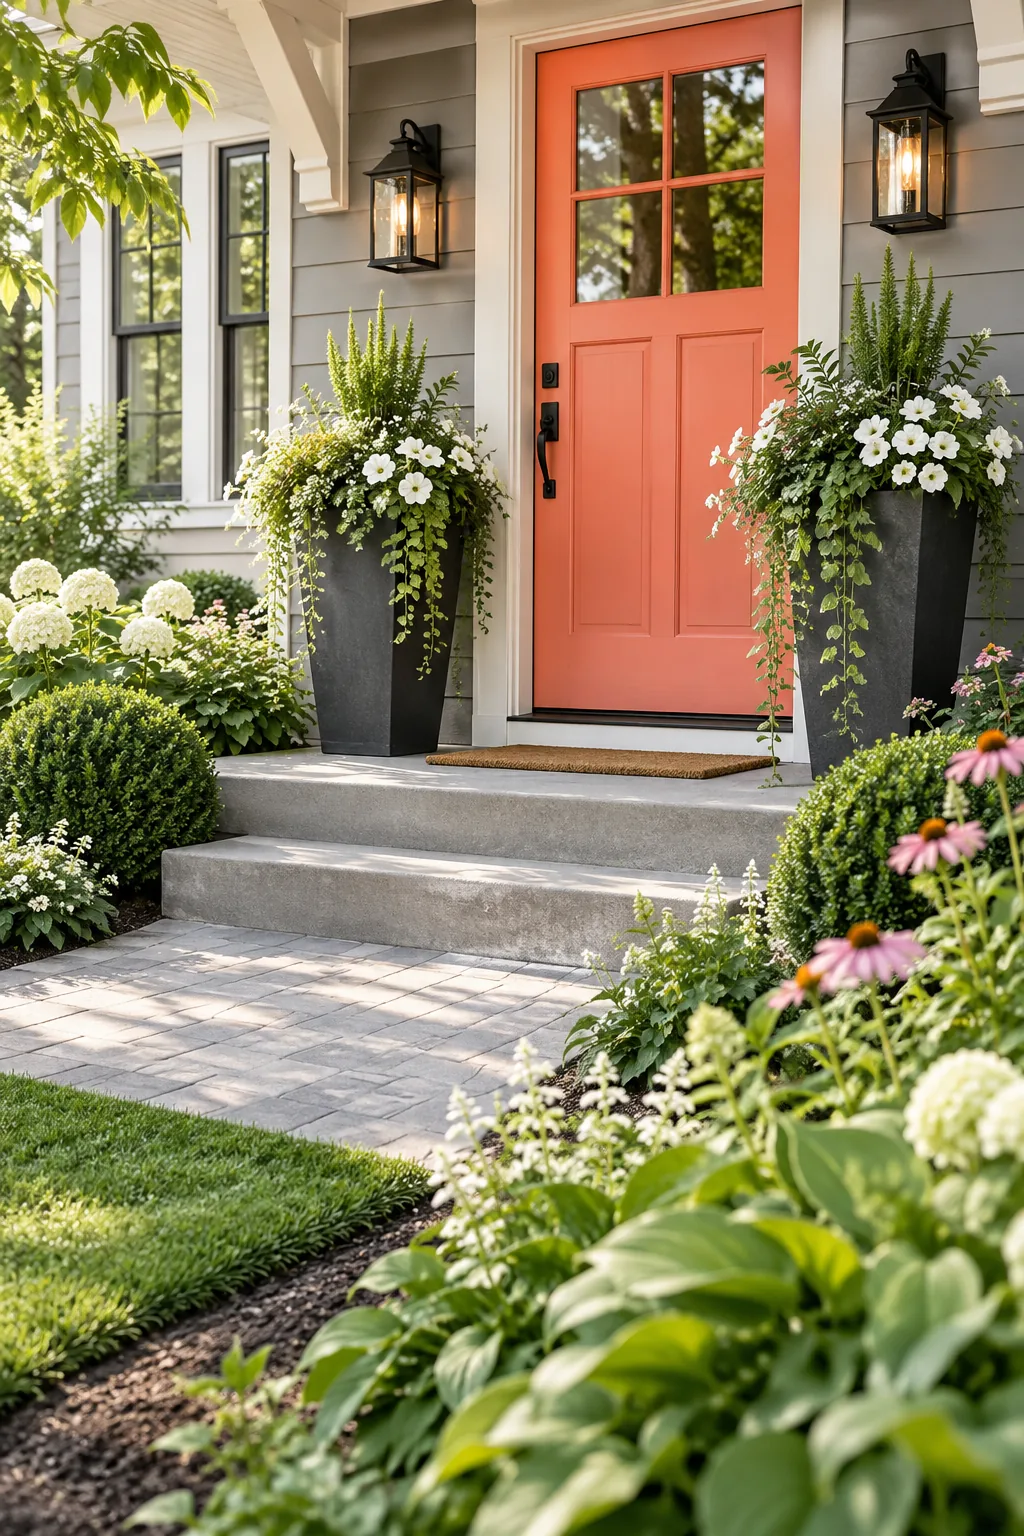
Complete the landscape by drawing the eye up to the entryway with tall statement planters that measure exactly one-third the height of your front door.
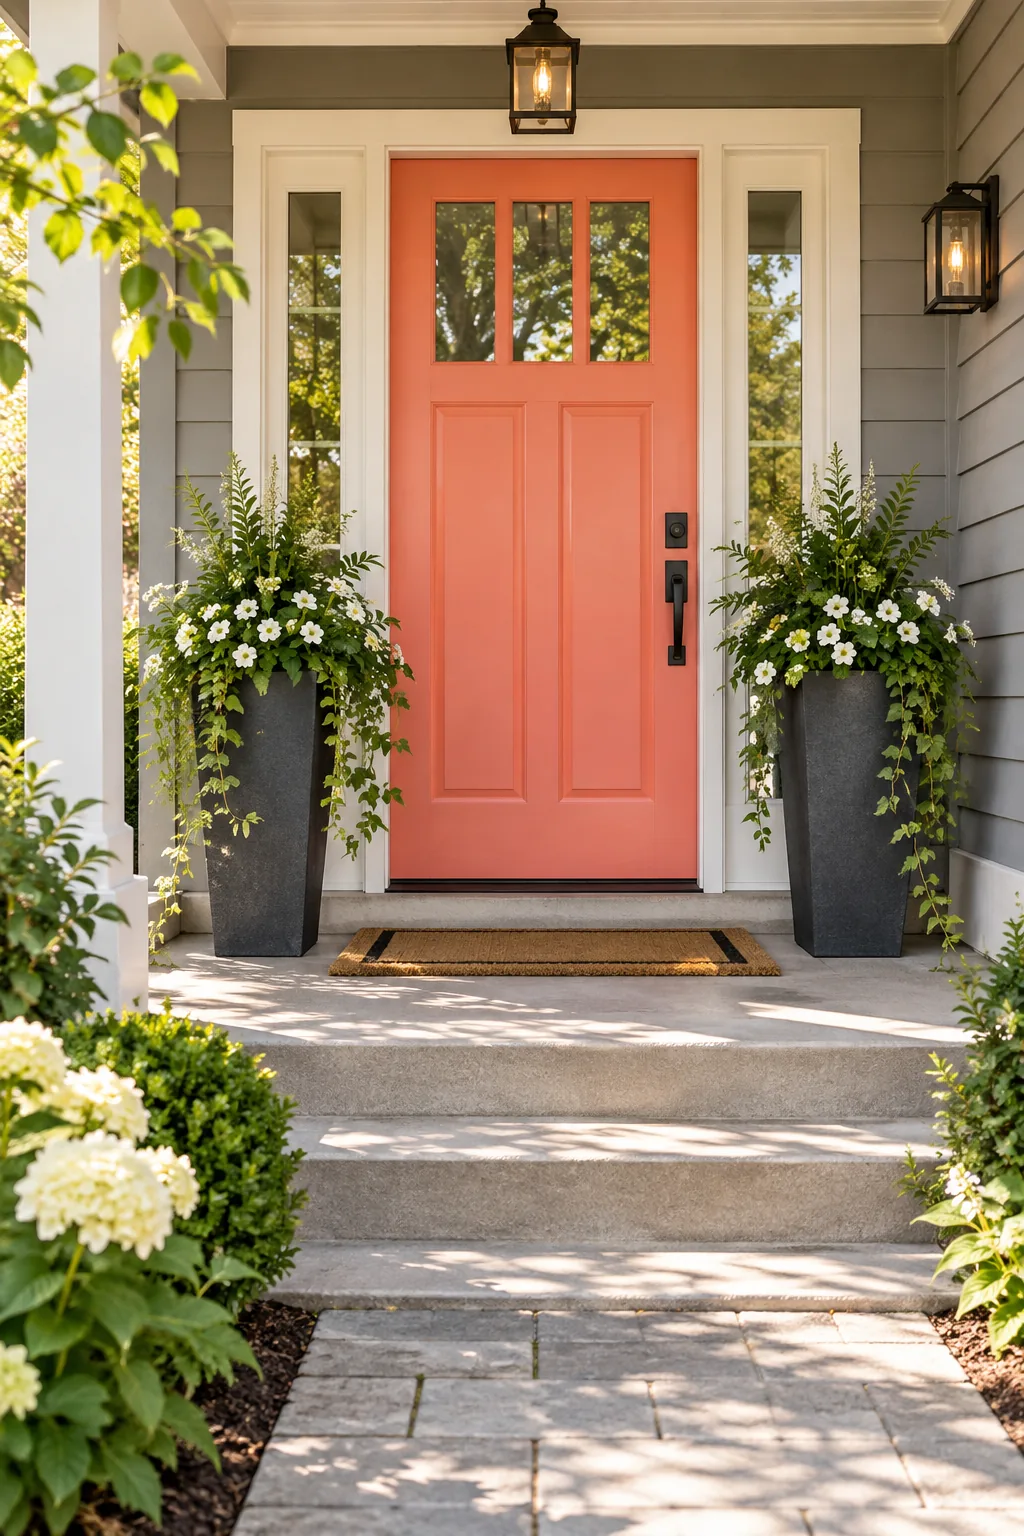
| Door Height | Ideal Planter Height | Minimum Planter Width |
|---|---|---|
| 80 inches (Standard) | 26 to 27 inches | 14 inches |
| 84 inches (Tall) | 28 inches | 16 inches |
| 96 inches (Grand) | 32 inches | 18 inches |
I swapped my tiny porch pots for tall slate vessels last spring using this exact ratio, and it completely transformed my home’s curb appeal.