
10+ Brilliant Master Bathroom Layout Ideas for Your Home
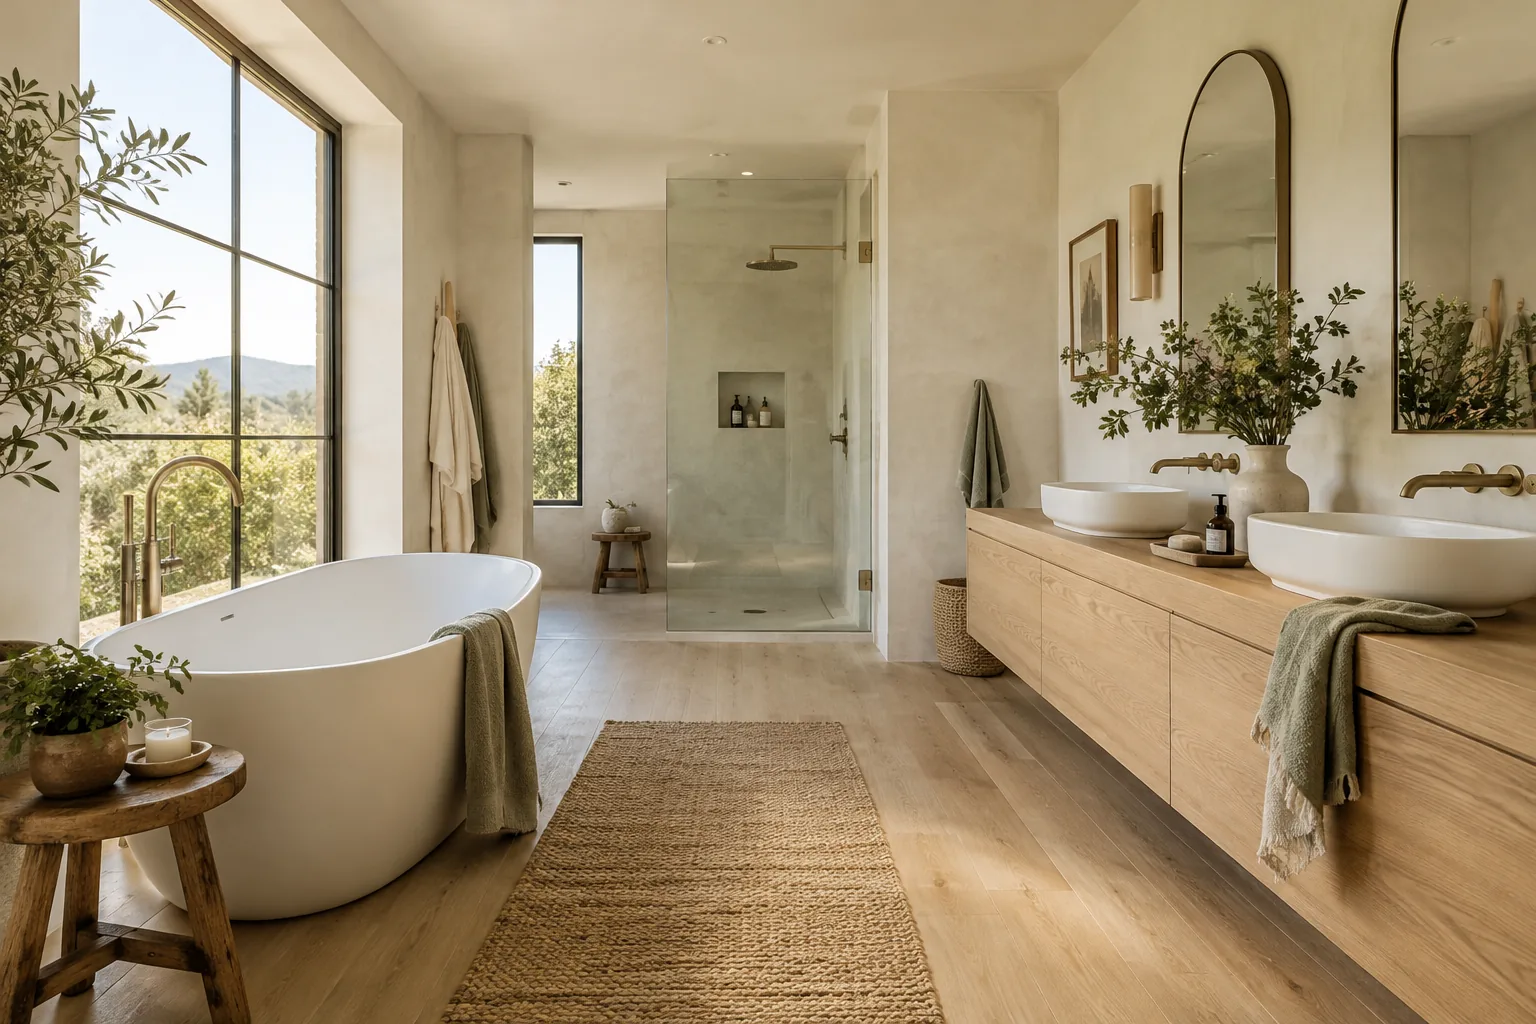
A solid master bathroom layout dictates how smoothly your entire morning runs. I put together these practical floor plan strategies to help you build a space that actually makes sense for your daily routine.
1. Create a Glass-Enclosed Wet Zone
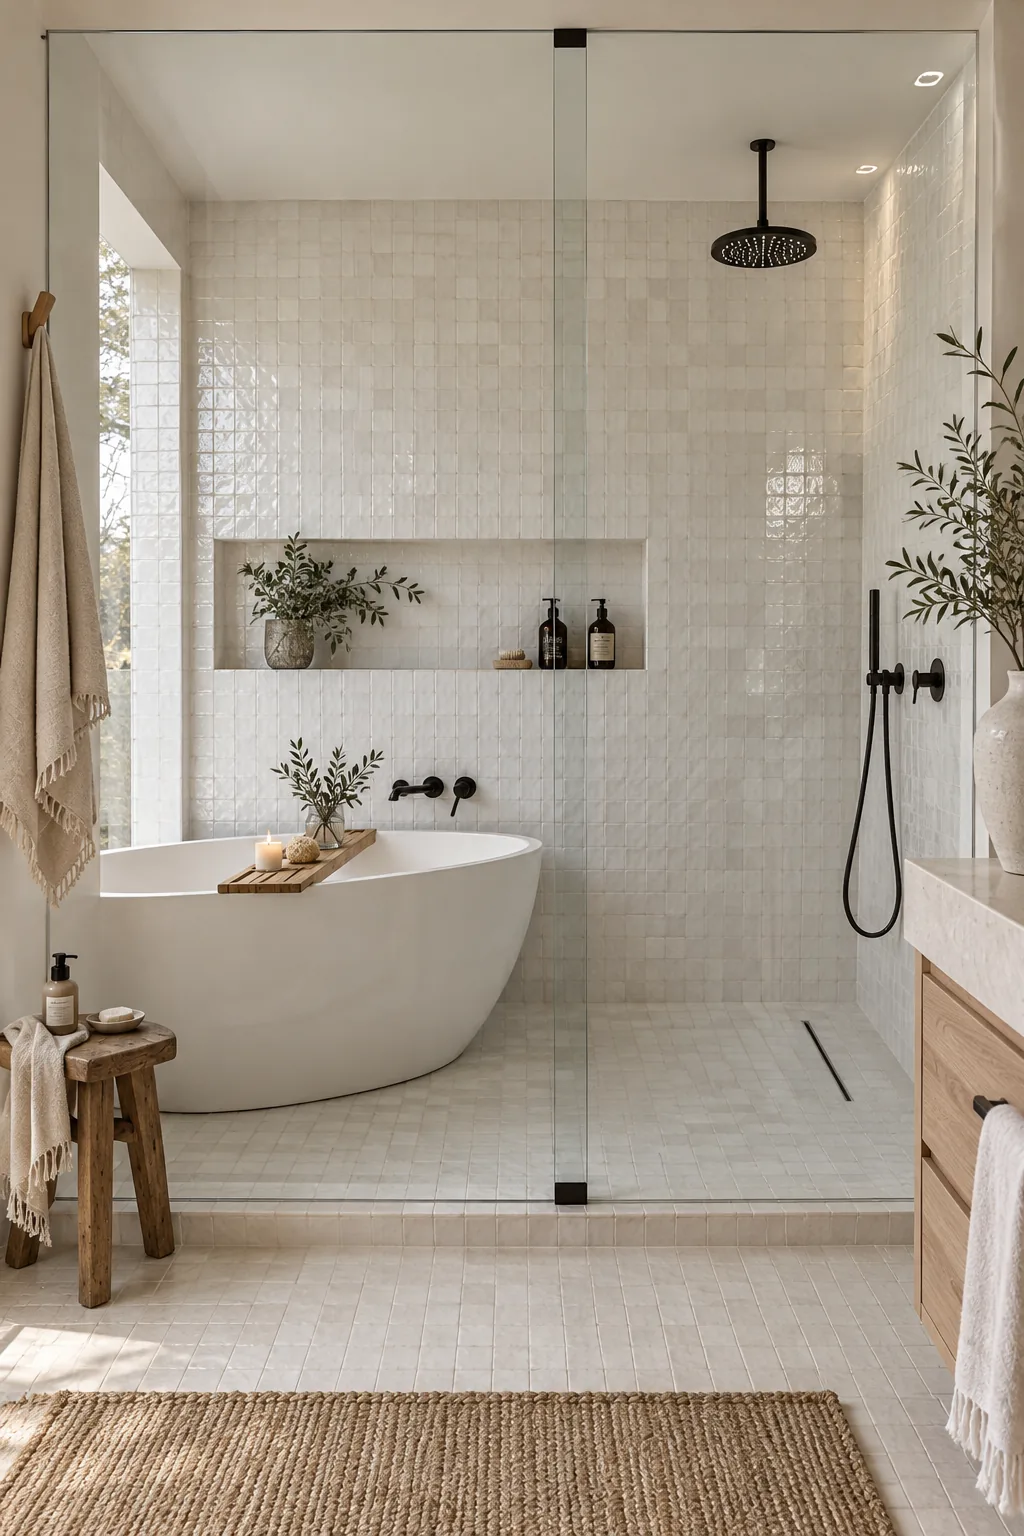
I always start my bathroom designs by mapping out the wet zone. Grouping the freestanding tub and the walk-in shower behind a single pane of glass keeps all the moisture contained in one specific area. It frees up the rest of the room for a massive vanity and plenty of dry storage. You get this incredibly luxurious, spa-like feel without needing a massive footprint.
2. Wrap an L-Shaped Corner Vanity
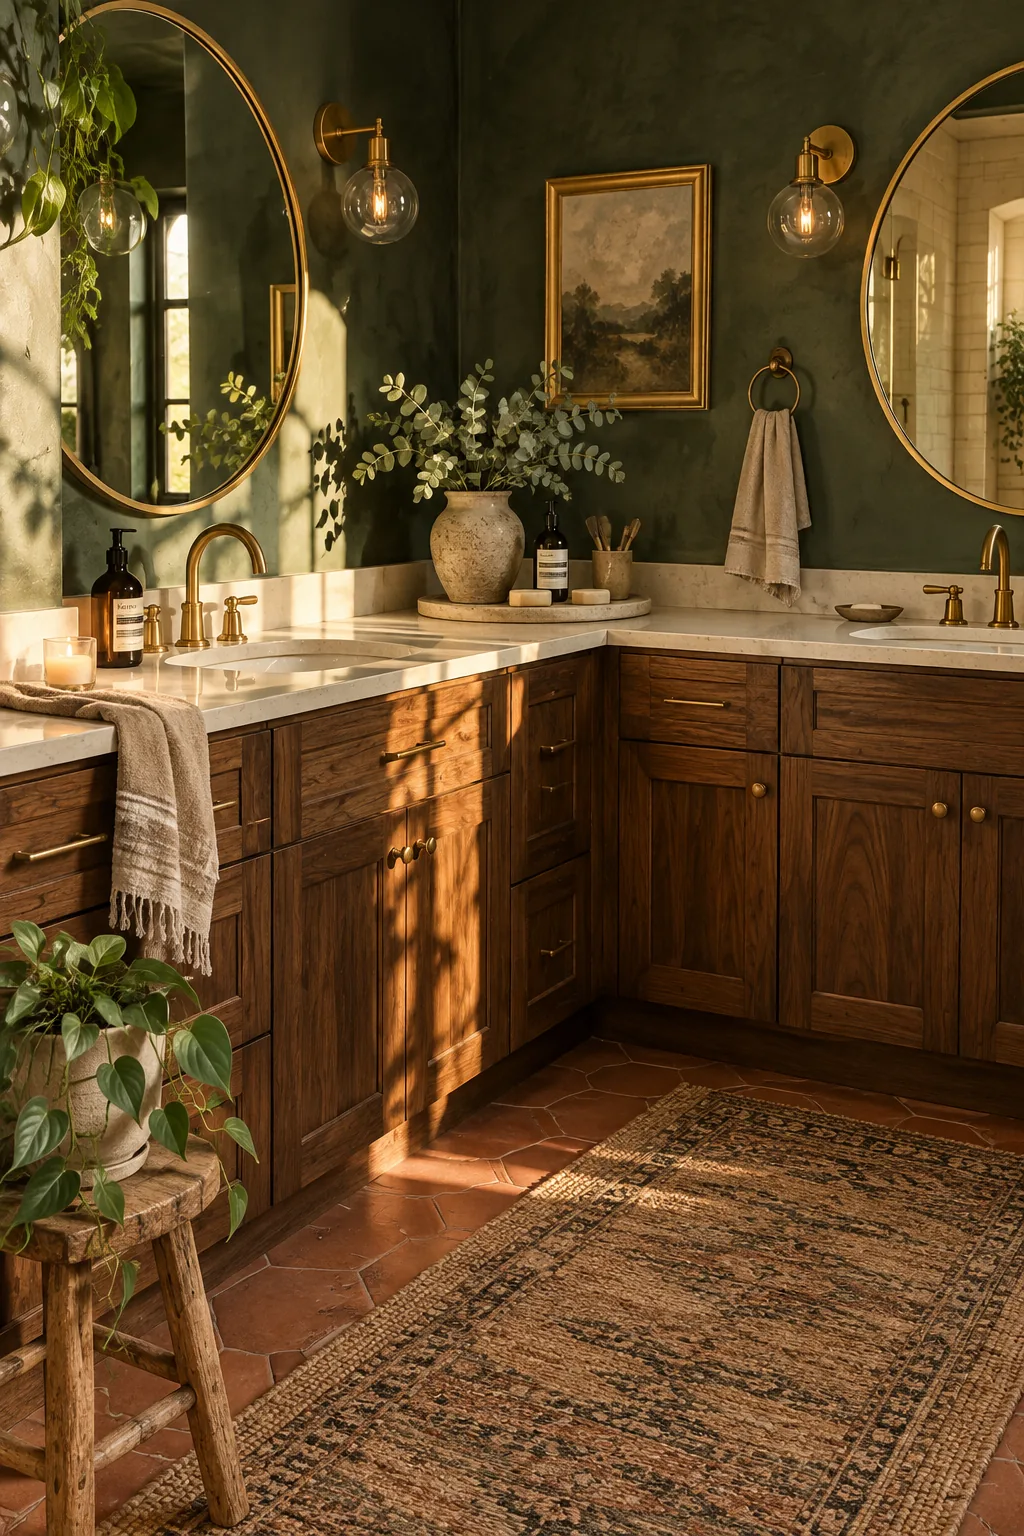
Dead corners destroy a good floor plan.
Tucking a custom corner vanity into an awkward nook reclaims that wasted square footage instantly. You can wrap the counters along two walls to double your prep space and separate the sinks. It creates a natural separation so two people can get ready without bumping elbows.
3. Embrace a Galley Floor Plan
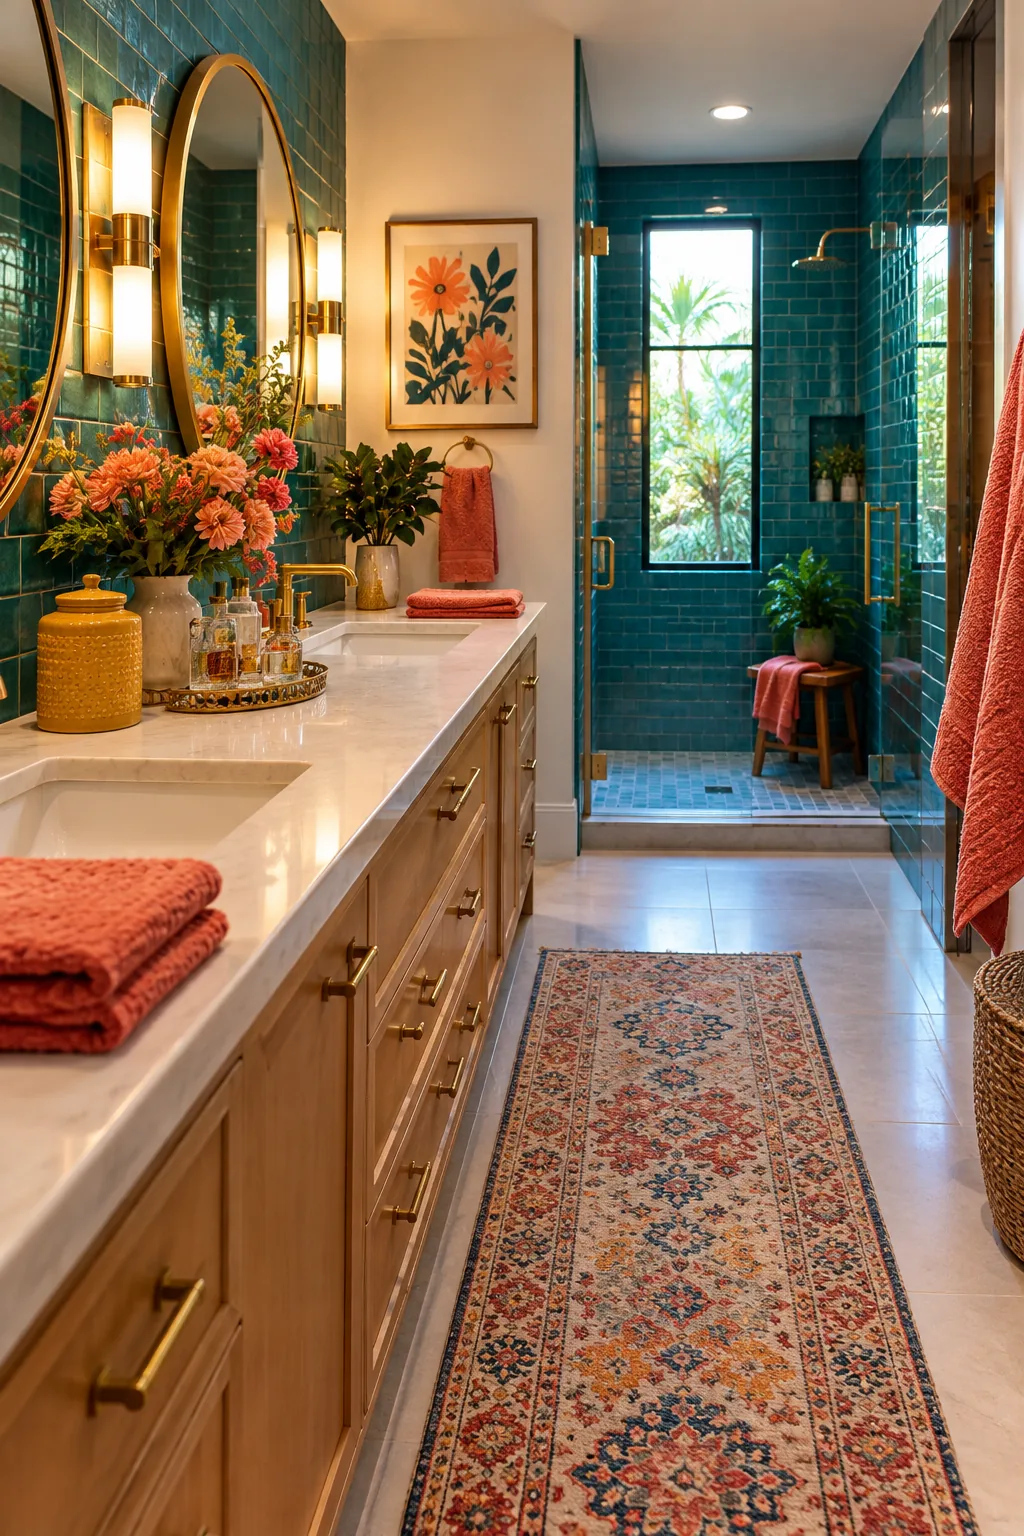
My favorite trick for long, narrow bathrooms is installing a galley layout. Placing the double vanity on one wall and the shower directly parallel streamlines the entire traffic path. The central walkway stays completely clear.
It feels incredibly balanced.
4. Float the Vanity for Visual Space
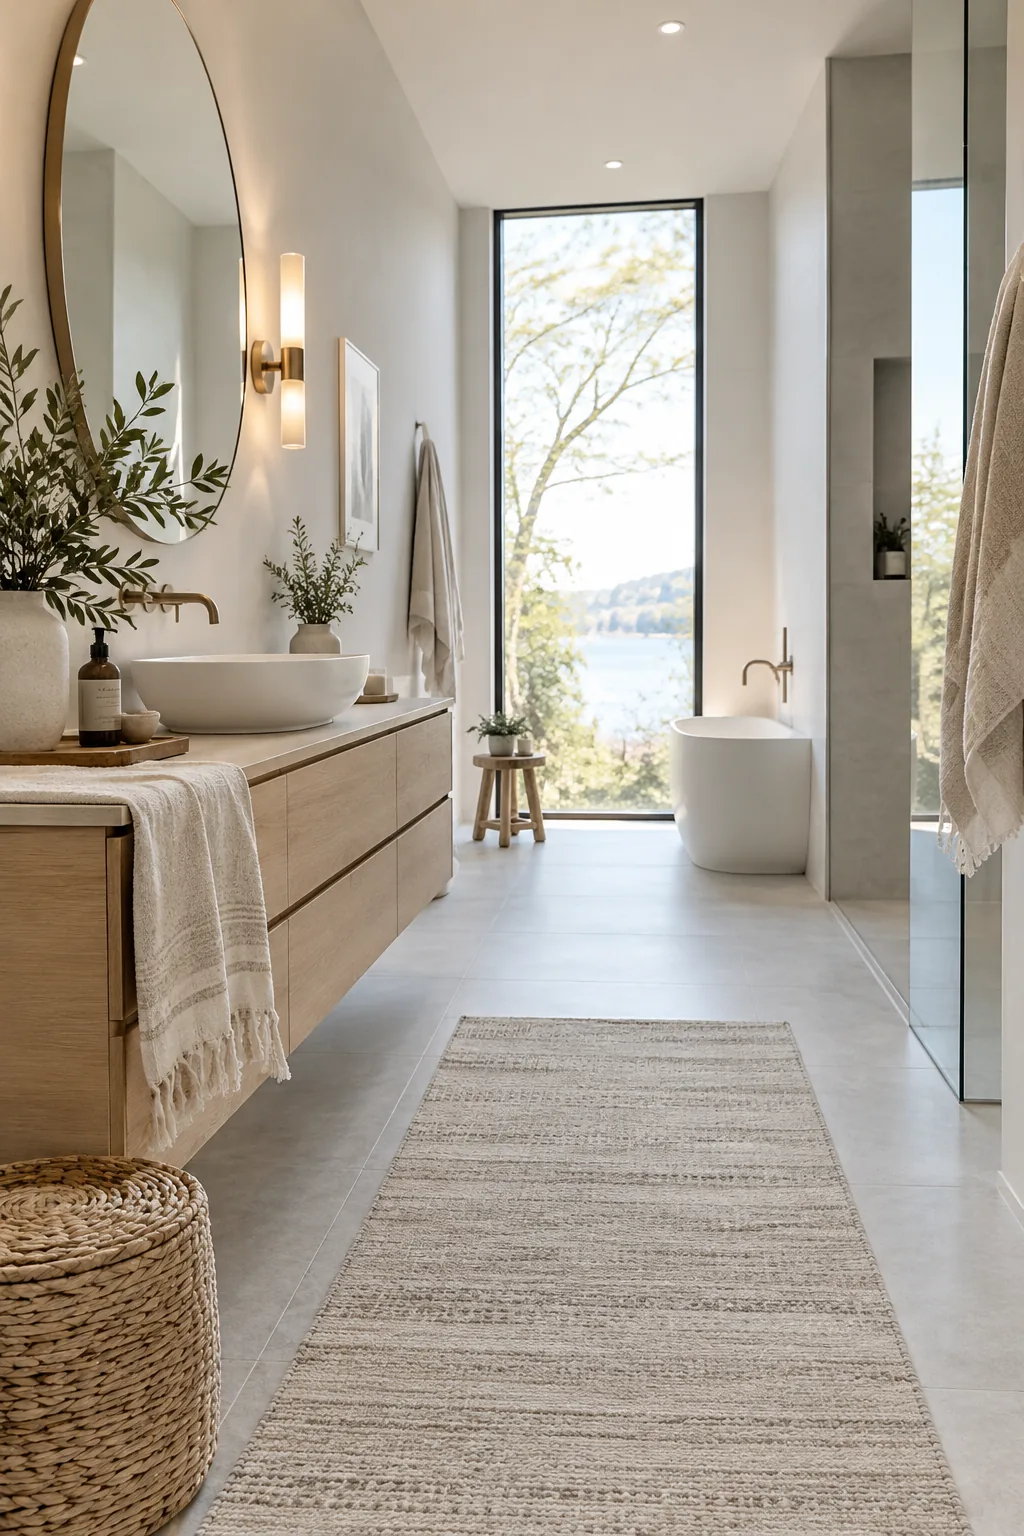
Float your vanity off the floor to create the illusion of a much wider room. A wall-mounted vanity exposes the tile underneath, which tricks your brain into thinking the floor plan stretches further than it actually does.
5. Conceal the Toilet with a Half Wall
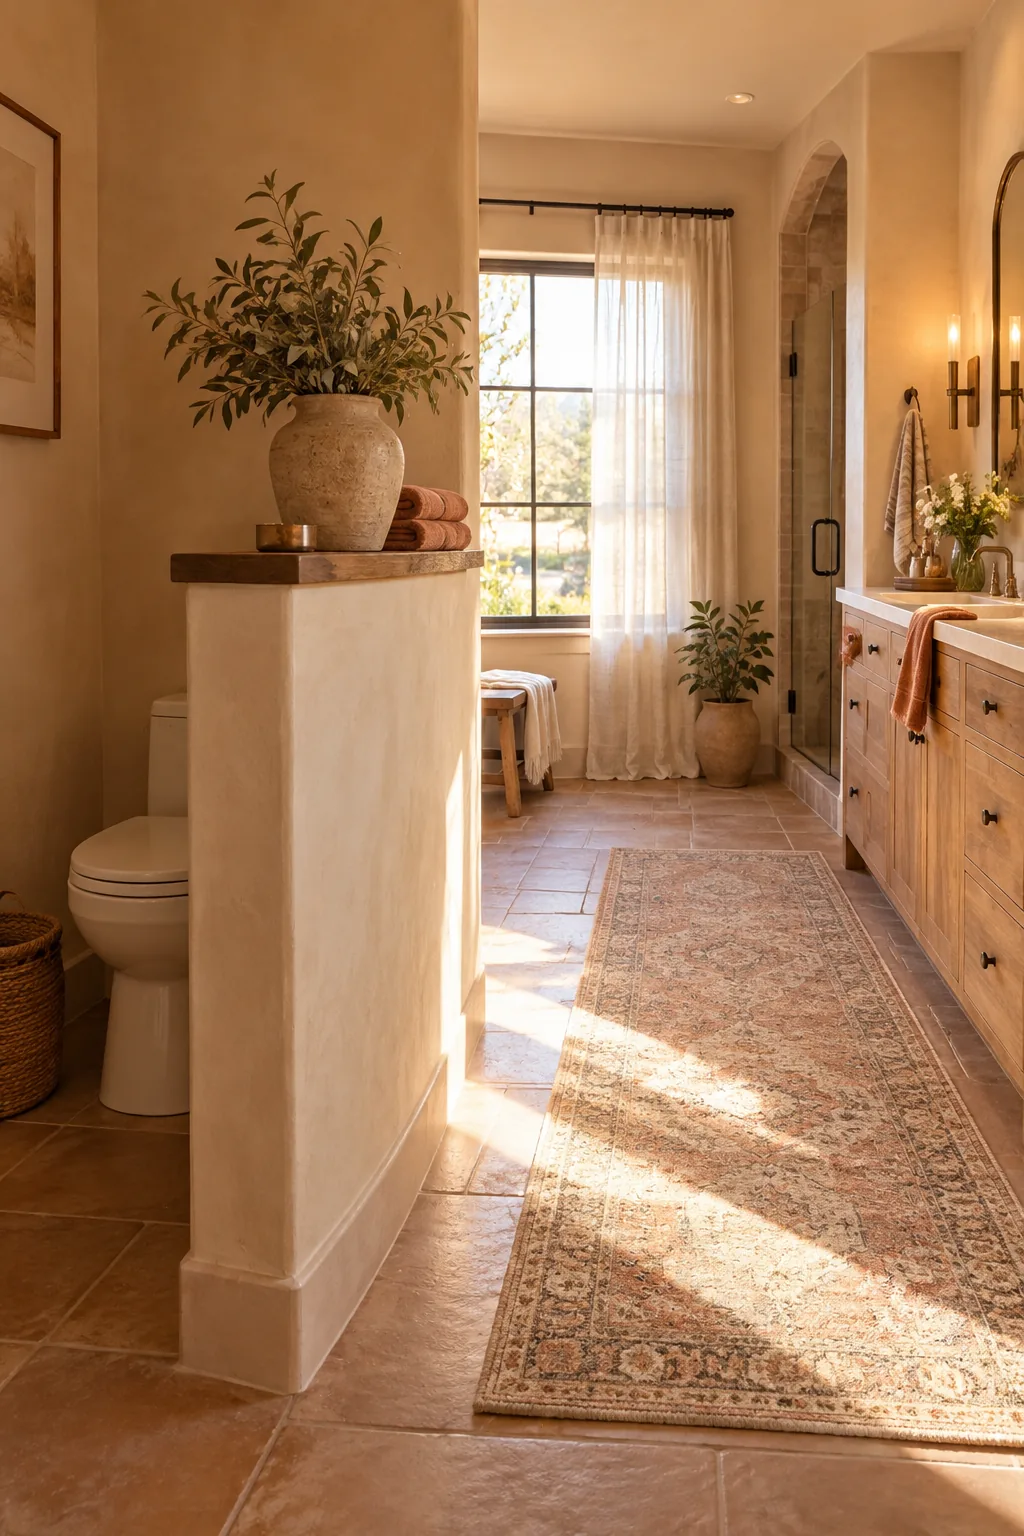
A standard toilet needs at least thirty inches of clearance to meet basic building codes. Hiding it behind a half wall gives you that required space while blocking the view from the doorway.
6. Anchor the Room with a Window Tub
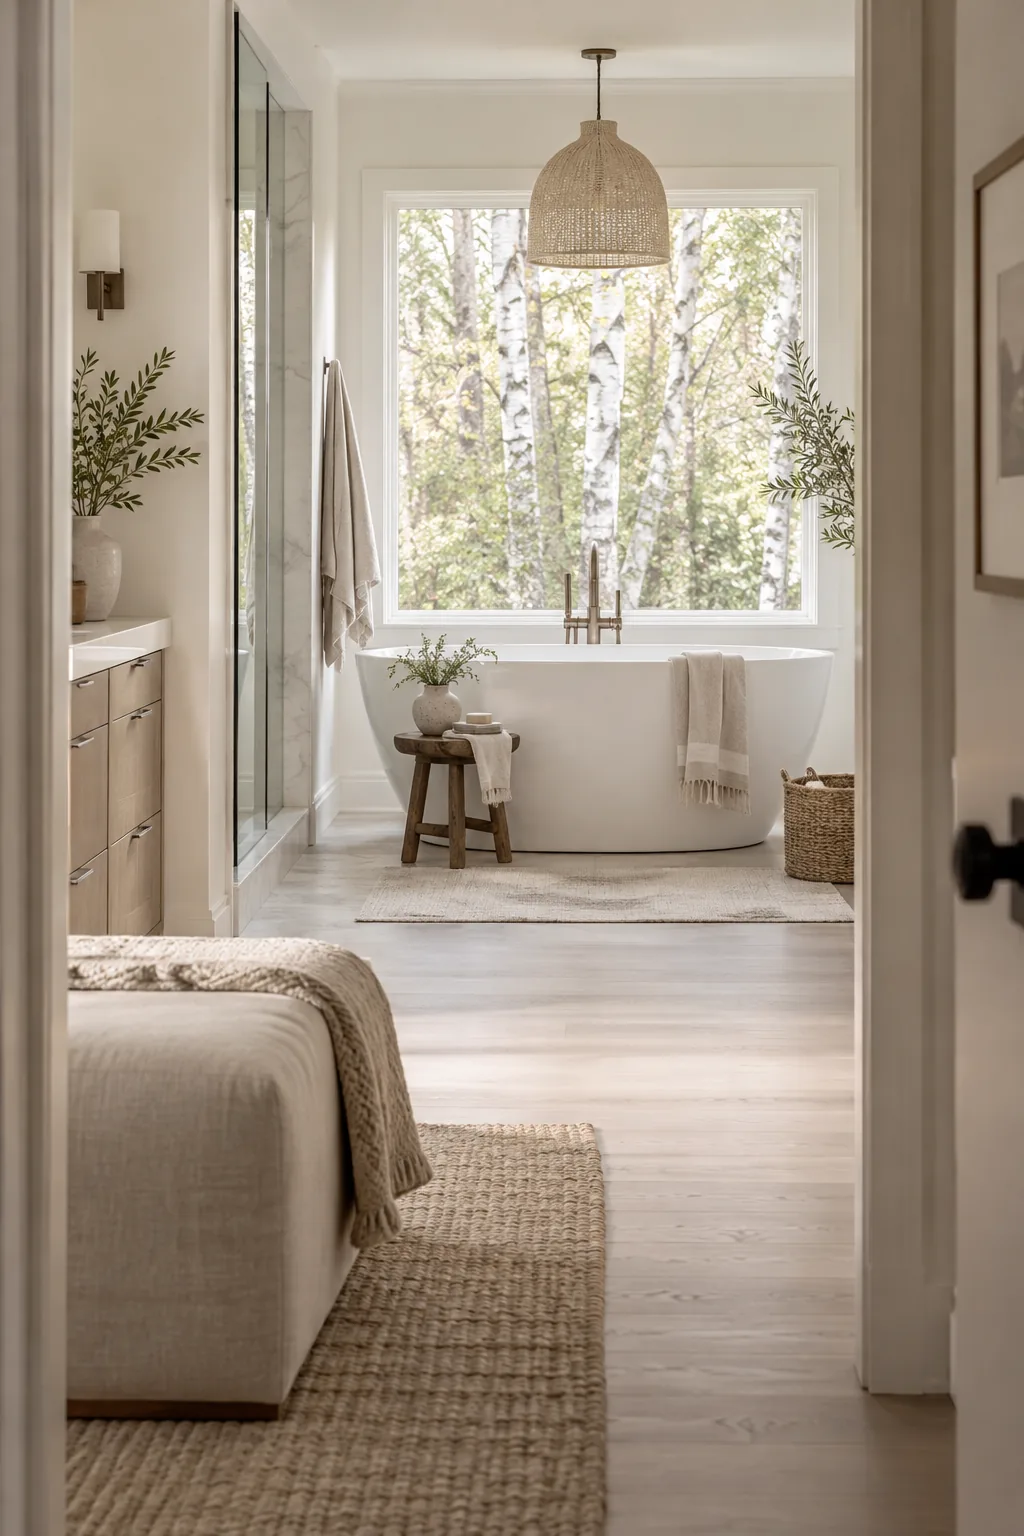
Natural light dictates where the most important elements should go. Centering a freestanding tub directly under your biggest window creates a stunning focal point the second you walk in. It anchors the entire room. You can then build the rest of the layout around that primary view.
7. Split the Vanities for Symmetry
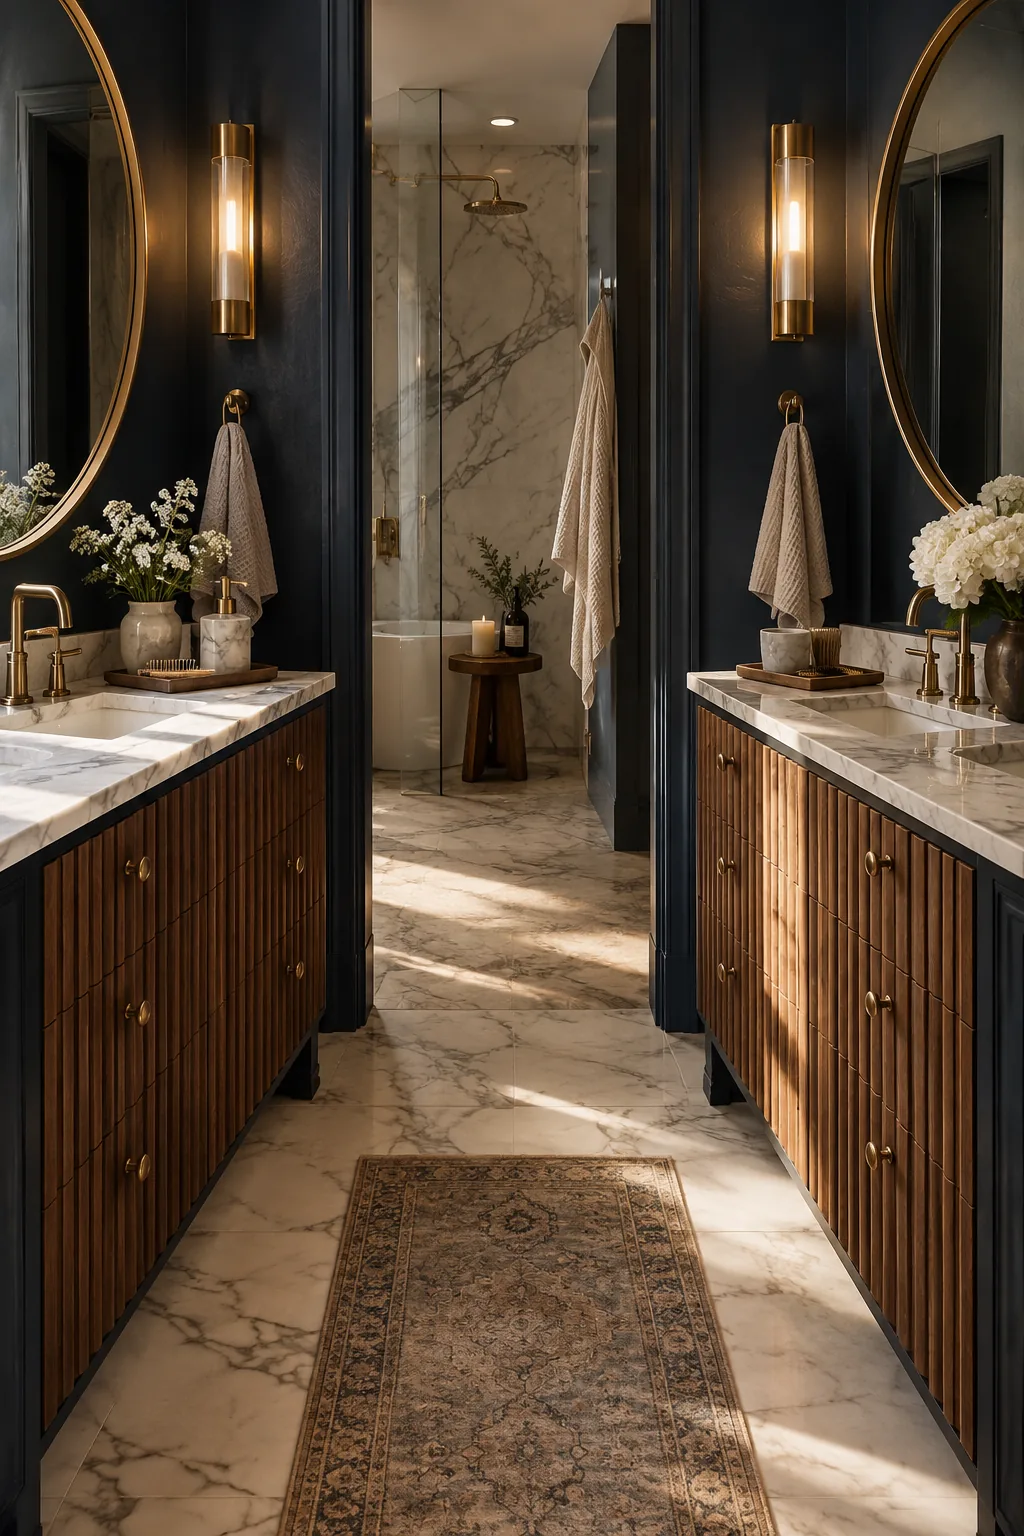
Symmetry brings a highly traditional, custom-built look to any master suite. Placing two separate single vanities on opposite sides of the room gives each person their own dedicated zone. It completely eliminates the morning fight for counter space. You can flank the entry door or place them across from each other in a wider room. This setup feels incredibly high-end because it treats the bathroom like a proper dressing room.
8. Push the Shower to the Back Wall
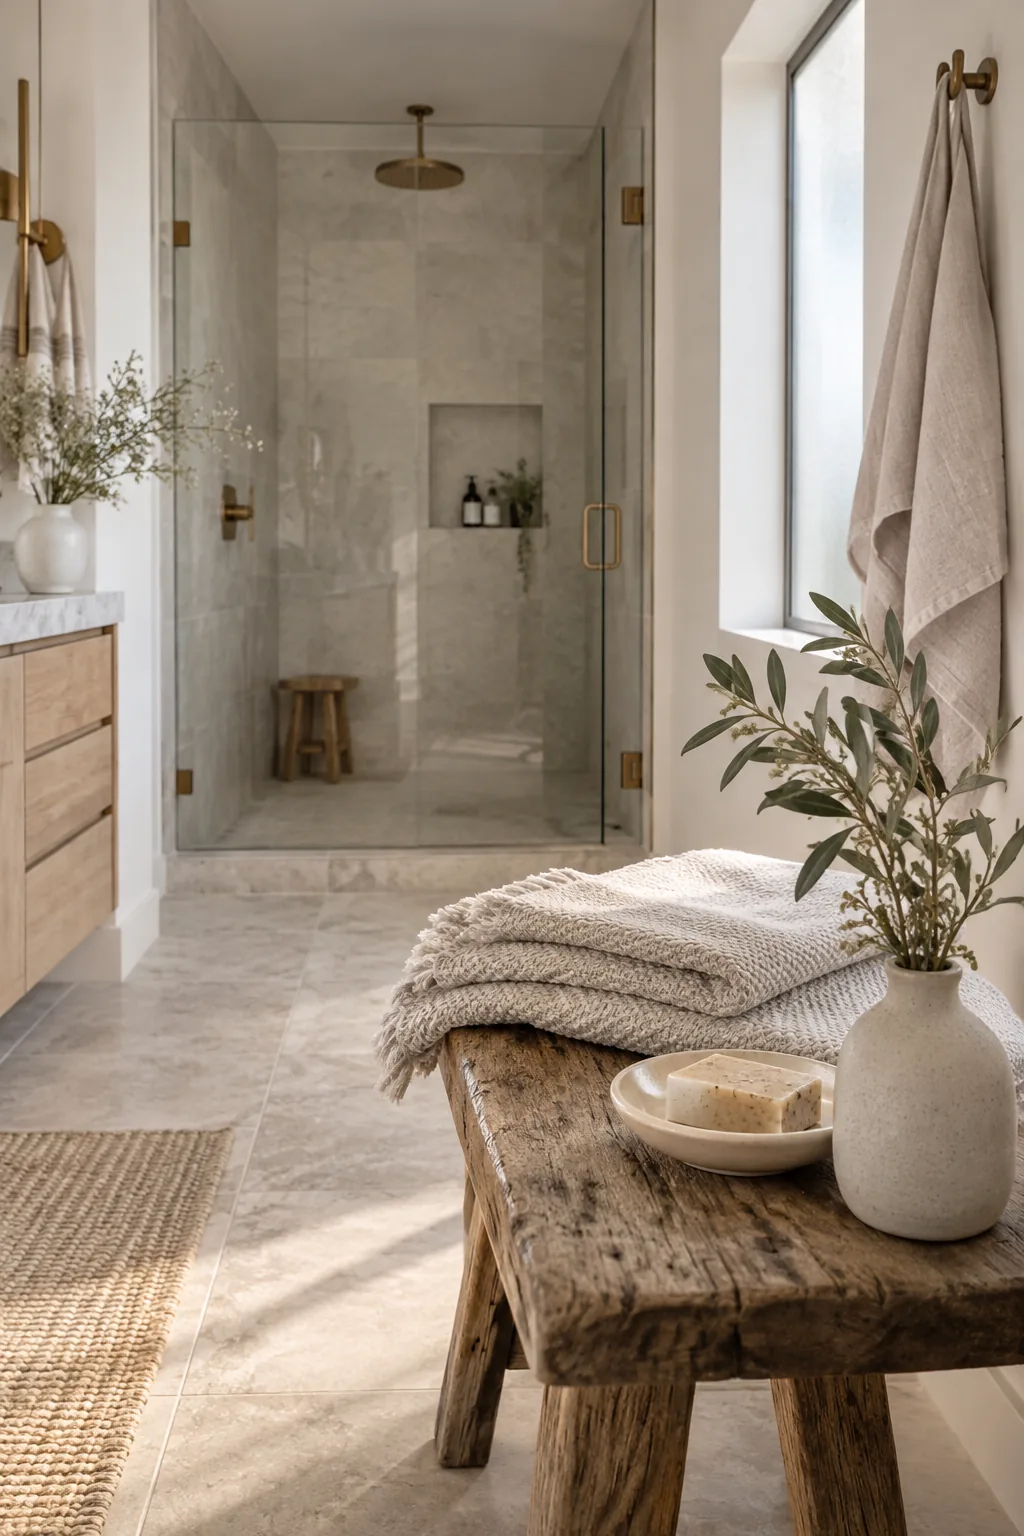
Center-entry doors chop a room squarely in half.
Pushing the shower enclosure to the far back wall turns that negative into a positive. It draws your eye all the way through the space. You can run the floor tile straight into the shower pan for a seamless transition.
Why it works: Pushing the shower back visually lengthens the room and keeps the entryway open.
9. Drop a Makeup Station Between Cabinets
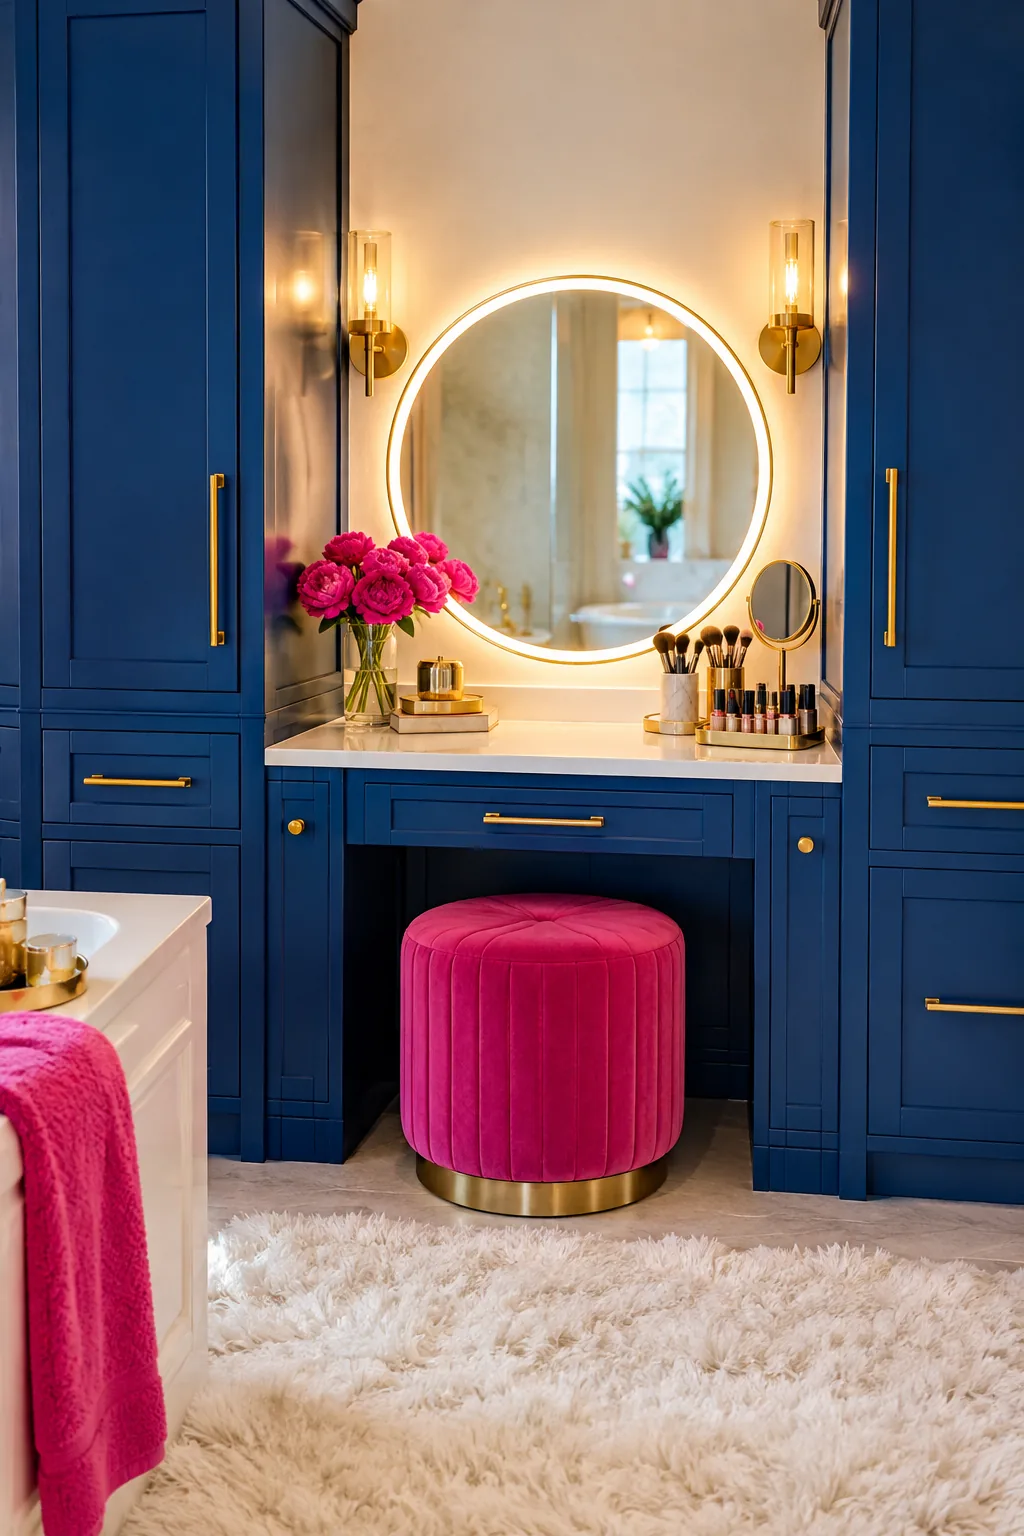
Tuck a makeup vanity between two tall linen cabinets to carve out a dedicated grooming station. Dropping the counter height in this middle section makes it comfortable for sitting while breaking up a long wall of cabinetry.
Why it works: It breaks up heavy cabinetry while giving you a dedicated place to sit and get ready.
10. Frame Out a Dedicated Water Closet
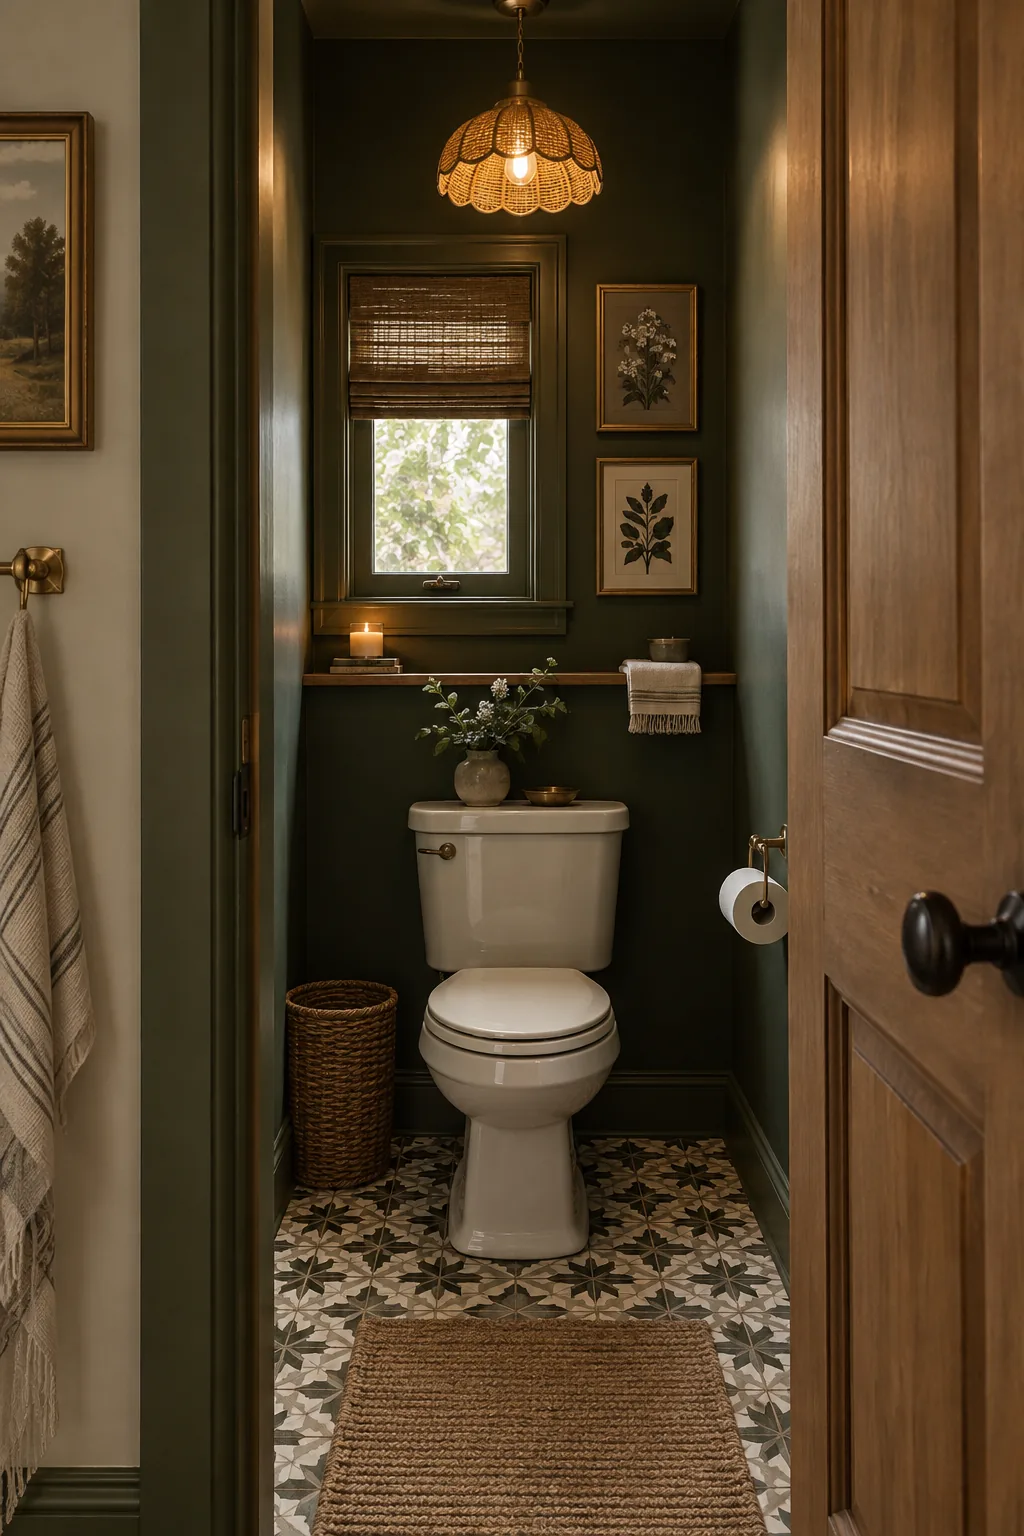
A true water closet requires a minimum footprint of three by five feet. If you have the square footage, enclosing the toilet in its own tiny room adds immense value to a shared bathroom.
- Privacy for shared morning routines
- Contains odors and sounds
- Frees up the main bathroom area
11. Install a Space-Saving Pocket Door
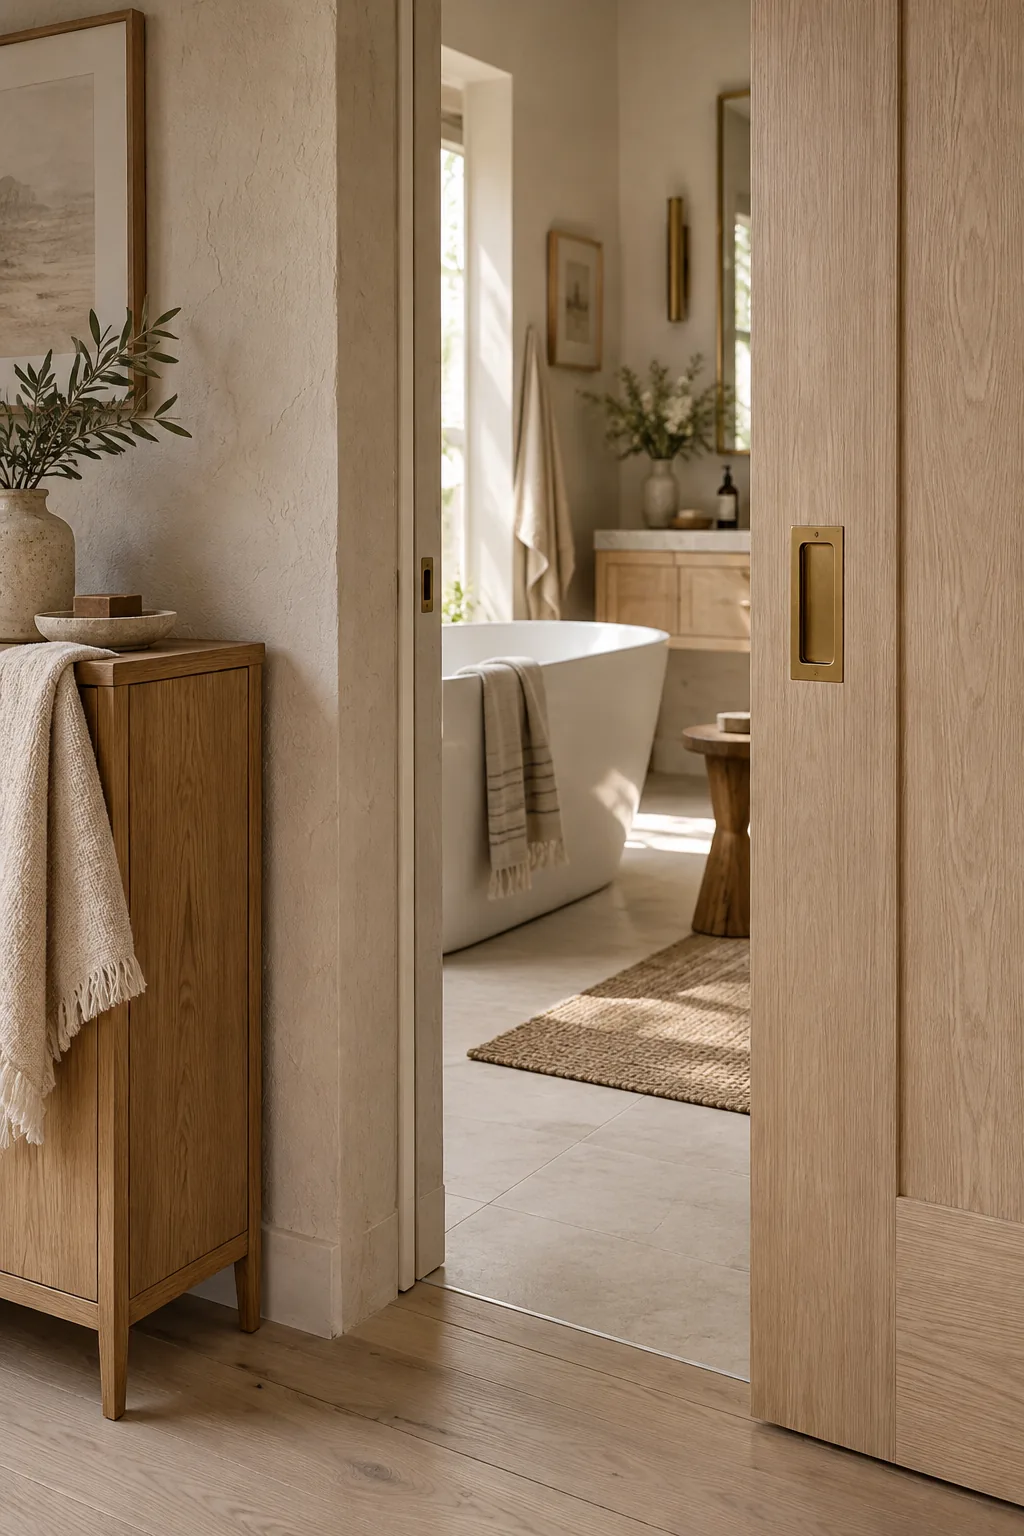
Using a pocket door reclaims the swing space normally lost to a traditional hinge.
You immediately gain nearly ten square feet of usable floor space. This lets you extend the vanity or add a freestanding storage cabinet right next to the entrance. It is the easiest way to manipulate a tight floor plan without moving plumbing.