
17+ Stunning Bathroom Vanity Backsplash Ideas
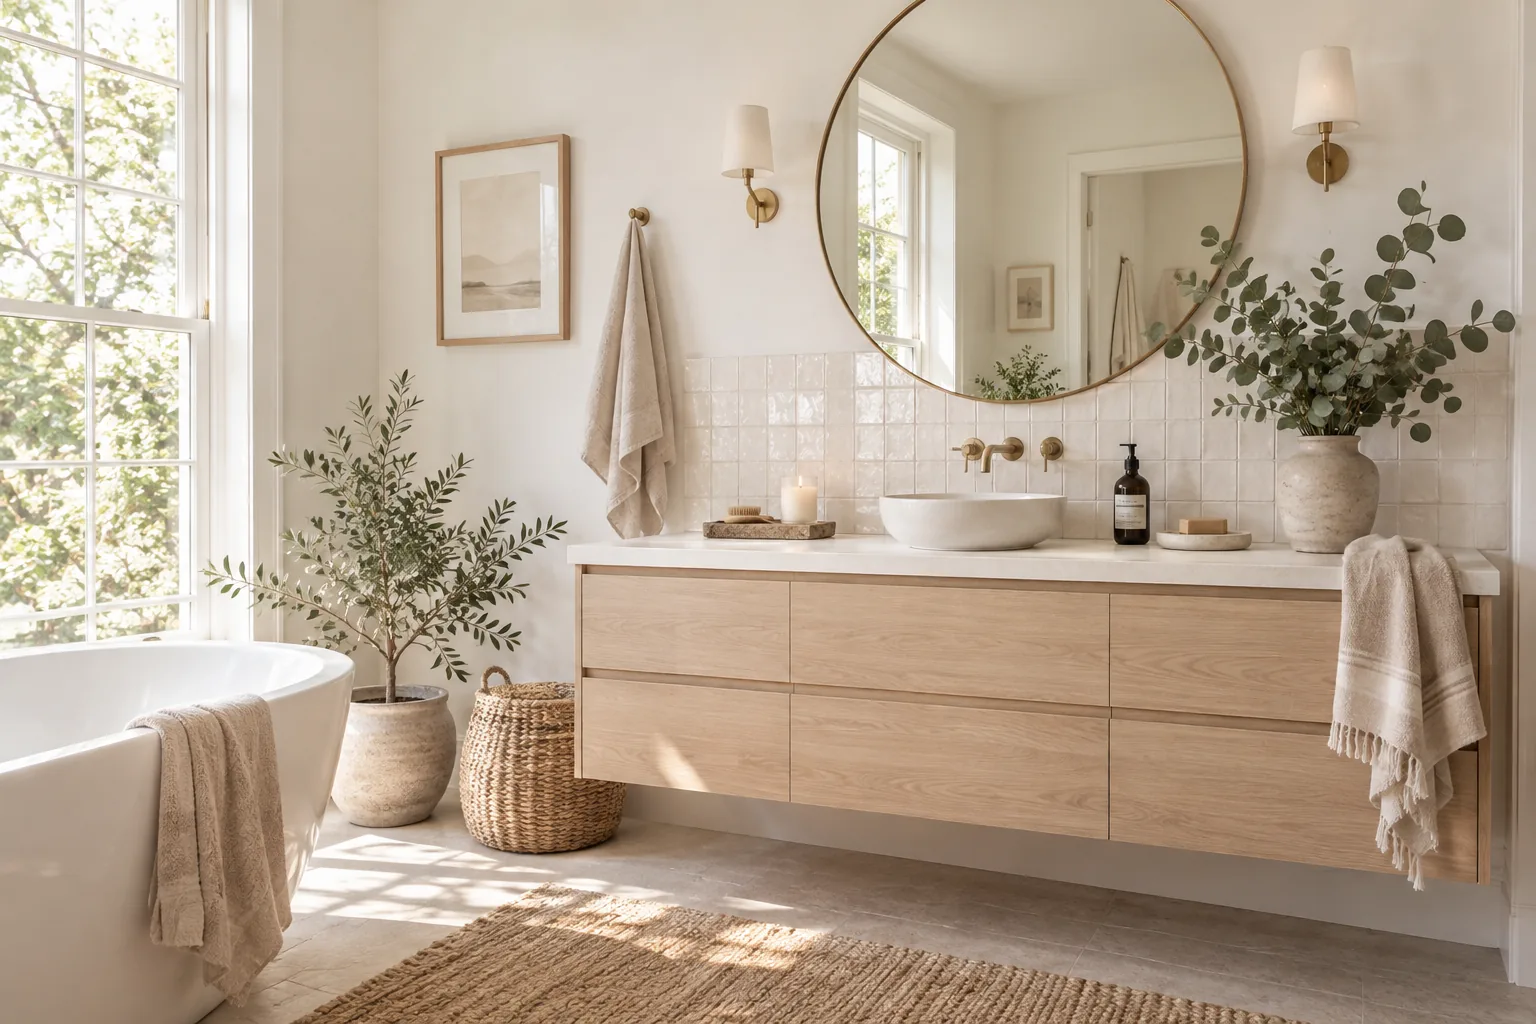
Upgrading your bathroom vanity backsplash is the easiest way to completely change the feel of your space without tearing down walls. I pulled together my favorite looks that you can easily recreate in your own home.
1. Continuous Quartz Slab
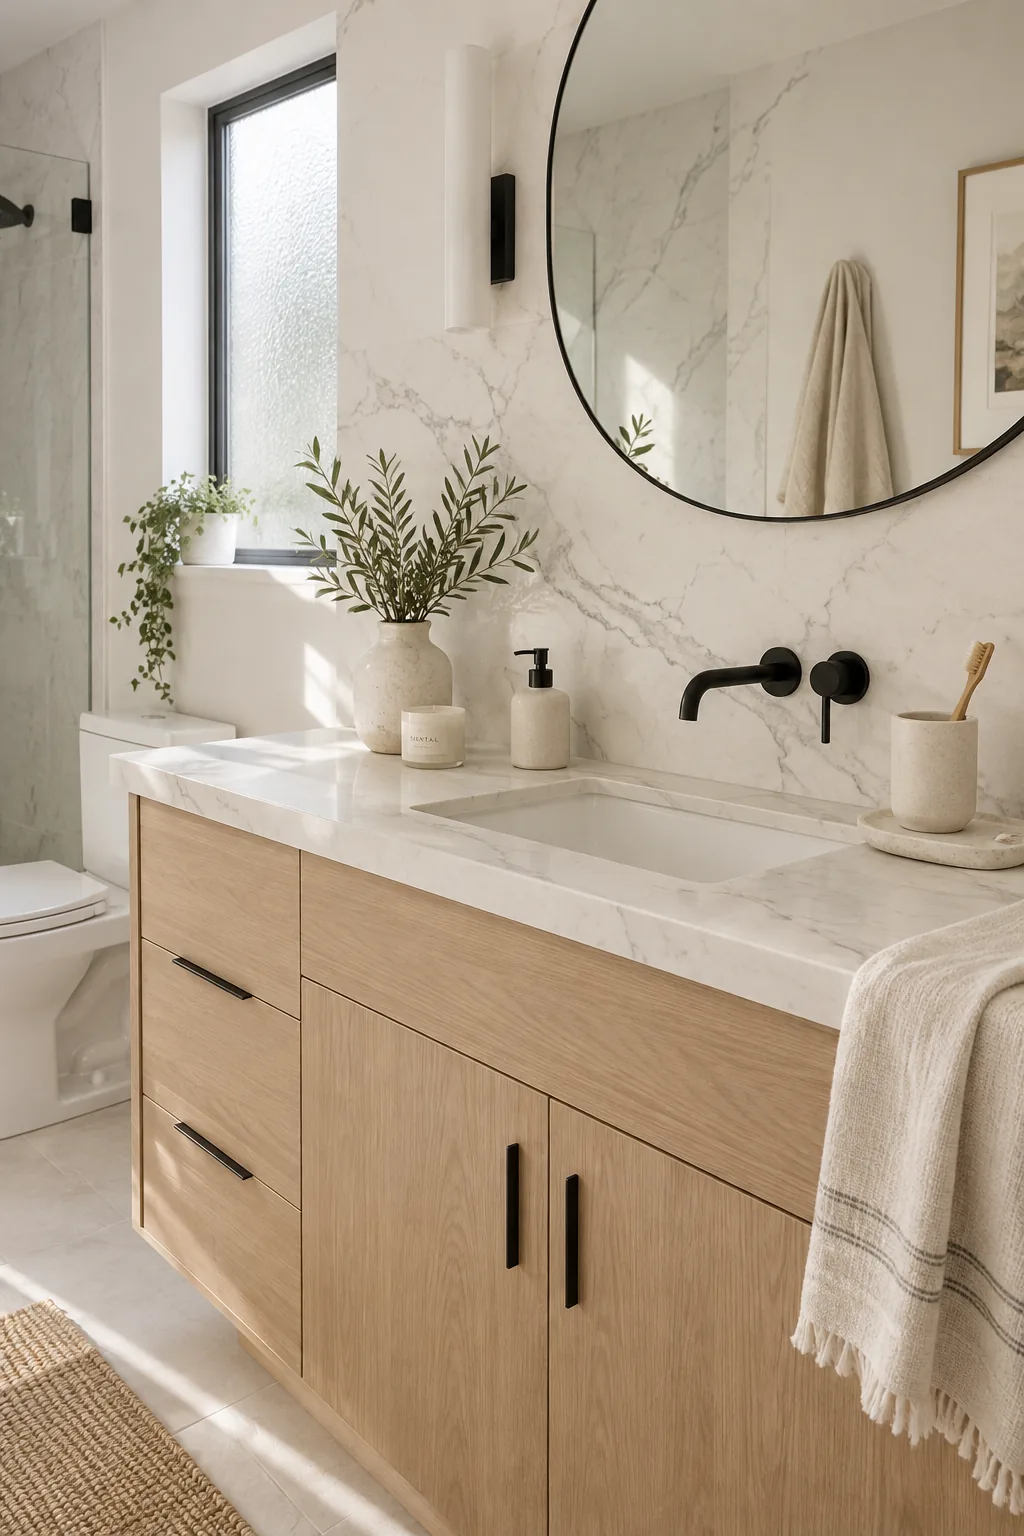
A seamless, high-end look happens when you run your quartz countertop right up the wall.
It eliminates grout lines entirely. That makes cleaning splatters around the sink incredibly easy.
Keep the stone slab around four to six inches high. This frames the vanity perfectly without overwhelming a small bathroom.
2. Classic Beadboard Paneling
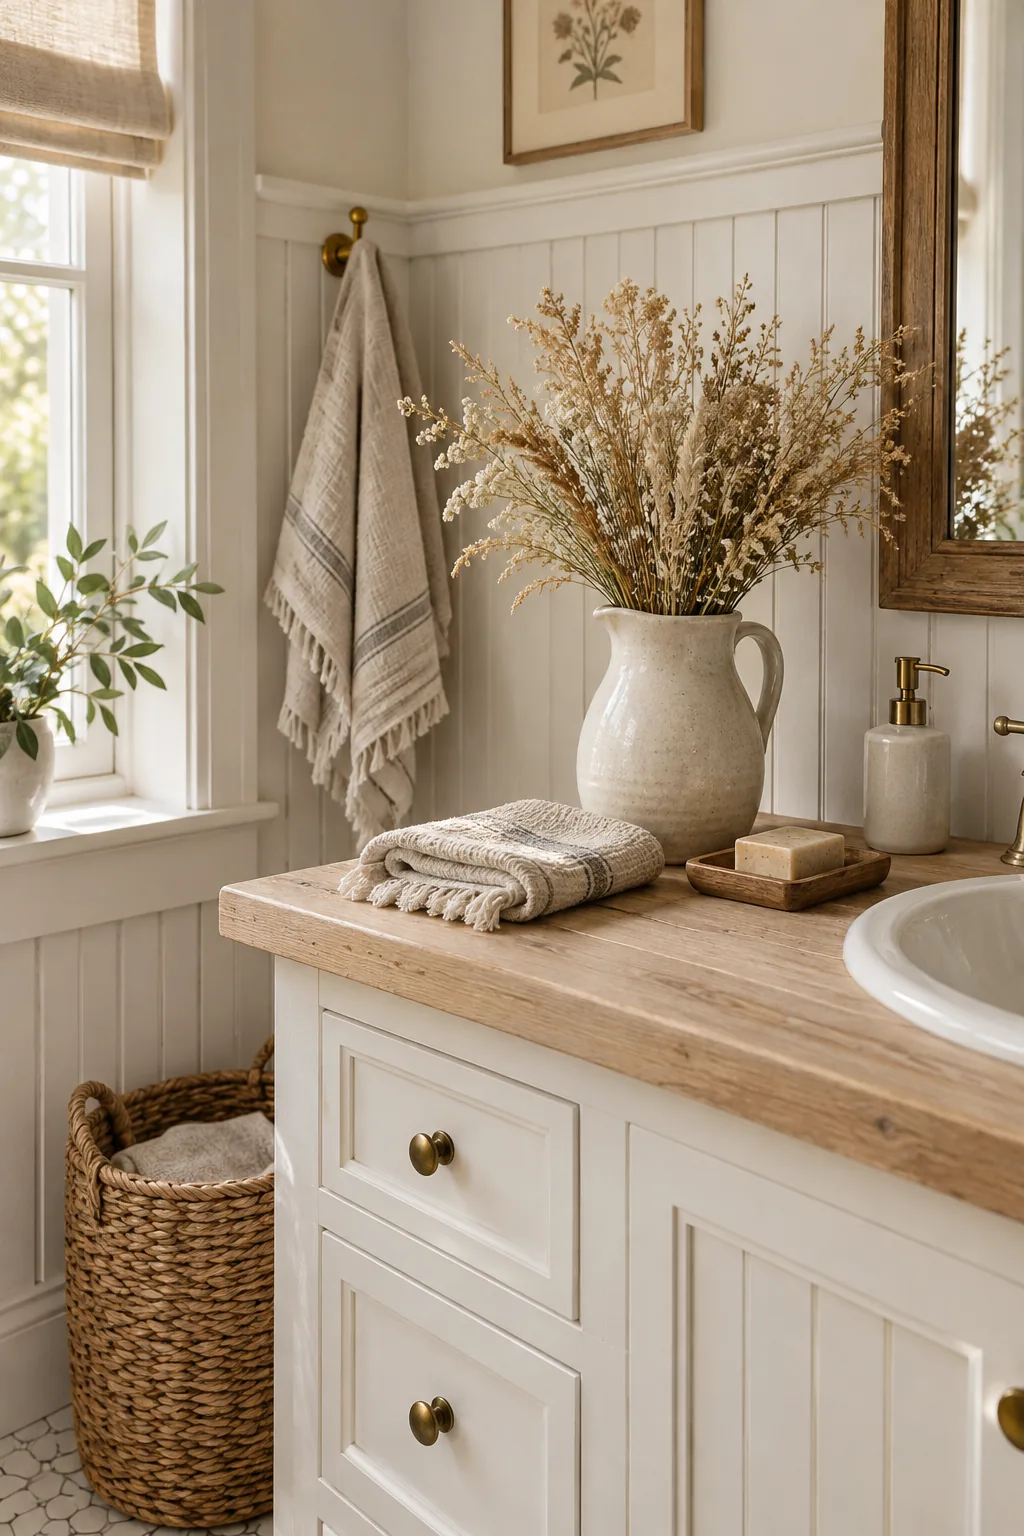
I installed a beadboard backsplash in my own guest bath last year and it instantly added so much warmth. You just need a few basic supplies to pull this off in a weekend:
- Pre-primed beadboard panels
- Moisture-resistant construction adhesive
- High-gloss trim paint for waterproofing
3. Moody Zellige Tile
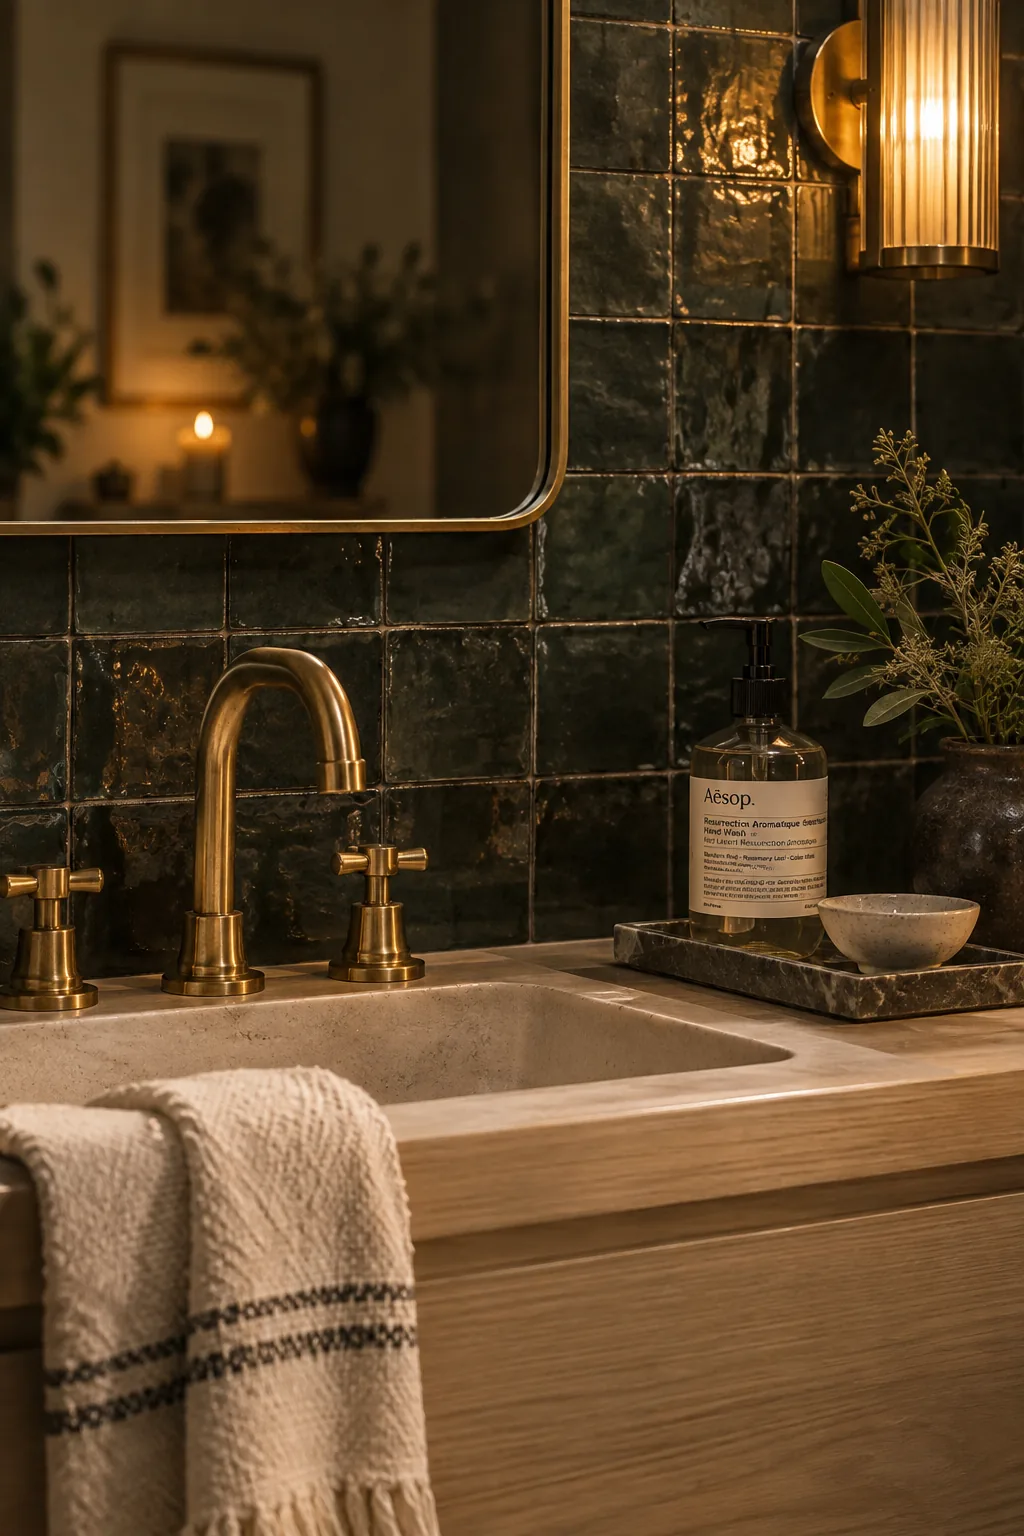
A moody, dramatic aesthetic is easy to achieve with dark zellige tiles behind a light wood vanity. The uneven surface of the handmade clay catches the bathroom vanity lighting in beautiful, unpredictable ways. Pair it with unlacquered brass fixtures to warm up the dark tones. It feels incredibly custom and rich.
4. Extended Height Ledge
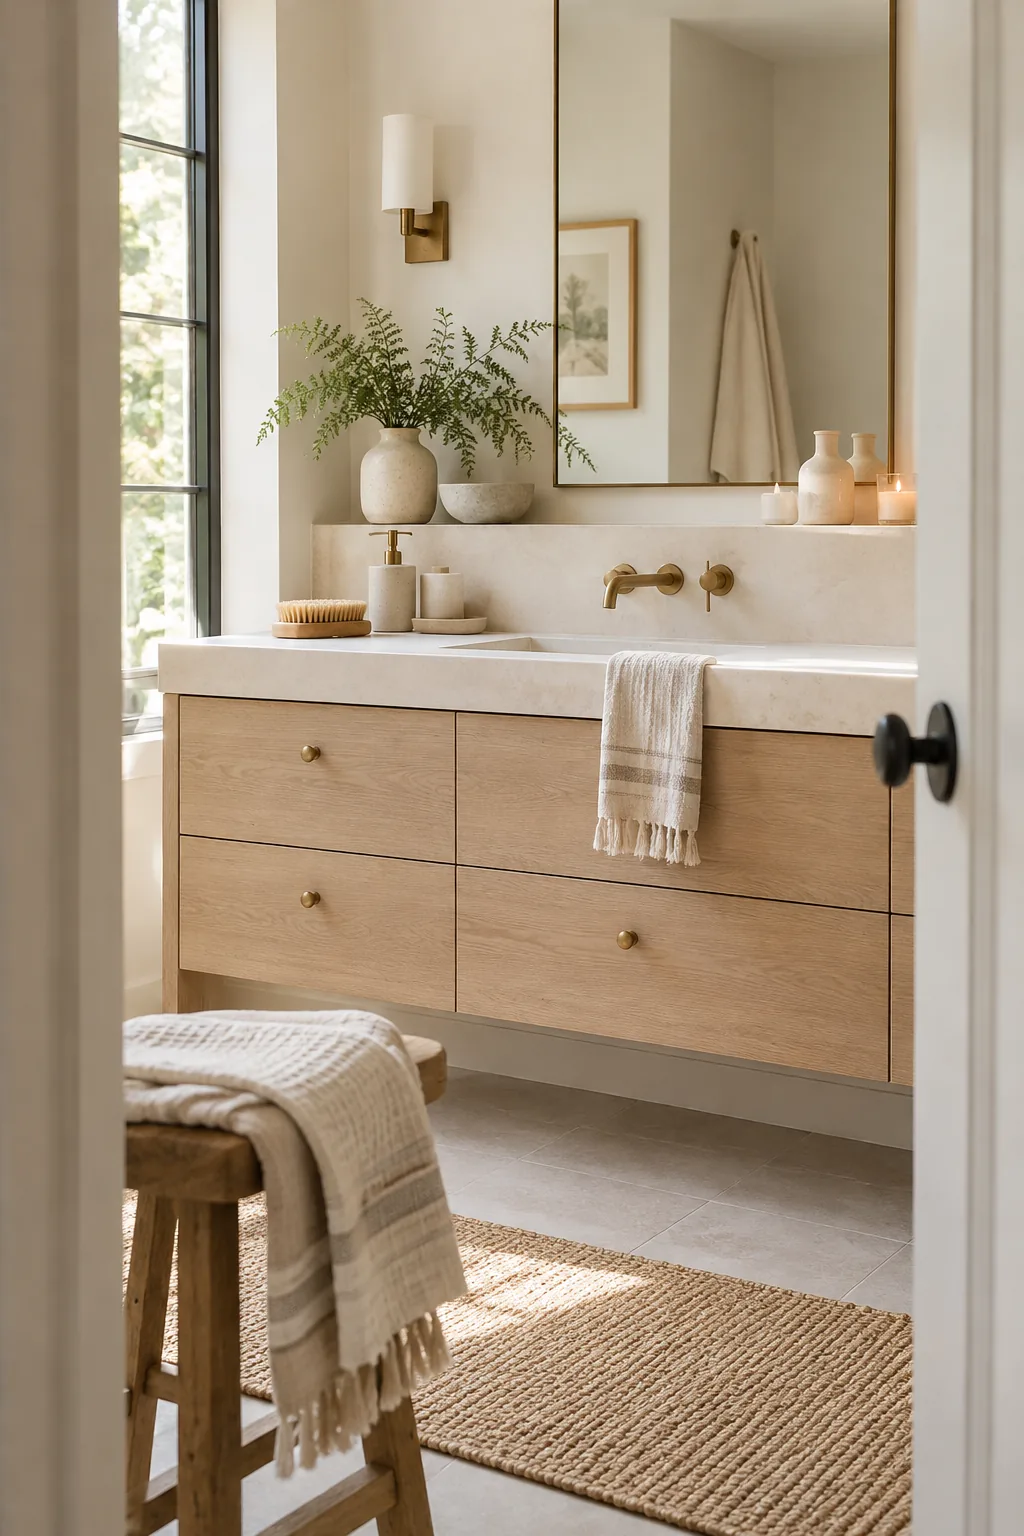
Standard backsplash height is four inches.
But pushing that height to eight or ten inches gives you a much more modern, intentional design. It creates a bold ledge for everyday essentials. Try styling this extended ledge with:
- A small potted fern
- Amber glass soap dispensers
- A ceramic ring dish
5. Vertical Stacked Subway
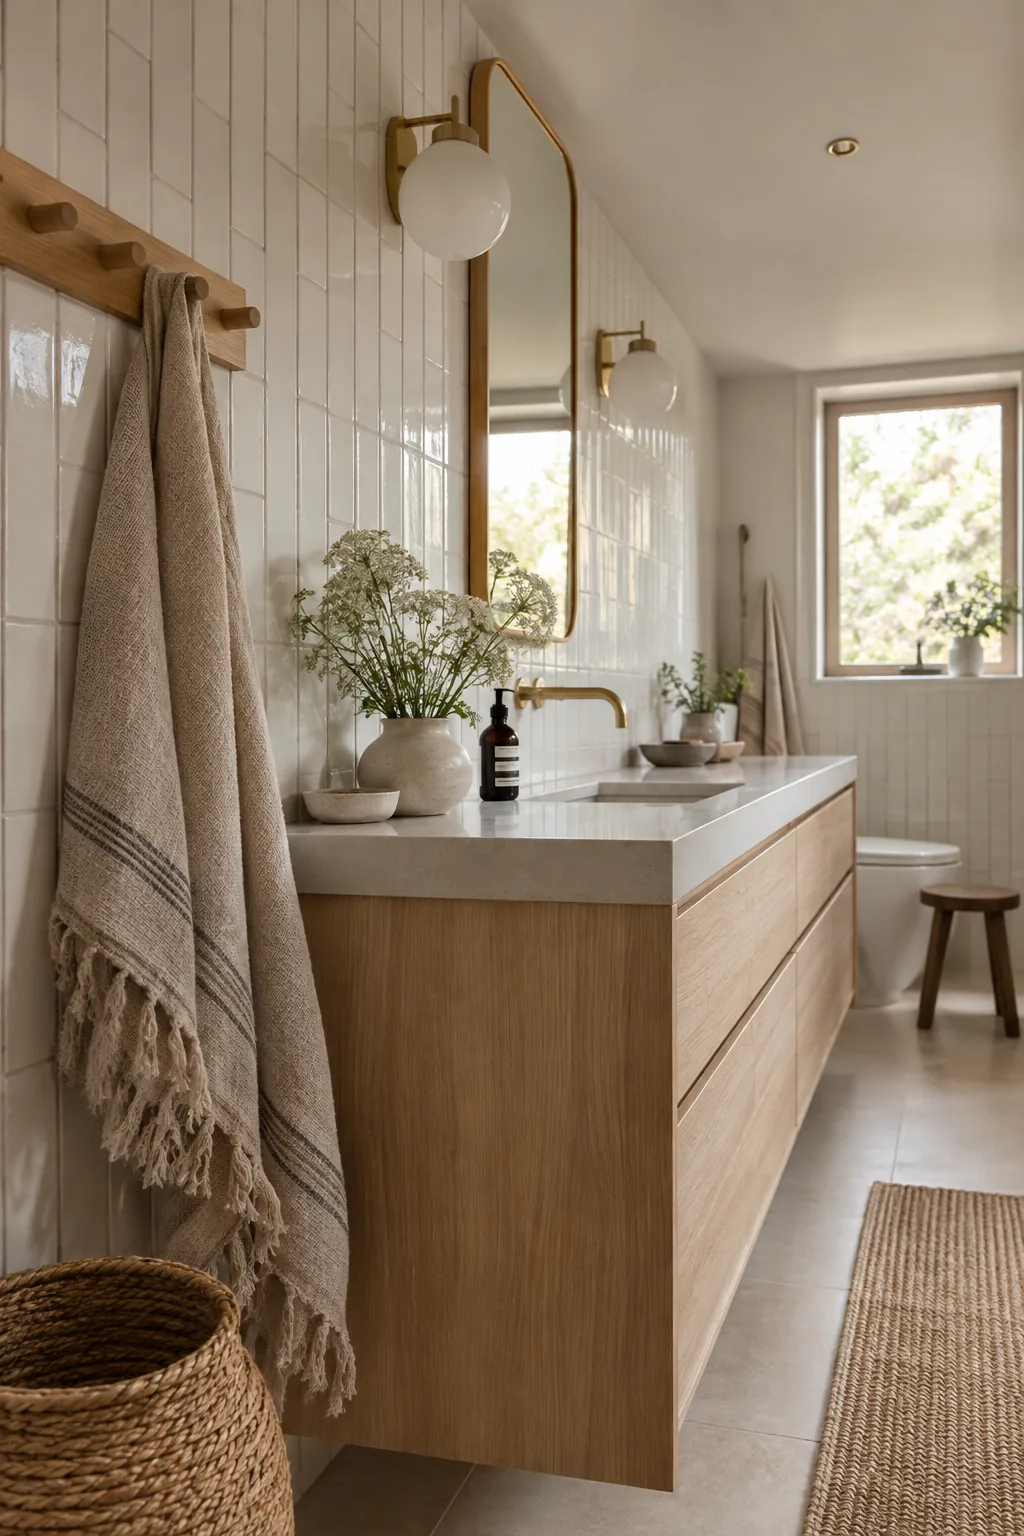
Subway tile laid in a vertical stack draws the eye straight up.
This simple layout trick makes low bathroom ceilings feel significantly taller. It updates a classic, inexpensive material instantly.
Use a contrasting grout color like charcoal or warm gray to highlight the crisp vertical lines.
6. Antiqued Mirror Glass
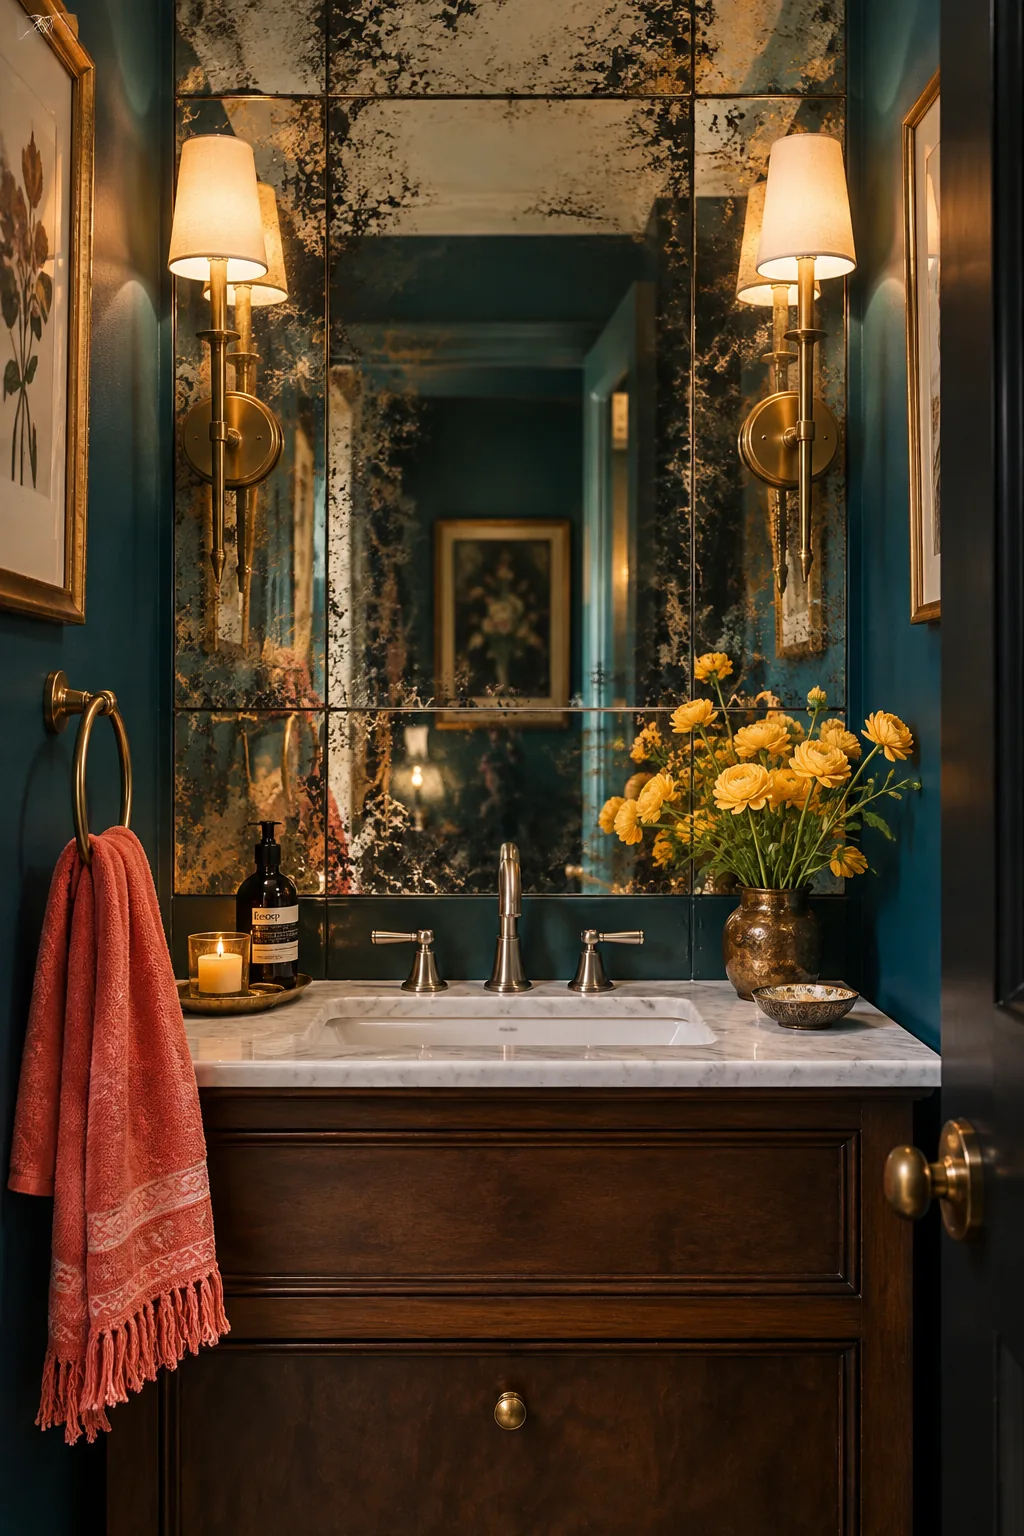
Mix your metals carefully when installing a mirrored backsplash.
Antiqued mirror tiles bring an incredible vintage texture to a powder room. They bounce light around beautifully without the harsh glare of standard glass.
Keep your faucet and sconces in a soft brushed nickel or aged brass to complement the smoky mirror finish.
7. Organic Hexagon Edge
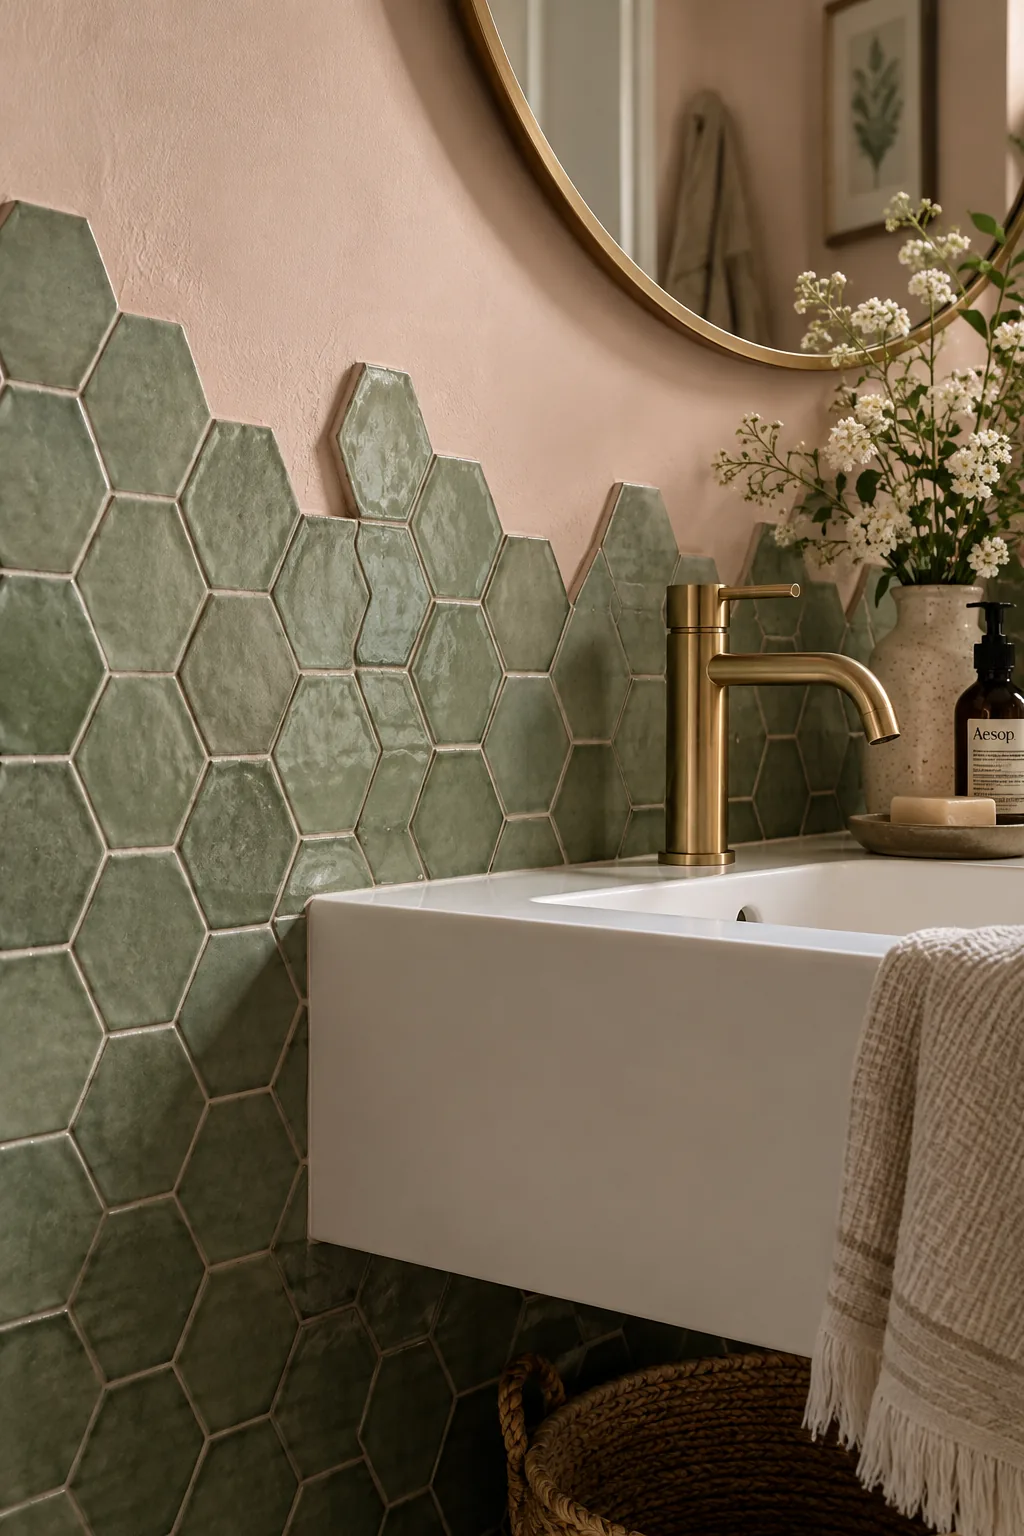
Hexagon tiles naturally create a jagged, organic top edge.
Instead of cutting them flat, let those geometric shapes dictate the top line of your vanity backsplash. This raw transition against a painted wall acts like built-in art. It looks especially striking behind a sleek, modern floating sink.
8. Bold Cement Patterns
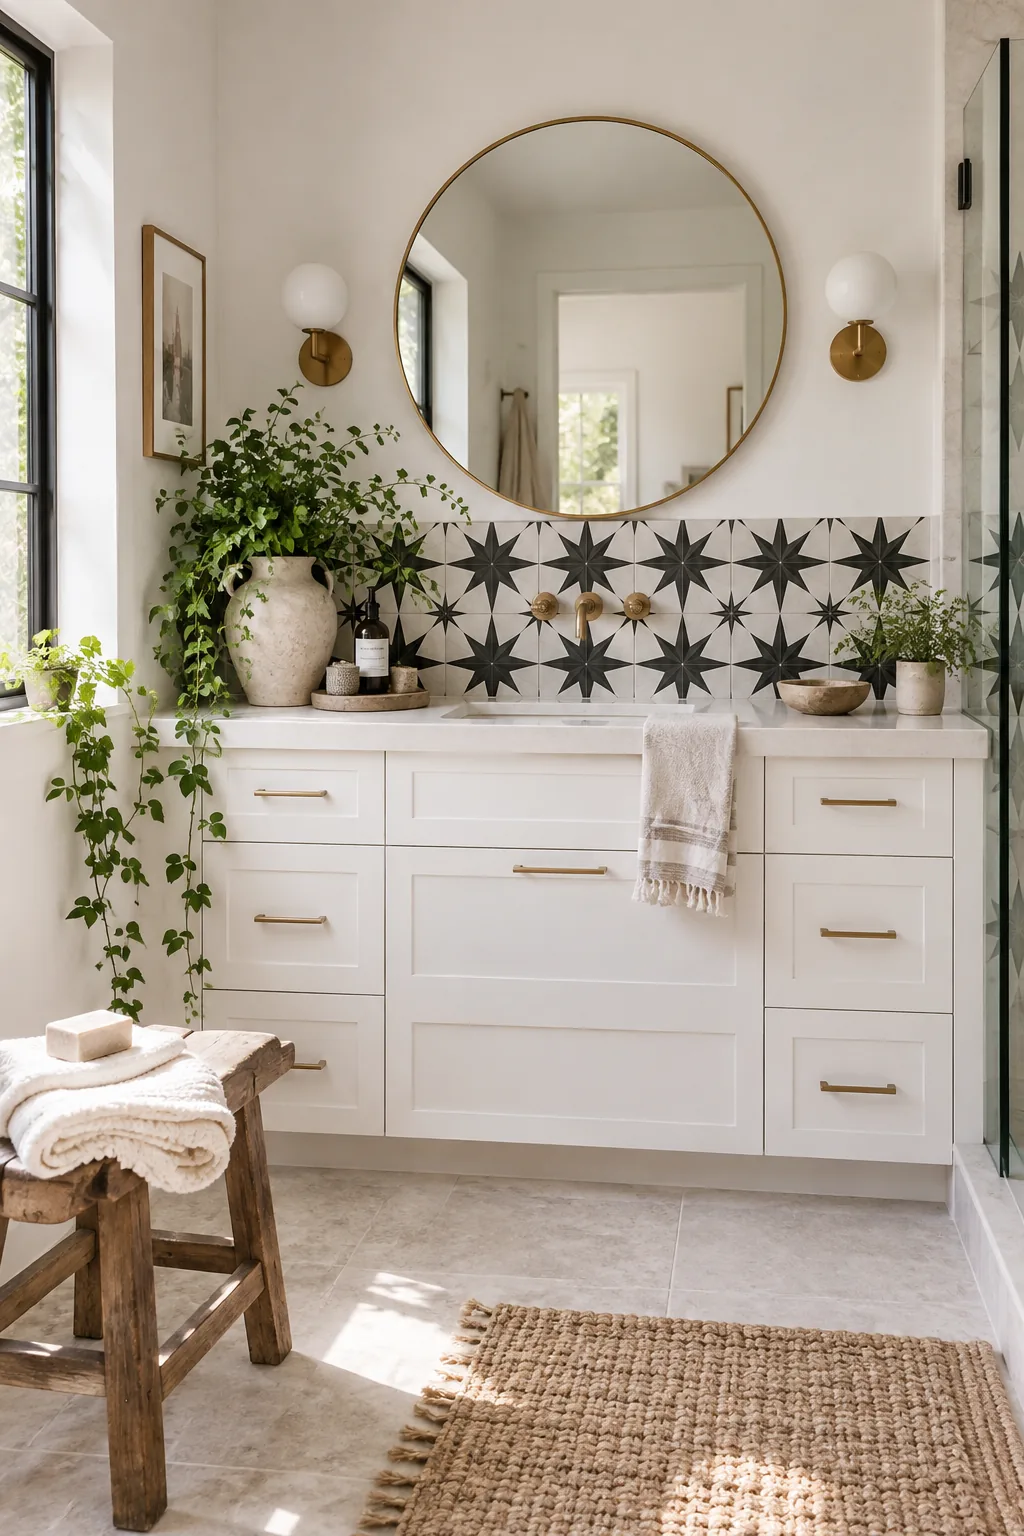
High contrast is the secret to pulling off a patterned cement tile.
A bold black-and-white starburst pattern anchors a plain white vanity perfectly. It gives the eye a specific place to land.
Keep the rest of the bathroom finishes quiet so the tile can be the star of the room.
9. Glass Over Wallpaper
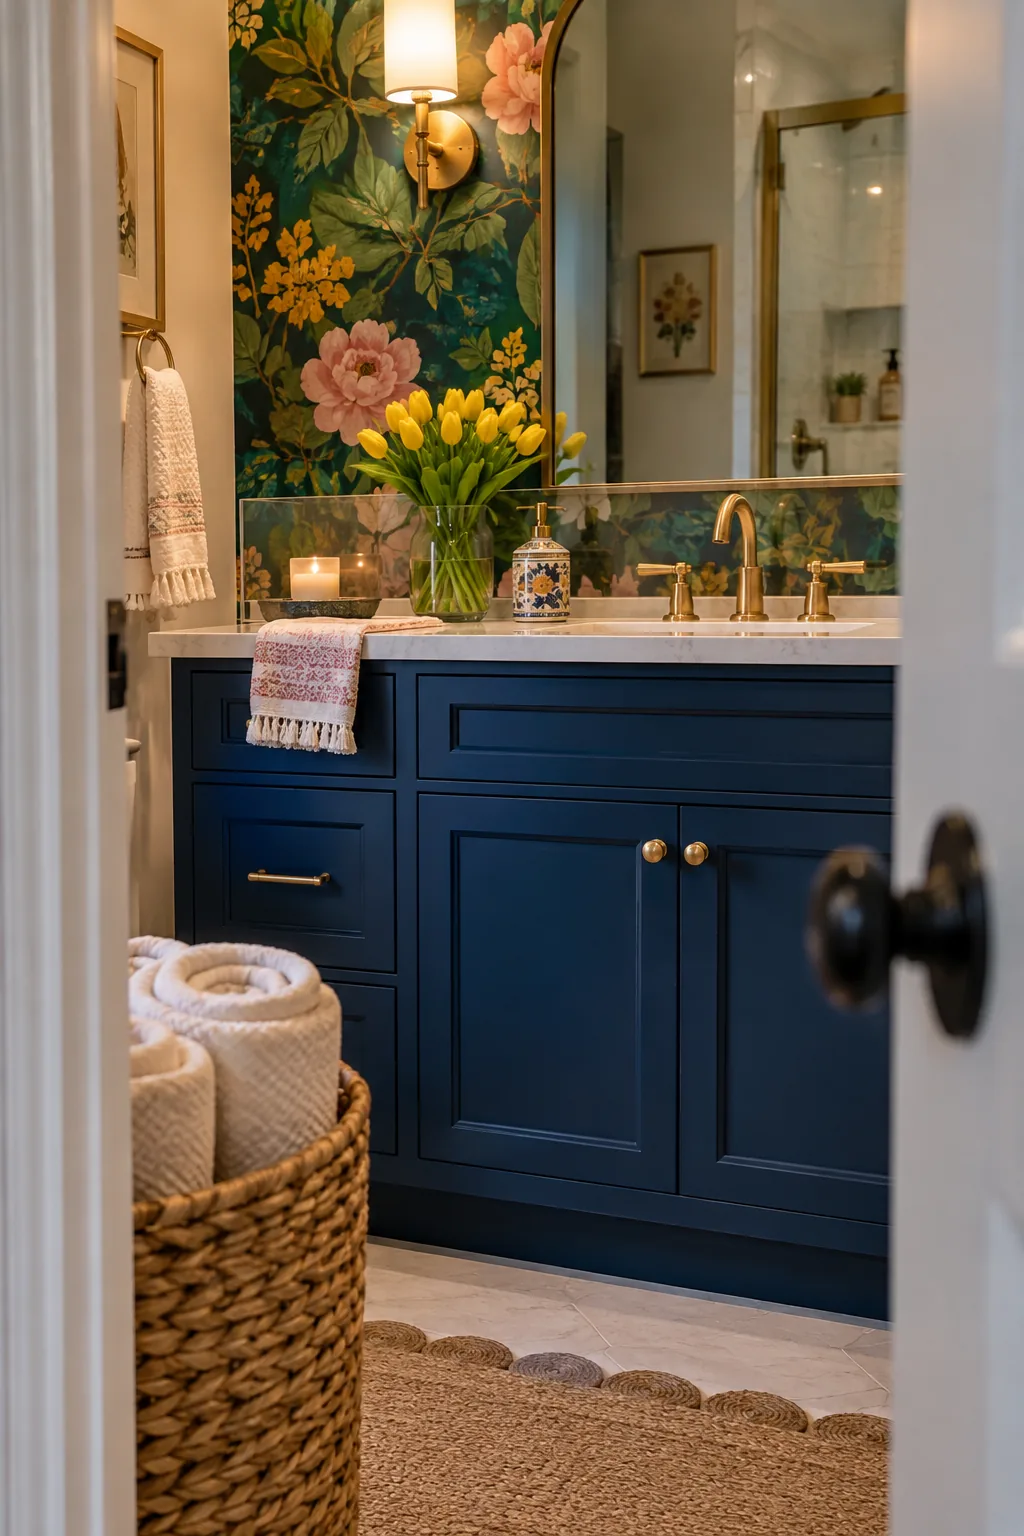
Wallpaper is totally safe behind a sink if you protect it with a low-profile glass splashguard. A custom-cut piece of tempered glass shields your expensive botanical prints from water damage. You just run a thin bead of clear silicone around the edges to seal it tight.
Why it works: It lets you use gorgeous, fragile wallpapers in high-splash zones without stressing over water spots.
10. Pebble Mosaic Texture
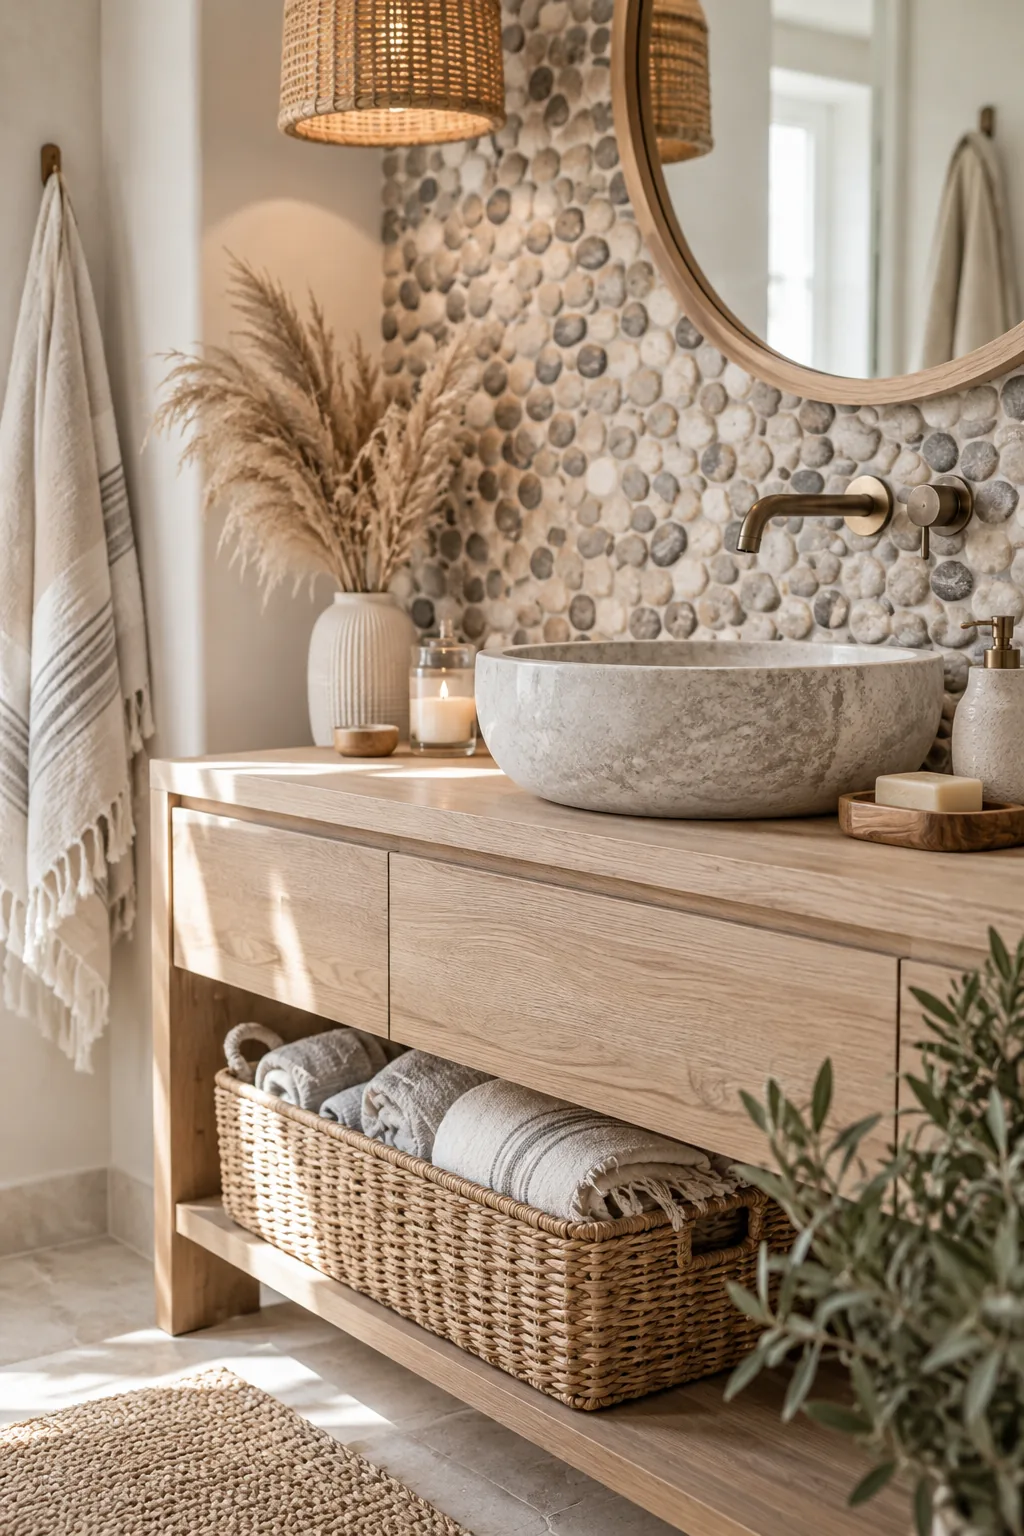
A soft, organic coastal vibe comes together beautifully with pebble mosaic tiles. The rounded river stones bring incredible natural texture right to the vanity area. You feel like you are at a high-end spa every time you wash your hands.
Just remember to seal the porous stones heavily before you ever turn on the tap.
11. Crisp Metal Edge Trim
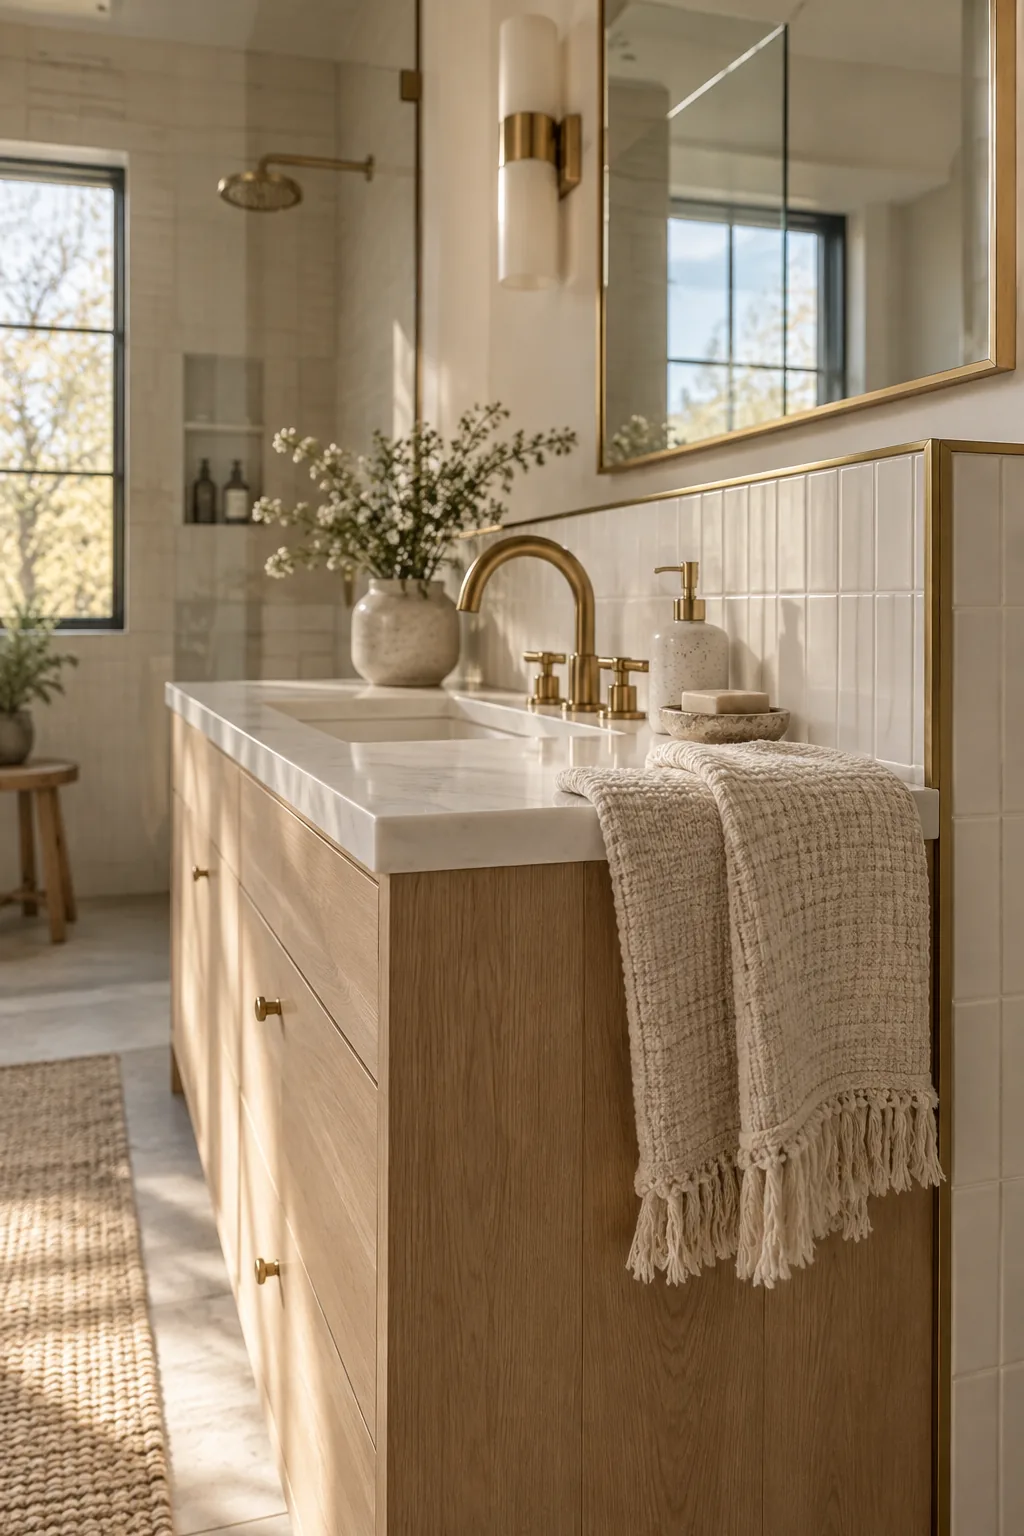
Cap the raw edges of your ceramic tile backsplash with a metal edge trim. This simple architectural detail gives the installation a crisp, professional finish. You can match the metal profile perfectly to your existing bathroom hardware:
It is much cheaper and cleaner than buying expensive ceramic bullnose trim pieces.
- Matte black for industrial spaces
- Polished chrome for modern sinks
- Champagne bronze for a warm touch
12. Ceiling-Height Penny Rounds
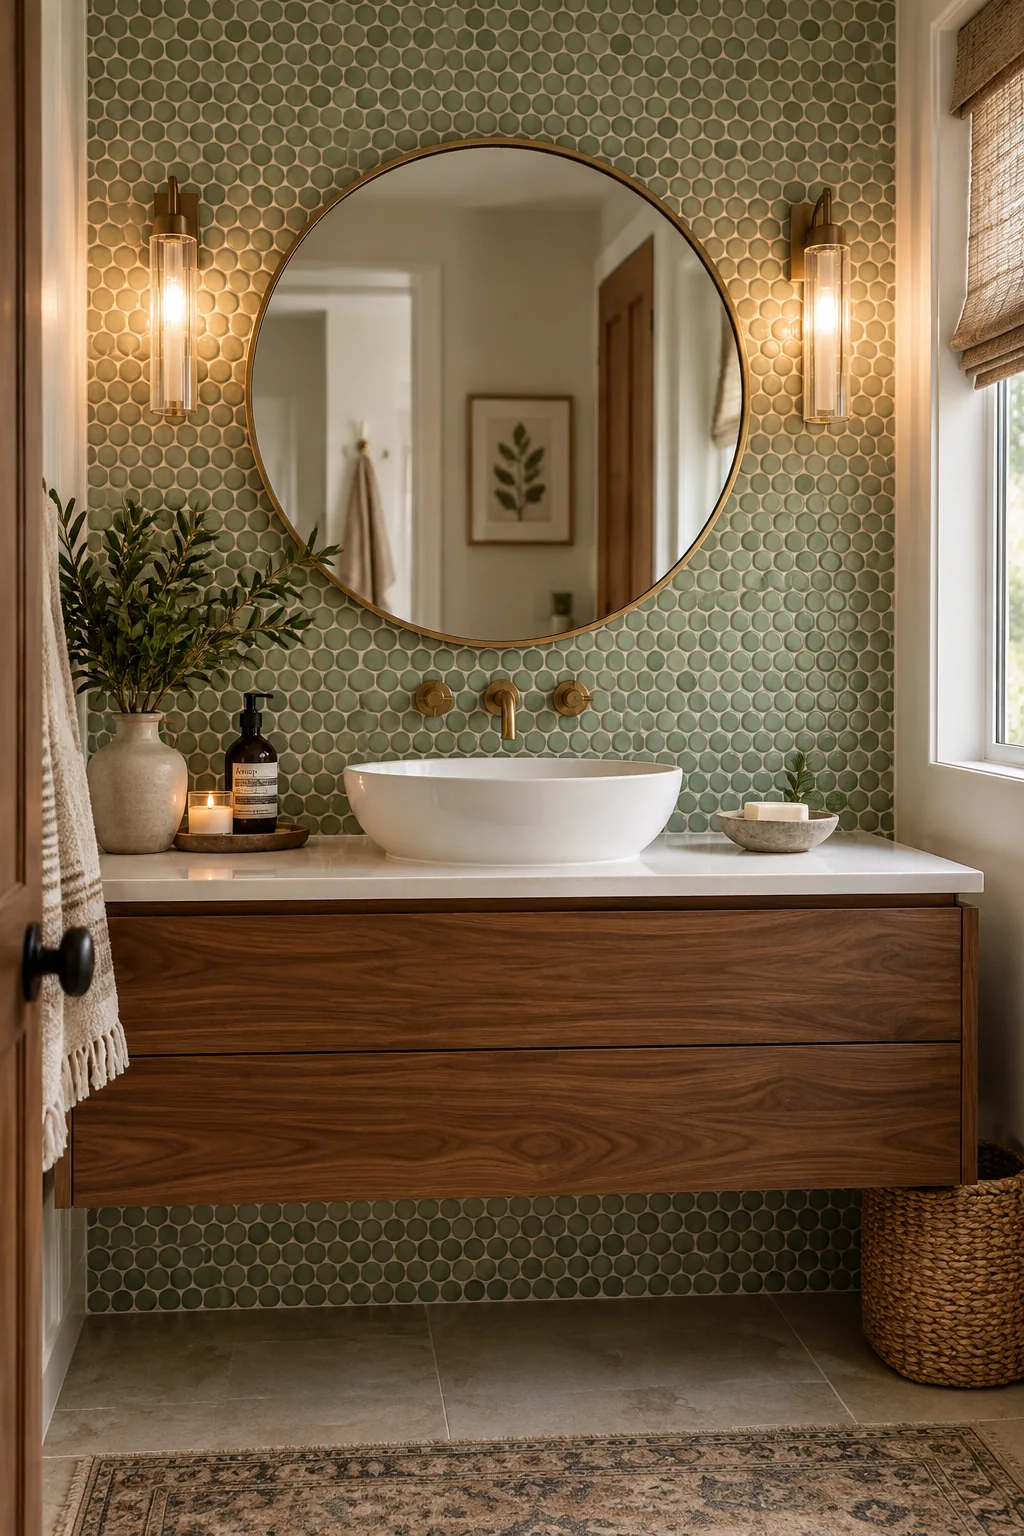
Run your penny round tiles all the way from the vanity deck to the ceiling. This ceiling-height installation turns a basic sink area into a major architectural feature.
Why it works: Continuous floor-to-ceiling texture blurs the visual boundaries of the room, making a tiny bathroom feel expansive.
13. Custom Marble Offcuts
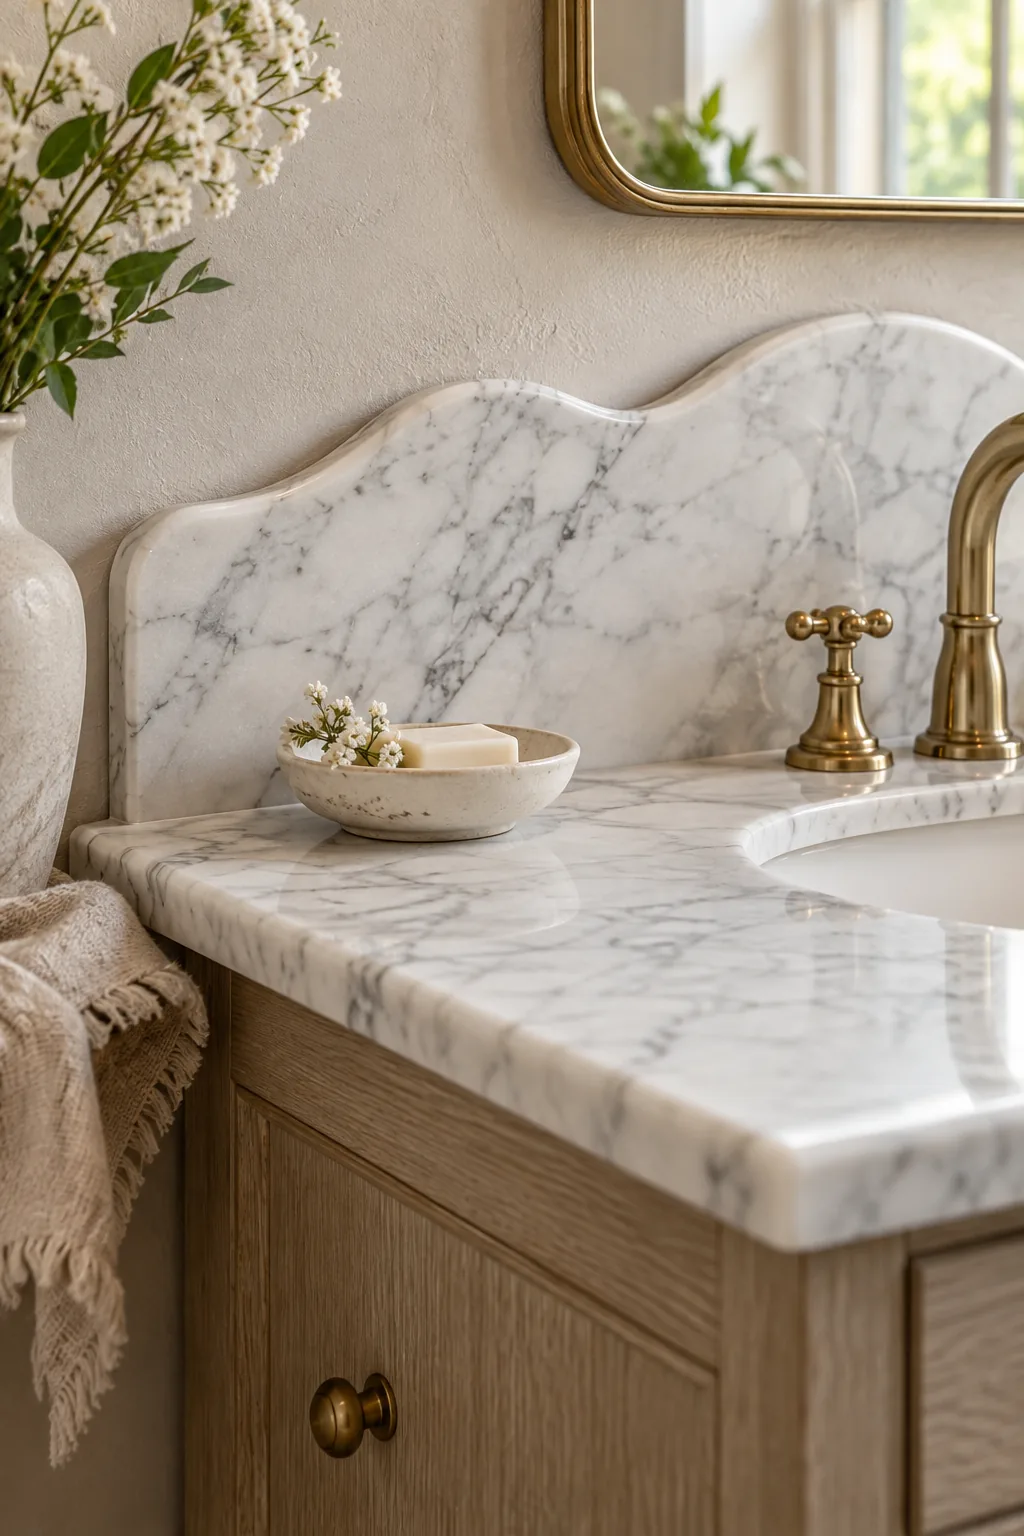
A piece of salvaged marble measuring just two feet wide is often enough for a custom sink backsplash. Stone yards sell these smaller offcuts at a massive discount compared to full slabs. You can have the fabricator cut a gentle curve or a dramatic scallop into the top edge for a custom silhouette. It instantly elevates a basic cabinet into a bespoke piece of furniture. Try asking your local yard for these specific remnants:
- Calacatta gold offcuts
- Soapstone sink cutouts
- Travertine remnants
14. Rustic Brick Veneer
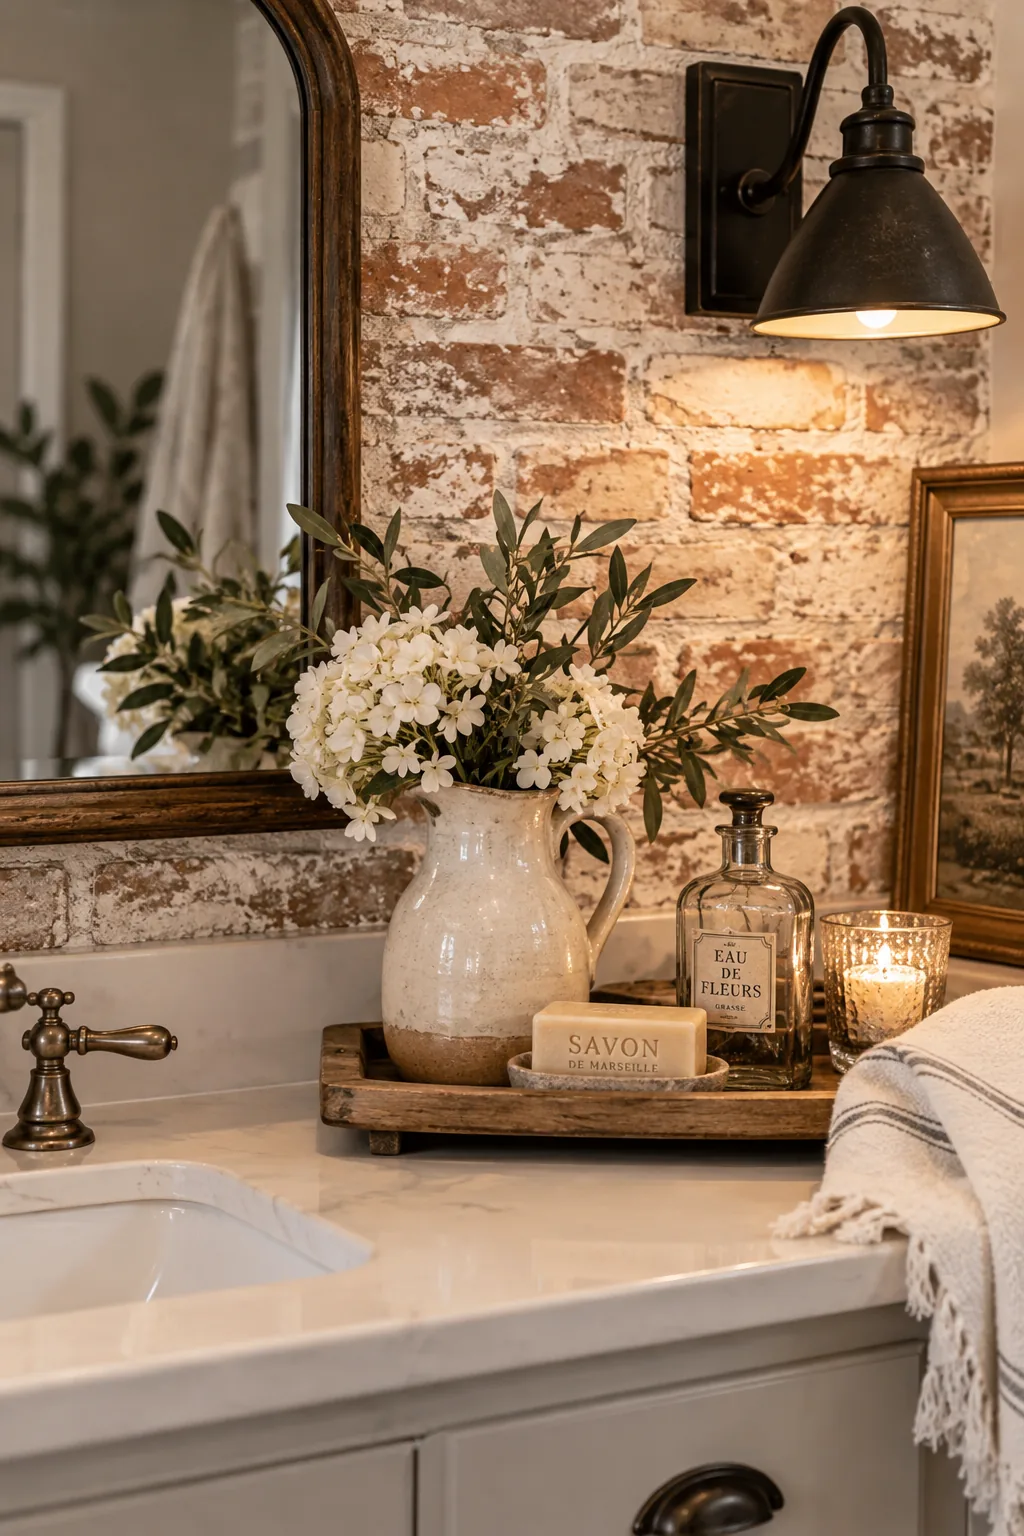
A rustic, farmhouse charm is guaranteed when you use reclaimed brick veneer.
Sliced thin, real brick installs just like regular tile but offers massive amounts of texture. It completely warms up a sterile white bathroom.
Use a heavy German smear technique on the mortar to soften the red tones.
15. Horizontal Herringbone
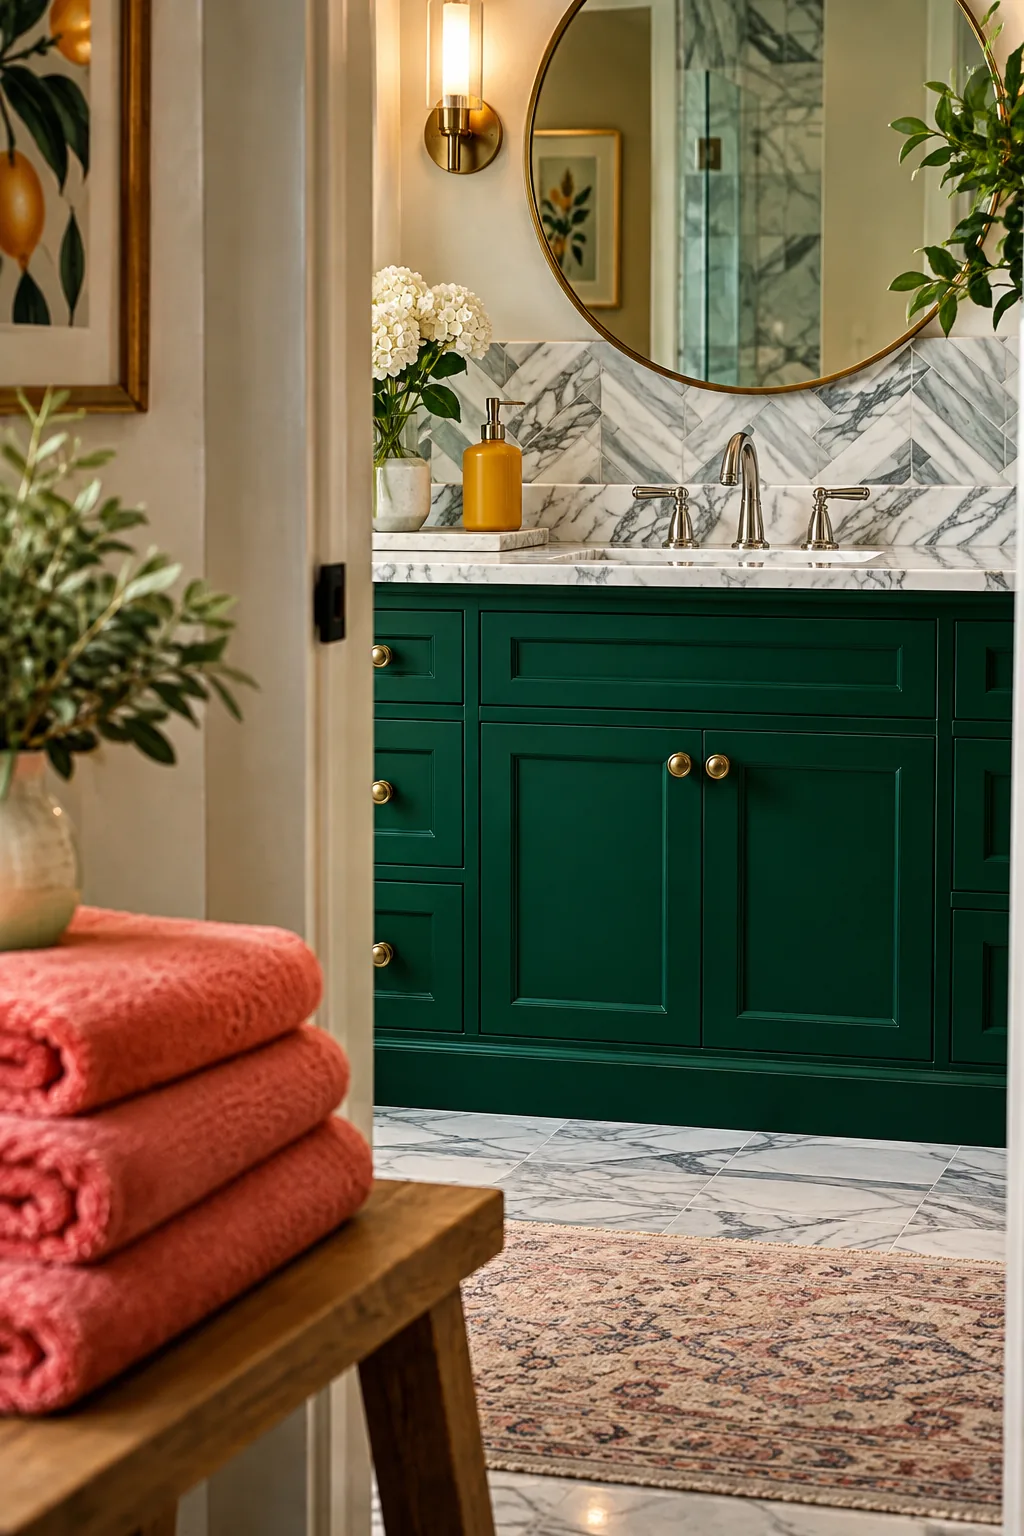
Repetition is the key to making a herringbone marble backsplash look intentional. The v-shaped layout guides your eye horizontally across the vanity, widening the visual space. It is a classic pattern that feels incredibly luxurious behind a polished nickel faucet. Grout it with a soft white to keep the pattern subtle and elegant.
16. Seamless Wainscoting Integration
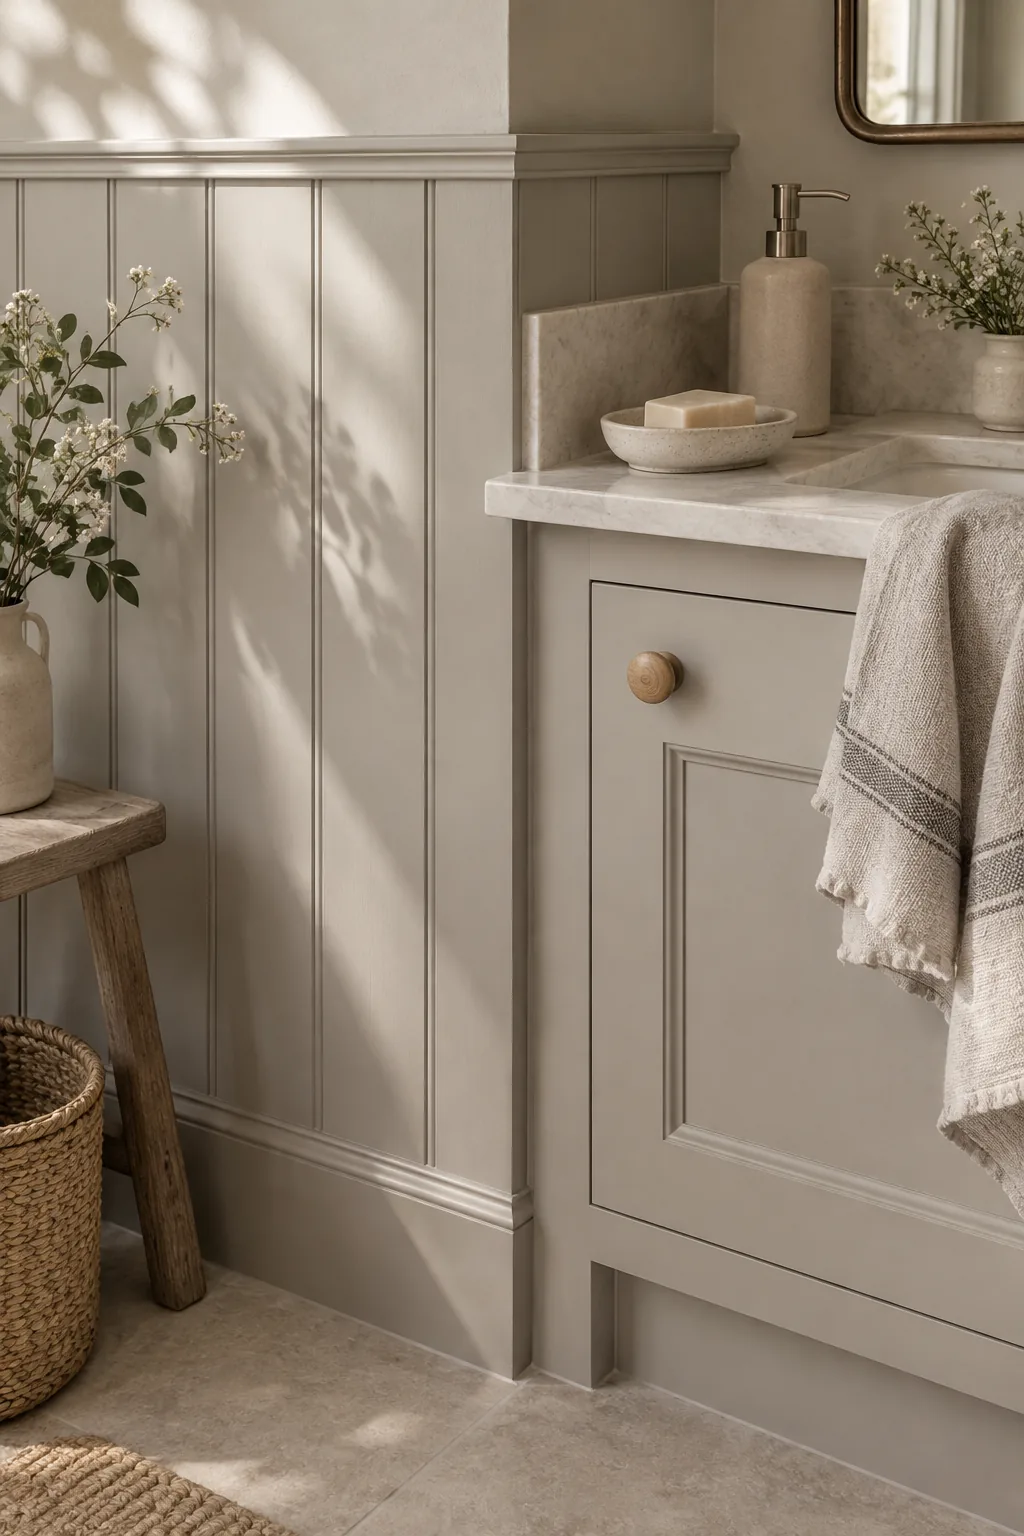
Most wainscoting stops at exactly thirty-six inches high.
Tying your vanity backsplash directly into this continuous wall treatment creates a seamless, built-in look. Paint the paneling and the vanity cabinet the exact same color. This monochromatic approach makes the whole bathroom feel cohesive and deeply calming.
17. Framed Art Tile Panel
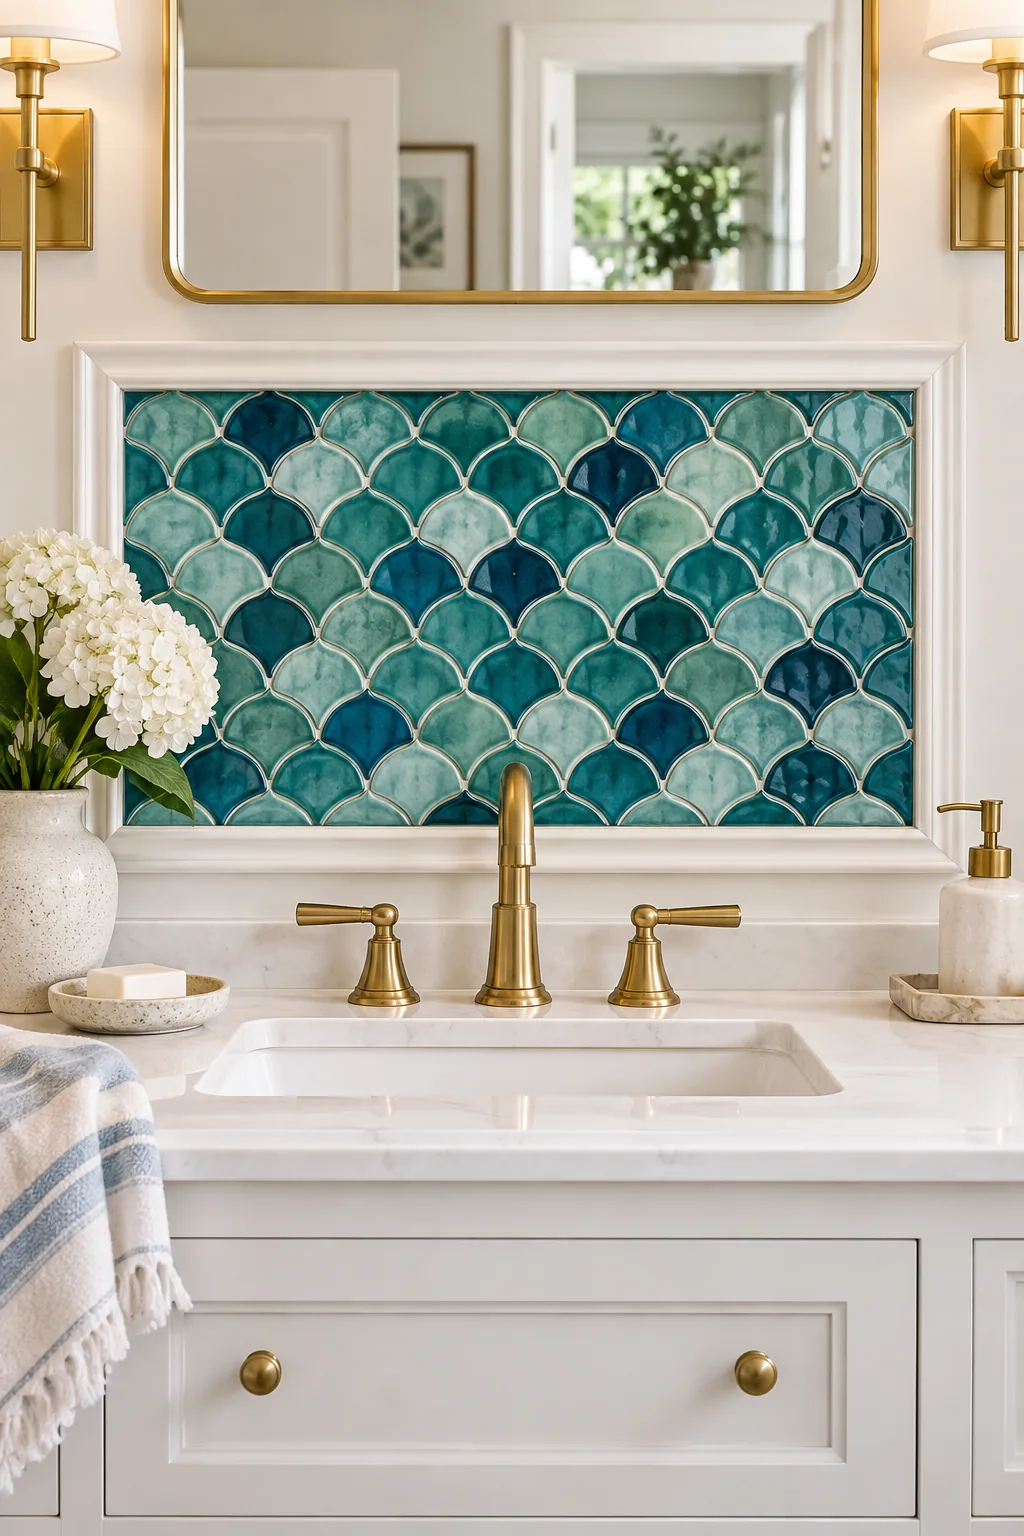
Frame a panel of scalloped fish scale tiles with simple pencil trim to create a focal point. Instead of tiling the entire wall, this framed approach acts like a piece of customized art right behind the faucet. It is a fantastic way to use an expensive, artisan tile on a tight budget. The curved edges of the tile soften the hard right angles of the mirror and vanity cabinet. Keep the surrounding drywall painted in a crisp white to let the colorful tile pop.
18. Stacked Square Grid
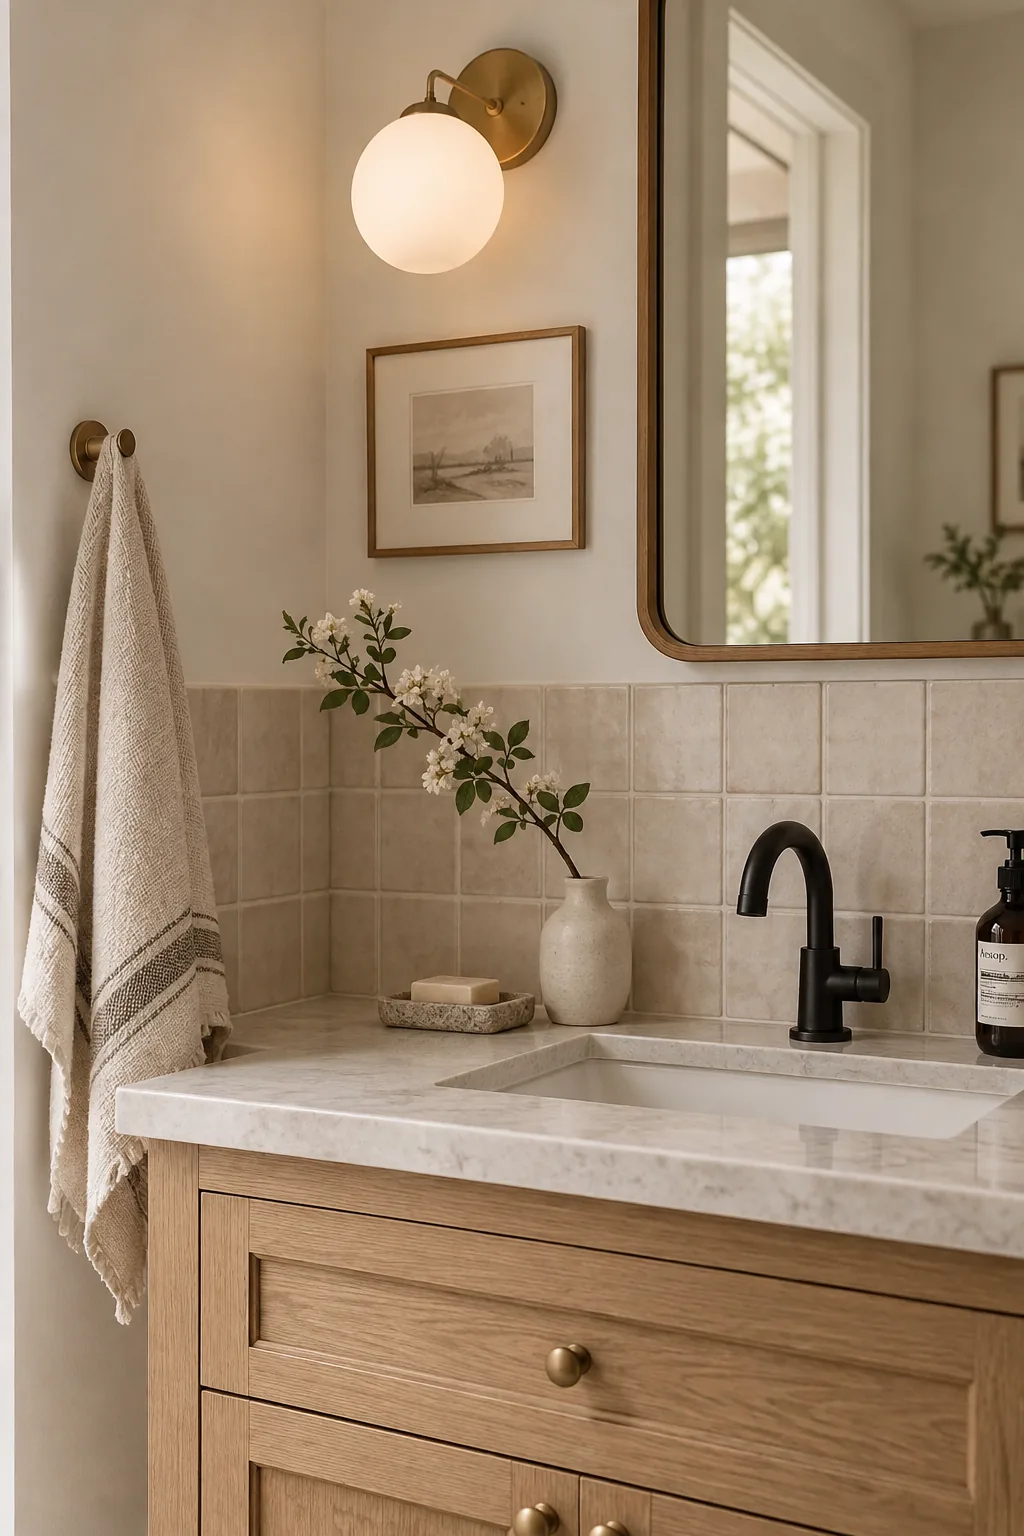
Three rows of square ceramic tiles create a perfect mid-century modern proportion.
Stack them in a straight grid rather than a staggered brick pattern to keep the lines clean and architectural. A matte finish on the glaze prevents harsh reflections from your vanity lights. It is an incredibly affordable look that feels very high-end.