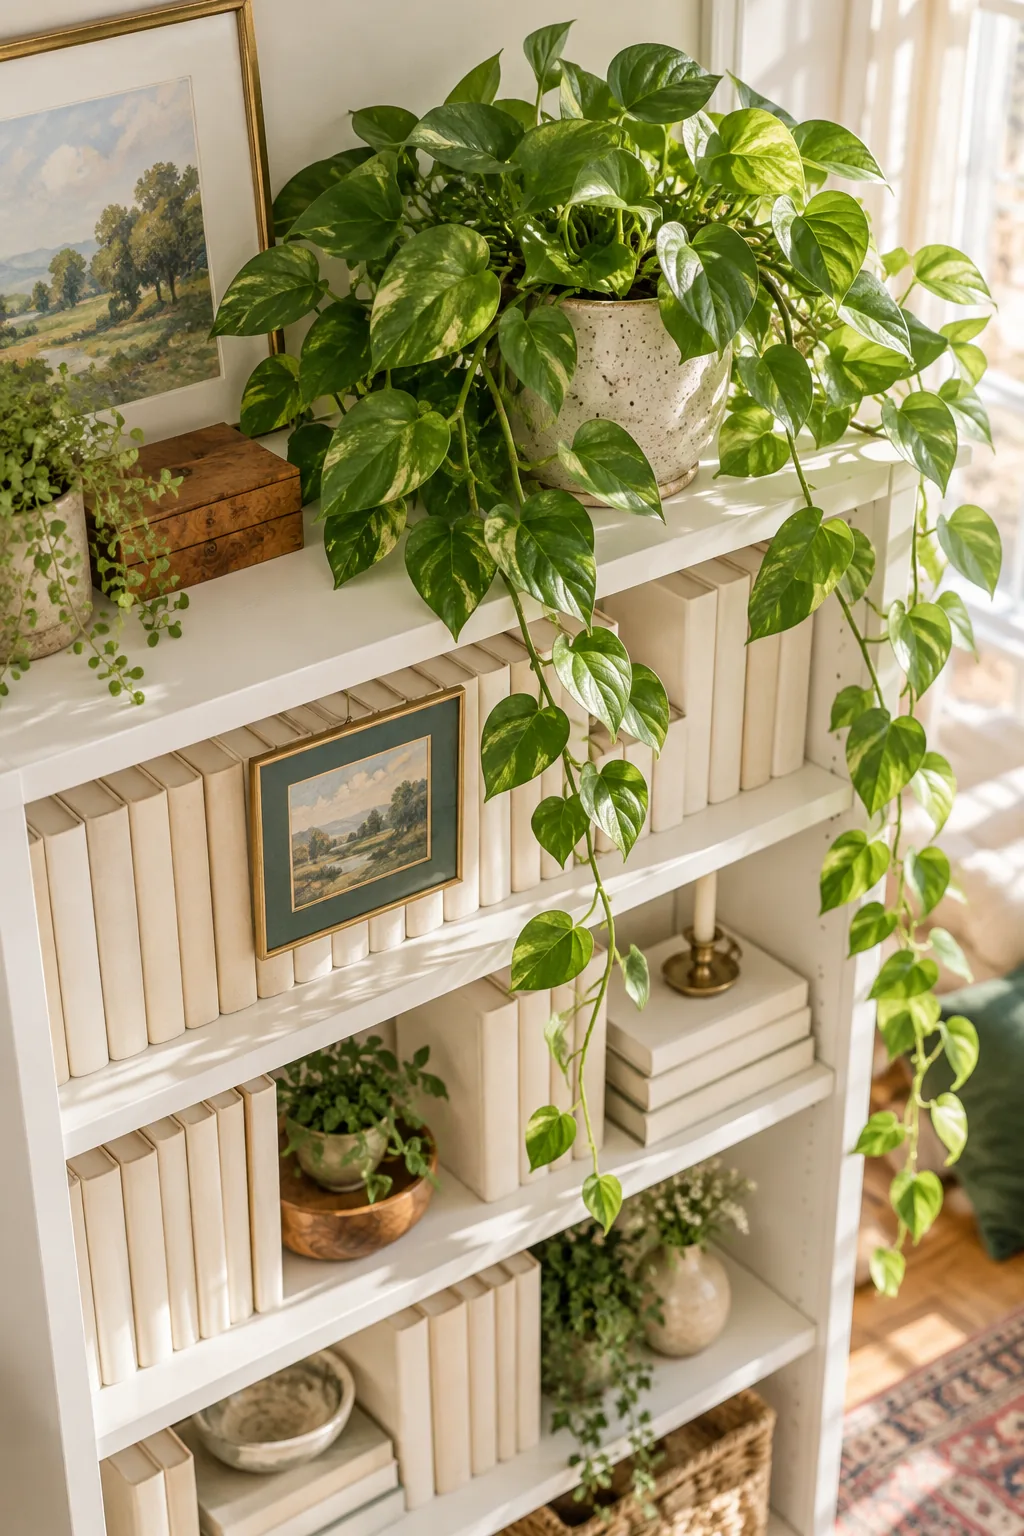
Bookshelf Decor: The 5-Shelf Map to Style with Books
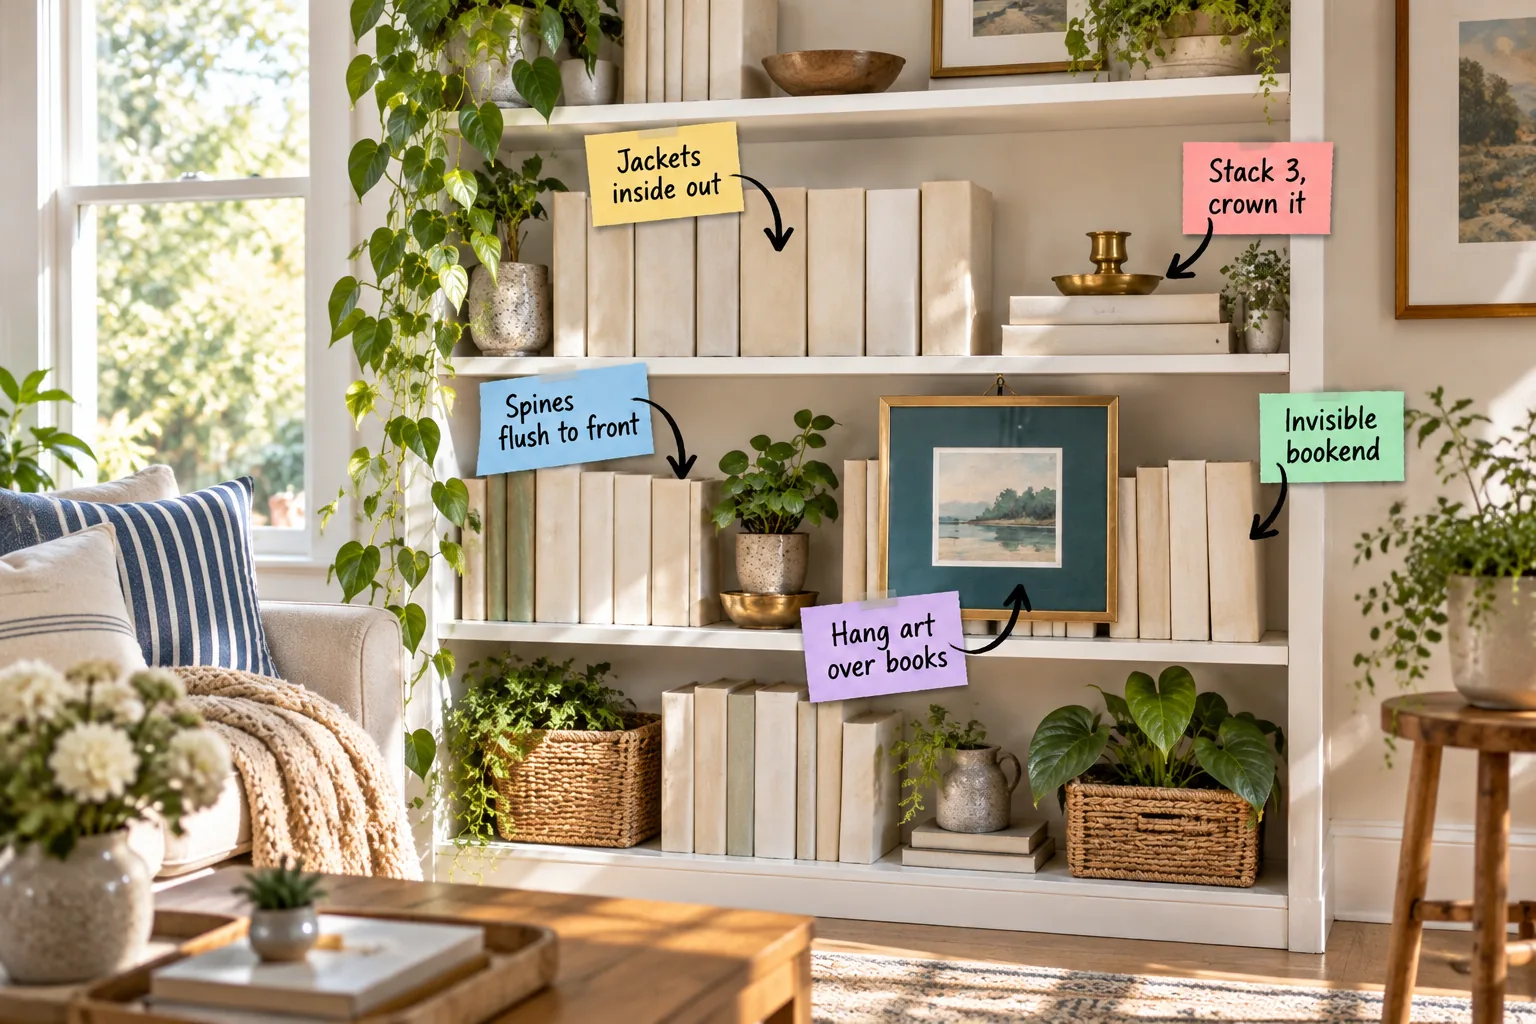
You can transform a standard flat-pack bookcase into a cohesive, designer-level display by downloading our printable 5-shelf styling map to arrange your existing books, stacks, and art. This one-page placement sheet reveals exactly where to position every spine and thrifted accent along a visual zigzag for perfect balance.
Get the 5-Shelf Styling Map
Start by downloading the 1-page printable placement sheet to map out exactly how many books to group on all five shelves. This guide shows you where to leave negative space and where to place your three to four decorative objects along a structured path.
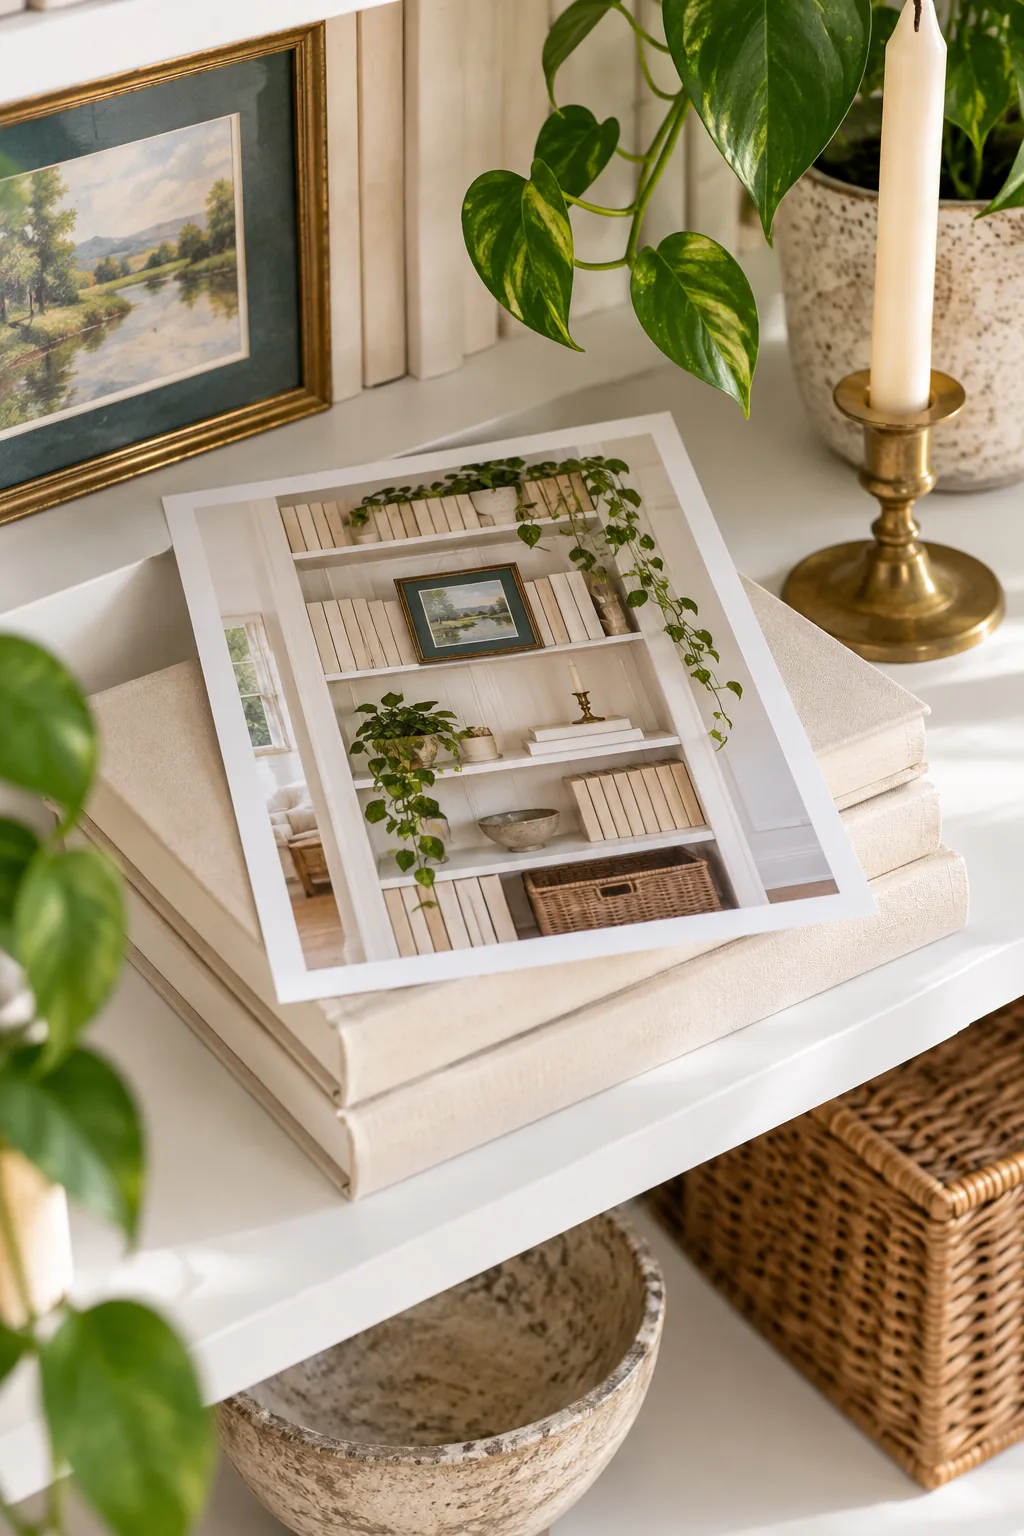
Clear Your Bookcase Completely
Styling over existing clutter guarantees a messy result, so remove absolutely everything from the unit before you begin. Wiping down the bare shelves gives you a clean slate to visualize the 12-inch spacing gaps required between your major decor moments.
Sort Your Collection by Size
Group your library by physical dimensions rather than genre to build structurally sound foundations. Separating standard paperbacks from heavy art volumes ensures you can distribute the physical weight evenly across the 30-inch shelf spans without causing the boards to bow over time.
- Pile oversized photography and architecture books for the bottom tier.
- Group standard hardcover novels for your eye-level vertical rows.
- Set aside mass-market paperbacks for enclosed storage or donation.
Pull Spines Flush to the Front
Pushing books to the back of the shelf creates a dark, cluttered tunnel that makes the whole unit feel heavy. Instead, pull every upright row completely forward so the spines sit flush with the 0-inch front lip of the shelf board.
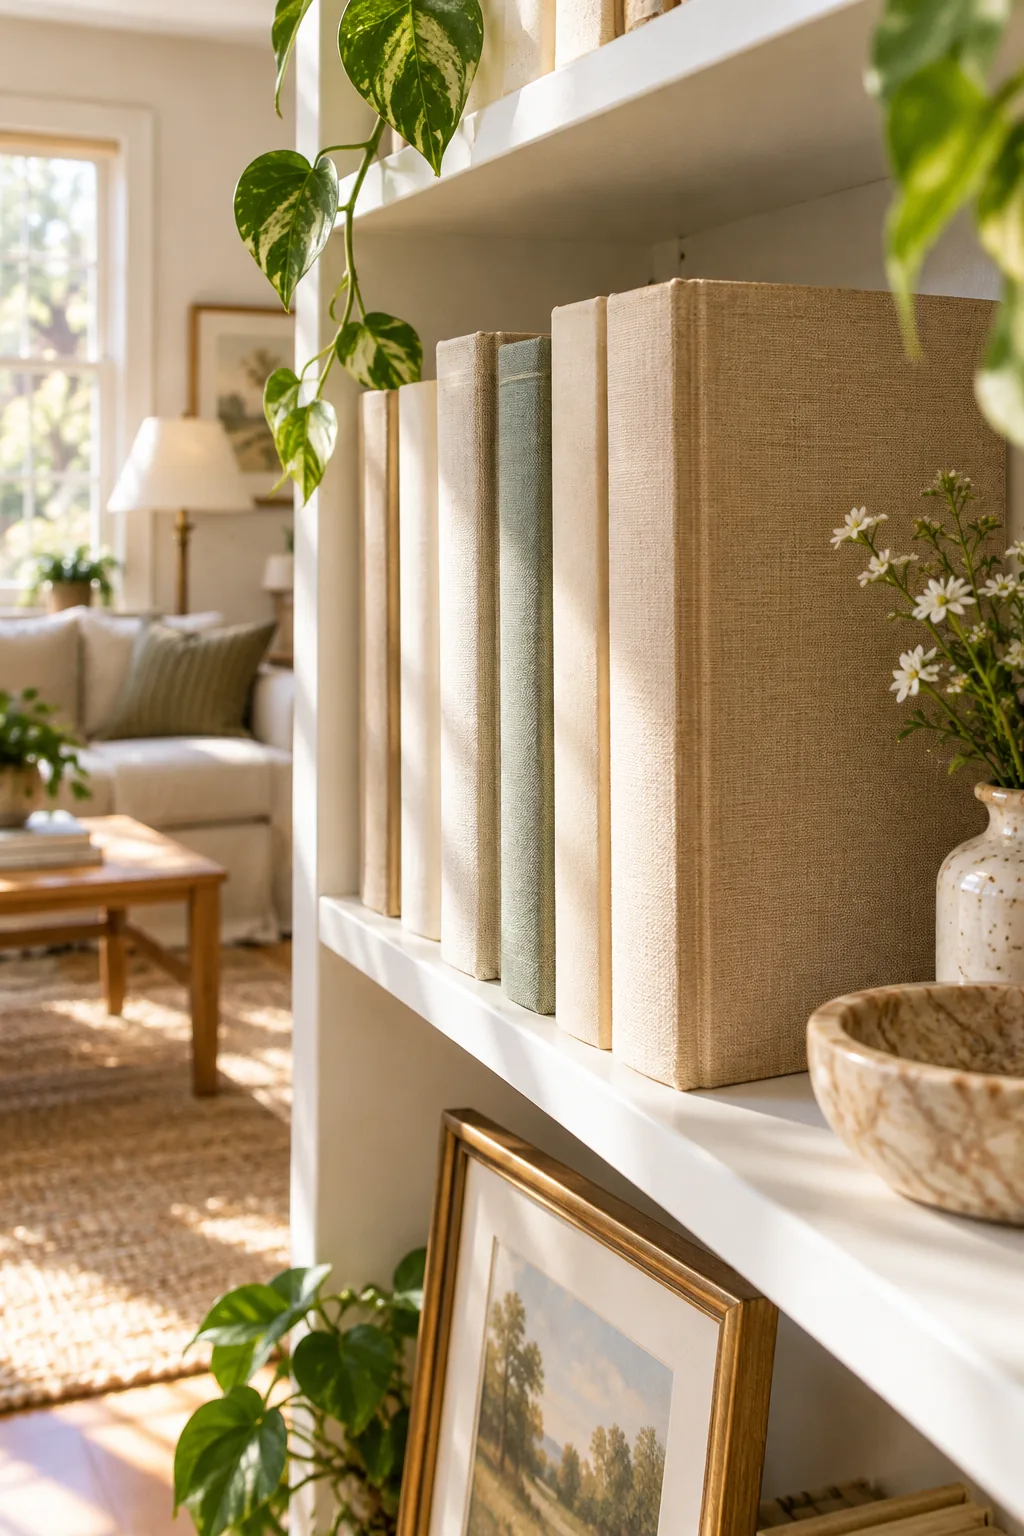
Embrace the Dark Negative Space
Leaving the back of the shelf empty behind your flush books generates a deep, dramatic shadow line. This intentional void highlights the silhouette of your collection and makes standard 11-inch deep shelves look custom-built and infinitely deeper.
Turn Dust Jackets Inside Out
To calm down a chaotic color palette without damaging your books, reverse the dust jackets so the plain cream paper side faces out. I did this in my own Boston brownstone living room, and it instantly created one cohesive, gallery-like block of neutrals.
Curate Your Color Palette
Limit your decorative objects to just three cohesive shades to maintain a calm aesthetic. Selecting a strict palette of matte cream, raw brass, and deep terracotta ensures that your thrifted accents harmonize perfectly with the reversed paper dust jackets.
Hide Support With Invisible Bookends
Bulky bookends disrupt the clean lines of a styled shelf, so use a 4-inch metal L-plate hidden underneath the bottom cover of the last book. When I styled my narrow hallway bookcase, these hidden supports made the floating rows look like pure magic.
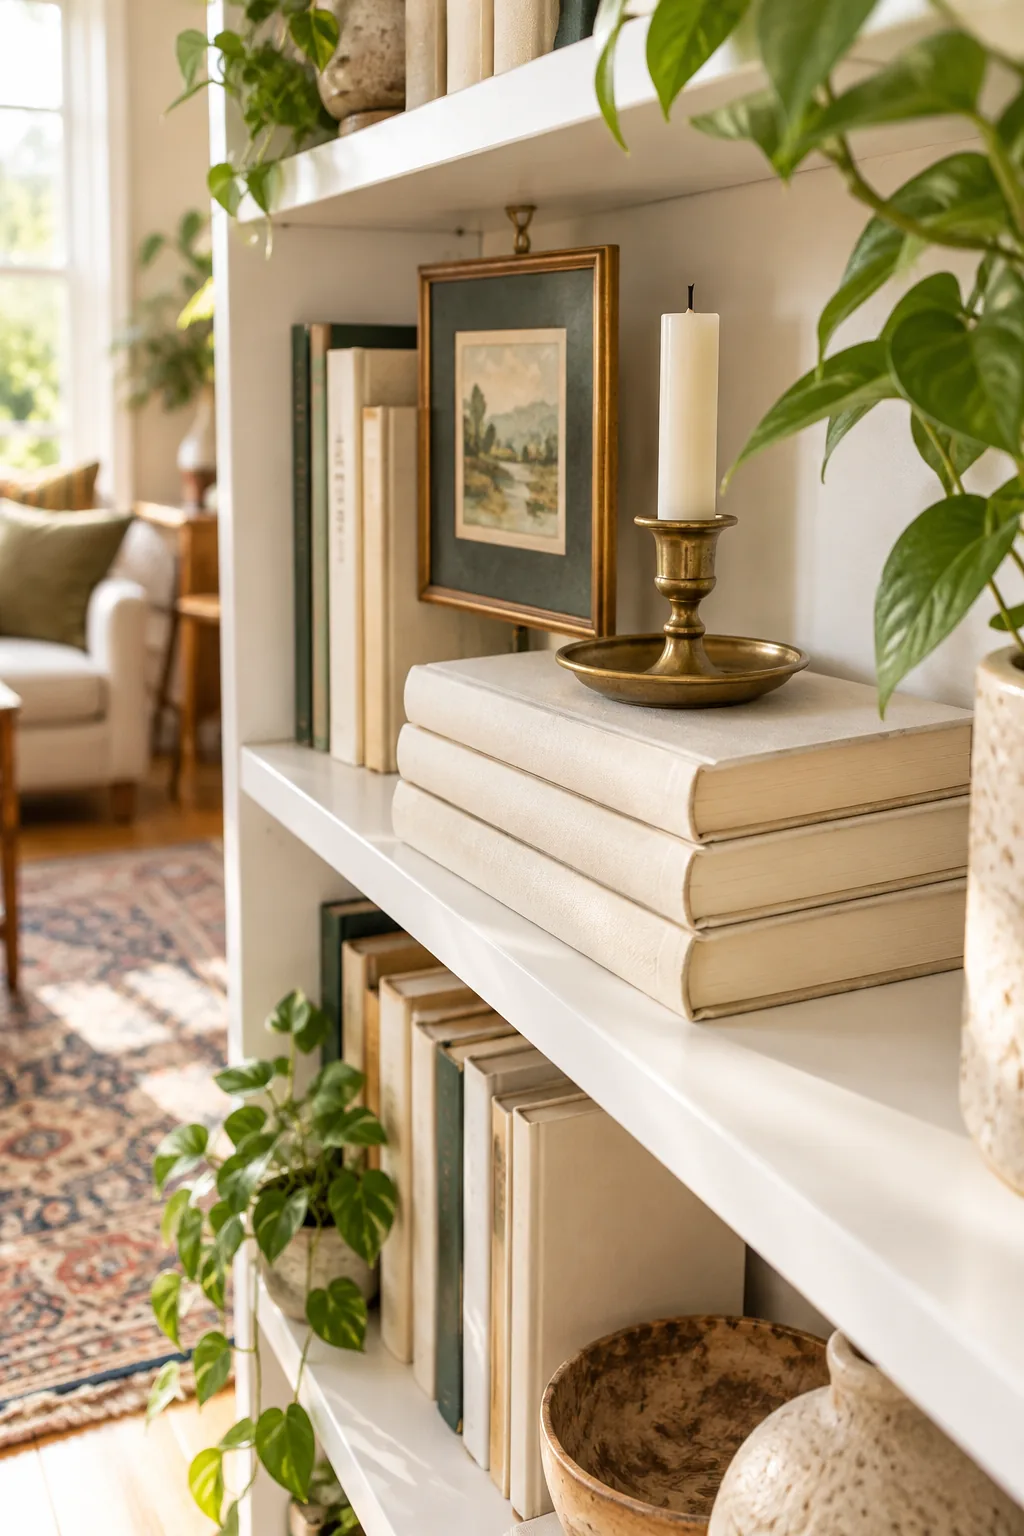
Slide the Plates Underneath
The weight of the final book rests directly on the horizontal tongue of the bracket, locking it firmly against the vertical plate. This simple physics trick requires zero tools and completely eliminates the need for heavy marble stoppers on your upper tiers.
Map the Visual Zigzag
Distribute your visual anchors evenly by following a geometric path from the top left corner down to the bottom right. Alternating the placement of your heavy stacks and tall art pieces prevents any single shelf from feeling overwhelmed.
| Shelf Level | Left Zone | Center Zone | Right Zone |
|---|---|---|---|
| Top (1) | Trailing plant | Empty | Upright row |
| Upper (2) | Empty | Horizontal stack | Small art |
| Middle (3) | Upright row | Empty | Horizontal stack |
| Lower (4) | Horizontal stack | Upright row | Empty |
| Base (5) | Woven basket | Empty | Woven basket |
Leave Room to Breathe
Resist the urge to pack every inch of available shelf space with objects and books. Leaving at least 20 percent of each shelf totally bare provides essential resting places for the eye and elevates the items you do choose to display.
Alternate Vertical and Horizontal
Never place two horizontal stacks or two vertical rows directly above or below one another. Staggering the orientations creates a dynamic visual rhythm that pulls the viewer’s gaze naturally across the entire width of the wooden bookcase.
Stack Three Books and Crown Them
Break up the vertical library look by adding horizontal anchors, creating a flat stack of exactly three hardcovers. I always use this trick on my middle shelves, topping the stack with one small, sculptural object like a brass candle holder to draw the eye.
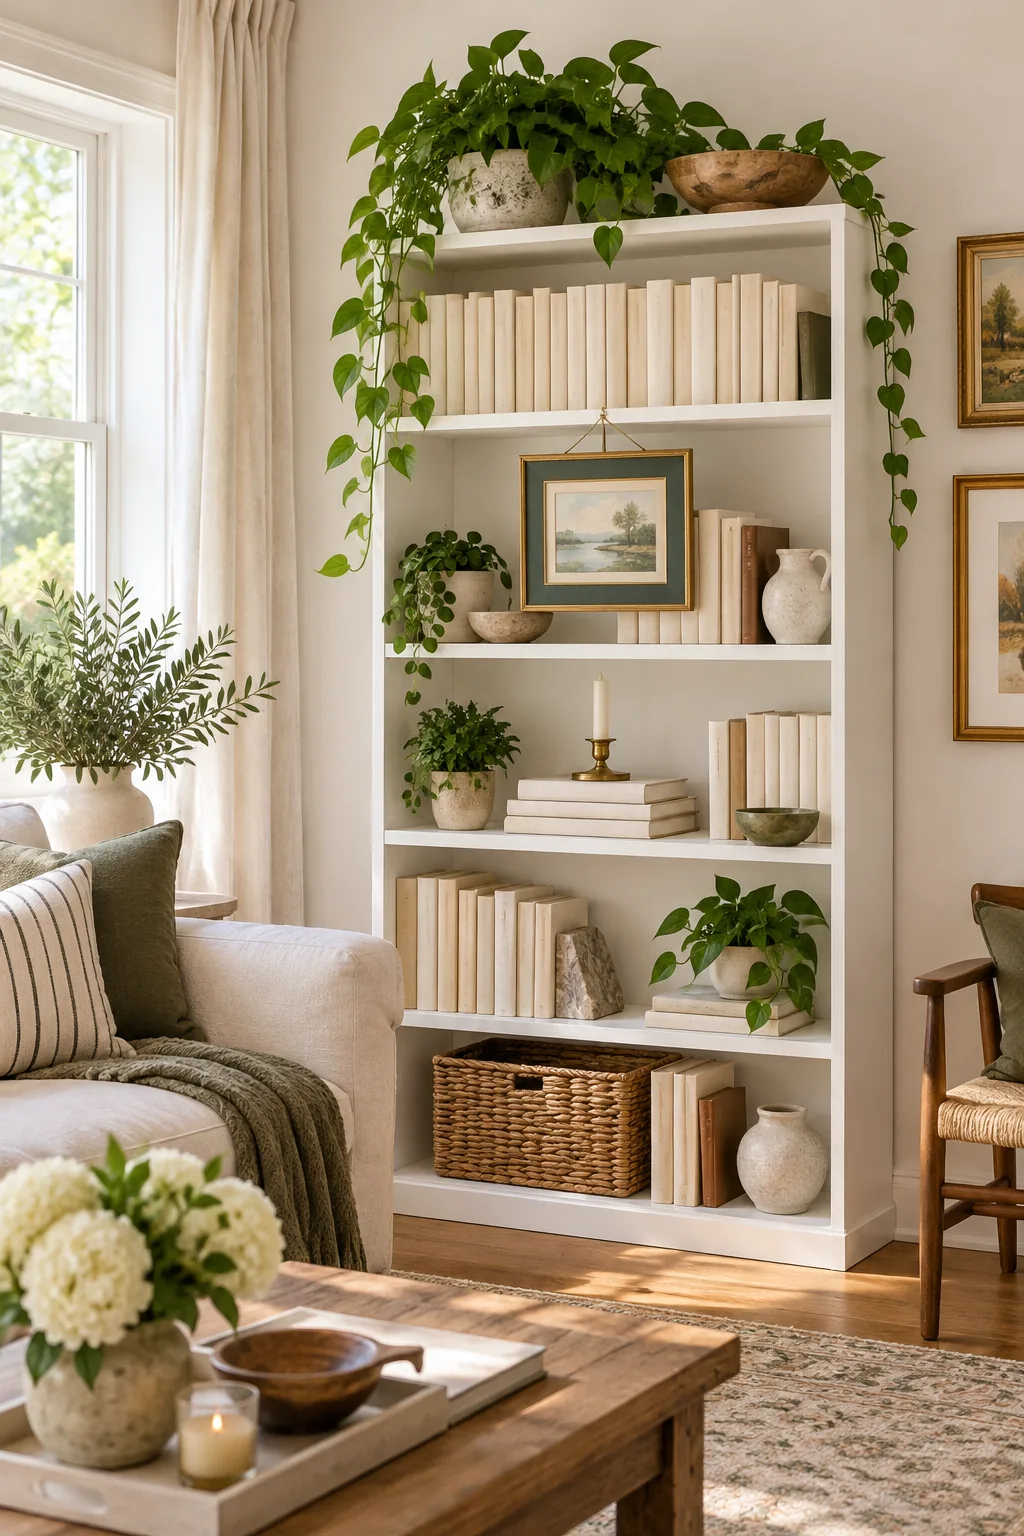
Select the Perfect Brass Topper
The object you place on your horizontal stack should be no wider than the book cover beneath it. A 3-inch brass bowl or vintage knot sculpture provides the perfect metallic contrast against the matte paper jackets without hanging over the edges.
Incorporate Meaningful Objects
Skip the generic store-bought filler and display items that hold genuine personal history. A vintage camera, a heavily worn wooden bowl, or a small brass heirloom adds authentic character and warmth to the structured geometry of the stacked books.
Hang Art Directly Over the Books
Treat the bookcase as a wall by hanging art directly on it to add unexpected depth. Screw a 1/2-inch brass cup hook into the underside of a shelf board and suspend a small framed print so it floats in front of the book spines.
- Measure the center point of your chosen book row to mark the hook placement.
- Pre-drill a tiny pilot hole to prevent the particle board or wood from splitting.
- Hang a lightweight frame with a wire back directly onto the open brass hook.
Anchor the Base With Woven Baskets
Keep the heaviest visual elements on the bottom two shelves to ground the unit, using large woven baskets to provide a solid foundation. I use massive seagrass baskets on my lowest tier, which prevents my tall flat-pack furniture from looking top-heavy.
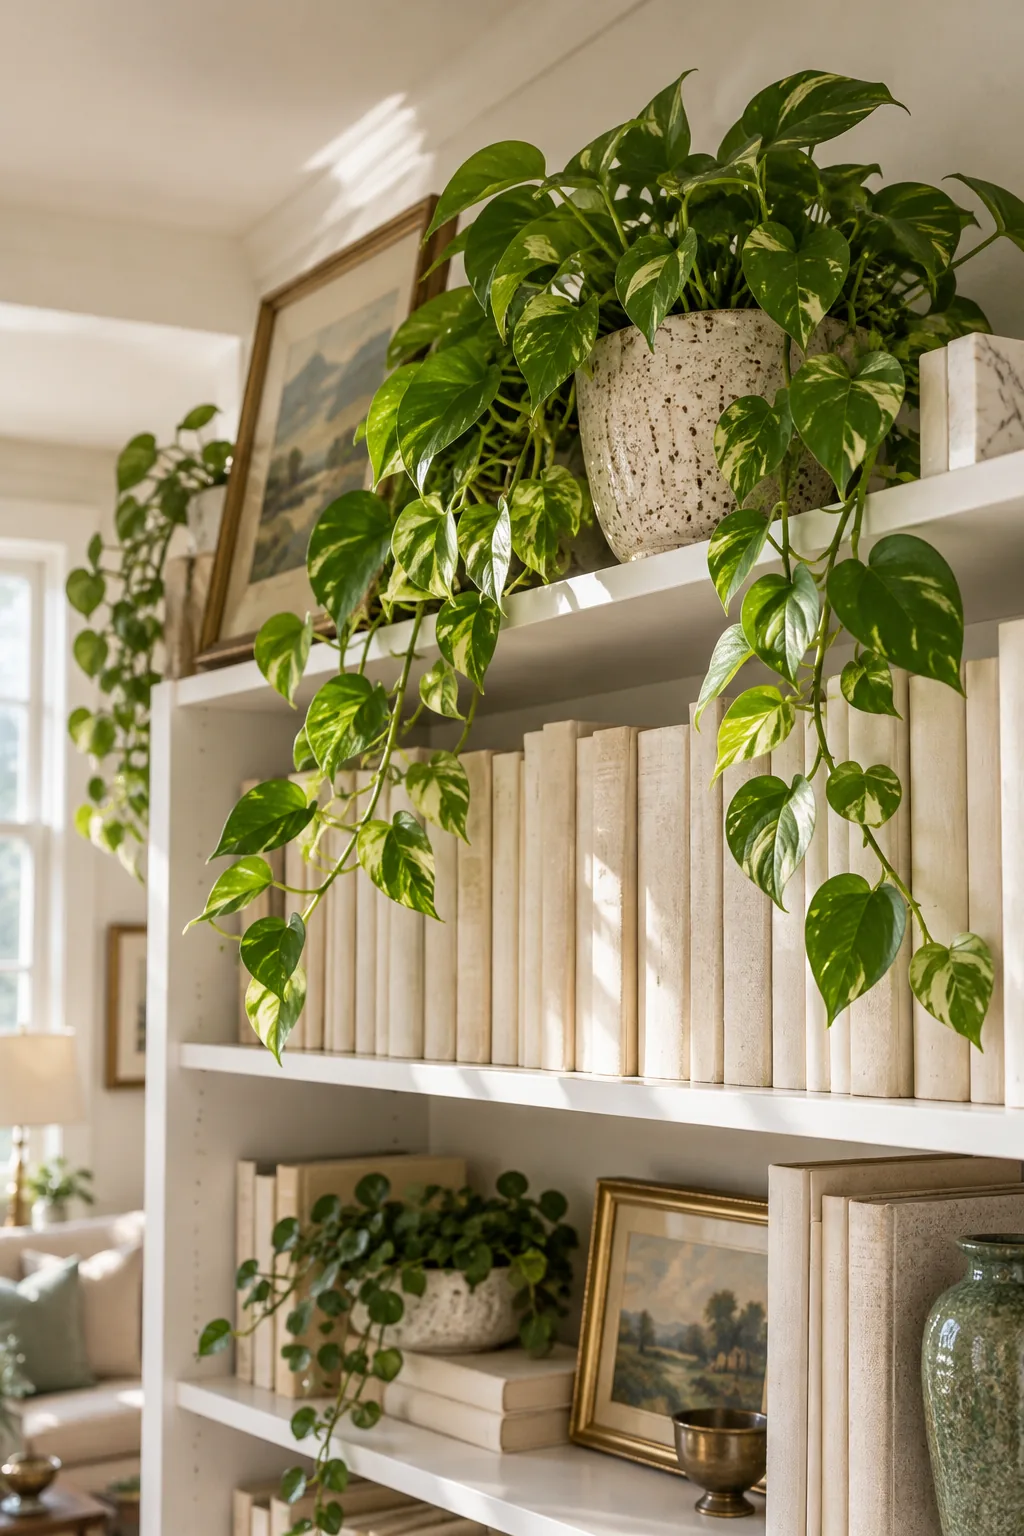
Floating a framed landscape print from the shelf above this heavy base layer creates a beautiful transition between the closed storage and the open books.
Conceal Your Everyday Paperwork
The deep baskets at the base do more than just anchor the visual weight of the room. They serve as a highly functional drop zone for mail, charging cables, and unsightly daily clutter that would otherwise ruin your carefully curated display.
Protect the Shelves From Water
Before adding live greenery, place a sealed plastic drip tray inside your decorative pots. This invisible barrier catches accidental overflows and protects your paper books and composite wood shelves from expanding and warping due to moisture damage.
3 More Ways to Style Your Shelves
Once you master the basic placement map, you can adapt the formula to any room's aesthetic.
Dark Moody Academia: Swap the white flat-pack for rich walnut and fill the shelves with antique spines to create a cozy, library-like atmosphere.
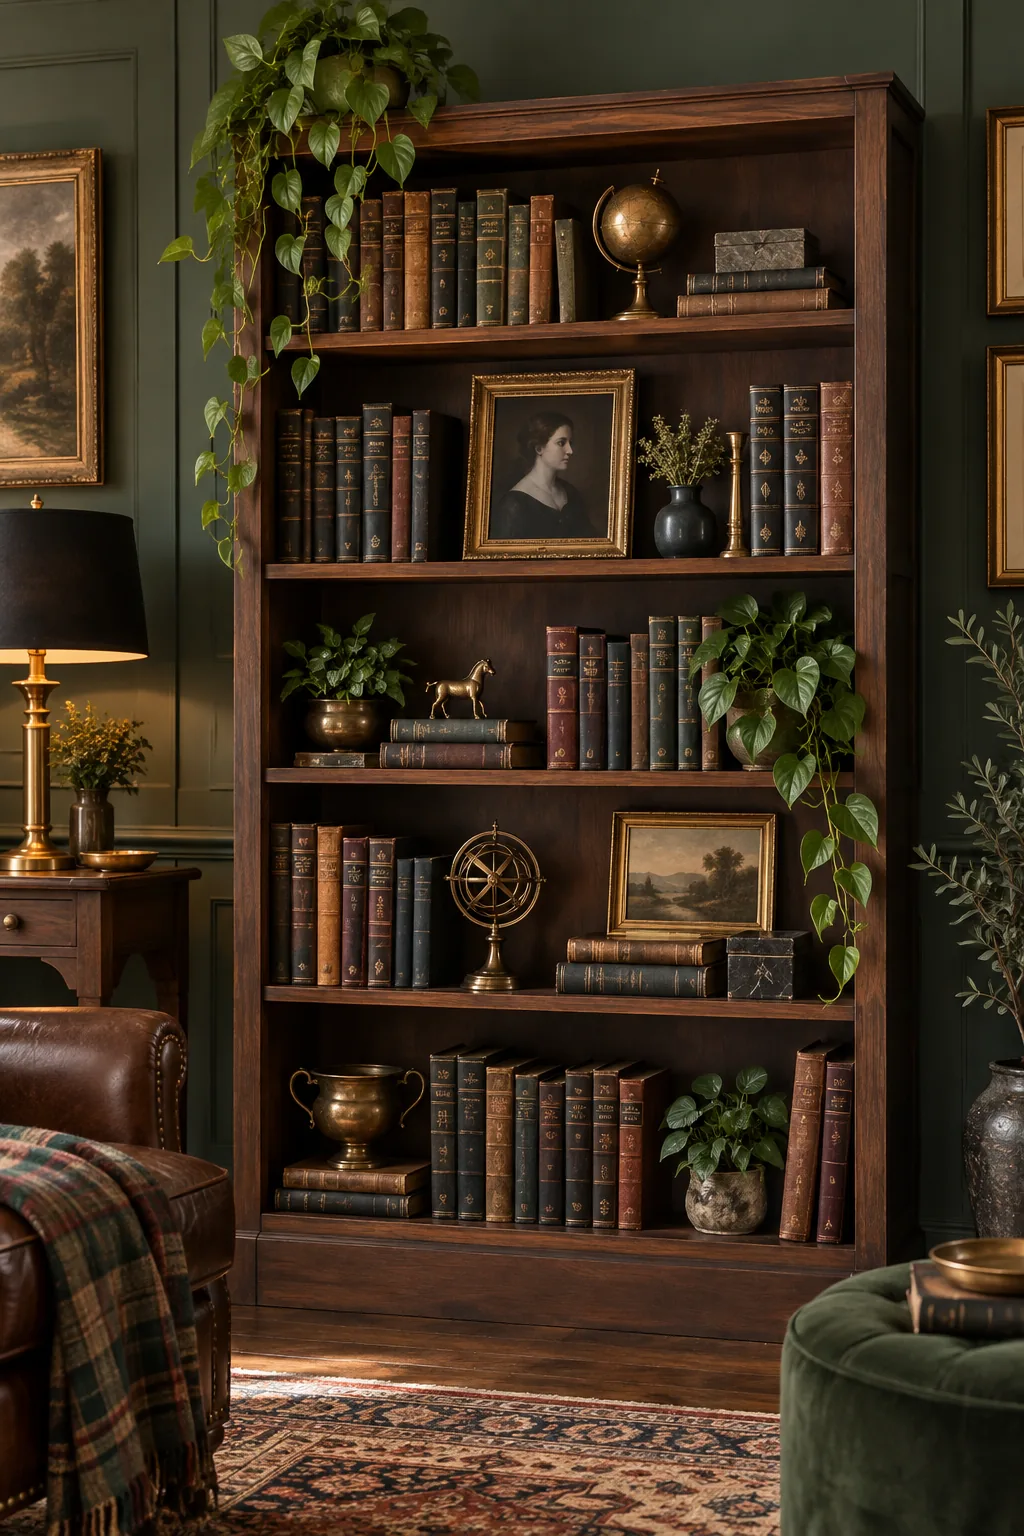
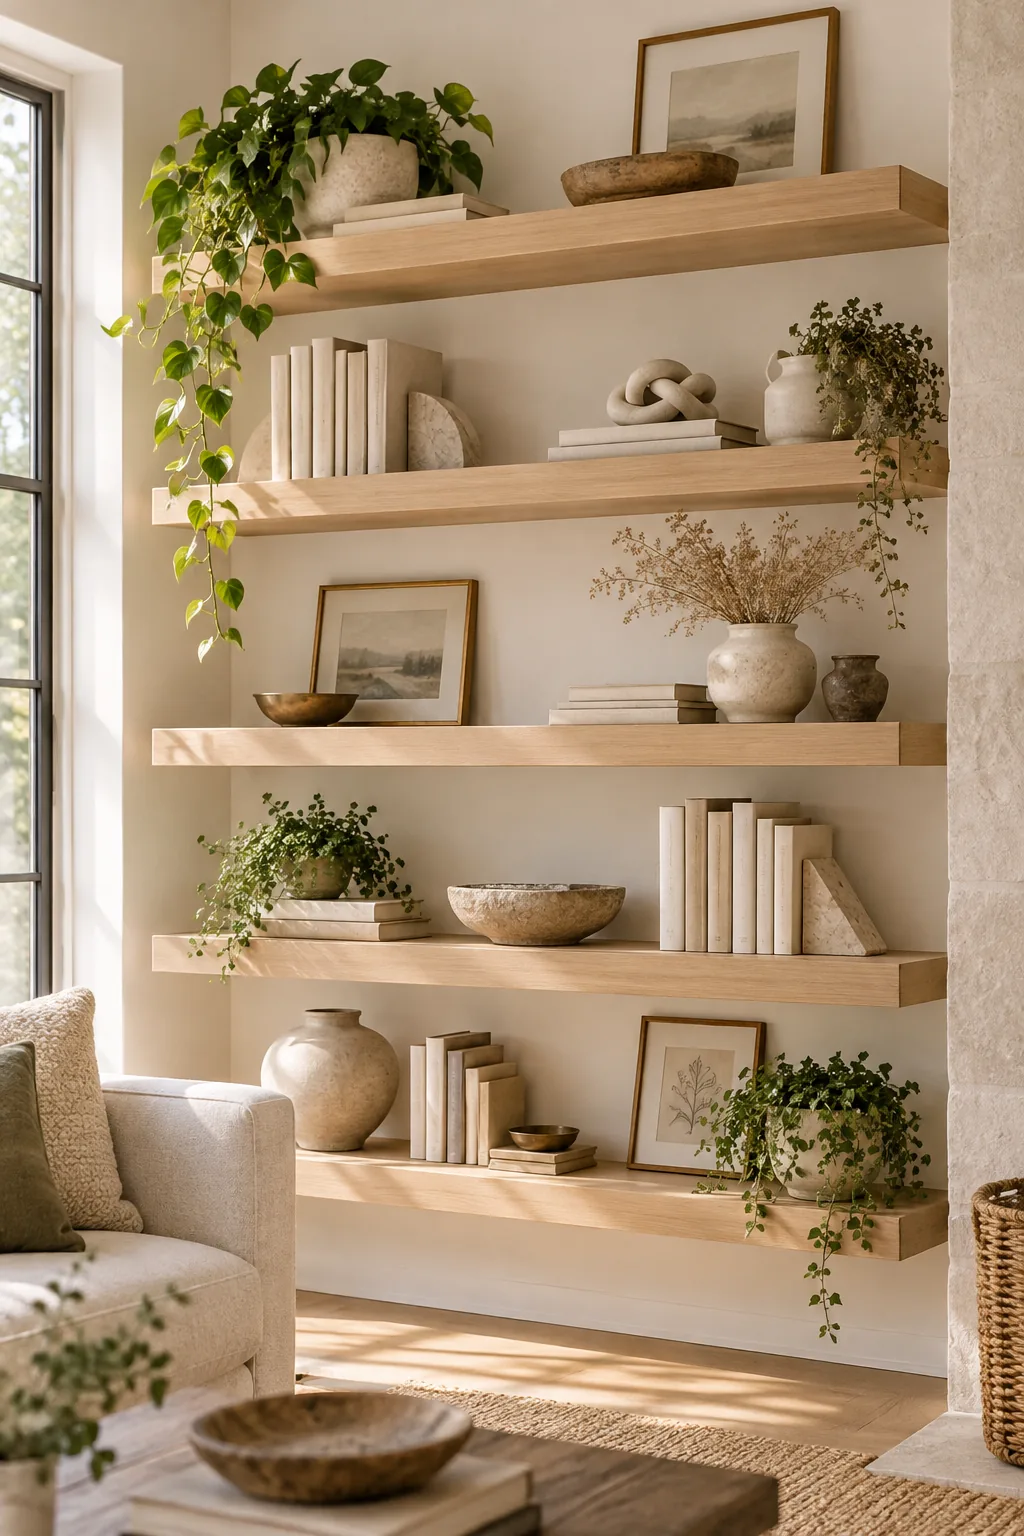
Minimalist Warm Neutral: Embrace negative space by using floating oak shelves and limiting your palette strictly to beige, cream, and unglazed ceramics.
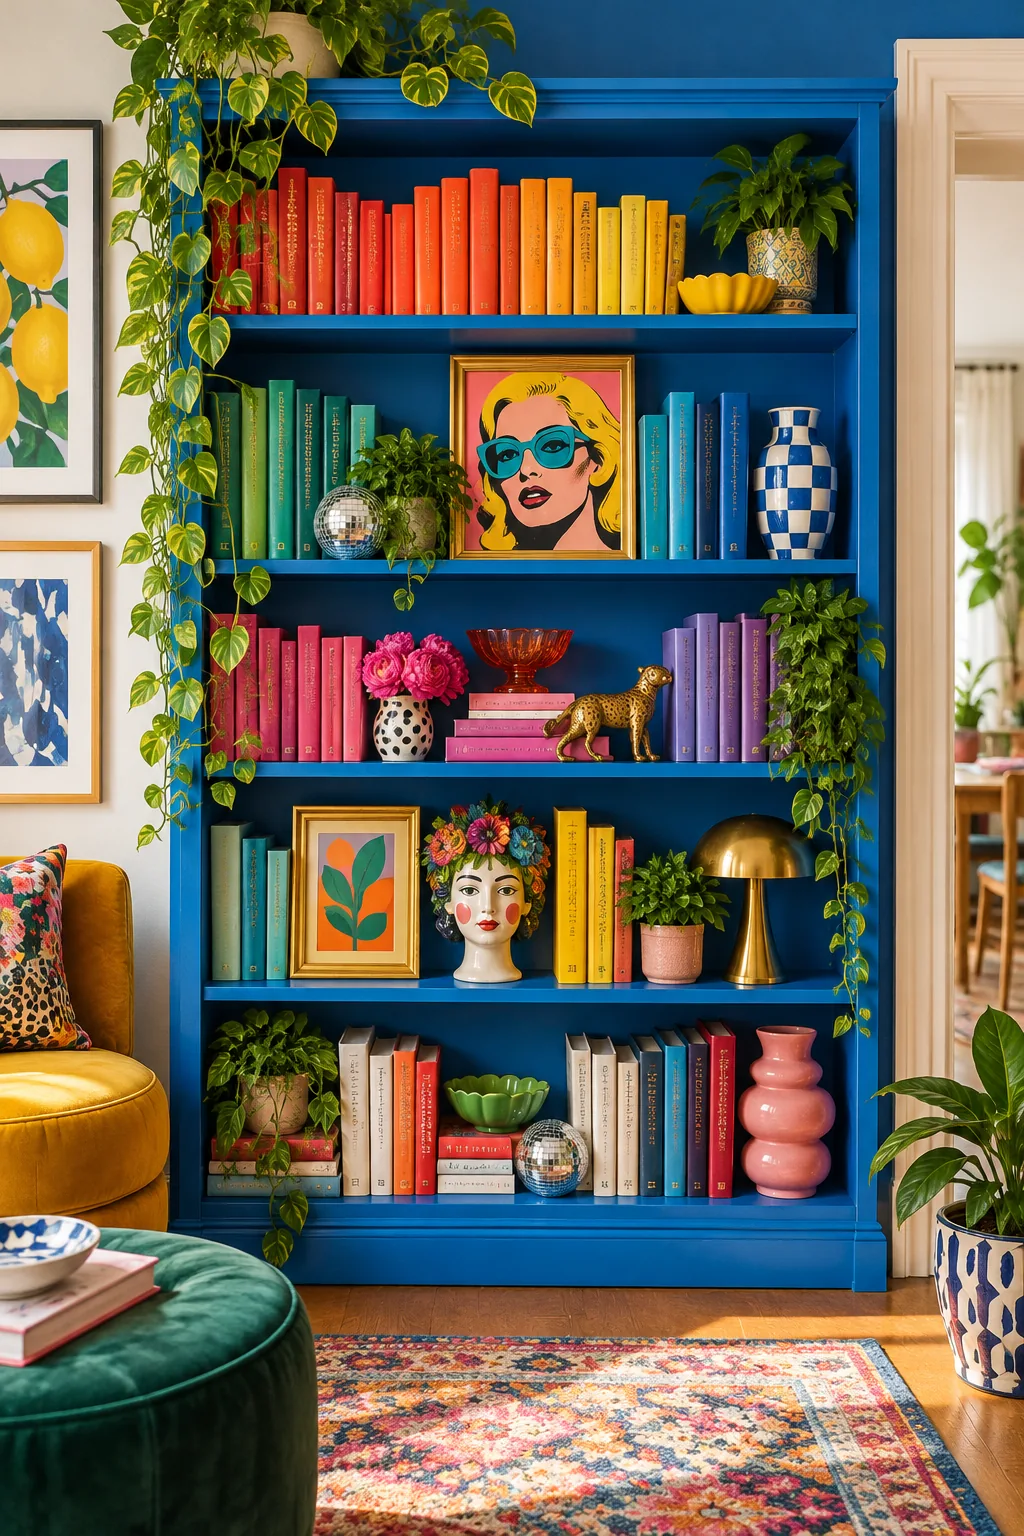
Colorful Maximalist: Ditch the inside-out jackets and organize your spines by color against a brightly painted backing for a high-energy focal point.
Soften the Grid With Trailing Plants
Bookcases are full of rigid right angles, so add at least one trailing plant per three shelves to break up the strict geometry. Let the vines spill organically over the edges of the books to bring life and movement to your structured display.