
Small Bathroom Tile Design: Get the Free Setting-Out Sheet
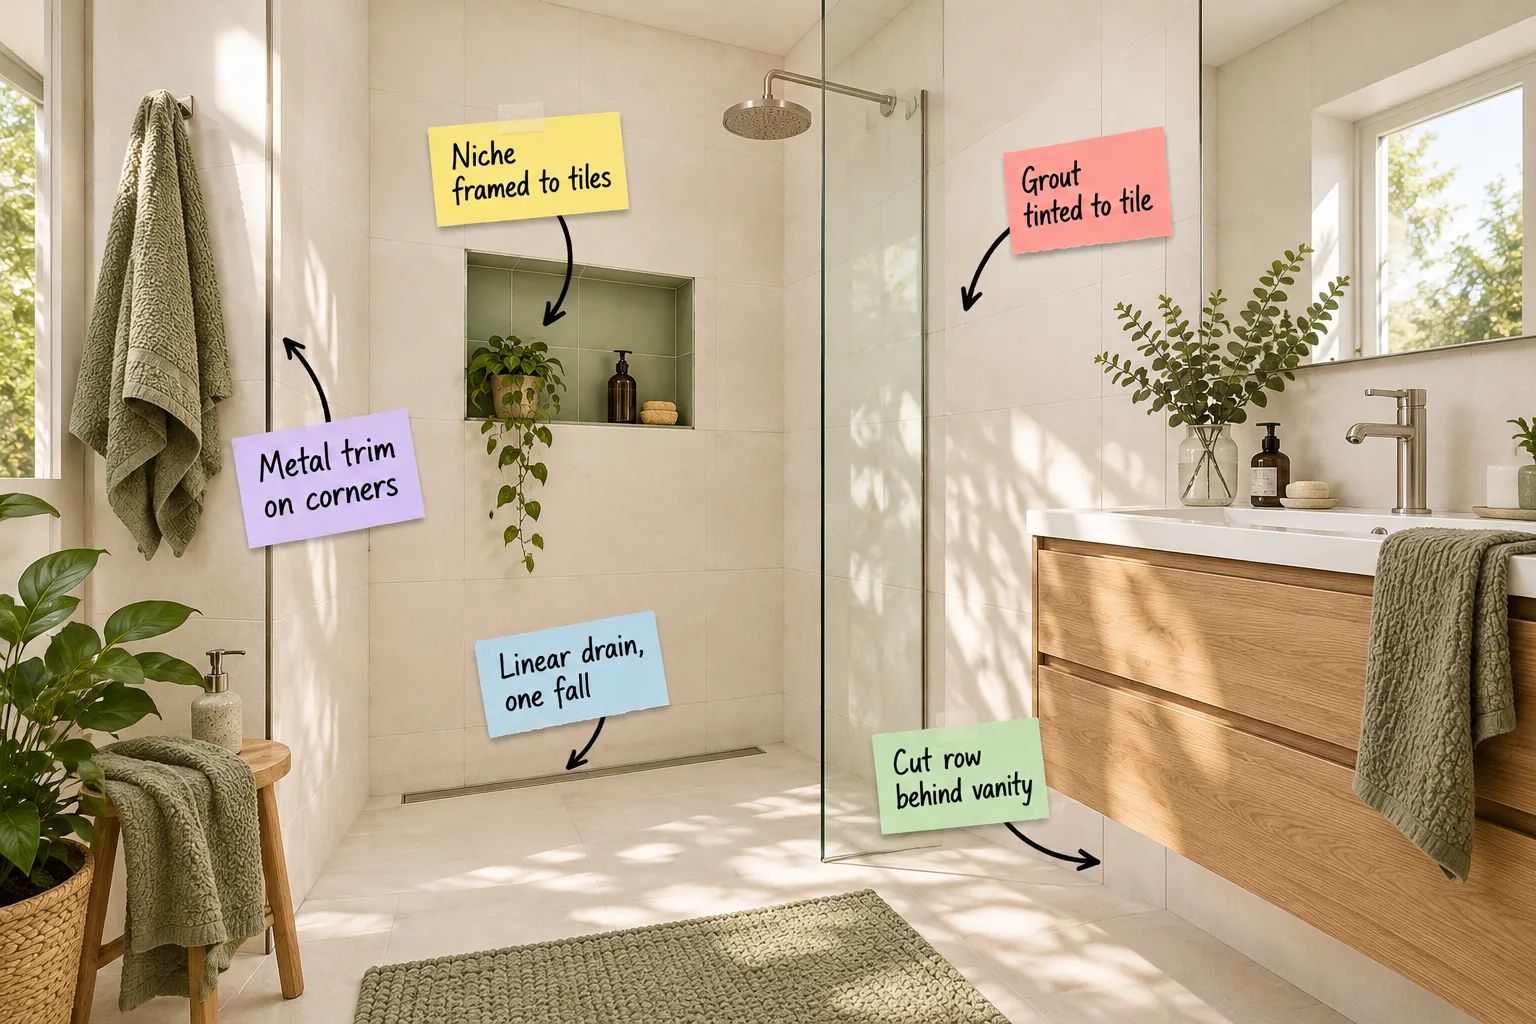
You can perfectly align your shower niche, linear drain, and grout lines before framing begins by downloading our Small-Bathroom Tile Setting-Out Sheet. This printable measurement guide ensures you hand your contractor a flawless layout plan to execute your vision.
Map the Grid Before Framing
The secret to a high-end bathroom is establishing a tile grid that dictates the framing, a lesson I learned when my own Denver guest bath ended up with awkward slivers. Calculate your exact dimensions using a standard 1/16-inch grout joint.
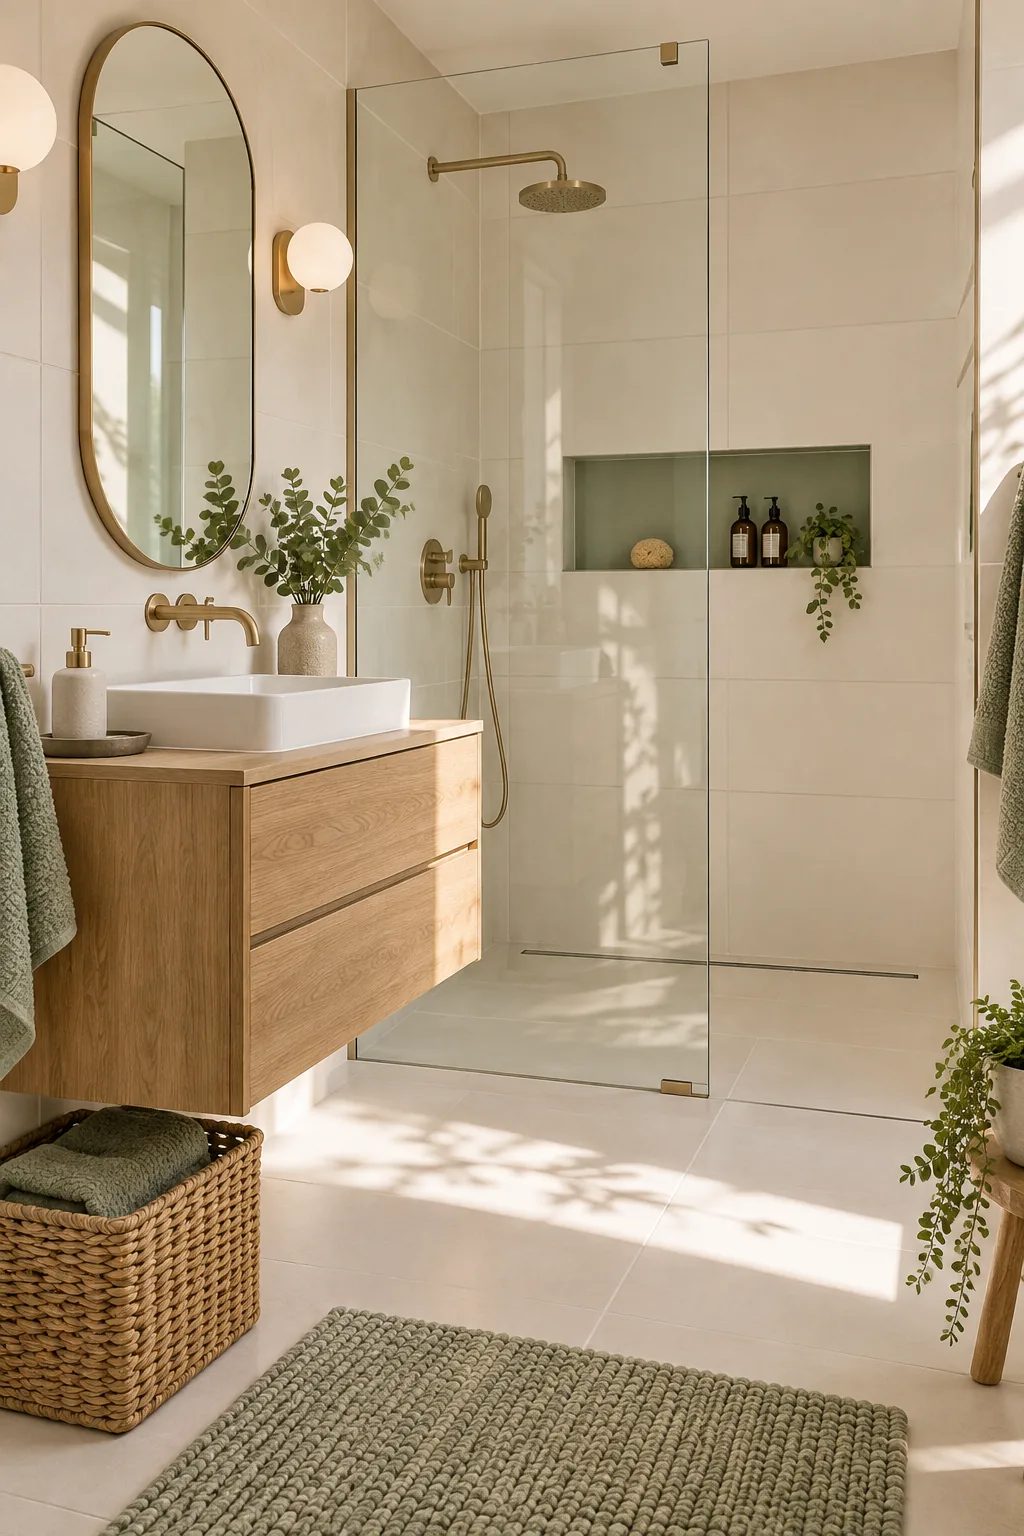
Before you hang a single sheet of cement board, verify these three foundational dimensions to ensure your grid works flawlessly on paper.
Align Wall and Floor Joints
In a compact footprint, visual clutter quickly shrinks the room, making an unbroken wrap effect essential. Plan your layout so the grout lines on the floor run continuously up the shower walls, requiring floor and wall tiles with identical nominal dimensions.
| Tile Format | Floor Joint | Wall Joint | Visual Effect |
|---|---|---|---|
| 12×24 inch | 1/16 inch | 1/16 inch | Continuous wrap |
| 24×24 inch | 1/16 inch | 1/16 inch | Seamless grid |
| 12×24 / 4×12 | 1/16 inch | 1/16 inch | Offset alignment |
Maintaining this strict alignment draws the eye outward, expanding the perceived boundaries of your small bathroom footprint while creating a calming, architectural atmosphere.
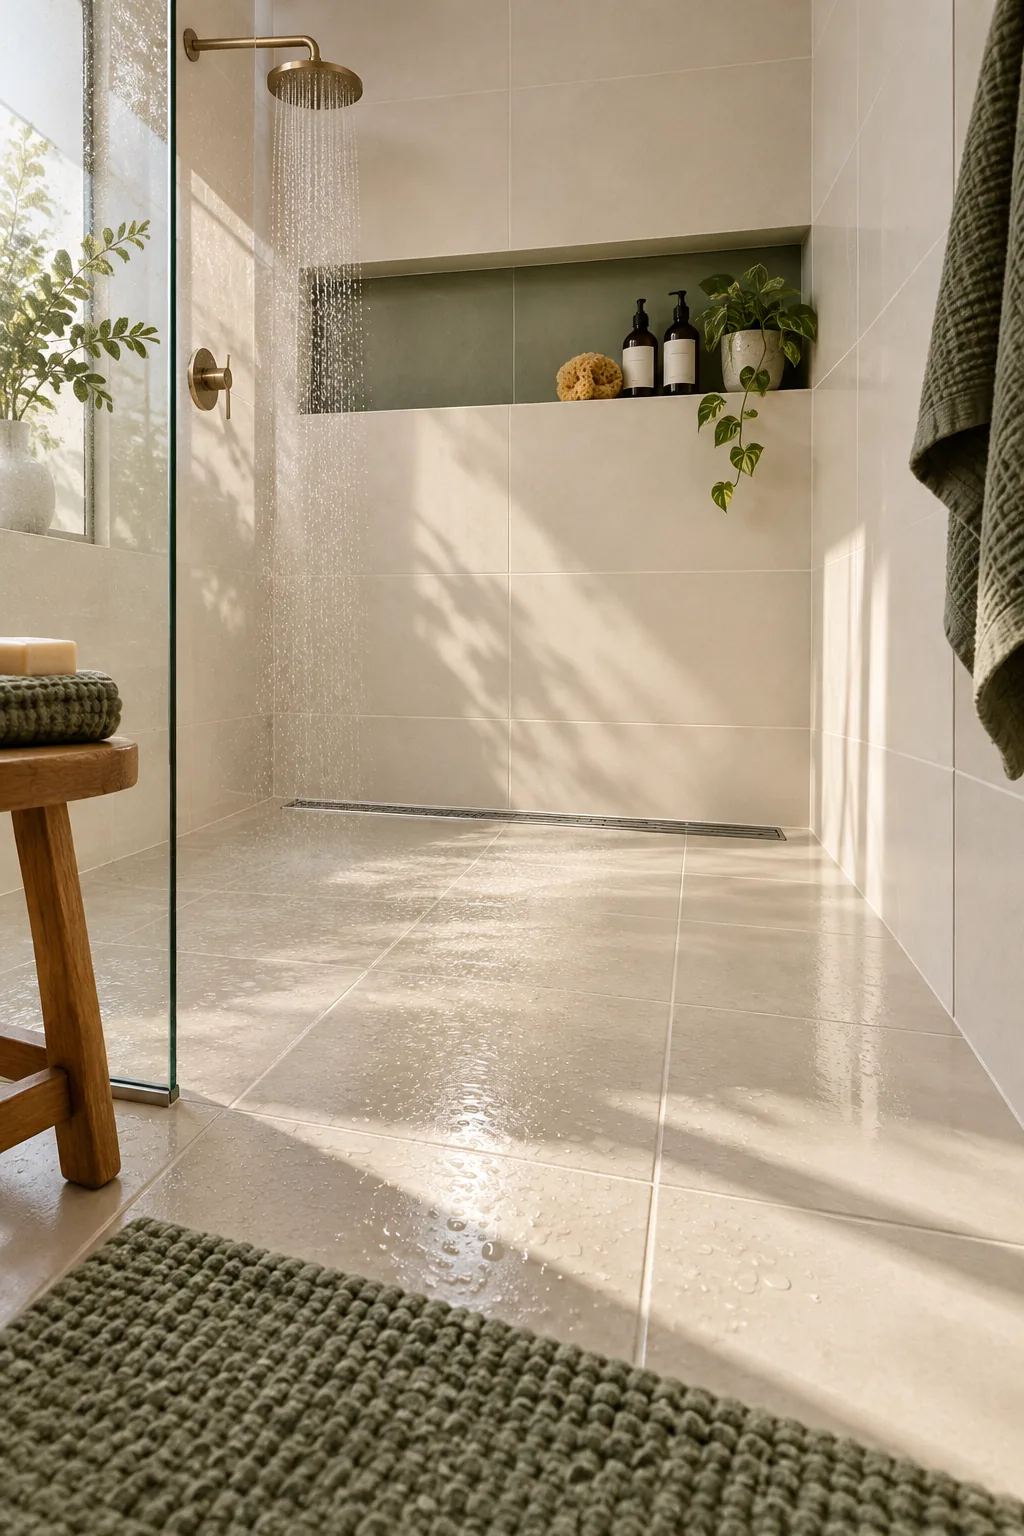
Slope the Floor in One Plane
Large-format floor tiles cannot bend toward a traditional center drain without being cut into unsightly triangles that disrupt your carefully planned grid. By installing a linear drain along the back wall, you can slope the floor in one flat plane.
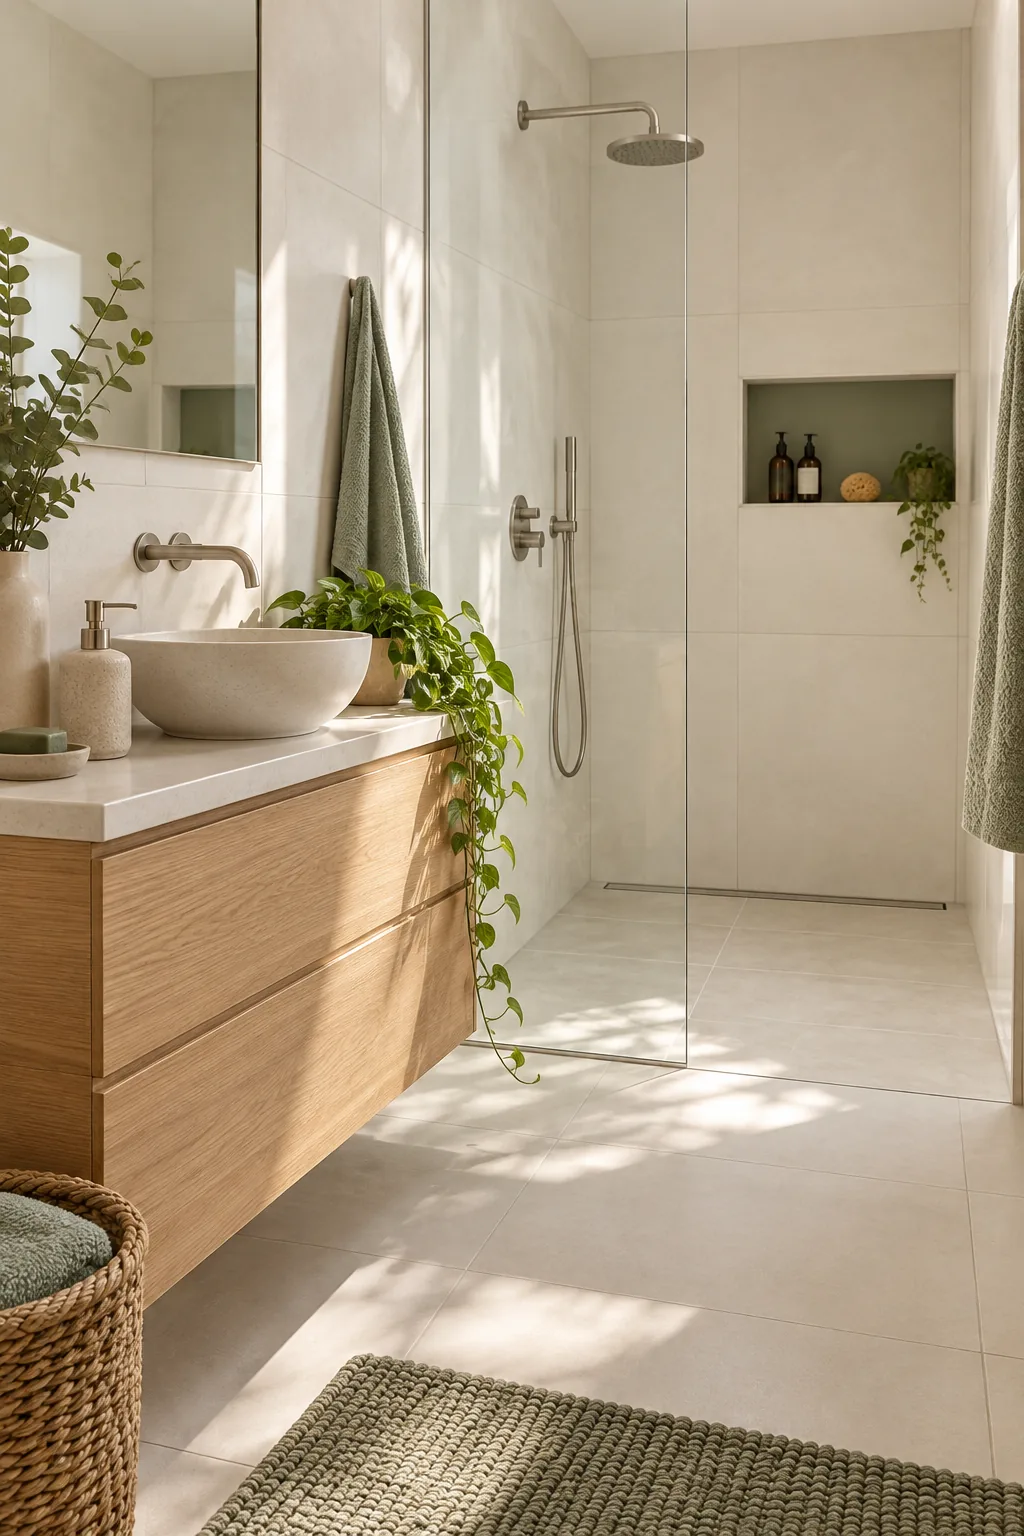
A single-plane slope allows you to use the same large tiles on the shower floor as the rest of the bathroom, but the drain placement must be incredibly precise.
Hide the Cut Row Behind the Vanity
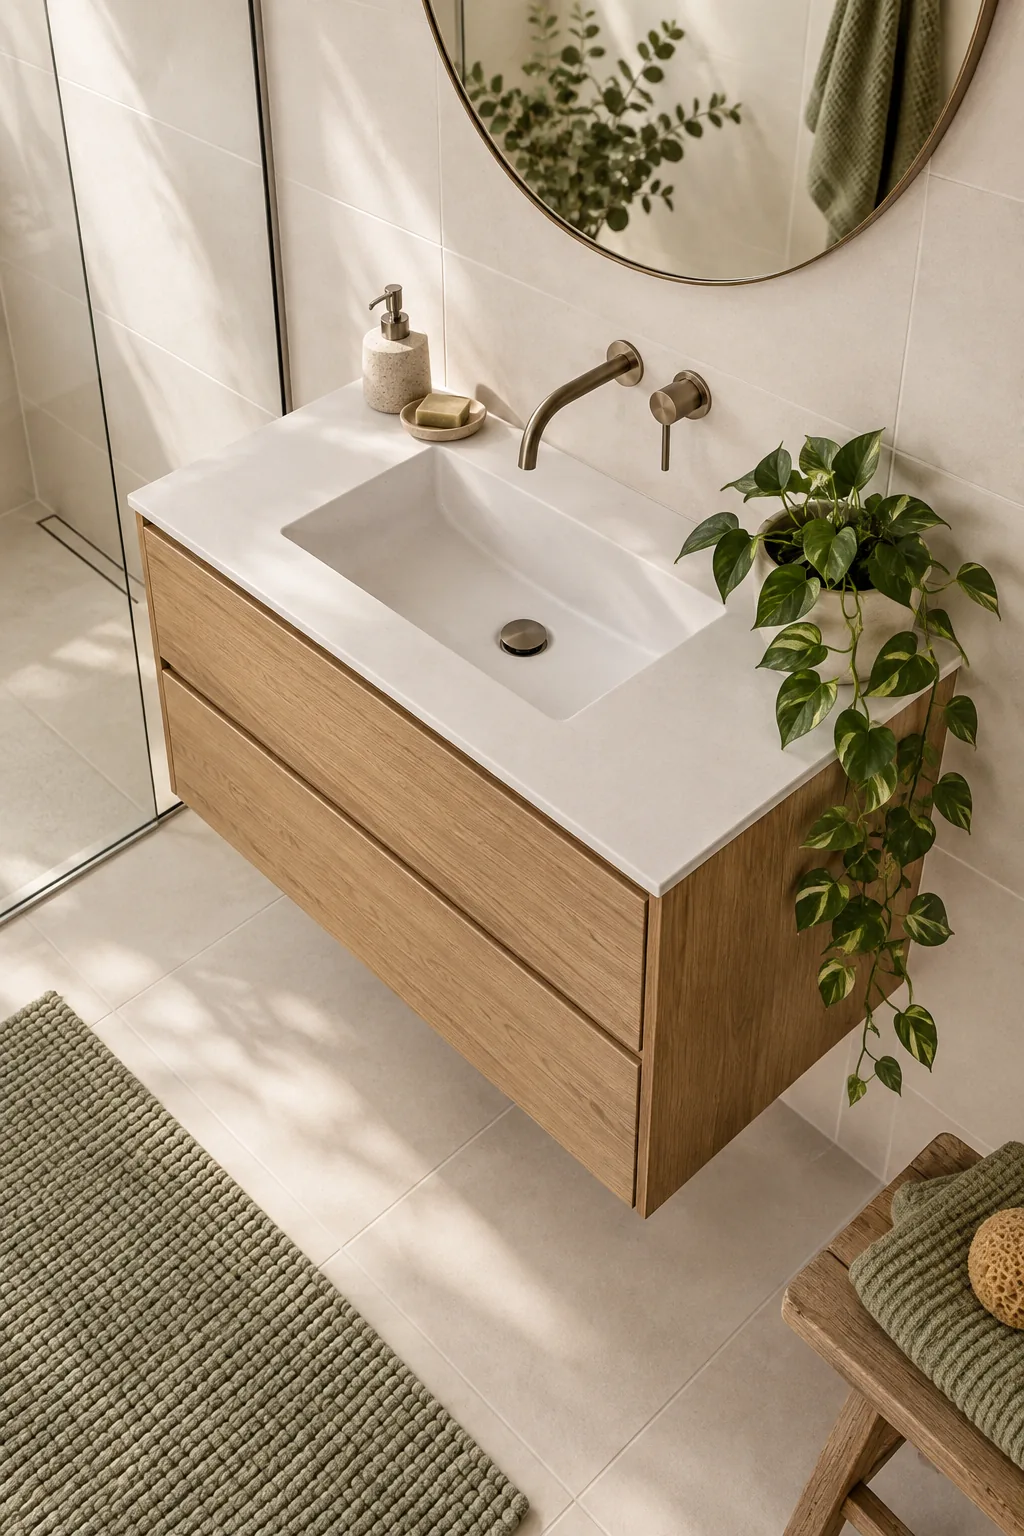
Unless your ceiling height is a perfect multiple of your tile height, you will inevitably have a cut row. I always shift the vertical grid in my projects so this partial tile row lands directly behind the wall-mounted oak vanity.
- Measure the finished height of your floating vanity, typically 34 to 36 inches off the finished floor.
- Calculate the tile courses downward from the ceiling to find where the cut row naturally falls.
- Adjust your starting ledger board so the cut row sits entirely concealed behind the cabinetry profile.
This strategic vertical shift leaves only full, uncut tiles at eye level and seamlessly abutting the ceiling line, elevating the room’s tailored finish.
Frame the Niche to Full Tiles
A recessed niche looks entirely custom when its borders align perfectly with the surrounding grout lines, a detail I insist on for every remodel. Calculate the niche width and height based on whole tiles before any framing begins.
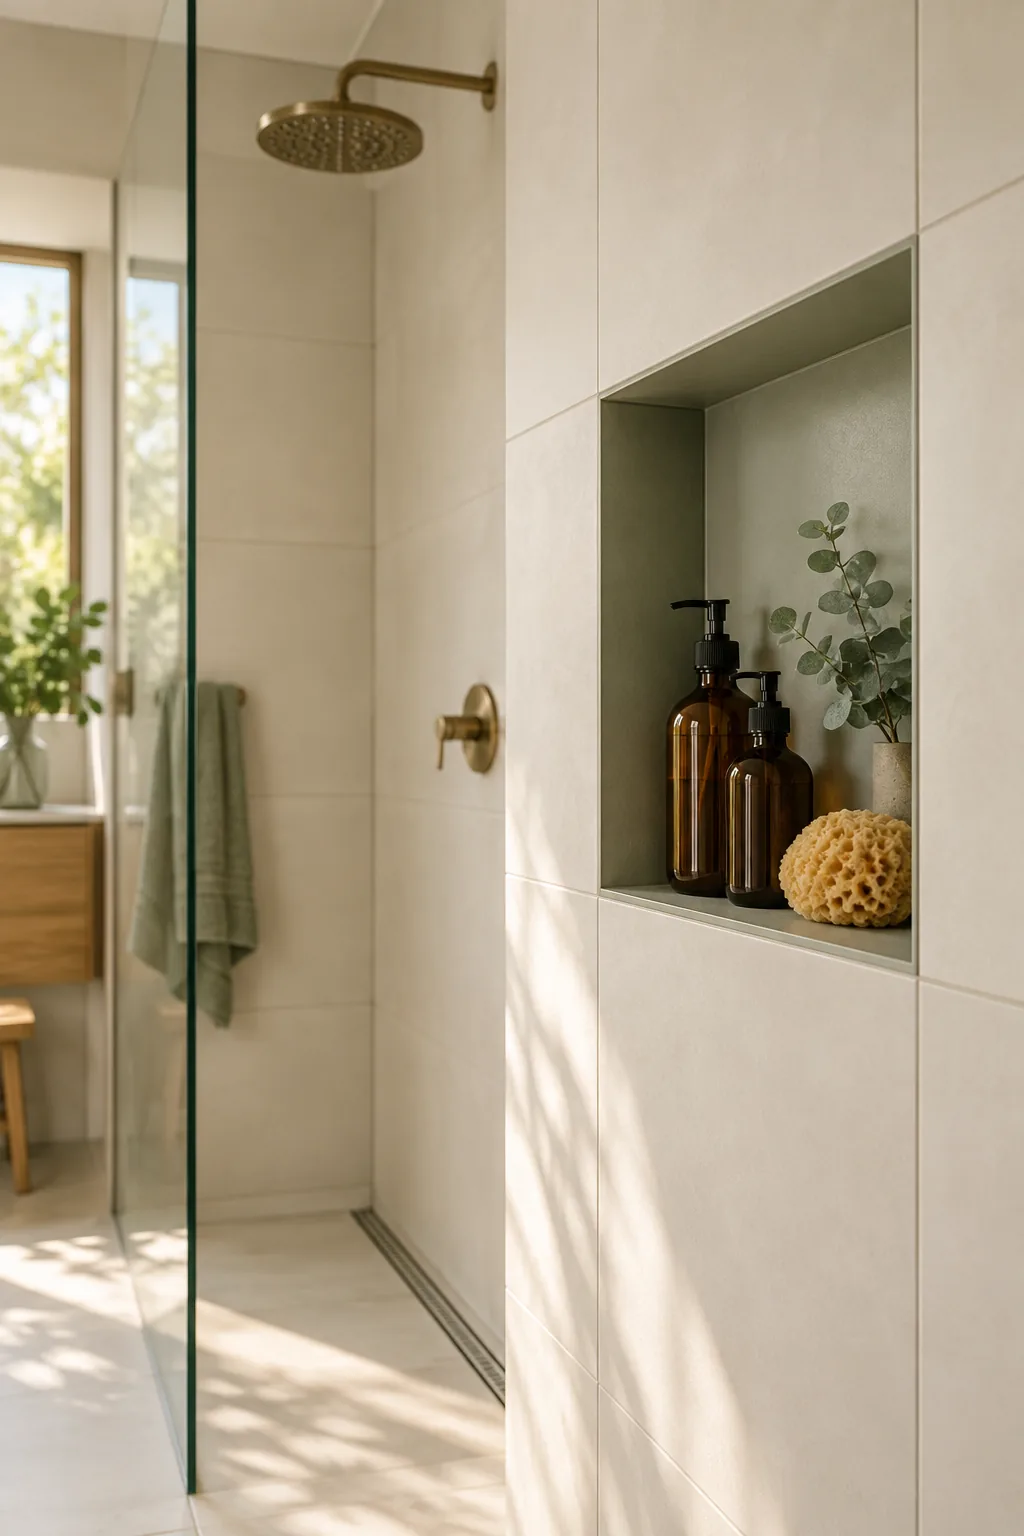
You must direct your framing carpenter to adjust the wooden wall studs behind the drywall to match this exact opening.
Tint the Grout to Match Exactly
Contrasting grout highlights every joint, immediately making a small room feel incredibly busy and grid-heavy. Choose a warm-white grout color tinted to match your tile exactly, reducing visual friction across the walls.
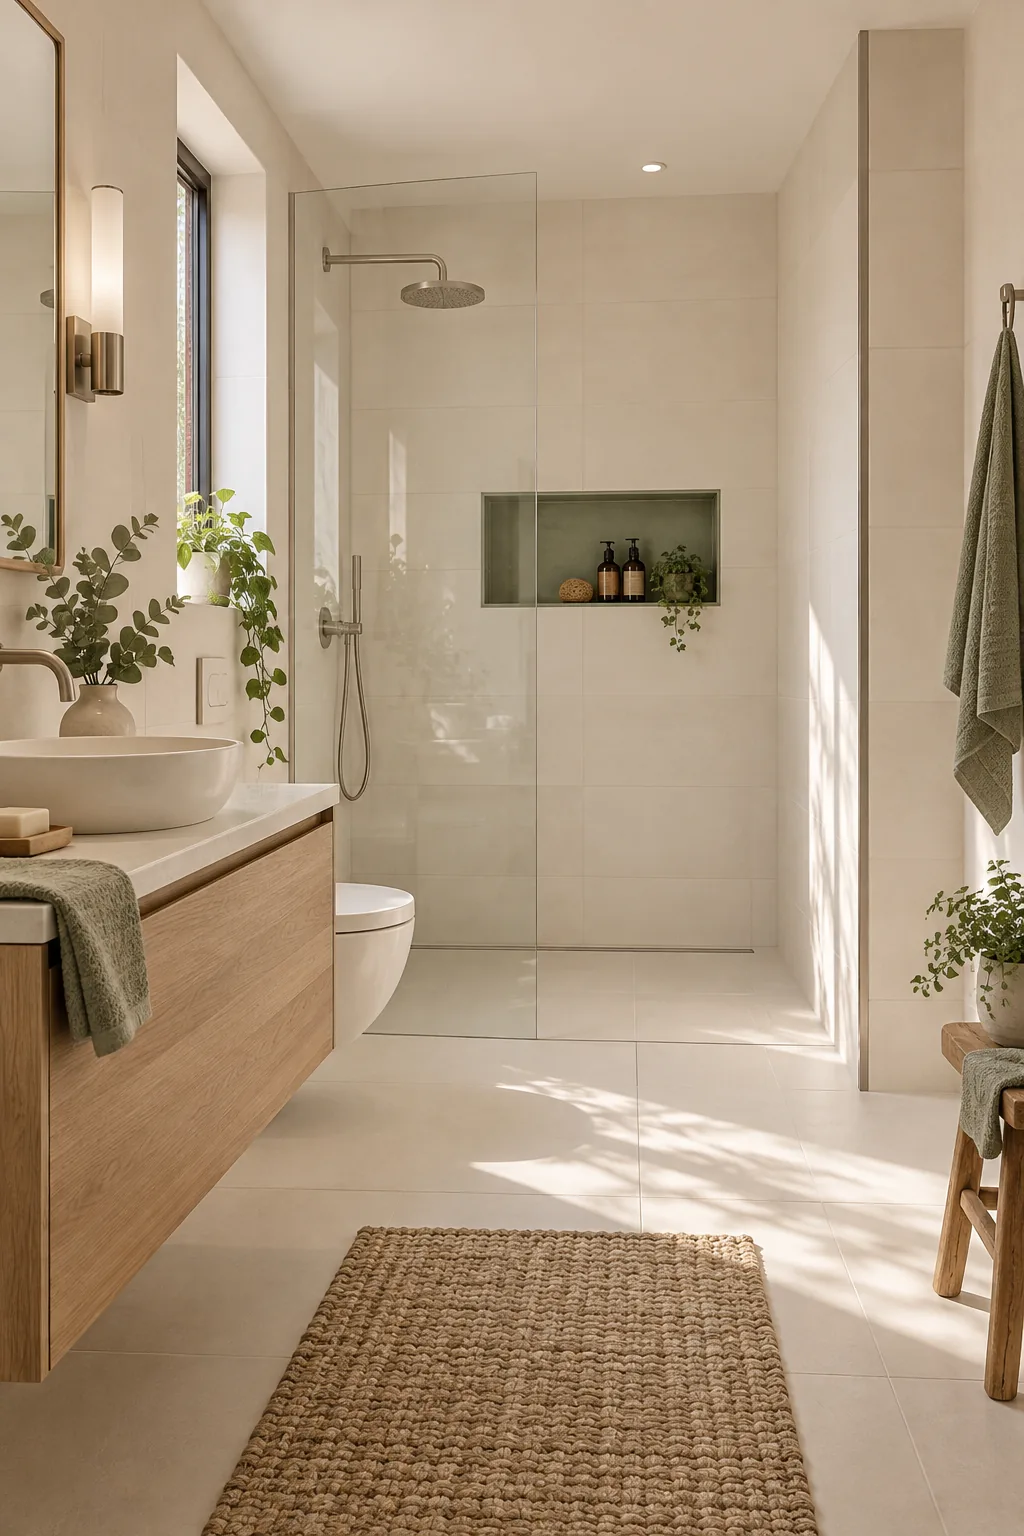
When the grout recedes, the individual pieces visually merge into one continuous, expansive surface that makes the tightest bathroom feel remarkably open and serene.
Cap Outer Corners with Slim Metal
Exposed tile edges are fragile, prone to chipping, and visually unfinished in a modern space. Finish any outer corners, such as the edge of the shower partition wall, with a slim brushed-metal profile.
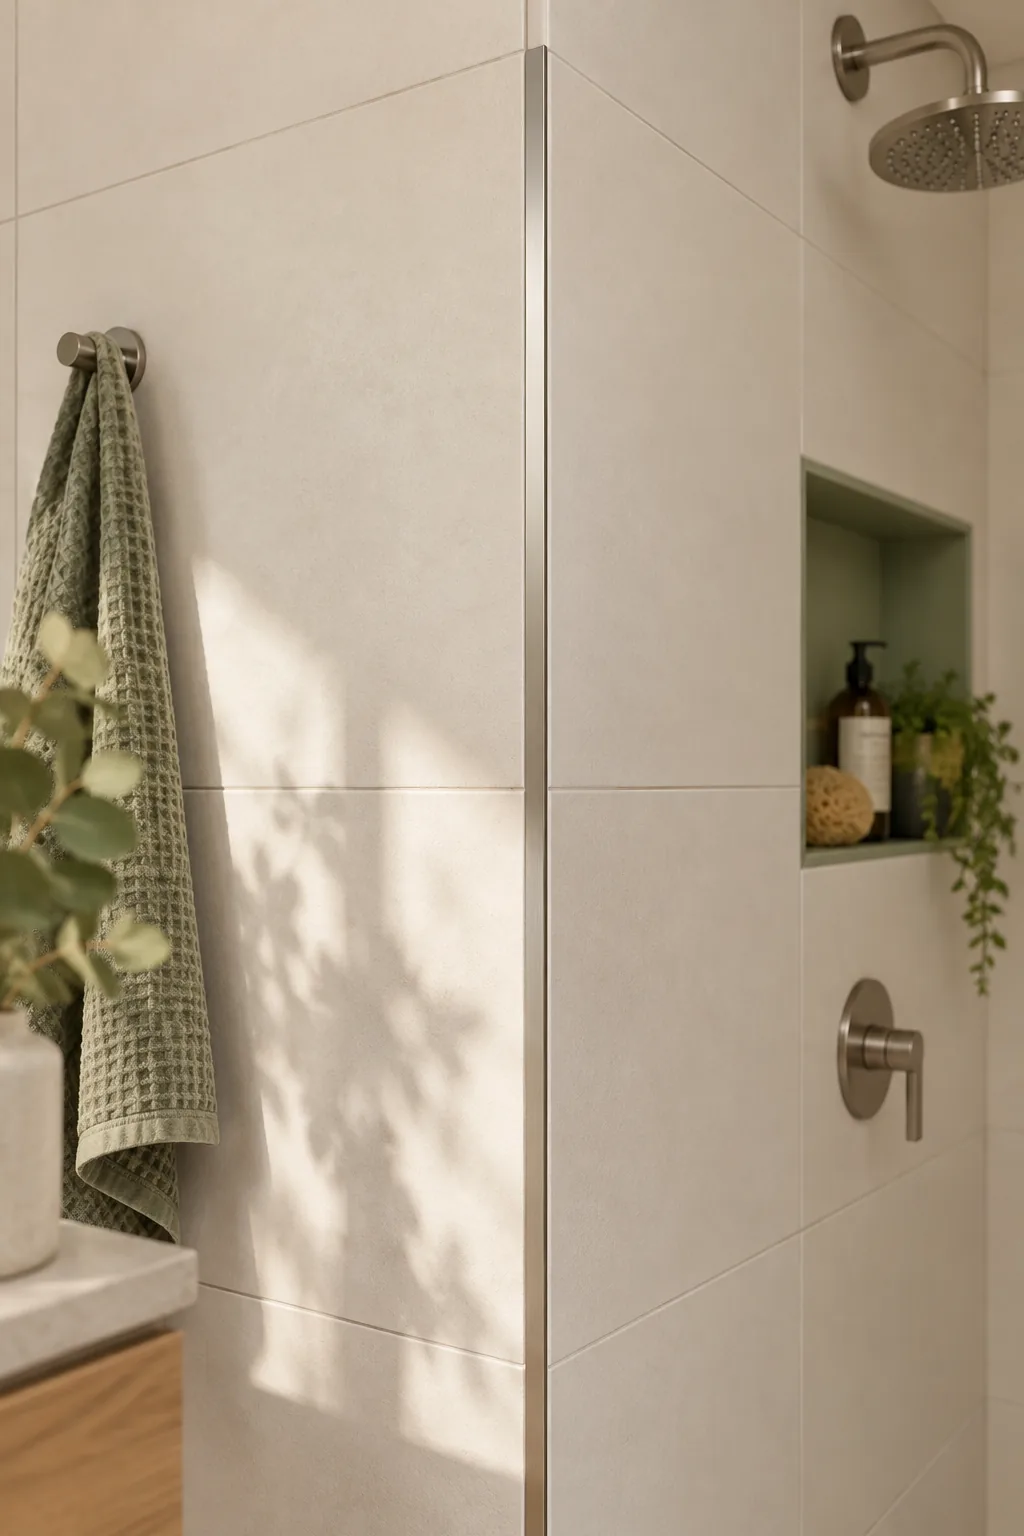
This durable trim protects the ceramic body from daily impact while providing a crisp, modern line that beautifully frames your precise tile installation.
Small Bathroom Tile Ideas to Copy
Explore how different materials and palettes transform the same layout principles.
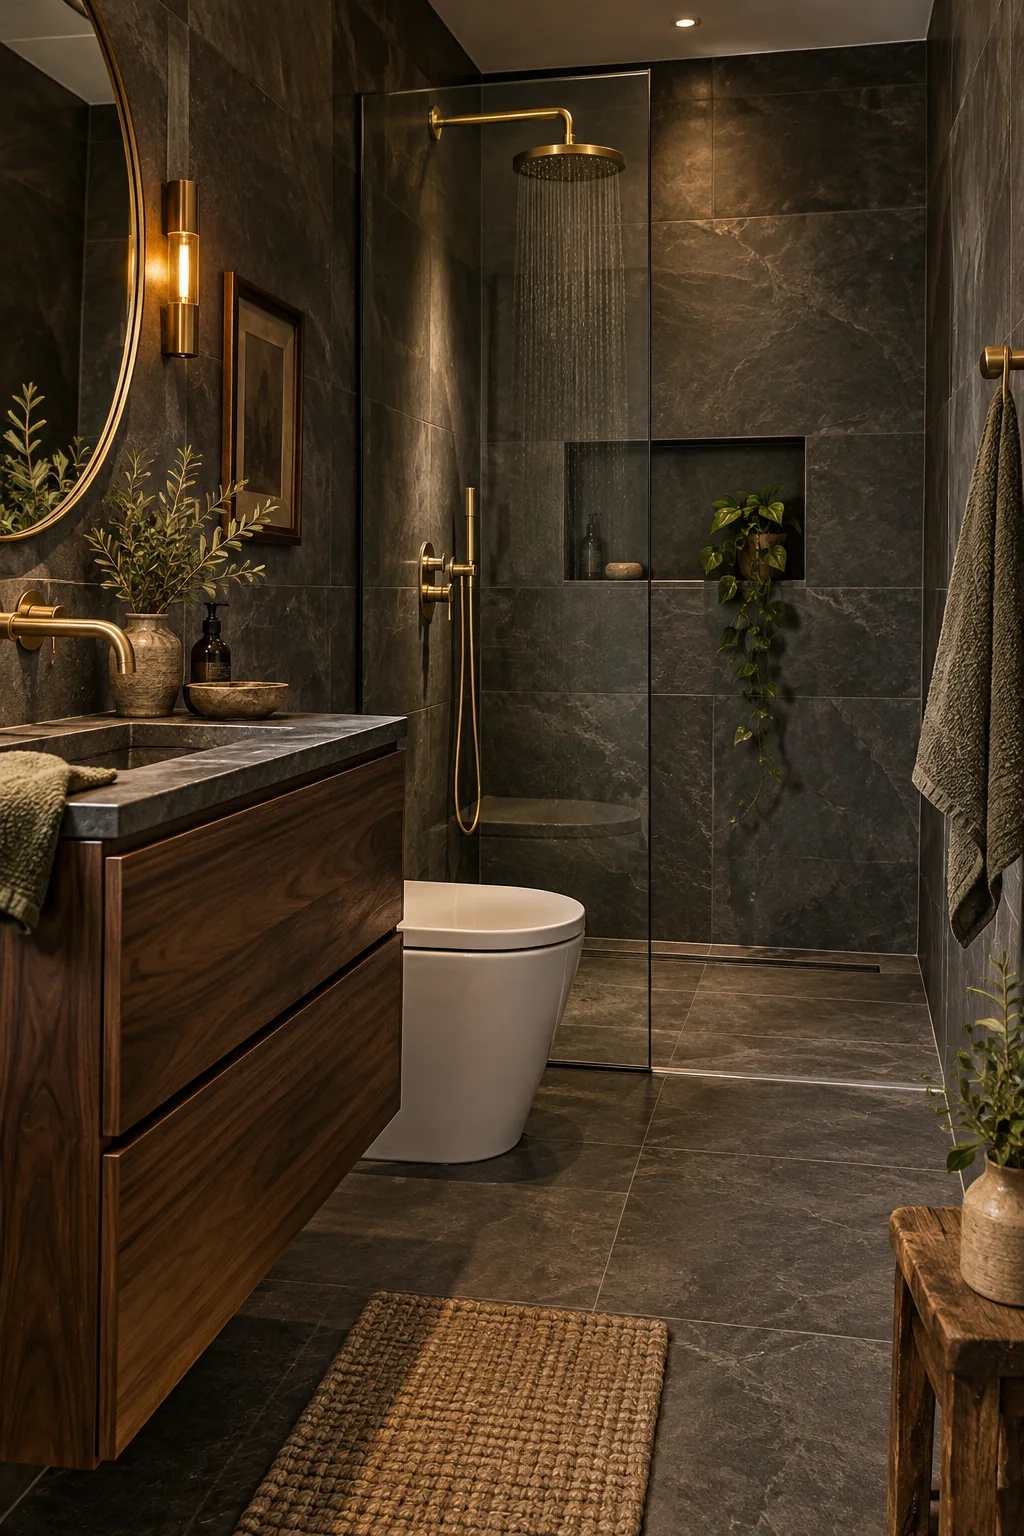
Moody Slate and Brass: Dark large-format tiles create an intimate, spa-like atmosphere. Match your linear drain cover to the brass fixtures for a cohesive finish.
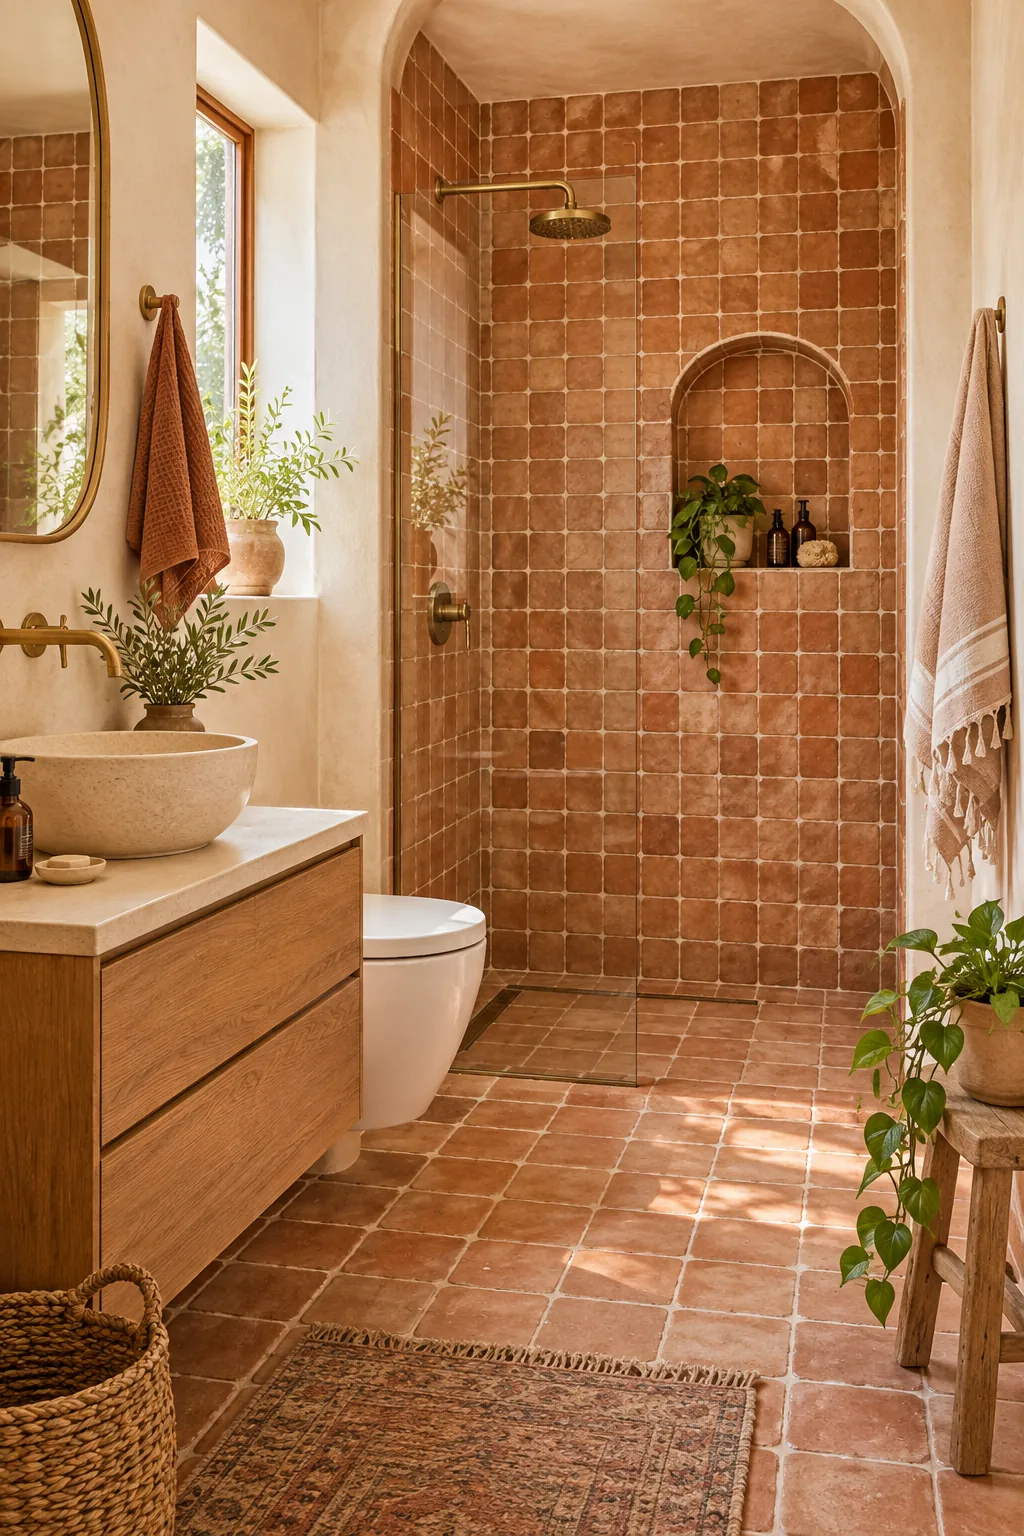
Warm Terracotta Zellige: Handmade tiles introduce organic texture to rigid bathroom grids. Use a contrasting white grout to highlight the deliberate imperfections.
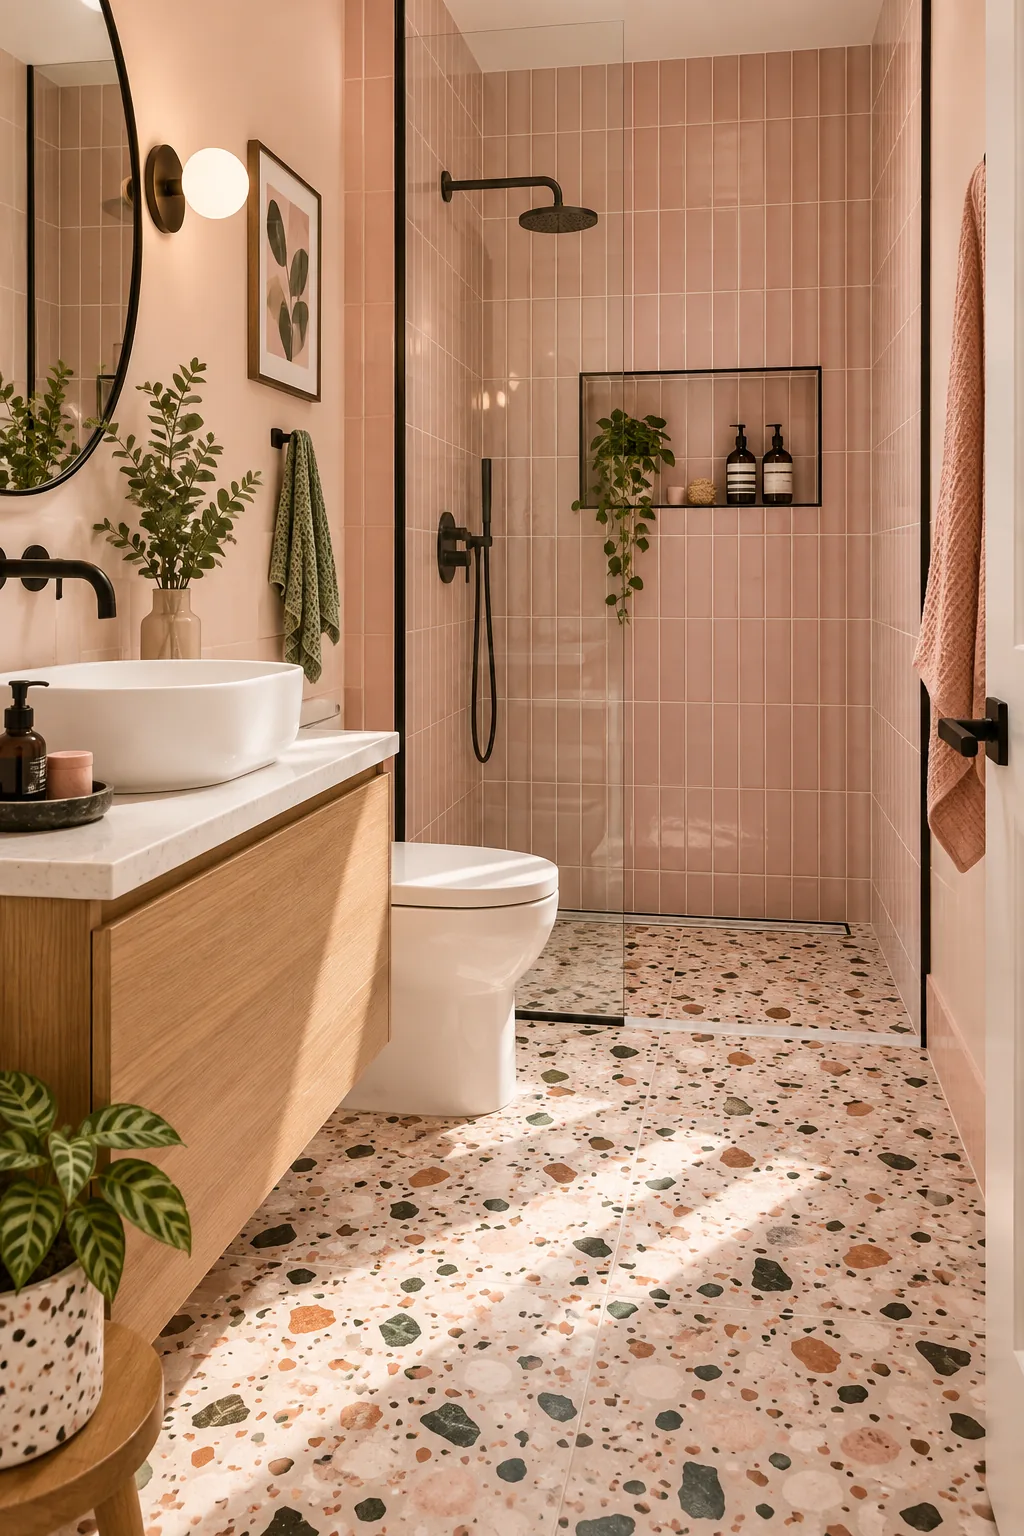
Playful Terrazzo and Blush: A bold terrazzo floor grounds pastel wall tiles. Frame the shower niche with matte black metal trim for a sharp, modern edge.
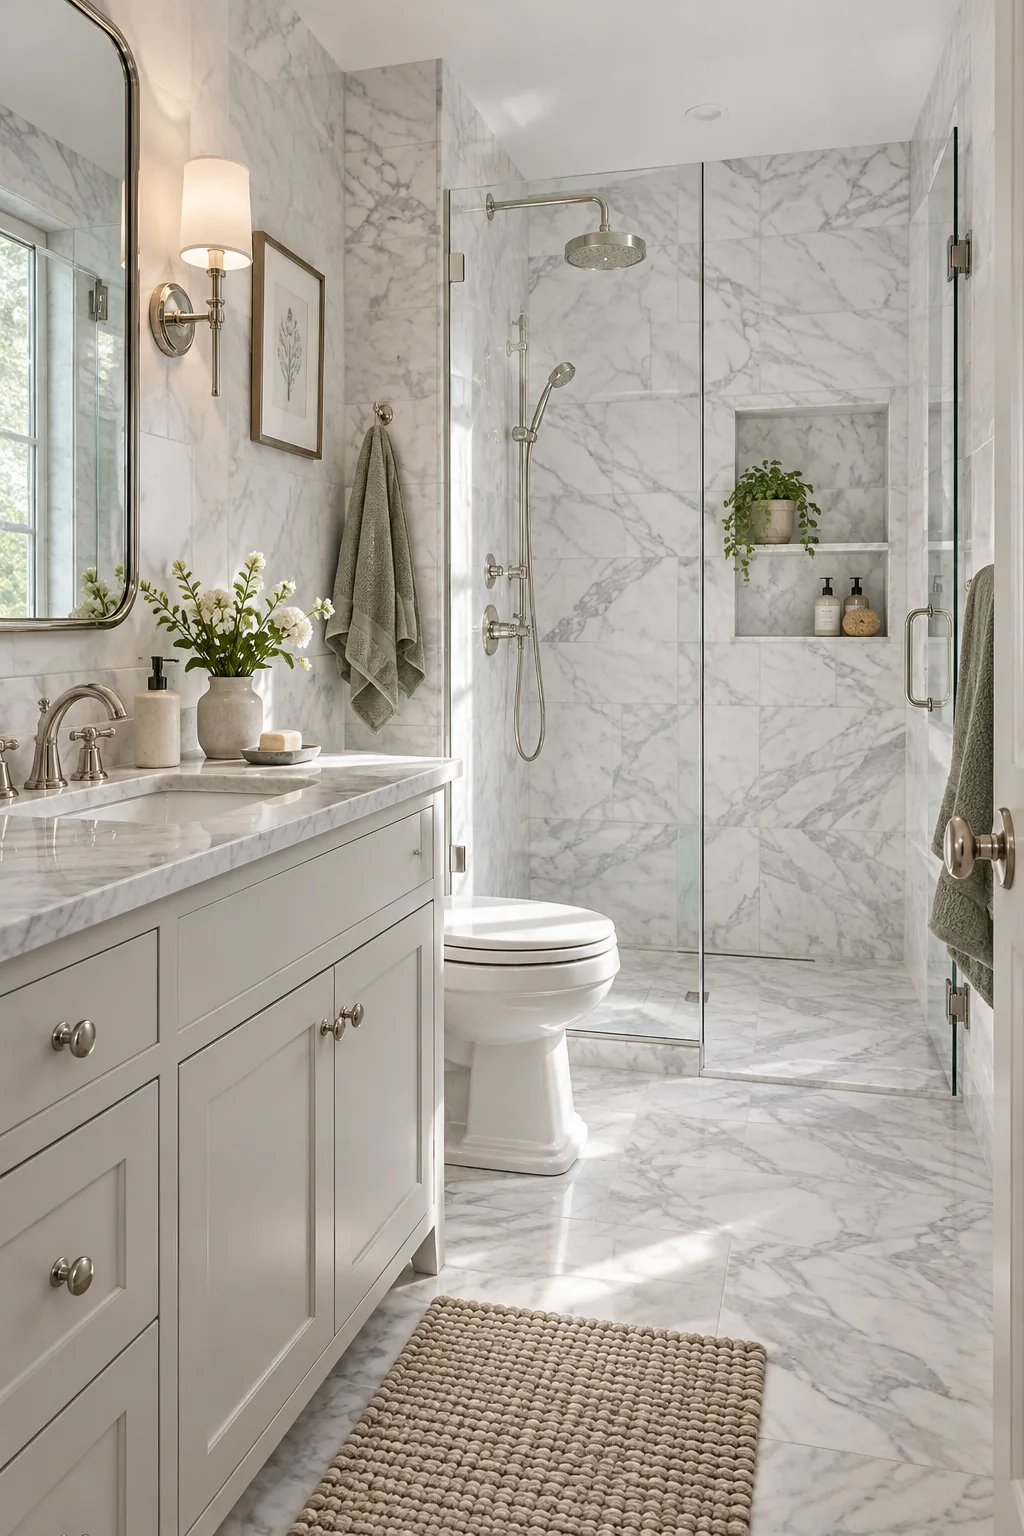
Classic Carrara Marble: Marble veining adds subtle movement without overwhelming a small footprint. Extend the floor tile into the shower for uninterrupted flow.
Pitch the Shower Sill for Drainage
Even with perfect framing, the horizontal sill of your shower niche needs a slight downward pitch to prevent severe water damage over time. Angle the bottom tile slightly toward the shower pan during installation so water naturally runs off.
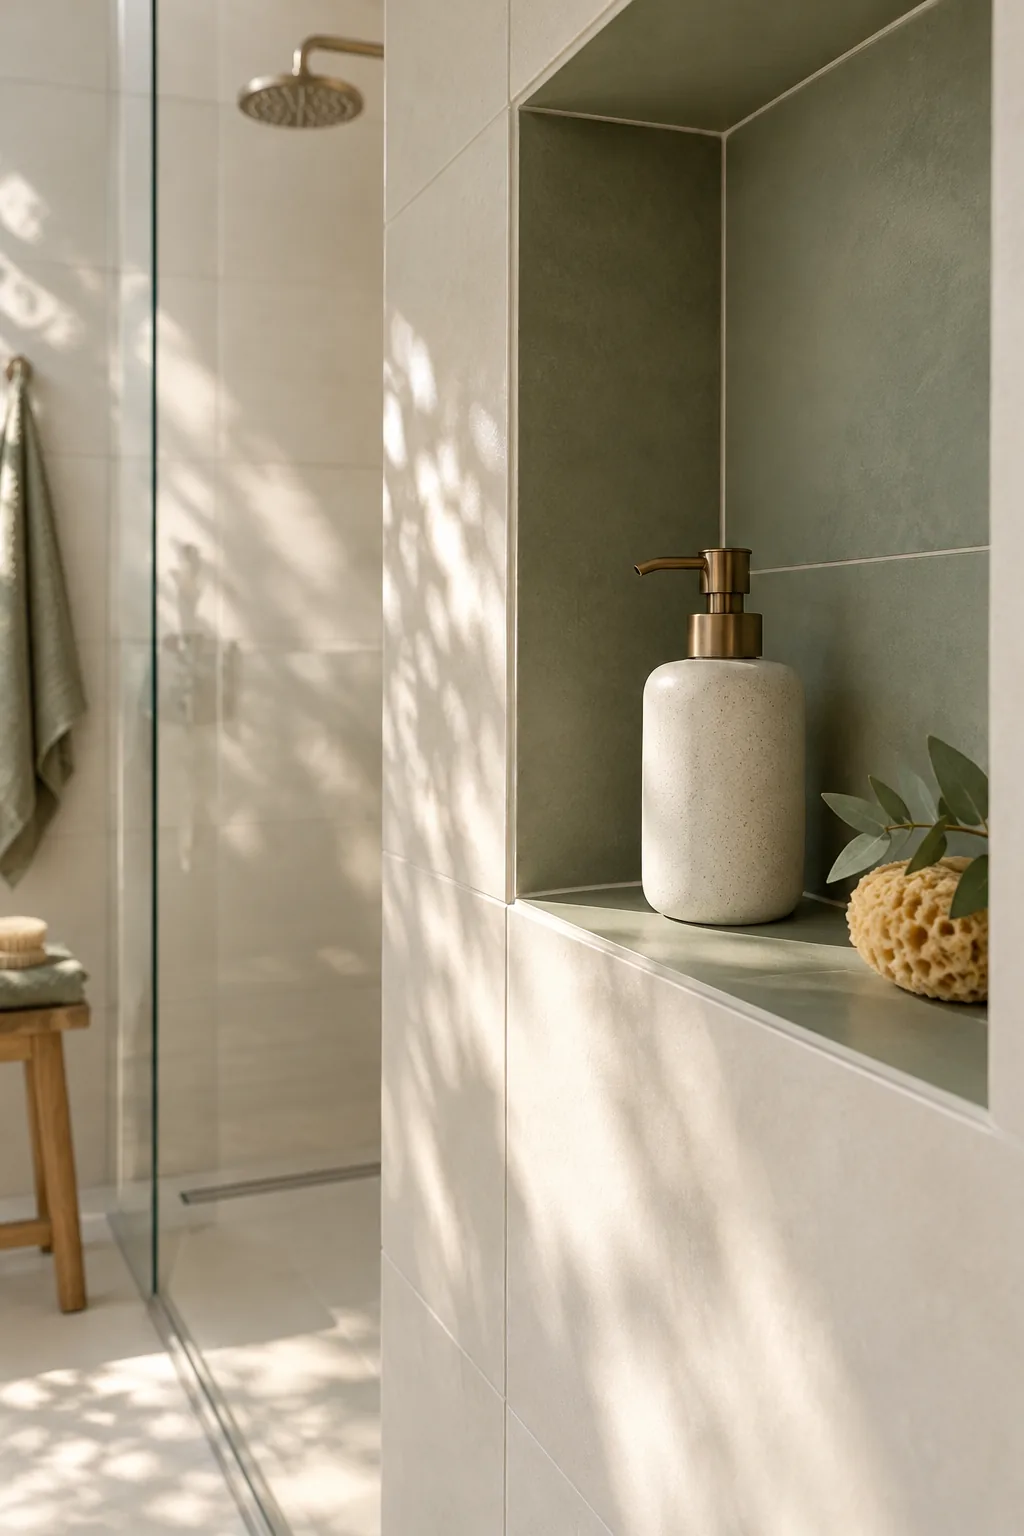
This subtle slope ensures water never pools under your shampoo bottles, protecting the surrounding grout and keeping your beautifully planned shower completely pristine.