
Dressing Room Layout Measurements That Do Half the Styling
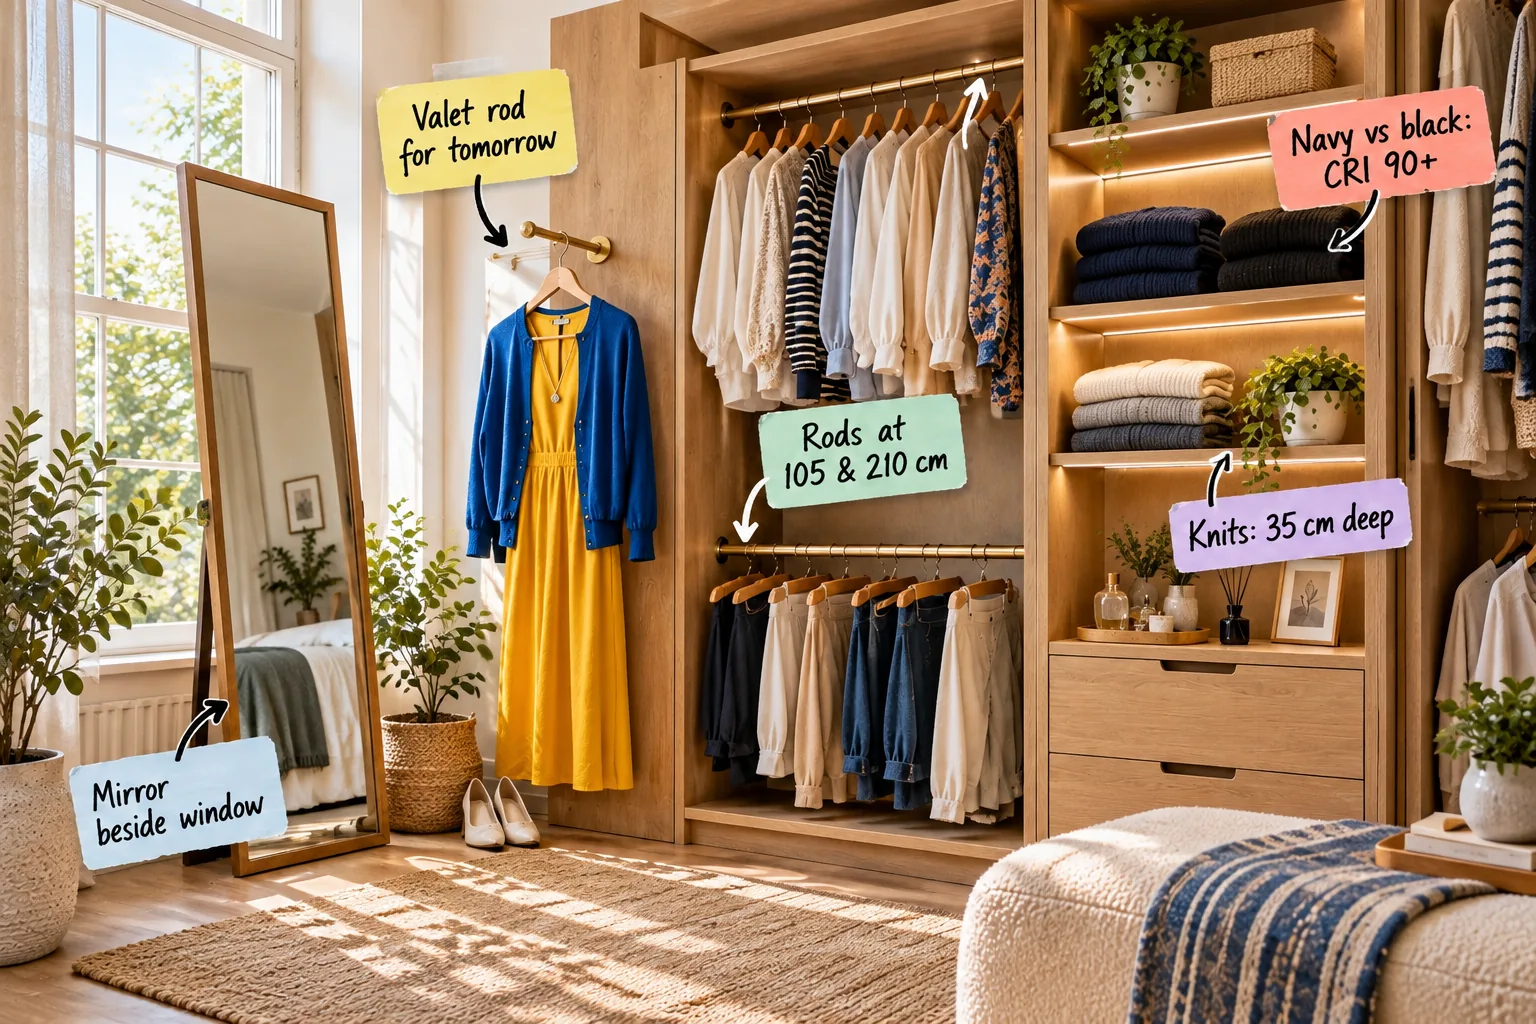
You can finally map out your exact closet dimensions, rod heights, and lighting placements using our printable dressing room measurement sheet, ensuring every garment has a perfectly proportioned home. This comprehensive layout guide provides the concrete numbers you need to build a space that makes getting dressed completely effortless.
Placing the Mirror Beside the Window
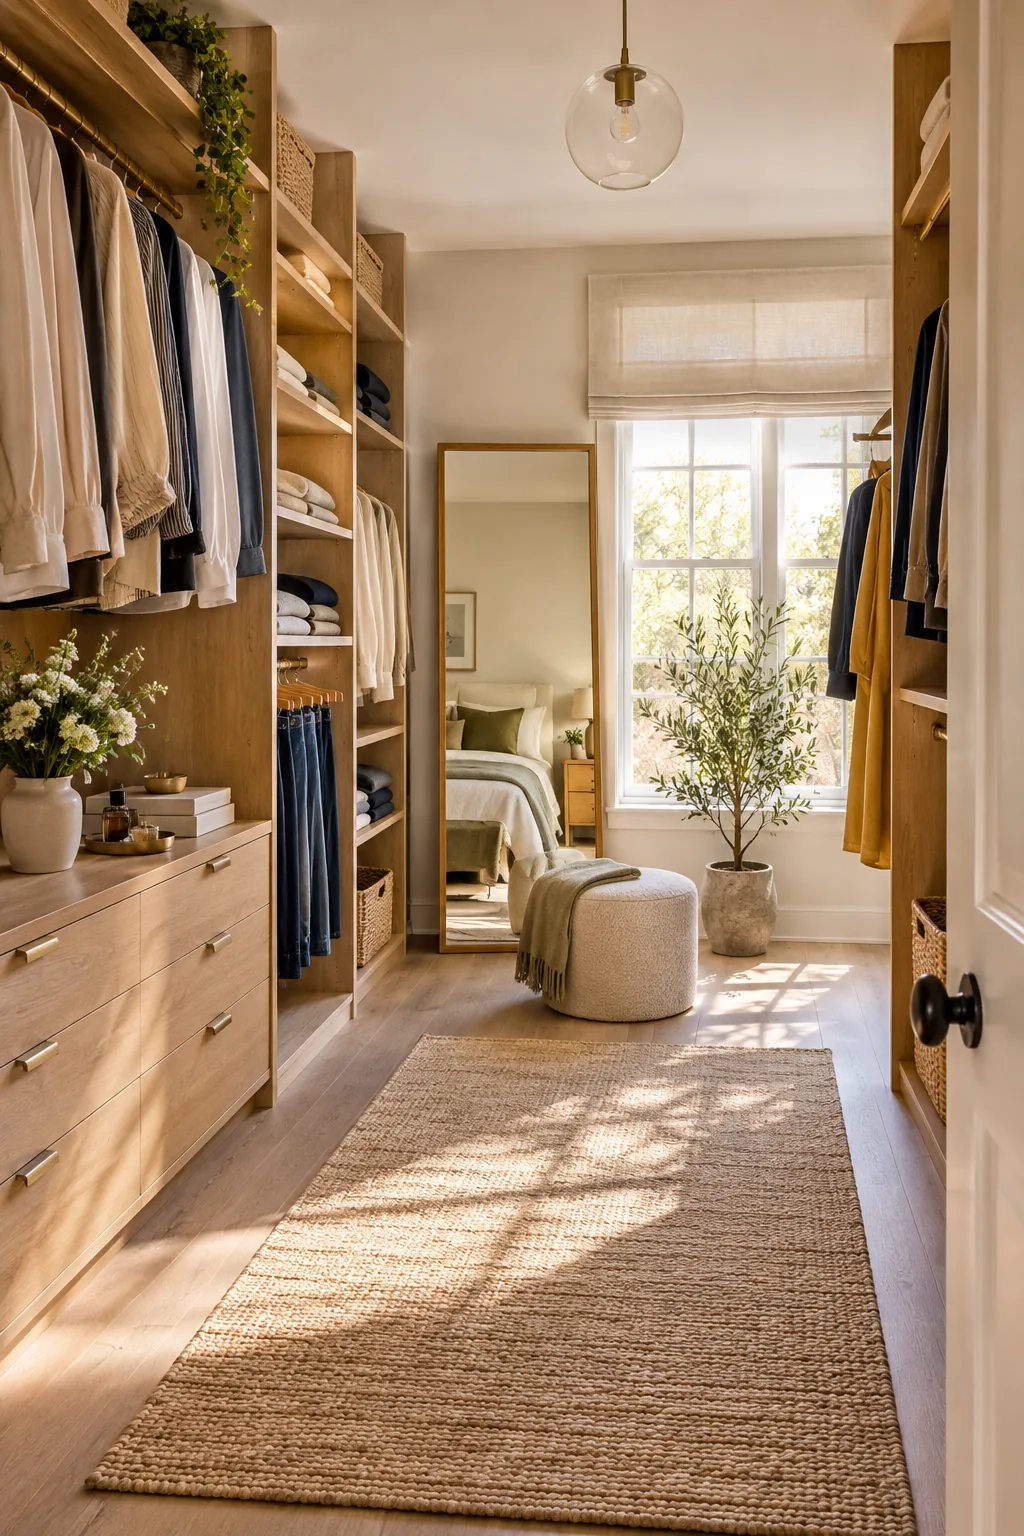
Positioning your full-length leaning mirror directly next to the window frame allows natural daylight to hit the front of your body, providing the most accurate reflection possible. This strategic placement eliminates the harsh overhead shadows that distort how an outfit actually looks when you step outside.
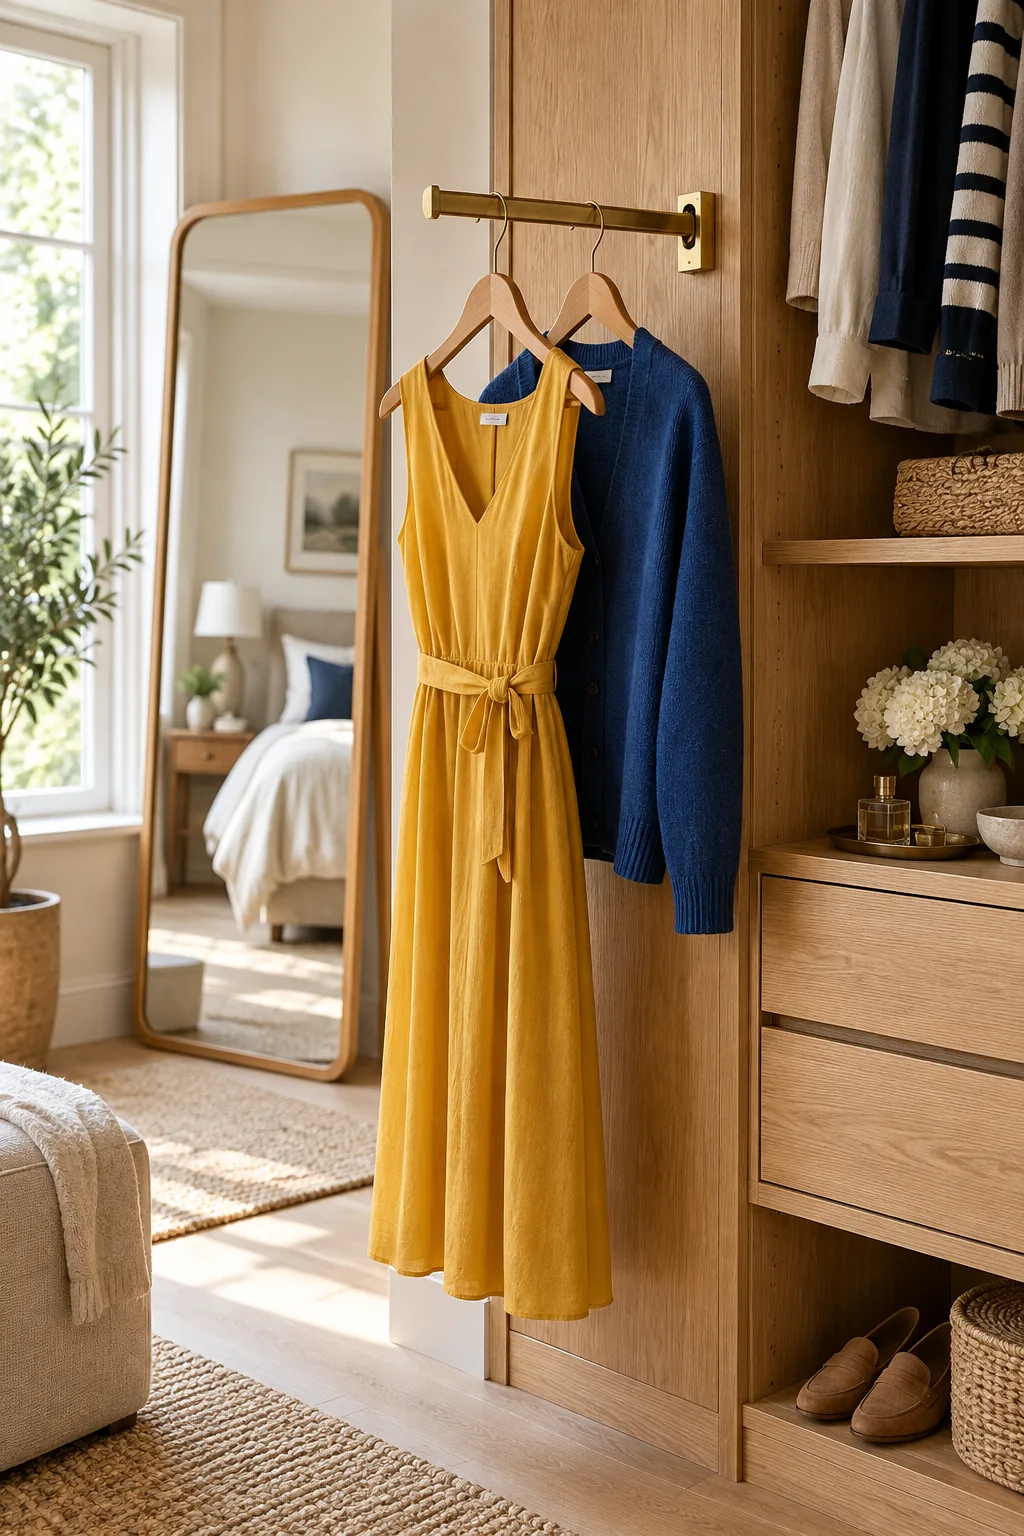
Always leave at least one meter of clear floor space directly in front of the glass so you can comfortably step back and evaluate your overall proportions.
Adding a Valet Rod for Tomorrow
Installing a slim brass pull-out valet rod on the wardrobe’s end panel gives you a dedicated staging area for tomorrow’s pre-selected outfit. Separating these specific pieces from your main inventory significantly reduces morning decision fatigue and keeps your daily routine entirely focused.
Before drilling into your custom oak cabinetry, remember that a pull-out rod only works if it has enough vertical clearance for your longest garments.
Setting Double-Hang Rods at 105 and 210 cm
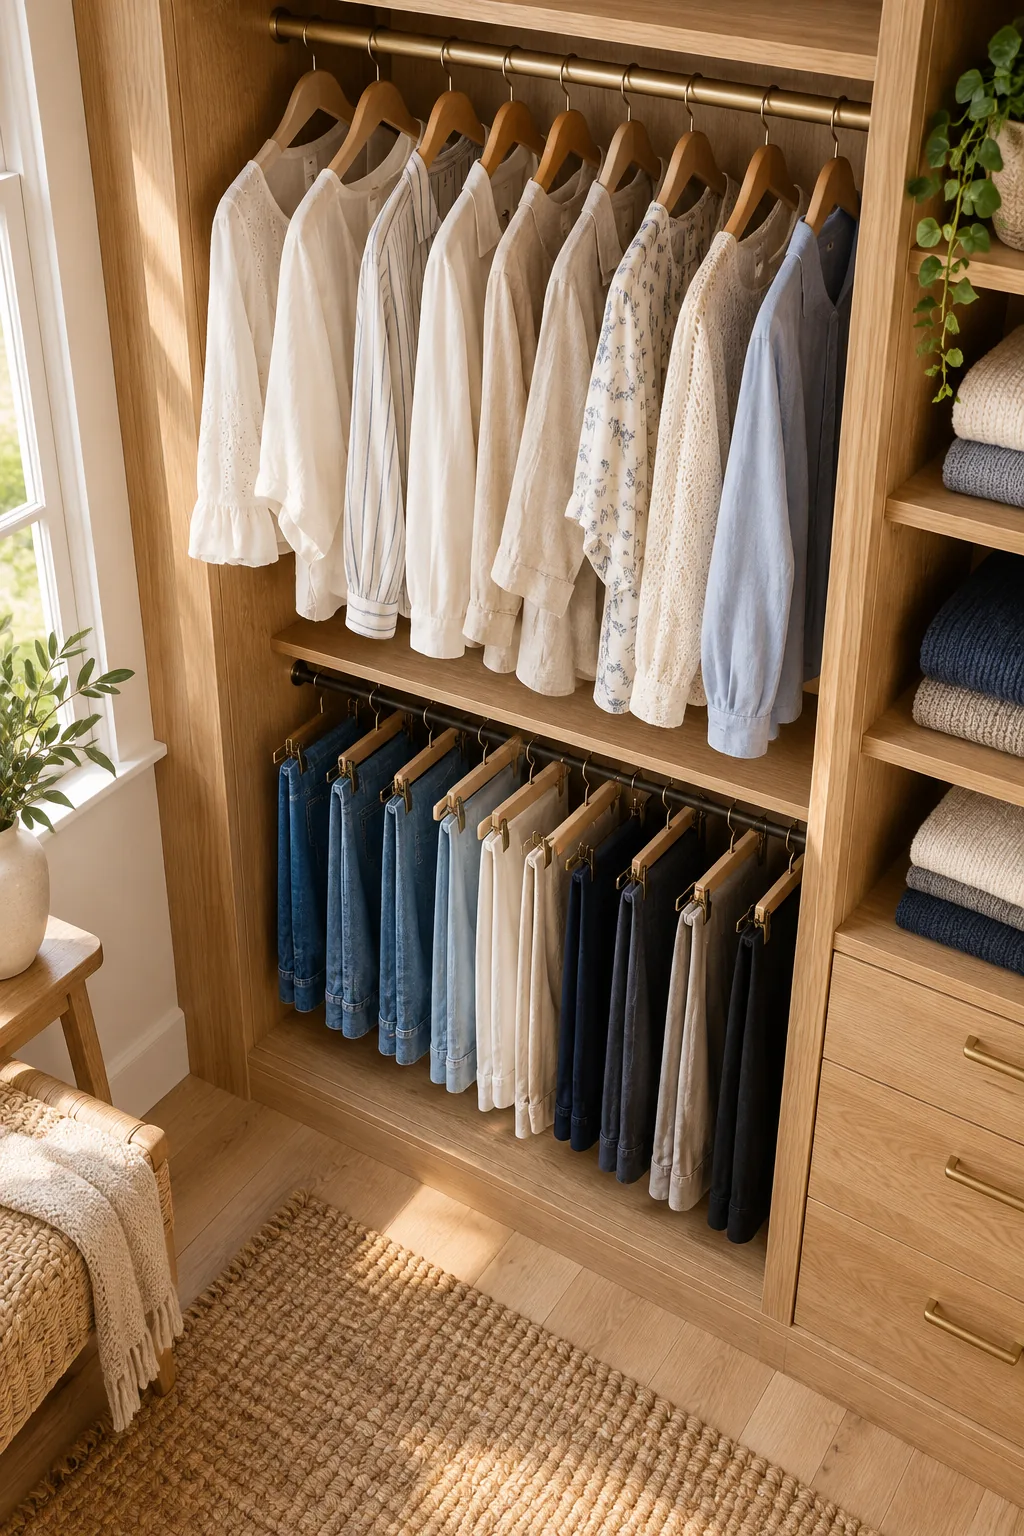
Creating a perfectly proportioned double-hang bay requires setting the top rod at exactly 210 cm to provide ample vertical room for blouses, shirts, and tailored blazers.
Positioning the lower rod at 105 cm perfectly accommodates folded trousers without wasting valuable vertical space or leaving delicate hems dragging on the dusty floor.
Keeping Knitwear Shelves 35 cm Deep
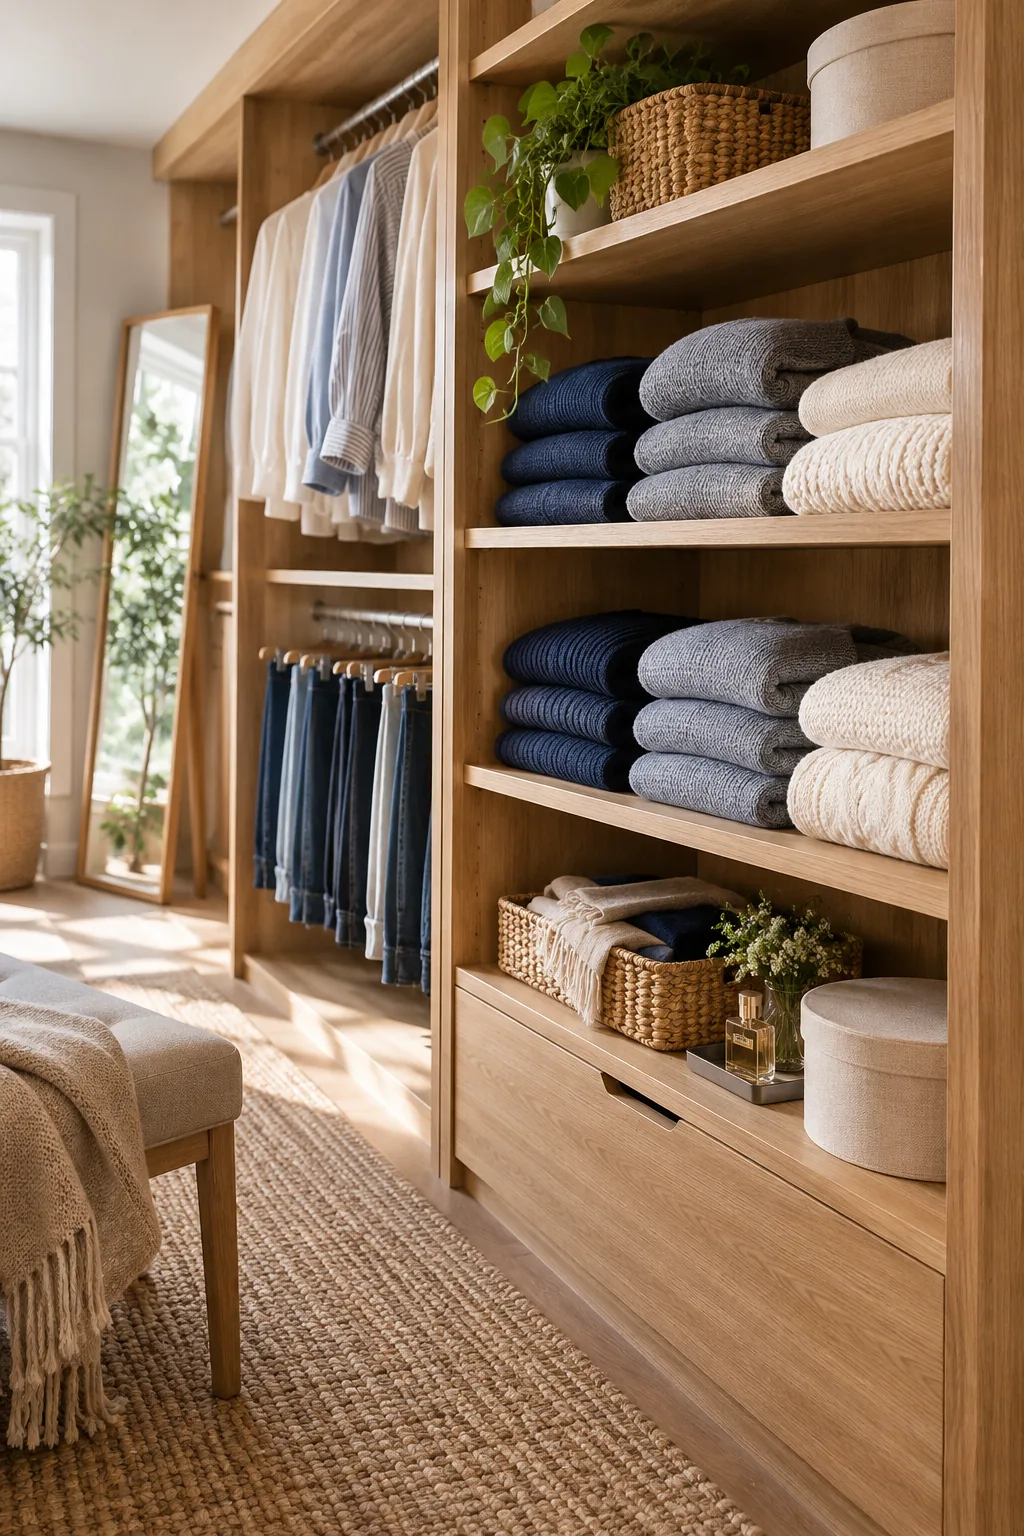
Restricting your open shelving to an exact 35 cm depth forces a single, highly visible stack of folded sweaters that you can easily track.
- Measure your thickest folded sweater: Confirm it fits entirely within this shallow 35 cm footprint.
- Install blocking at the back: Push existing deep shelves forward to create a false back wall.
- Stack no more than four high: Keep the newly shallow knitwear stacks stable and instantly accessible.
In my own Denver home, deeper shelves inevitably led to forgotten cashmere garments, so I retrofitted my entire primary closet to this precise shallow depth.
Choosing CRI 90+ LEDs to Tell Navy from Black
Installing warm LED strips with a Color Rendering Index of 90 or higher along the underside edge of your shelves ensures completely accurate color perception.
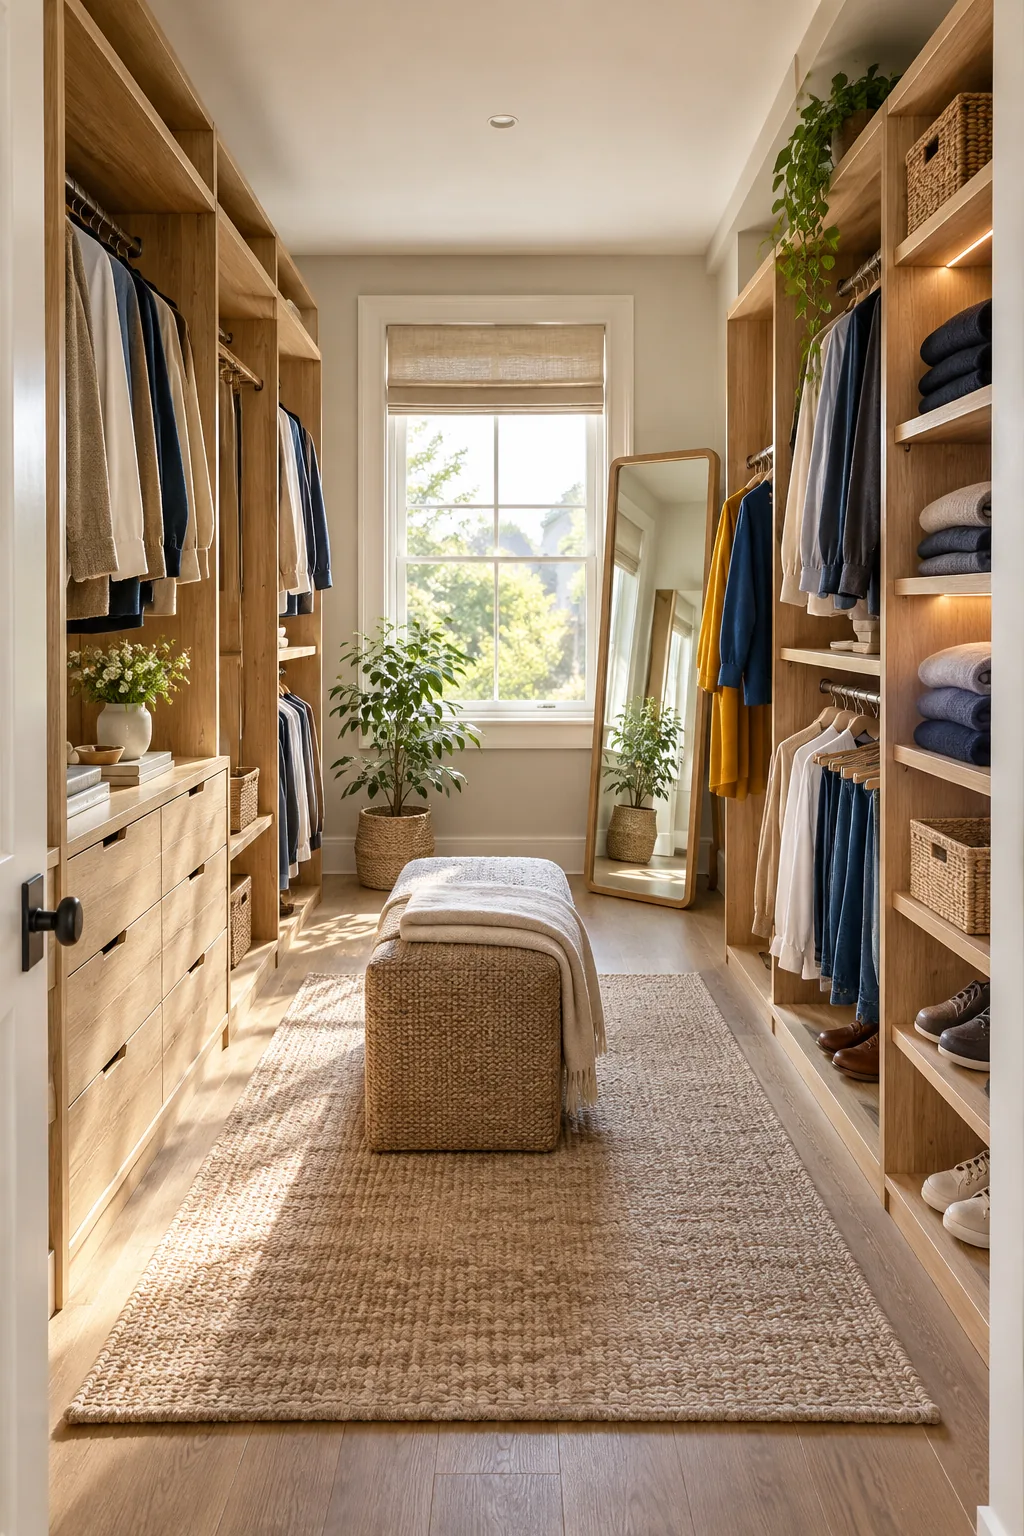
I used to accidentally wear mismatched darks to important client meetings until I upgraded my own wardrobe lighting to these high-CRI fixtures.
3 Ways to Style Your Dressing Room Layout
Once your measurements are locked in, choose a finish that suits your home's architecture.
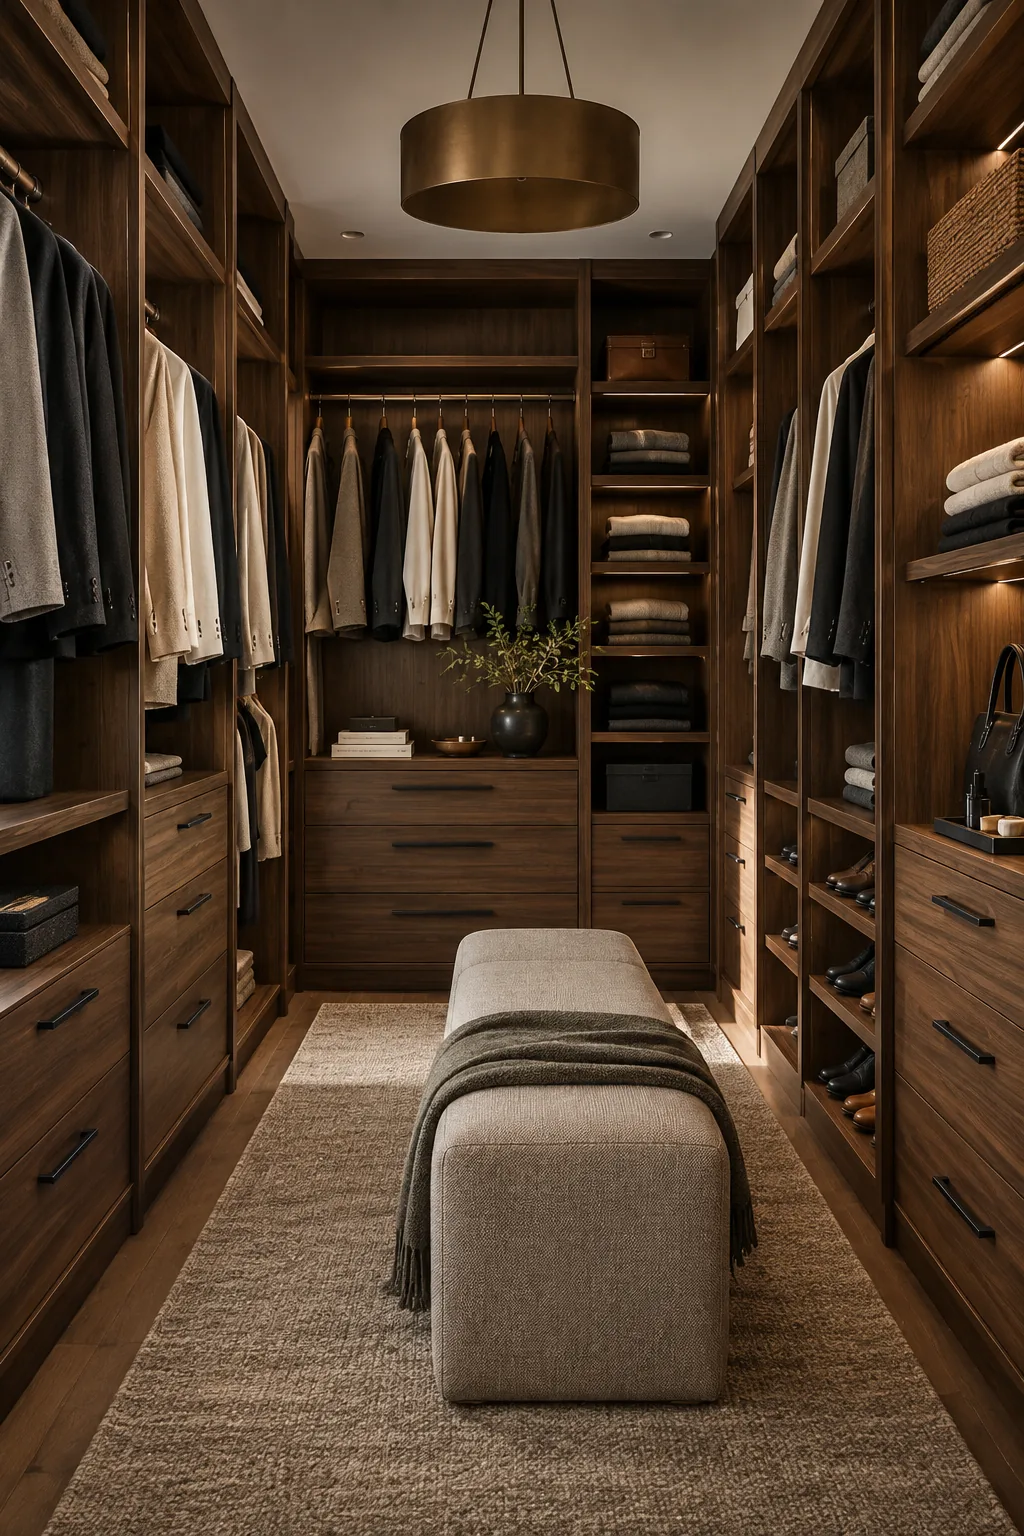
Moody minimalist walnut walk-in: Swap warm oak for rich walnut and matte black hardware to create a sophisticated, tailored atmosphere in a windowless room.
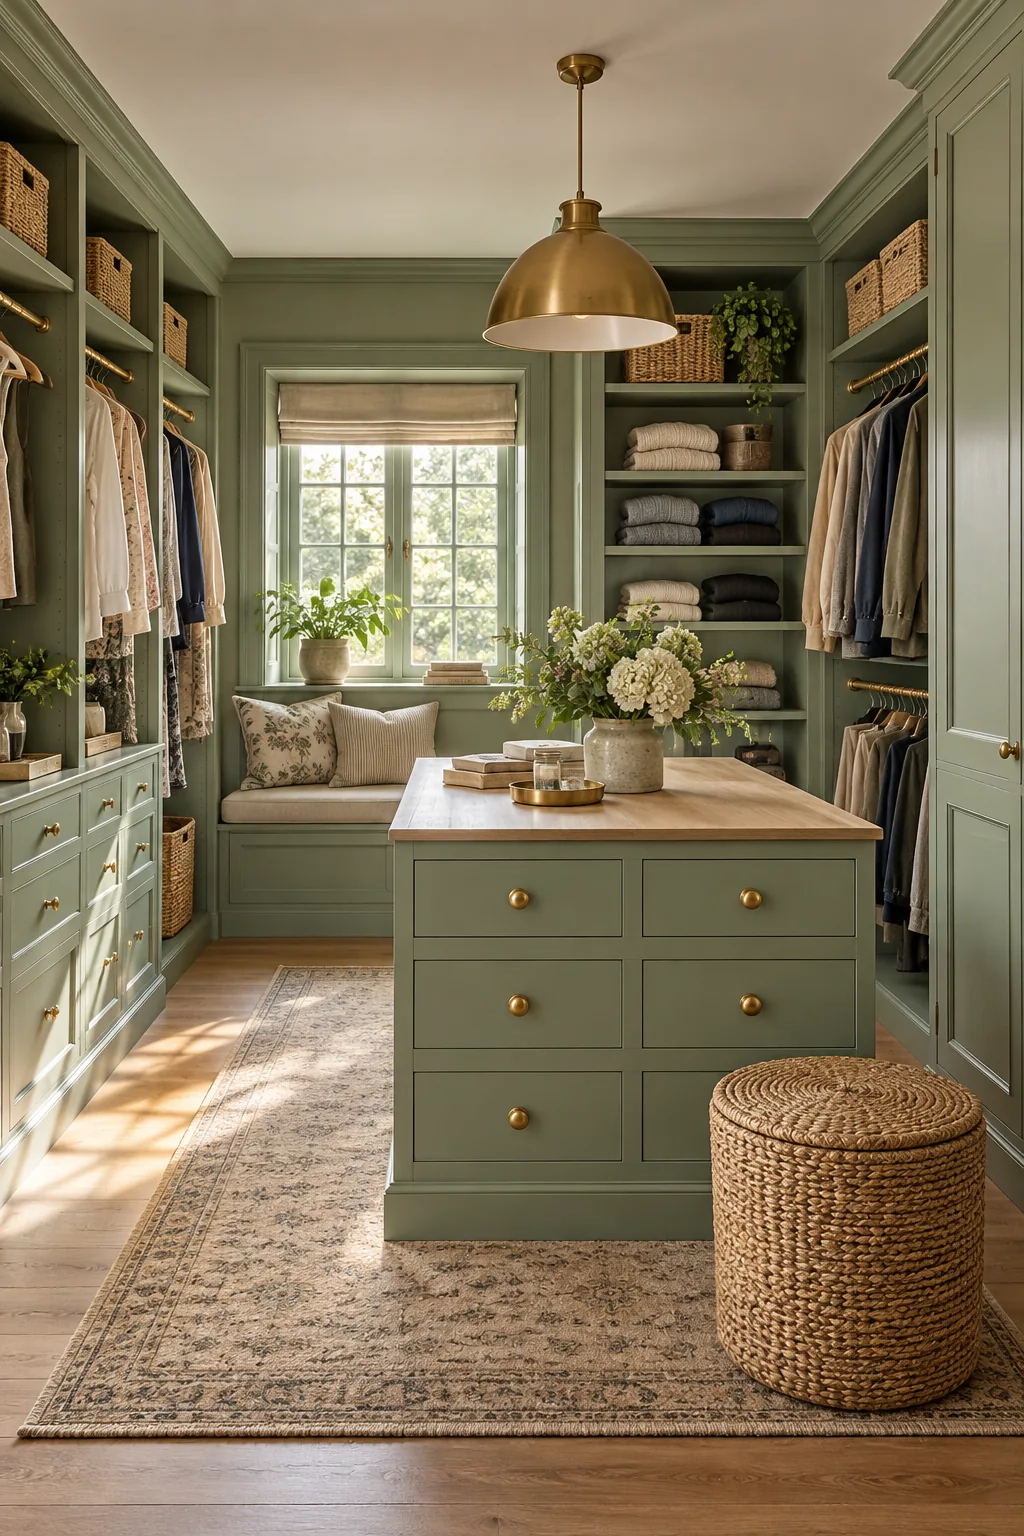
Painted sage green built-ins: Use custom painted cabinetry in a soft green to blend the wardrobe seamlessly into a cozy, traditional bedroom layout.
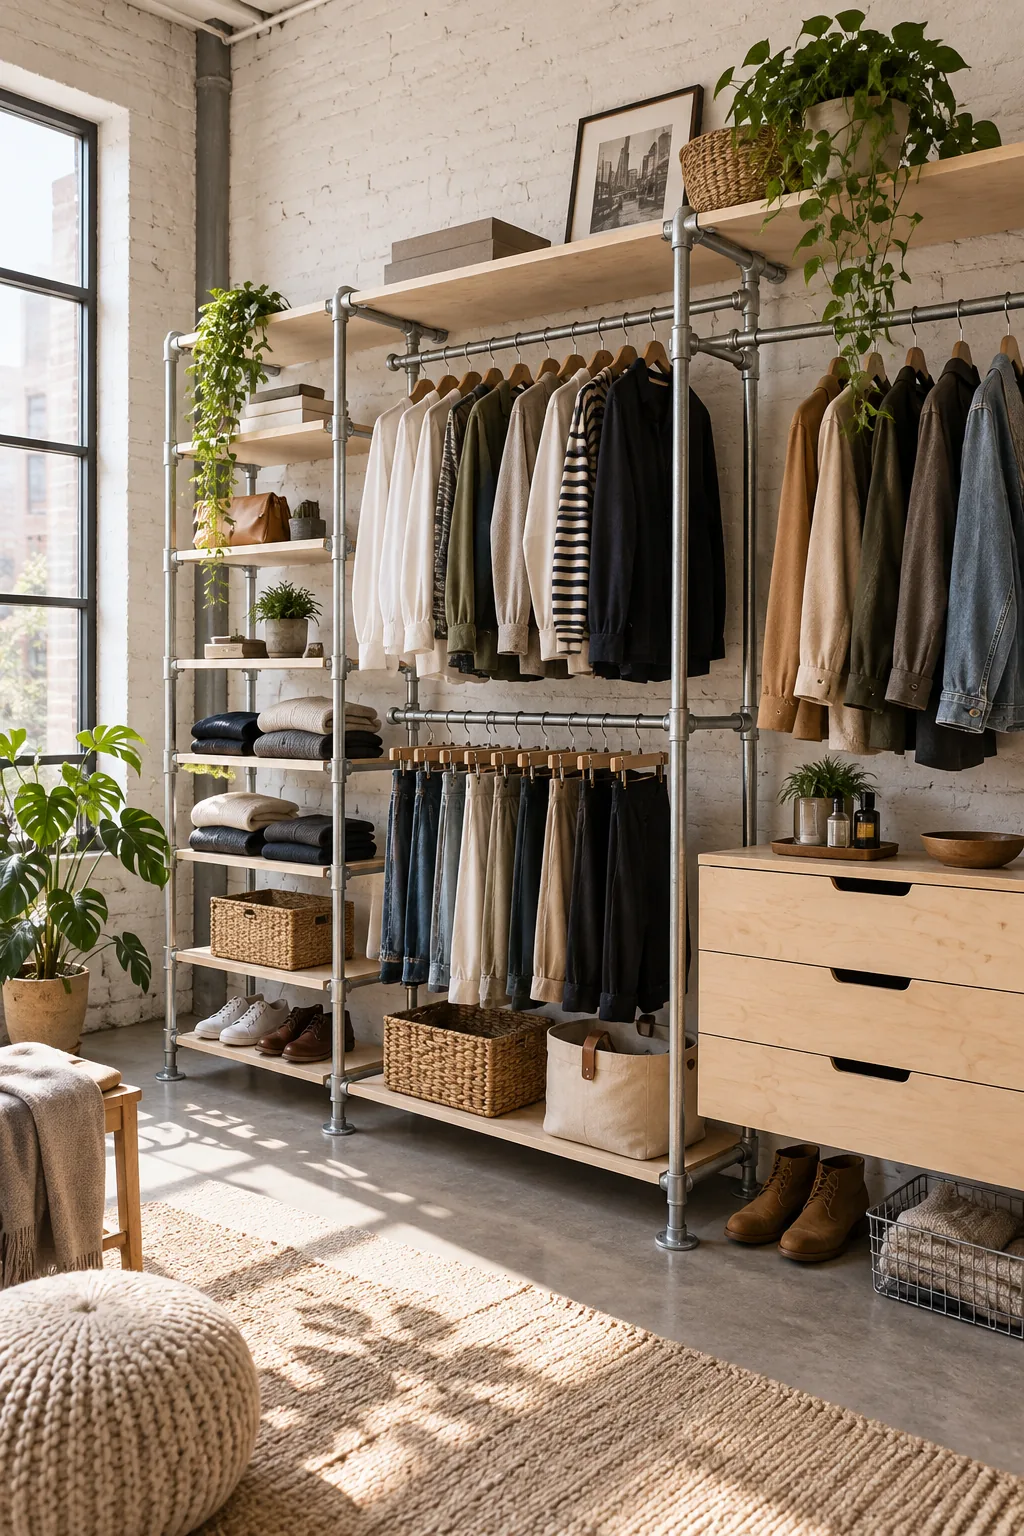
Industrial plywood and pipe rails: Achieve the same precise ergonomic measurements using exposed plumbing pipes and birch plywood for an airy, loft-inspired aesthetic.
Print the Dressing Room Measurement Sheet
Our printable one-page plan includes all essential rod heights, the 35 cm shelf depth for knits, and the recommended 90 cm minimum aisle width for comfortable dressing.
I used this exact measurement sheet for my own Denver primary suite, which saved me from making costly spatial errors before ordering my custom cabinetry.